Large Scale Central

2022 MIK's Build Challenge, Post your photos HERE for VOTING

PLEASE DO NOT POST COMMENTS ABOUT BUILDS IN THIS THREAD.

Post them in the individual build threads.

This thread is for pictures of the builds for voting.

Each participant needs to post his photos and comments of his finished or unfinished challenge build.

Please identify who you are, and what you built, and any other comment you would want to tell about your build.

Please keep this thread clean of comments about the builds.

And limit posting to the participants of Mik’s build Challenge 2022.

Guess I’ll start.
As finished as I could get in the timeline.


1 Like

Tim here. My Mik build this time around was a bit of a sprawling mess, focused on additions to Middleton Station - specifically, an expanded passenger platform, ‘switch tower,’ retaining wall, plus a sidewalk and a parking lot/street.

Total out of pocket expenses was $2.50 for two teeny tiny tubes of Locktite (half of which was used gluing my fingers together.) I did buy more glue but didn’t use it. The rest was wood scraps, poster board, construction paper, and a few leftover CMS panels, plus detail items that were laying around. That said -

Retaining wall and street/parking lot:

Mik 2022 - 26

Switch Tower exterior:

Mik 2022 - 24

Expanded Middleton Platform:

Mik 2022 - 25

Switch Tower interior:

Mik 2022 - 22

1 Like

Team Mueller and the Hale o Waihona Lanahu (Coaling Station).

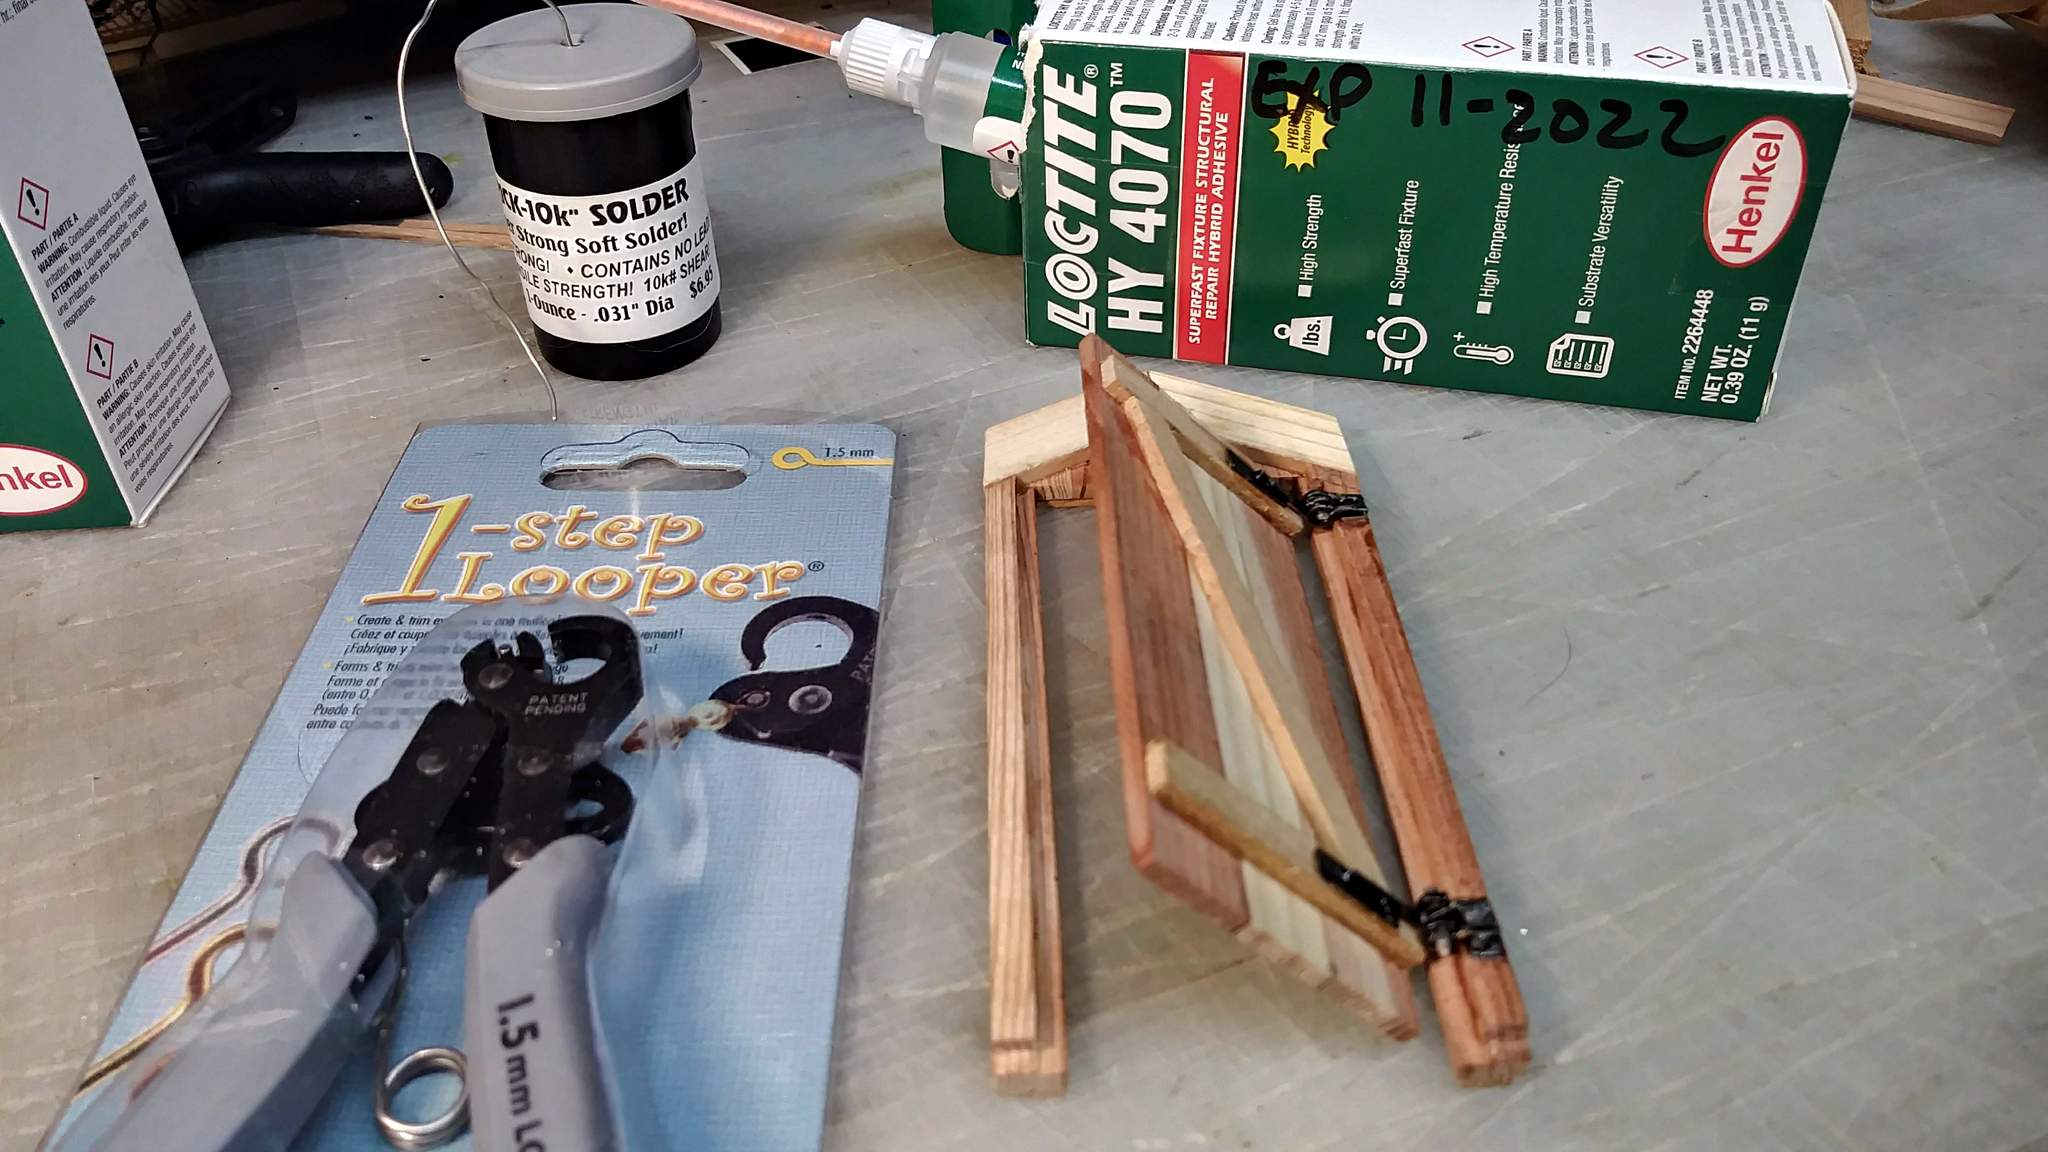
I try to focus our efforts on Hawaiian railroading, and this structure, while fanciful in all respects, draws from both the oldest stone-and-wood mills like the nearby ruins at Kualoa (image) and the real fueling gantry at the old Iwilei yards (image). We used insulation foam as a core, basswood for cladding, craft sticks for battens and decking, egg crate for the coaling deck, signboard and a piece of roofing, and some concrete patch. The basswood cost us about $30, of which we used about 2/3 of the material. As ever, we built to 1:24-ish PLAYMOBIL scale to be consistent with our world and because, to be frank, I really like PLAYMOBIL!

Without further ado, here is a shot as we approach Pu’u’oma’o, where the M&K Sugar Co. and Triple O share engine service facilities at the busy interchange between the mill’s private tracks and the Triple O.

The real OR&L had its facilities in Honolulu. For visual reasons, I am trying to concentrate our large industrial area in our fictional mill town.

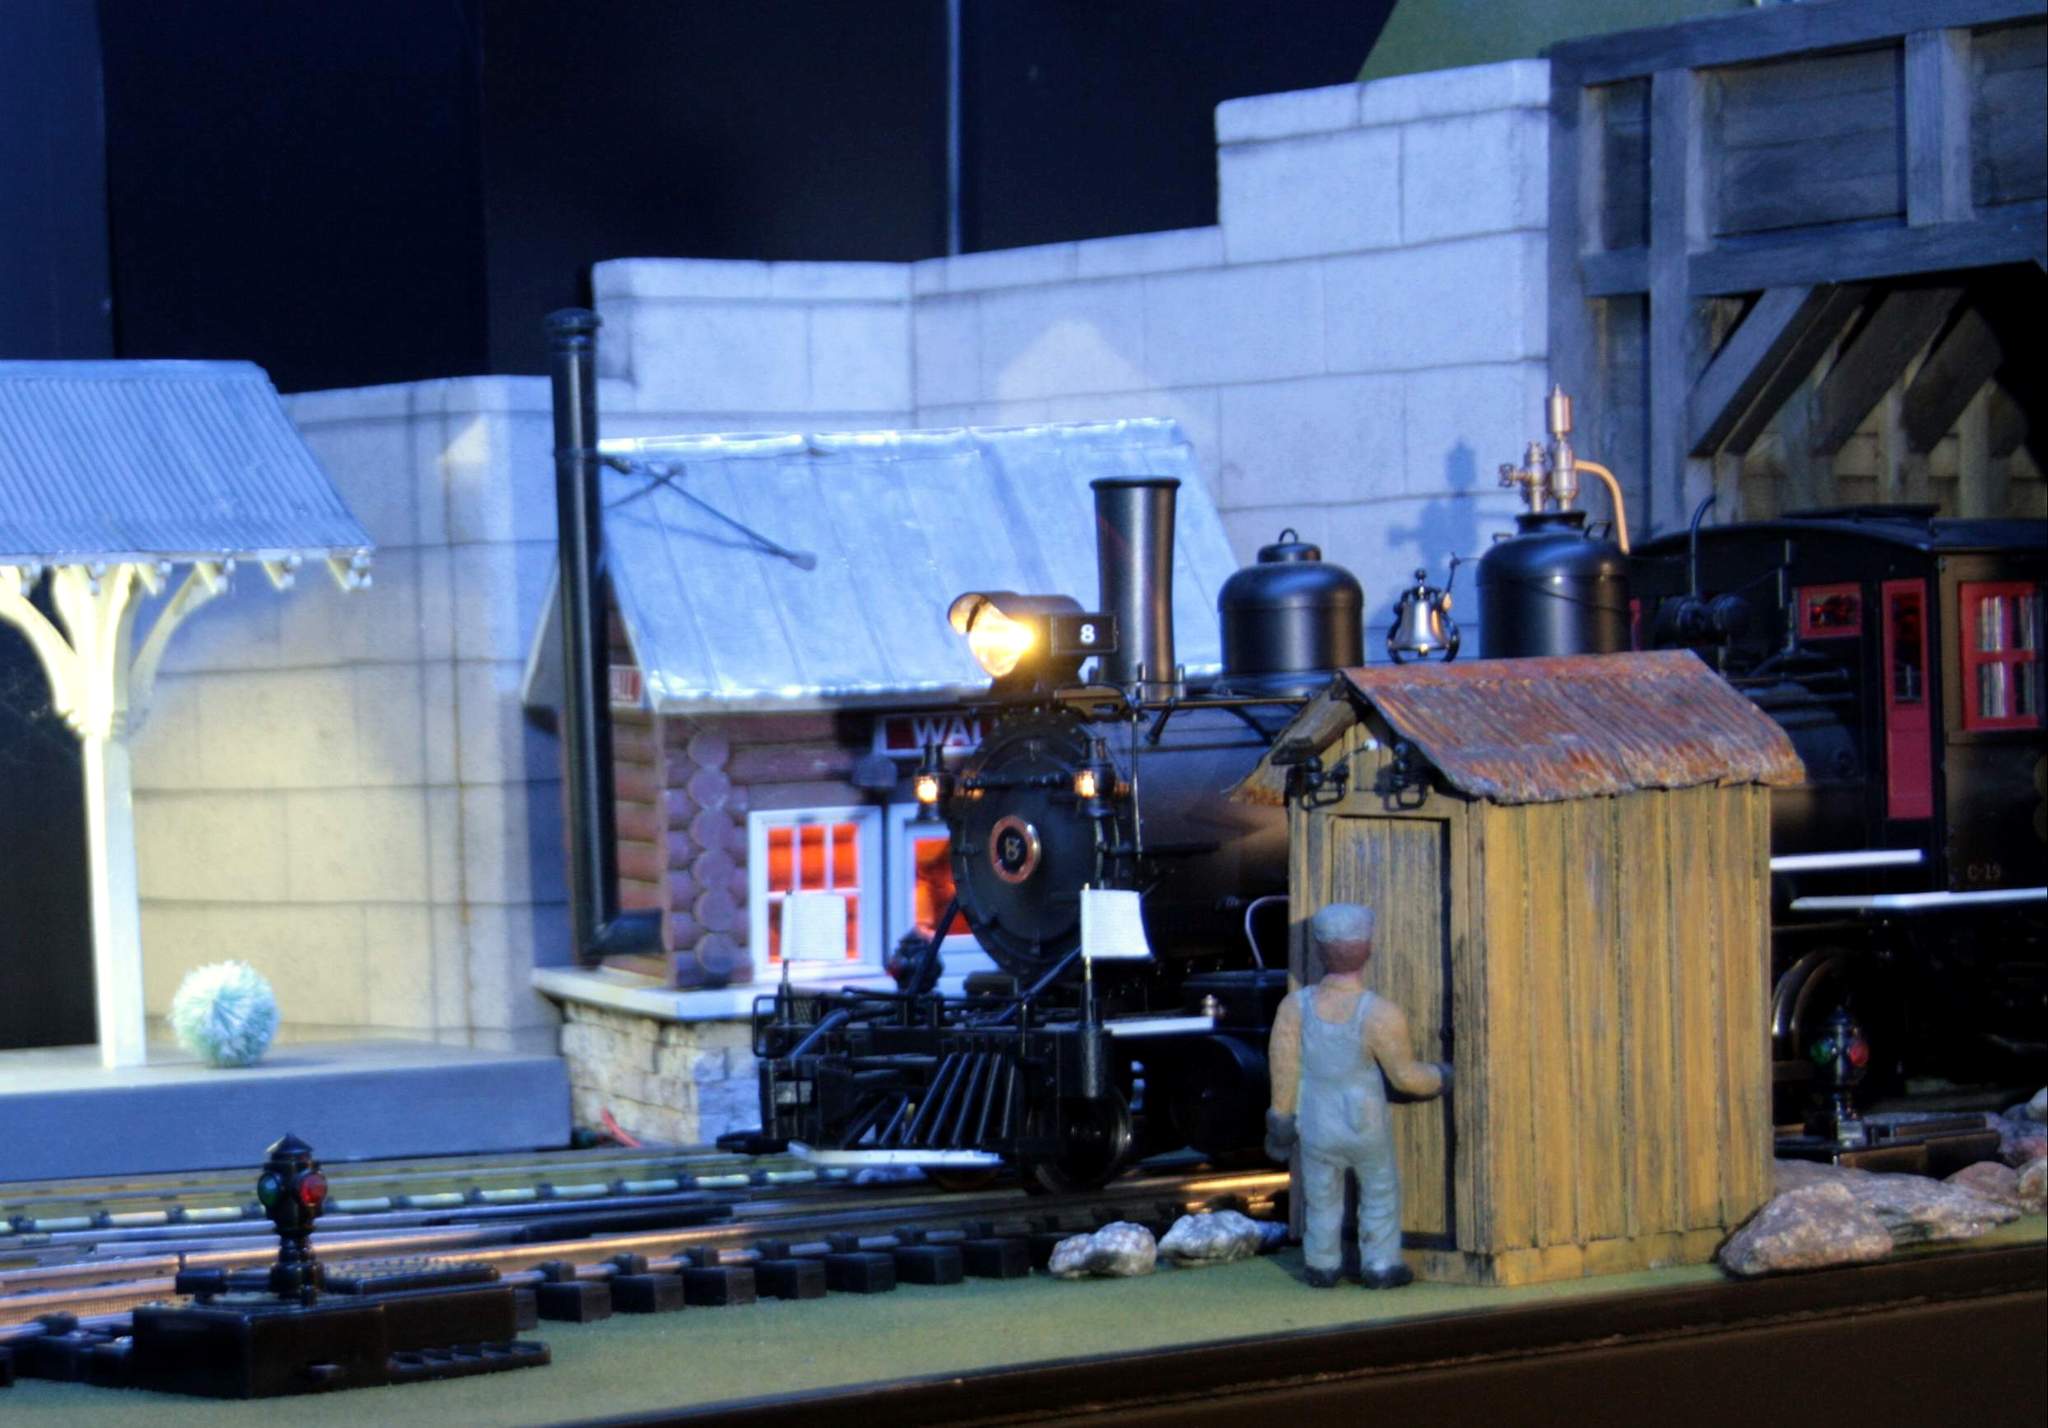
Debarking from our train, we can follow a paint crew through the yards, with the imposing structure of the new coaling tower looming above us.

We get a sense of the tight real estate as we walk carefully around the yards. We witness Smokey about to push a now empty gondola from over the receiving pit and the M&K No. 7 Komaka Iki awaiting a load of coal.

Backing away, we see Nuernberg heading an Triple O freight waiting the mainline, while Mike Bananapeal heads off on M&K tracks with the Chiquita Express, part of the M&K’s efforts to expand its product line.

Luckily, @Ray_Dunakin showed up with is new-fangled drone, affording us an opportunity to see how this tower works. Workers push carts of coal out of the doors and along the rails. The crew tips them into the waiting coal bunkers and tenders below. Dropped coal falls all the way into the receiving pit, where the crew can shovel back into tower, onto an internal elevator, and back to the storage bins.


While Ray flies his drone, we wait a few minutes for some of the tracks to clear and walk a ways, but that gives us a chance to see the new coaling facility in full.


We won’t tell the boss that one guy is taking a nap!

At this point, we need to board our train to head out, but, being railfans, and this being the tropics, we arrange a delay and then wrangle permission to climb the coaling station and watch the goings-on in the shared M&K and Triple O engine works, where M&K #12 Komaka Mele is about to undergo some routine maintenance.


OK, that has nothing to do with the build, but with views like that, can you blame the 1:24 guys for being excited about their new facility? Sure beats buckets and shovels!

Thanks for the encouragement during the build and for riding along on our visit to Pu’u’oma’o! Remember, tell your travel agent, “Eh! I like go on the Triple O!”

On behalf of Team Mueller,
Eric

1 Like

Cliff checking in, with the boiler room equipment, platform and derrick.


2 Likes


I decided to go back to building stuff for my indoor layout. What once was going to be a bench layout has given way to a ceiling layout. But all of the items I had made for the indoor will still be able to be used. So I decided to build a sand house to go with the engine house I built a few years ago.

I also always try to do something I have never done before. On this project I made a fiber optic light engine, a device that lights up with a single LED that in turn light fiber optic cables. These are then run to various light fixtures. I think it came out great. It even shines more light on the building and ground than I expected and the fibers look like little light bulbs. The other thing I tried was using iron patina paint for an authentic rusty roof and sand tank. That worked out really well.

All told I maybe spent 2 or 3 dollars on this project. I bought the paint and only used a fraction of it on this project. The sand tank, windows, door, chimney, and light fixtures are 3D printed. Roof is pop cans. Blocks are carved foam. Sand is sanded grout on a foam core. I used a Bruce Chandler trick of putting pictures in the window of the Durango sand house. Oh yeah I did spend a buck for the picture also.
image

2 Likes

Rick’s MIK for 22 sitting in it’s forever (fair weather) home.

As I said in the build thread, see here Rick's MIK 2022 It is a project I have wanted to do for a long time and it turned out to be fairly quick and a lot of fun.

In keeping with the spirit of MIK everythging came from stuff on hand and I only spent about 5 bucks on a can of spray paint and only used about 50 cents worth of it.

The final pictures, click on them twice to enlarge.

A couple of twilight shots to show the lighting

Another fun Challenge this year with lots of great projects built, really enjoyed following along with everybody’s progress.

5 Likes

My build was inspired by a post on the Fans of the East Broad Top Railroad Facebook page. A long time member posted this picture of what he called ‘The Rockhill Yard Privy’

Reminder: You can see the pictures full size by clicking on them twice.

This stirred up quite a controversy with some claiming the building was the Section House. It’s not, the section house is still extant right across the tracks. One of the more knowledgeable members of the group pointed out that it matched the design of known telegraph stations placed along the line for train crews to contact the office. Of note, to further rule out it being an outhouse are the electric lines entering above and left of the door and the stove pipe (not modeled).

My napkin sketch was submitted while it was still being called a privy…

Eventually I came to the realization that those calling it a telegraph station were correct as my build sketch indicates…

Details of many of the steps are in my build thread C.V.S.Ry. Mik 2022 Build Log

My construction goal was to use materials and tools I have been gathering for years that have never been, or rarely used. My out of pocket cost was $0.

Here are my completion photos…


Same shack, different locations…

I couldn’t get a good interior shot, so this one from the build thread illustrates the scratch built hinges…

And finally, one on the indoor layout. This is not where it is planned to be placed, that location is encased in 3" of solid ice…

The above location shot features 3 MIK builds.

The base material was Fn3 scale redwood purchased quite a while ago from Stan Ames. The roof was leftover Taylor Tin from a long ago MIK. Door hinges and insulator holders were fabricated with brass sheet and rod. The insulators and wire tubes are crafting beads commandeered from Marilyn. Paint was a 4 step process with India Ink stain as the base, Elmer’s glue and two colors of acrylic paint applied by brush. Roof weathering color is Modern Masters Metal Effects Finishes Iron Paint and Rust Activator that was left over from a 2018 sign project at work.

This was a most enjoyable build. I learned to use some new (to me) tools: MicroMark mini table saw and Looping Pliers. I also got more proficient at resistance soldering. I learned, but didn’t master, a technique for making cracked paint and improved my dry brush skills. All wins in my book!

I also enjoyed following along with all the other builds. Thanks for looking :slightly_smiling_face:

5 Likes

My challenge this year was to rework my Barrel of Fun pizza layout from the original 3’ diameter Aristo track circle to a full R1 4’ diameter circle, partly because the plants were spreading into the track but mostly because I really needed something to run my most finiky models that hated my turnouts. I added tile to the old track ROW. I was hoping I could finish grouting the tiles before the deadline but too many things got in the way, but the track is finished, just hook up the powerpack and it’s ready to go.

3 Likes

My RR needed a sand house and the 2022 Mik was the perfect chance to build one. The build didn’t cost me a penny since I had everything I needed on hand to make it happen. As usual I did not model a prototype structure but instead choose to freelance it to convey the idea, the theme of it, while letting ones eye fill in the details. The spot for this sand house has space constrictions so a bit of selective compression was used.

The humble beginnings of the napkin sketch.

The Glamour shots.

This is where the sand house will be placed on my main yard bench. I think it will make for a nice companion to the coaling tower, a Mik build from a few years back.

I think the bosses approve and I’m happy with how it came out.

4 Likes

This year for the Mik Challenge, Waverly Southern’s construction crew built a simple backwoods station that consists of a passenger stand and station house for the attendant. Build log can be found HERE. We tackled two new modeling skills with this build. The first was creating and painting realistic looking brick. The actual brick wainscot is 3D printed and then painted and slightly weathered. The other new skill was cutting and installing cedar shingles. The shingles are cut from western red cedar. Splitting the shingles thin enough to lay on the roof correctly proved to be the real challenge. The doors and windows along with the frame of the station are 3D printed as were the trusses for the passenger stand and the frame for the bench… There were no mechanical fasteners used in the build.

I would estimate the final out of pocket costs to be less than $5.00. I did by a couple bottles of paint and a roll of non-skid tape but only used a fraction of each. Thanks for all the comments, encouragement and help during the build. Enjoy.


I hope those that knew him, recognize the gentleman standing on the platform :slightly_smiling_face:.

3 Likes

Well, it’s finally time to post my Mik 2022 build. I have a draw on the Mountain division that needed a right and proper trestle and not an old 2x4. $0.00 cost, and all the wood was cut down from two old cedar fence slats. Before I can set in place, come spring I’ll pour cement abutments for each end, and cement pads for the bents to rest on, keeping them off the dirt. Then I’ll finish the end trestle beams and decking connecting the ends and the abutments.

The “Glamor Shots”. not in its final place, as its in deep shade this time of the year…
![MIK 2022 30|666x500](upload://9qU


GjTxLgiL3RyRiaG7W8N6IpKJ.jpeg)


4 Likes

Ooops …voted in this thread and fixed …sorry getting old but still younger than most on LSC… :grinning: