What sort of cost was involved in a laser set up and what else can you do with yours?
I had a long thread on that Bill, but since it was in 2017, maybe it was on the MLS site, not sure… regardless, I can’t find it. But, it started like this:
and sort of ended like this:
Except there was gobs to do for ducting, electrical, and general learning. Back in the day, it was $2k, shipping included. 60 watt. Here’s the equivalent, from what I can tell:
This doesn’t come with a vent system, but those aren’t expensive. Can be a pain to install though.
They claim higher material thicknesses, by I don’t go over 1/4" plywood or acrylic. Those are the main materials. Rubber and styrene are ok, but messy. You cannot cut PVC without producing chlorine gas, so that’s out. There are various lists you can look up.
There are smaller models, and bigger ones, in both wattage and cutting bed. Mine cuts 27"x19", and for larger pieces I’ve spliced parts together. You need one with the motorized “Z” adjustment, so that life doesn’t suck.
Zat good for a first dump? It would be fun to see you jump in, haha!
I hope you weren’t standing near that box when you opened it, Cliff. At 16.4 ft (5000mm) x 9.8 ft (3000mm), that thing had to explode when you took the top off the box 

Thanks Dan… 
I reverted to units i understand…
to be honest, i can’t agree with the fineprint. 
Found them!
and
That’s great Bob, thanks!!
You don’t do long threads so I don’t believe that for a minute!
Cliff,
Having read the thread your easy installation of the exhaust fume extractor, how long did it take to get up to speed on getting something you were satisfied with? In other words what is the learning curve like?
Also, can one do partial and full thickness cuts with the laser in one go? For example can one etch out a window and window sill at the same time.
Hi Bill,
The learning and planning took a bit, but the curve part is pretty flat and straight: you need a route for a 6" flex tube to get from the laser to a blower which is outdoors.
My challenge was getting that route through the basement wall, and I chose to do it through the window glazing. But, depending on where you’d put the lazer and blower, it’ll be different.
Yes and no. You can set the speed and power for the pattern, run it, and run it again. I’d do this for, say, 3/8 acrylic, with the 60 watt lazer. Thicker than that, the focal length of the laser beam comes in to play, and you really need the more powerful beam (80-100 watt).
Not quite sure what you mean… You can etch a material, using a lower power setting, and cut it, using a higher power setting. These are determined by colors of the linework fed to the laser software. For example, green can be set to a cutting power, and slow cutting speed; red can be low power, fast speed. All are processed in the same run.
You can chose which operation (that is, color, being interpreted as speed and power level) happens in order. For me, sometimes using plywood that is warped, I always run engraving before cutting. Because the cutting will often result in certain pieces, once freed, plopping down to the bed, while the bowed sheet remains proud of the bed. TMI?
The laser software also has the ability to engrave images. I’ve not done this, but you basically give it an image file. It interprets the B/W version of that into laser power levels, and engraves the image thereby.
Then you’re getting your money’s worth. 
Now that I’m back from Nevada (which, for this project, helps a lot), I’m aiming to start on the trestle deck this weekend. 
Cliff, I hear with all this travelling, the flight attendants now know you by your first name and dietary preference.
Southwest doesn’t have food, but yeah, they have a can of Lagunita ready for me.

What the…
Eeew.
…
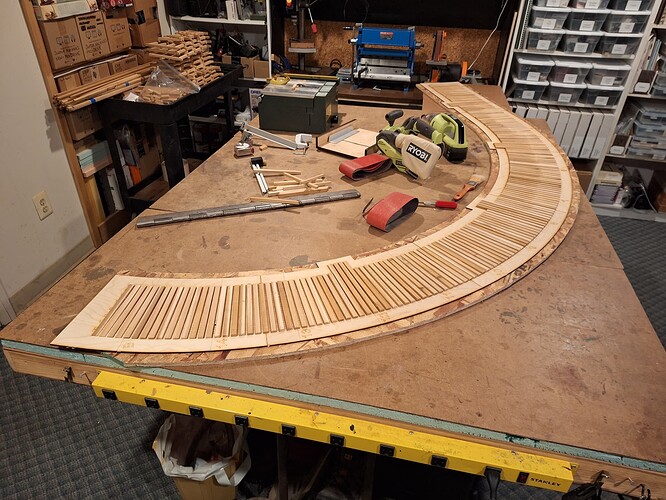
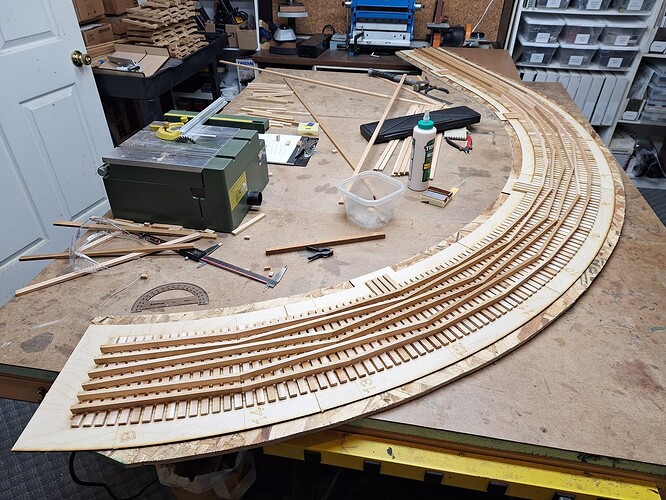
Today I got the ties planed and cut, set in the jig and sanded a bit.
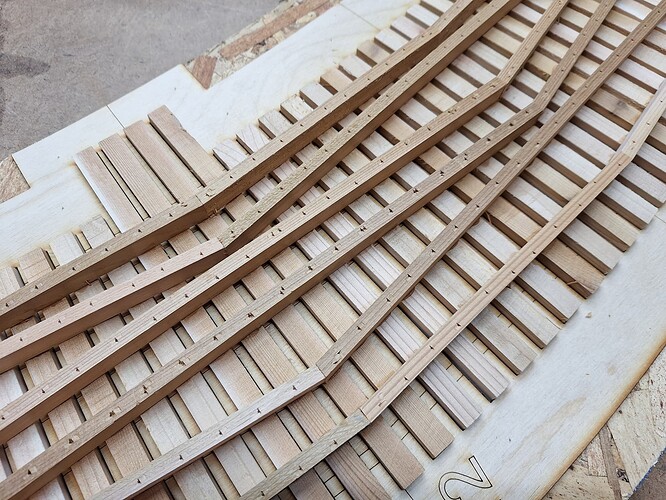
Tommorrow, hopefully joists. Or stringers. Or whatever the beams directly under the ties are called.
Cliff;
Regarding Bill’s Titanic photoshop, it’s OK - they had just drunk lots of milk!
Best, David Meashey


