Large Scale Central

Sutro diorama #1

I’ve proposed to make 12 small dioramas for the Sutro Tunnel museum in Nevada, by 2030, and to make the first this year. The project was accepted a few months ago, and I need to get cracking. At least, I need to keep moving the ball forward.

All are 1:20 scale, with modules being about 18"w x 12"h x 9"d, arranged in cabinets. Each scene will emphasize different rolling stock & engines, with mules being the predominant “engine.”

The first diorama will be chronologically the first, showing basic tech in 1870 for driving the header tunnel. The figures here are just placeholders.

We’ve already discussed the rock tecture in this thread.

Next, we went over figures for this in the AI thread.

The last big hurdle for me was the ore cars, which were the topic here.

Today I prepped the figures for painting (not all will be used in this diorama), mainly cleaned the prints, drilled their legs and epoxied mounting rods in.

Next steps include:

Painting the figures (I suck at painting)
Making the scene (surface creation, paint, surface textures)
Scenic structures (track, beams, pipe)
Lighting (candles and general illumination)
Figure mounting and various props / detailing
Text boxes & final packaging

I guess I’m posting this to give myself a kick in the ass…

The reason I’ve been delayed on progress here is that I’ve also signed up for a series of monographs on this topic (Sutro Tunnel Railway), and am trying to get the first two publishable by the end of September… Hmmm, we’ll see.

Cliff

4 Likes

Watch these series of videos on how to paint figures.

Learning how to use a “glaze” for painting figures was a game changer for me. Basically a wash, but more water. It takes a lot of layers but once it’s done the shadow effect and layers are worth it. Took me about 3 or 4 evenings to paint the pants/shirts of 4 figures. Alternating figures to let the glaze dry between coats.

2 Likes

You could take an Architect approach and leave them monotone.

OR

You could up-skill, but then you would have to create a mandatory PAINTING FIGURES Wiki.

I enjoyed the videos, thanks Craig. That guy’s really good!

I’ll be attempting something similar, using Army Painter paints.

After watching a couple more videos, I decided on a two-tone primer, starting with black from beneath…

and brown from above to around 45% up.


I’ll give the primer a day or two to cure.

1 Like

I had pretty good success with Vallejo Model Air paints. They are air brush ready and so thinner than regular Vallejo paint.

Vallejo has some good skin color sets as well.

Cool. I’ve read nothing but good things about Vallejo paints, and I have some. I’ve not ventured into airbrushing though; a winter project for some year I suppose.

I “invested” in a large Army Painter supply a few years ago, and need to put some of that through its paces. As I understand, it’s specifically designed to gather in crevices, and do “glazing” washes as you mention.

Need to get over the learning hump, and acquire some new skills…

I’m gonna ignore that ( because I’m mature now) and continue to watch the progress!

Rooster has been reported to the moderator for not picking this up.

Make yourself a wet palette as well.

Take a container lid, a few wet paper towels and voila you have a “wet palette”

It will keep the paints from drying out as your working the figures. A co worker of mine that does fantasy gaming figure painting told me about it. Obviously you can buy them too but I’m sure you have paper towels or non waxed parchment paper around the house.

And I should say the Vallejo Model Air paints are for airbrushing but with just a little bit of thinner they make a good glaze.

If you want your own acrylic homebrew thinner, that can be arranged as well. I made two gallons a few years back and still haven’t ran out

I have the Army Painter wet pallette and some sheets left for it. But that’s a great method using cheap materials. I just need parchment paper. Thanks.

After researching this morning on what early lighting equipment would be appropriate in the Sutro Tunnel, I decided on candles and candle-lanterns for the first diorama.

The candle will start with a 1/16" bit of brass tube and an 0806 SMD LED (tiny, 2mm x 1.5mm), with the tube being one conductor and a wire down the center the other.

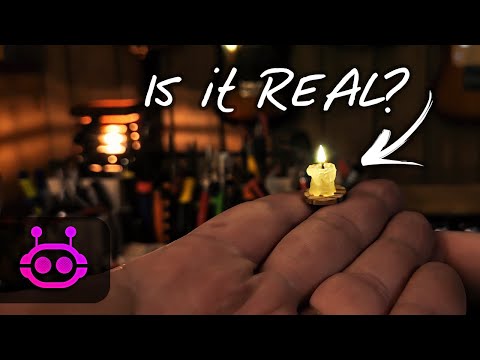
Hot glue around the LED for the “flame” part, per this video.

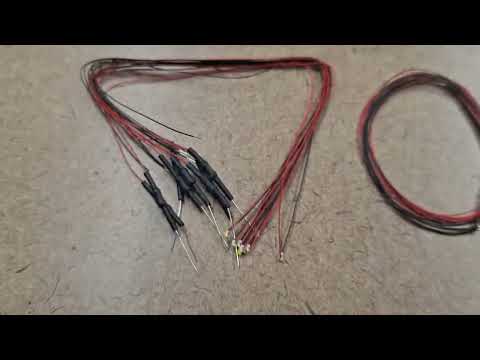
These tiny LED’s are available pre-wired & pre-resistor’d for 12-18v.
https://www.amazon.com/dp/B07CK71QTG

I also found cheap candle-flickering versions here. I like the flicker, but will have to wire and resistor them myself (not a show-stopper).

Here’s the candle design, which involves a 22-gauge wire candlestick.

And the candle-lantern, based on a 3d resin print, an internal 3d clear print with the LED at its bottom, and brass rings.

Well, that’s the plan anyway.

3 Likes

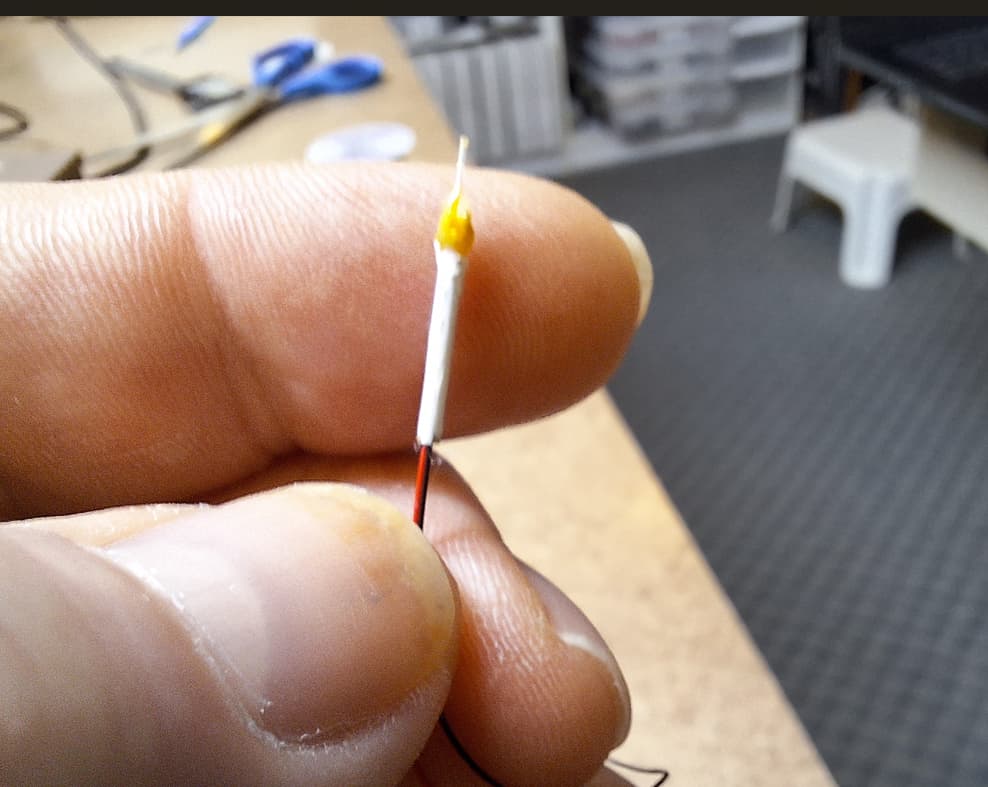
A quick candle-making experiment. It’s about 3/4" long including the flame. Barrell is .052 OD x .03? ID brass. I had to reinstalled the resistor (which came with it), but no big. Both wires fit down the tube ID.

After gobbing on the hot glue I painted the brass white and added yellow where the wires showed red / black.

The package says 12-18v. This is 12v.

And at 3v (maybe 1/3 the brightness).

There’s also a smaller version I’ll try, the 0402 LED, which is 1mm x .5mm. But the size I just did (2mm x 1.5mm) seems workable, and it comes in a flame-flicker version which might be cool.

1 Like

Cliff,
That era the candles were maybe tallow not wax and would have been more yellowish instead of white.
I don’t know if that is the case or not but is something for you to research :smiley:

You’re right Rick, these will be “miner’s candles,” which were made from processed tallow. They removed the oleic acid to reduce smell and smoke, and the resultant “wax” was near-white (my book says “snow white” but I’m skeptical of that). So for a production run I’ll probably add some yellow / tan to the white paint.

Cliff,

Here is a picture of the real deal.
Found in a mine near Carson City by my FnL about 1950.
This style is cool because it is hand forged.

Nice, that’s the classic shape for sure. Would love to own one!

I’m going to try a formed wire style, which was also common. But I may solder on the cup-socket like you have (vs. the pigtail, which I only modeled the first ring of; helixes are a pita to model in Solidworks). And maybe make the spike-part a tube to exit the wires through.

Cliff, these maybe too big for torches but might be options for a fireplace.

Tiny flicker light

1 Like

Very cool! About 63mm long though, but thanks for pointing them out.

The ones I’m getting are 2mm long, and I’ll bury them in a couple of 3dp lanterns, which are around 3/4" tall.

A quick comparison of micro smd led’s.

I really like the flicker one, and will probably use those. To get it pre-wired with a resistor is about a buck each, but will save a lot of hassle doing micro-soldering.