That locomotive shot is MONEY!!! don’t knock the point and shoots, either that or you are just really good with them!
Thank you Pete. I like the loco shot too, but it has it’s issues too. No glad hand on the loco and too much of my house in focus. This is a Samsung 12Mp. It takes pretty good shots, but when I do a side-by-side comparison to the better glass on my DSLR, it really is like night and day. I was busy in the Electric Shop tonight. Pics in the morning.
Vehicles have lights - so the next logical thing to mess with is making the die cast cars light up. Not all of them lend themselves to this upgrade, but a '55 Nomad I have does, so first an experiment. Open it up and tape some GOW bulbs behind the plastic headlight lenses…
Not bad. Worth going further; so I used hot glue to hold the bulbs in place…

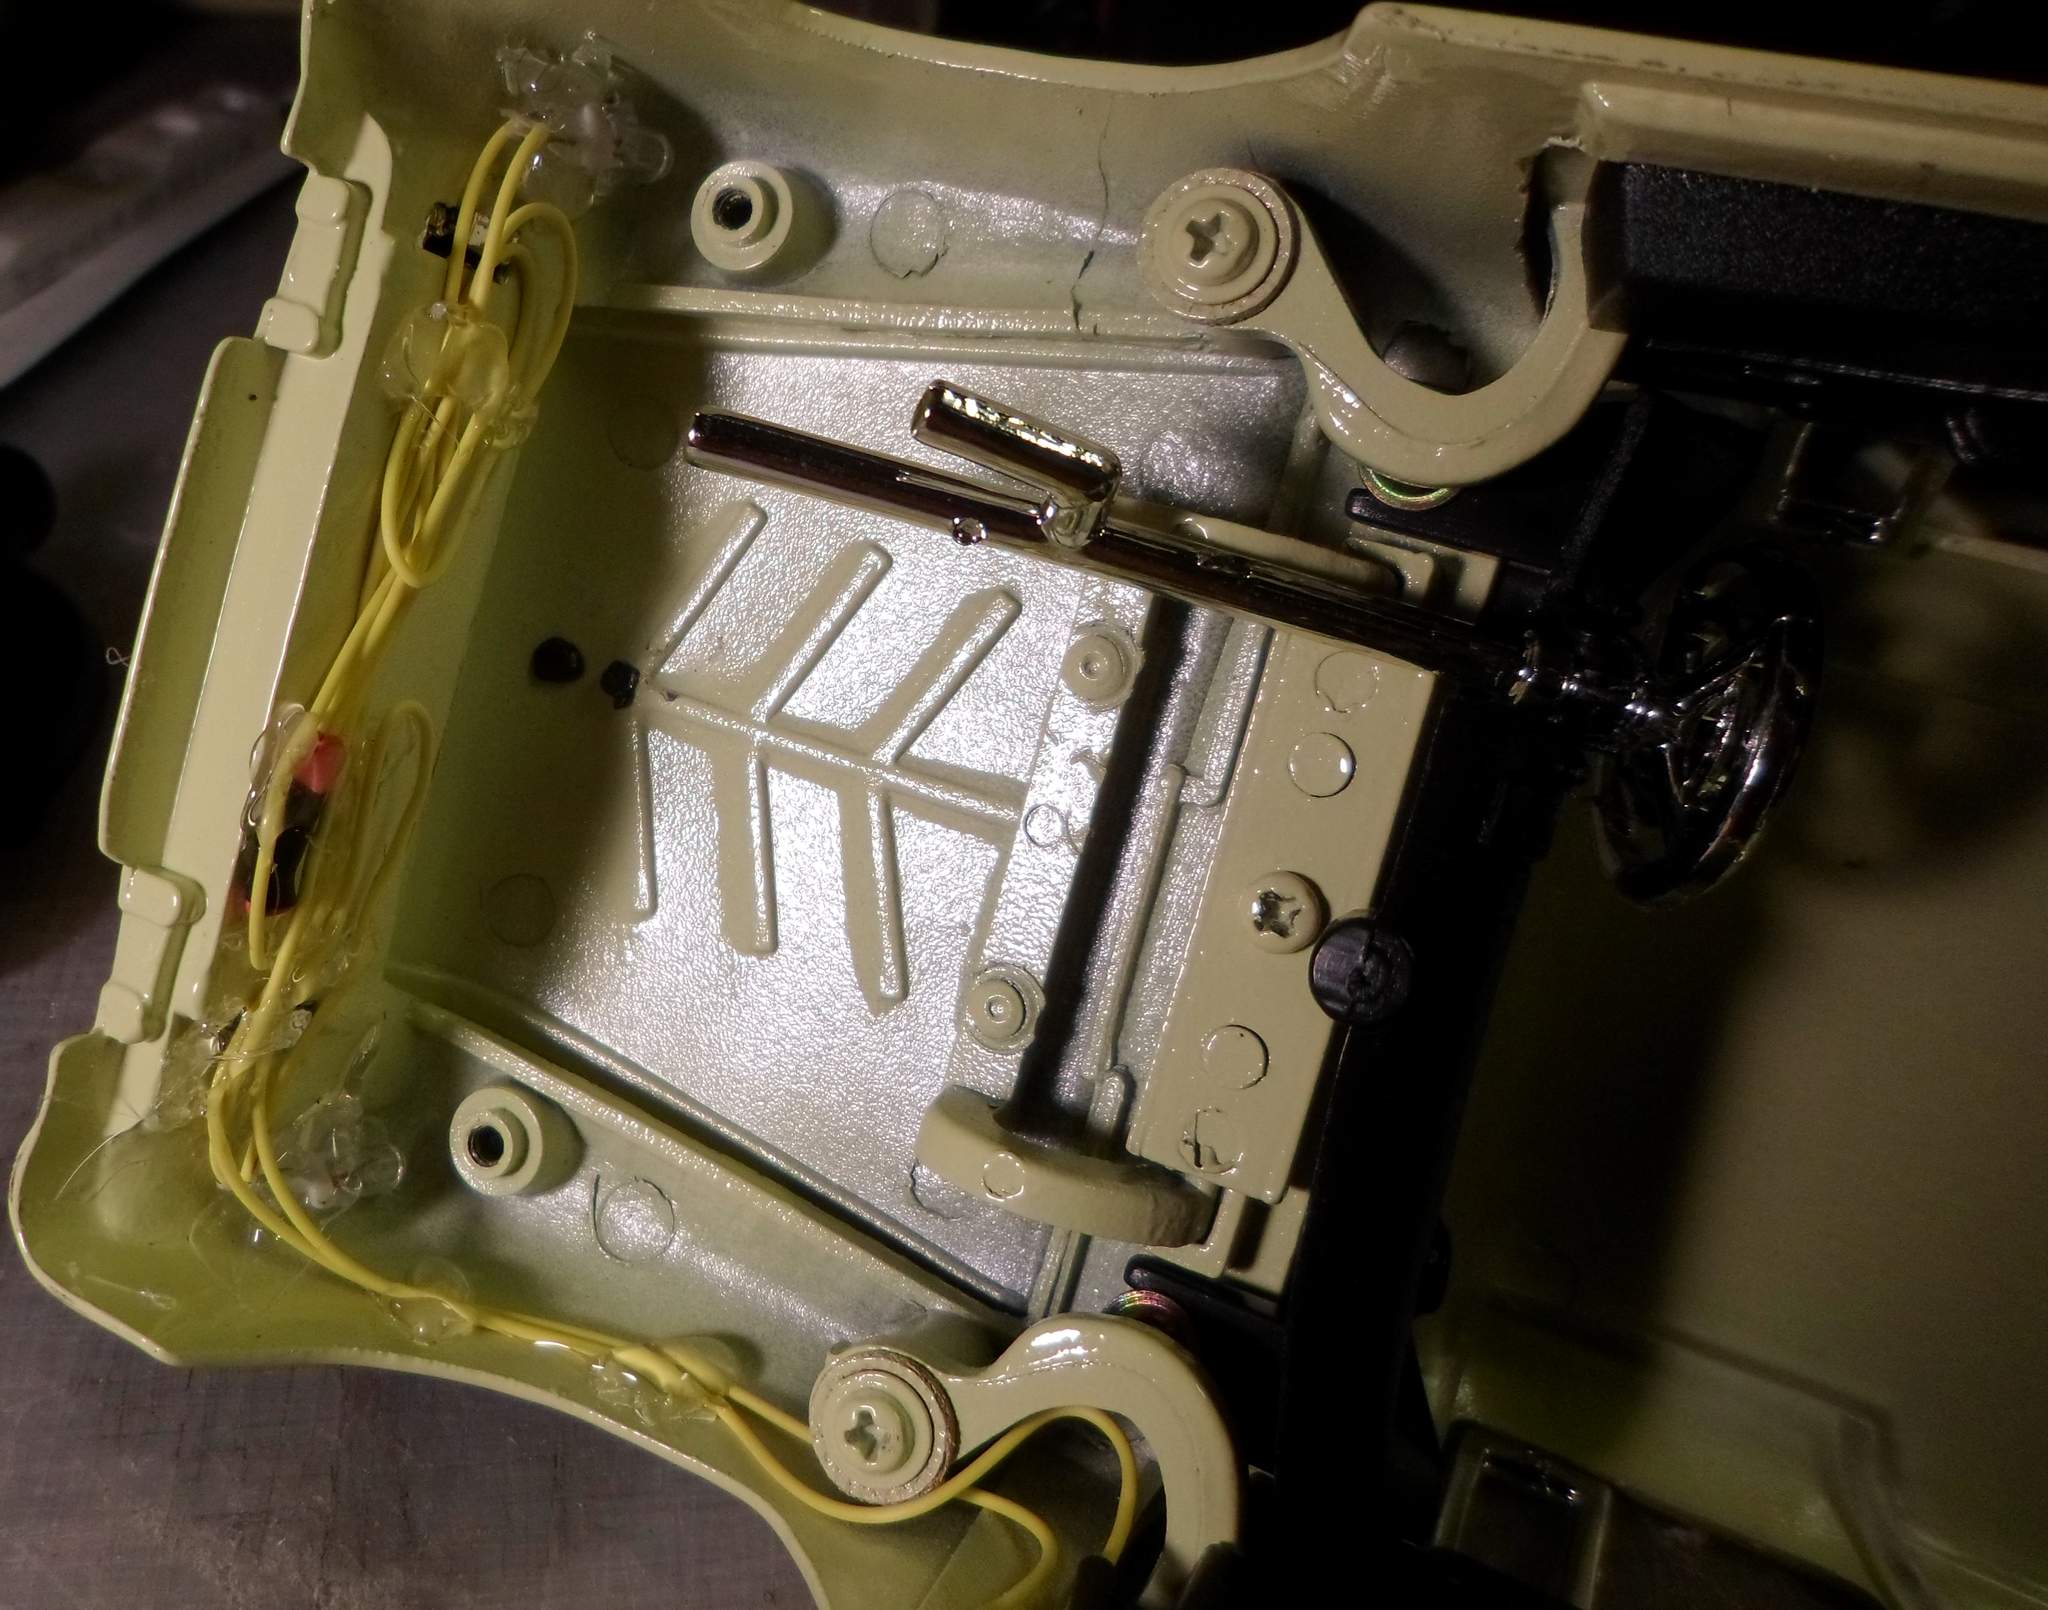
I was thinking about gluing on a cover to keep from also illuminating the interior of the body; but I left that for later while I used more hot glue to tuck the wires out of view where the chassis would still fit on…
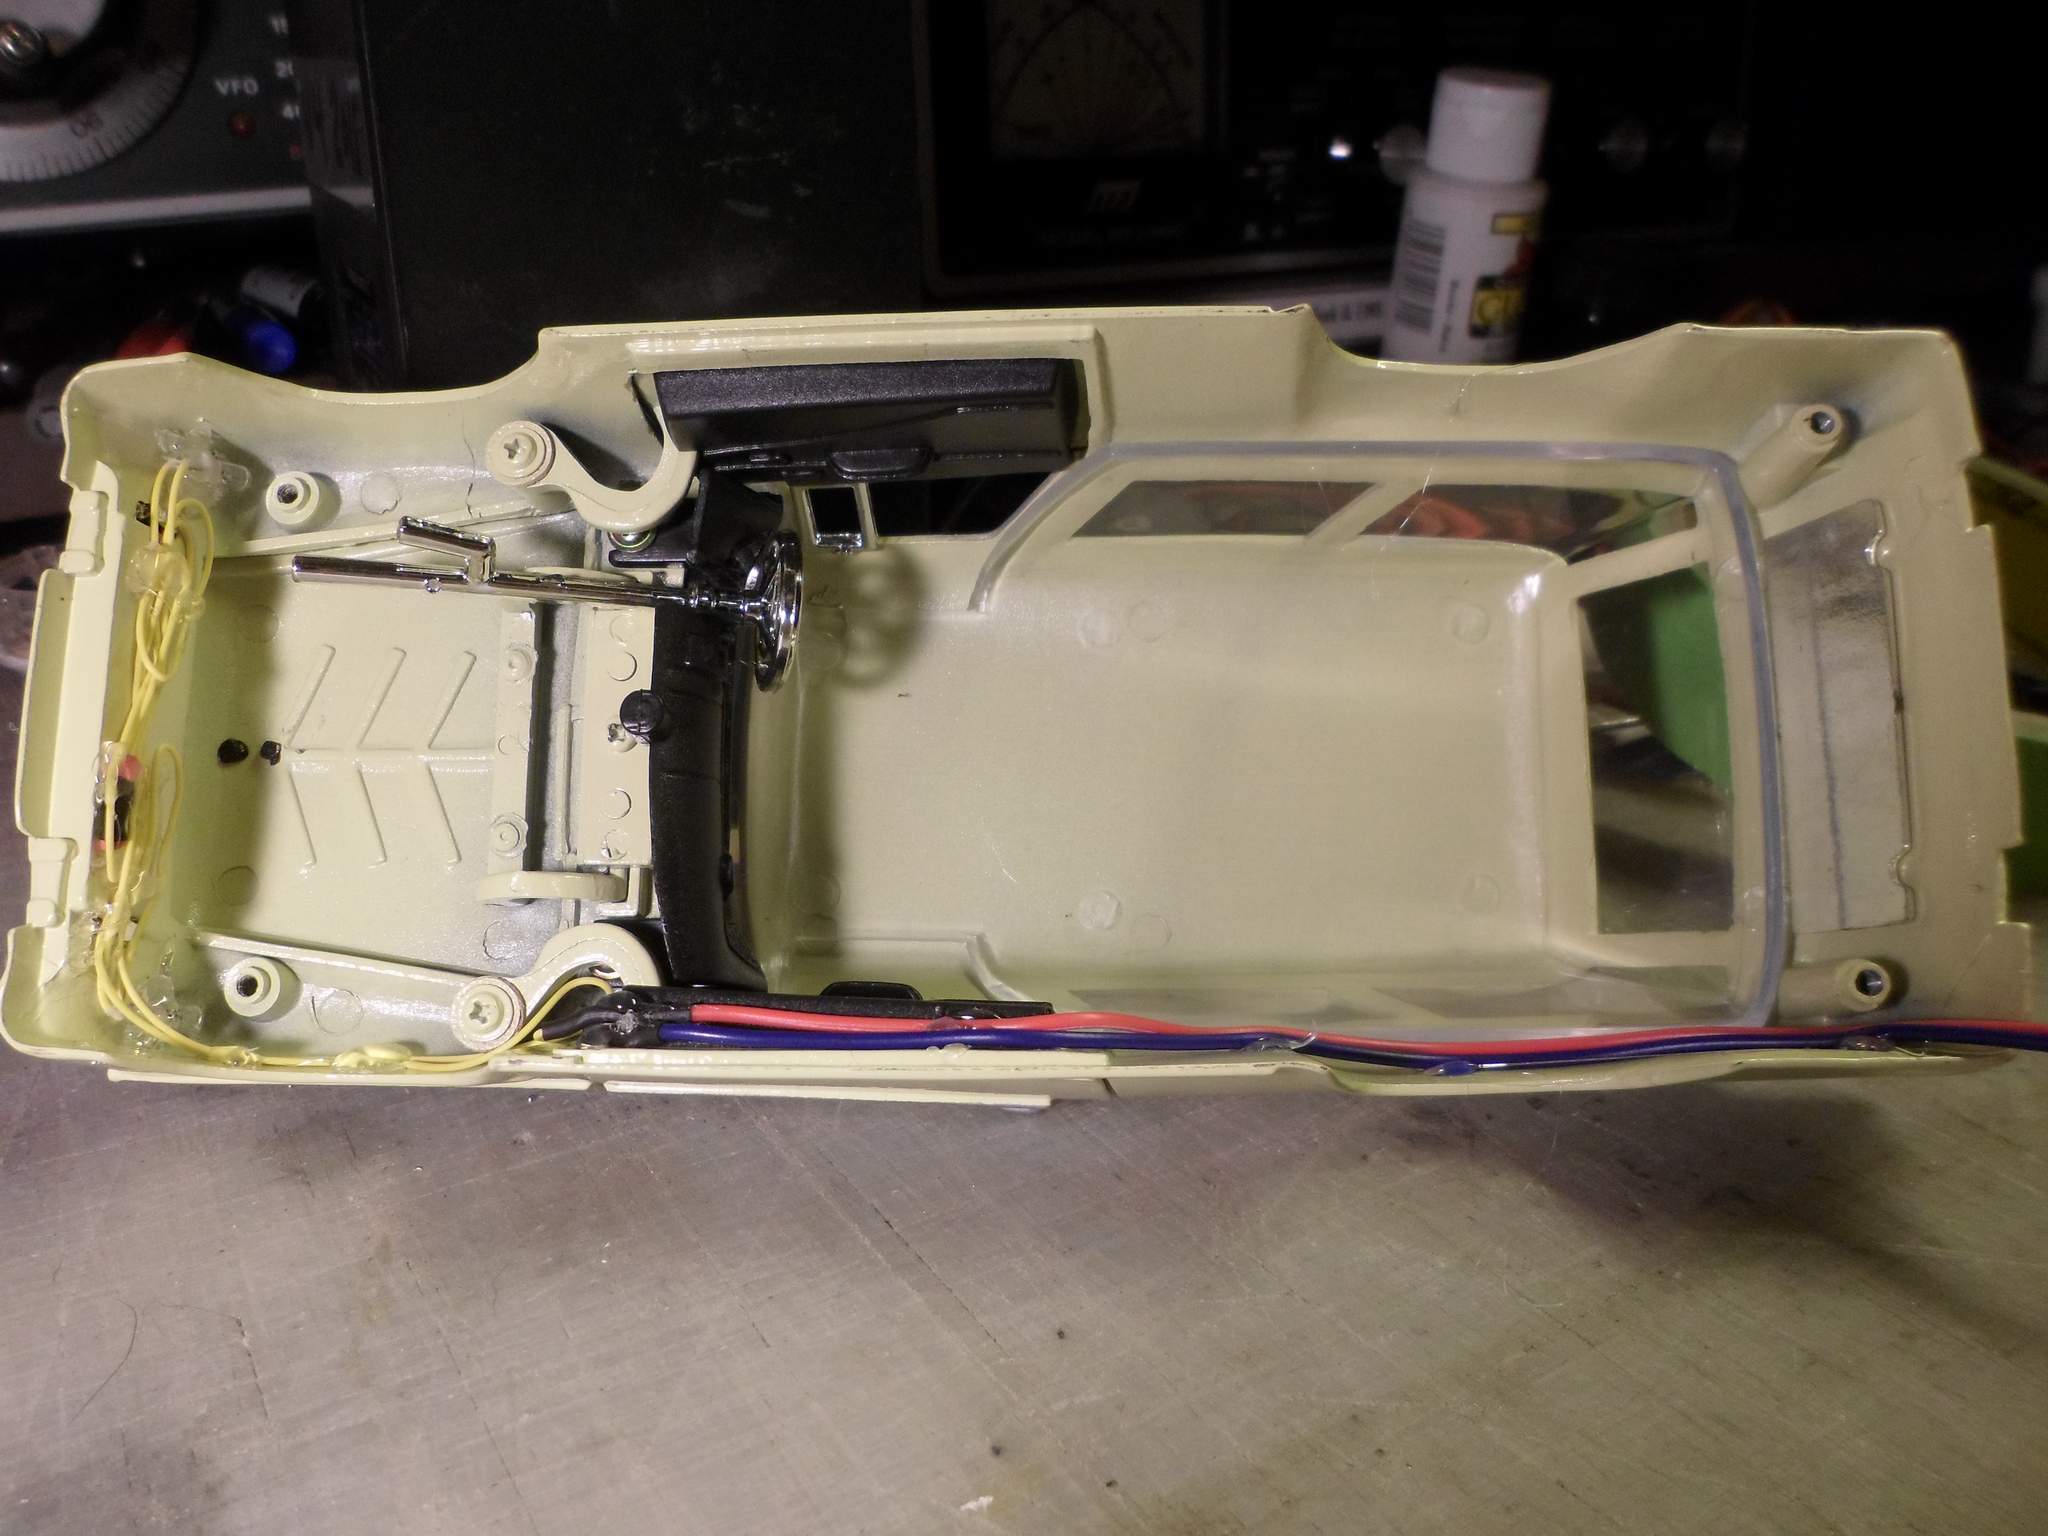
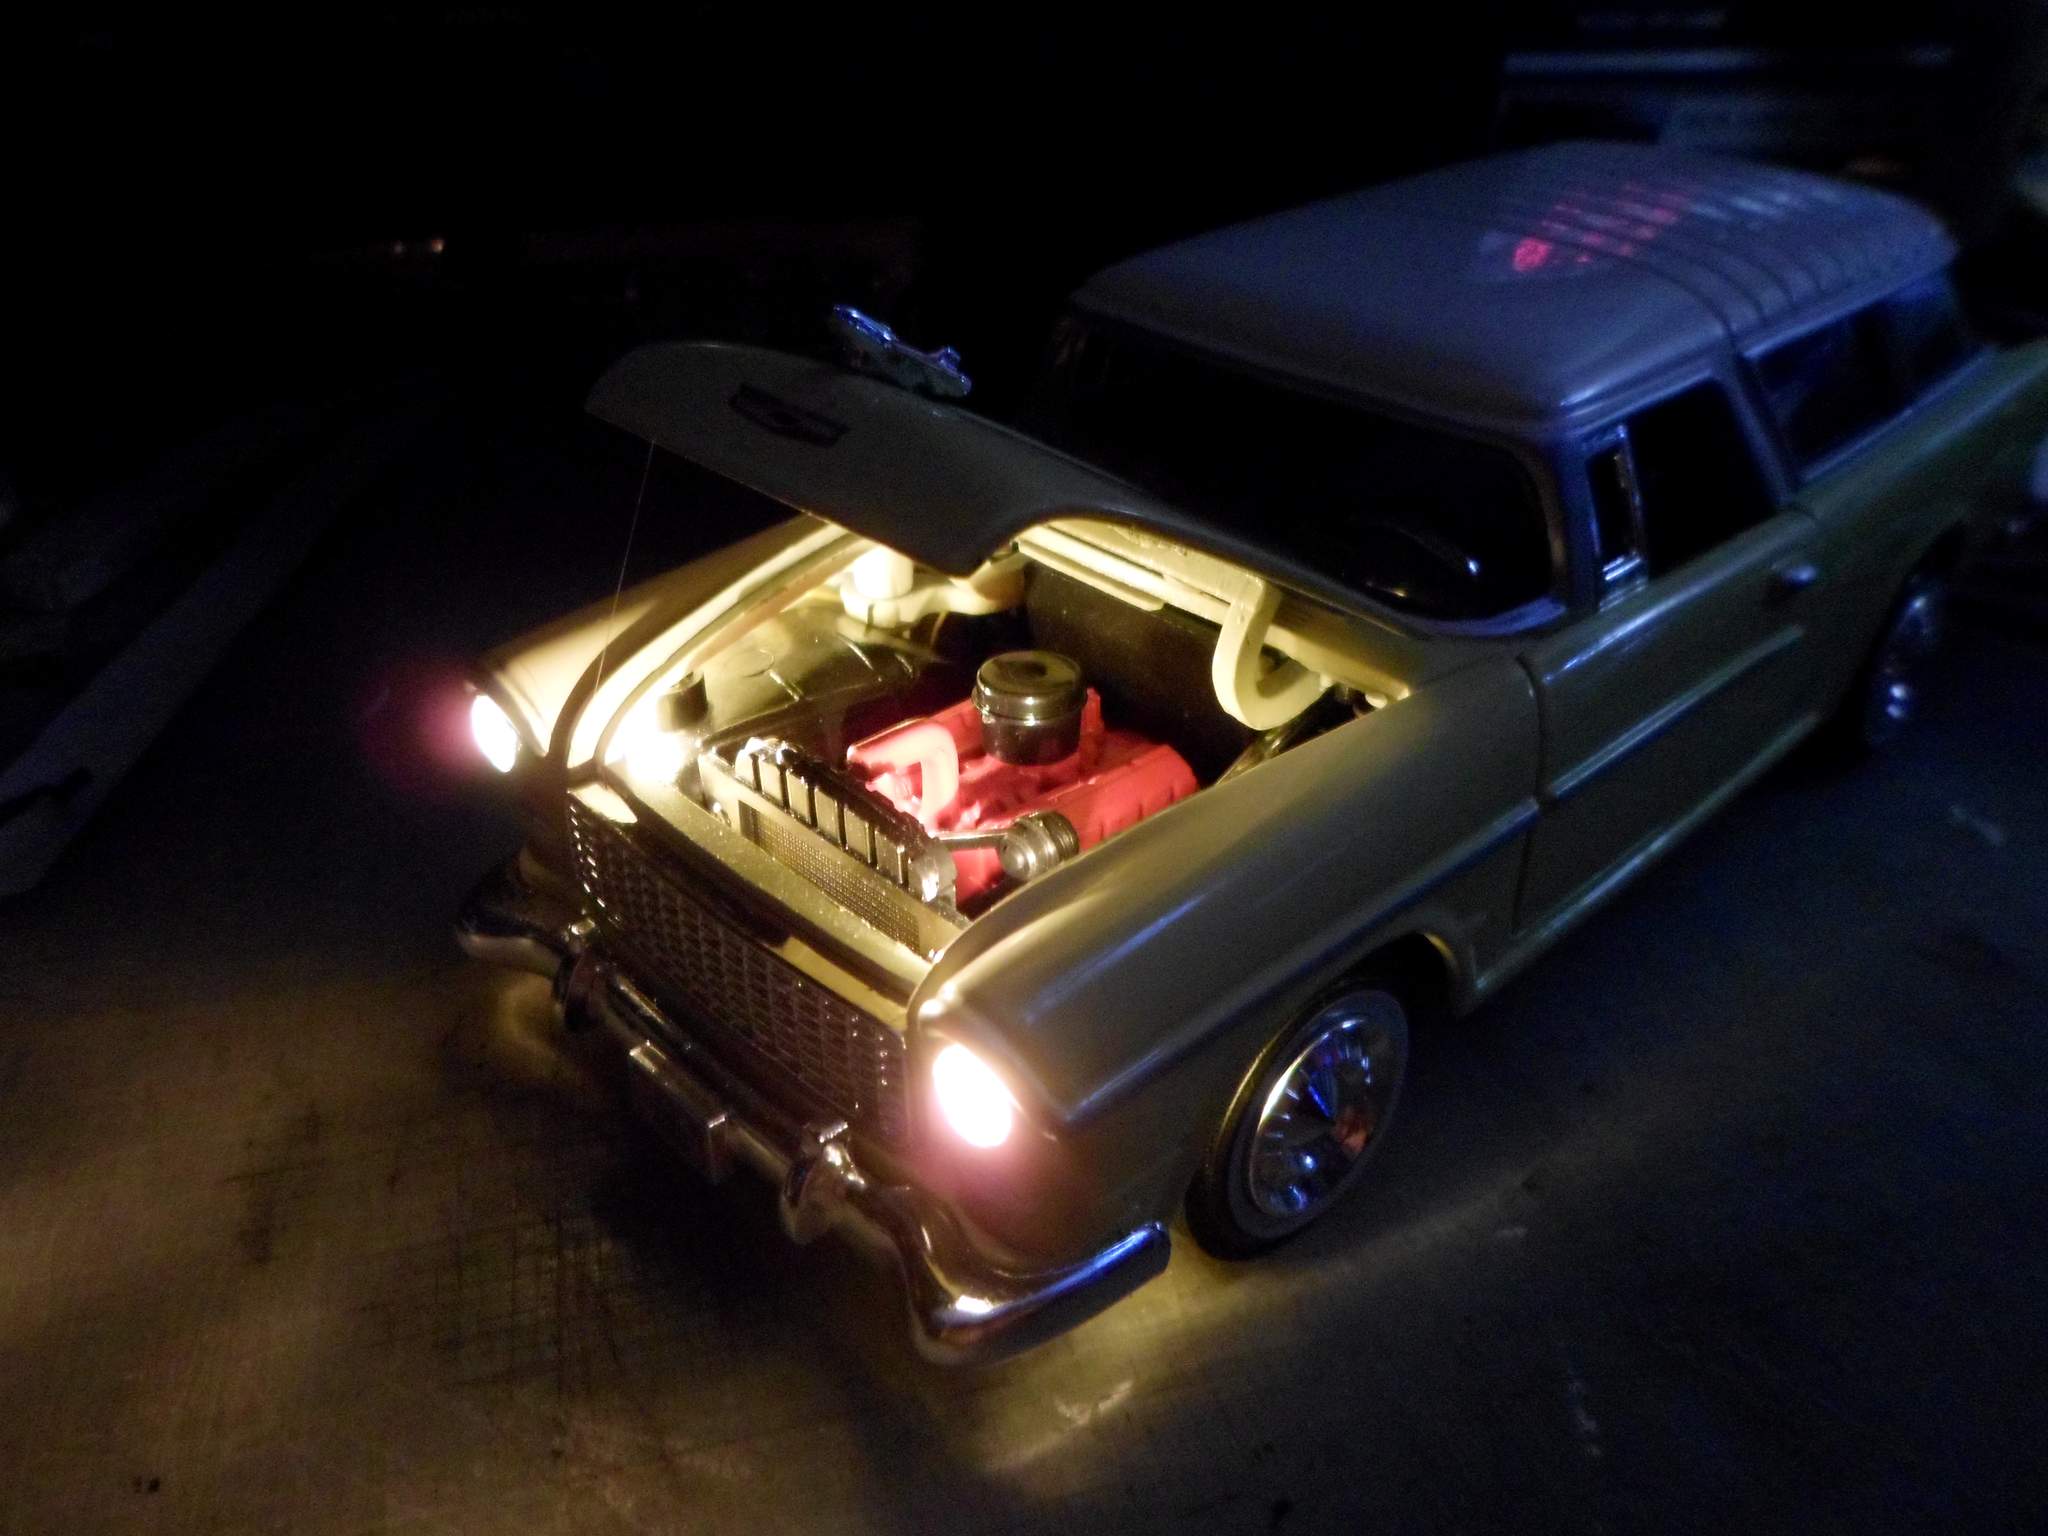
I popped the chassis back on for a fit and function test. I kind of like how the engine compartment is illuminated with the hood up, so no light blocks for now…
The wire exits in the rear…

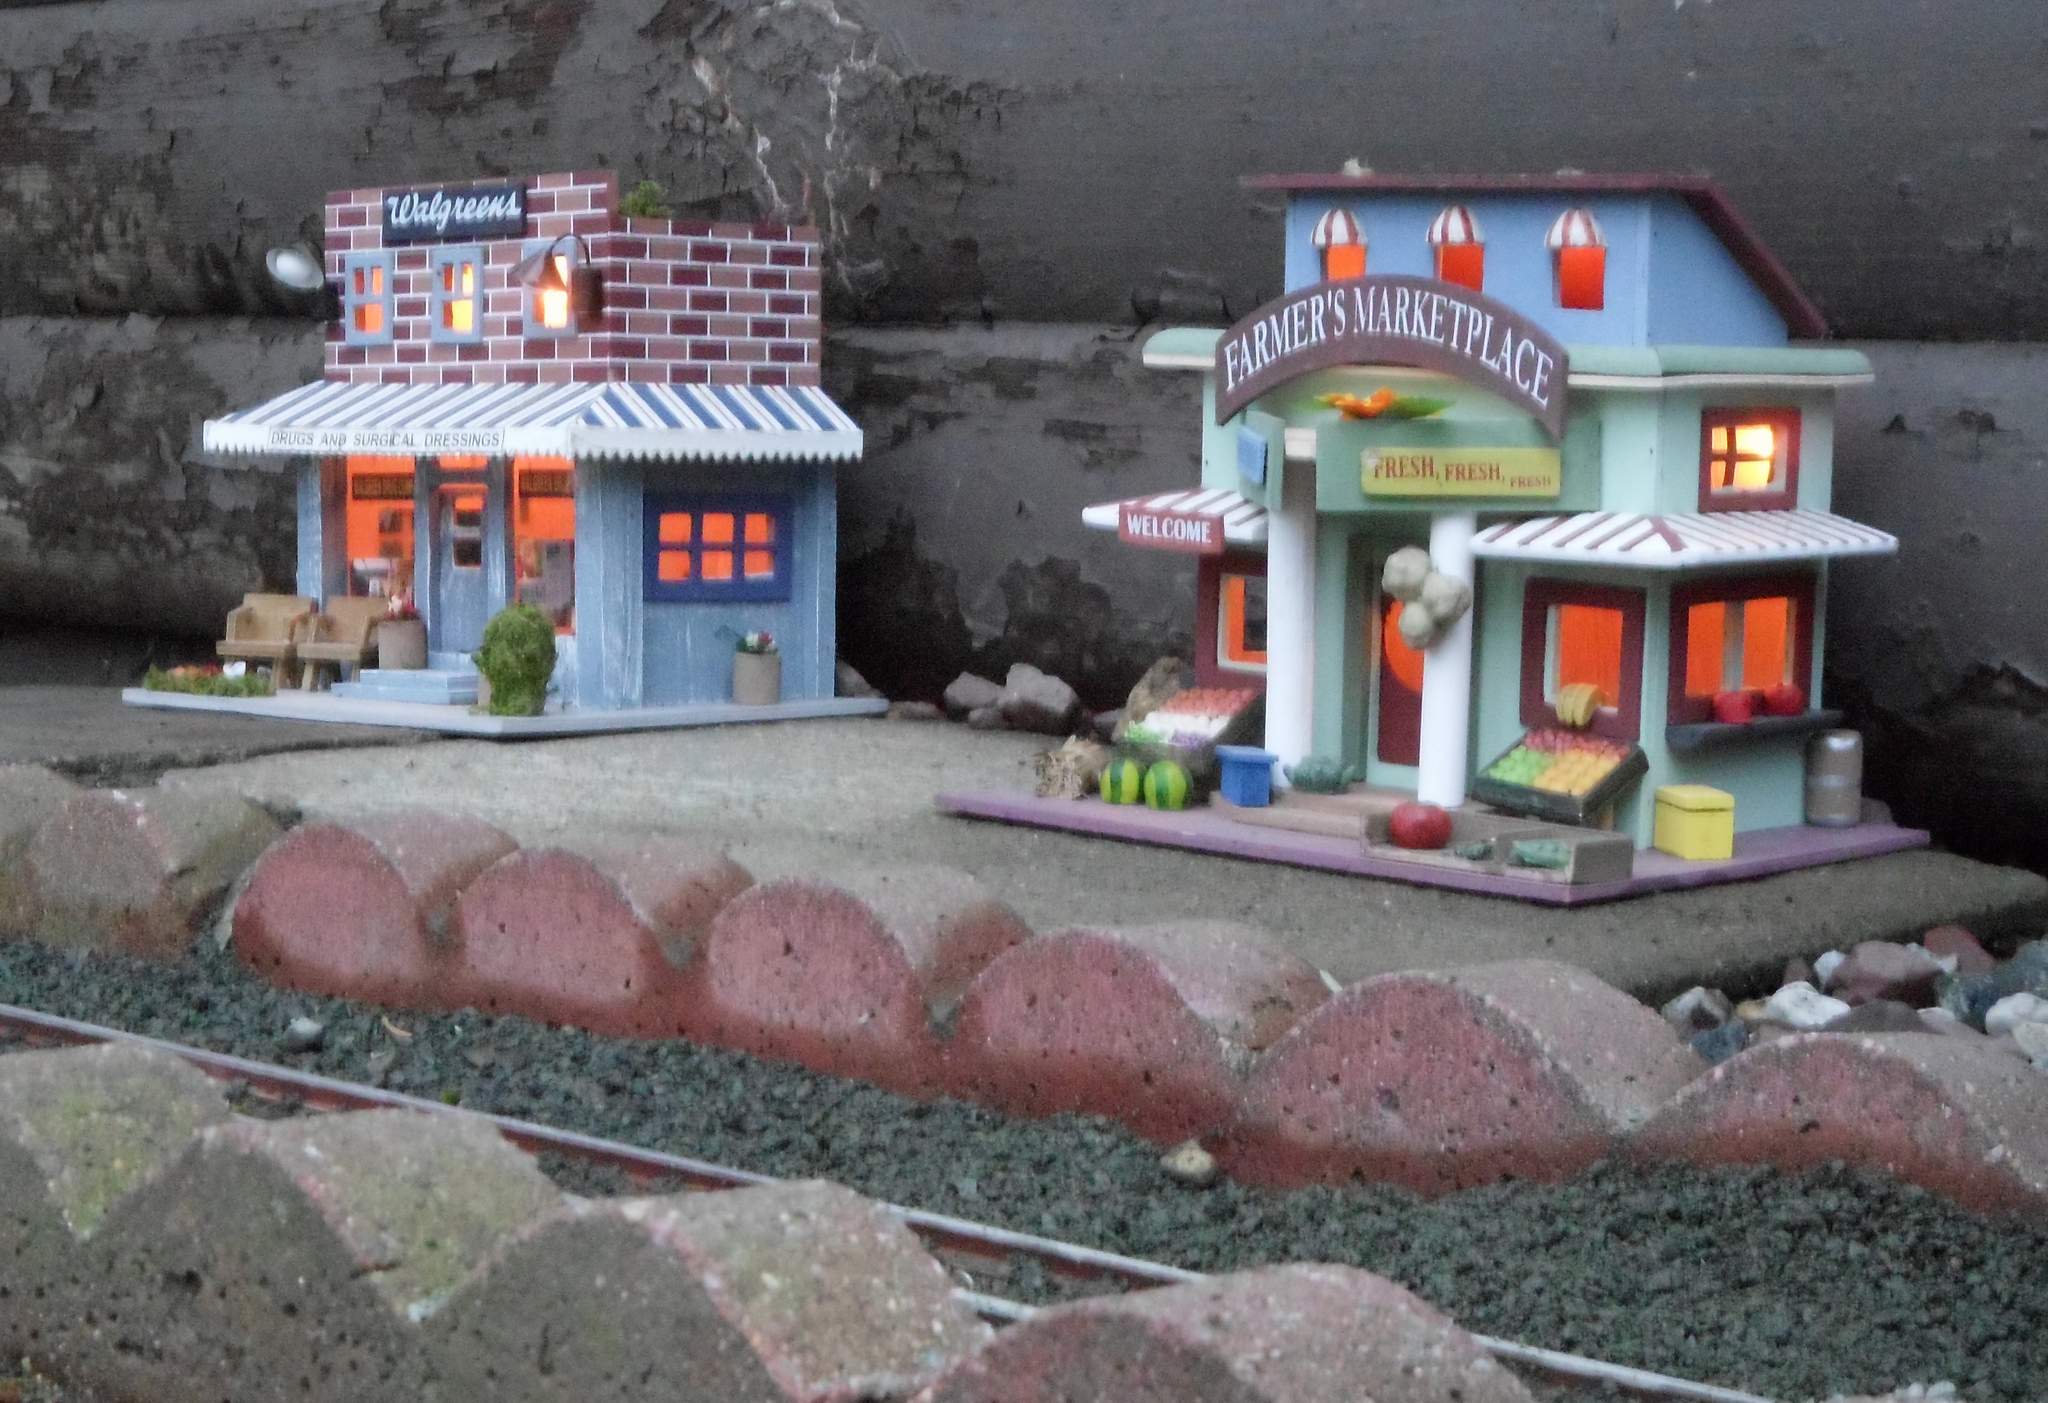
This car suffered some rear bumper damage somewhere along the line, so the back end will face away from the viewer when set in the scene. I have a Shelby Cobra that also looks easy to light, so it’s up next. Then the two will join the new buildings.
Morning Jon,
Good Pics. I disagree with giving too much attention to the background. I think the dark color of the foundation causes it to just blend. Now siding like what Ken had on the back of his building did distract because of the horizontal lines, but basic dark color just blends away.
.
I’ve been drawn to those buildings over the years as fill ins and some stayed on for the life of the railroad. Work on the cars is great! Simple little scene looks good.
.
I also had a bunch of roofing shingles. You always have some left after a new roof and if they get put in the attic or someplace they tend to multiply. I ended up using a bunch under rock as plant ground cover. Sloped away from house foundation they drained the water away and as a weed barrier, nothing came through.
Looks good as a parking surface.
That black is not the foundation, but some black plastic used to disguise the bottom course of siding that needs paint badly. This is what it looked like ‘before’…
The plastic won’t stay; just put in place for photo ops.
Bringing the latest pictures forward so they don’t get lost in the sauce.
Jon Radder said:
Vehicles have lights - so the next logical thing to mess with is making the die cast cars light up. Not all of them lend themselves to this upgrade, but a '55 Nomad I have does, so first an experiment. Open it up and tape some GOW bulbs behind the plastic headlight lenses…
Not bad. Worth going further; so I used hot glue to hold the bulbs in place…
I was thinking about gluing on a cover to keep from also illuminating the interior of the body; but I left that for later while I used more hot glue to tuck the wires out of view where the chassis would still fit on…
I popped the chassis back on for a fit and function test. I kind of like how the engine compartment is illuminated with the hood up, so no light blocks for now…
The wire exits in the rear…
This car suffered some rear bumper damage somewhere along the line, so the back end will face away from the viewer when set in the scene. I have a Shelby Cobra that also looks easy to light, so it’s up next. Then the two will join the new buildings.
Very classy Jon, that’ll look so cool on the layout!
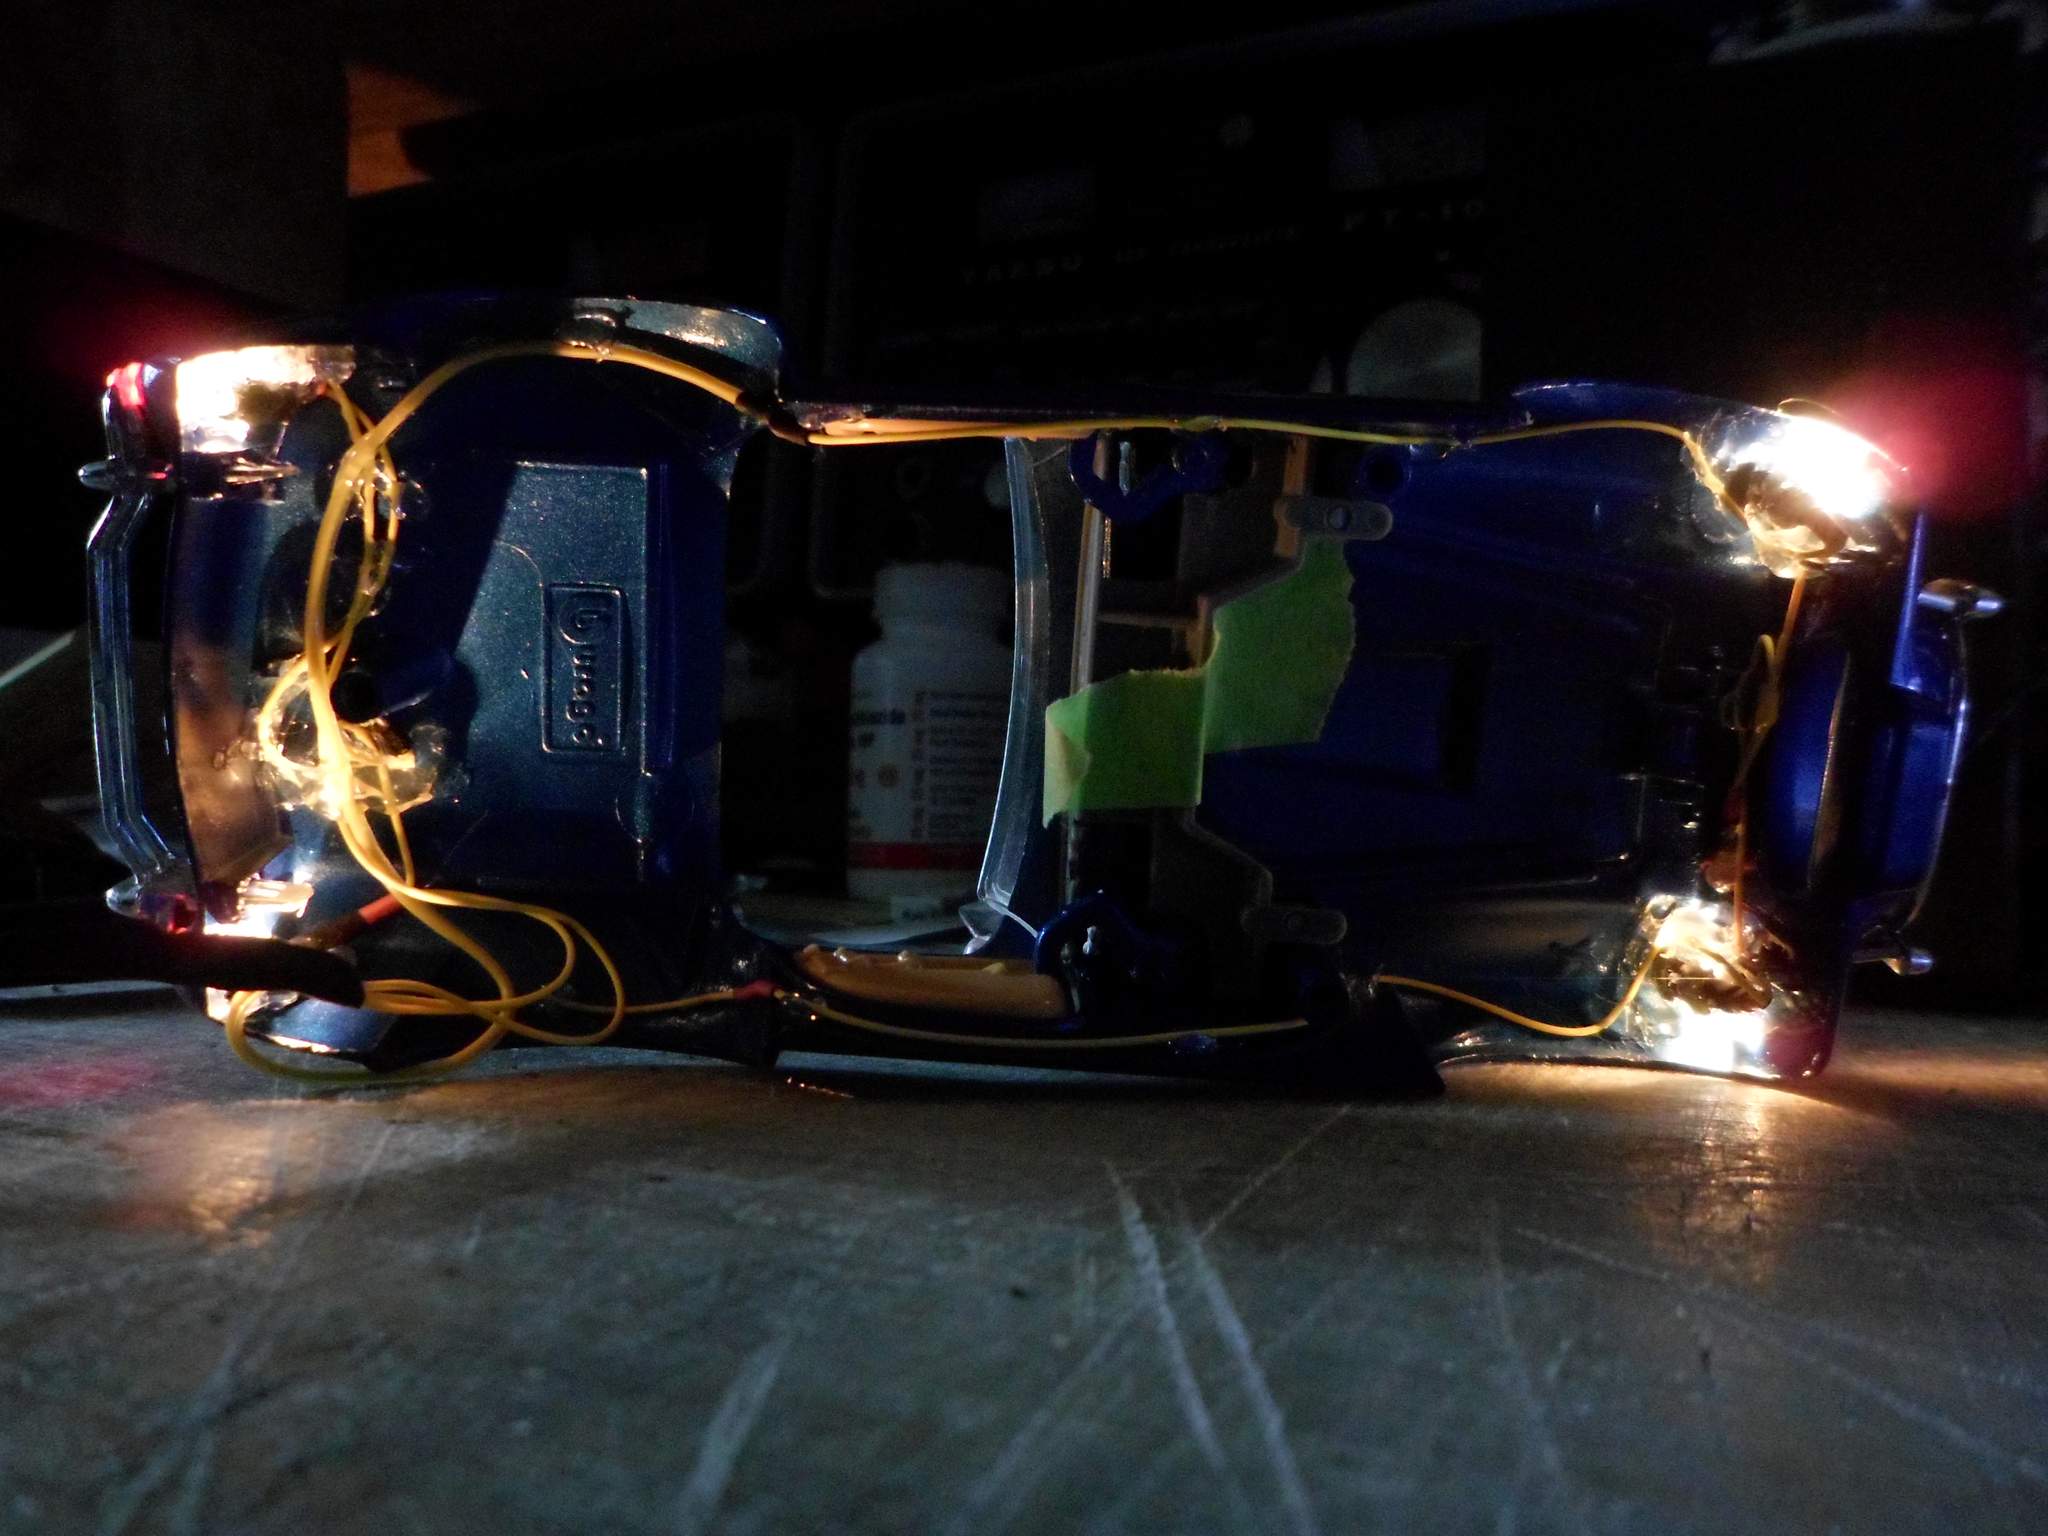
My older brother and his wife will be coming to visit over the summer. A highly modified Nomad was one of his post high-school cars. He drove the Shelby Cobra El Cid at Daytona Beach in the sixties. I have a 427 Shelby coupe that has lenses for both the head lights and the tail lights so it was next up to be fitted with bulbs. I tried an experiment of hooding the bulbs with heat shrink…

These were then hot-glued over the lens where it passes through the cast body…
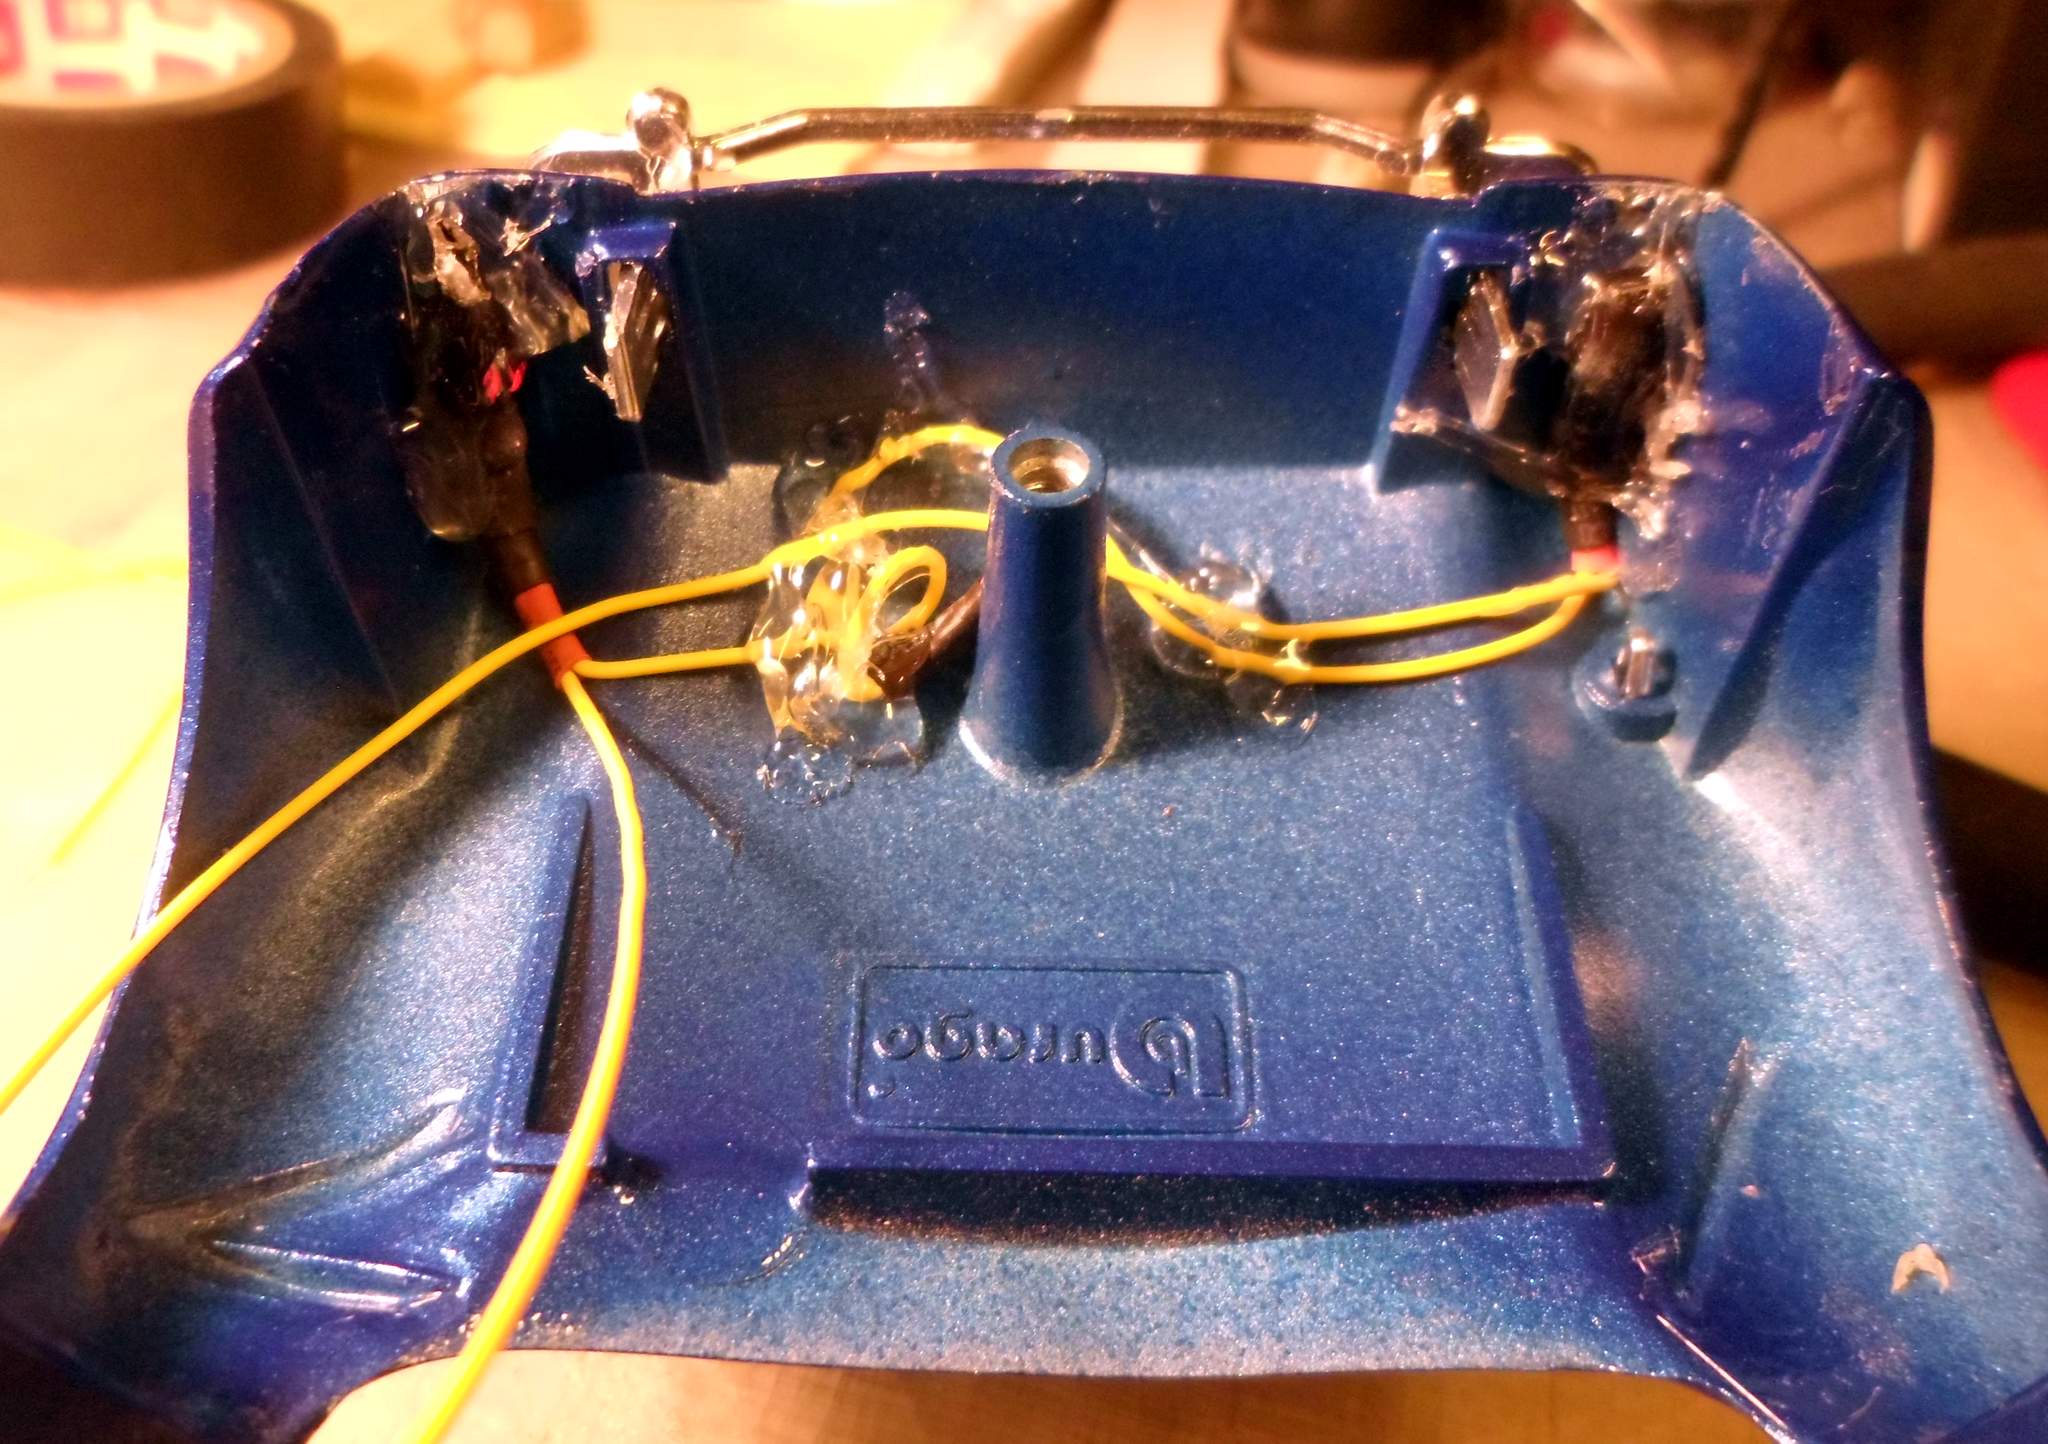
Wires need to be routed where they will be out of view from the top side. Held in place with hot glue they will be visible from the bottom with the tube chassis back in place…

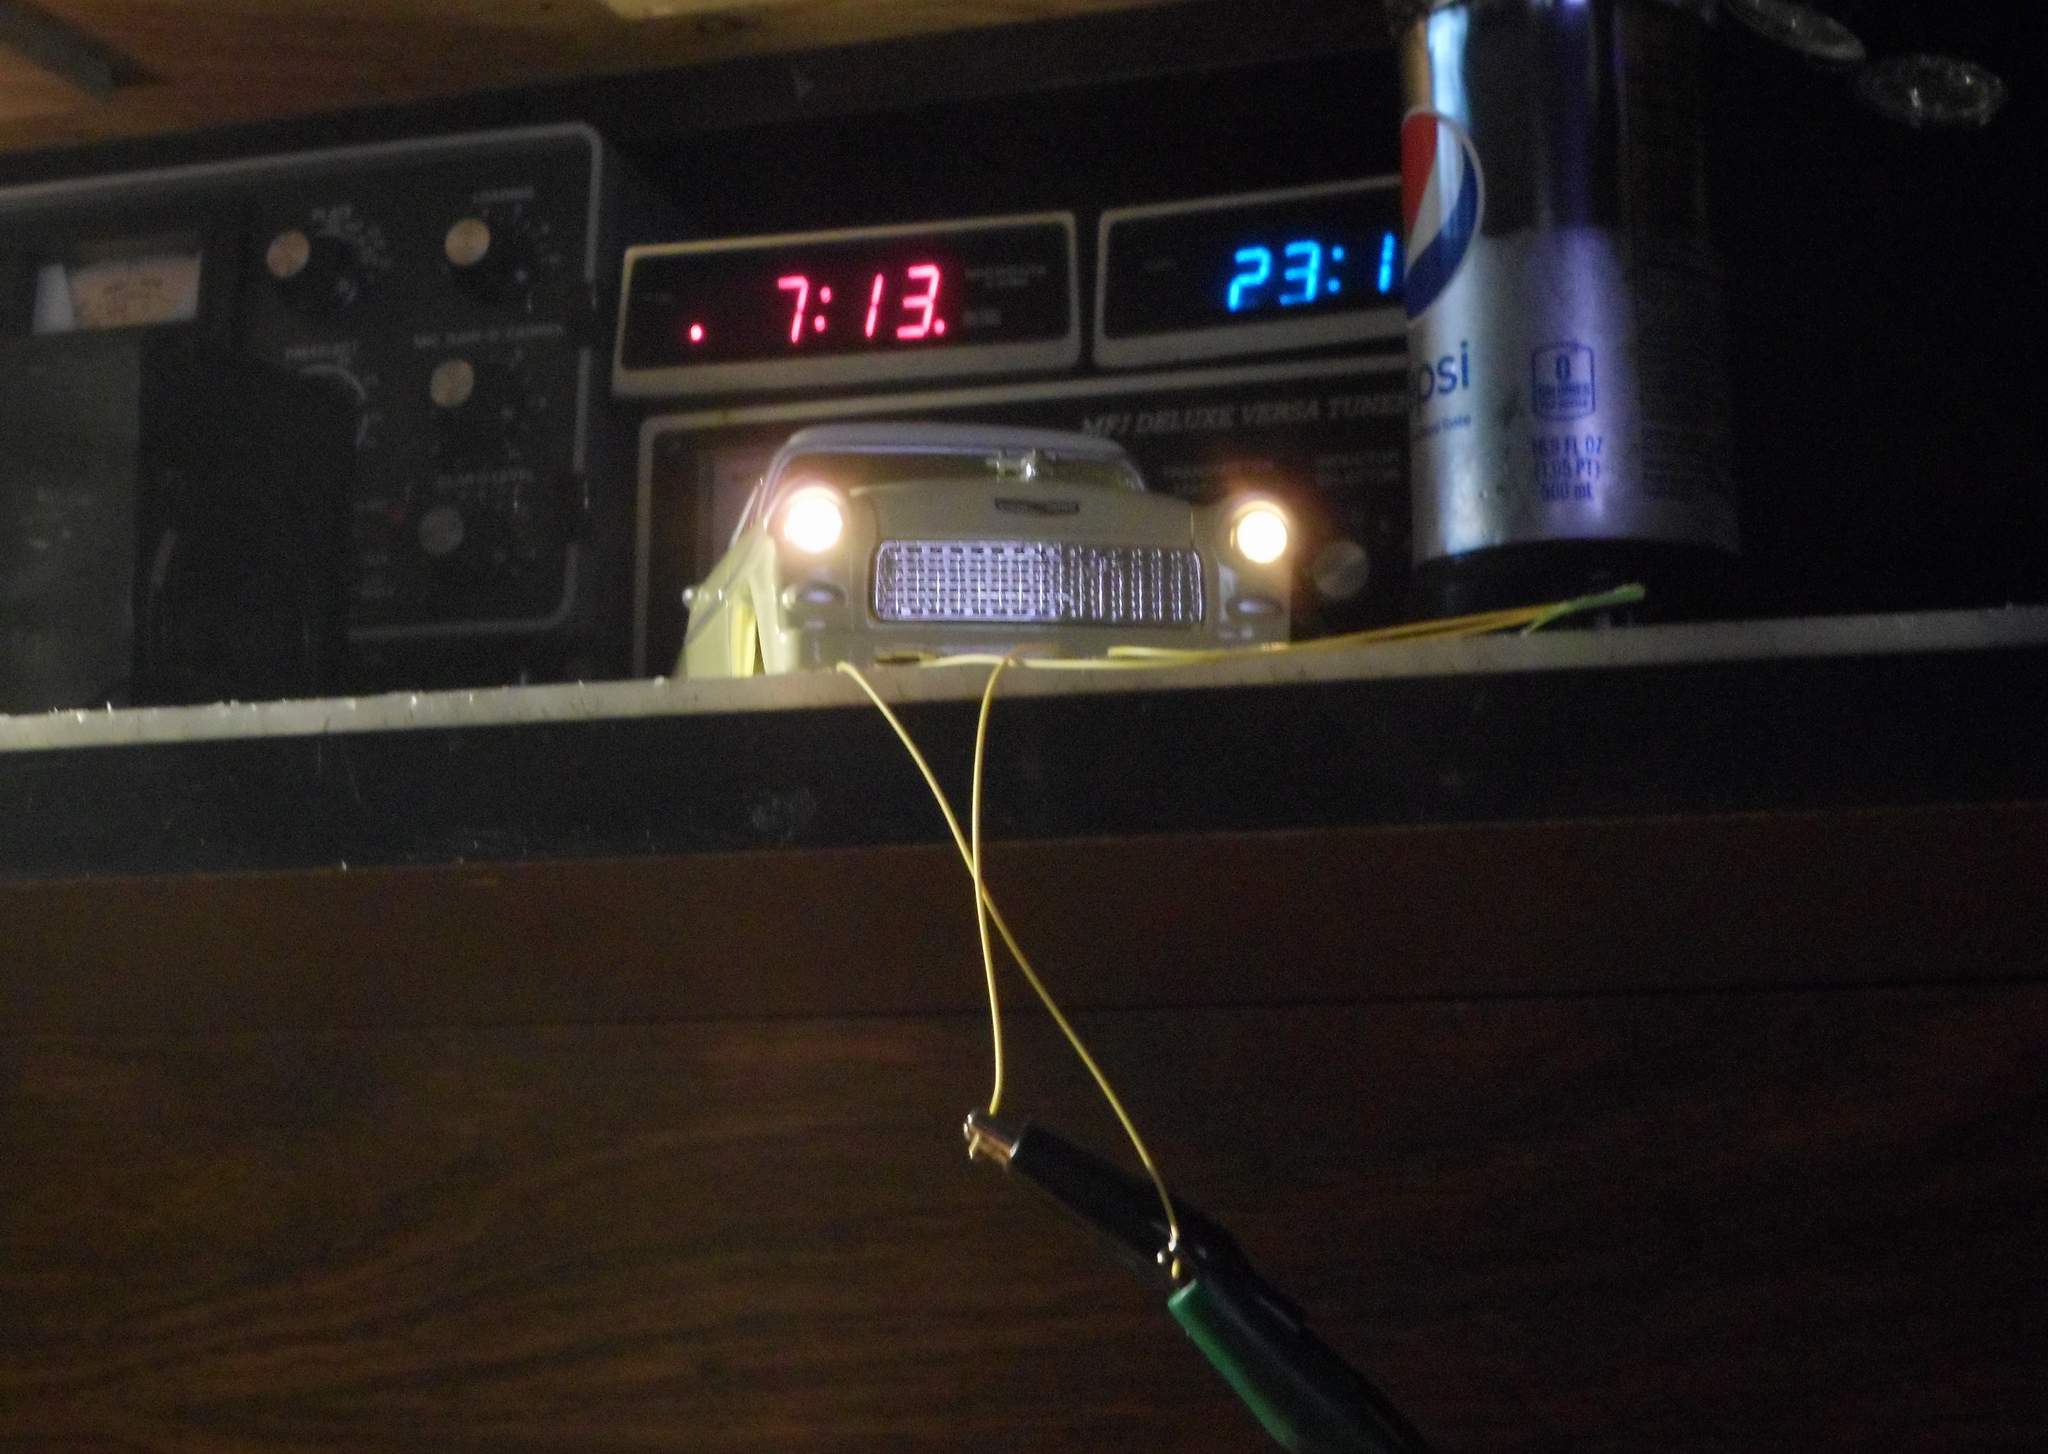
Function test…
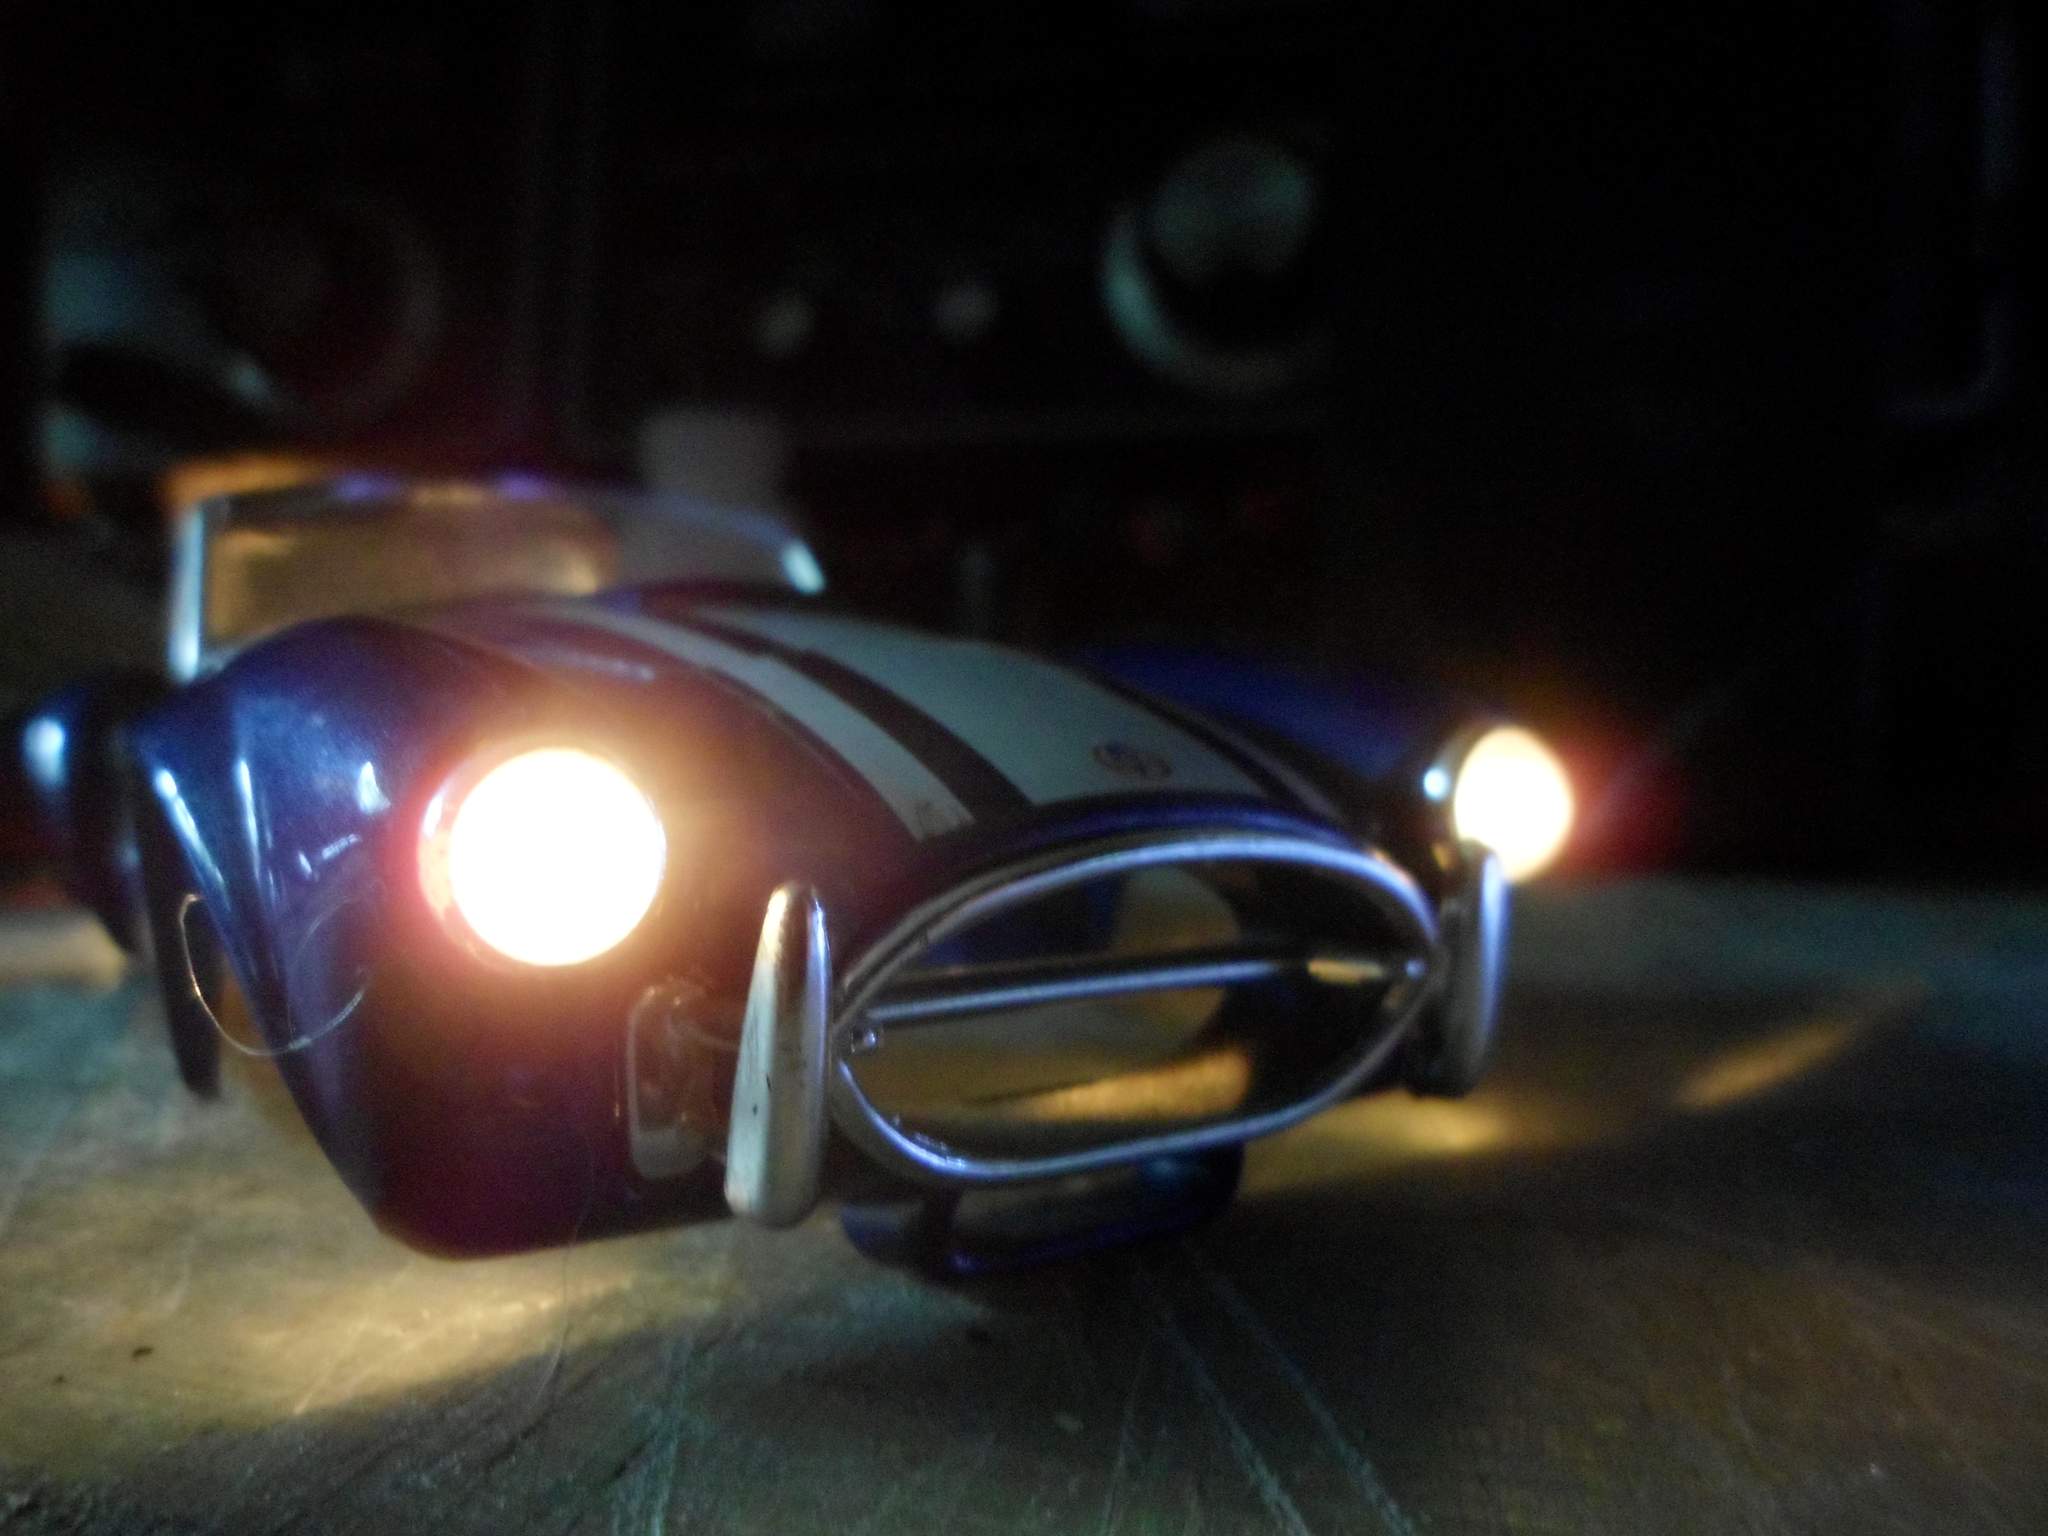
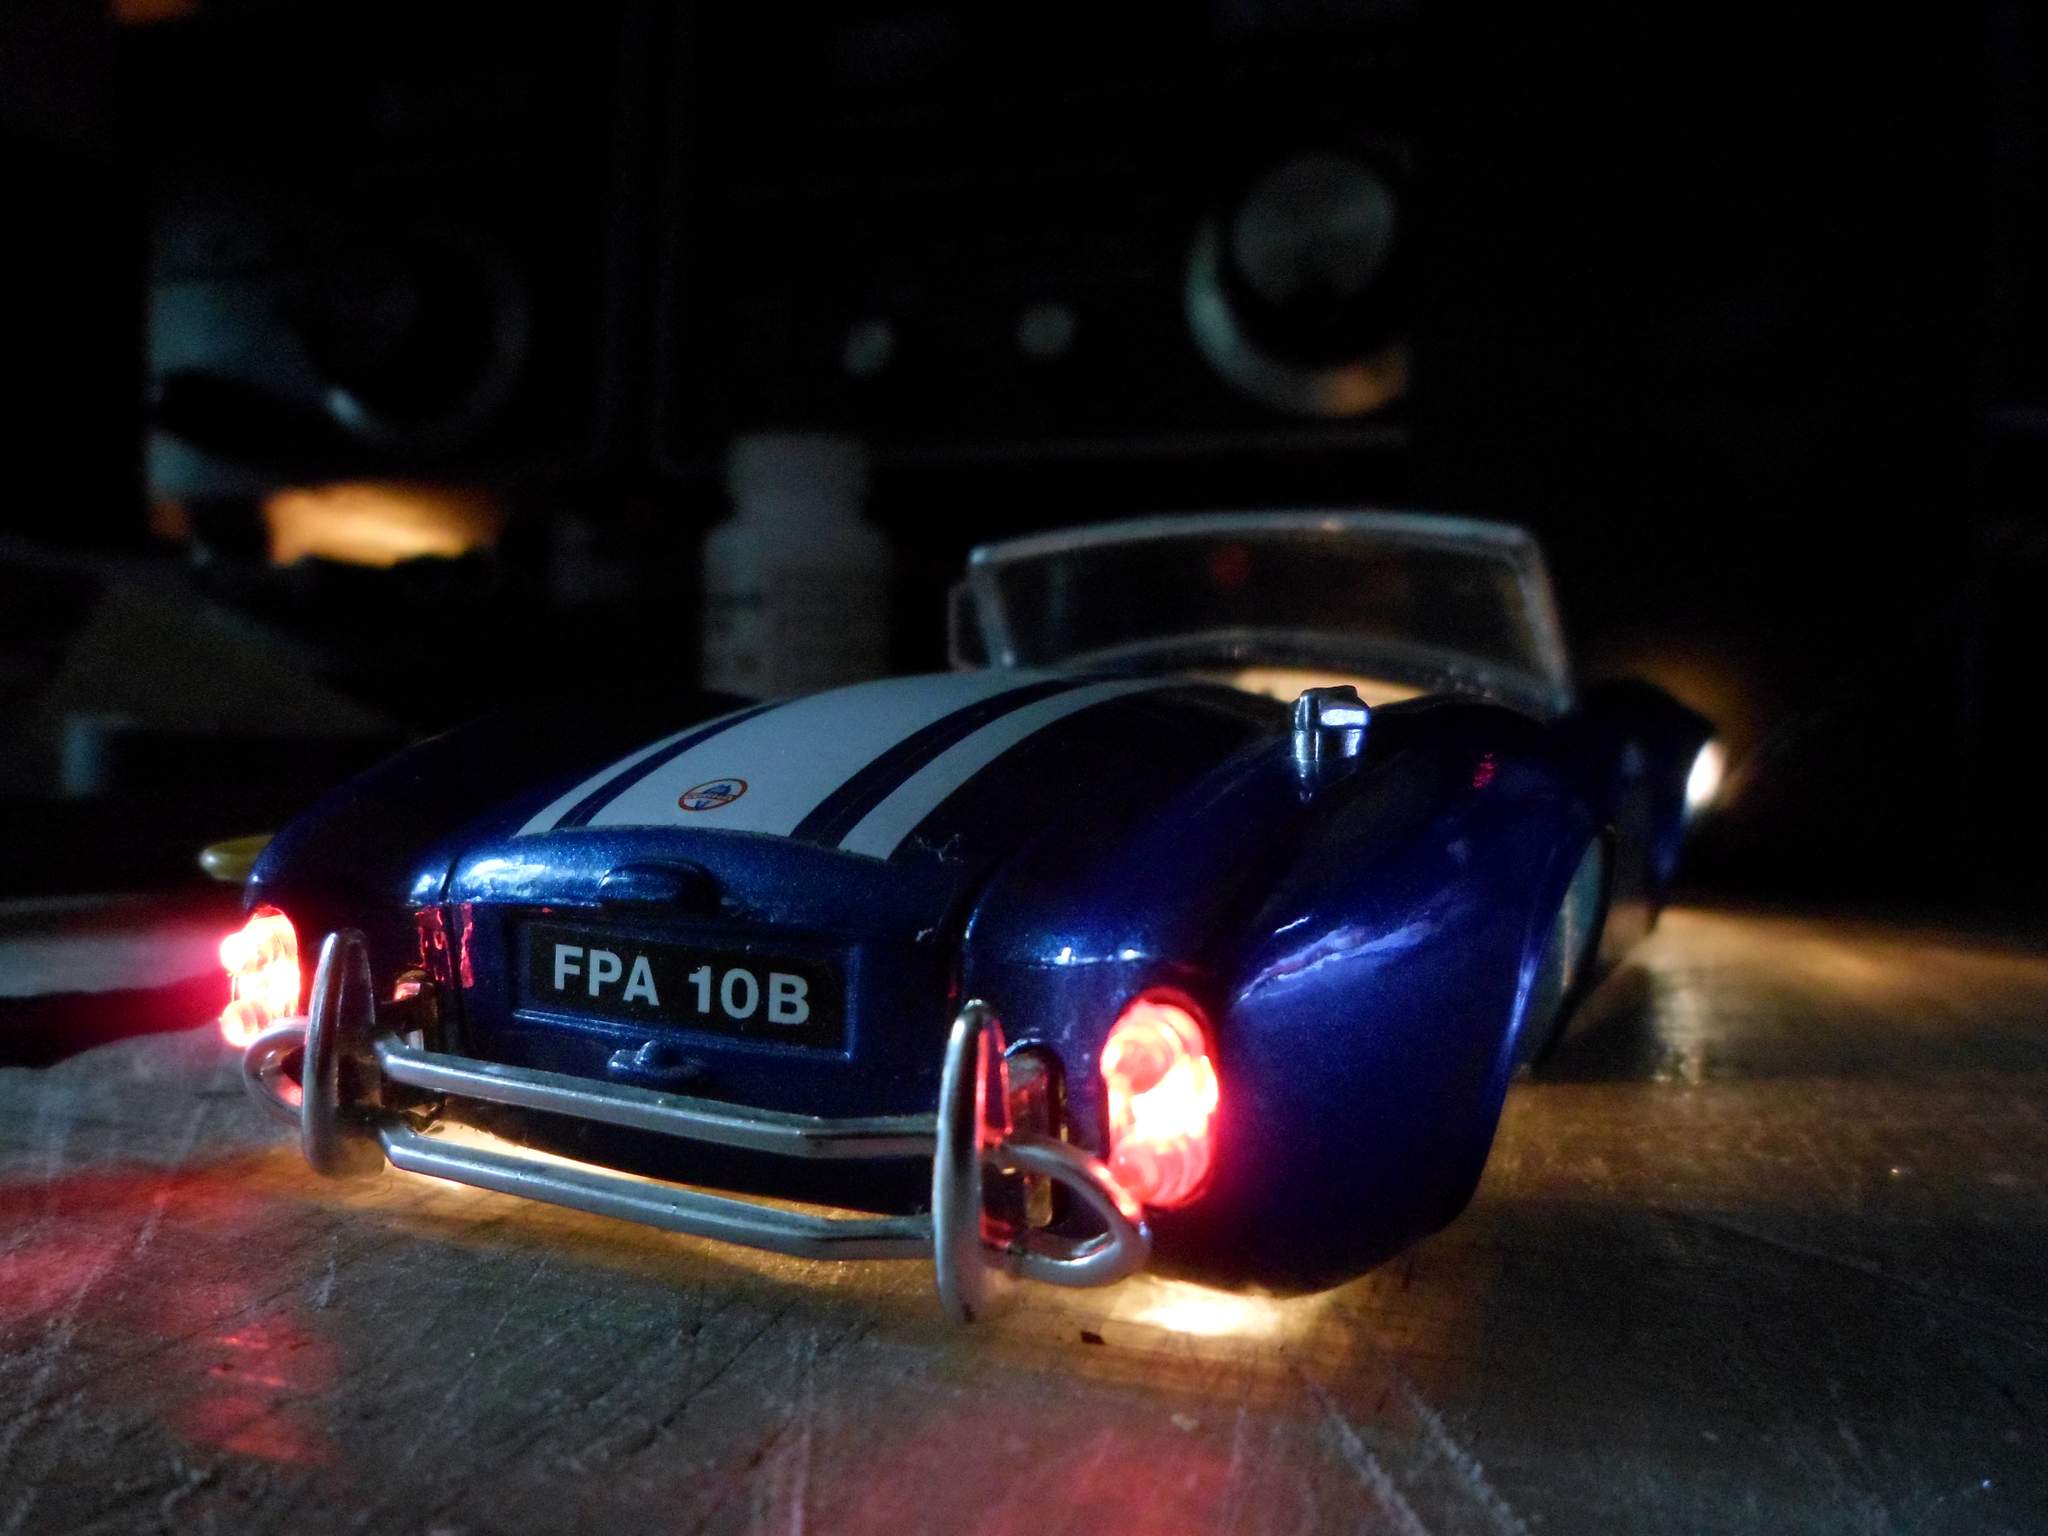
The heat shrink hoods did not work as well as I had hoped…
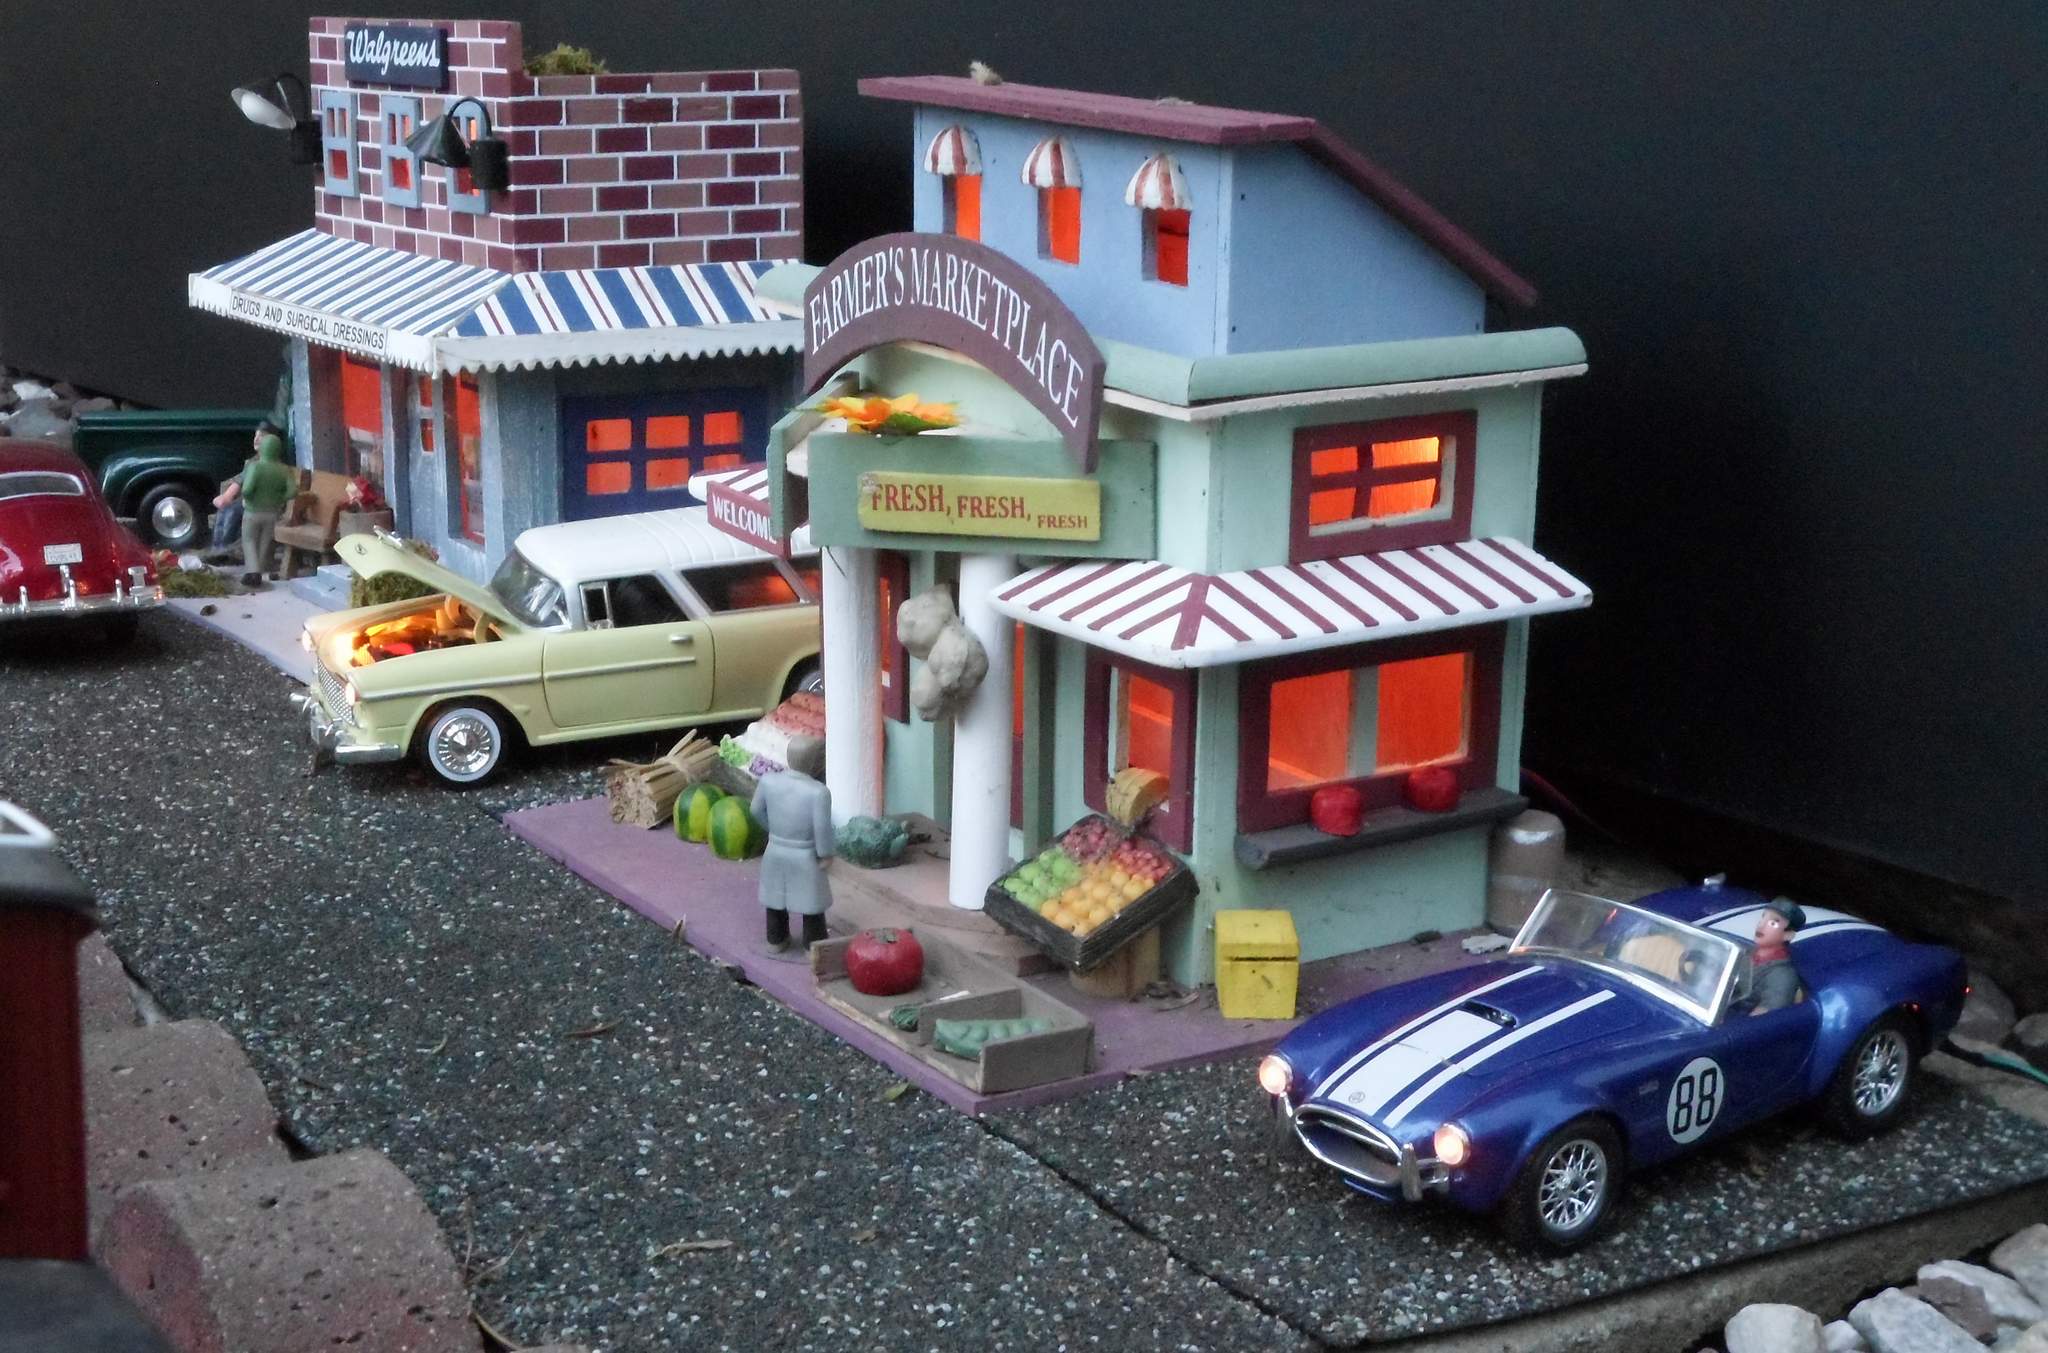
The Nomad and Cobra are in place and wired up. Just waiting for dark.
Sneak peak indoor test…

Point & shoot at dusk…

DSLR & tripod after dark maybe this weekend.
How did you get Todd’s car.
Afraid I am “out of the loop” again. Todd’s car??
Not having a roundy-round I lack loops.
Cape Cod Todd has a real one…
OK then. (https://largescalecentral.com/externals/tinymce/plugins/emoticons/img/smiley-cool.gif)If it’s a Shelby Dragonsnake of 1960’s vintage he’s sitting on a multi million dollar vehicle. There were 5 originals produced. There have been re-makes but not hand built by Carol Shelby himself. My brother drove El Cid at Daytona in the 60’s…
El Cid CSX2248, one of the five Shelby Cobra dragonsnakes, built for the dragstrip, not the road course. Winner of the 1964 Winternats in Daytona

El Cid was road legal and registered. At 16 I “borrowed” it when he left the keys in it. Damn near soiled the front seat when I punched it and went through the gears. Blew through a residential 4-way stop well over 100MPH. Lucky no one was killed.
If I had the patience I would re-paint mine as El Cid.
Ha he should be so lucky … Kit car I do believe…


Remembering back to my HO days I always had a fondness of a Atlas switching tower, and I stumbled on to a pathway solar light that looked very similar, at Wal-Mart. A little pricy at $ 30.00 when I’m use to $.98, but for 2 but not terrible. Added a little evergreen styrene building siding sheet and sealed the cracks, detailed the post to look like a large tree trunk post and added a styrene ladder. Placed it on a thick piece of plastic sheet, then cemented chicken granite grit to the plastic. Secured the post to the plastic sheet and added existing pointed post barb back to the bottom. No problem now with it blowing over. Even painted it red and lettered it like my old Atlas one with one side being Railroad Ave. and the other Main St., lettering with vinyl from a cameo silhouette, Fun and easy build and looks good both day and night.
XXXXX
Jon,
What I have really wanted to see the last month or so, the actual Mik challenges and pictures from the legendary Mik. … and you did say “tell me if a link is broken…” I did find it under “John” and it was well worth the search.
So I can move on and hopefully see Ralph’s because the comments the LSC gave, make me quite curious.
OK - I’ll see what I can do with that one late this afternoon. Have a road trip errand to run this morning.
Ralph is no longer posting or monitoring this board. He pulled up his garden RR maybe 5 or 6 years ago and has since moved. He is active on Facebook as Ralph Berg and changed his name here to @Cabby (Mista B)
Well that’s unfortunate. …and isn’t it ironic we tell young folk, “watch out what you post on the internet! It will come back and haunt you!”
It would be nice to get haunted by the Ghost of Mik-mas Past.