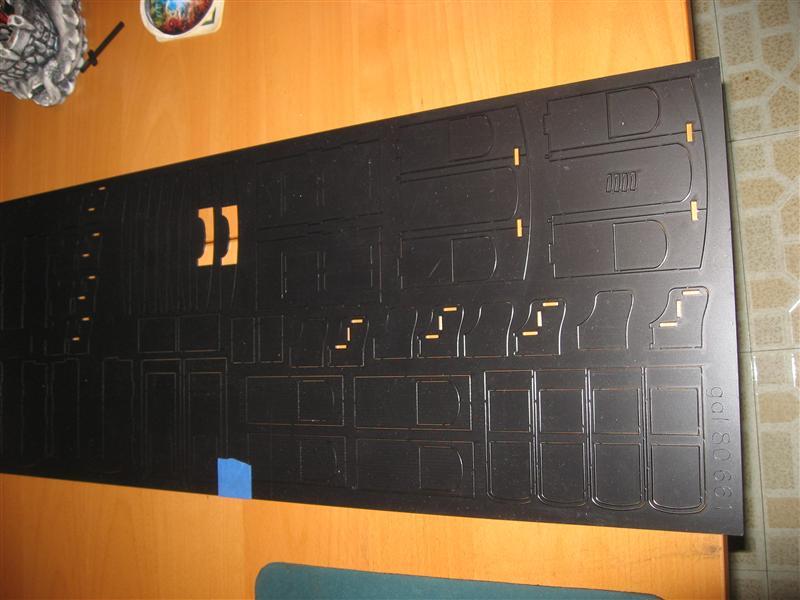
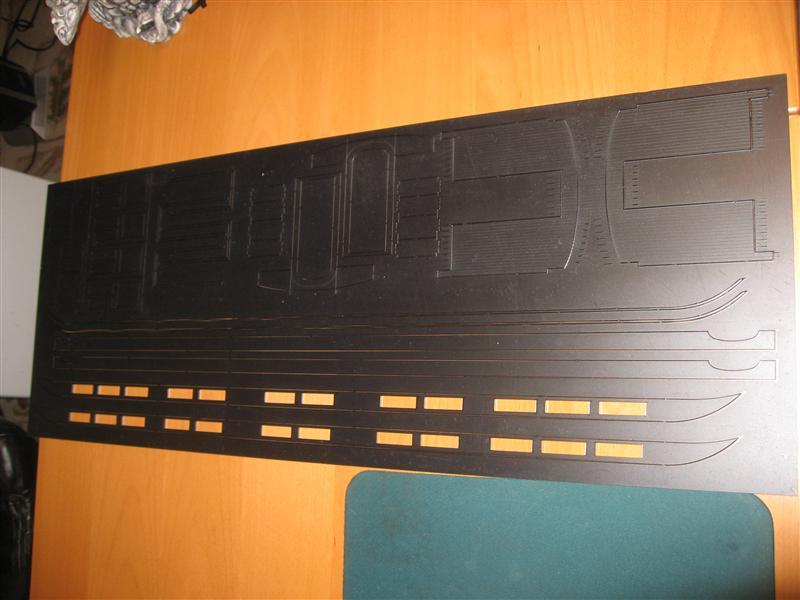
As discussed in http://www.largescalecentral.com/LSCForums/viewtopic.php?id=17234 I have just received the prototype for the ET&WNC Coach Kit from The Gal line. I will be building the prototype and providing feedback to Alan for any changes. This will also serve as instructions for building the kit as there are four other coaches to be built by the ones who have signed up. I will update this with pictures as I progress. First of all, Alan has recommended some basic tools and tips: www.jbrr.com/Pics/RollingStock/PassengerCars/CoachProject/GAL_GettingStarted.pdf So, what’s in the box?  A LOT of sheets and soon to be parts! Sheets run the full gamut of thicknesses: .5, 1, 2, and 3.1mm stock, all in black styrene. The parts really don’t show up that well in these pictures, but I wanted to show you what was in the box. I’ll have more detailed shots as I start working with the individual parts. Inside end walls, doors, steps:
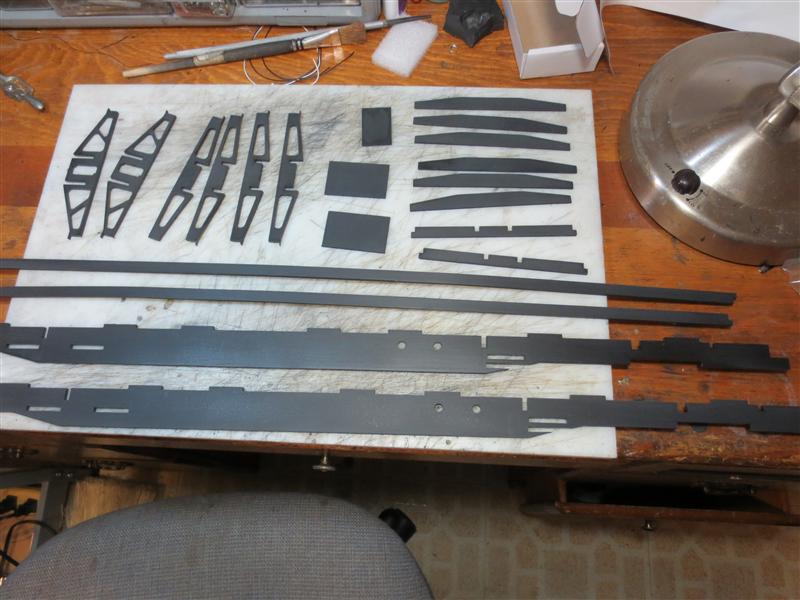
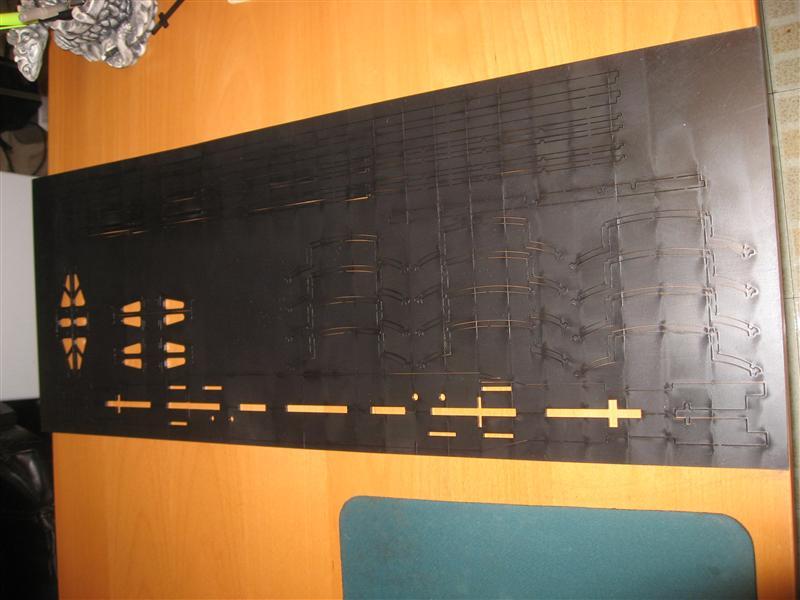
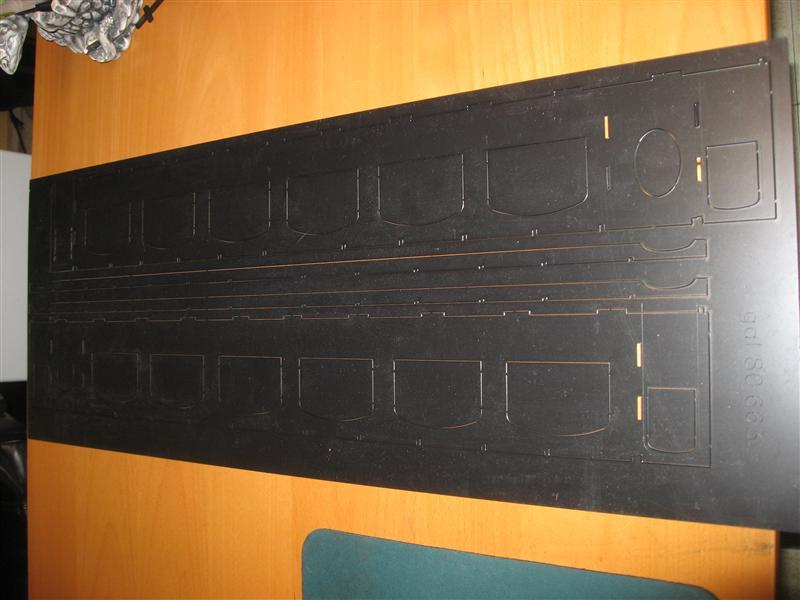
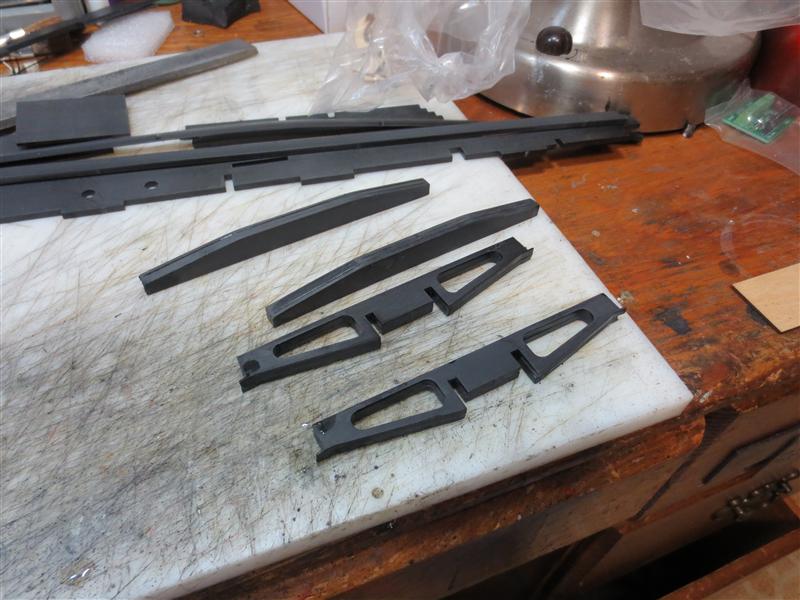
Frame pieces and roof carlines:
Window pieces - both for the arched windows and the carlines:
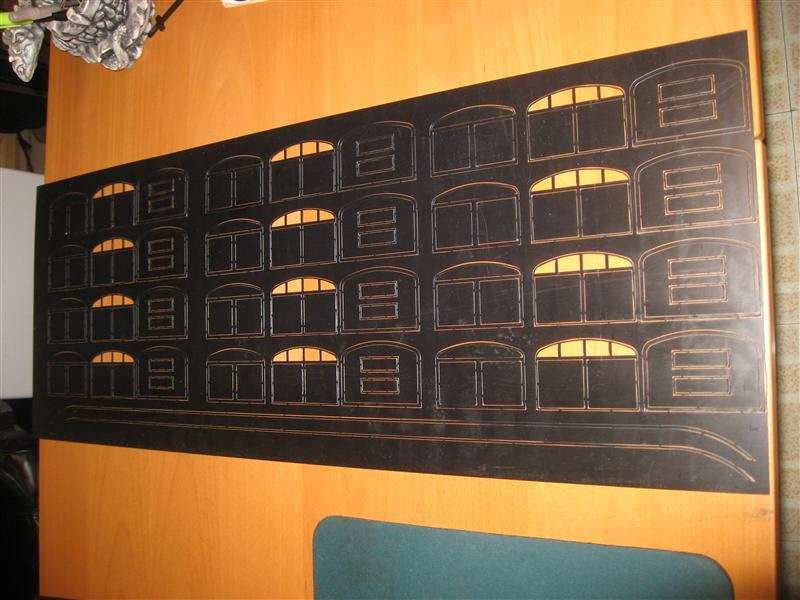
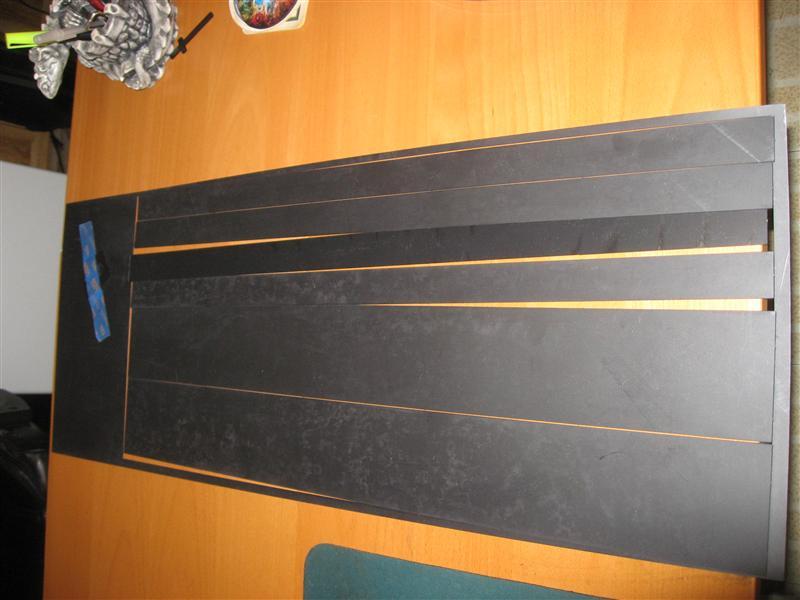
Scribed outside sides and banner boards. The scribing is just gorgeous.
End walls and clerestory parts:
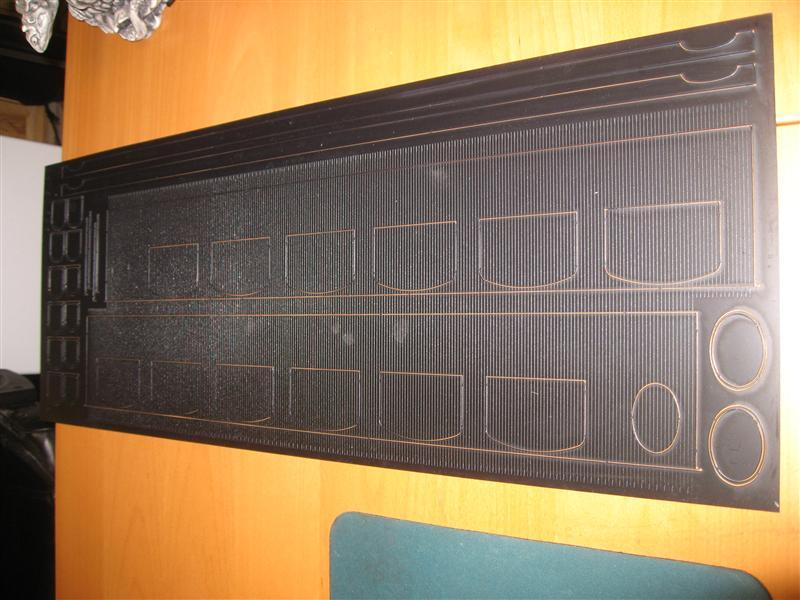
Inside sides:
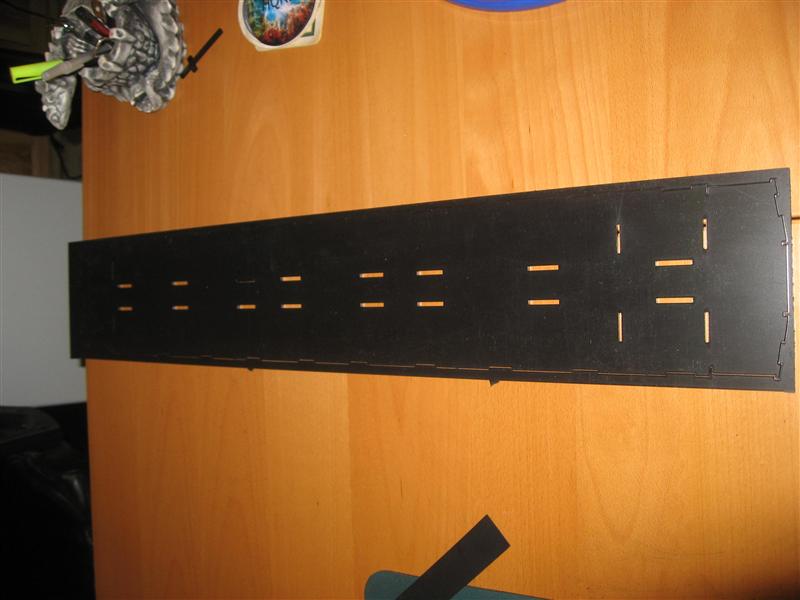
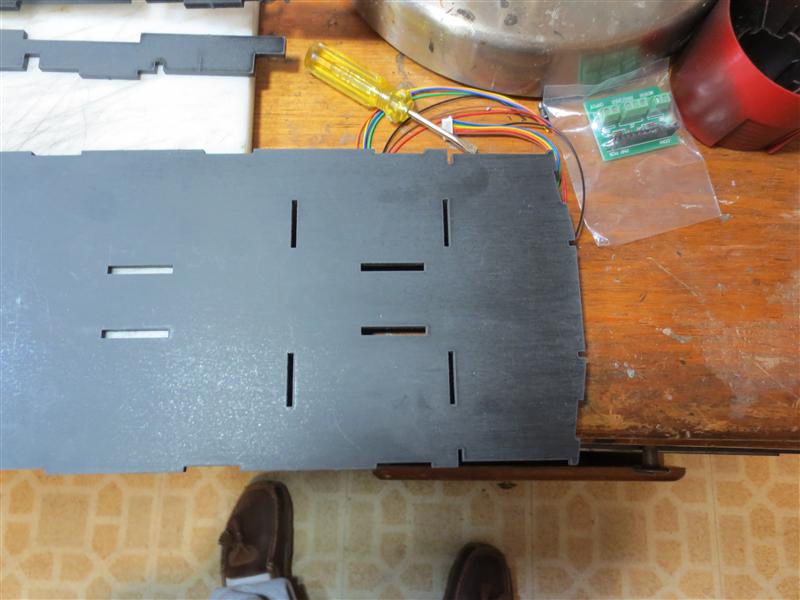
Floor:
Roof skin parts:
As you can see, there IS a LOT here! I’m anxious to get started. Just a side note. There are a total of five cars being built by four different people. Obviously, I am one of those people. I paid the same price as everyone else in this project and get no special discount or consideration. My only “privilege” is to build the prototype model. If there are any design changes that I think need to be made I will communicate with Alan and he will make these in the production run. So, it’s NOT too late to sign up for a kit! 
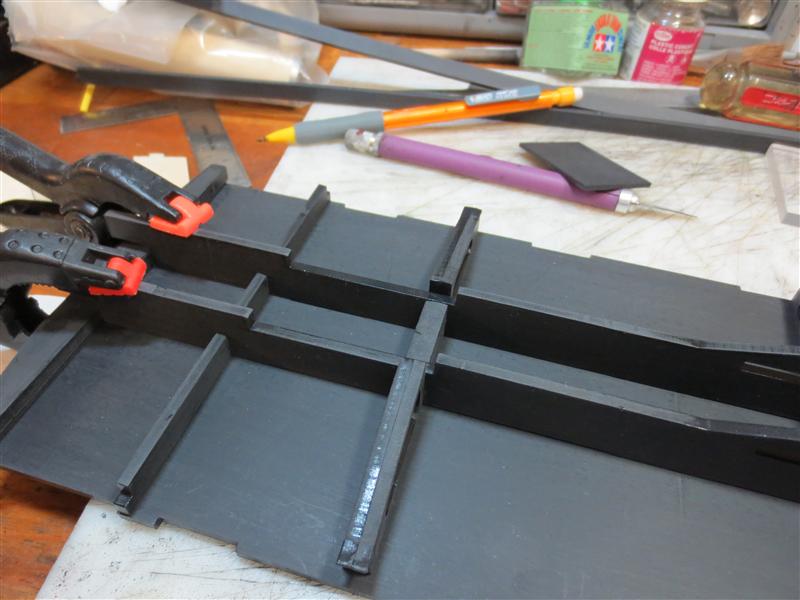
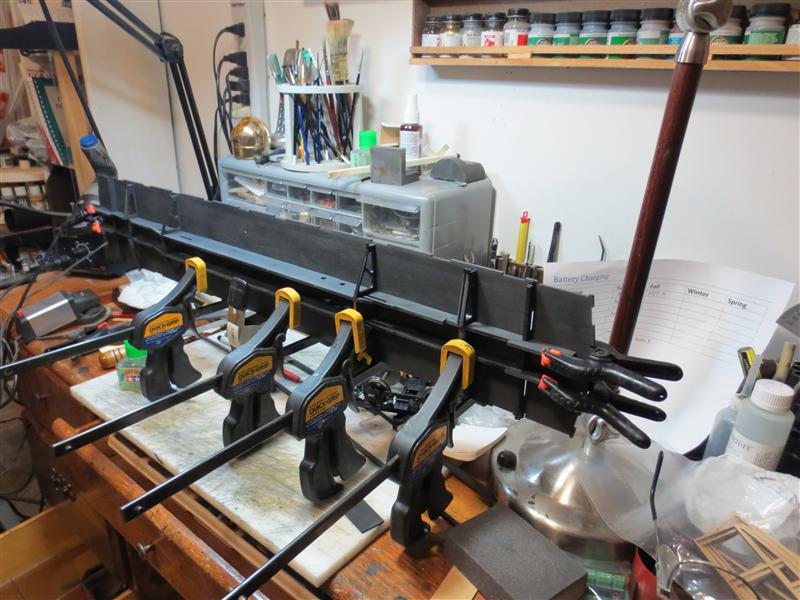
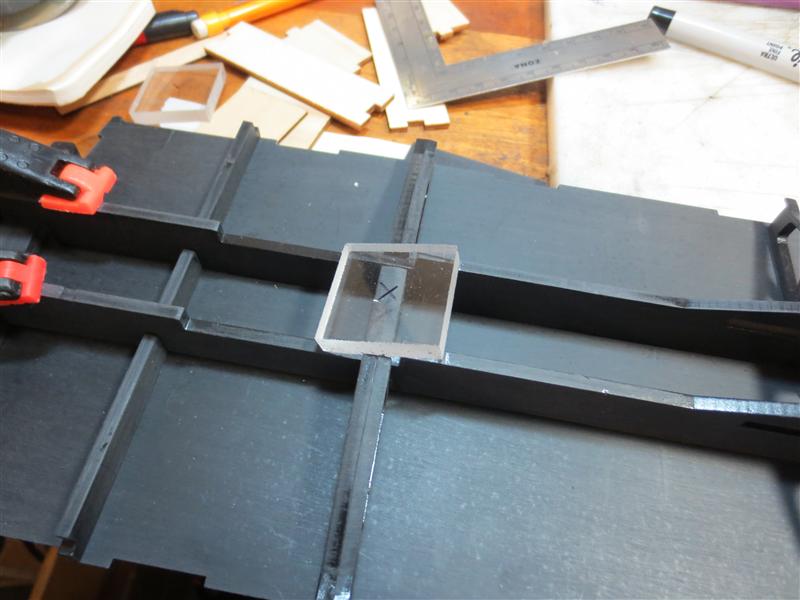
 I ended up wet sanding some of the smaller pieces in my utility sink. But, the pieces come out very nice. I decided to tackle the underframe first. My