Quote:
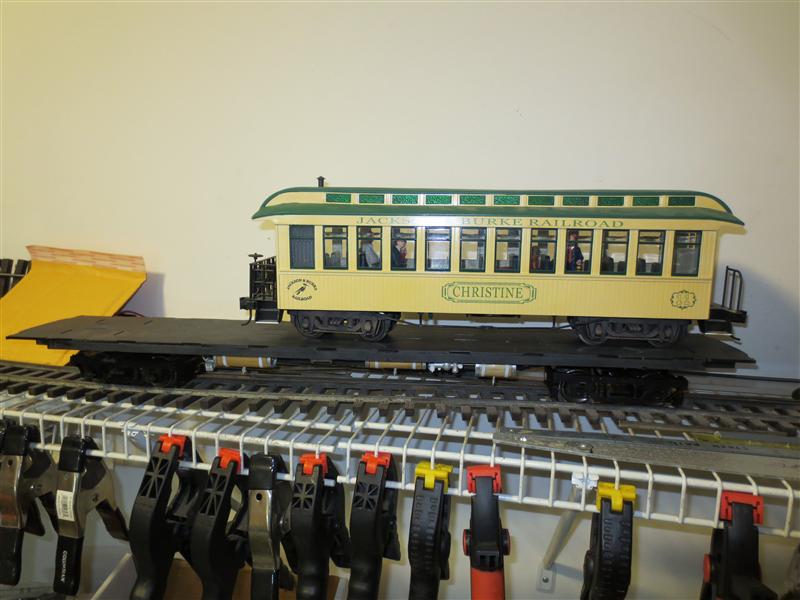
I will have a pair of Accucraft coach trucks available
I probably spoke a bit optimistically - the trucks will be available when the project pops to the top of the stack. I plan to repaint #29 in passenger green and then swap the trucks.
At the moment, it looks like this time next year - after I finish 2 Hartford hoppers and sundry other projects.
Quote:
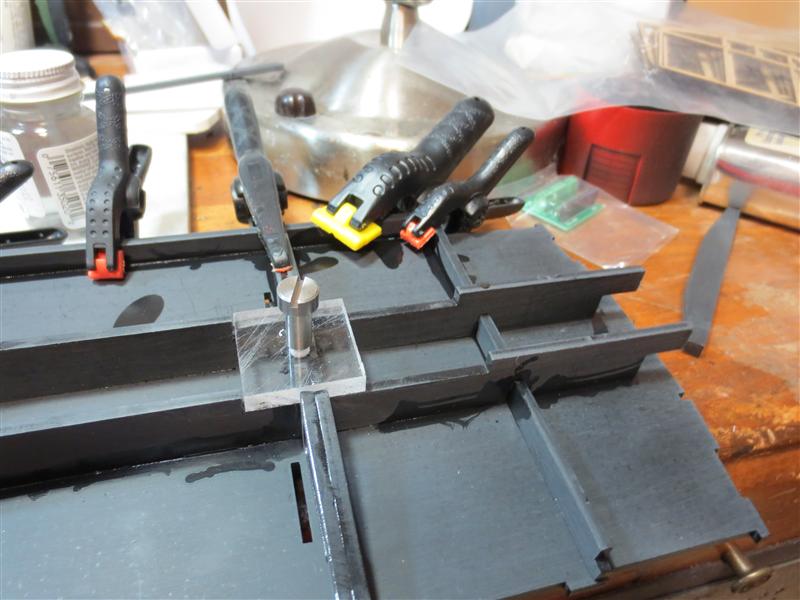
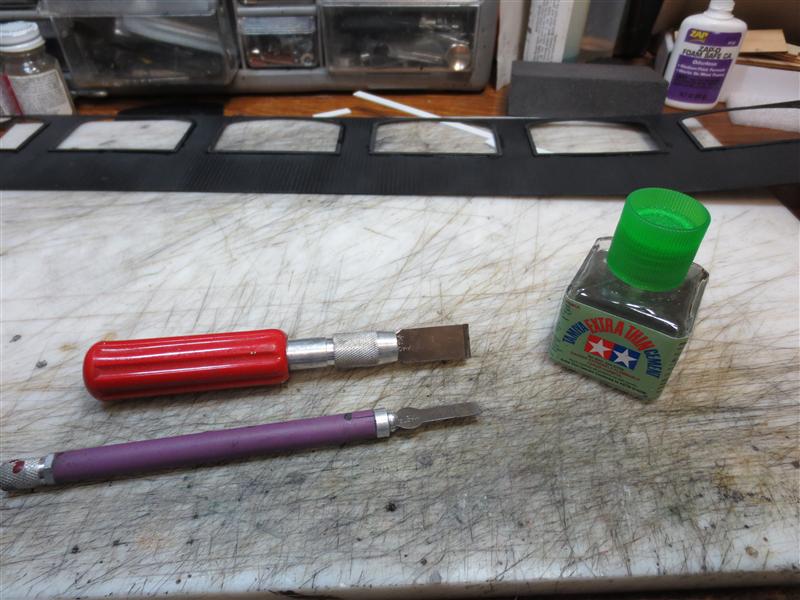
I tried the local shops for the chisel blade, but no success. It will probably come after I'm done
I think mine came from Micromark. #18 blades and a #5 handle. (I actually got them in a box of Exacto chisels and misc blades, which included the handle.)
Around this time, I take the catalog and start marking pages with tools I would like, and then I give it to the wife, who gets one of the kids to order them for Xmas for me!
There are some .PDFs on my G.A.L. page on ebt-in-fn3.info but they are more oriented around how to take an accucraft coach apart and put it back together with new sides!
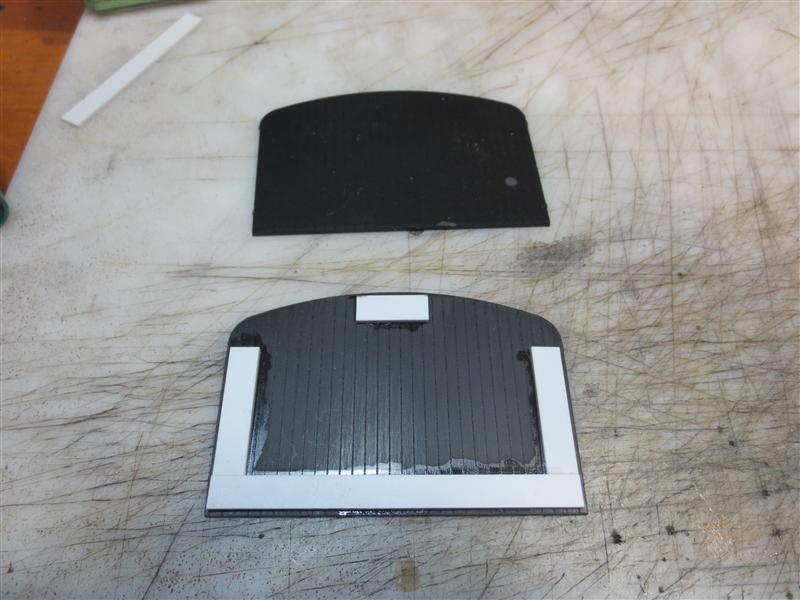
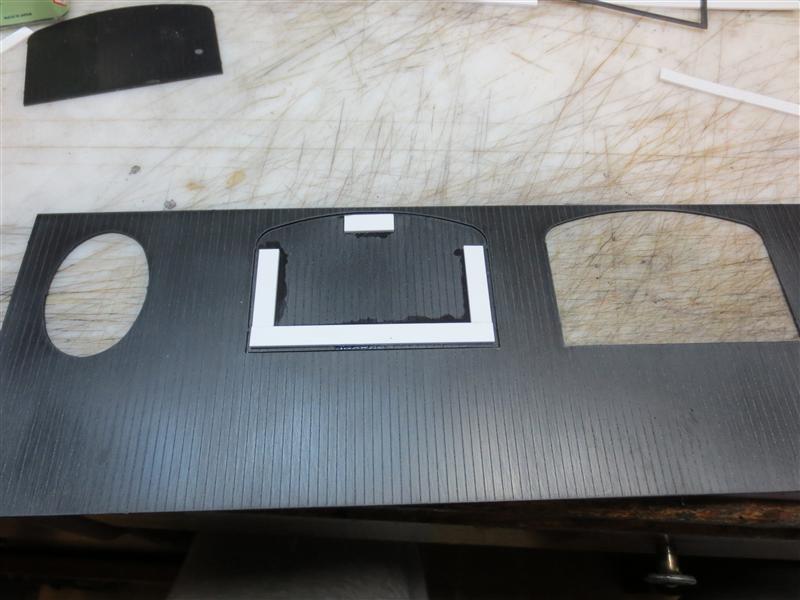
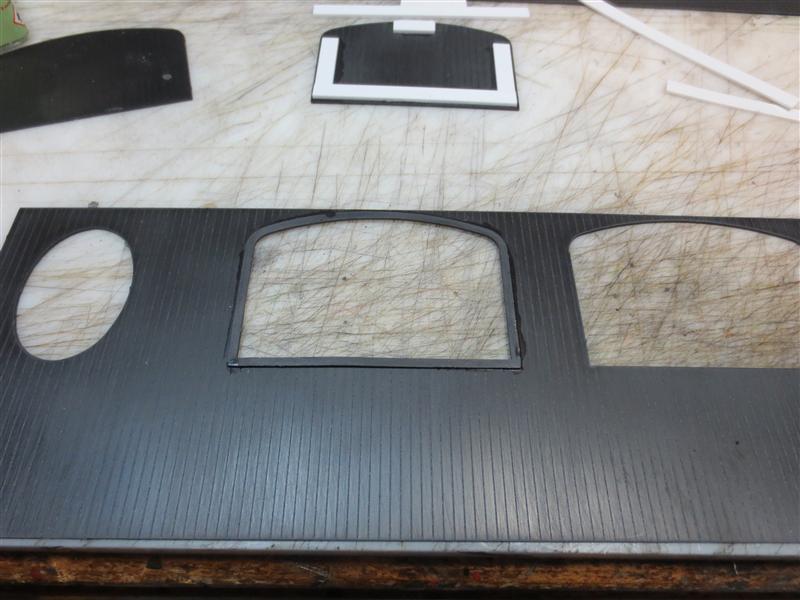
P.S. Alan recommends sanding the plastic sheets first to get rid of the laser ‘lip’ on the cuts - I do too. It is messy - I used 400 grit emery paper wet in the sink.


