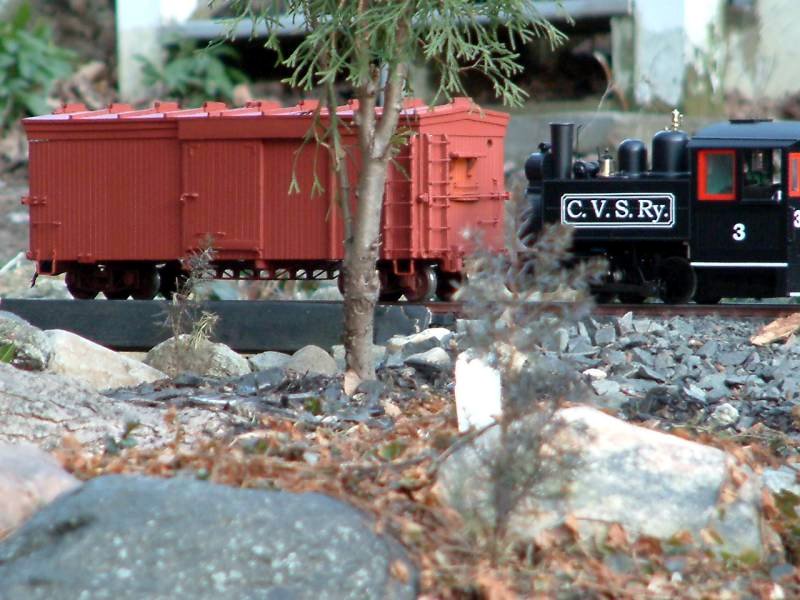
Looks good!
The latest pictures are in. Over the weekend I pretty much finished all of the detail on the ends and sides except for coupler lift bars which I’m still undecided on. The final hurdle was how to fabricate the unique roof walk supports. I tried hand cutting them and the results were too erratic. Since printing on styrene worked so well for the door hangers I gave some thought to that method. The thin styrene (.010 I think) runs through the printer just like paper, but I want to use .020 for these parts and it’s too thick for the printer. So, rather than printing direct on the styrene, I printed on white self-adhesive paper and applied that to the styrene. I’m still hand cutting, but with good guidelines I do much better  Here’s a shot of the printed guide on styrene, a few cut parts and an assembled support…
I’m hand cutting a fill piece from 3mm PVC board then assembling it as a sandwich…
This will then be attached over the carlines I added to the roof previously…
Finally, here’s one temporarily in place on the roof…
I only need to make 9 more then attach them to the roof. My goal is to paint this weekend since the forecast is for mild temps. Once paint is dry, I’ll put on wood roof walks. It’s getting down to the wire, but I think this will be done for York. Thanks everyone for your comments. They keep me motivated  [If the pictures don’t appear at first, give it a minute. My hosting service is being slow again]
Jon Radder said:Great idea, I'll put that one in the my file for future use
I printed on white self-adhesive paper and applied that to the styrene. I'm still hand cutting, but with good guidelines I do much better :)
There looking good
Rodney
Pretty sweet stuff to work with ain’t it Jon…nice!!!

Clever…never thought of that…glad you’re around, Jon…
Thanks  I got the idea from work at the sign shop. When we fabricate complex shapes we print a pattern on vinyl, apply that to the substrate, then cut along the lines. Works especially well for curves. I also gave serious thought to making a die and stamp them, but for 20 parts it didn’t justify the effort to build the stamp.
Lots of people talk about resin casting, but not many do pot metal casting. I might like to try that some day. My youngest had a toy that cast small metal trinkets - I still have it and might look to see if the molds can be custom made.
Edit to add; I would have preferred to print on vinyl since the paper is more difficult to remove, but I can’t do that at home and didn’t want to wait several more days to have it printed at work.
Neat idea and nice work Jon . I’ll look forward to seeing it at York
Going into the paint shop today. Hope to have pictures tonight.
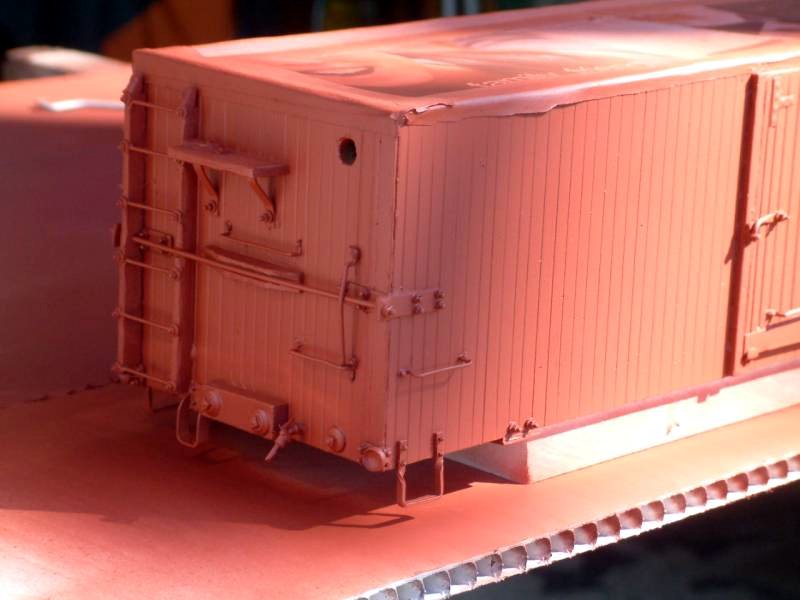
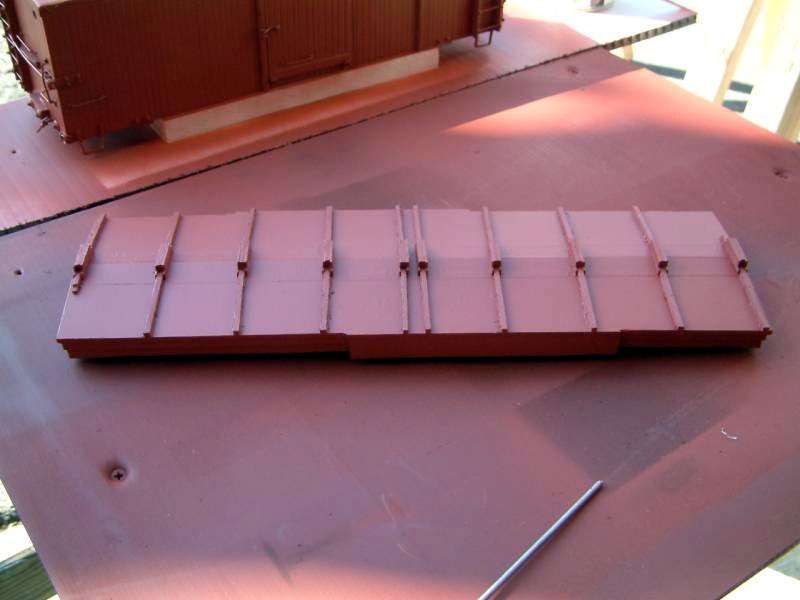
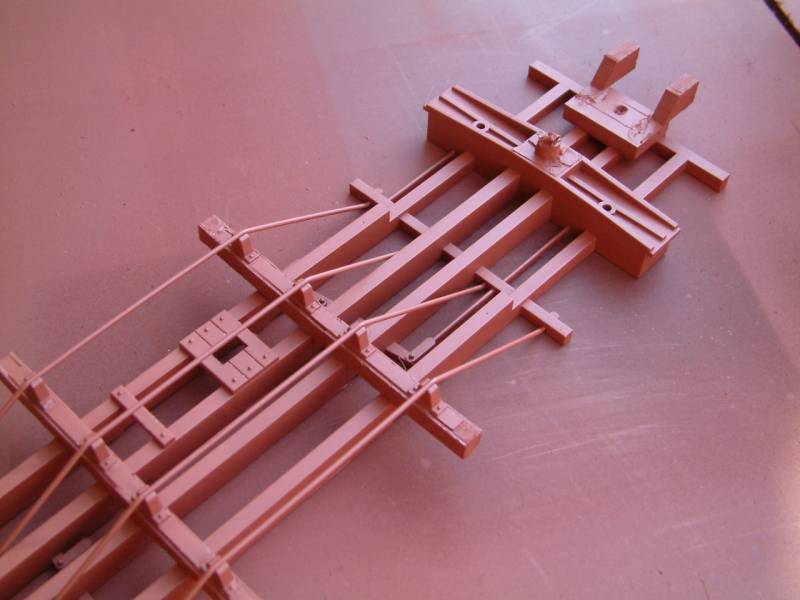
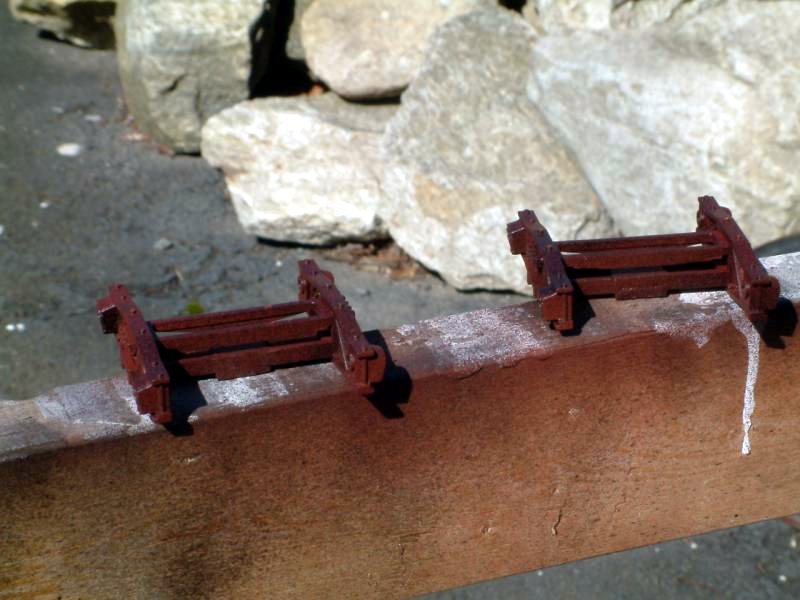
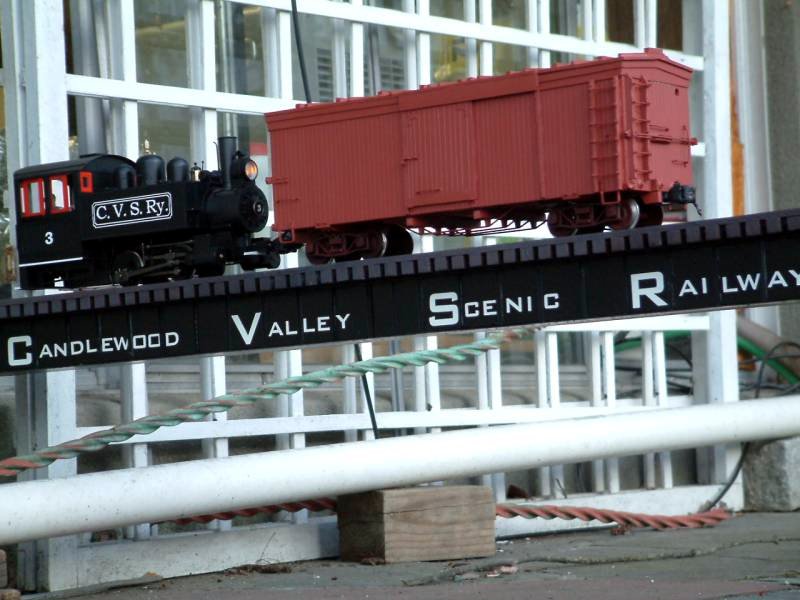
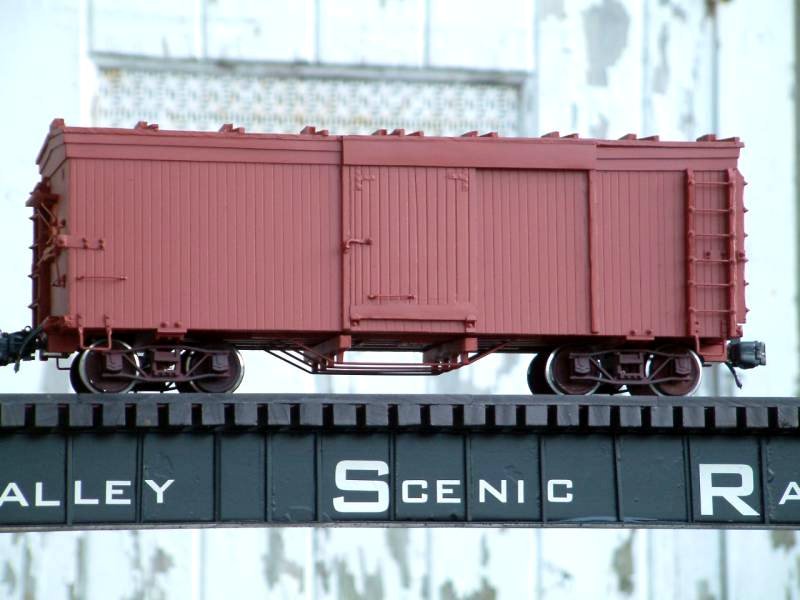
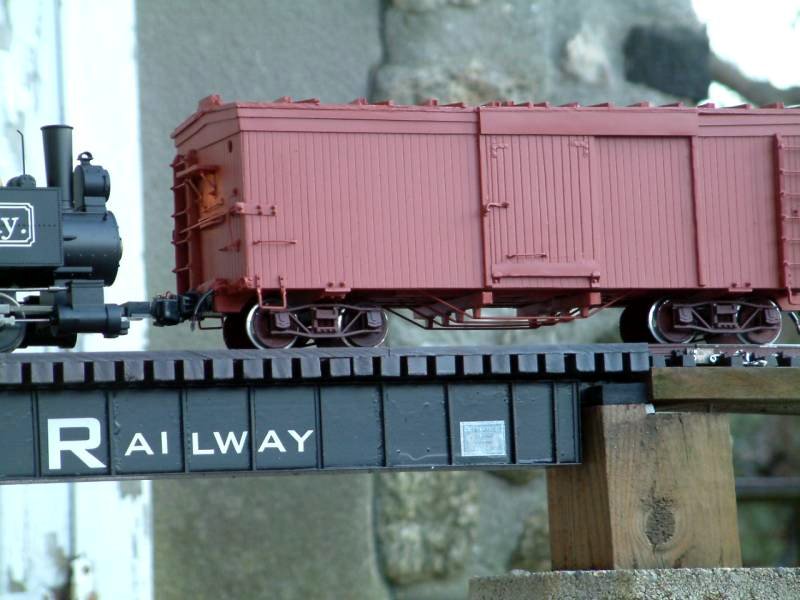
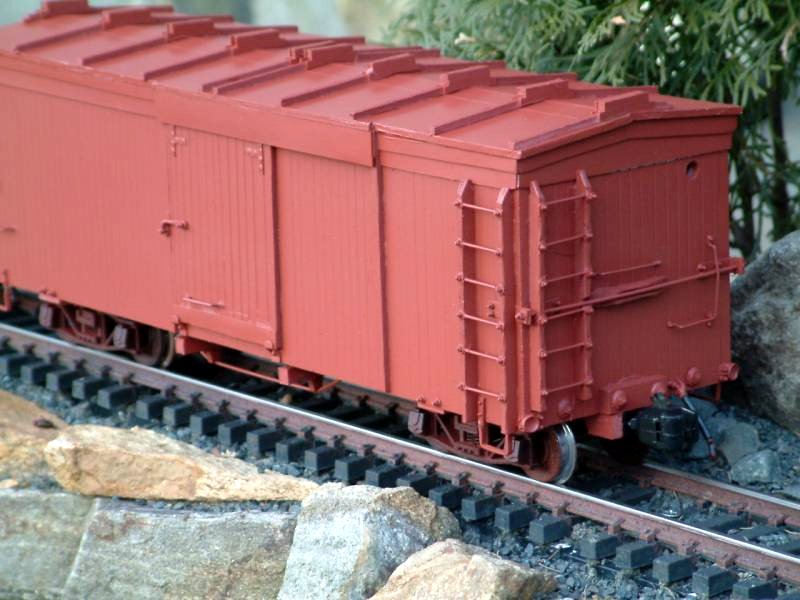
Paint shop photos… All detailing complete the car made it into the paint shop today. Base coat was Krylon Ruddy Brown Primer followed by a top coat of Valspar Red Oxide Primer. I liked the more red color of the Valspar, but it does not spray anywhere near as nice as Krylon. Here is the body with the roof removed…
And the roof less walkways…
And the modified frame…
I also gave the trucks my patented Rust treatment…
Once the paint dried the car was assembled and Porter #3 transferred it from the paint shop to the carpentry shop for installation of roof walks…
You might notice a little bit of white peeking out at the bottom of the roof trim. I wanted to avoid painting areas where the roof fits over, but I miscalculated by 1/16 inch in a few places. I’ll touch this up somehow. Climbing toward Indian Hill Junction just before sunset…
You might also notice the brake staff and wheel are missing. I painted it and it no longer fits through the pawl. When the paint hardens I’ll open up the hole in the pawl and install the staff. Next is lettering and cutting, staining and installing the roof walks. Then it’s off to the electrical shop for sound and R/C. I’m still undecided on painting the hardware black like the tourist era paint on EBT Box #170.
That turned out great Jon. Well done.
Nice work!!

Looks good Jon.
But you’re running out of time 
Ralph
Ralph Berg said:I think I'm in good shape. Almost two weeks left, right?
Looks good Jon. But you're running out of time :O Ralph
Roof walks should only take a few evenings and the electronics about the same.
Jon that looks great. So whats your secrete for the rust treatment? I like the way the trucks look. You will have to run that on my layout May 20th my place (thats the next gettogether at my layout)
Shawn said:
Jon that looks great. So whats your secrete for the rust treatment? I like the way the trucks look. You will have to run that on my layout May 20th my place (thats the next gettogether at my layout)
Thanks Shawn. For simulated rust I paint fully with Krylon Ruddy Brown. Before it dries completely I mist on Krylon Flat or Satin Black. The result is un-even, some places darker than others which is desirable. If you oops and go too heavy with black, then immediately mist with the Ruddy Brown. I’ve been using this method for trucks, wheels and track for quite a while. This Track Weathering picture shows the variation in colors you can get using just those two colors.
Great car Jon. Should serve you well on the line.
That car looks great Jon. Trouble is it’s making me less satisfied with my own.
That is the same way I used to my rail when I had alum. I looks very good
Richard Smith said:Well Richard, with your building skills it would be a piece of cake. This PVC stuff is very easy to work with. It's really only a matter of figuring out what you want to do, or how to do it, then the time it takes to get it done. I got stuck a couple of times on the how-to part, but put it down for a few days and eventually an idea would come.
That car looks great Jon. Trouble is it's making me less satisfied with my own.
This is only my second scratch build. If I can do it just about anybody can.
Jon ,Your boxcar looks very nice, great way to reuse old boxcar. Dave
