Large Scale Central

Up-Scaling a Delton Classic to FN3

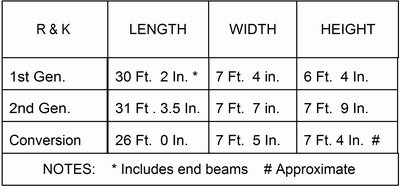
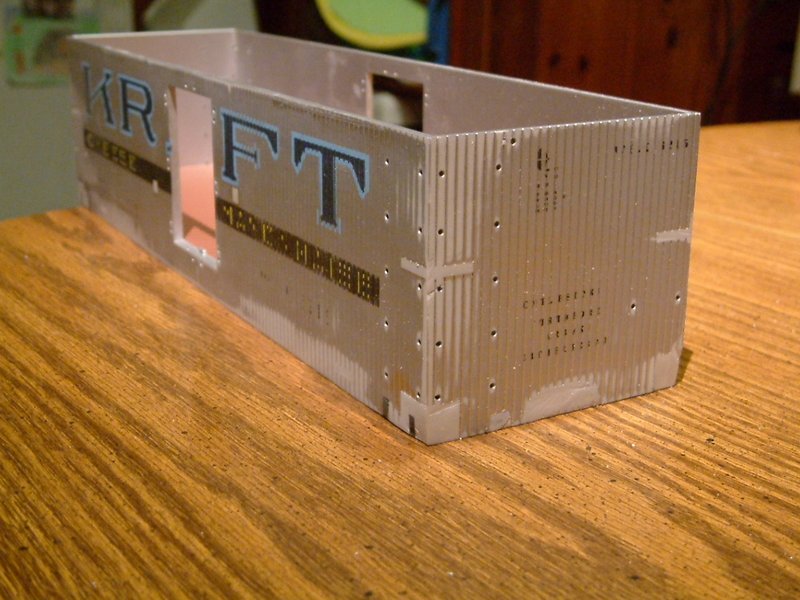
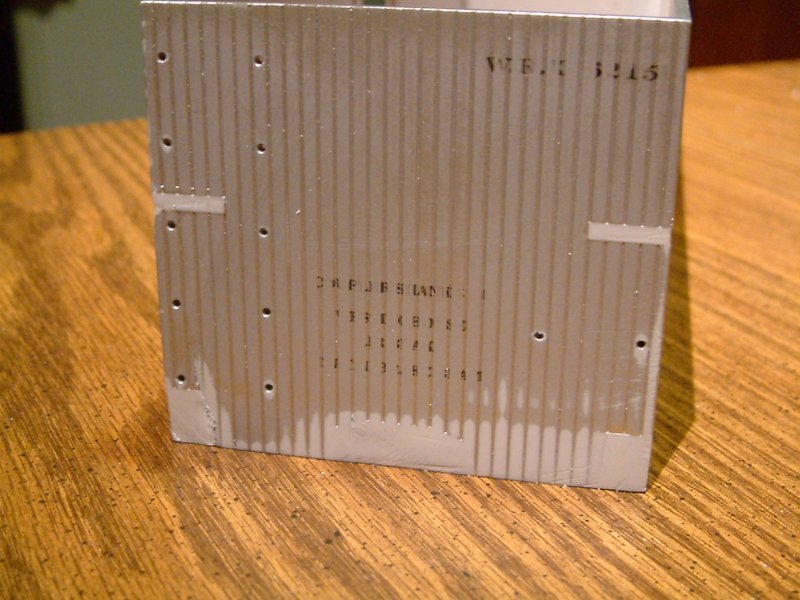
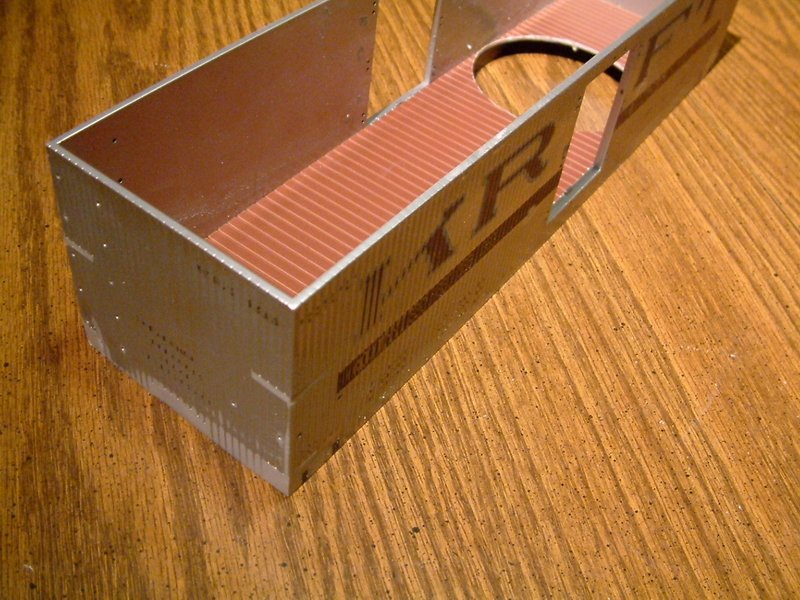
I’m ready to start on a sound and R/C car for my FN3 trains. I’d rather not hack up one of my RTR cars from Bachman or AMS, so I decided to try my hand at up-scaling some of my 1:24 Delton Classic cars. I had a body & frame from a KRAFT Reefer that had damage and was cannibalized for parts. A perfect candidate for the saw. I spent an hour or so this afternoon removing all of the details. Some, like grabs and doors with hinges were removed. Cast-on detail was cut off with a razor saw. The entire body was then hit with an orbital sander and 150 grit paper. After cutting a speaker hole in the floor I ended up with this…

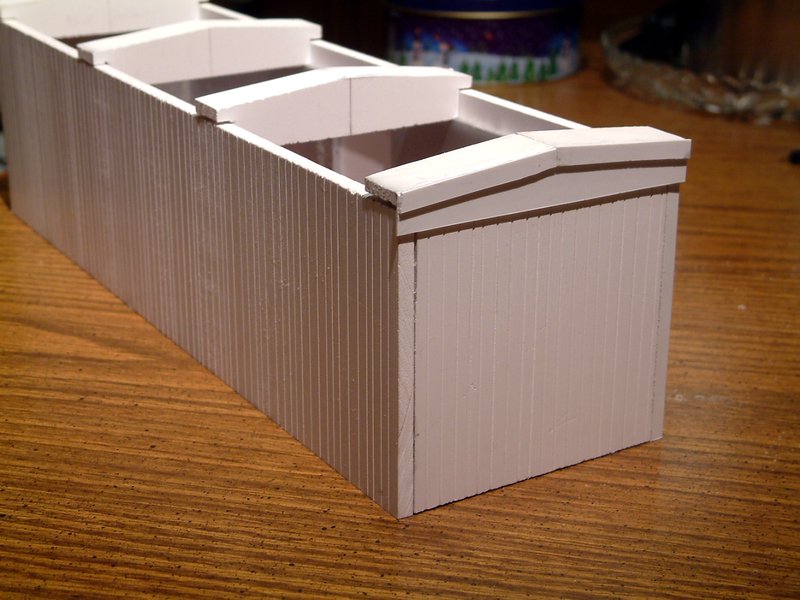
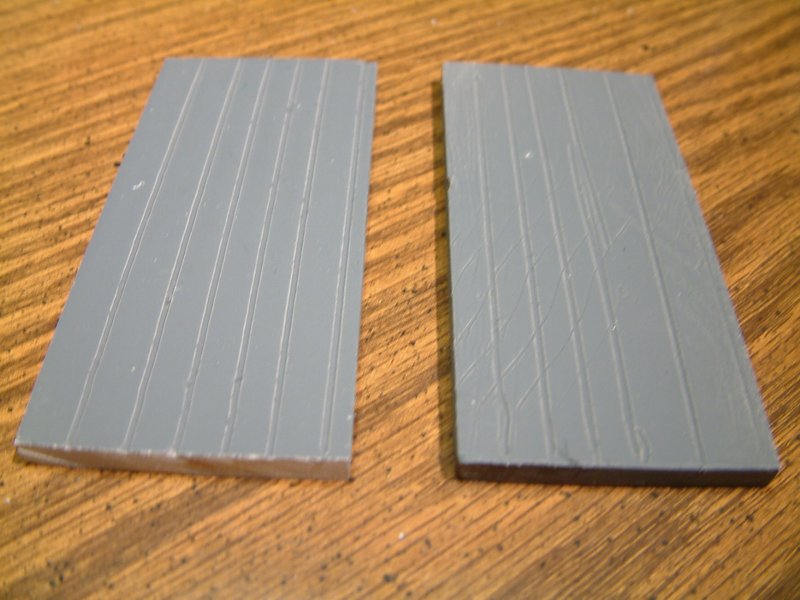
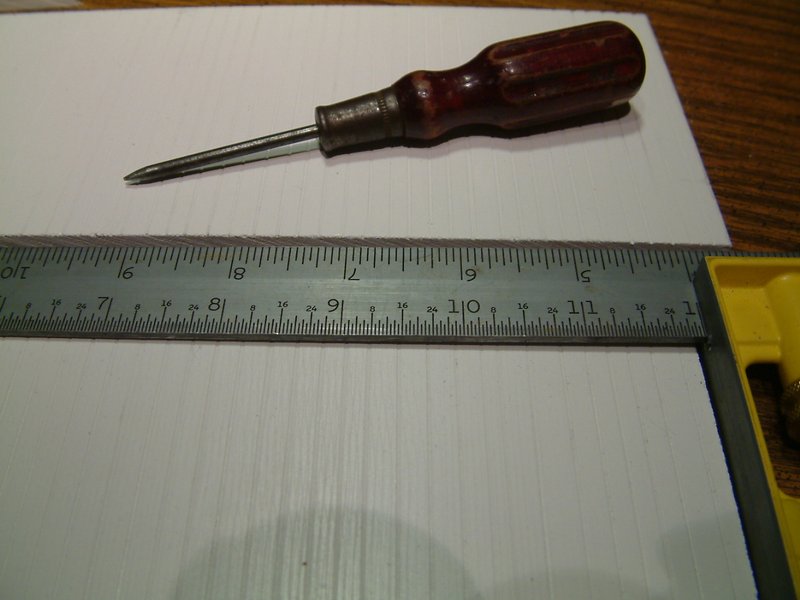
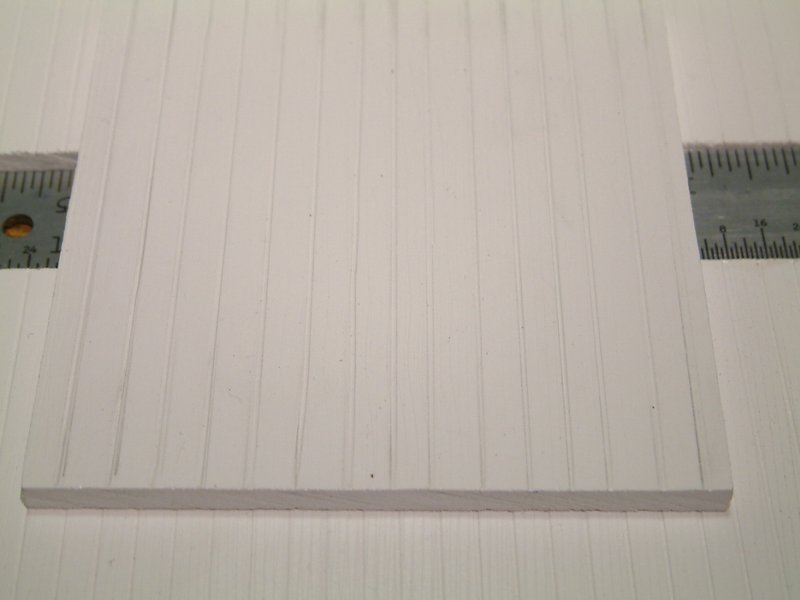
I will make the car wider and taller by gluing on 6mm PVC foam board. I’m considering trying to cut down some of Bob’s composite end 2nds to make this a composite car. If that doesn’t work out it will be a simple wooden car. I don’t have the budget for scribed siding so I tried scribing the PVC board with an awl. The boards in the photo below were not measured or squared, just a quick test to see if it will pass. The piece on the right was randomly scratched with several different saws to get ideas for grain. I’ll probably pass on adding grain.

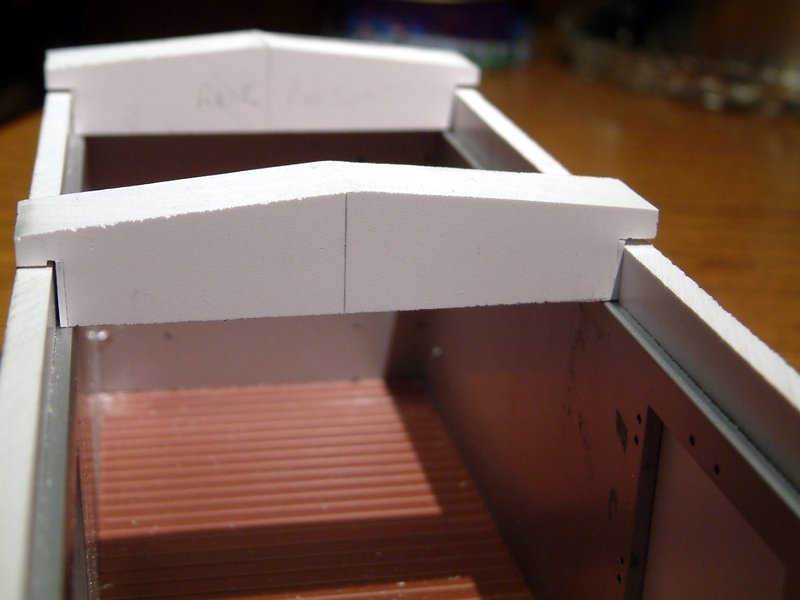
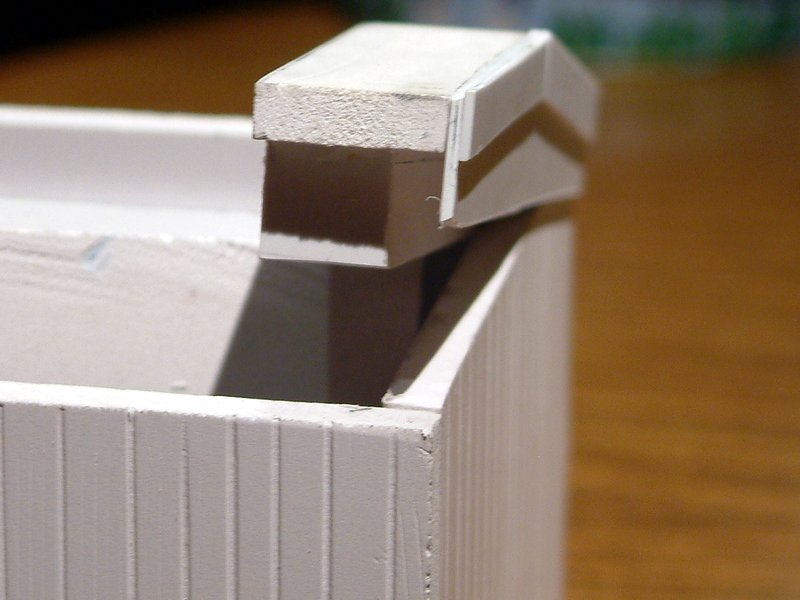
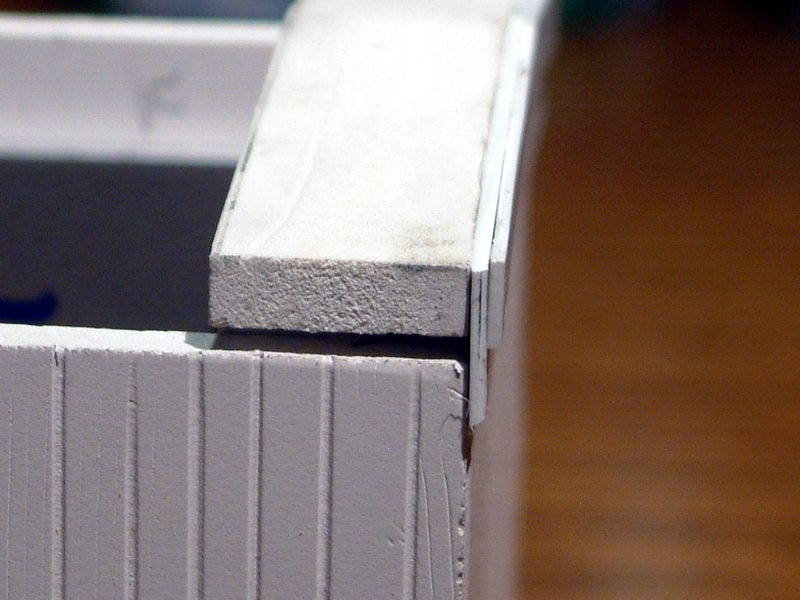
I’m not sure yet if I will try and use the original roof as a base for an up-scaled roof, or just build one from scratch. Hopefully since there is a purpose for this car it won’t end up as another unfinished project.

Jon…Look at the cigar stores rebuilt floor …Nice start;)

Wonderin’ when you were going to start this project.

http://www.largescalecentral.com/LSCForums/viewtopic.php?id=14508

Good start Jon.

Got to work on the siding tonight. I used some of my RTR box cars to get an idea of scale board width. My Bachman car had deeper scribes and was easier to measure. It was 4.25mm per board which works out to just under 3.5 inches, which seems a bit narrow to me (AMS cars are even narrower). Trying to come up with a template for measuring I picked up a piece of 3mm PVC. OK, it’s a bit too narrow, how about adding a layer of .040 styrene. Not bad, but still seems too narrow to me so I added a second strip of .040 to the sandwich. I end up with 7.1mm or 5 11/16" wide boards. Sounds good to me. Of course my measurements aren’t perfect so some boards are a bit wider and some a bit narrower. Here is the template…

I used an adjustable metal square and a home-made awl to scribe the lines…

And I did decide to use my razor saws to add some grain…

The side and end panels are done. I’ll start attaching them to the Delton car this evening, then it on to figure out how to do the roof which needs to be removable.

The siding is glued. Waiting for it to dry before taking more pictures. This is going to be a real short car in Fn3. At 15.375" long it works out to almost exactly 26 feet.

Nice!

Where do you buy your PVC board?

I don’t :slight_smile: They are scraps from my work at a sign shop.

GatorPlast is one brand. It’s not cheap–typically between $65 - $80 for a 4’ x 8’ sheet. Precision Products sells smaller sheets of the stuff - 16" square panels. I forget how much they charge, but I did the math once, and it worked out roughly to be the same cost per square foot as a 4 x 8 sheet.

Later,

K

I spent the evening doing some research on early EBT box cars. This will not be a model of a specific EBT car since the lenght would be incorrect, but I plan on using the EBT family look. The top portion of extant metal framed car #170 is similar to drawings of wood frame car #154 in the Rainey-Kyper book so it will work for basic information. I found a pretty good end shot of #170 in my collection. A little Photoshop magic fixed most of the perspective error. I then dropped the photo in Visio and sized it to 7’ 7" wide per the dawning of #154. I then used Visio’s measuring tools to size various elements of the car…

One thing immediately noticed was that the siding is half the width of the what I scribed on mine. I guess I’m going back and splitting all my boards in half :slight_smile: As soon as that’s done I’ll take some progress pics of the body. EDIT to add a note: That brake wheel and shaft at bottom right is from a flat car that I was shooting over top of, not part of the box car.

Jon, for the size of the Delton car, you may be better served using the 1st generation EBT cars as a guide. The 2nd gen stuff such as #170 is on par with Bachmann’s 1:20 30’ long car. Much simpler detailing on the 1st gen stuff–fewer grabs, no ladders, etc. I’m working on a 1st generation car right now that’s a USA Trains reefer at its core, laminated with scribed siding and a new roof–very similar to what you’re doing. From a purist’s standpoint, none of the 1st gen stuff lasted past 1914, but a little modeler’s license is always allowed. :slight_smile:

Later,

K

Thanks Kevin. I did look at the first generation drawing in R&K. It certainly had less detail which translates to easier to build. I’m torn though since I really like the ladders & details of the 2nd. gen cars. Again, I’m not going to call this a model an EBT car, just plan to use the EBT car for detail ideas.

For the 1st gen; Have you come up with any more than the simple plan in R&K? I didn’t search out any info on them, but now you have got me thinking and I’ll take a look.

OK - Kevin got me thinking so just for fun I worked up a size comparison grid. Remember, when I started I was not building anything specific, just up-scaling an old car to serve as an R/C trail car :smiley:

It’s a stretch either way. I’m short on some dimensions and long on others… Length: My conversion is definitely short at 26 feet. If I added 1st Gen. end beams I could strech that to 27 feet, still over 3 foot short of the Gen. 1 spec. Width: I’m almost dead in the middle at 7’ 5" so it would look correct for either generation. Height: I’m estimating my overall height since I haven’t finished the roof design yet. At 7’4" I’m much too tall for a 1st Gen. car. So, which ever style I choose, the dimensions will be off quite a bit. I may combine elements of both. The 2nd Gen. roof end style works better for a removable roof because of the level trim board. The 1st. Gen end beams would add some needed length. How about just 1st Gen. inspired grabs on the ends, but 2nd. Gen ladders and steps on the sides? And the car must have Pole Pockets. Poling is a requirement in my yards :slight_smile:

I spent most of the day in the shop making sawdust and PVC scraps :slight_smile: At the end of the day I did wind up with 4 roof supports and a system for allowing the roof to be removed. Here’s 3/4 view of where the car is at so far…

I had a number of false starts on the roof supports. Getting the 5% angle cut so the peak is in the center was a challenge. Coming up with the right height baffled me for a bit, but I finally hit on this design. The main member is cut from 19mm PVC scraps. I started by cutting a piece to the width of the car on the table saw, then cut the angles and chopped them up on a 10" chop saw. I needed to make some interesting stop jigs and used a pusher stick and some masking tape to hold the small piece in place while I chopped it to height. Finally they made a couple of passes through the table saw to dado the side and end recesses. This is what I ended up with…

The top one is an end and has styrene trim pieces added…

They fit between the sides and rest on top of the old car side…

The end piece is designed to slip over the end wall. This will be the attachment for the roof…

Next Ill be working on the actual roof and side trim boards. The roof will be 3mm PVC and the trim boards hand cut from .040 styrene sheet. I may add some 6mm PVC where it can’t be seen to stiffen and stabilize the roof since the 3mm is pretty floppy stuff. That, or I might work on the coupler mounts so I can get it on the track for a size-up look. BTW - just by accident the overall height at the peak above the PVC roof will be almost spot on for a 2nd Gen. EBT car :smiley: Next time maybe I’ll splice 2 Delton cars together to fix the length.

You’re getting right handy with the fancy cuts Jon. Nice work!

Jon Radder said:
Next time maybe I'll splice 2 Delton cars together to fix the length.
Now aren't you glad you didn't sell all those Delton cars ;) This one's looking real good so far. Ralph

Some clever design work there Jon, looking good.

Ralph - Yup. I finally realized that they are worth more as parts fodder than I was selling them for. I still run a few with my 1:29 stuff.

Rick - Thanks. I can easily come up with these ideas in my head but translating them to solid materials is always a bit dicey :smiley:

It sure is a good thing I get these materials for free. Being spatially challenged as I am, it took almost all day Monday to cut the strips for the roof. The roof angle is only 5% and in 3mm material mitered edges are very hard to see. I must have made them 3 times before I got them correct. :o

All of the roof trim is on, glued to the roof supports only, and to my surprise I can easily lift off the roof as planned! I just need to run the two roof panels through the saw one more time to make just a little less overhang and I’ll be ready to glue them on and start on the ribs & walkways. I also got the door stops and doors on. Sides / Ends just need ladders and details now.

Pictures this evening.

BTW - If anyone needs .040 styrene my storage is overloaded! I’ll send what I can fit in a flat rate envelope (15" x 9-1/2" ) to anyone who wants for $20.00 delivered - Caveat: These are off-cuts; not necessarily square corners, or even straight edges!

E-mail sent Jon