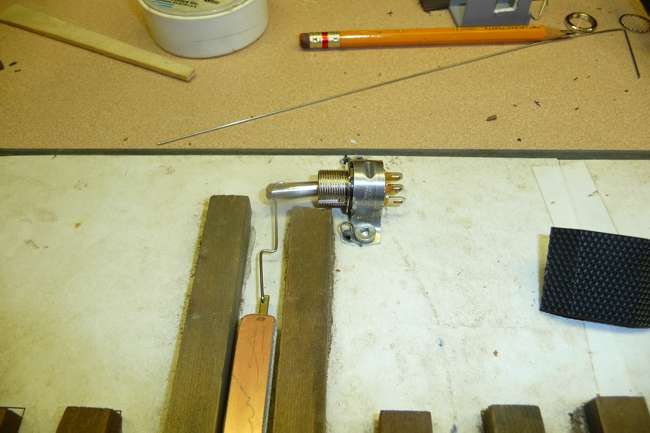
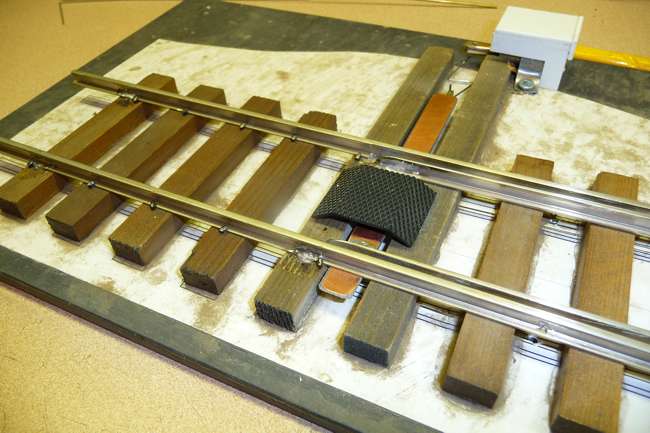
Since mechanical turnout indication was brought up on the sister thread at MLS, here’s where I’m heading. I’ll go into it more, once my first-article switch drive is working. But as an overview, this is an indicating (not controlling) switch stand, mounted to the opposite side of the drive. It could be various versions of harp or rotary, with easily swappable targets for different rr’s. I model the V&T, so the harp approximates their target.


It has electrical contacts for aux functions, such as (again) indication or relay powering. I’m testing different magnets for the reed switches, but seem to be settling on two 1/8" dia x 1/16" thick ones.

Here’s a section showing the basic magnet / reed / throwbar interaction. I’m using 2 reed switches, which can be SPST or SPDT. I’ll probably pot them in with silicone, and just have terminated leads hanging out.

A variant I’d like to try has a magnetic coupling in the throwbar, so that the stand can be used as an actual switch. For example, sending a command to the drive to flip. Once that move happens, the magnet re-registers, and the stand serves once more as an indication device.

This design isn’t complete, obviously, but feel free to comment.
Thanks for viewing,
===>Cliffy


