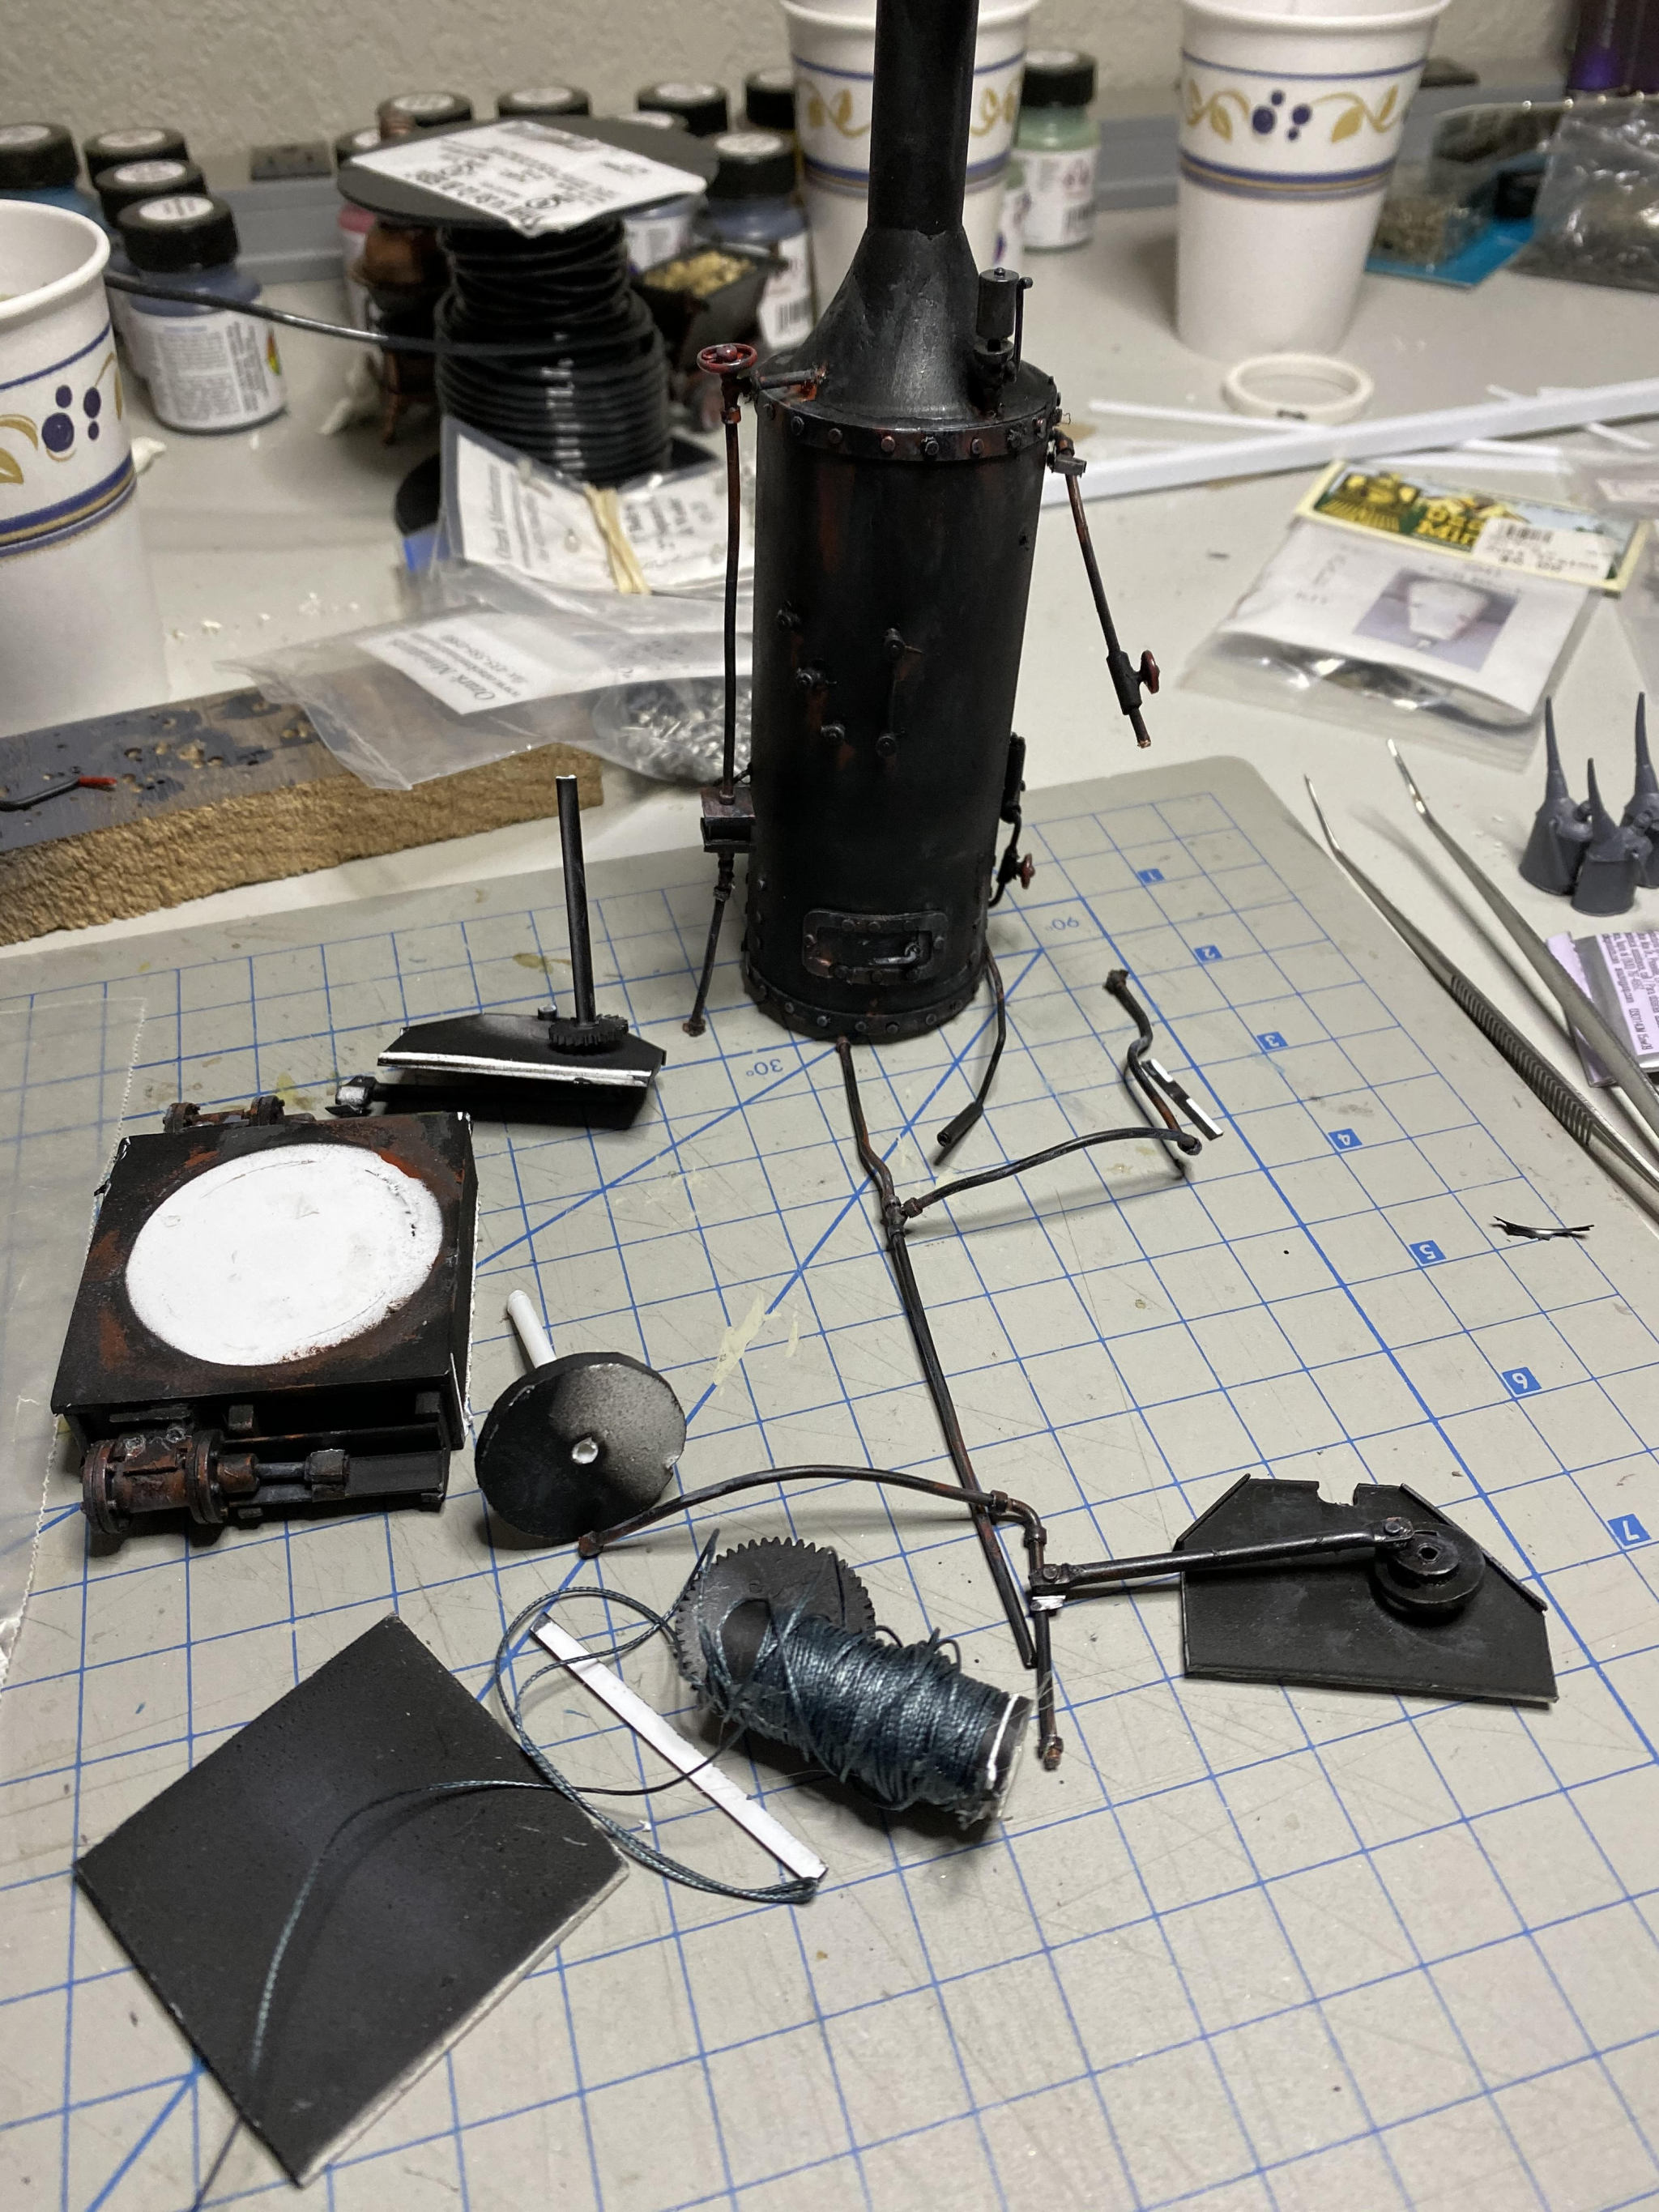
Well, that sucks, Jim. But look at the bright side … we get to watch your skillful hands put it back together (https://www.largescalecentral.com/externals/tinymce/plugins/emoticons/img/smiley-wink.gif)I’m pretty sure you can come up with a story that relays the nightmarish event that caused all the damage.
You have my sympathies. It’s no better when an idiot causes your grief.
My solution was to put it back together better than it was.
It’s worth it.
Awww Jim, I feel for ya buddy. I have had a couple of accidents like that in the past, nothing to do but rebuild and go on. On the bright side, if there is one, it gives you the chance to make all those little adjustments and changes that you kinda wish you had included when it was first built(https://www.largescalecentral.com/externals/tinymce/plugins/emoticons/img/smiley-smile.gif)
Jim Rowson said:
Well, sadly, due to a well meaning person trying to help me out, my steam engine has had an altercation with a vacuum cleaner, and then the floor. Hopefully I can get it put back together. Anybody seen any king’s horses or men?
Dang, Sorry to hear this Jim.
But a lesson for all of us to heed.
Do not put your builds outside to get natural weathering and then return them to the indoors to keep them from getting damaged(https://www.largescalecentral.com/externals/tinymce/plugins/emoticons/img/smiley-cool.gif)
Jim, “oh the humanity” that’s bad news. Well we have quite a few rainy days coming up to rebuild it.
must have been an awful big tree that fell on it
Ouch! That hurts.
A bionic log loader, hmmm … who’d a thunk it (https://www.largescalecentral.com/externals/tinymce/plugins/emoticons/img/smiley-tongue-out.gif)
Awesome project, very nice work so far. Too bad about the damage but it looks repairable.
Baby steps while I work up the ambition to redo my steam engine. Worked on the roof and on yet more metal strapping.
These metal straps are the guides for the pilings that hold the loader up above the track. The last straps will be the friction tighteners to hold the loader in place on the pilings.
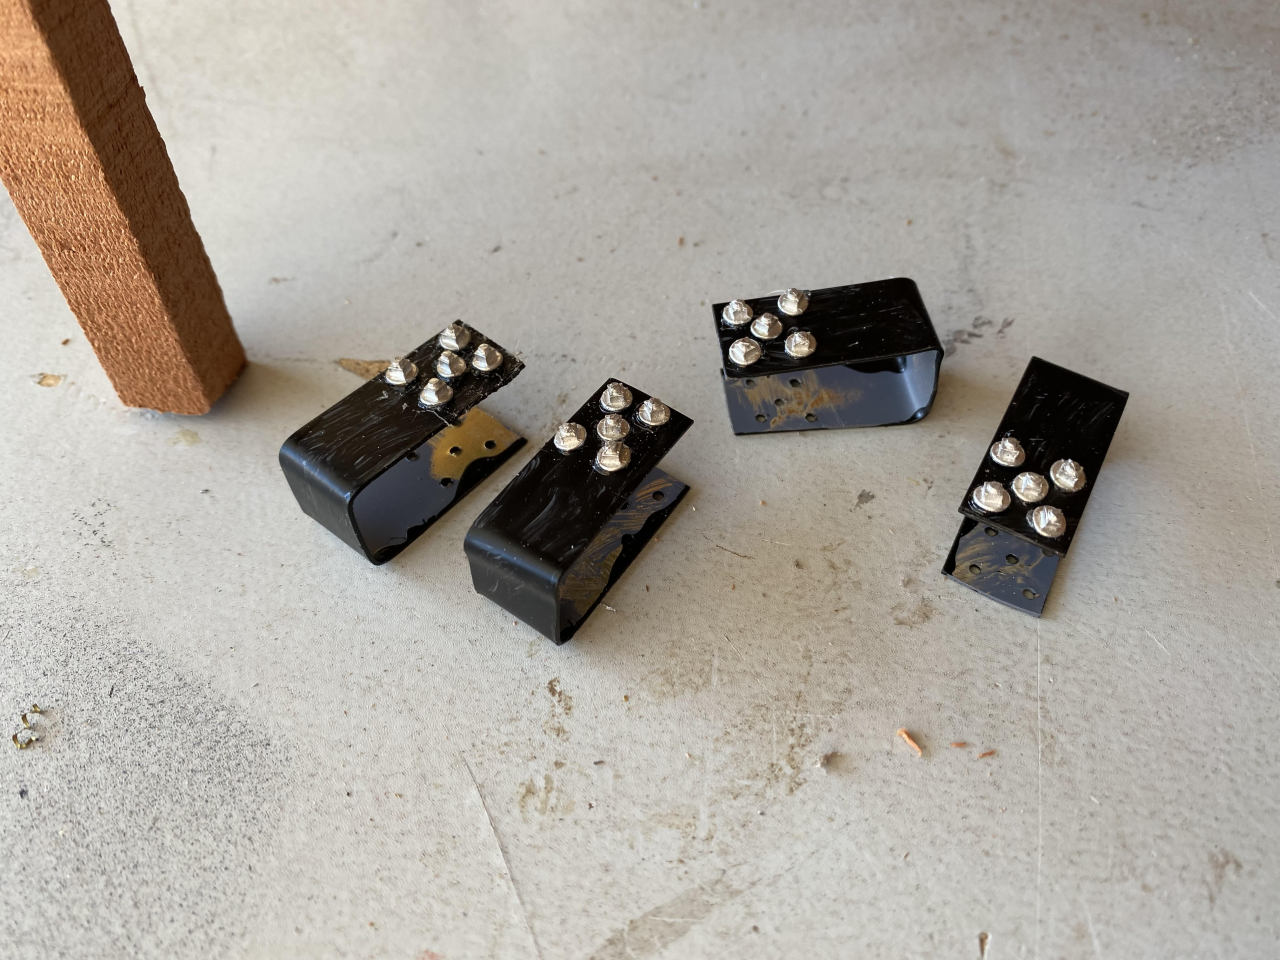
Finished the framing on the roof:
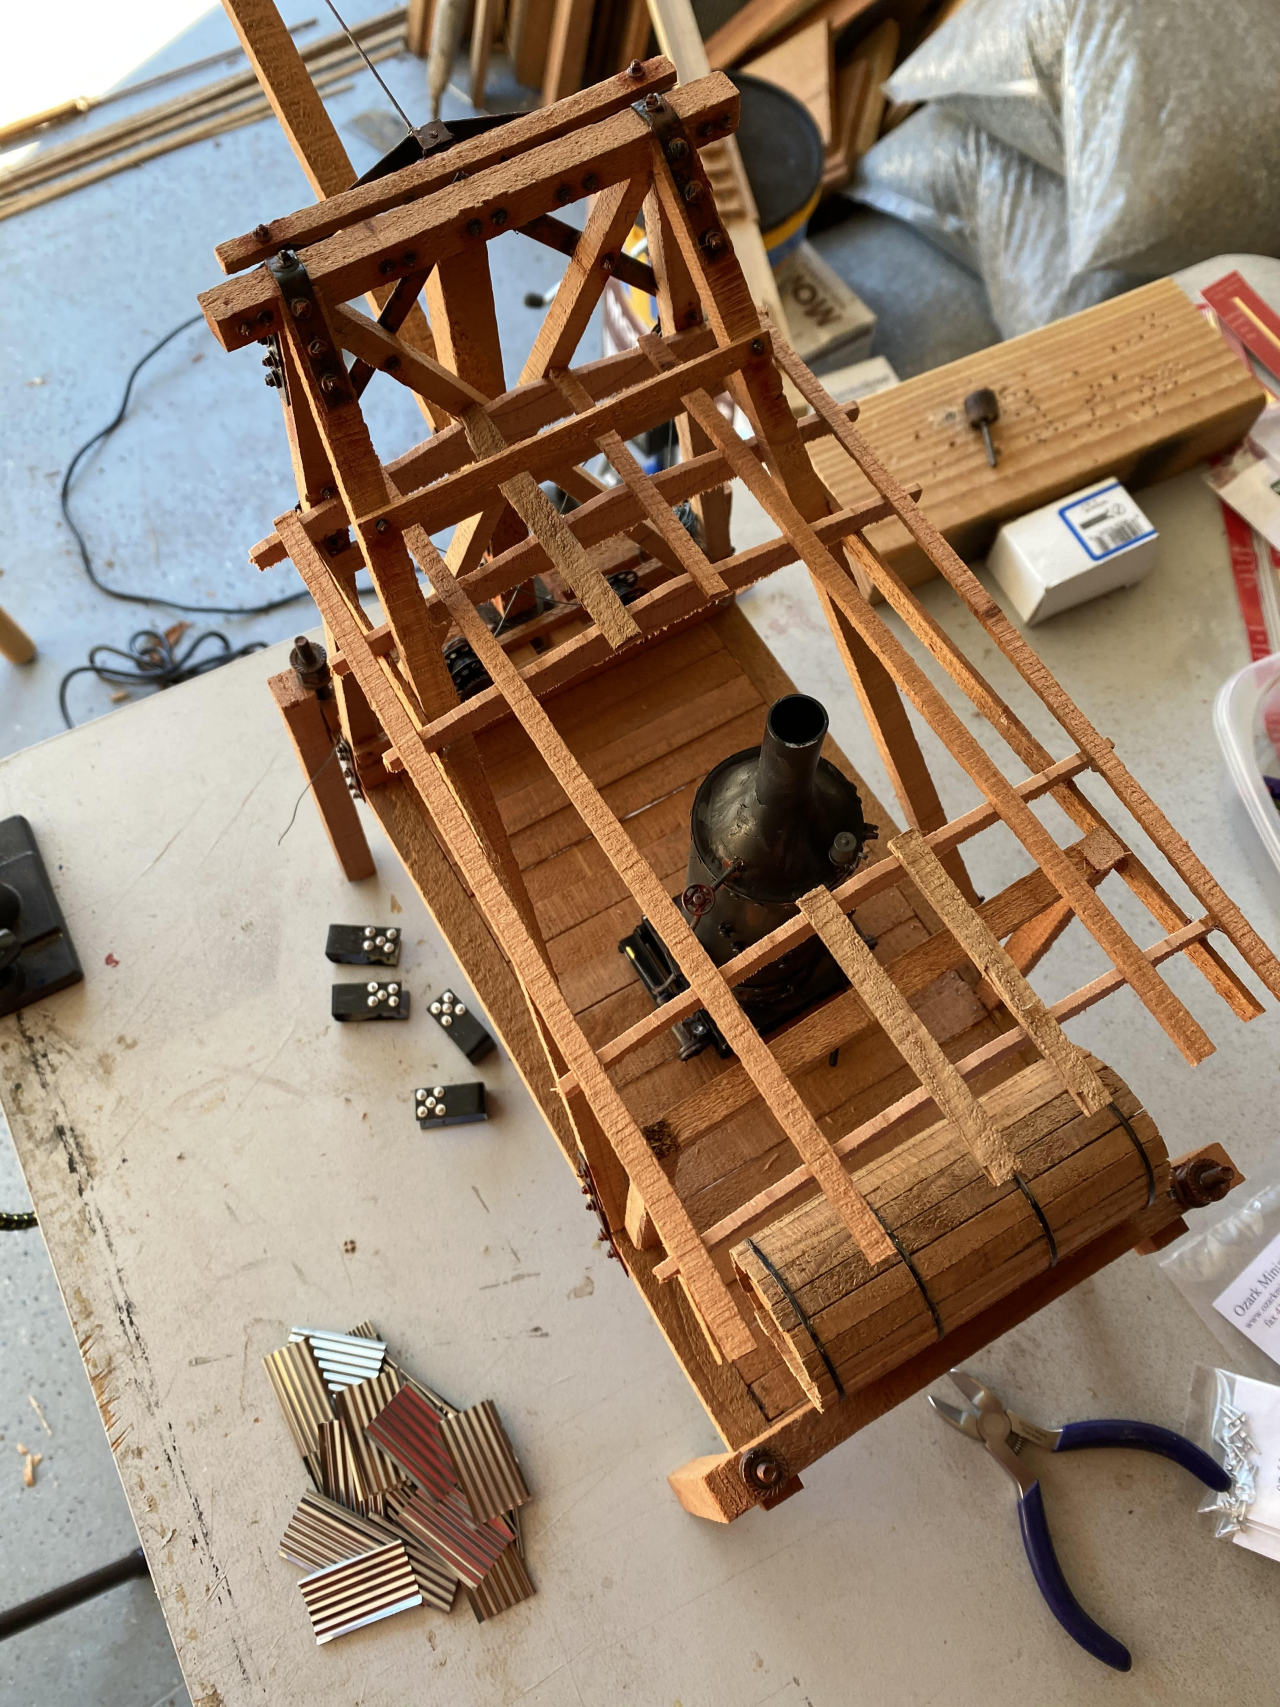
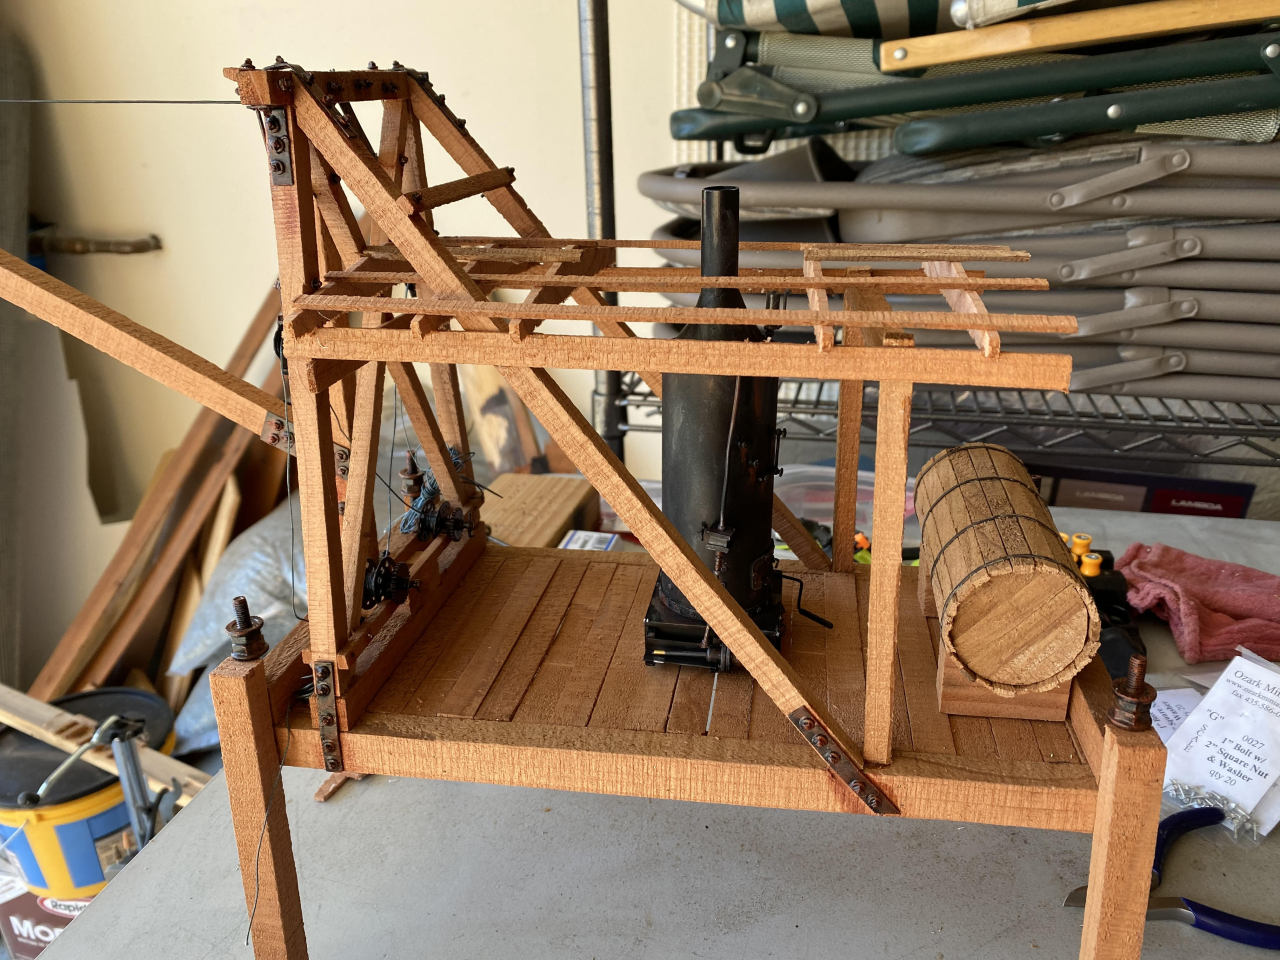
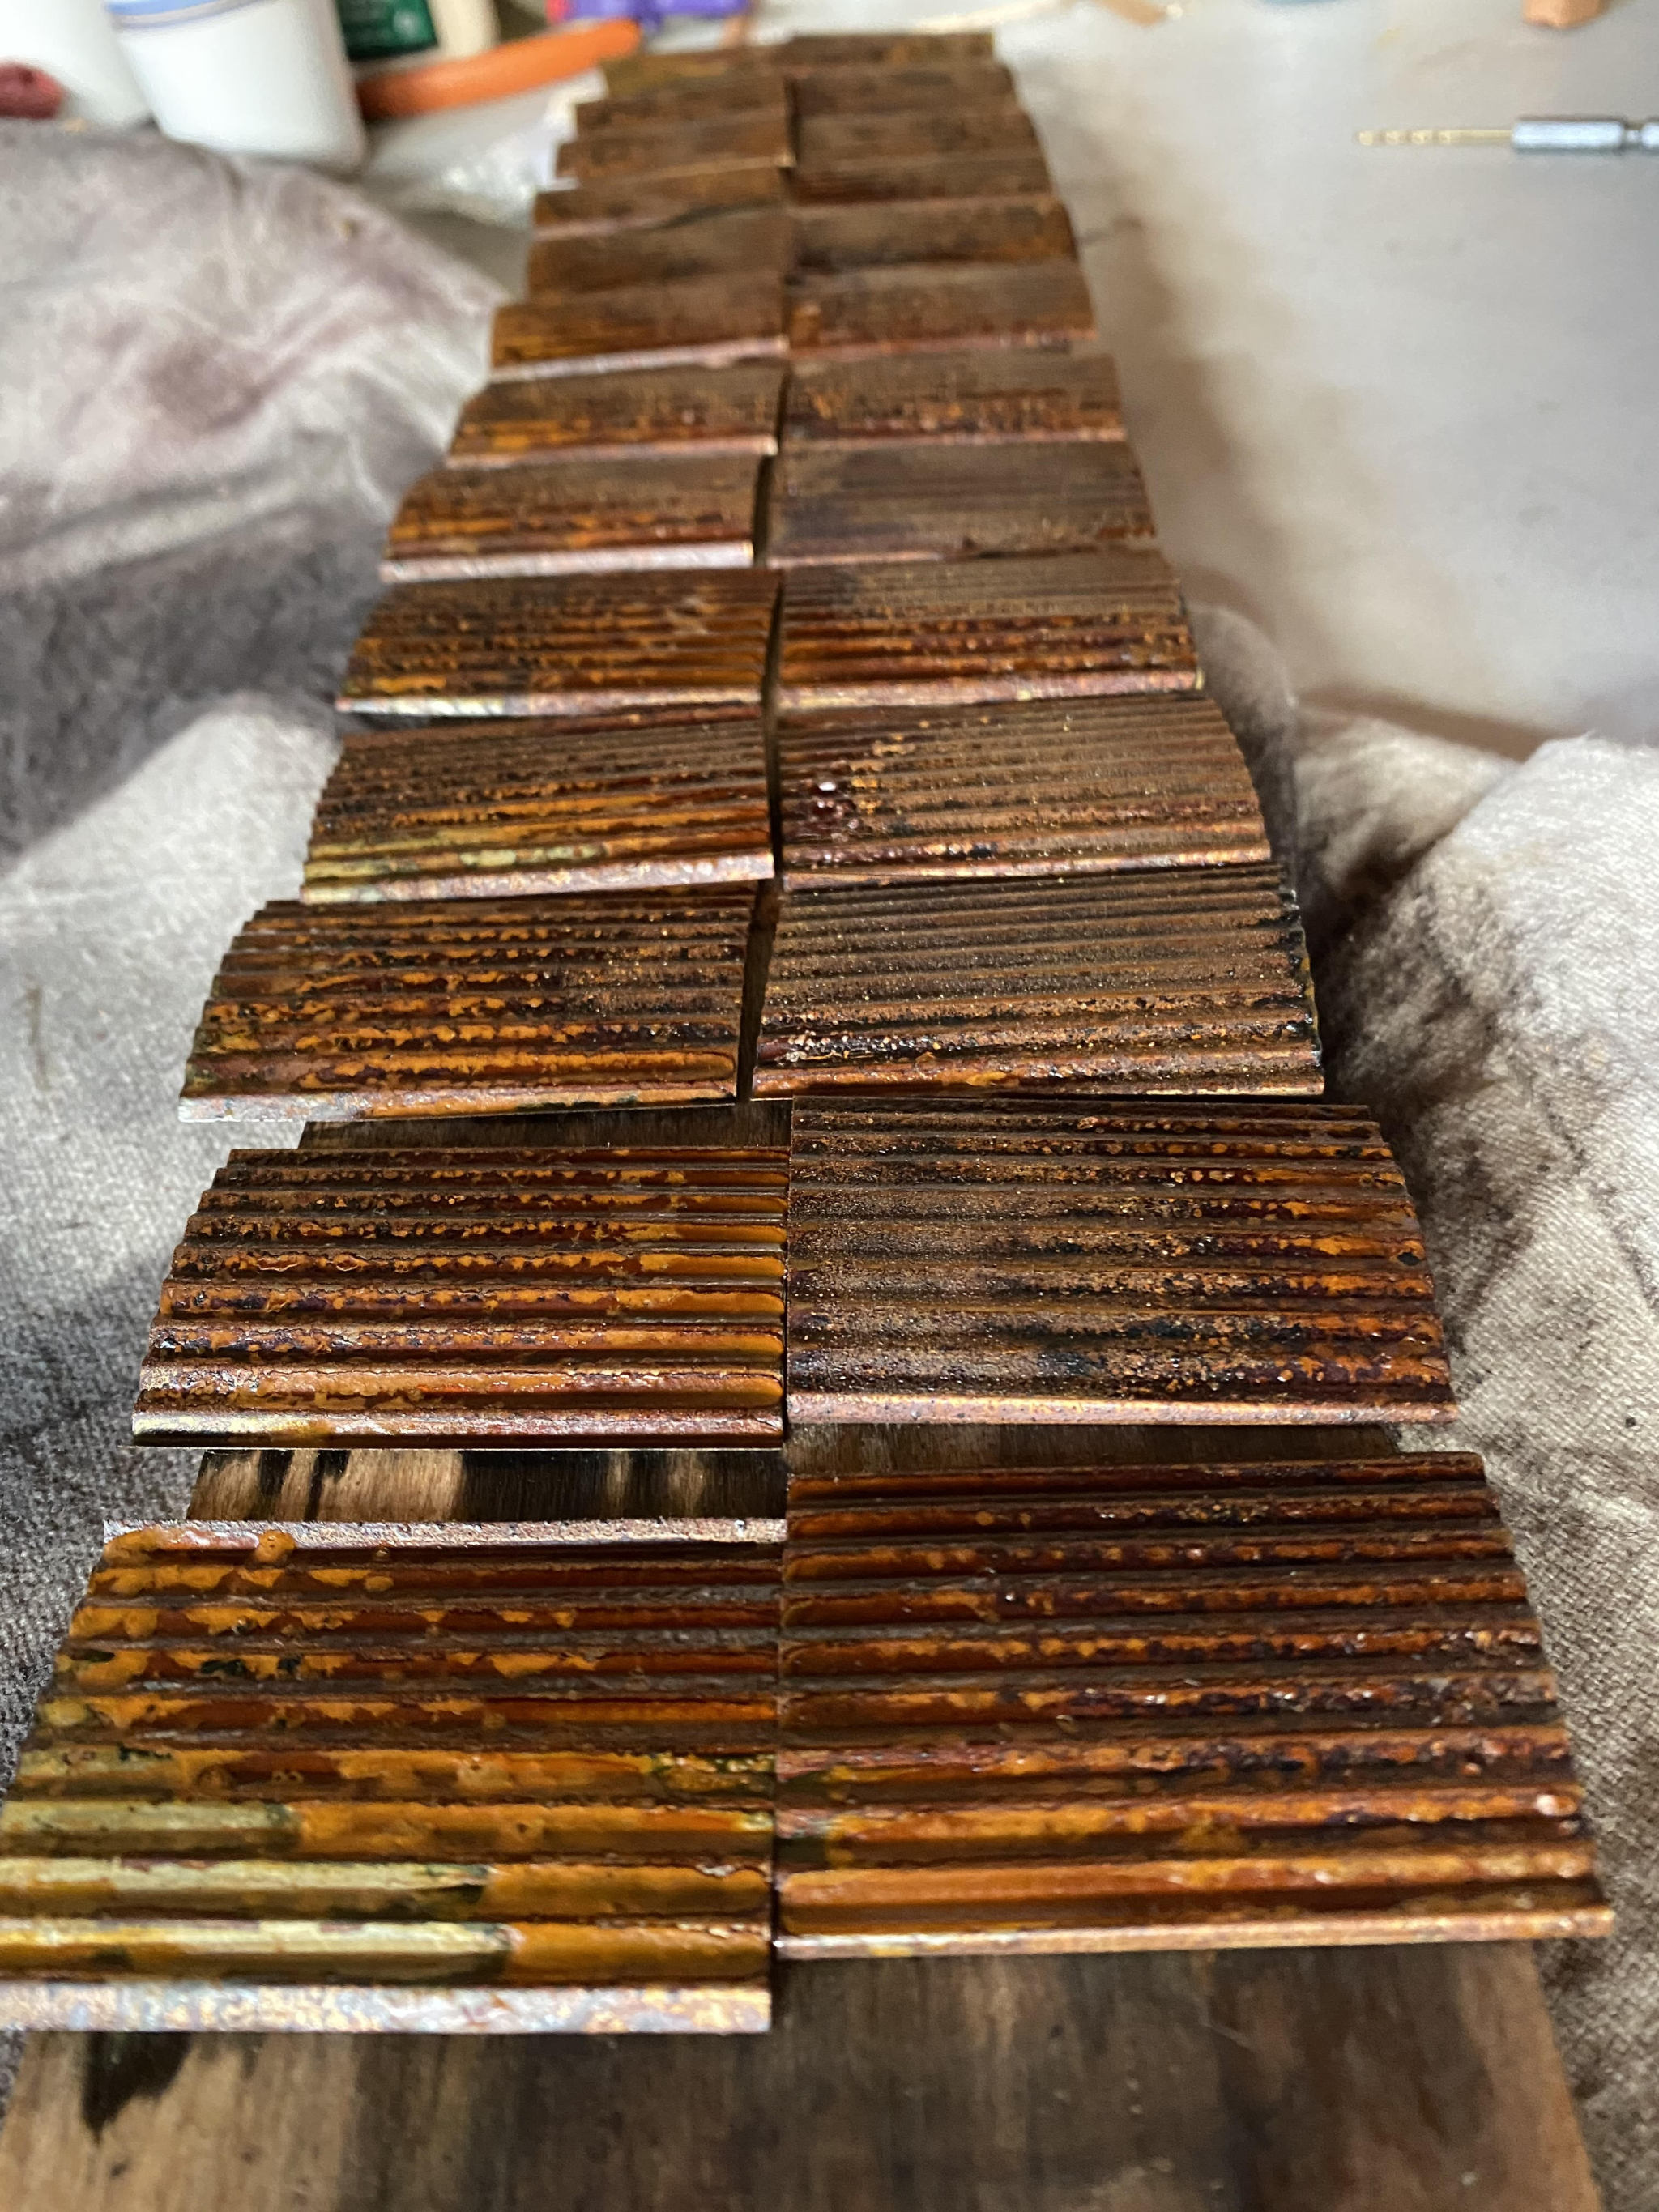
And started working on the corrugated roofing. May go with a larger size, and still needs to be rusted. This is .003" steel shim cut into 1" x 1.5" panels (2’ by 3’ at 1:24) and run through a paper crimper.
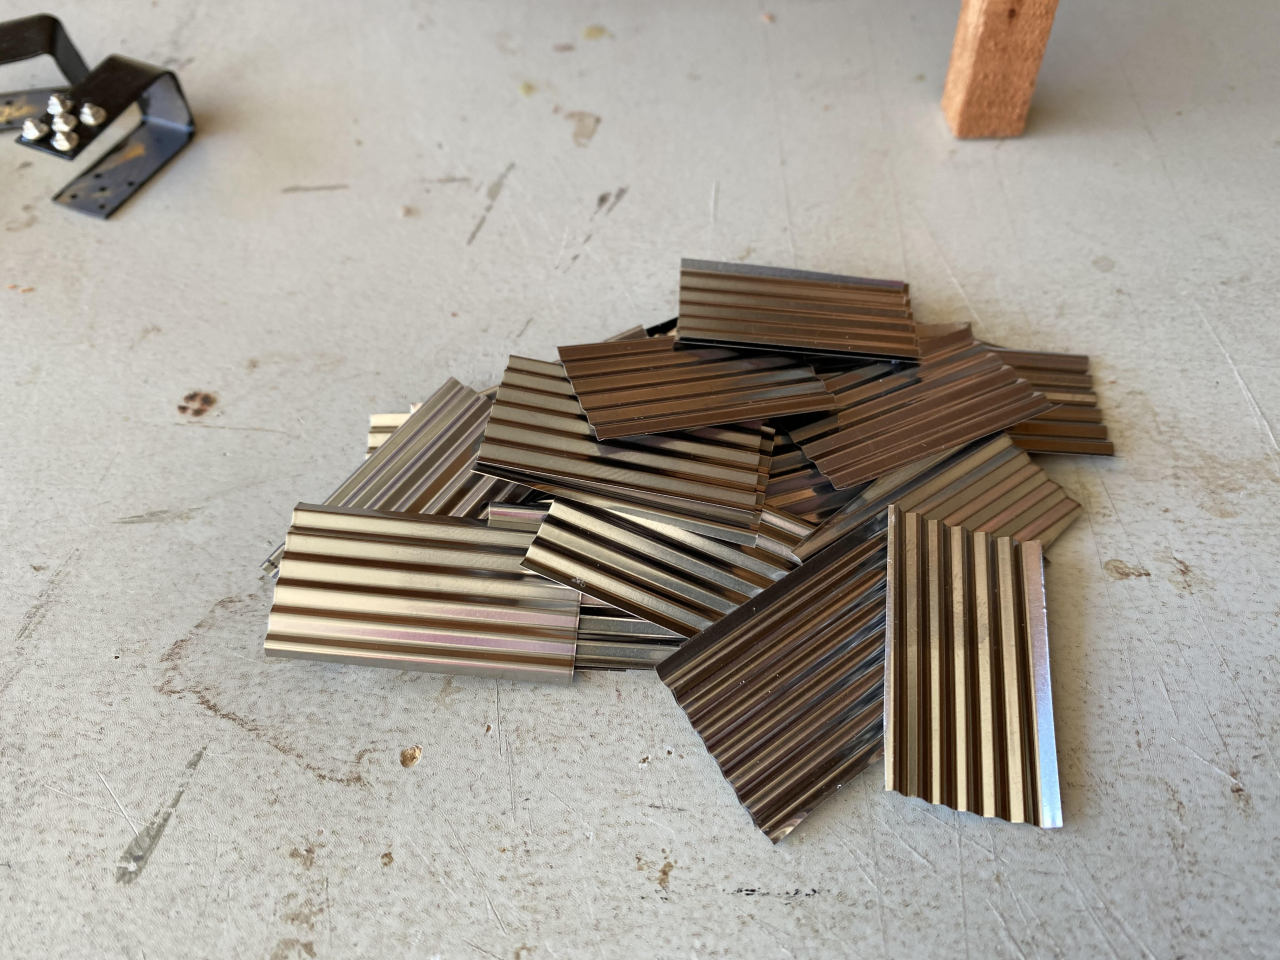
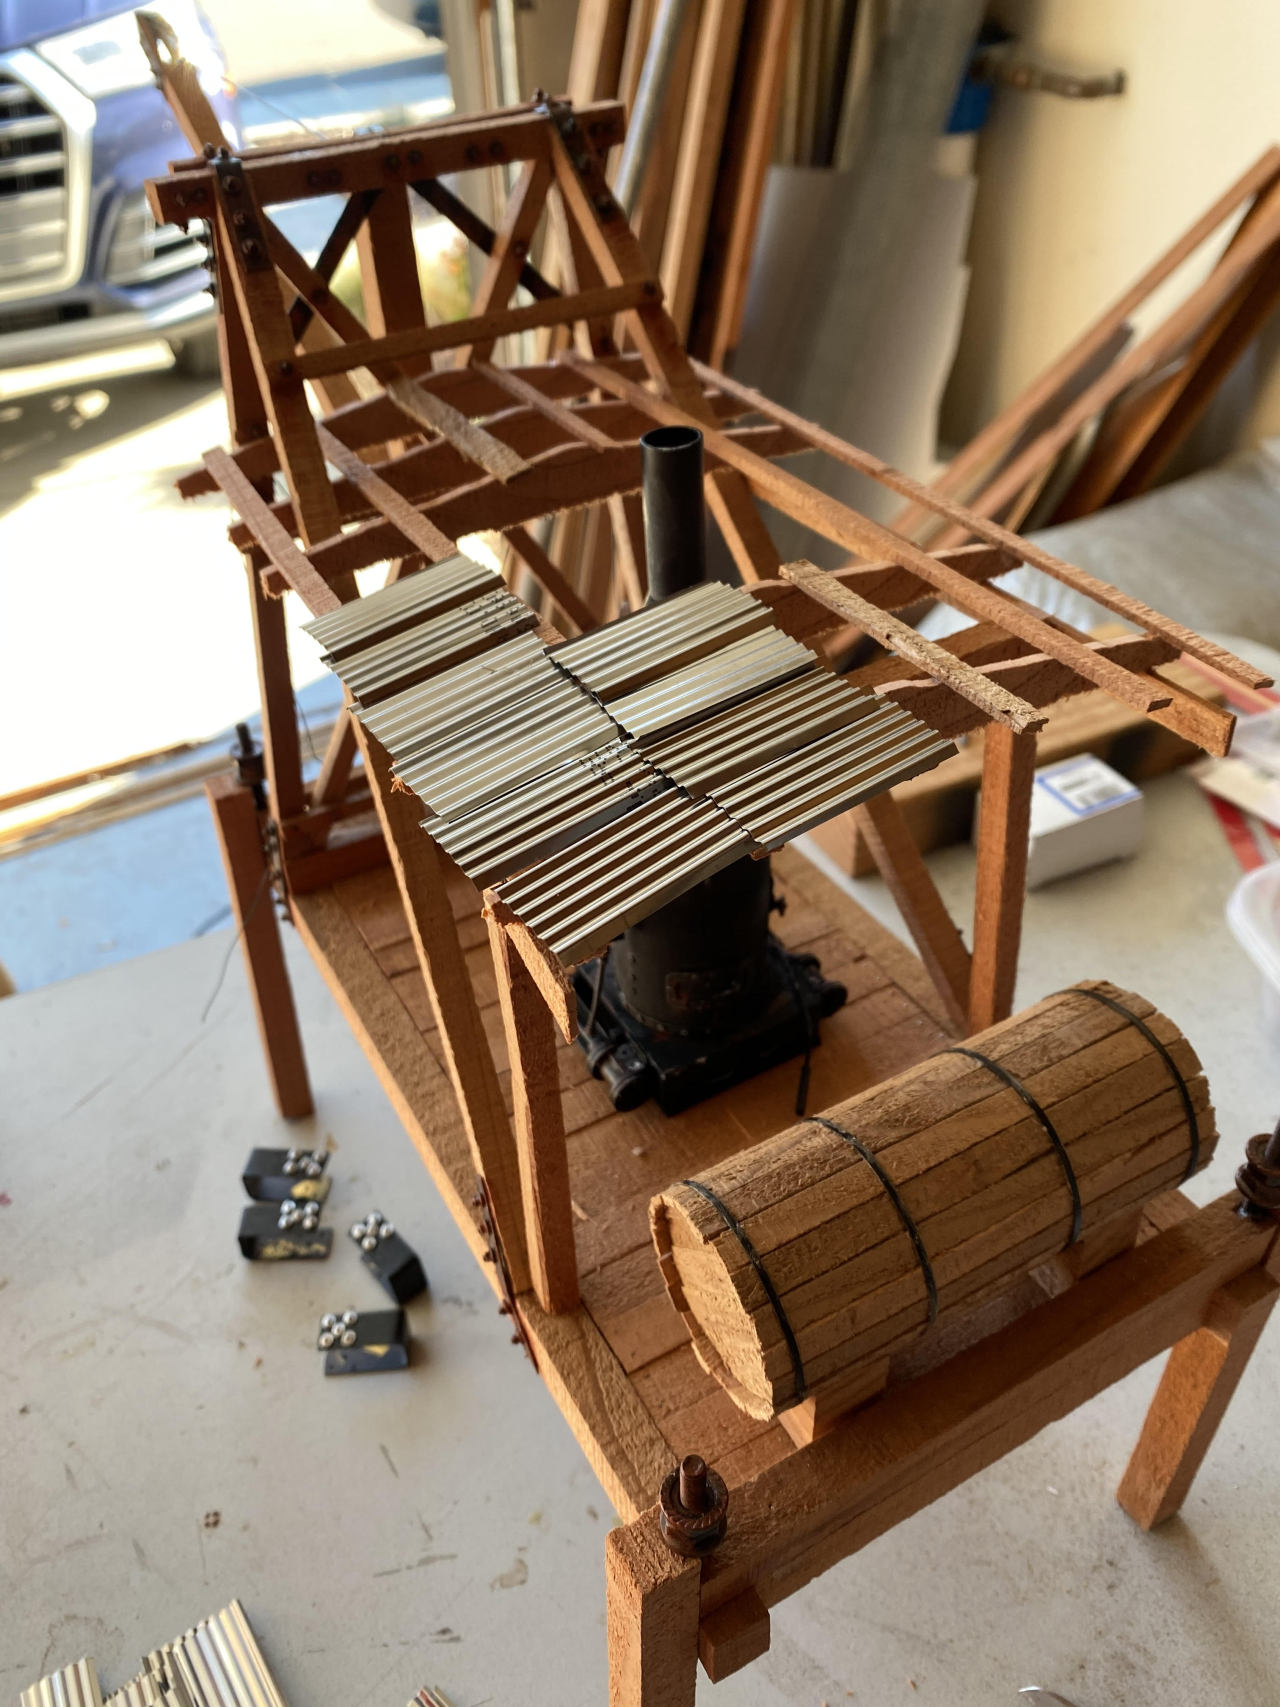
[edited to correct the corrugated panel size]
More baby steps today. Recut the corrugated roof panels and started the rusting process. Also created the last bit of strapping (still some stuff to do there).
Roofing:
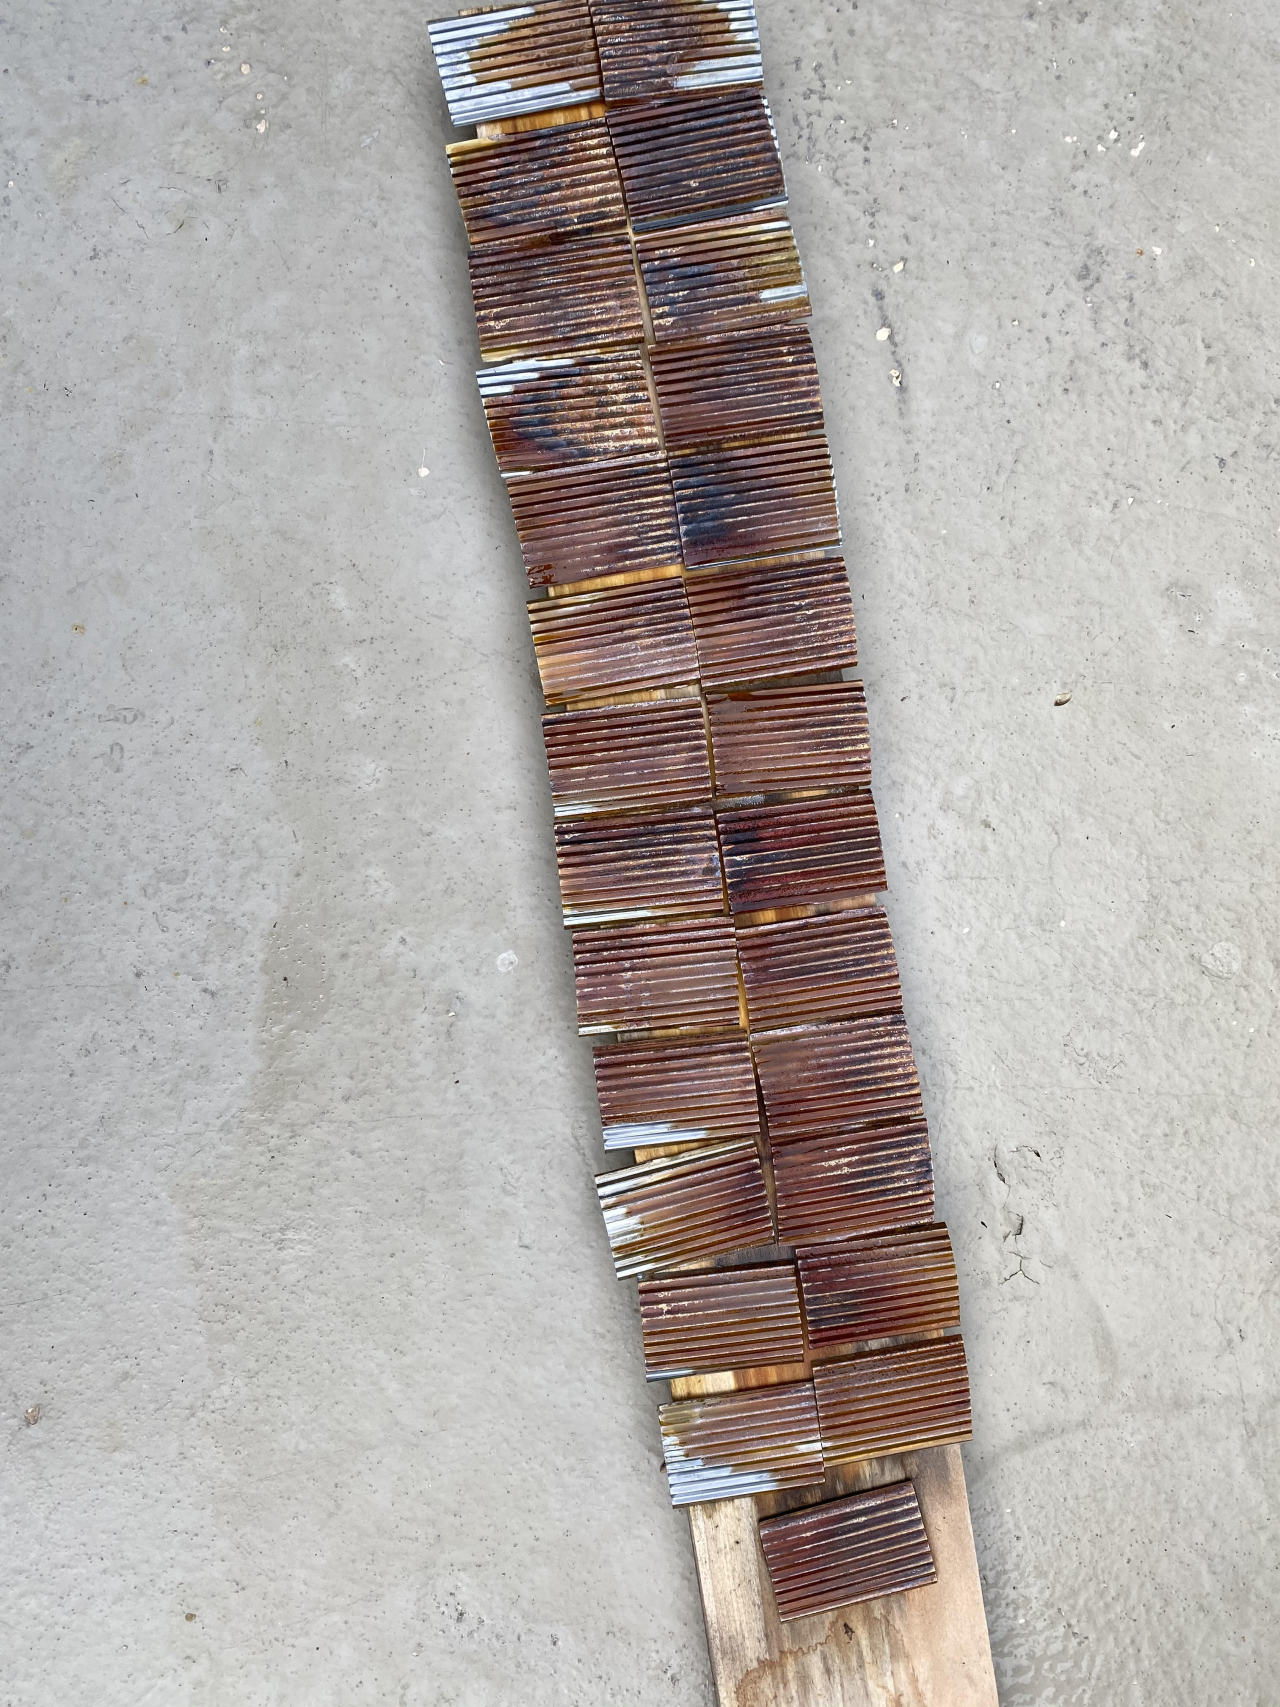
And the last bit of strapping. These 2 pieces on each corner are for attaching the platform to the pilings. Here’s a closeup of another model (by Frank Palmer [link]) that shows what I’m working toward, followed by the current state of mine:

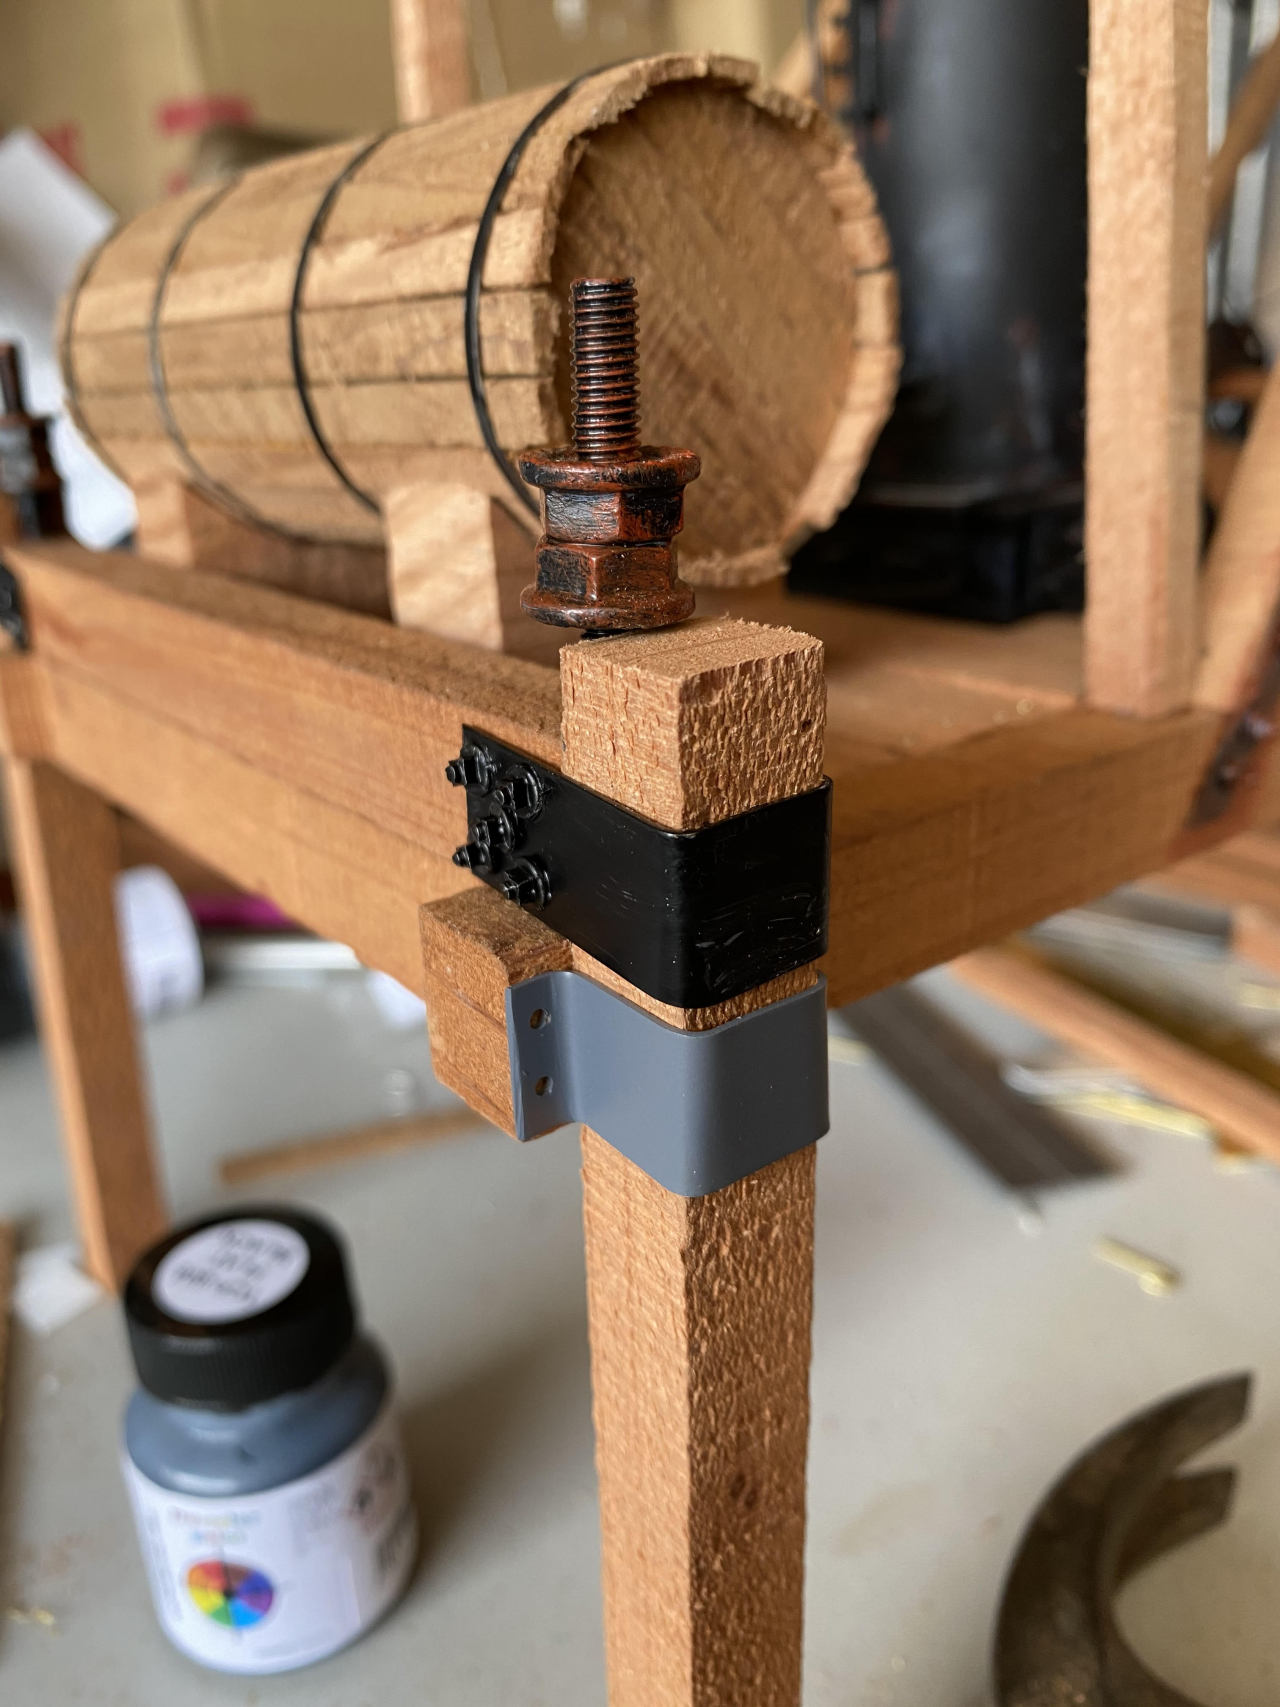
The top strap seems to be a guide for the piling. The bottom one seems to be tightened down to hold the platform in place (and the screw thing on top seems to me to be for fine adjustments to level the platform). Maybe.
Jim, your rusting process is spot on. Very realistic. The strapping looks as if it came from a machine shop, nice job.
Damn,
I didn’t catch this in time. You blew it Jim. I really think you should have taken the demolished engine and modeled a boiler explosion. That would have been EPIC!!! (yes I let my inner millennial out)
Naw seriously sucks but glad you got it put back together.
You are my hero BTW. I knew I had seen this loader somewhere. I want to model a pass under loader like McGiffert but not so complicated. And couldn’t for the life of me remember if I saw it here or somewhere else on the web. and then it pops up
What are you using to rust the corrugated metal? It looks great.
Thanks Ray! I’m using a technique I learned from Dennis Rayon when he built his backwoods porter [link].
Here’s his description of the process:
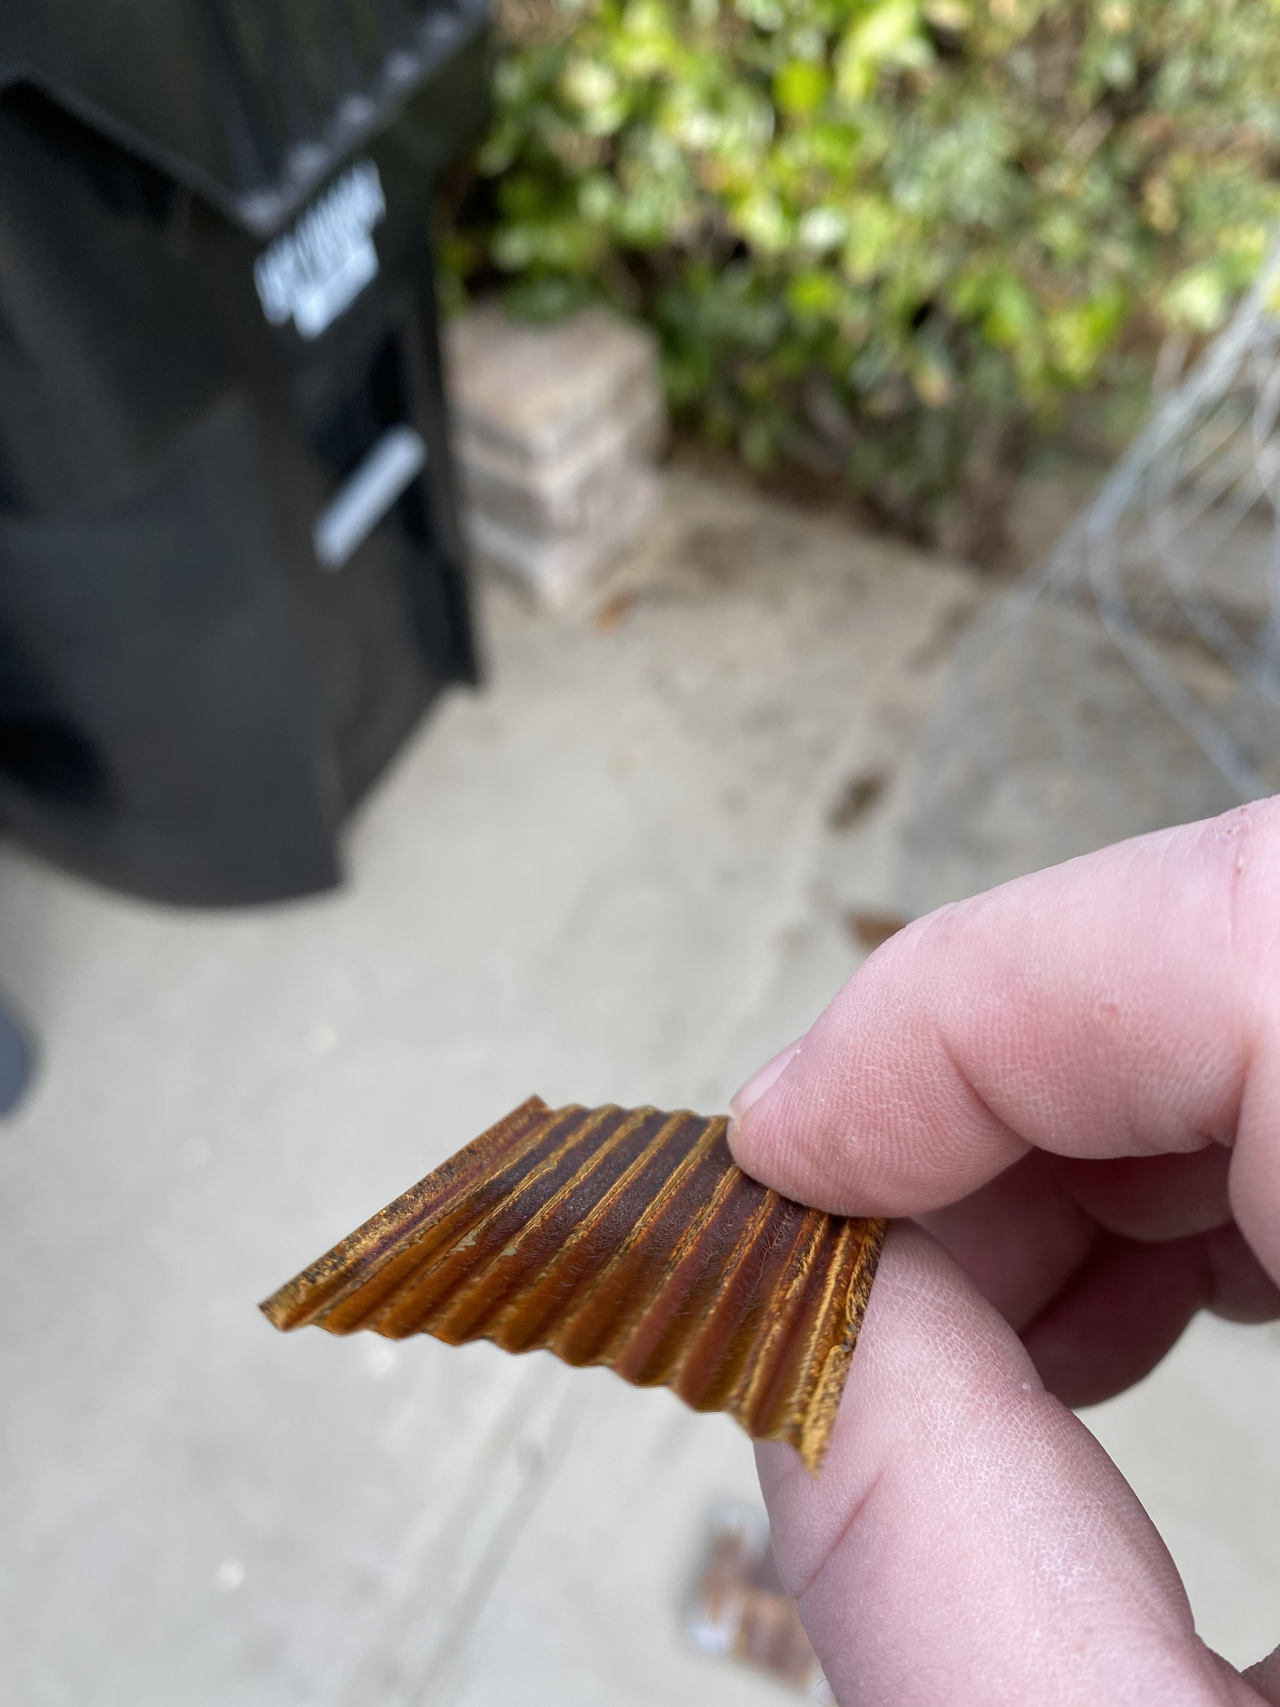
Roof made of .003 shim stock, ran through a paper crimper, brushed on a coat of muriatic acid, then sprayed with hydrogen peroxide. Real rust
You need to use steel shim stock so it will rust. The pictures I posted were after about 4 or 5 hours of letting it rust. Here’s a pic after about 1.5 days with a matte clear coat to keep the oxygen away, stopping the rusting process:
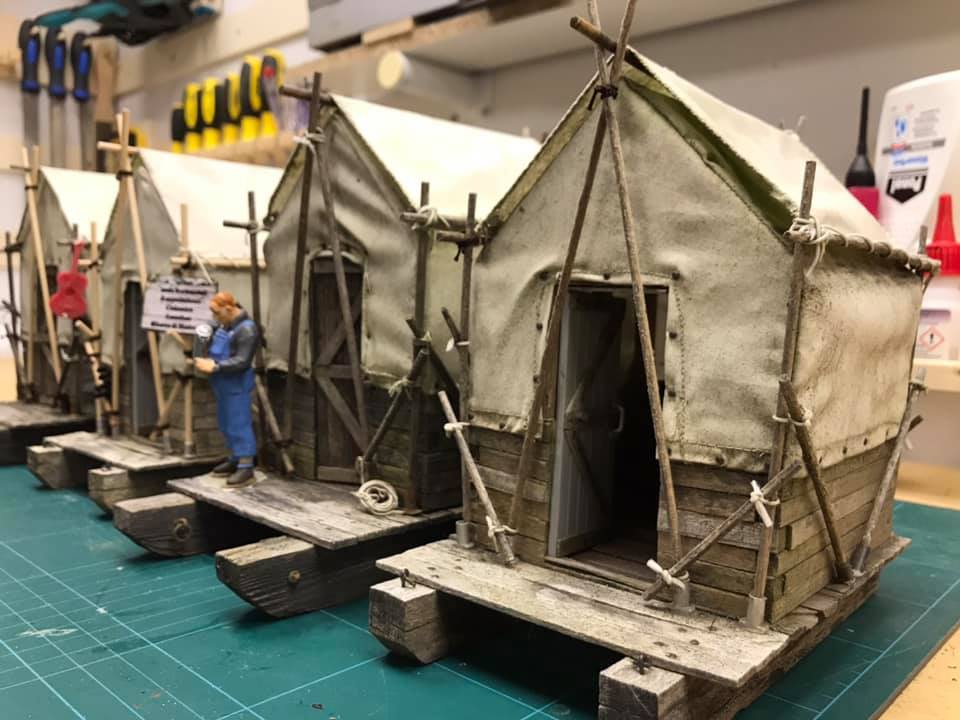
OK, I know I’m not done with the loader yet, but this topic is for the entire logging site. There are other things in this “scene” that I’m intending to build. One area is for worker housing of some kind. I ran across some inspiring (to me) ideas on the US Gartenbahn Schauanlage page on Facebook [link]. I think I will have to build something like this. Anybody else built any similar tent housing?
Since I am blessed with the opportunity to redo the piping on my steam engine for the log loader, I’m rethinking how I did the pipe fittings, specifically the flanges.
Here’s what the original I did looks like:
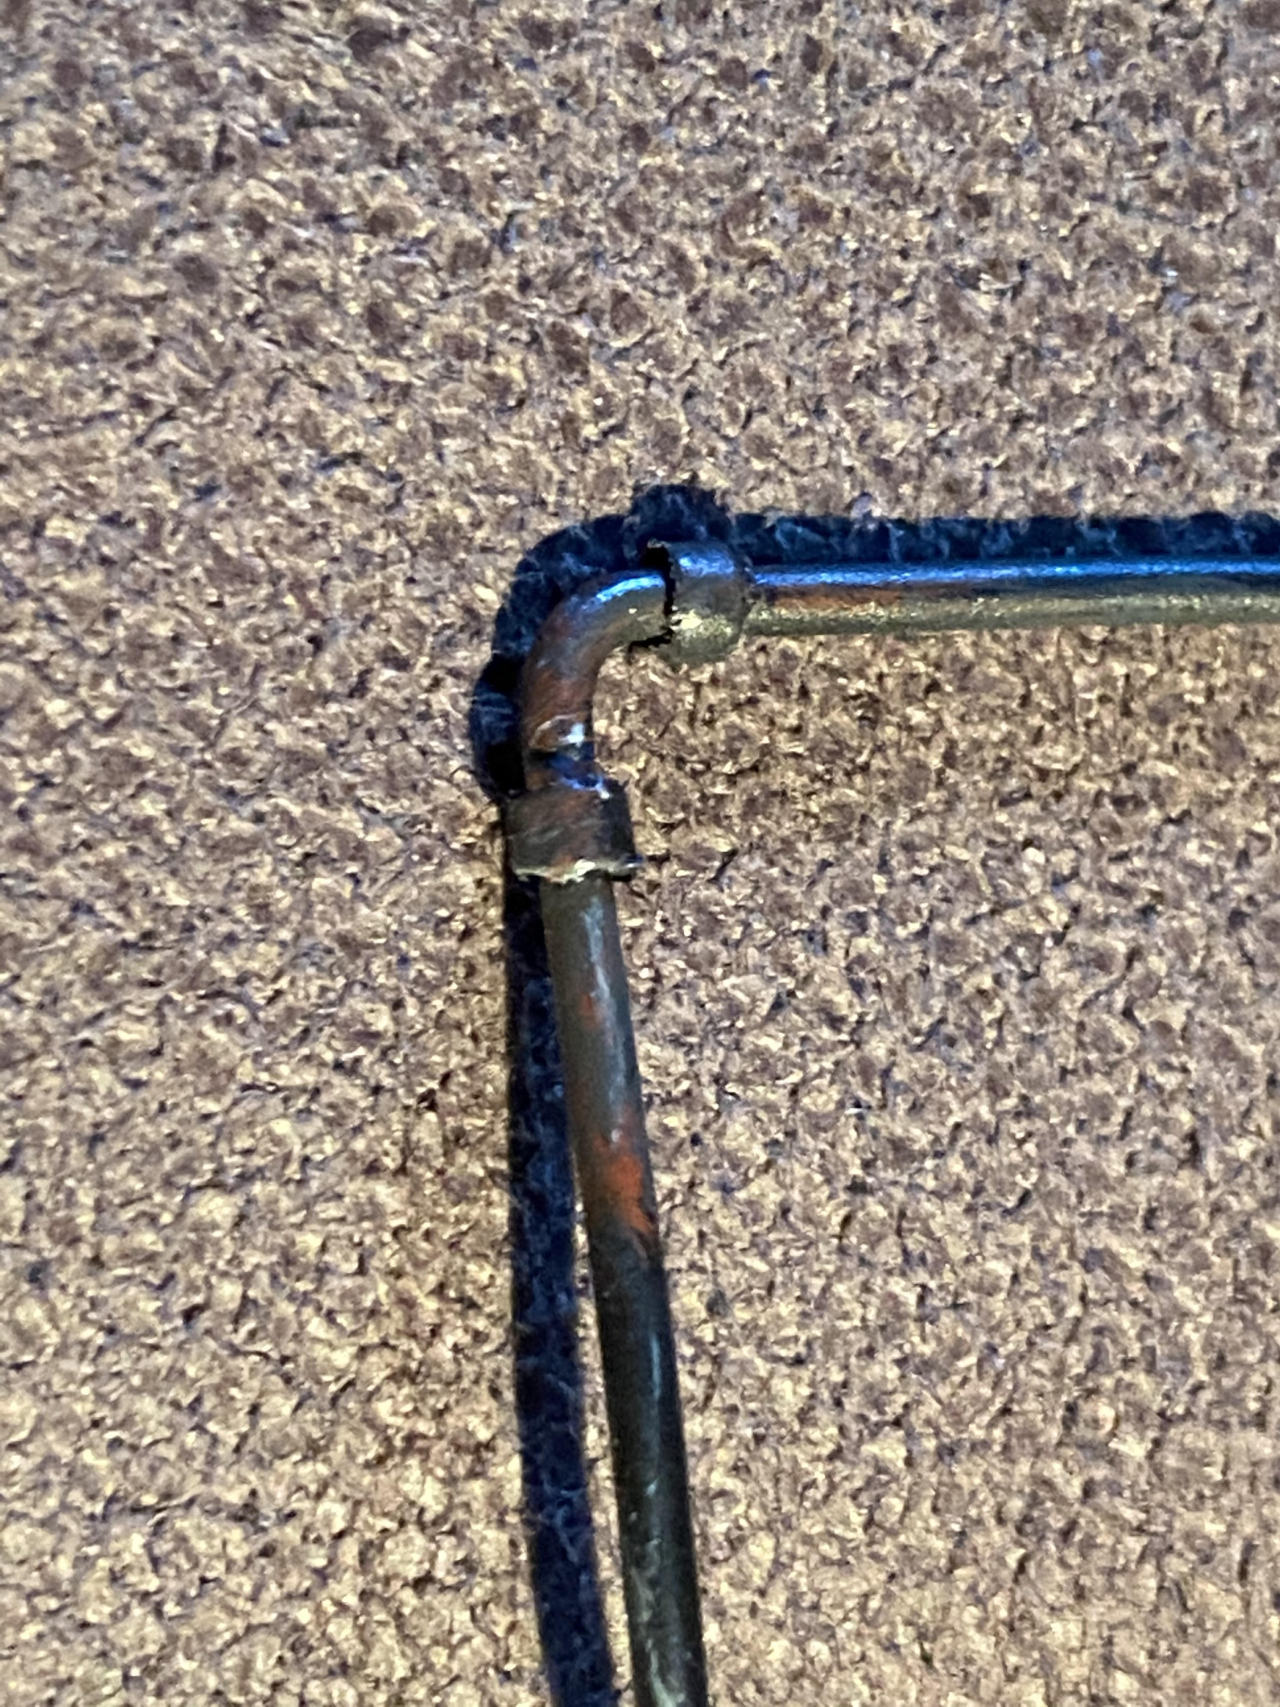
The flanges are relatively chunky slices of the original insulation off #14 single strand copper wiring. The stripped copper wire is the pipe, the insulation is used to make the flanges.
Bob Cope has been sending me the real dimensions of actual pipe (fascinating reading!) and so I’m looking at improving this.
Here’s the same technique using insulation but trying to get thinner flanges:
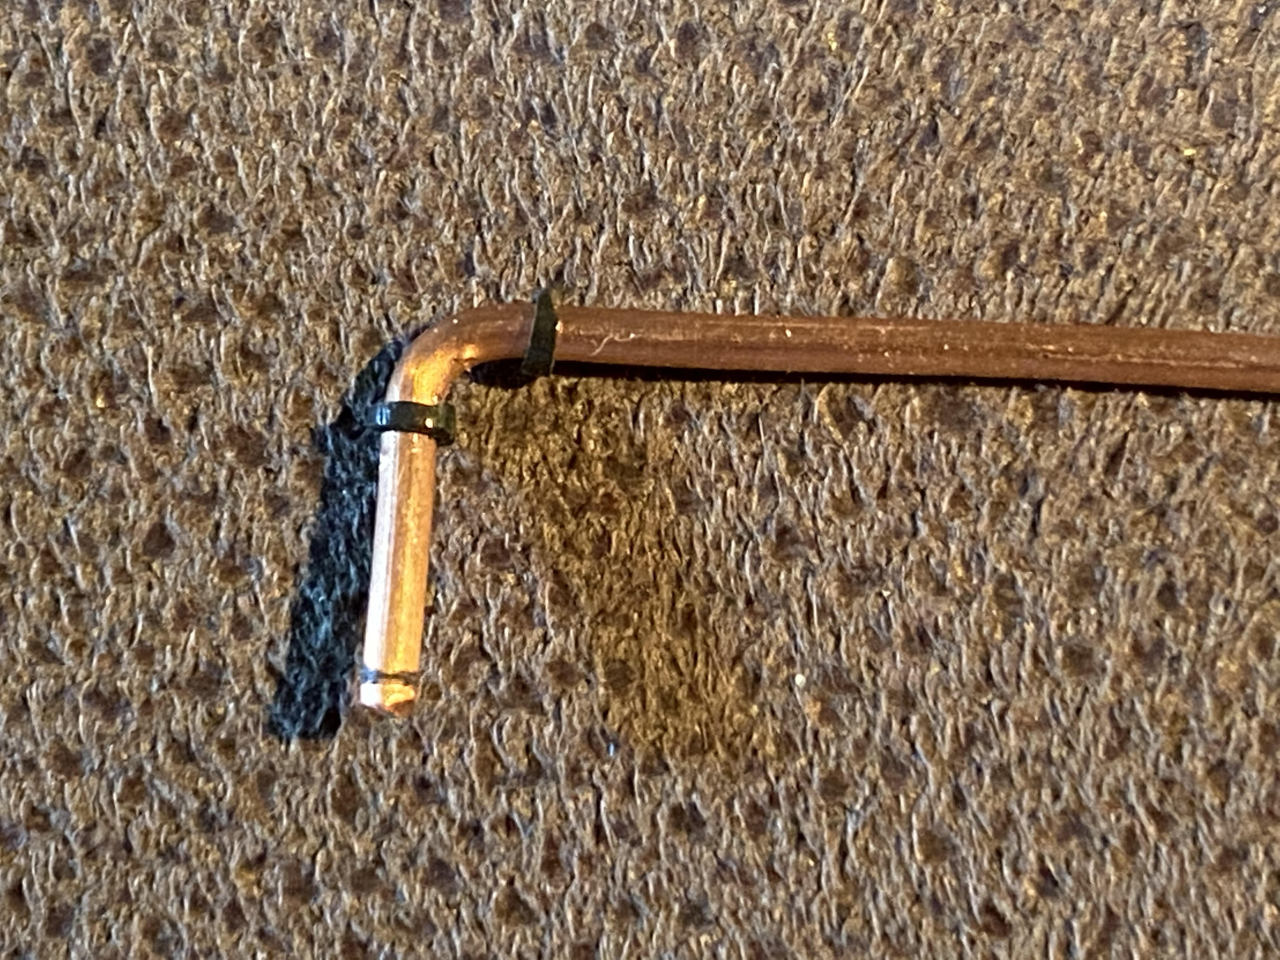
And in an attempt to make the flanges be less obtrusive, Bob suggested shrink wrap. This is thin slices of 1/16" shrink wrap, after being shrunk:
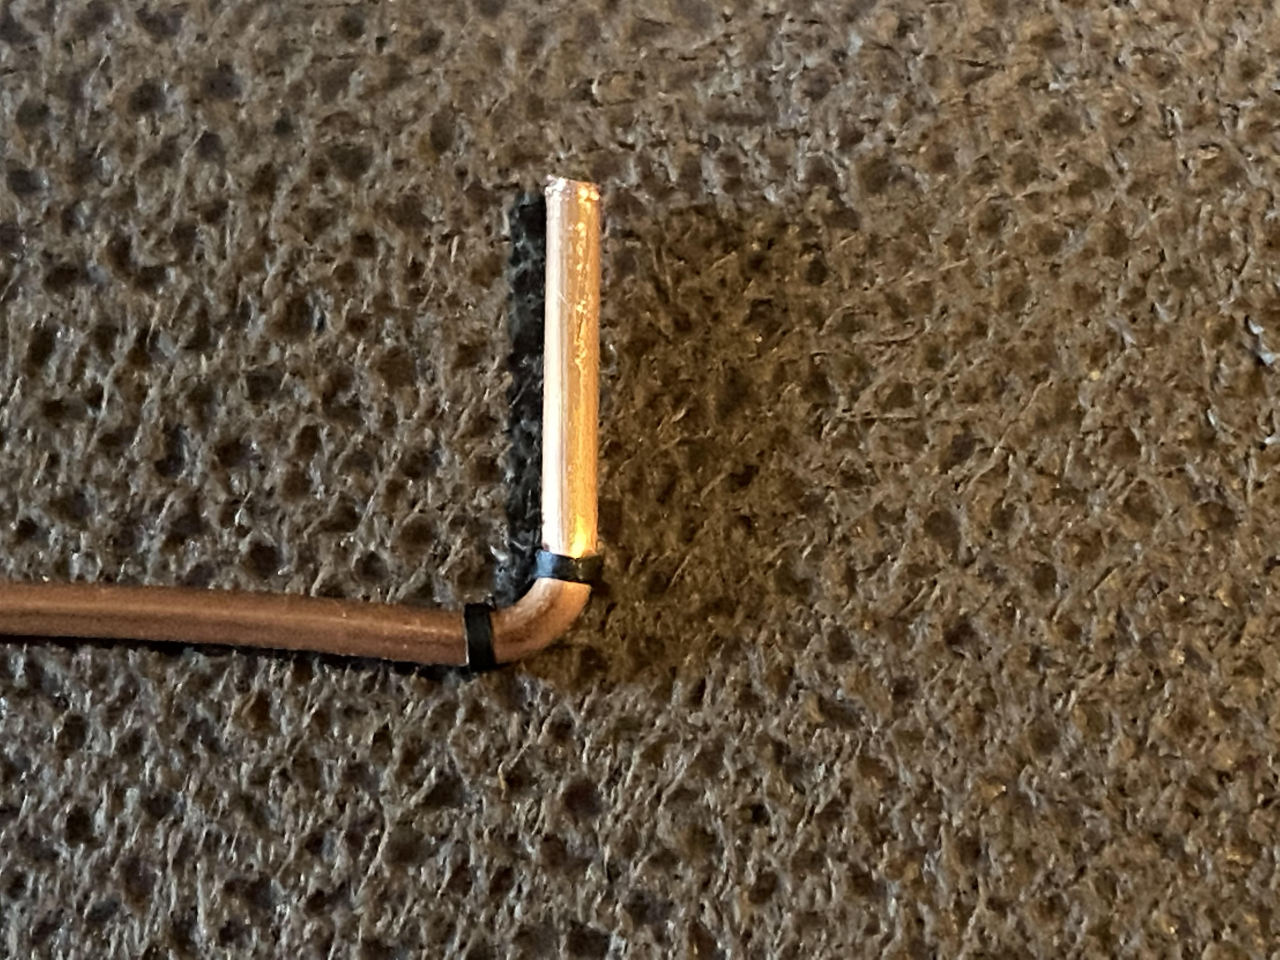
I may have to get even thinner on the flanges but this looks better than the first one.
Now as to dimensions…
- The piping is # 14 wire which is .052" which is 1.25" in 1:24 scale (what the rest of my pike is). According to the internet, a 1" iron pipe has outside diameter of 1.3" and a 1.25" pipe has outside diameter of 1.6" so we’ll assume 1" pipe.
- The insulation outside diameter is .0855" which is 2" at 1:24. That means the flanges are .75" total, or .375" each side. That seems a bit chunky
- The shrink wrap outside diameter is .0655", which is a bit over 1.5" at 1:24. That makes the flanges .25" total or .124" each side.
According to Ben’s incredibly detailed spec on cast iron pipe, the outside diameter of the flange for 1" pipe is 1 13/16 or 1.8" so the insulation is actually the best match.
IMHO the insulation is also a lot more noticeable. The shrink wrap kind of disappears (in Boomer and Rooster terms: there’s no shadow cast by the shrink wrap).
So, I’m going skinny insulation, fwiw.
Now as to the “width” of the flange, it appears to be 3/8" which is .375" and scaled down to 1:24 that’s .015" +. Not sure I can cut things that narrow but basically as narrow as I can get it. The thicker insulation in the second picture above looks to be just under .03" which is a bit big.
OK, a plan I have…
[edited for typos and wording]

Now those are nice. Should be a hoot to model.(https://www.largescalecentral.com/externals/tinymce/plugins/emoticons/img/smiley-cool.gif)
Jim,
Those are some cool looking skid shacks, err I guess skid tents. In Nam we called them Hooches, after we upgraded from just the tents we got plywood floors and walls up 4 foot high then the upper 4 foot of wall was screen wire, then the tent was the roof and the tent walls were lowered over the screen wire during Monsoon Season. Hmmm, got a little off track there, back to skid tents.
Here is a sample of tent platform housing in the logging camp of LaMoine Lumber and Trading Co. circa 1900. This was the family housing area there was a regular series of “bunk houses” for the single men in camp. This idea might give you some options if you didn’t need the camp buildins to be portable.

Also,
I don’t understand your reference to cast iron pipe in connection with boiler piping. In my expierence cast iron pipe is very brittle and easily cracked/shattered and usually not threaded. Cast iron was the go to for plumbing installations for lots of years in buildings but not in machinery. Boilers and steam engines were plumbed with steel pipe, usually threaded. I could be wrong, but (https://www.largescalecentral.com/externals/tinymce/plugins/emoticons/img/smiley-laughing.gif).
As most threaded pipe had/has a hexegon flange for wrenching, have you tried drilling out small nuts and sliding them on your “pipe”?
Just some thoughts
Rick
