Large Scale Central

RailPro Caboose Project

Last week I picked up a RailPro HO Locomotive Module with sound that I had hoped to be able to use for my two Porter locomotives that cover switching duty in R1 territory. Unfortunately, testing with my saddle tank version didn’t go very well. The module works fine, but the Porter has a little stutter in the drive when slowing to a stop. I haven’t been able to resolve this. When the loco stutters it must stall the motor which results in an over-current shut down of the LM. After several attempts I decided that for $20 in savings I’m better of using the G Scale module which handles lots more current.

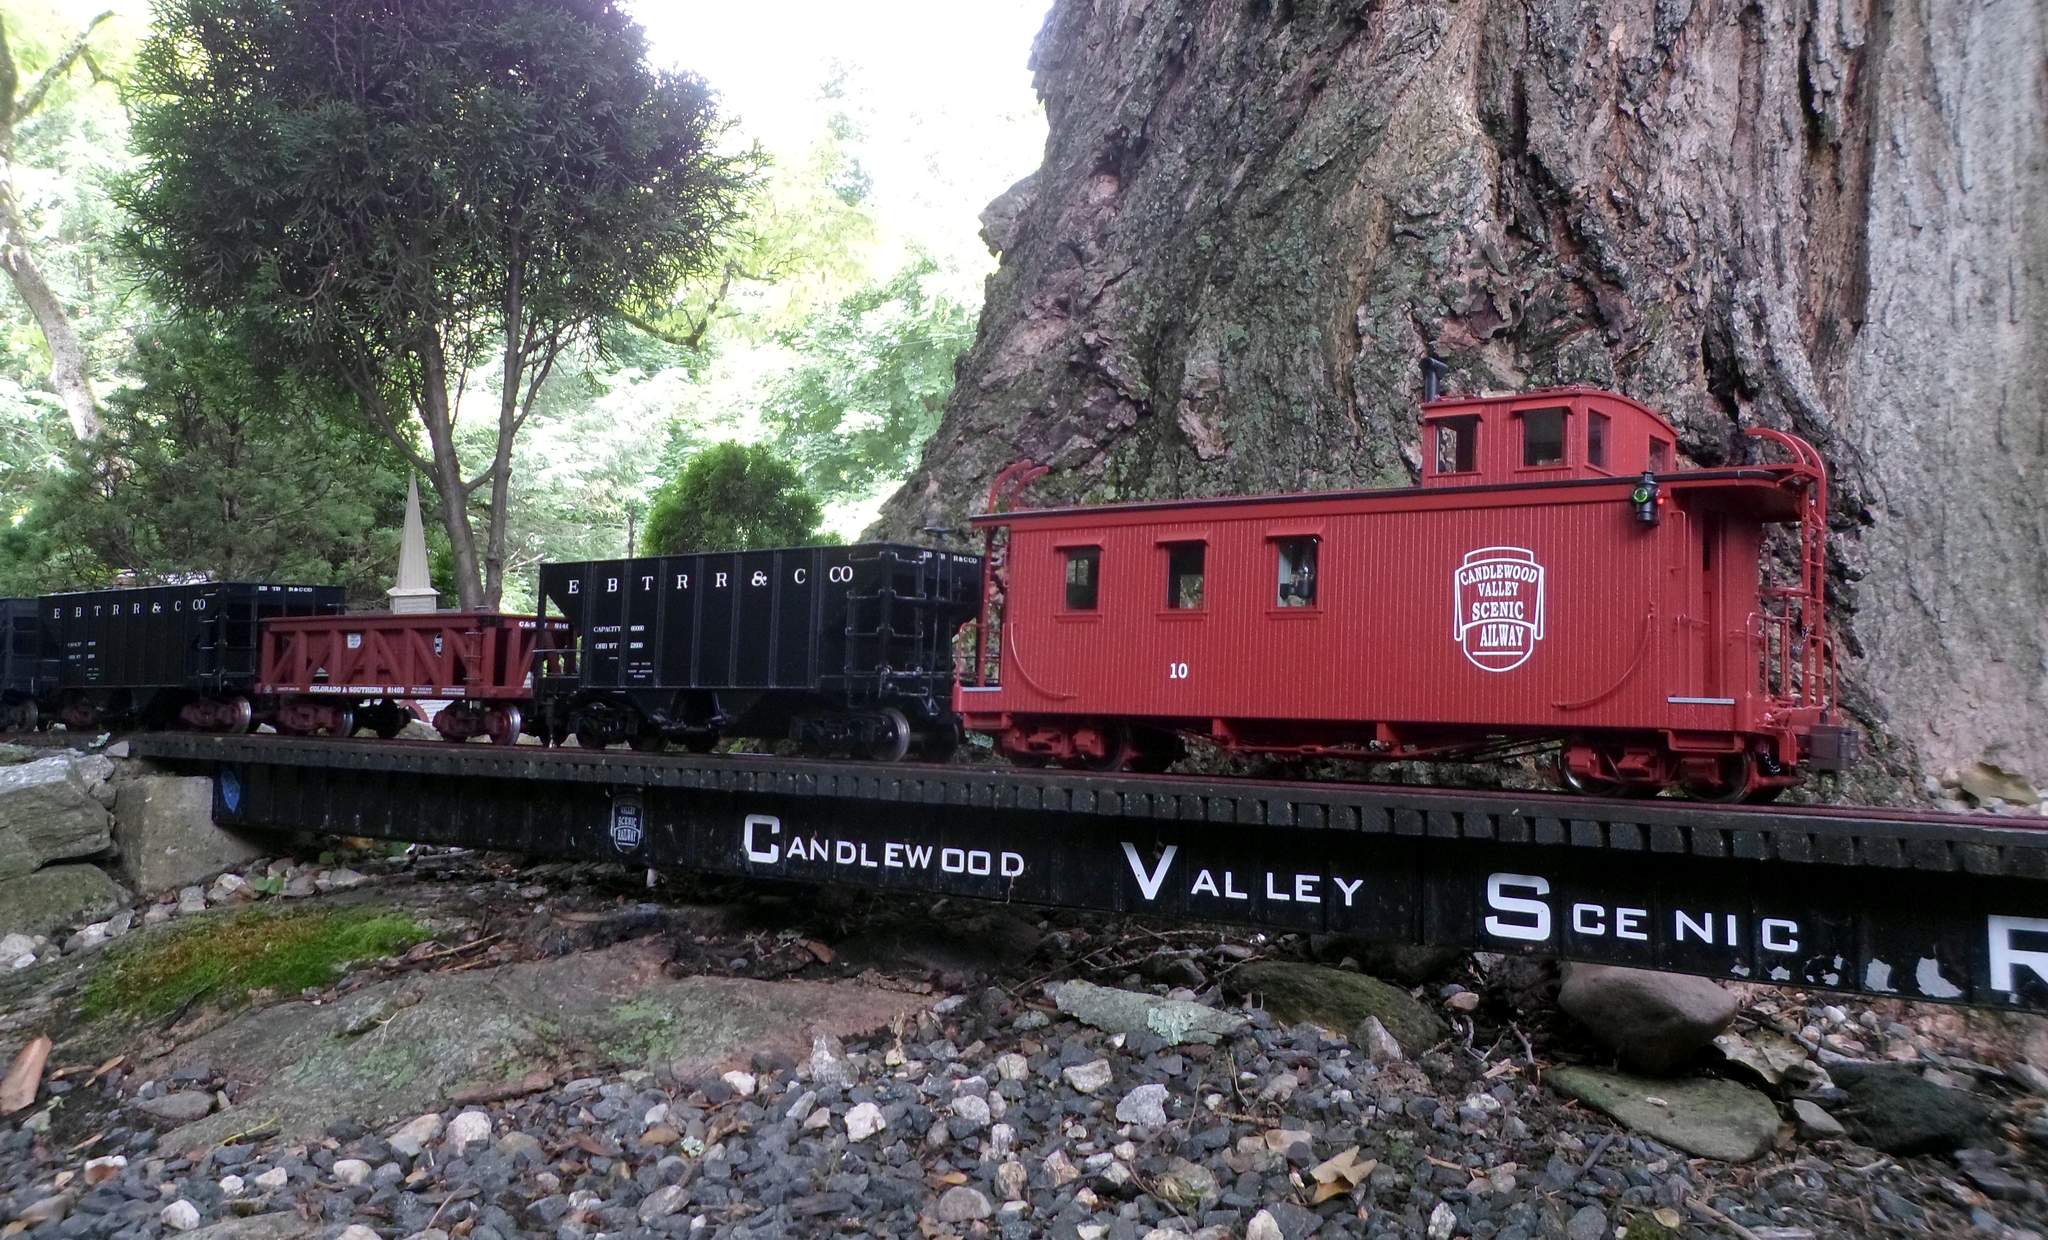
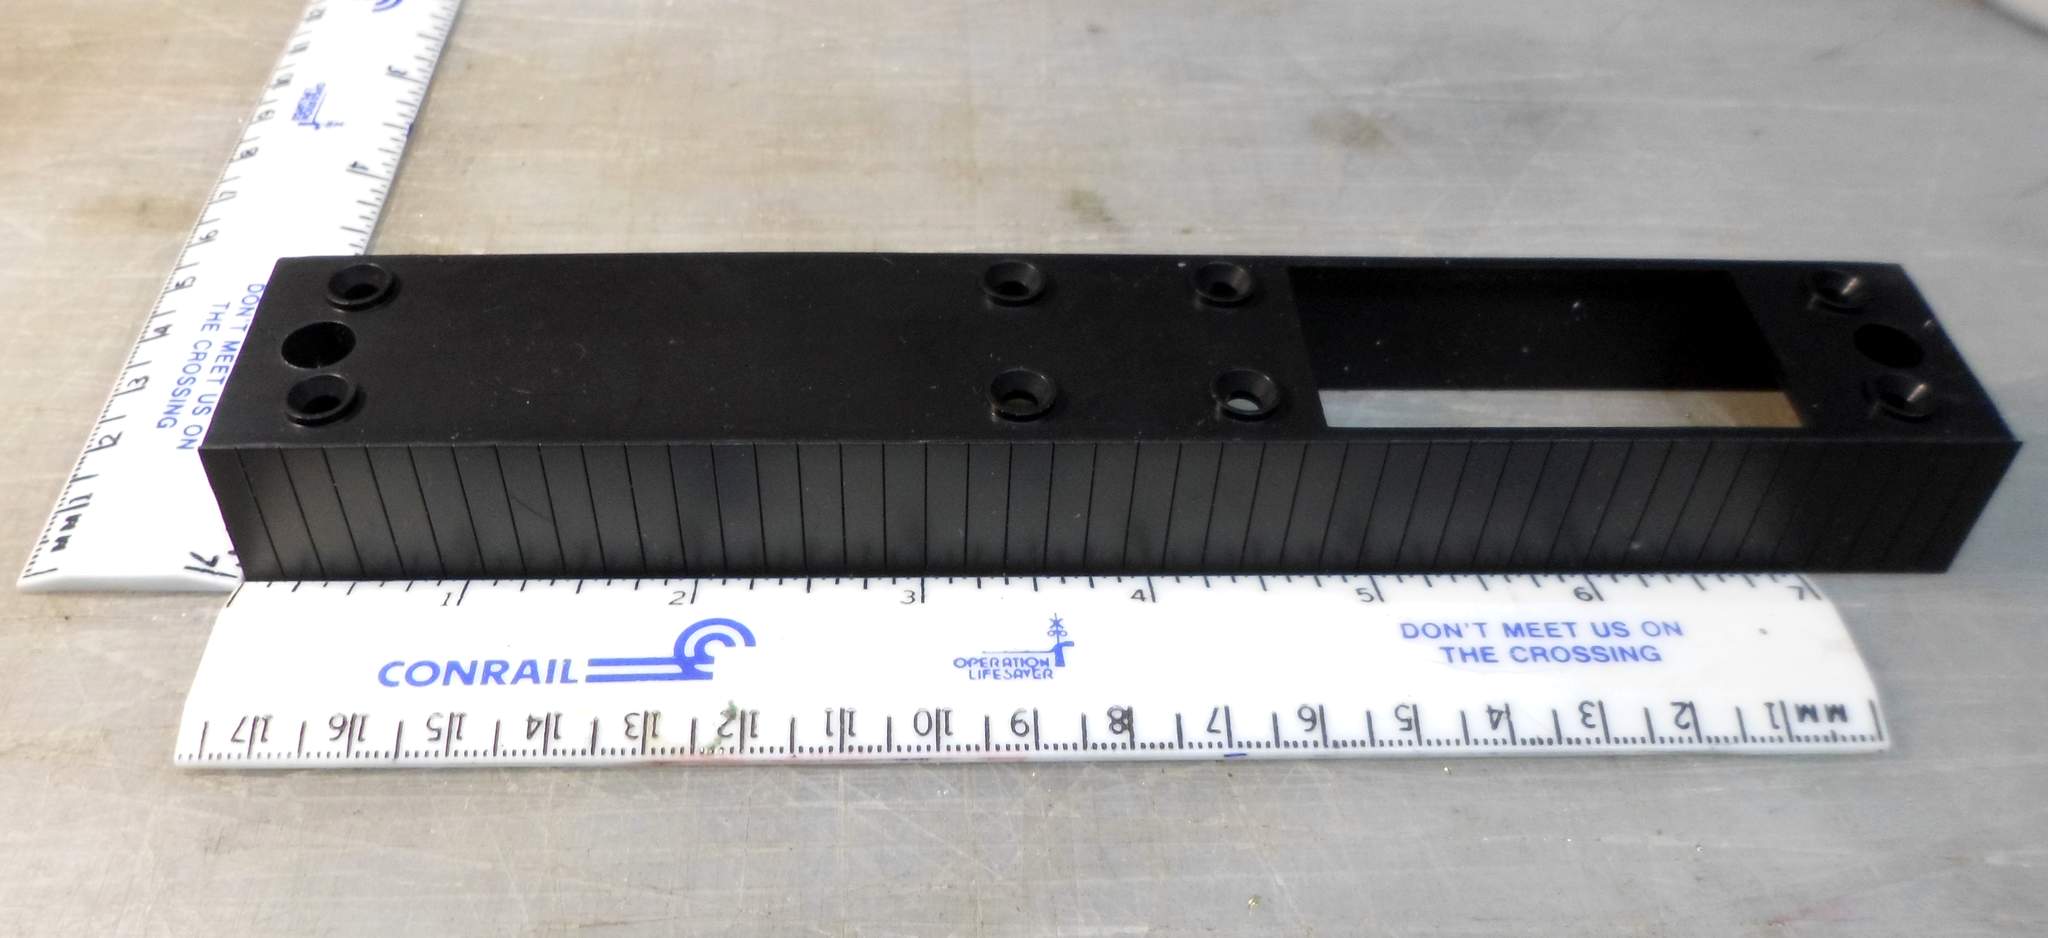
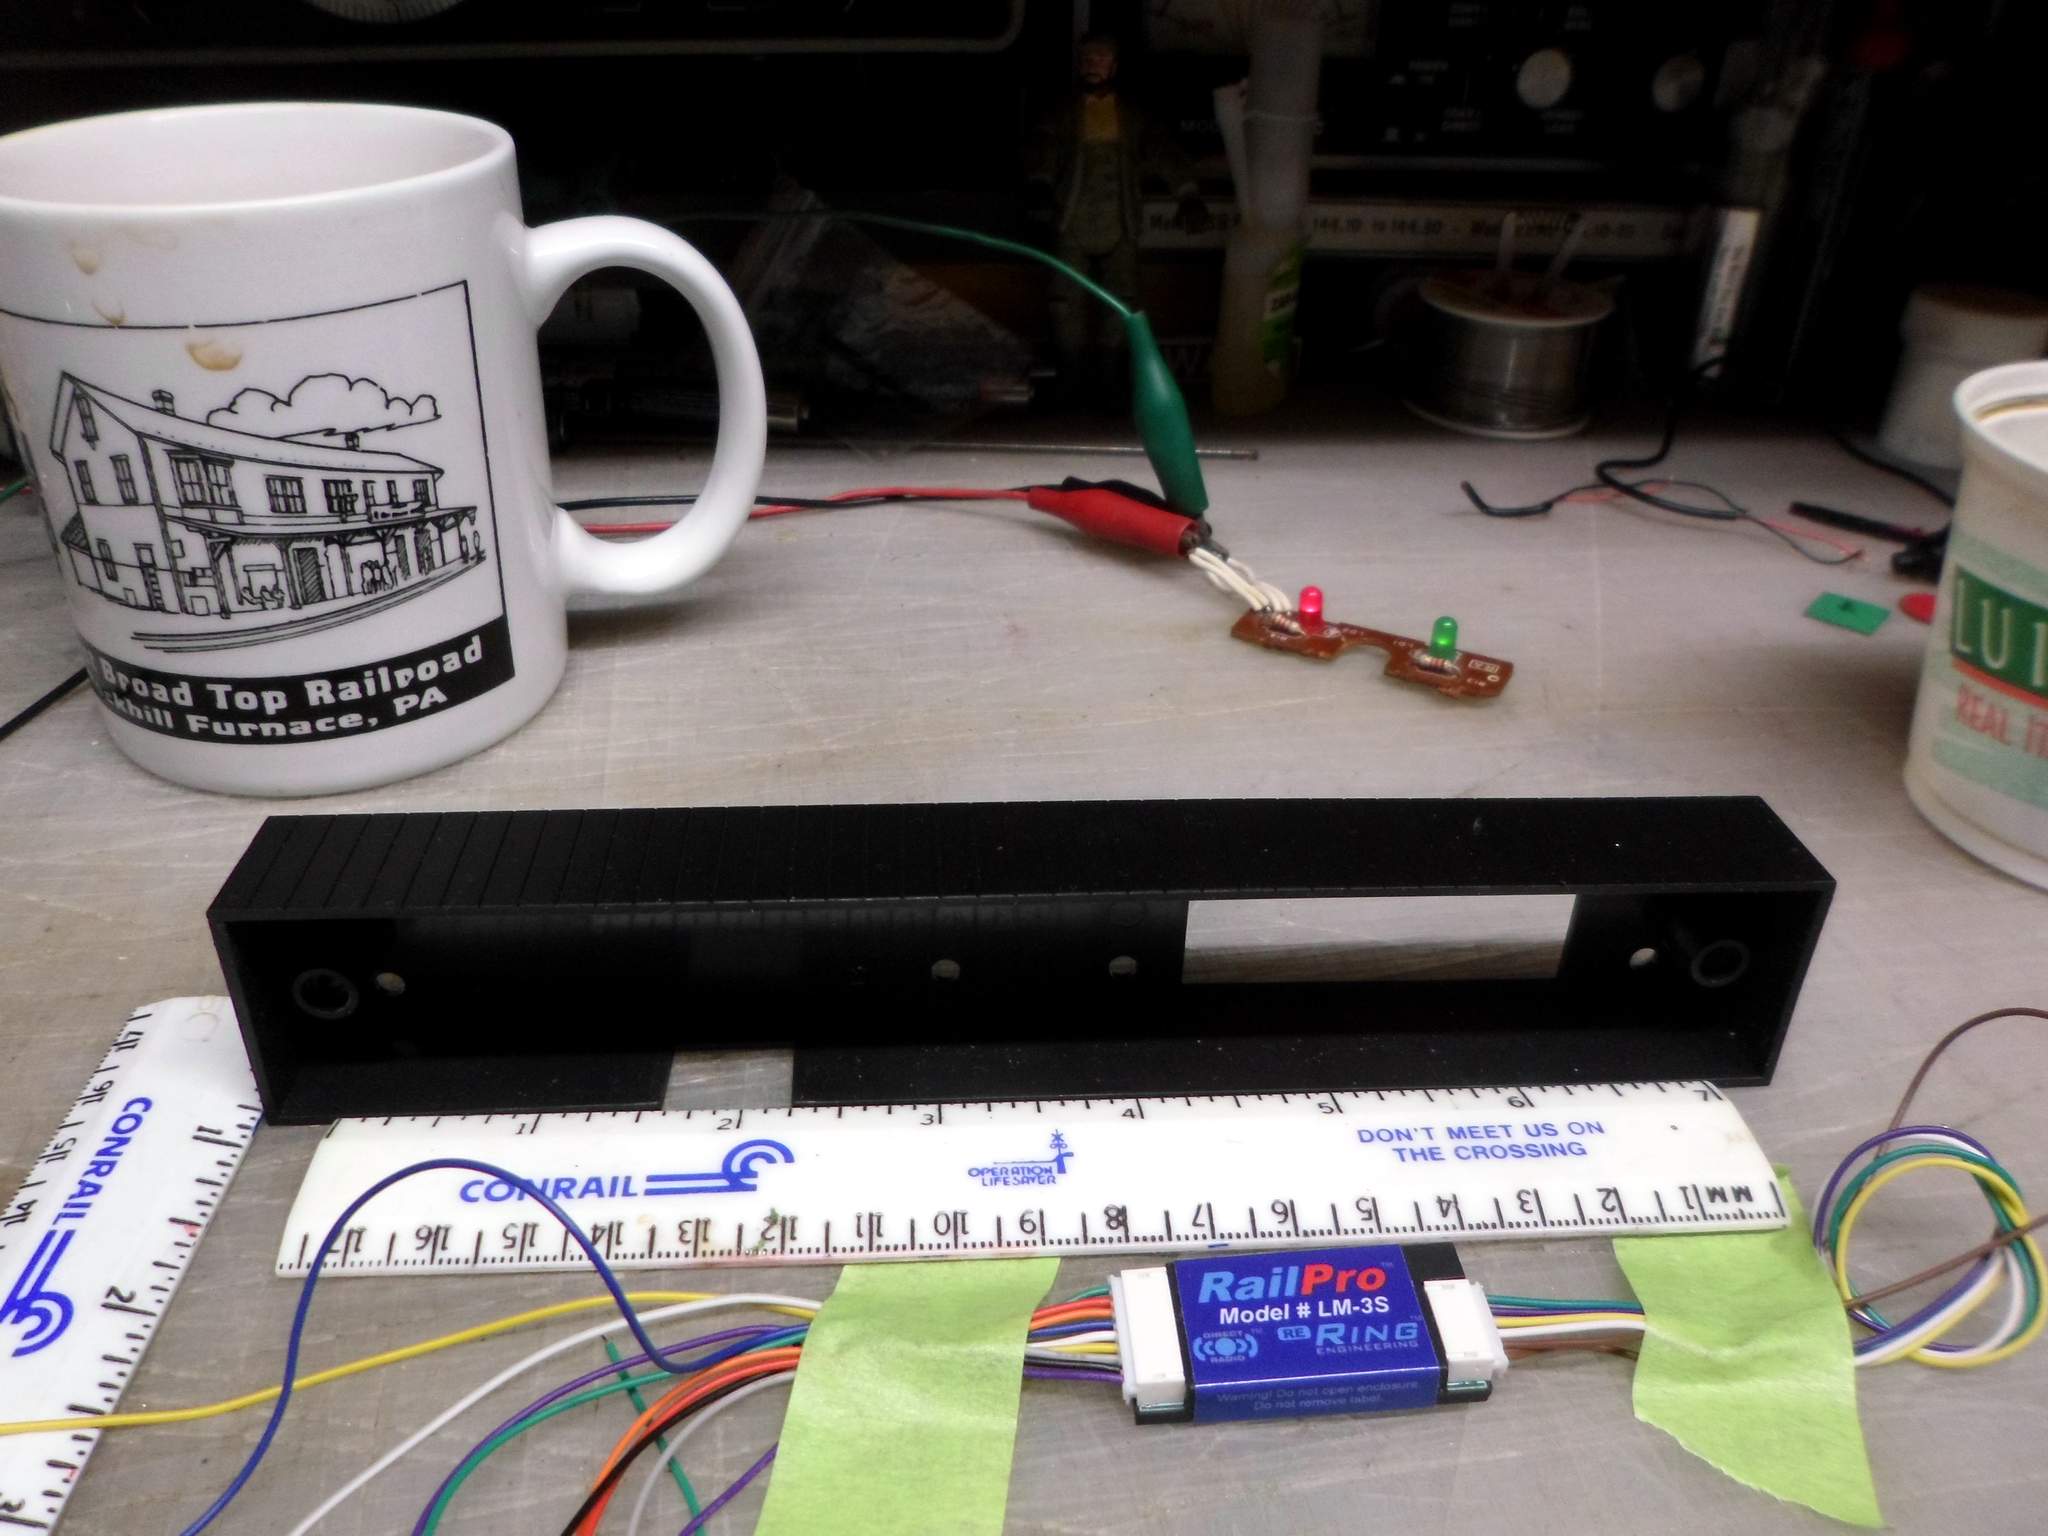
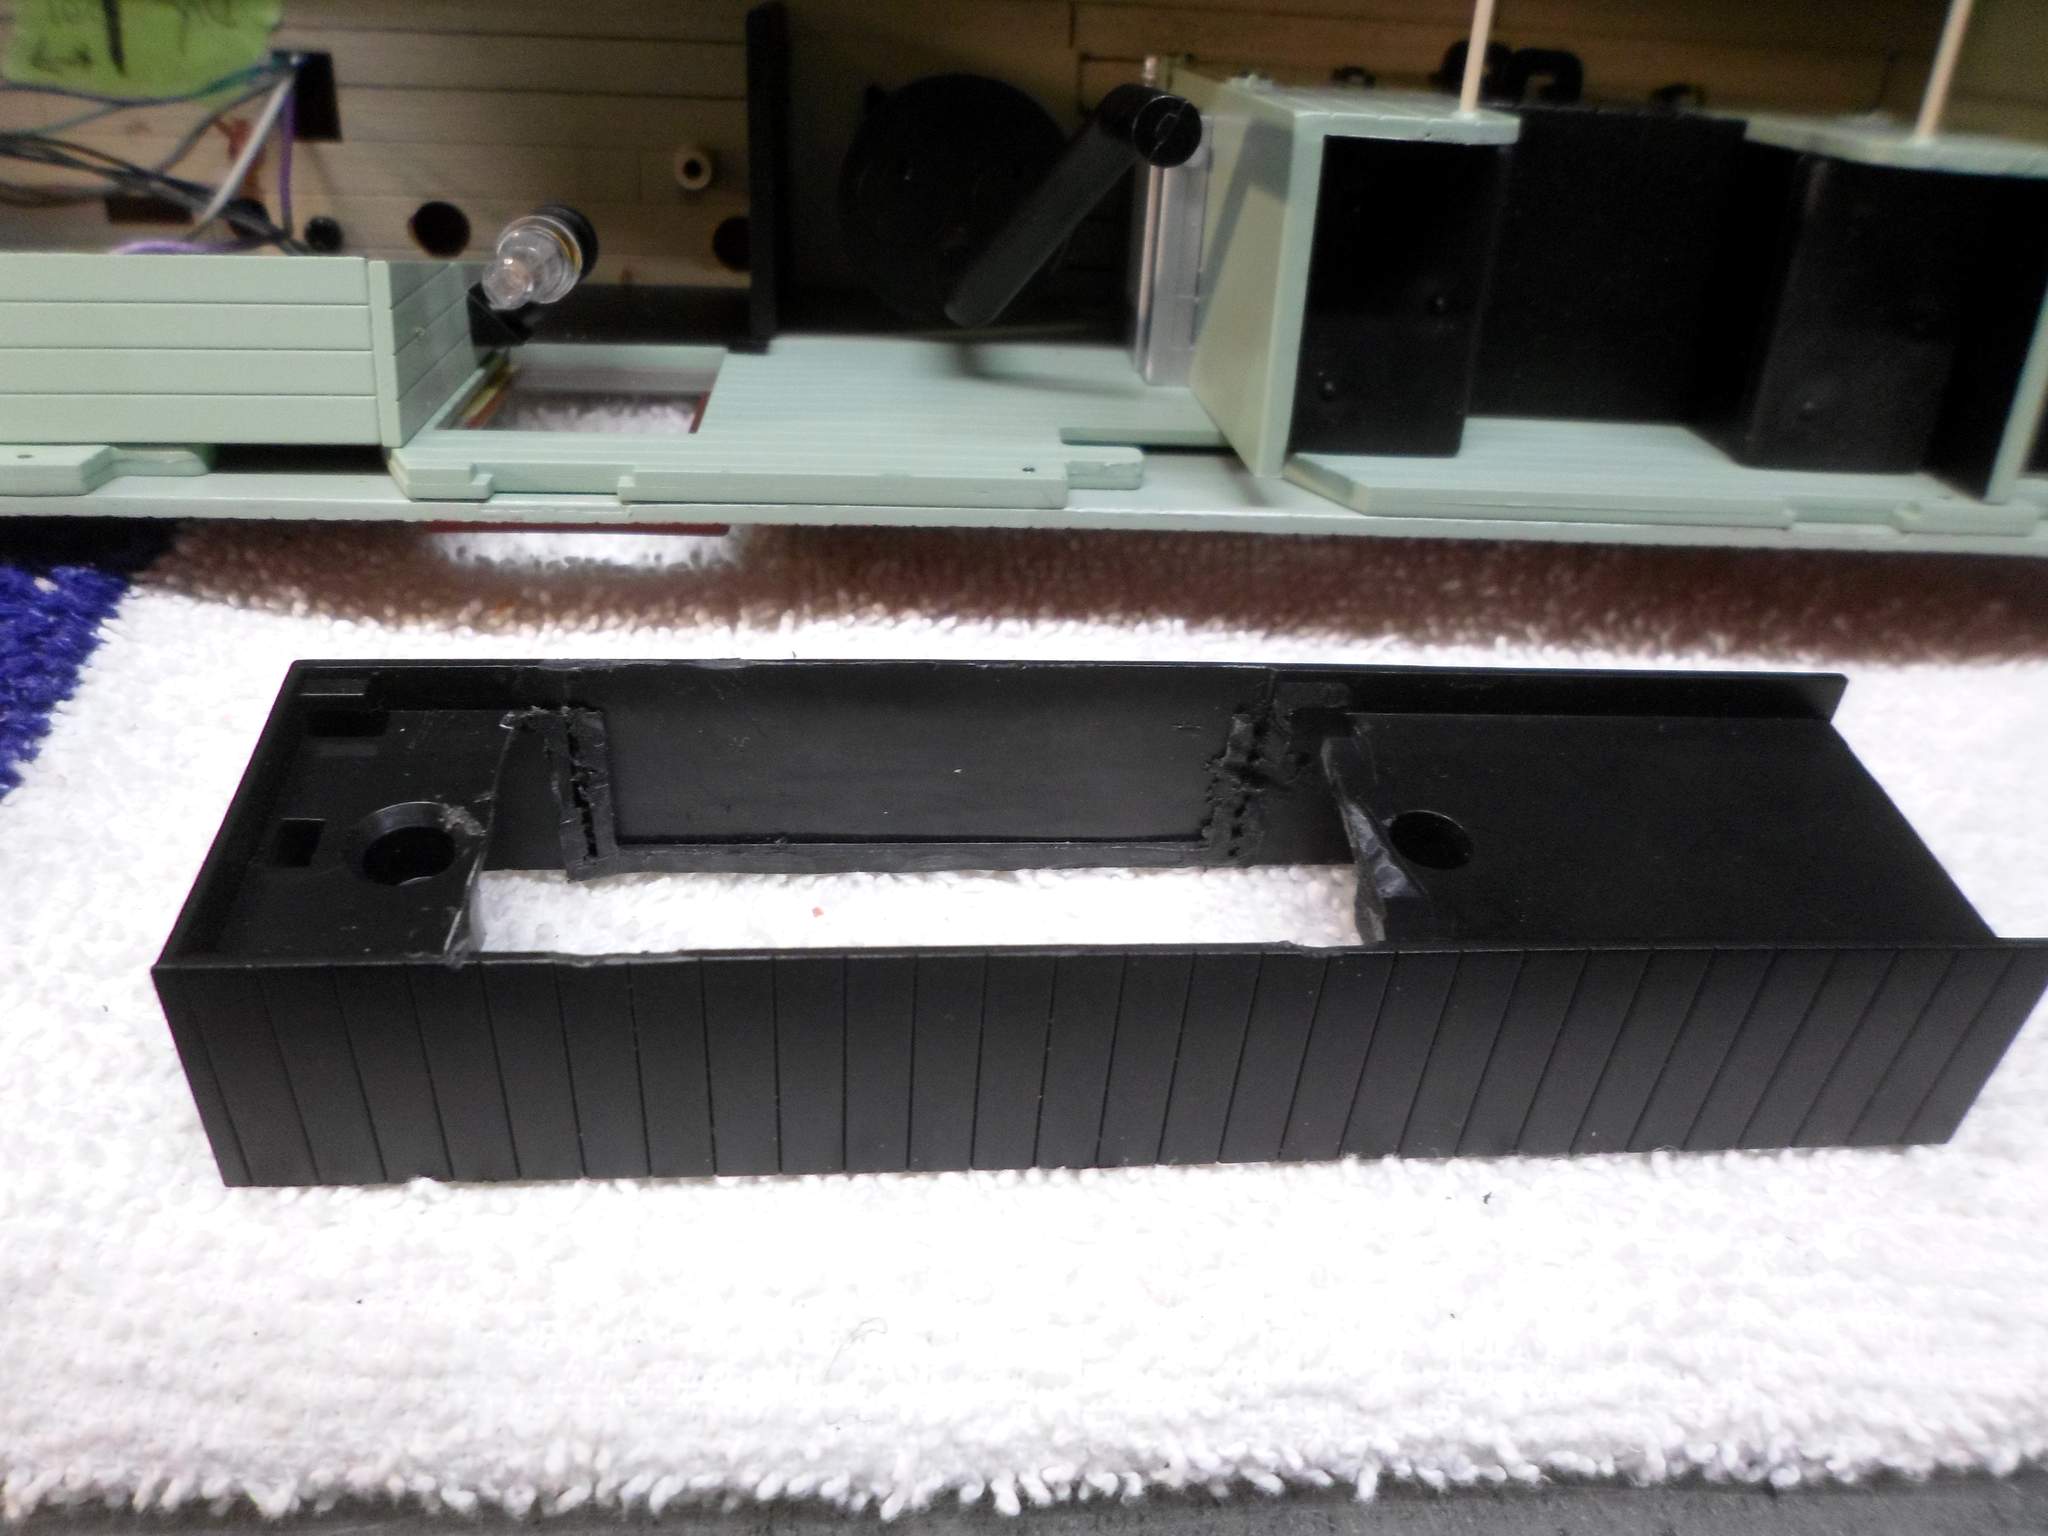
So what to do with the HO module? Fortunately, RailPro offers an alternate program for the locomotive module, converting it to a programmable accessory module. My thoughts immediately turned to using it in a Bachmann Long Caboose to add remote lighting control and some sound effects. This is the intended victim…

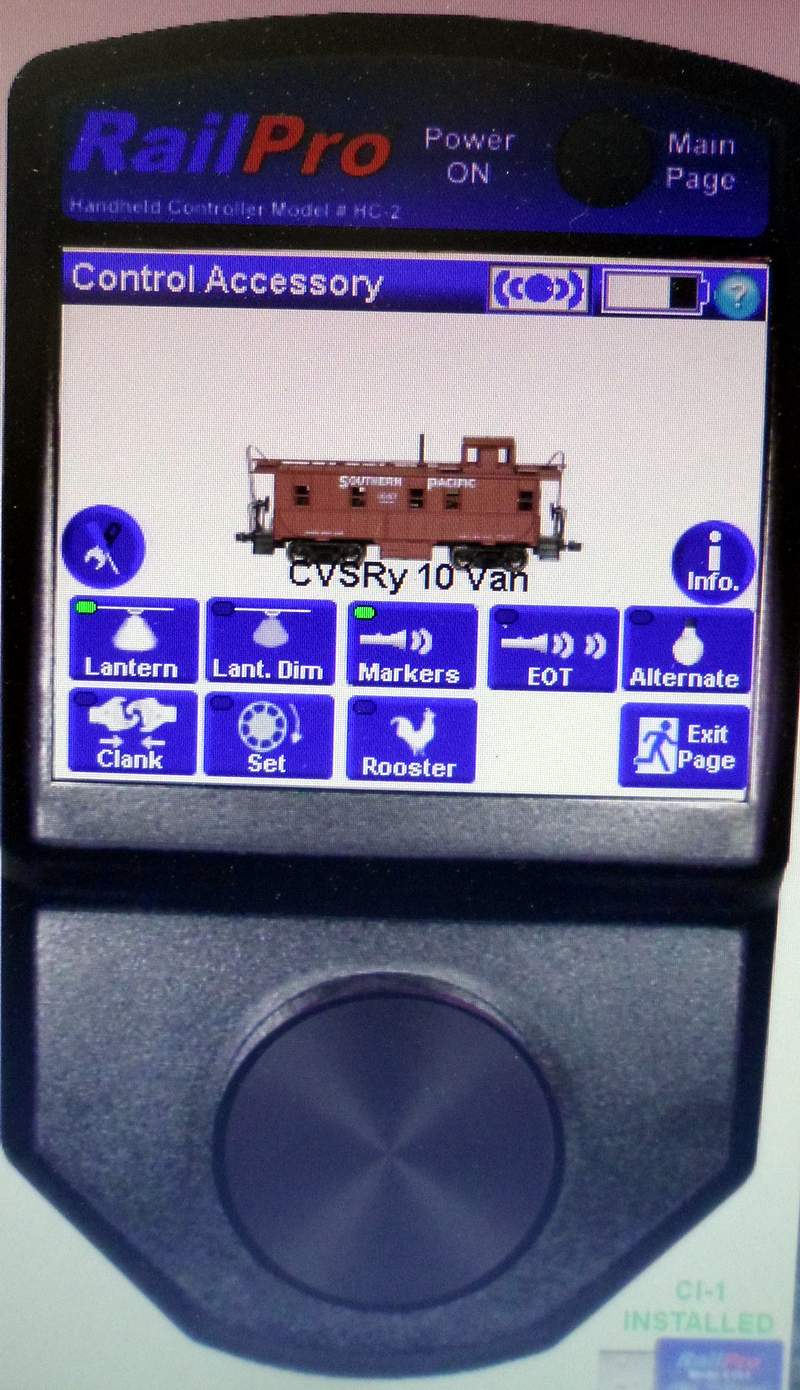
I plan to wire it to allow individual control of all 4 LEDs - The two markers and the two table lights plus add a small speaker for sound effects. I may have to trim my plans back a bit as I discovered that the Accessory program only supports 8 user defined buttons. I could easily fill up 10 to 16!

The first task was to learn the accessory programming language. I’m and old BASIC hack, but it’s been a very long time since I wrote any code. My background did help learning the RailPro programming “language” which is an IF-THEN-ELSE conditional test and a DO TASK command with selectable functions. The editor leaves a lot to be desired, you can’t edit any code lines, only delete and replace, but once you get the hang of it it goes pretty smoothly. None of the code is typed, you click on items from a pick list. When you create function buttons they are given names like “Light” or “BigBird” with binary conditions of 0/1 meaning OFF and ON. For lighting the code needed to turn on a light is simple as the IF is assumed. To tun on the light connected to Output1 when the “Light” button is pressed is just one line of code…

DOTASK SetOutput Output1 Light

Playing sounds, or enabling lighting effects is just a little more complex. To play the Rooster sound effect when the BigBird button is pressed…

IF BigBird=1

DOTASK PlaySound Rooster 95

ELSE

ENDIF

In the above example, 95 is the volume percent top play the sound at.

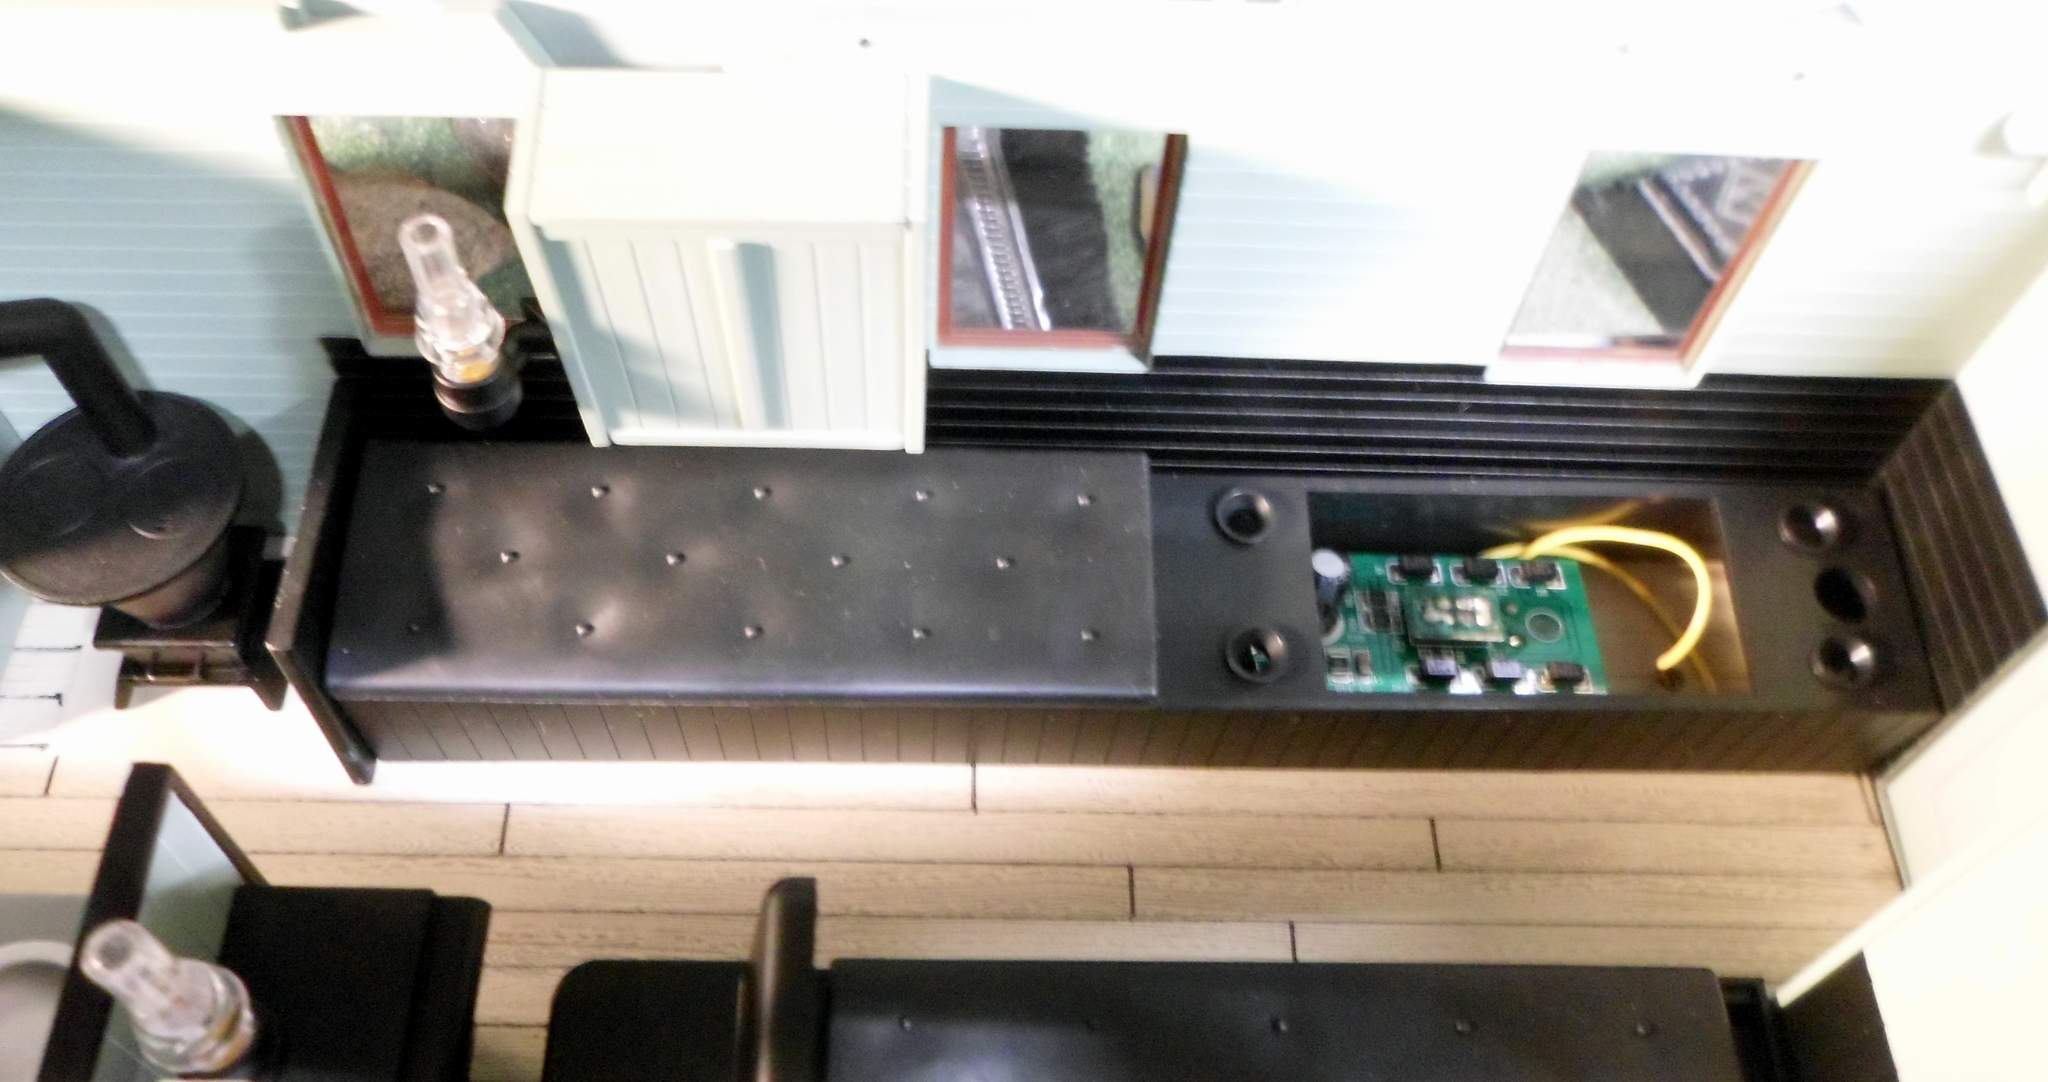
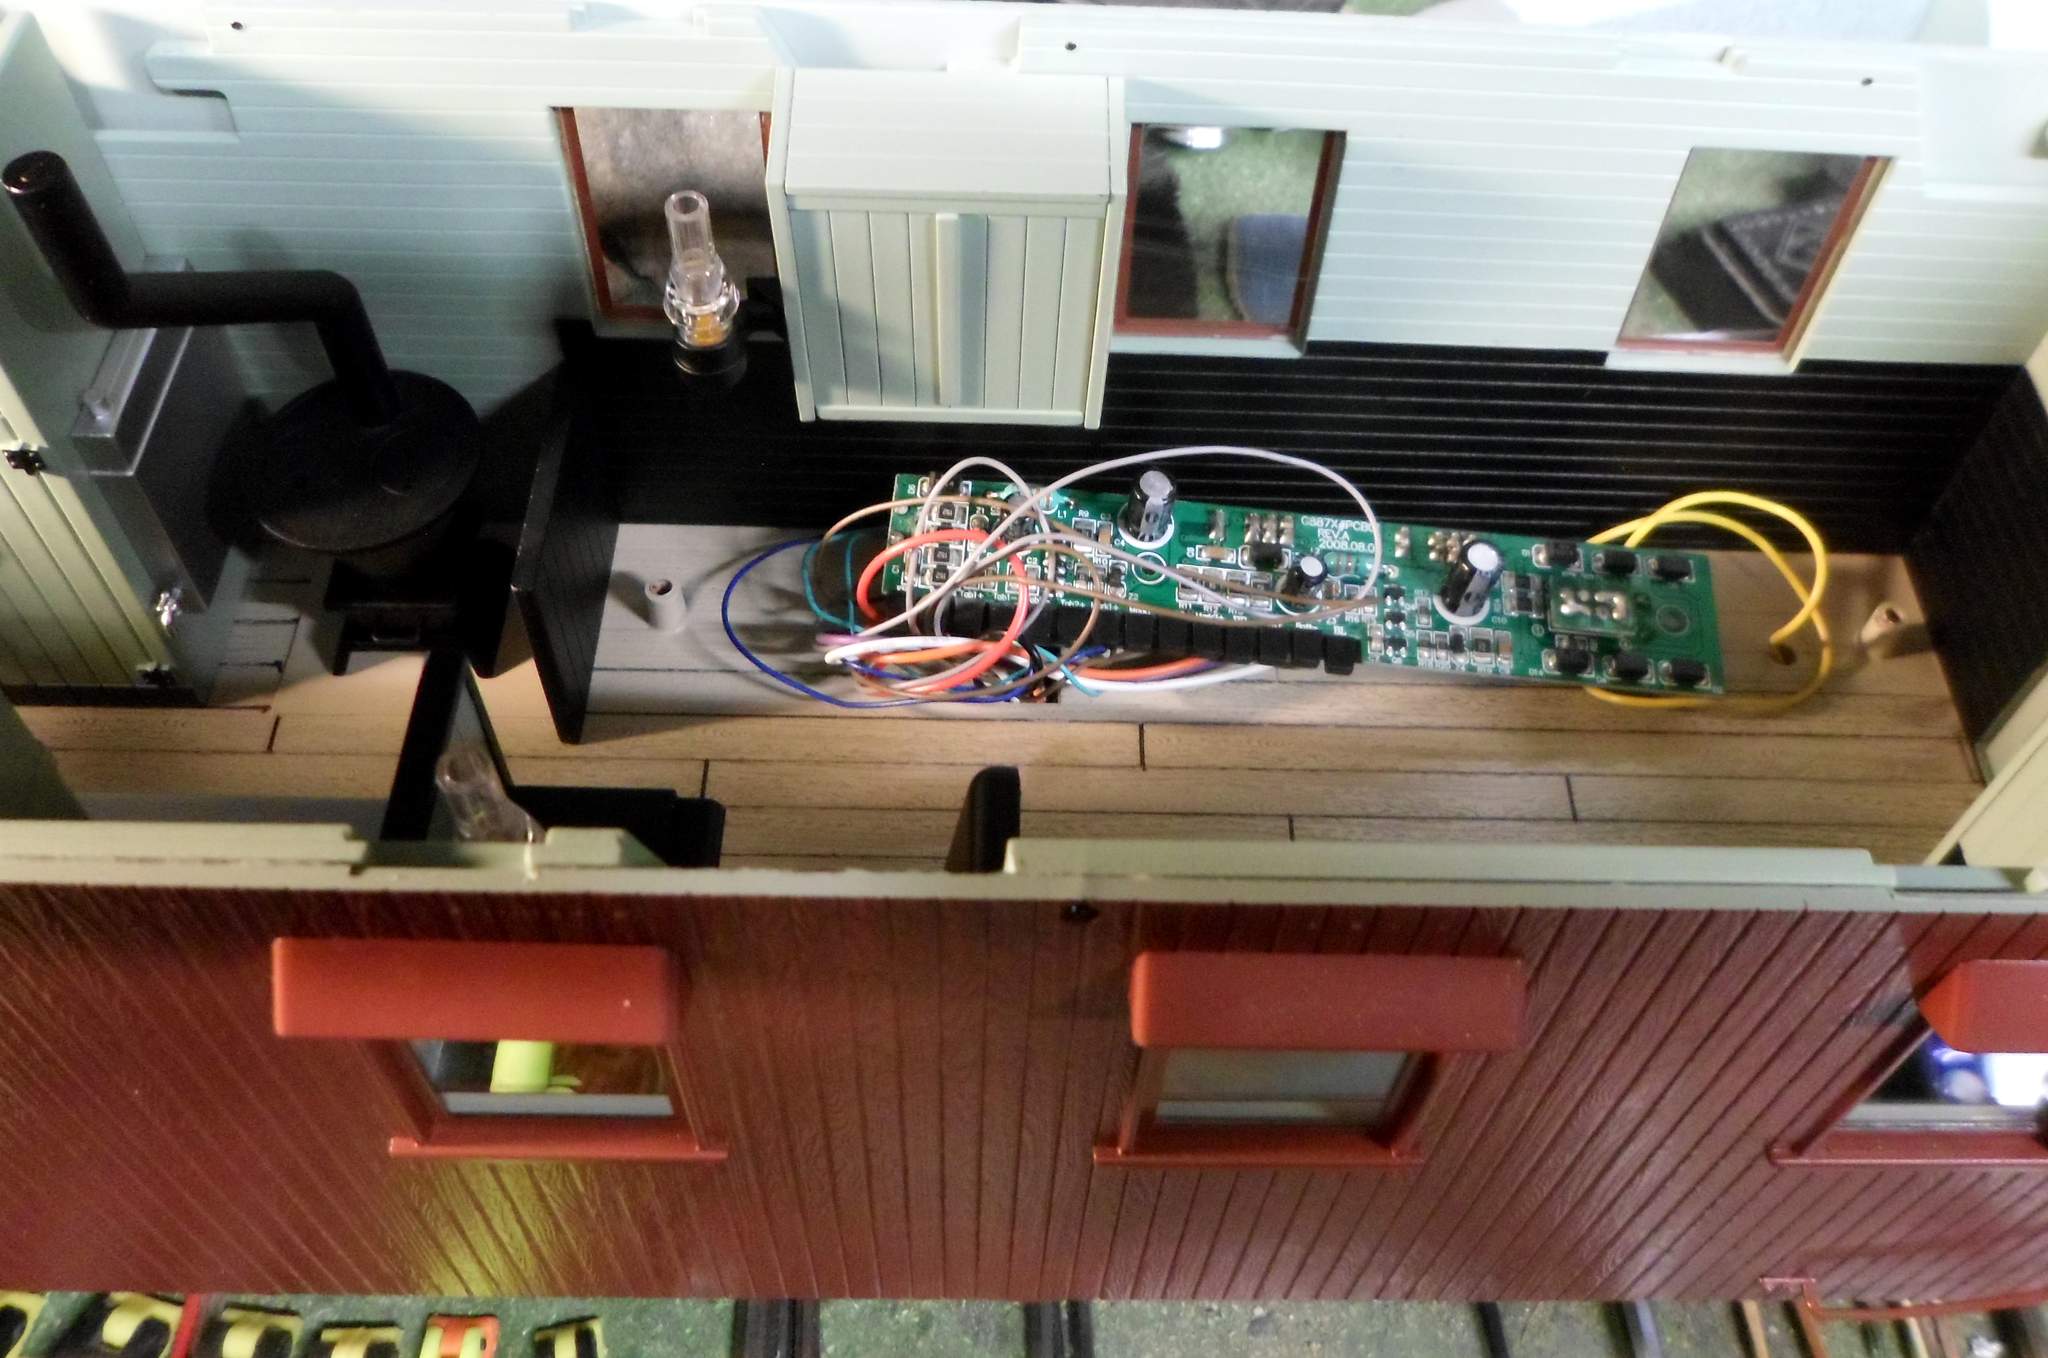
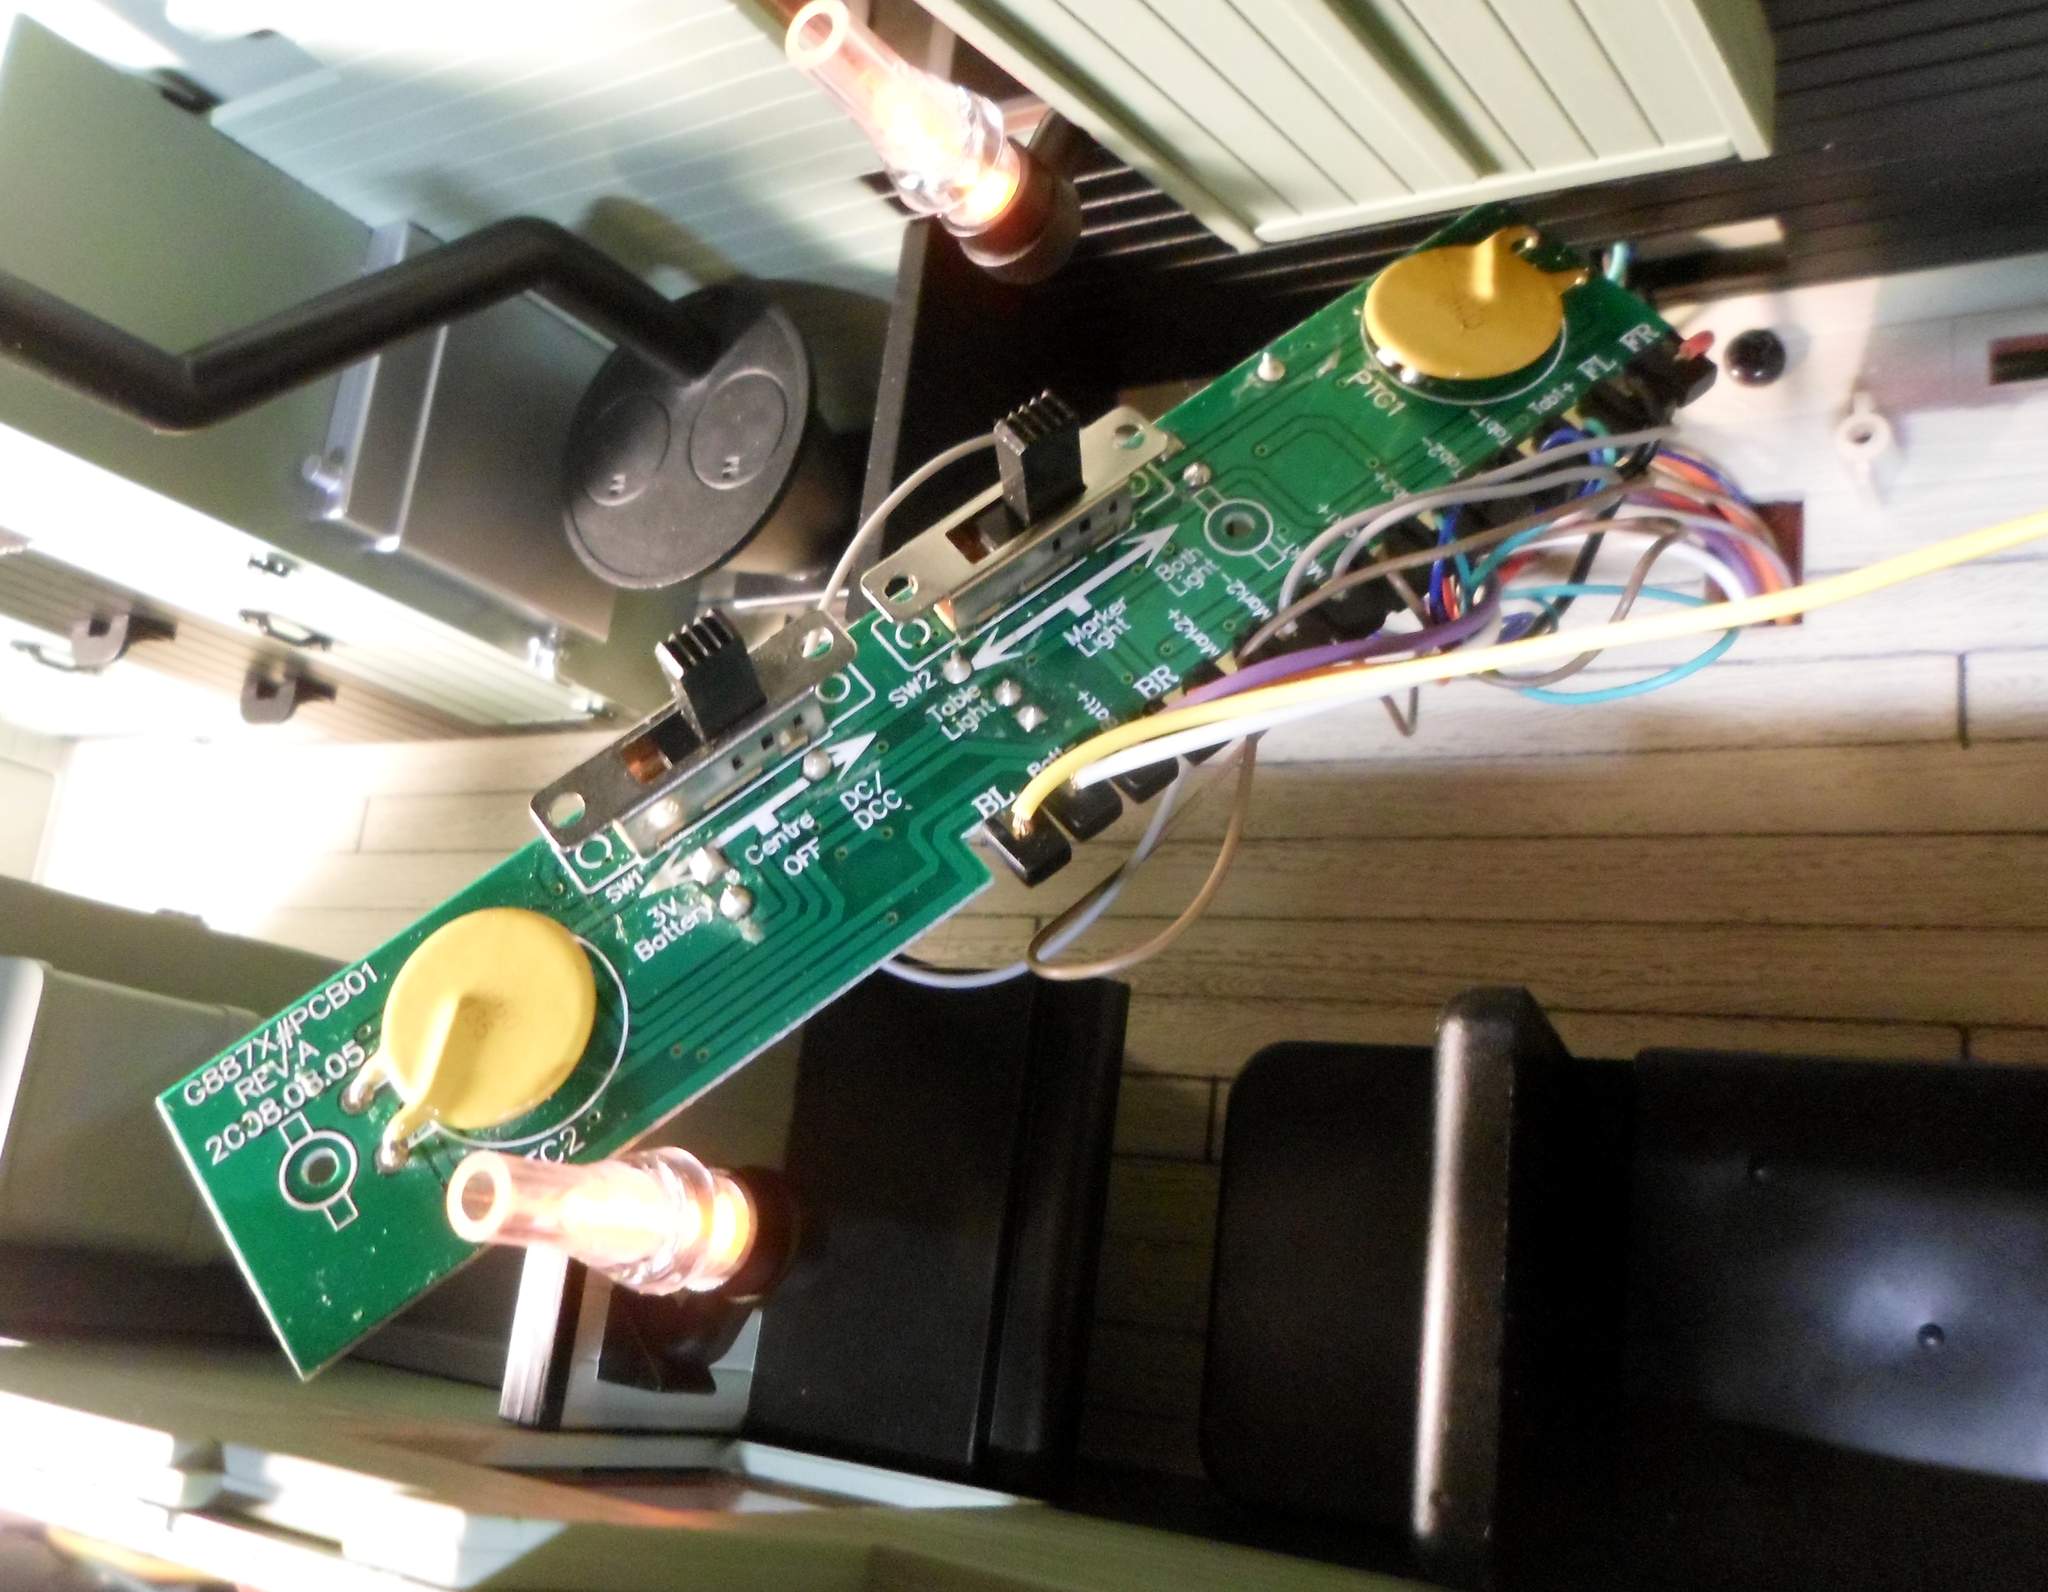
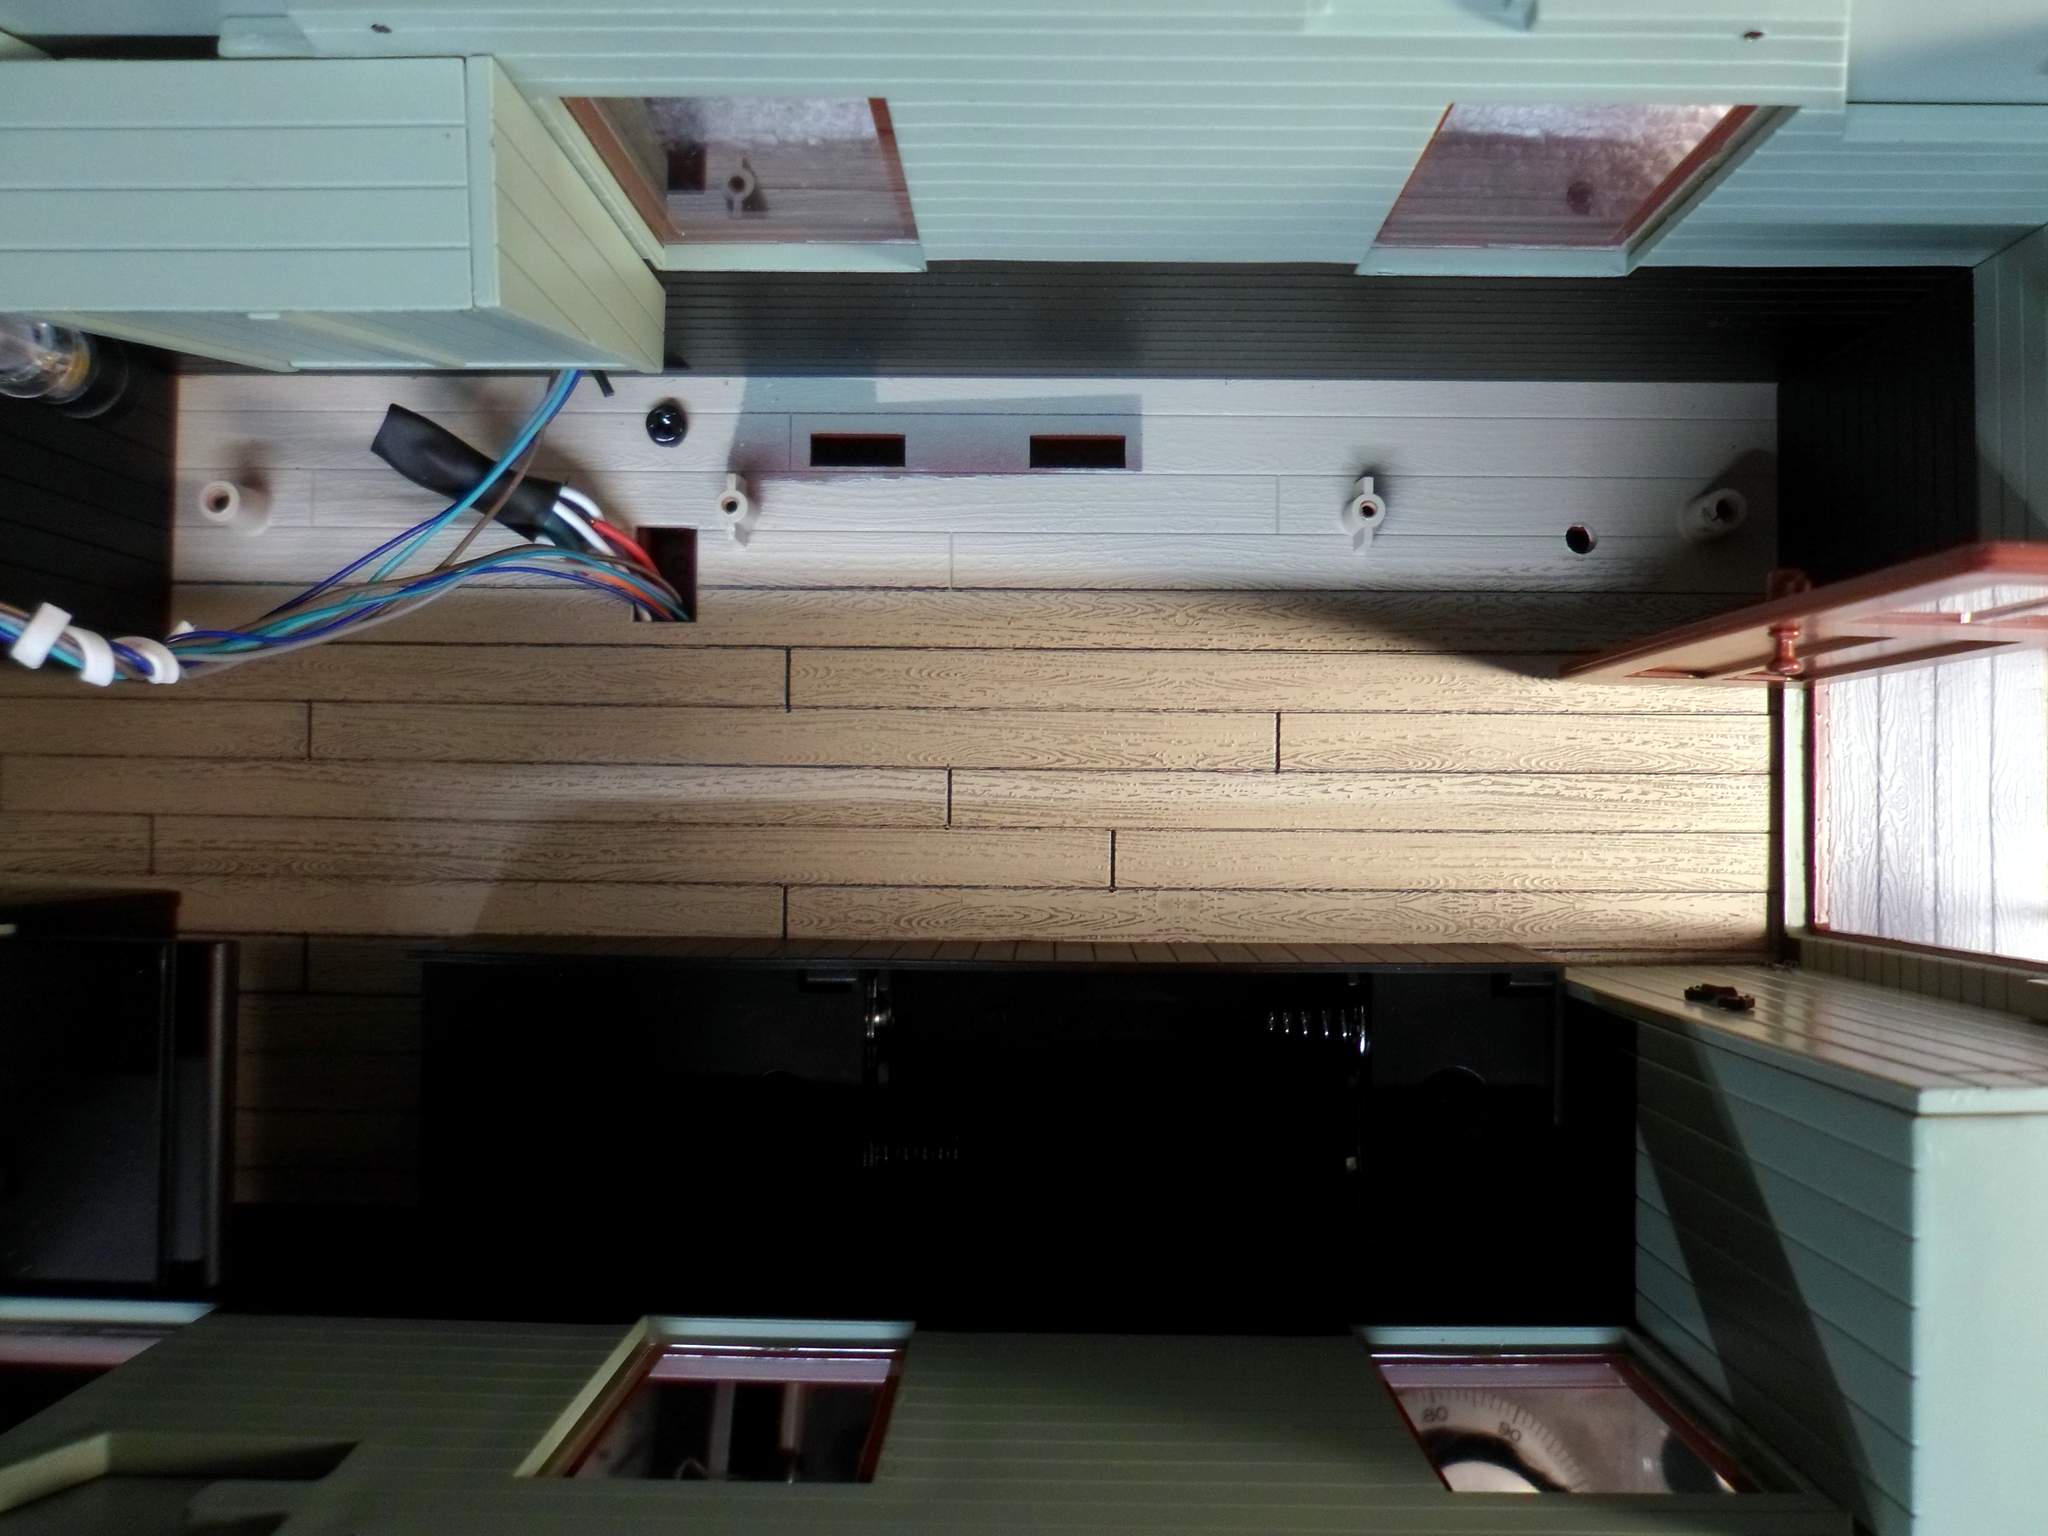
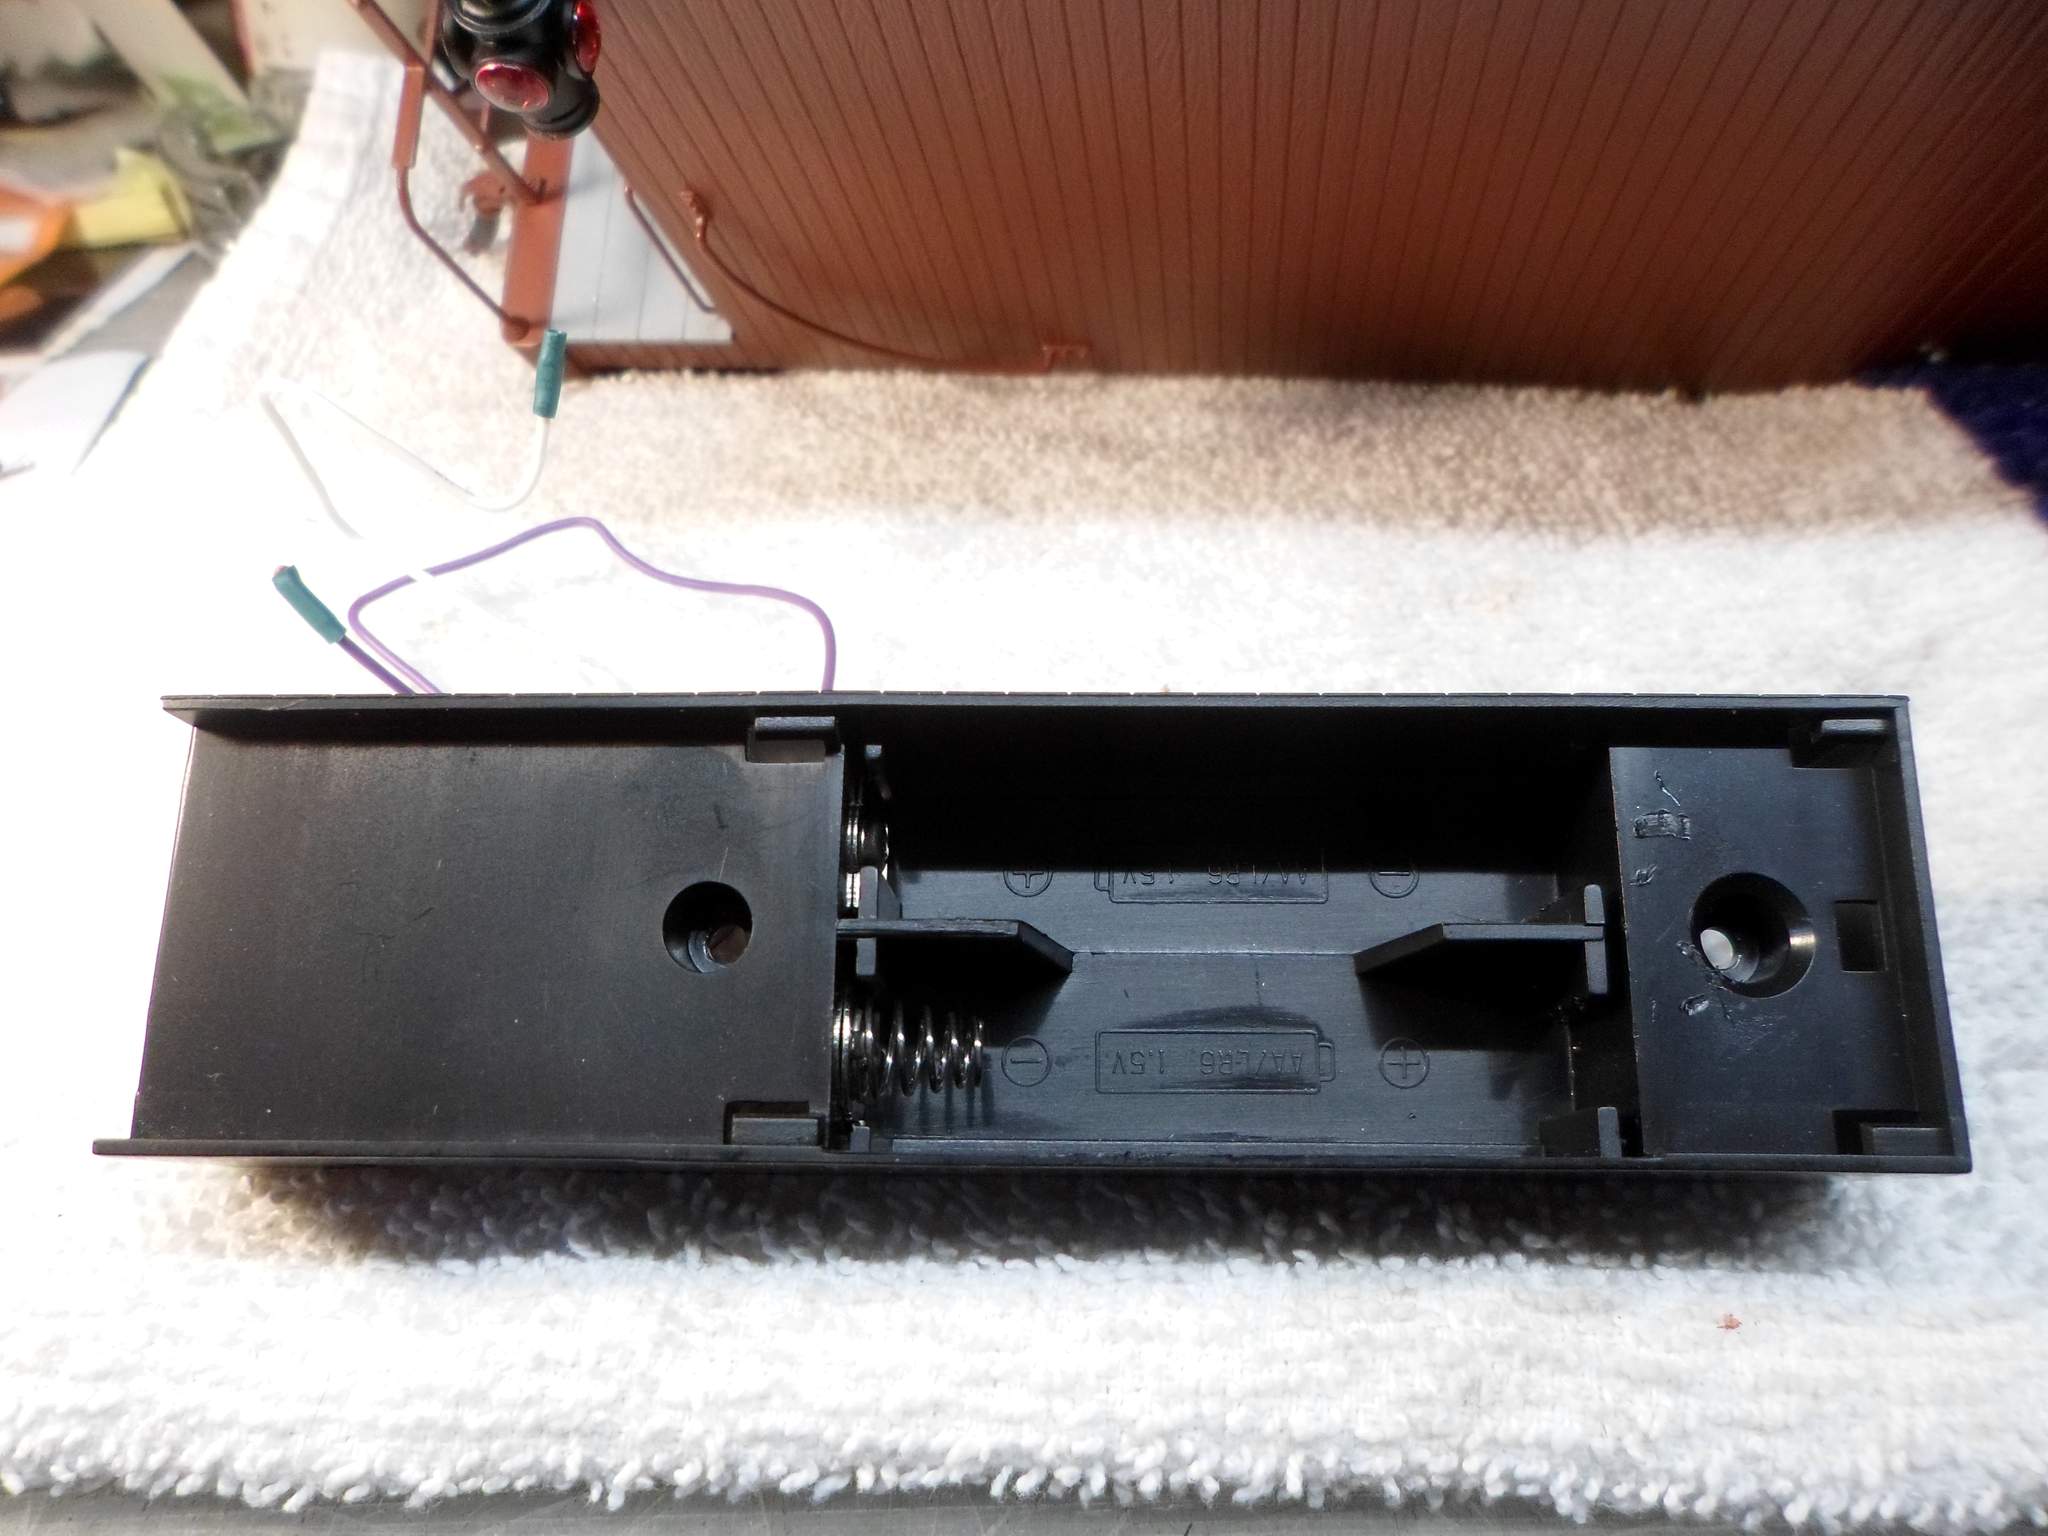
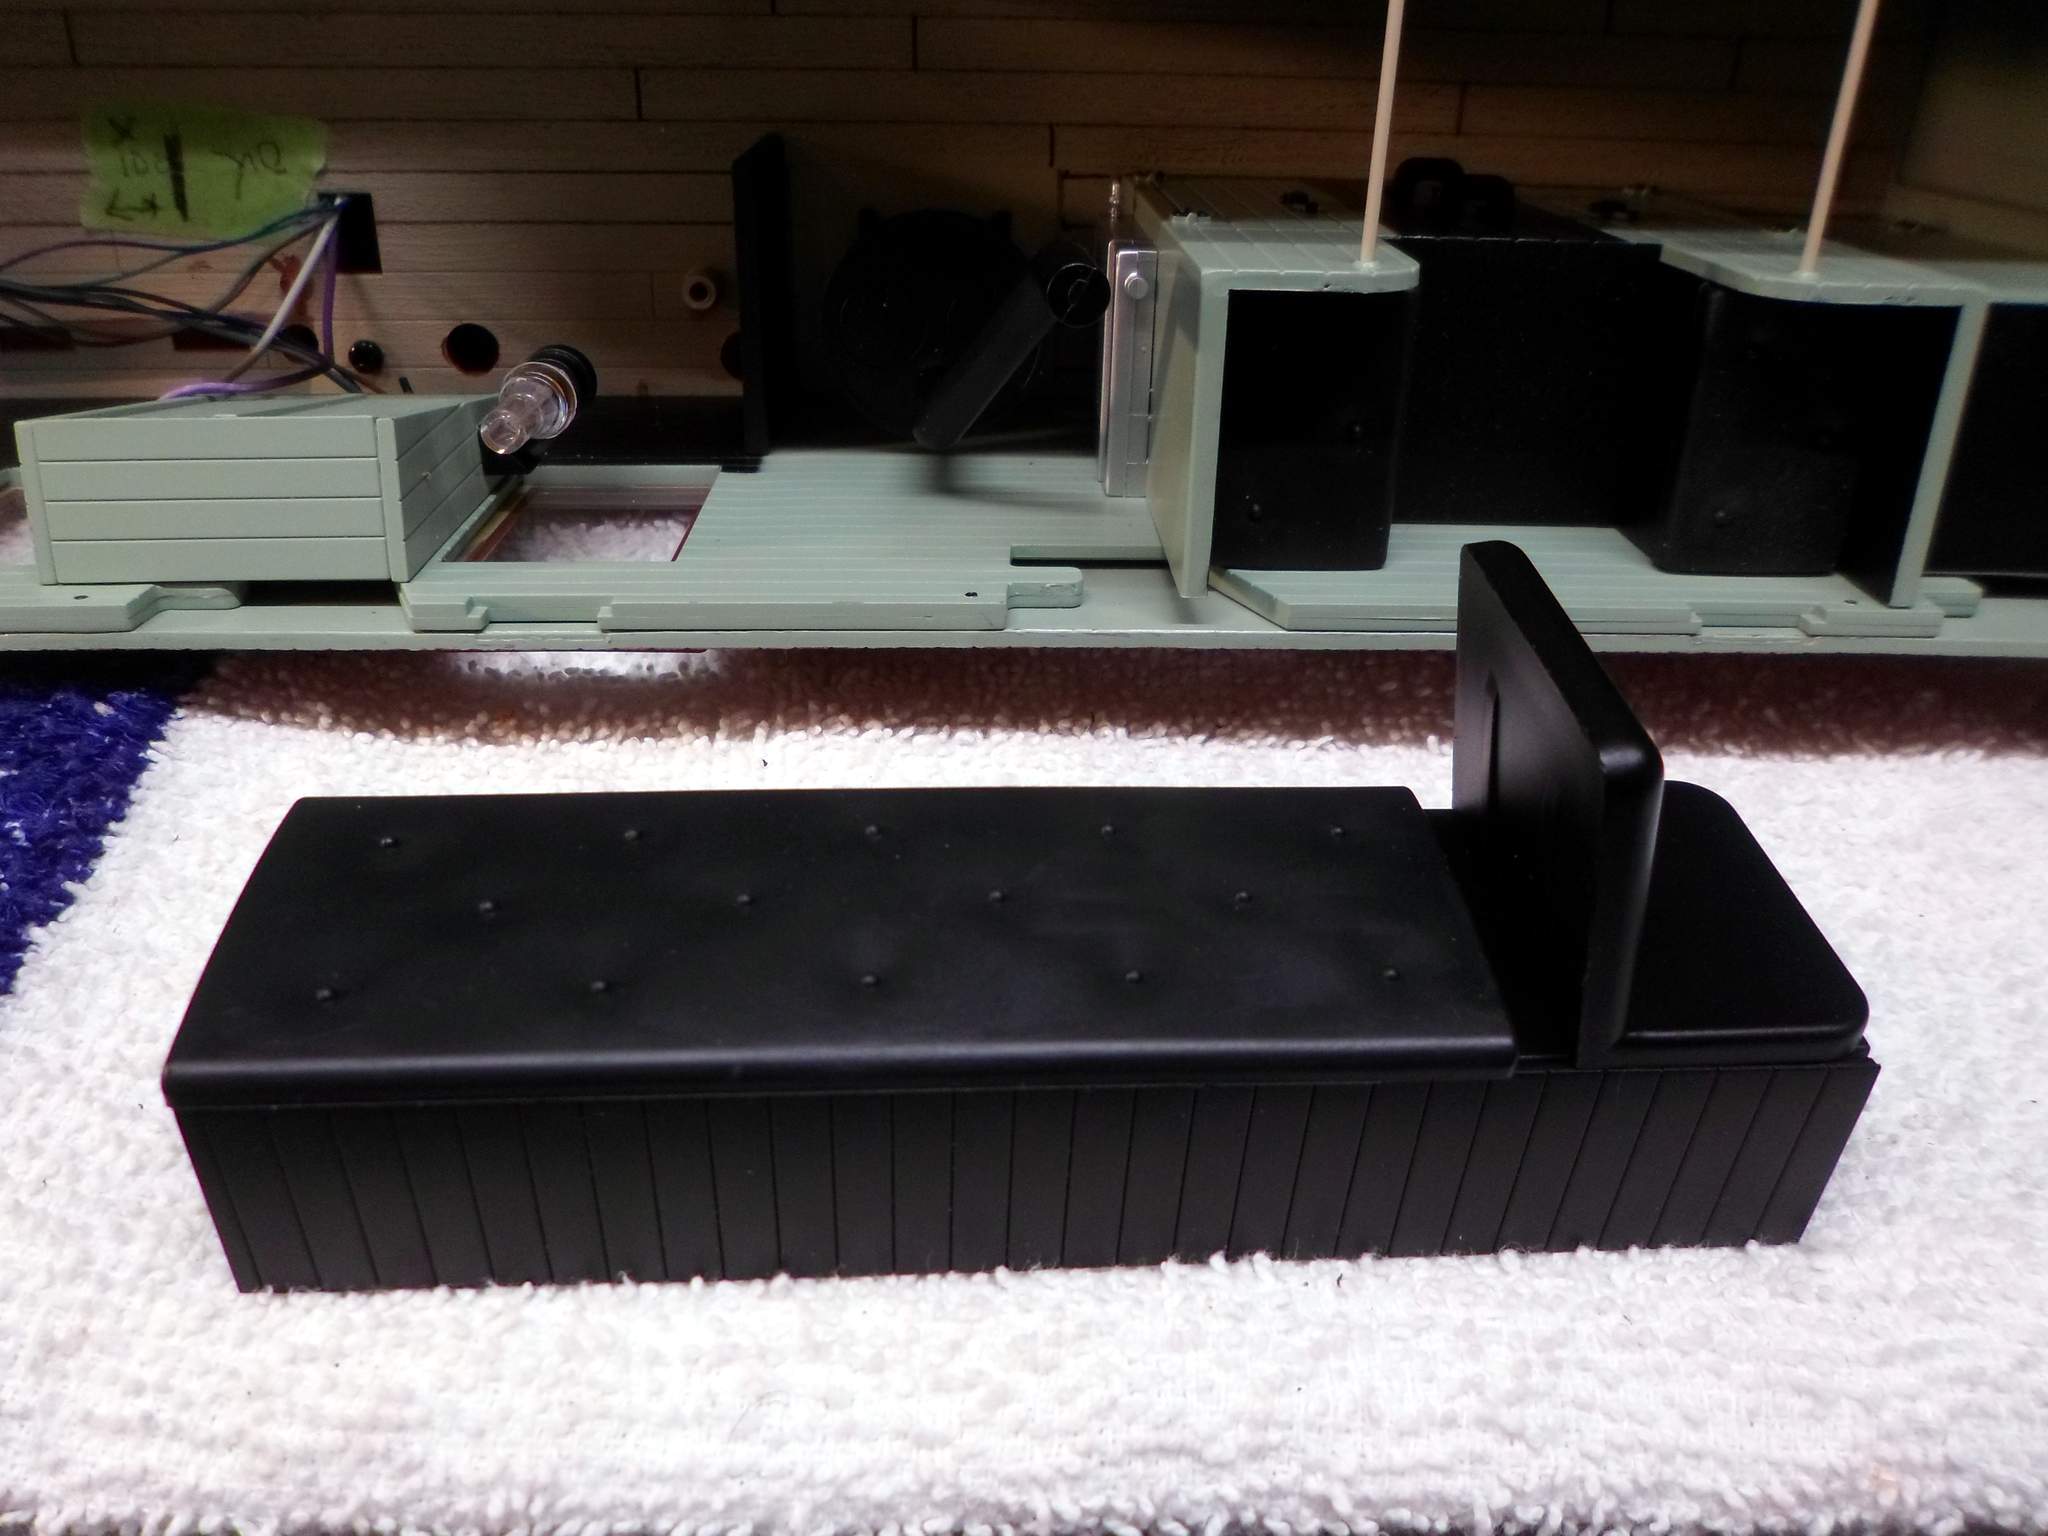
The Bachmann caboose is already wired for an on-board DCC decoder, however it only supports on or off functions for the table lamps and the markers. In order to get all the capabilities I want, I’ll need to wire direct. Bachmann makes this pretty easy by documenting the wire colors and placing the circuitry in an easily accessible place, under a removable bench. Wiring will be the easy part.

Powering the RailPro module, and finding a spot to hide a small speaker will be the challenge. I have constant 12V in my track as a bus for building lights, and the caboose does have track pick-ups for DCC, but I don’t want to have to deal with a keep alive device to keep things running when power flickers. The module will run off 11 volts, so I might be able to hide a 3S LiIon pack in one of the cabinets. I don’t need the current 18650 cells can deliver, but I’m not aware of anything physically smaller that is readily available. LiPoly was a consideration for a few minutes, but I don’t want to risk deep discharge, so I’ll stick with a protected pack.

I may look at some of the tiny enclosed speakers the HO guys are using in locomotives. I’m not looking for awesome sound, but I’d like decent volume.

The functions on my wish list are:

Table Lamps on or off, individually selected if possible.

Table Lamps dim

Marker Lights on or off, individually selected.

Marker Lights flashing together (EOT effect)

Marker Lights alternate flashing (Ditch effect)

Crew chatter (I’ll need to record my own if I can find a source)

Sound effects (rail clack maybe, but this can’t be timed to speed)

Somewhere WAY down the road, the module would support a servo that could be rigged to real brakes!

I’ll post some progress pics as I go. I have the next 11 days off, so I should be able to get something going!

2 Likes

I just installed my first RailPro in a diesel this last week, I will be doing another diesel in the next two weeks. Powering a caboose has been given some thought as a project, so I will see how yours goes and follow your postings. I’m mainly just interested in the light functions and not so much on sound, but like I said, I will see how yours goes. I would also give some thought to powered couplers as dropping the caboose is always needed when moving cars.

trainman

1 Like

Hey, JRad, you’ve just gone apeshit with this RailPro thing, haven’t ya? Congratulations!! My New Years’s resolution (which won’t be broken) is to convert all my existing USA Trains locomotives to RailPro battery power. USA Trains is also coming out with new 1/29 GP-38’s and an F-7 A/B combo in 2021 that I can’t resist, so let the fun begin!! (https://www.largescalecentral.com/externals/tinymce/plugins/emoticons/img/smiley-laughing.gif)

Yes Michael, I’m pretty much committed to going down this road. Early on in my venture into Large Scale I was seriously looking at DCC. For a lot of reasons, mostly advice from some of the seasoned LS vets, I decided not to go that way. I was happy with the R/C system I chose years ago, but when it was superseded by a new product, development and production stopped leaving me with a system that would do some of what I wanted, not all.

What has sold me on RailPro is the active load sharing when consisting, and the ease at which consists can be made up, broken and re-made on the fly. I’ve read (but not tried) that you can cut off helpers without stopping teh train if you have remote uncoupling! I’ll never need that, but breaking off the lead engine, or a pusher, once the hill has been summited is something I’ve done (after a stop) and it’s great! I’m also looking to remote control several turnouts on my indoor that are difficult to reach when operating. The more I look the more I find that I can do with this system. I actually think it is more capable than DCC. It’s definitely much easier to master.

Once I get a few more capabilities under my belt, user loaded sound being one of them, I’ll write up a full evaluation and post it. The only thing I have not been super impressed with is chuff timing on steam locomotives. I’m told a chuff trigger input is being considered, The hardware does have an input line. The diesel sound just blows me away, and if properly set up, will notch up before the loco moves. I have a sound car for my diesels that has a large enclosed speaker in it. With a good speaker the bass will blow you away!

Very cool!

Jason

Here is today’s photo dump. The caboose roof is designed for easy removal revealing a highly detailed interior. One of the sleeping benches houses the circuit board with pop off cushions to reveal access for a DCC decoder…

With the second cushion popped off, screws are revealed to remove the bench structure exposing the circuit board…

The circuit board has discreet wires for each LED, plus the wheel pickups and AA battery holder located in the other bench. There is a lot of electronics and switching here that I don’t need…

This is the bench structure after removal…

I got an email from Don Sweet after he read this thread offering some battery and speaker options he uses in HO that should allow me to cram everything in here without the circuit board. That HO Locomotive Module is TINY…

So, if Sandy Claws is good to me, I might just be able to order up the battery and speaker and get this wrapped up quickly! The next picture is the Hand Controller simulator with my in-progress program (RailPro calls them Projects) running. All the buttons shown are functional on my bench test. The top row is lighting and effects, the bottom row is sound effects…

Spent a very quiet Christmas morning working up the wiring plan and drawing a schematic in Visio. I think I’m ready to warm up the soldering iron!

Jon Radder said:

I decided that for $20 in savings I’m better of using the G Scale module which handles lots more current.

I received a private message questioning this price difference. I must confess, I was already on my second or third Bailey’s & Coffee when I wrote this up, and I don’t drink often! The real price difference is around $55.

Made some more progress yesterday. I committed to making this change irreversible in order to create room for batteries, charge components and a speaker. First up, remove the mounting studs for the PC board using a Dremel with a cut-off wheel. This is the BEFORE shot…

Next, carefully drill the floor for the charge jack and power switch, shown test fit here. The tape on the floor indicates where the battery pack will end, to avoid conflicts with the new components…

I won’t be able to fit even a small HO speaker in the remaining space, so the stock battery box was removed…

Excess plastic cut away with the Dremel and an Exacto knife to make room for an enclosed speaker…

Fortunately the bench still holds securely, even though I accidentally carved off one of the 4 latches…

I’m going to need to wait until the speaker arrives to determine if I will need to make an opening for the sound to escape. Since I’ll probably just use sound effects, it might be OK as-is. The Locomotive Module has been wired using a temporary battery and speaker. Maybe I can get a video of the functions in action after the sun goes down.

I’ve had some private feedback questioning why I’m paying the slightly higher prices for batteries and components from RCS of New England. My answer is simple: Personal service. Don Sweet has been pro-active on this and my other ventures into RailPro since day 1; actually long before that he has been suggesting I check out RailPro. He read this thread and noted my uncertainty about smaller batteries and speakers. Within hours I got an email with battery and speaker suggestions. Sure, I could find them for a few dollars less elsewhere, but the personal interest and service is well worth a few dollars more. I went ahead and ordered the battery and speaker Don suggested and they should arrive late this week if USPS can get their stuff together.

Wiring complete. Just waiting on final battery and speaker to arrive so I can button it up. Wire management is a little tricky,. I needed to leave leads long so they could be soldered outside of the body. I’m pretty sure I can cram everything under the bench…

The area to the right will accommodate a LiIon pack…

Road test with temporary battery & speaker in place…

And, as promised, a demonstration video


C.V.S.Ry. RailPro Caboose Project from Jon Radder on Vimeo.

I’m still learning but quite honored !

LMAO …

Love the “seafoam” green …nice touch away from the heavy industrial green …green tones are a bugger to work with!

Nice Work !

The CVRR used a lot of Nickel opposed to brass so the cushion pins (tufting) blows my dress up but I don’t think you told us how you made it?

Ha! I forgot to press that button while recording!

Rooster said:

The CVRR used a lot of Nickel opposed to brass so the cushion pins (tufting) blows my dress up but I don’t think you told us how you made it?

With a credit card! That is the stock interior in the caboose. It’s nicely detailed.

LMFAO

Amen !!!

I haven’t seen flickering (flashing) marker lamps like that since the kerosene went bad and the flame flickered up and down.

trainman