Large Scale Central

protocoling a mountain

it has been a long time.
modelling went very slow and i was too listless for posting something worthwhile.

but now i recovered somewhat, so that i feel like getting up to date.

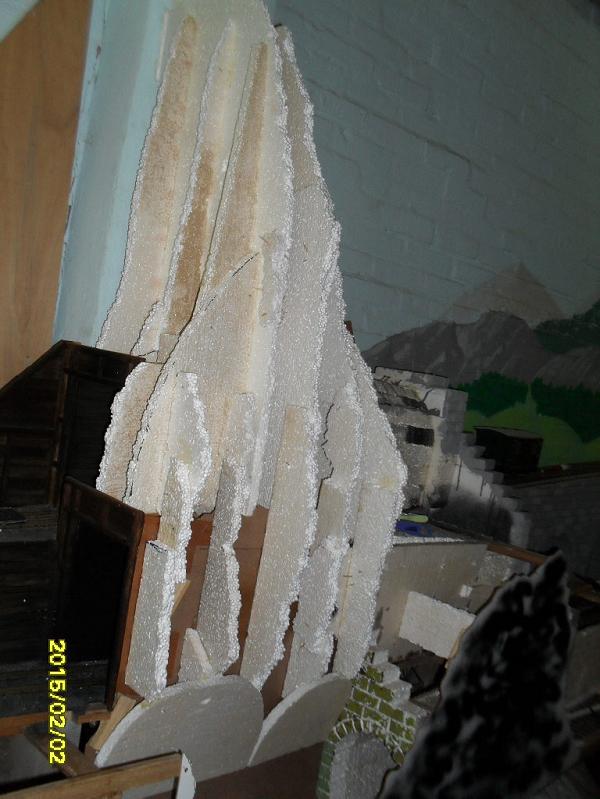
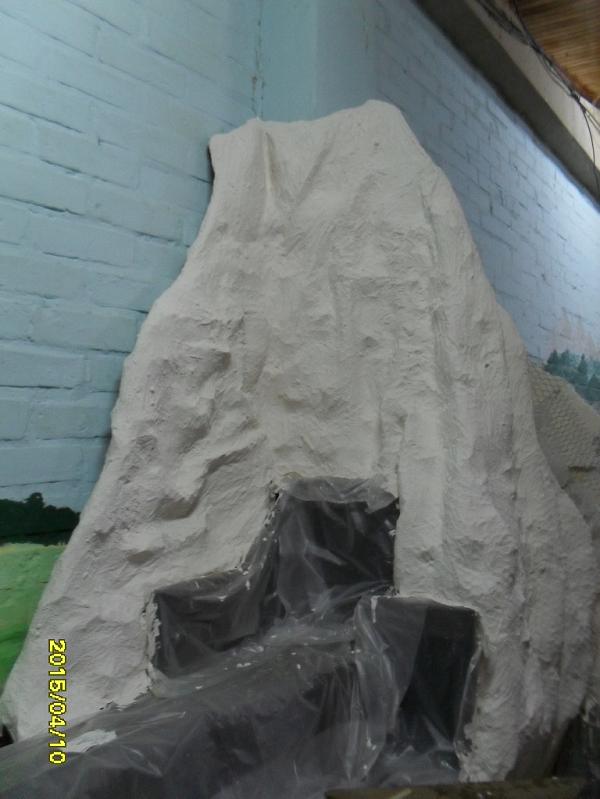
in the posts above i was starting the third tunnel (the last one passing through this mountain)

well, one thing is for sure: building an entire tunnel, without trying something new - that wouldn’t be me.

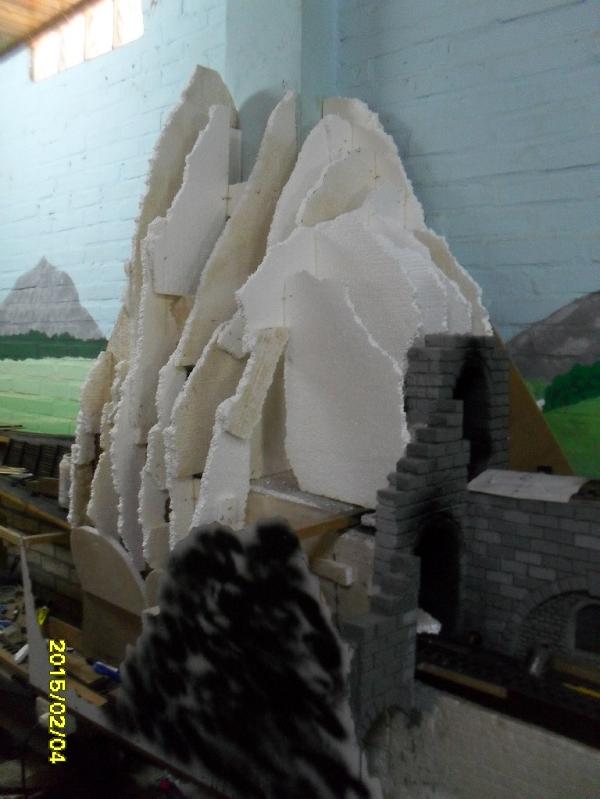
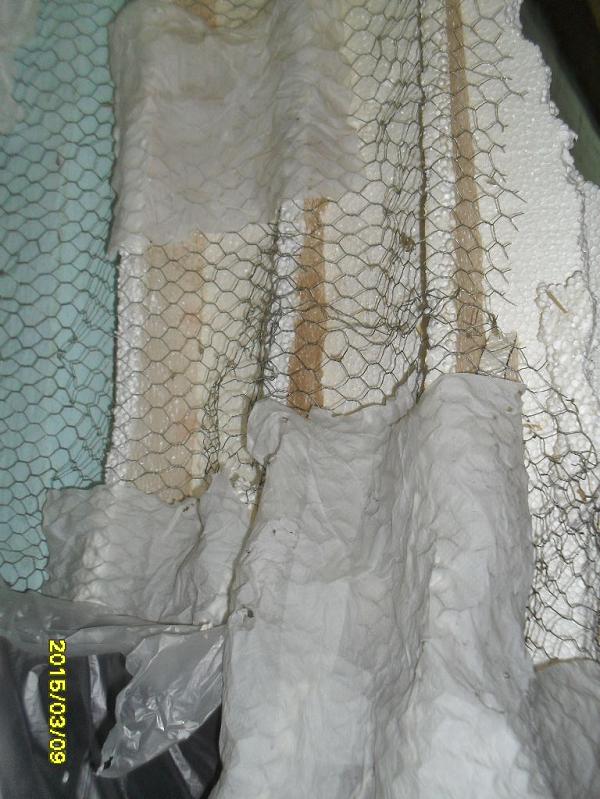
so i tried to find out, how it would turn out, if i used different thicknesses of styropor.

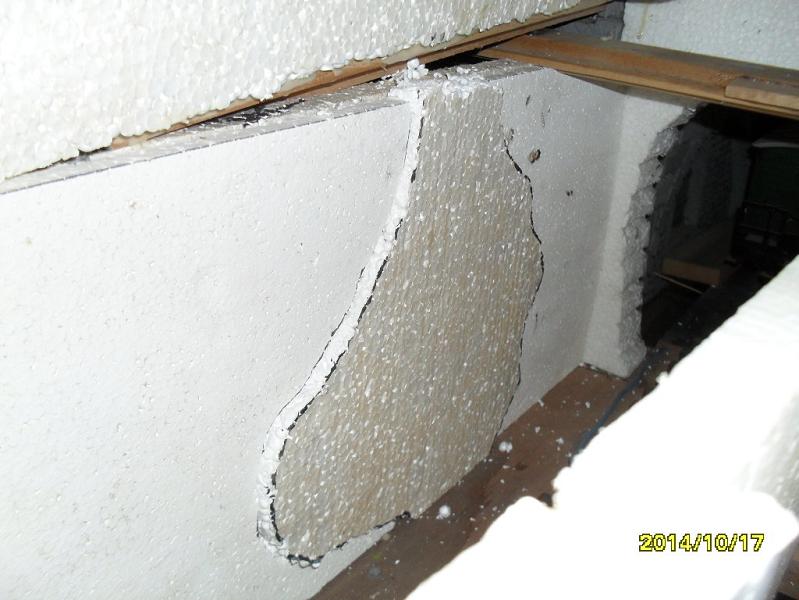
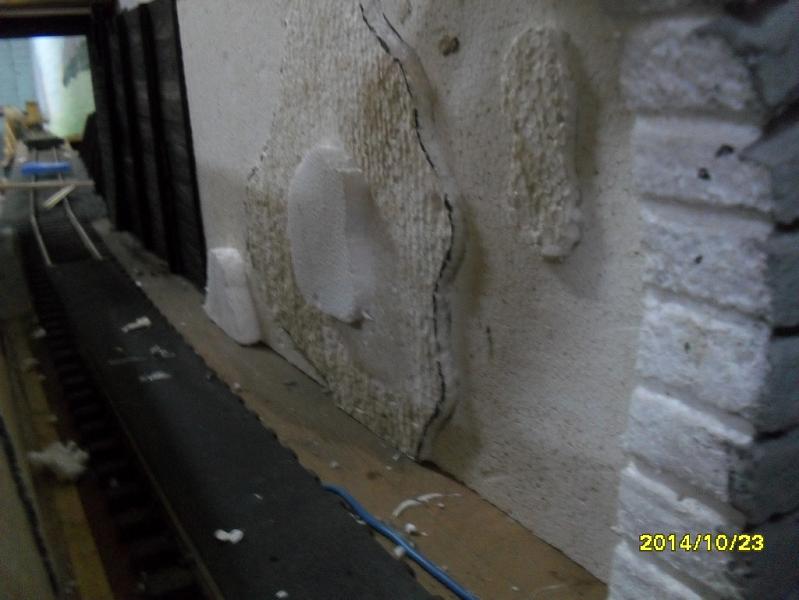
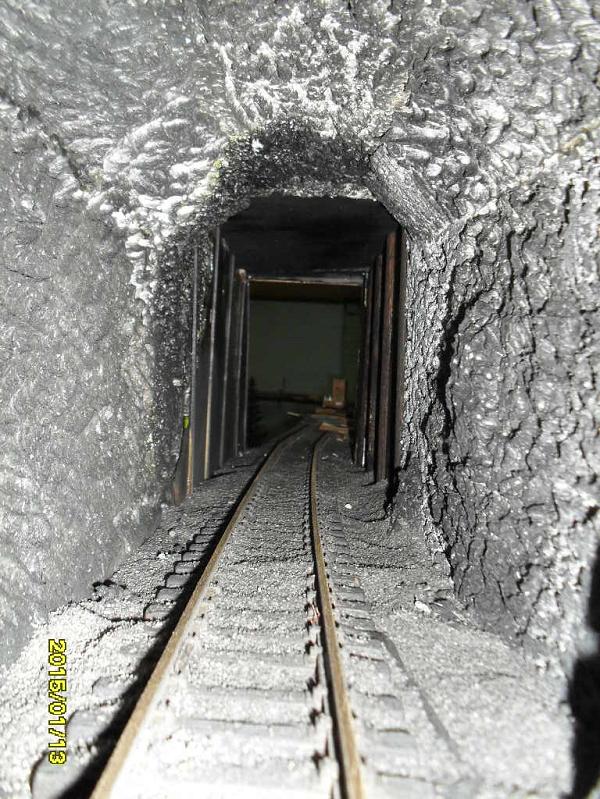
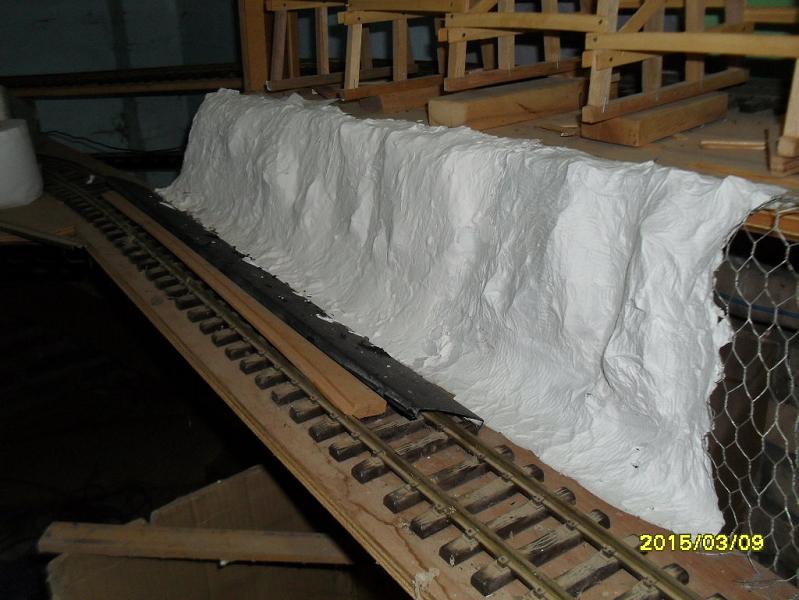
the walls i (miss-)treated again with the soldering iron.
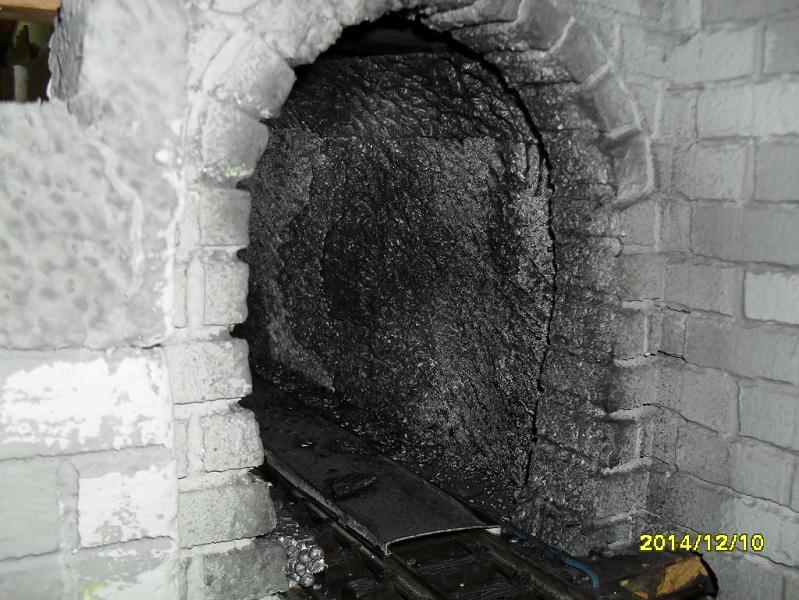
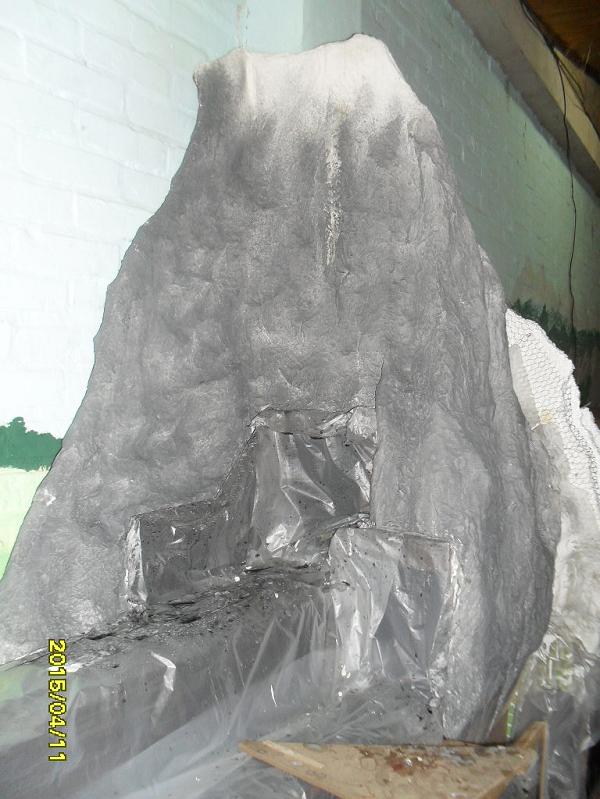
then they got sprayed with a mix of water and black toner for wallpaint.

(this might be the moment to mention, that protecting the rails with the lid of a cable channel saves a lot of elbow grease)

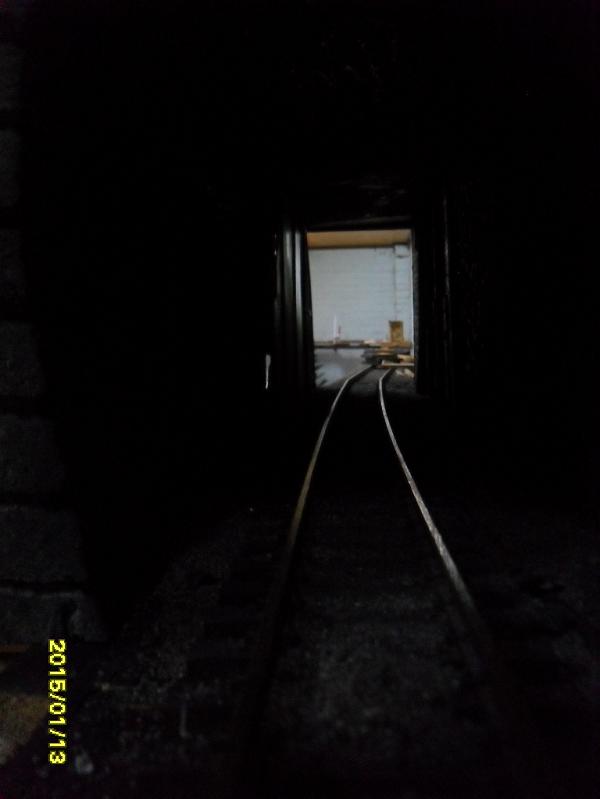
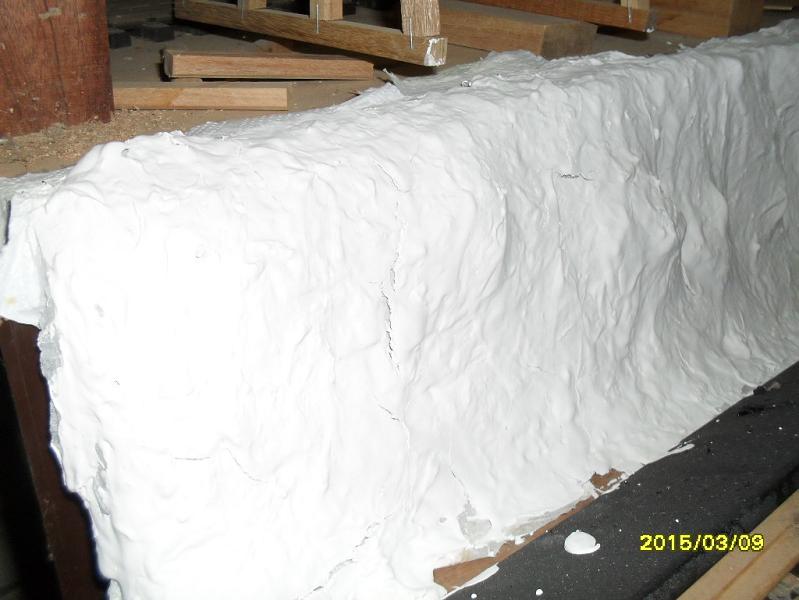
well, black in black stands for good visibility in this pic:

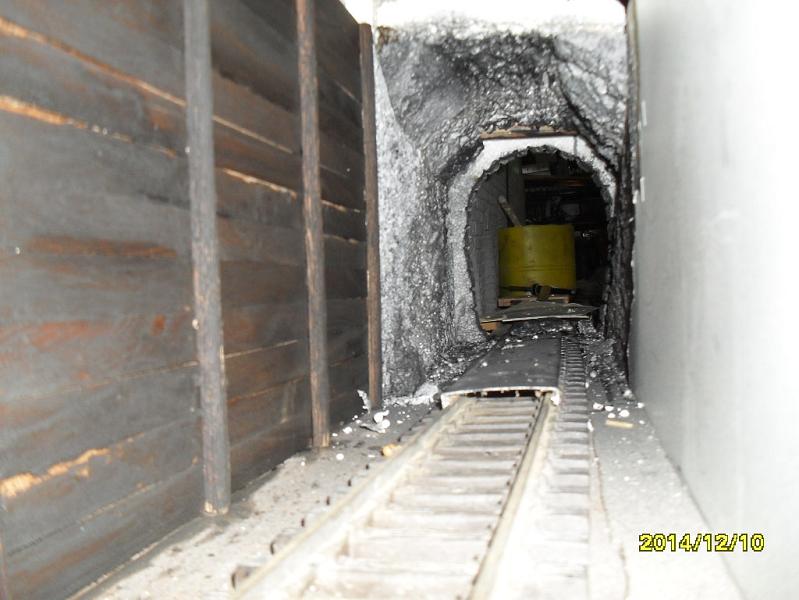
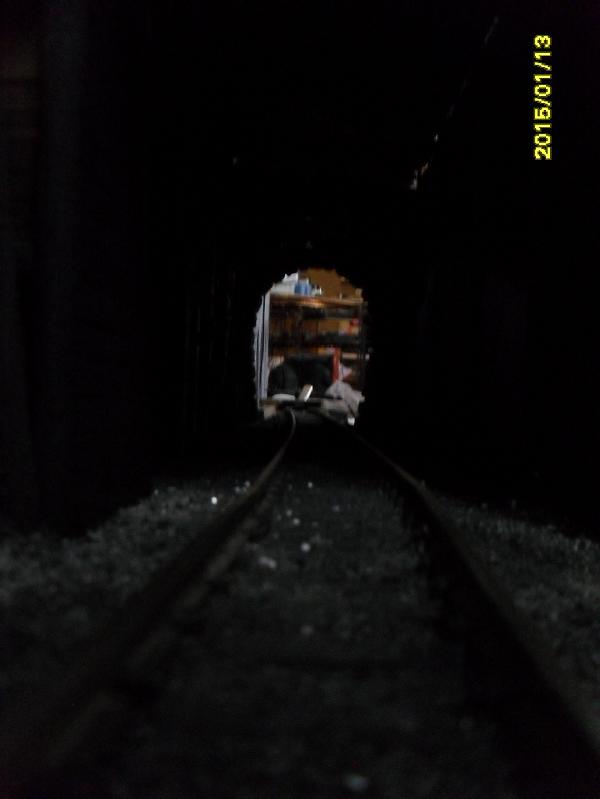
in the following pic the flash has messed with the colors (specially with the black :wink:
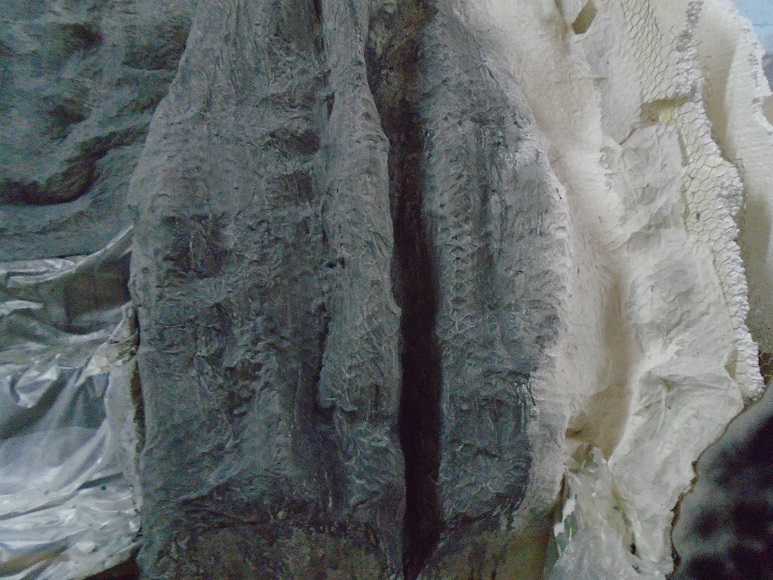
but i think, light and shadow on the rough wall on the right side are more or less distinguishable.
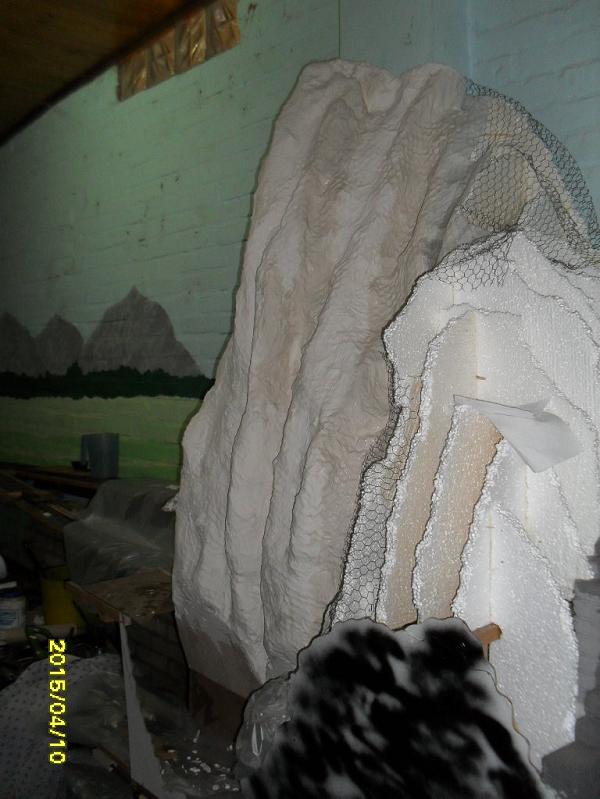
the transitions between walls and ceiling should have been rounder, but after i had forgotten the plugged-in solderinging iron for a day or two, that thing did not want to work for me anymore. (after only short 45 years or so) and with the small iron i did not melt the stuff as well.

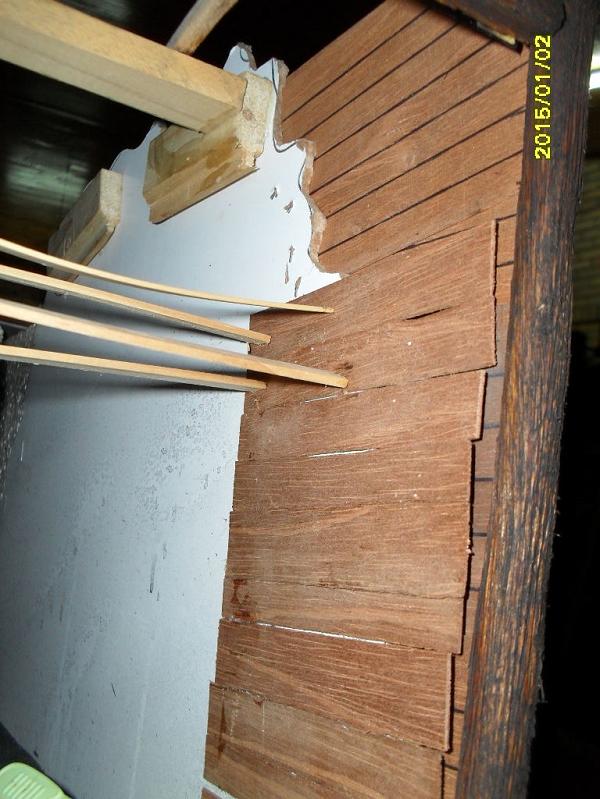
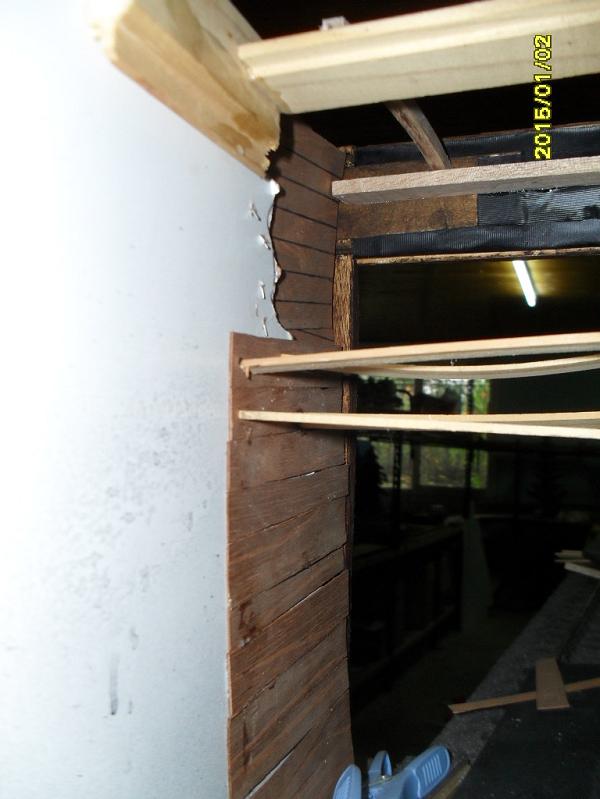
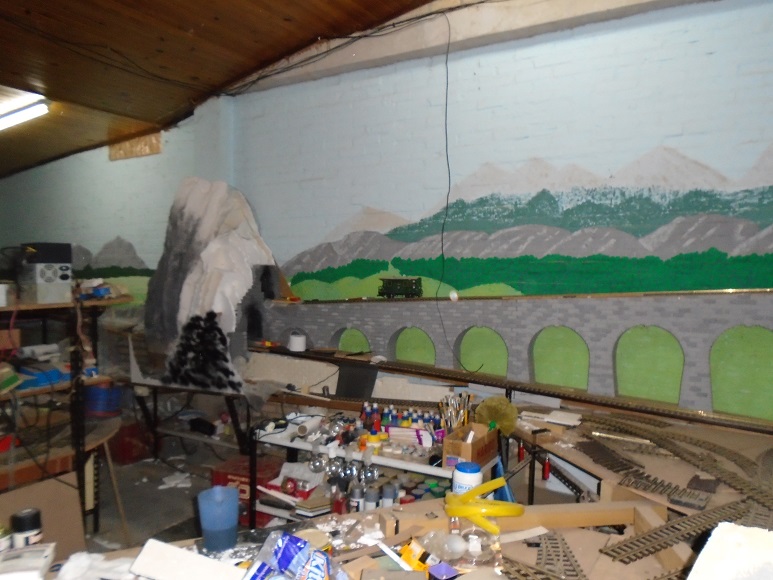
visible on the following pic in the rigt side of the foreground, is where i need a plankwall, that might not be thicker, than a postage stamp.

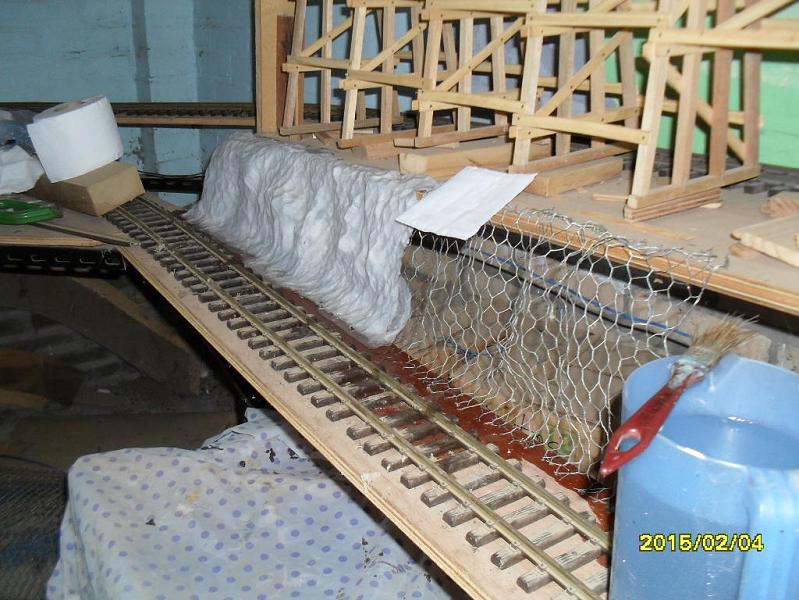
it is growing… at top speed - for snails.
glueing down one or two boards, waiting, glueing another two, waiting, forgetting about it, glueing…

I’m glad you are feeling better and progress is always good to see!

John

Looking mighty crappy there Korm!
I like the use of sticks to hold planking in place!
Keep us informed and updated to your progress!
Glad your in the right again!

thank you both!

(as my doc put it: “well, the best news I can give to you is: you won’t die at young age from your chain-smoking.” - he’s a nasty one…)

well, i’m fed up with tunnelling!

but at least i see the light at the end of tunnelling!

and it is no oncoming train.

this was the last! (for now)

now i will build the corresponding mountain around the tunnels.

so, to build the mountain around my tunnels I got a new idea (new to me)

instead of making a structure out of wood, I break styropor panels into usable pieces, and glue them together.

the styropor-slice-mountain will be covered with chickenwire, wet householdpaper, glued and then covered with crackfiller for plasterwalls.

maybe, I throw in some sand and Portland mix for a better structure of the surface.

at another place of the layout I run a test, which household- or toiletpaper is best for my purpose.

That’s really come out great on the tunnel. Nice work. Korm…

(http://kormsen.info/landscape/bilder/lonemountain51.JPG)

the test zone is not yet finished as complete landscaping, but I found out, that household paper is better for this, than toilet paper. at very steep places and for outcrops, it seems to be better, if the paper is not only wetted with water, but with a thin mix of water and white glue.

the filler will not cling as good to the glue soaked paper, but that can be overcome by a thicker cover of filler.

on the following pic one can see, why it needs more than one coverings of filler:

well, mountains grow very slow…

but anyhow, i’m still thousands of years quicker, than mother nature.

on moderate slopes, it is easy to work. but on steep parts, each paper has to dry, before the next piece can be glued to it.

I’ve heard, that there may be persons, who first modell the mountains, waiting until last for collocating the tunnel portals.

and very slowly I begin to understand why…

well, forming chickenwire, putting wet paper and painting it with filler… nothing exiting, but time-consuming.

even, if the mountain structure is not complete on all sides, I could not resist temptation.

I sprayed on the first layer of colour.

(that shows me, which spots need more filler, to hide the texture of the wire mesh)

thanks, Noel.

I like it!Image result for wow smiley face

thank you, smilie…

Korm

Can we get a shot from further back to see how it looks in general?

Sean

(http://www.largescalecentral.com/externals/tinymce/plugins/emoticons/img/smiley-cool.gif)to cool for school.

yes, but…

my old pc finally gave up today.

and the new one doesn’t cooperate with my old camera.

I hope, that i’ll have mastered the use of the new camera within a day or so.

Korm Kormsen said:

yes, but…

my old pc finally gave up today.

and the new one doesn’t cooperate with my old camera.

I hope, that i’ll have mastered the use of the new camera within a day or so.

I hope so to. This build is an inspiration for my dream of an indoor mini (can’t call it a micro anymore its growing).

As always …nice work Korm!!

(take care of yourself!)

everything, that we build indoors is a mini.

there is never enough room for what we want.

I already mastered pics 1.0 - I got some pics in the camera.

now I go for pics 1.1 - to transfer them to the pc.

the installation of the necessary programs takes ages. (and gives me the very strong impression, that the newer PCs and the newer winouch programs are slower and less responsive, than the older ones)

Korm my indoor layout is still in the dream phase and it keeps growing. I only say mini instead of micro because what started out with one spot in my basement is now up to about half. I hope to start construction on it soon. In the mean time I will continue to admire your work

thanks, Devon and rooster!

after I had to learn, that it is much easier to load up pics to facebook, twitter or the NSA archives, than to load them into my own pc, I got the experience, that resizing pics has ceased to be an exact process.

so, pics 1.2 is not mastered, but manageable.

pics 1.3 - uploading to my own space in the net was a piece of cake.

so, finally, here we go!

if you look at the first pic, you can see, that I have to re-do some areas with filler.

(next mountain I will use a wider wire mesh again. that makes a less obvious pattern)

Sean,

two shots from further back:

Ohh No Korm… Now you need a for that pike!! LOL

http://www.trainli.com/profiset-gipfelbahn-p-4711.html