Large Scale Central

protocoling a mountain

since i was sort of fed up with making and soldering jumpers (the less liked part of modelling for me) i decided to build one of the planned mountains.

well, a warning, it will take time, till this thread will be finished. i am modelling slooowly.

i have that wall, nearly 40 ft long. and in front of it run three lines.
directly at the wall from down-left to up-right.
in front of that, from up-left to down-right.
and up front a line, that stays down all the way.
the two inclined tracks have nearly 6% of inclination.
the whole construction in front of the wall is between 2’ 2" to 2’ 4" deep.
i am not really happy having three tracks so near each other, but i did not find any better way, to connect the lower layout with the upper layout.

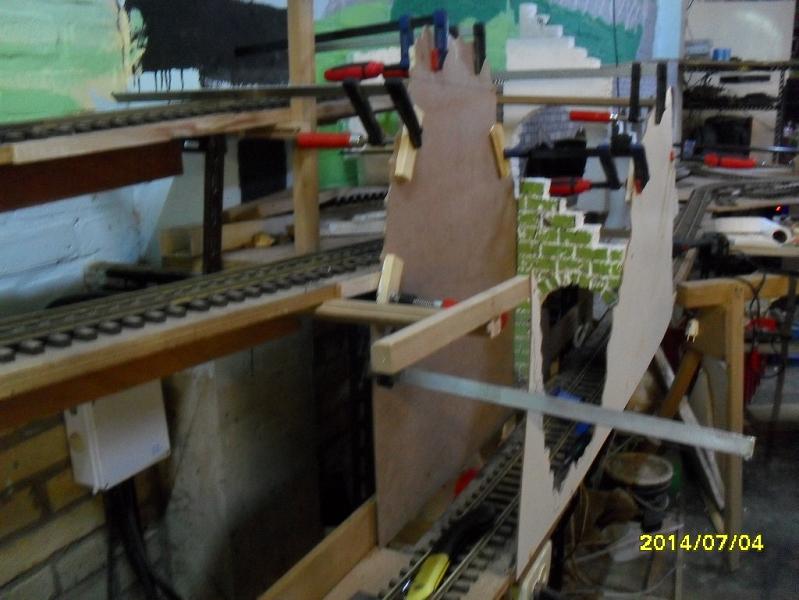
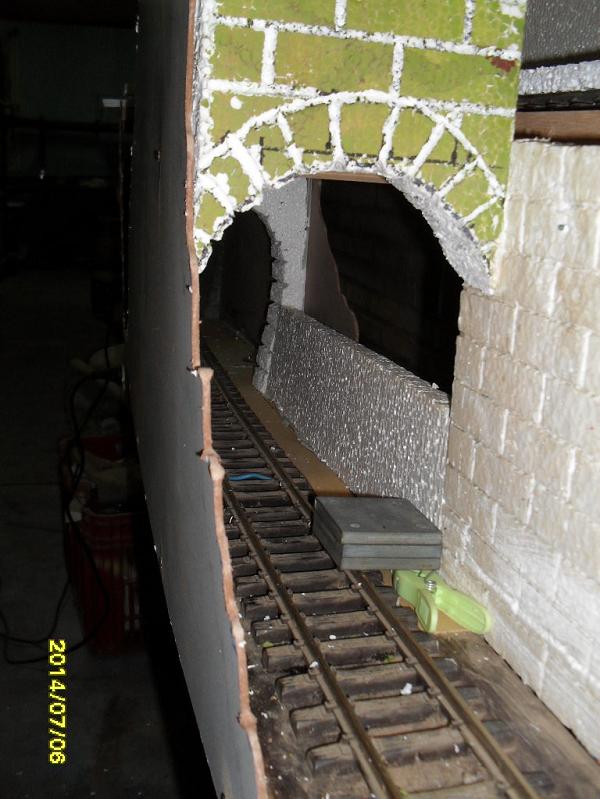
in this pic one sees the problem, i got with this wall.

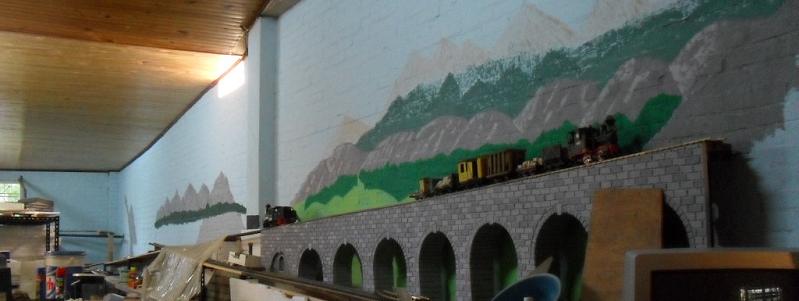
nearly in thew middle of the wall there is a concrete pillar integrated into the wall.
not only, that i have to curve the track around it, but it looks ugly too.
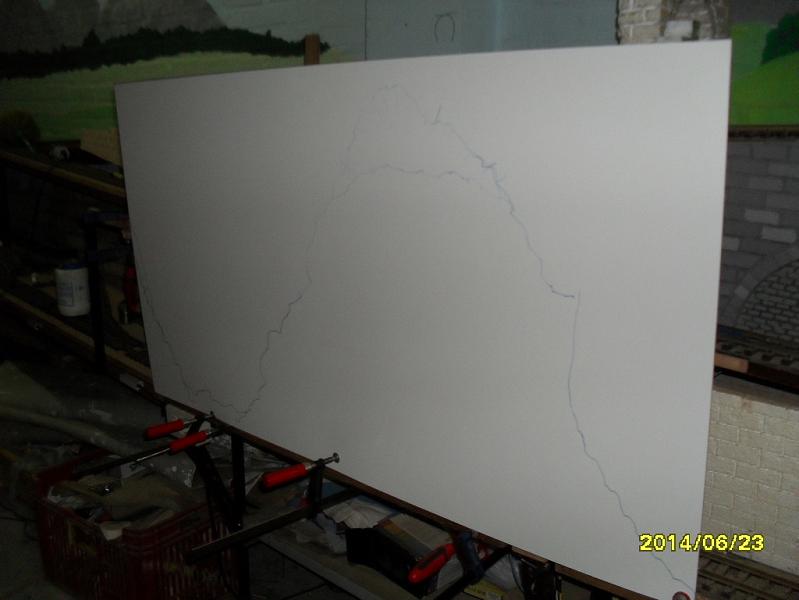
after many hours of armchair-modelling, i decided, to hide it inside a mountain, with tunnels through it.
for me that is a challenge.
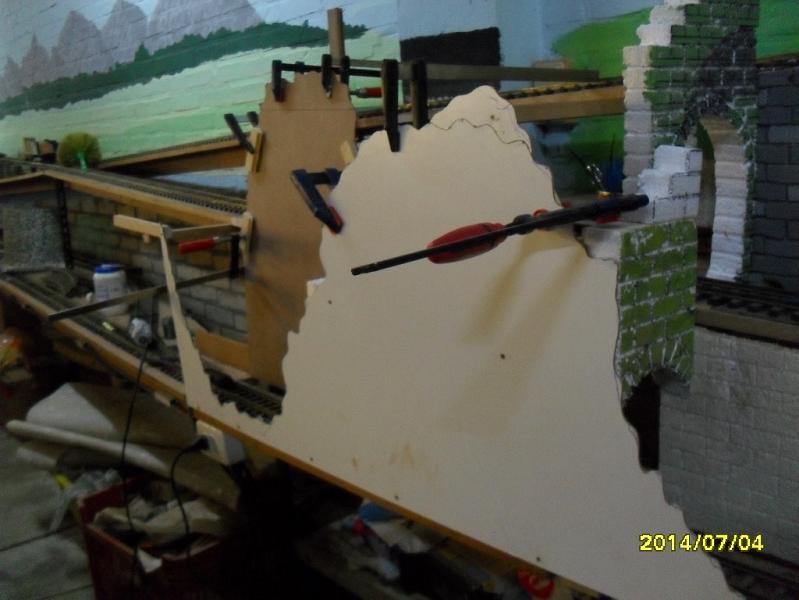
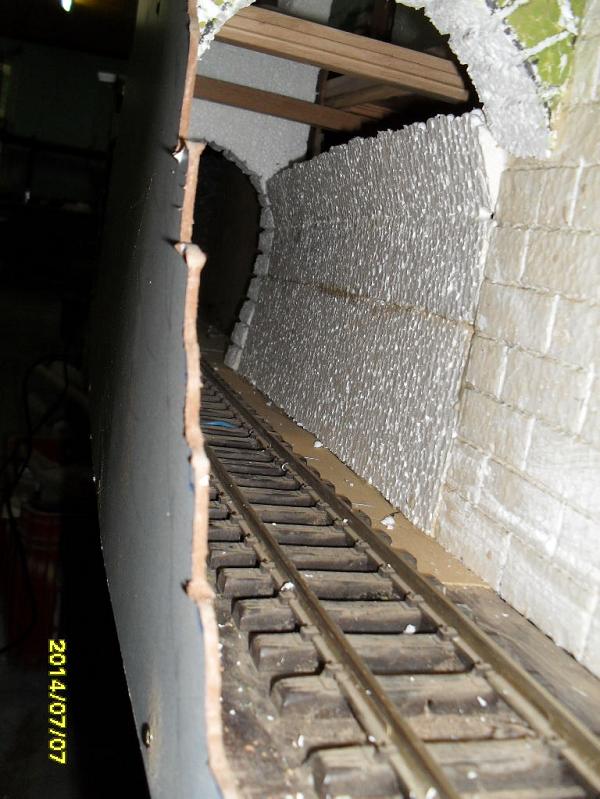
the mountain shall be high, to hide the pillar, it can’t be deeper more than 2’4", not to obstruckt the access path in front of it, and it can not be broader than 4ft, to have access to every point in the tunnels.
i am really curious, if it will look like a real mountain, or more “empire-state building”-ish…

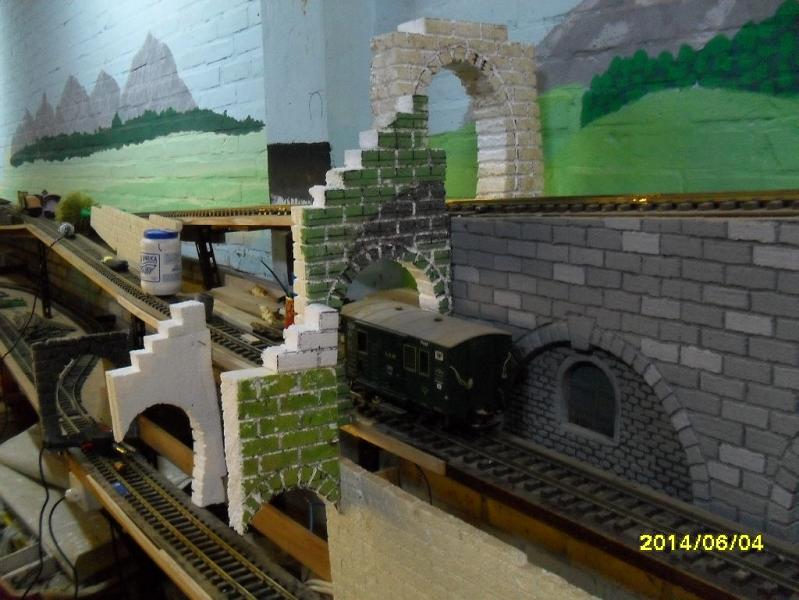
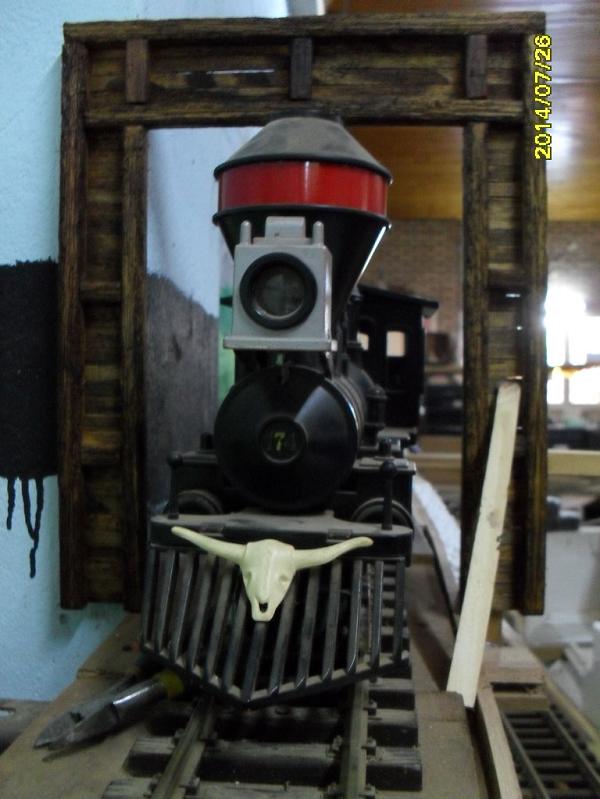
the styropor viaduct on one side, the trestle bridge on the other, dictate what kind of tunnel portals i will put.
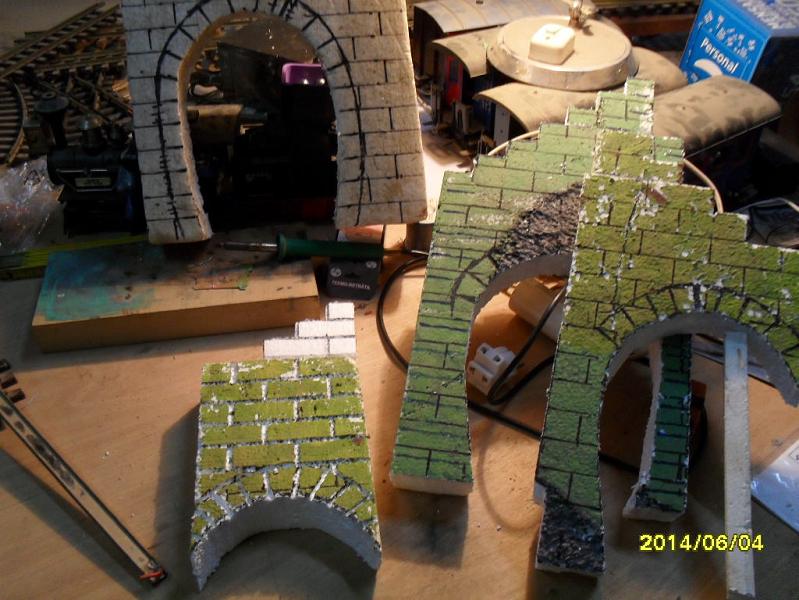
on the tresle side i will make wooden US style portals, on the other side stoneportals, like in europe or the eastern US.

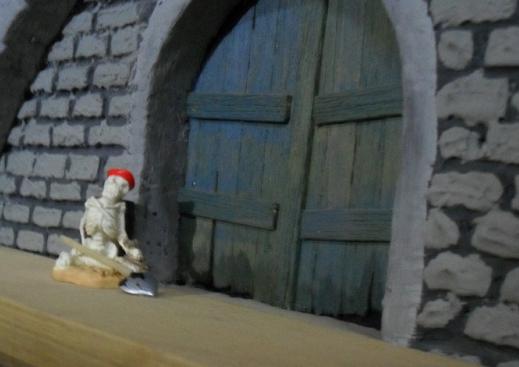
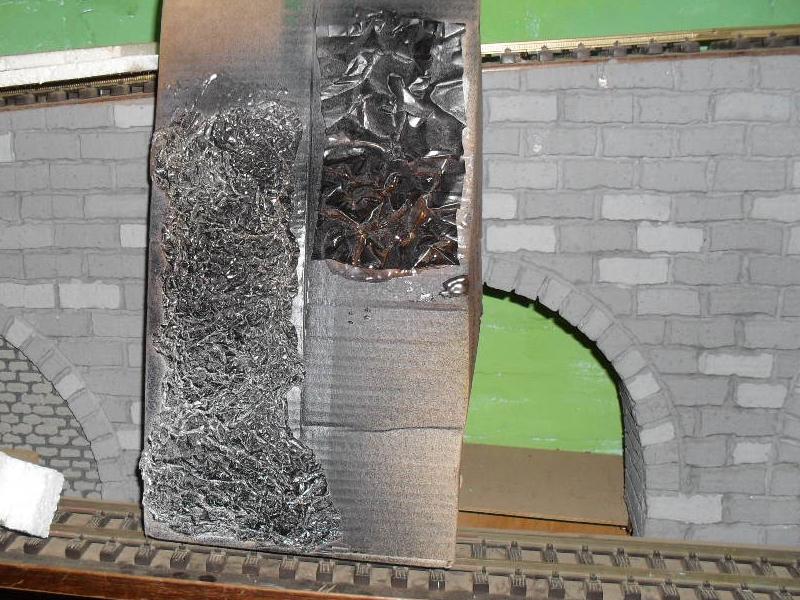
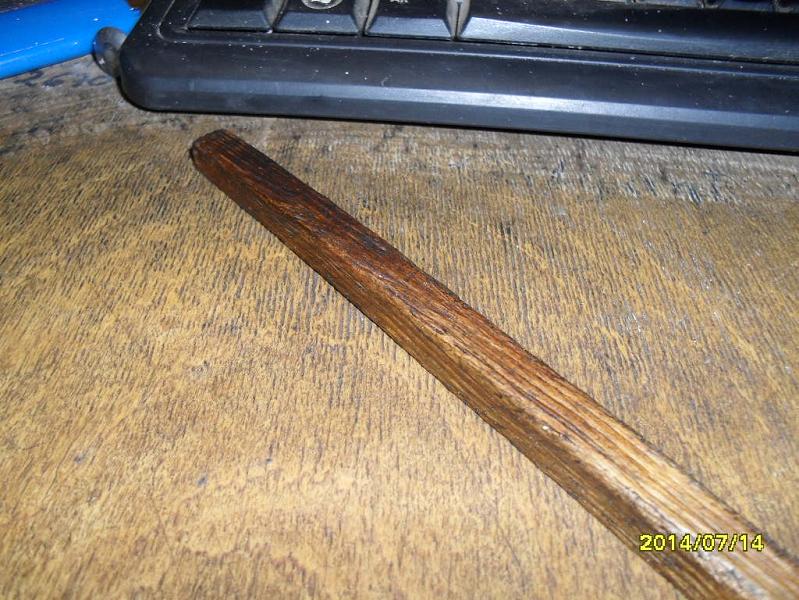
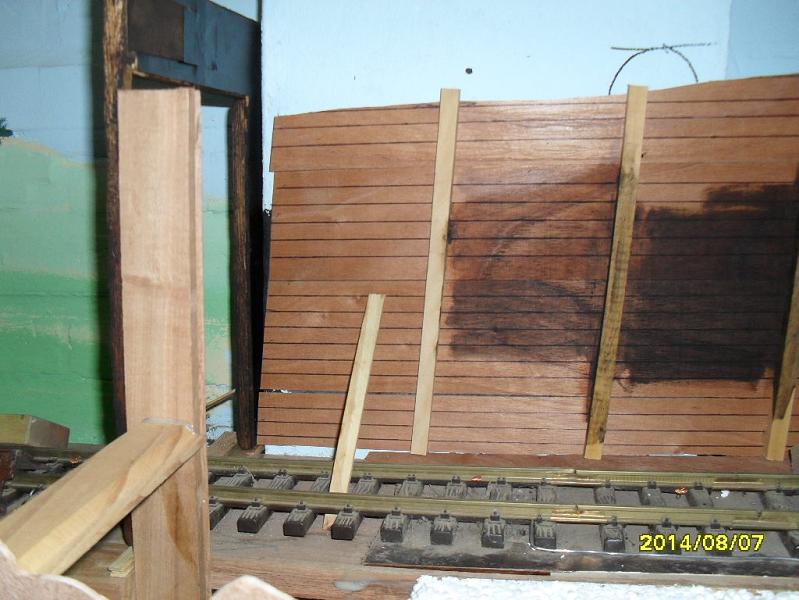
and with the latter i begun.on used styropor plates i marked portals, in style and dimesions after a salvaged portal from my last layout.
(using the shabby side of the styropor as front i evaded that sterile, neat modelled look.)
height: 9", width: 6-3/4"

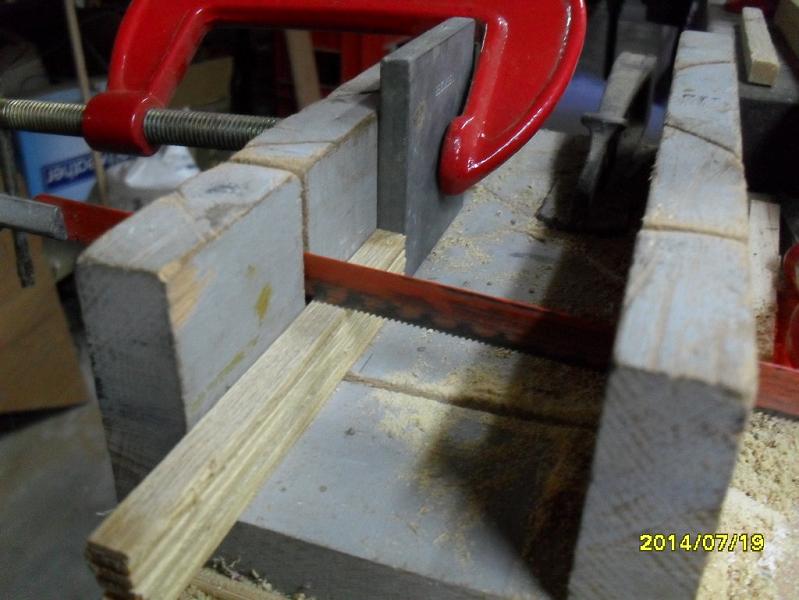
then i made the joints with a weak soldering iron.
for clean, orderly joints i use a metal ruler, for more rustic joints i work freehanded.

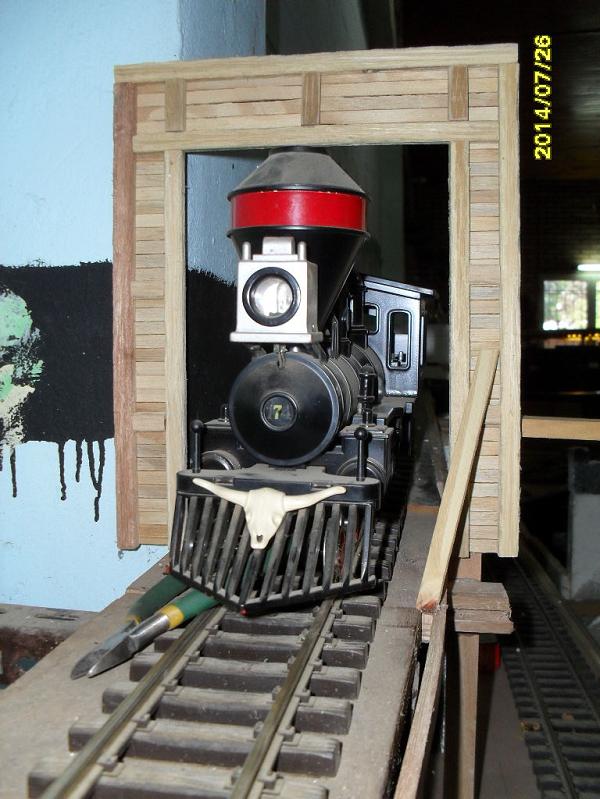
a first positioning test:

… and then i retired to my armchair and computer.

I think if you plan to take it all the way to the ceiling, or close, it may look a bit odd. If you could make it wider at the base than at the top, it may work as the end of a hill. There are many examples in the Eastern US of mountain ridges that quickly fall off where water or glaciers cut a pass through the ridge. If you model the “end view” of one of these, it may just work. If I can find or take a photo of what I am talking about I’ll post it.

Here’s one example. Google Delaware Water Gap.

(http://www.durangobill.com/AncestralRivers/USEastDelaware.jpg)

thank you.
there is another option, that i did on my last layout.to make a “cut”.
instead of modelling the whole hill, let it be cut where the layout ends.wait for the nex posts, than you’ll get an idea, what i am talking about.
but anyhowthe mountain will not be higher as about 7-1/2 foot. that is about 2-1/2 foot under the ceiling.
(and if the soccer fever holds long enough, the mountain might get the form of that mountain near Rio de Janeiro)

well, meanwhile i got the ordered masonite.

the sheet will be placed, where the mountain is “cut” off by the access way.

scetched:

cut out, screwed on, some pieces of wood glued to it, where later the chickenwire will be tackered to it.

… and timefor a prolongated pause…

Cool.

Nothing wrong with going floor to ceiling

:wink:

whow!
i love these mountains!

Korm Kormsen said:

whow!
i love these mountains!

Get cracking as they don’t grow them selves! :wink:

well, but it is mountains, stone!
i can’t be hasty on that.

well, started the first tunnel.
after glueing in the styropor portals, i was glueing the walls.
styropor seems ideal for the job.
easy to cut, with enough flexibility to give a gradual transition between the two different shaped tunnel portals.
first i cut a sheet with cuts for the rounding not going entirely through the material.

what was nonsense, because the track is inclined while the portals are standing upright.

instead of doing the complicated math, how to cut the sheet (specially at the rounding), i just took the individual strips to glue them following pi divided by thumb.

for glueing i used my special glue.
as one cant press styropor very good this special glue serves better, even if it is hard to prepare.
(taking an ordinary pot of white glue/vynil glue, open it and let it stand for about 36 hours. every six hours it has to be stirred well. after that it has about the thickness of toothpaste, and does not run so easy)

each stripe is glued to the other stripes above and below, on the ends i inserted toothpics, that held the sripes in position, until the glue dried.

smaller mistakes, like in the last pic the missmatch between portal and tunnel wall, will get fixed, when i paint the part.
to give the whole thing some “body”, for painting of styropor i use a mix of colour-powder for concrete, mixed with a thinned down crackfiller. - that covers up all those little faults by sloppyness.

a major decision was, what kind of surface structure to give to the tunnel.
to modell a stonework wall inside the wall, or even a plastered wall?
both would have looked too european. so i will use a soldering iron, and use it to roughen up the styropor inside the tunnel.
with adequate painting, this will hopefully look like cut stone.

For inspiration!

Work being done by Matthew (OV)

This is going to work. Looks good!

Sean and Ric thank you both.

on a german forum, where i am slightly ahead with my protocol, one member gave me the tip to use alu foil.
not, like the outdoors modellers do, to use as a mold or stamp for concrete, but to glue the crumpled foil itself inside the tunnel.
so i made a quick test.

on the left one sees foil from the roll. on the right foil from one of the throw-away baking forms.
i sprayed both first with brown, then with grey and finally with black.

well…
less black, that is clear.
the baking-form alu looked good to me, when crumpled, before spraying. with paint it does not.
the foil is more to my likening. but it kept waaaay too much shiny spots. (looks like a very rich silver mine.

so i made another test.

the less shiny side of an alu roll i painted with grey “fondo cromato”. (that is a crome based primer and rust protector, suitable as well for aluminium)

the background of the pic is an still uncrumpled foil with primer.
on it lie two hand-sized pieces of crumpled foil.
(in the middle, where the two pieces are joined, one sees a tiny shiny spot))

now to me it looks more like what a flatworlder from the lowlands imagines as a hewn or blasted rock surface.
the soot i can spray with dull black into the finished tunnel.

doublepost

now i have to sidestep a little from the thread.
the mountain needs tunnels, the tunnels need portals. as mentioned before (or not?) i will make european style portals on the right side of the mountains, and US style ones on the left.

the european ones are easy
some styropor, heat and colour = done.
but for the wooden portals i have two options. either i make shiny new portals, as most modellers do, or i have to use old wood.

so i did a little test with the sticks of the right dimensions, that i have at hand.
first a go with a rasp, then with a manual wirebrush (powertool-brushes give a result, that is to uniform). then i applied dark furniture polish.
when an accident happened…
some cigarette ash fell right onto the wet stick. automatically i swept it away with my finger. thereby smearing it into the wet polish. and…
… the result looked good! (notice, how the grain got colour differences now.)

so a polished finger and some ash later i got this result.
for me the upper end now looks like an old beam well smoked and covered in soot.

i love such cheap and easy solutions!

so now i started on the first wooden tunnel portal.
these old beams are done with the rasp only.

i tmporarily fixed the beams with little nails to a board and started to glue down the boards.

no, not boards. planks. in 1:29 the thickness of my beloved coffee stirrers sums up to two inches thick.

before cutting the stirrers, i misstreated them with the brush. (my fingertips always thank me, when i do not forget to do that first)

so, the centerpiece of the first northamerican tunnel portal is done more or less.

and slightly aged.

a shotglass full of household alcohol, some squints of dark furniture polish and some cigarette ash.
i applied the mix with a semi-hard small pinsel, rubbing it somewhat into the wood.

when everything else is done, i think i will spray some dull black at the upper part of the portal, to get more soot.

i am not sure yet, if it will look good, but i am sure already, that it will not look new.

Korm Kormsen said:

whow!
i love these mountains!

Here ya go Korm, you’ll waste a few good hours here, but well worth it. John Allens legendary Gorre & Dephatid RR:

http://www.gdlines.com/

Vic, i’m very angry with you!

not only did i waste some time, but now i’m stuck with envy and inferiority feelings.
thanks for the link(s)

tipical me!
made a lot of calcultions to get the inclination right…

but now i got a piece to test my weathering.