Large Scale Central

My indoor layout

Devon,

I used Sawdust and white glue over my entire layout as the covering over the foam board. It allows me to blend everything together. Build up areas as needed. It gives you a very hard shell finish.

With the bents going in, I just secured them with the same material that the rest of the area would be covered with .

Ty
Gottcha,

I like that idea. I think I will steal it when I do my micro or at least play with it. I had considered plaster like I did in HO but this seems much more durable. How workable is it after it drys. I have only sanded it flat to my wood surface. Can you sand it to contour and shape?

It is really not too workable after it is dry… It is hard as a rock… You can sand it, I guess but I have never tried. I have a set of artist spatulas that I apply it with. I mix it by cutting the glue 50/50 first and then I mix finely sifted sawdust until its a thick pudding. I’ll show the sifters later.

The good thing about it you can lay a really wet towel on it to make it soft again.

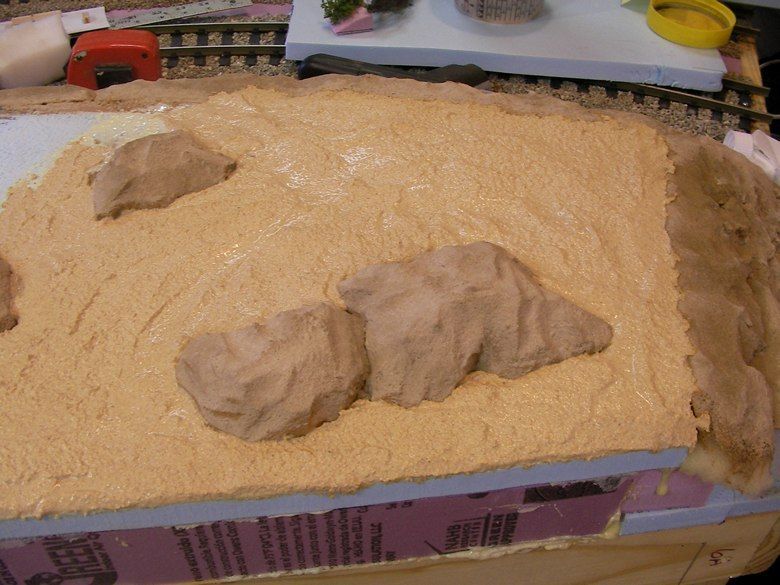
Here is a pic from a long time ago. The mixture has just been applied an is still wet. I used zip texturing over the top of this…

Here is my video on Zip texturing…On this same module.

Next I added the cross members.

Ty,

Thanks for sharing. I very much like they way that comes out compared to plastering over the foam like I did in smaller scales. This just looks durable. I used the spray on glue method for my ballast and ground cover but never this zip texture. I will definitely be using this technique.

The cellulose and powdered glue product “Sculptamold” can be used in much the same way. You add water to make a paste and then “slump” it on. It can be sanded and drilled when dry.

Here it is on my On30 micro.

While economical for a small layout, the saw dust and glue method outlined above is the way to go with a large indoor layout. Especially if there is a wood working shop in your abode. Doc Tom

I did use a lot of Sculpamold in the trestle area. It has a smoother texture. But like Tom said you would have a small fortune in sculptamold if I did the whole layout in it . I went to a local wood work shop and swept the floors for them and got about 2 35 gallon bags of sawdust. That has o be sifted down to the finer dust. The finer the better. a lot of dust in the air…wear a mask…

Ty

So, they got their shop swept for free, and you got material to build your railroad. Sounds like a win win to me.

Good morning Ty: Thanks for the documentation and instruction. What is the radius you are using on the new section (trestle ect) of the indoor layout. On another forum you mentioned 8-9 feet but it looks a bit less in the photos (maybe an illusion). It looks more like 8-9 foot diameter - 4-4.5 ft radius. Again thanks and I will be paying close attention to your progress.

Talk soon

Dick w

Sawdust I have. I love wood working as much as railroading and if I run out of saw dust I am always willing to make more (http://www.largescalecentral.com/externals/tinymce/plugins/emoticons/img/smiley-wink.gif)

I used a very similar procedure to your zip texturing on my HO module. The only real difference is I ballast after I get the “dirt” in place and set. That way I don’t get any of my base shell showing through little gaps, and the ballast looks more like its laying on top of the dirt, especially in areas where some grains of ballast decide to roll out away from the roadbed.

The curves are 8-9 ft in diameter. If i miss stated sorry for the confusion. I would need a much bigger basement for 8’radius curve…

ty

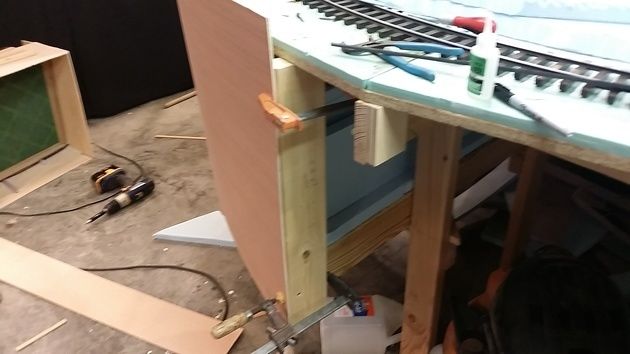
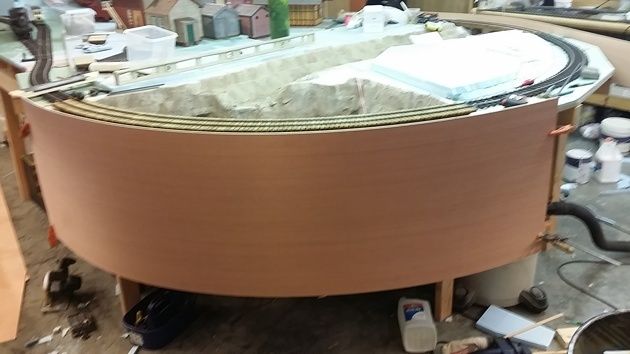
The next thing to do is fix the fascia. I am using 1/4" luan . It curves pretty easily. I am securing it to the 1"x 4" bench work. I started over at the small bridge and worked my way around. I added 2"x 4" where needed to secure the fascia to.

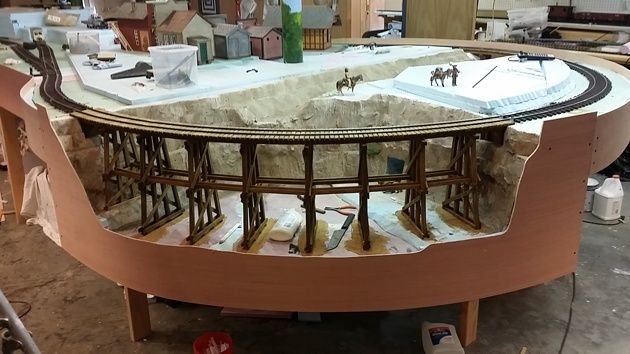
I had a temporary piece on the front of the trestle area so I removed it…

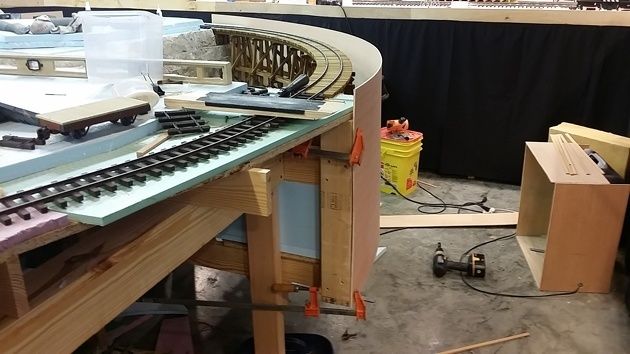
For the trestle area I had to add new 2" x 4" Supports to box off the area. I also had to start with a 2’ x 8’ piece of luan. I secured it to the hard points.

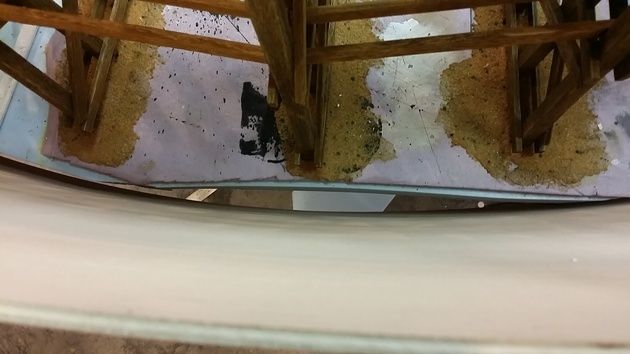
Oh, About the sawdust and white glue. Just so you will know and won’t think there is something wrong. If you use sawdust that has Oak in it when it is mixed with the glue as it dries it turns Black. Looks horrible like it has a disease or something. Normally if there is no Oak it will be a nice redish color.

I ran into this again when I was applying some of the mixture recently…

Ty

Hey Guys I was just piddling around the other day and had a brain storm… here are the results…

Ok Back to the layout. I marked from the inside and made a rough cut. close to the lines. i will do a finer cut later. Anyway installed all the screws.

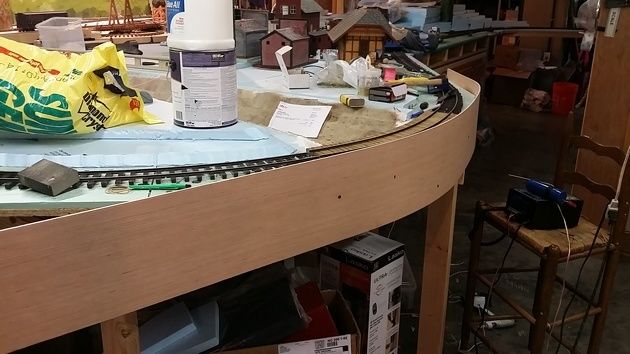
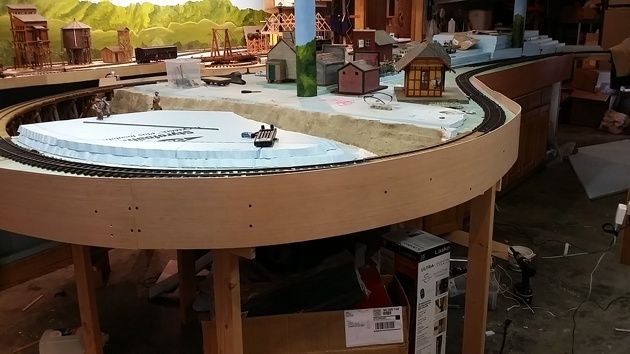
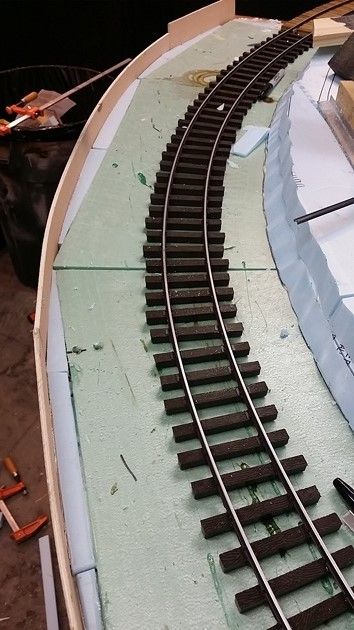
I went ahead and finished all of the fascia around the layout. you can see i left it sticking up above the layout from 1-2 inches. it will be cut later…

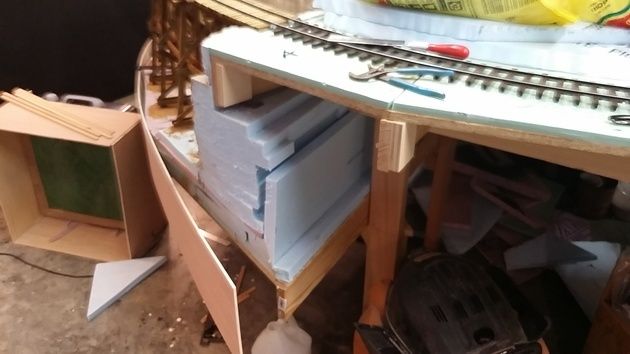
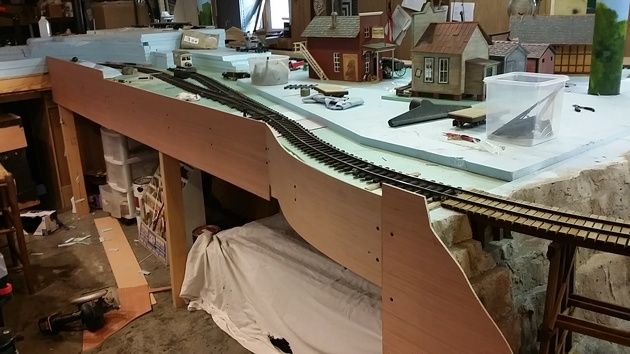
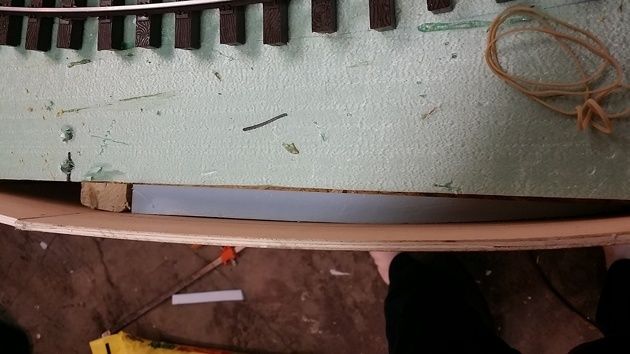
The next thing I did was go around the curved sections where a fascia did not touch the layout base and traced off a piece of foam so that it matches the curve. This piece was glued underneath with hot glue to the layout base and to the fascia. This helps support the fascia in the open areas/ I then went around and filled the area on top with scrap foam for more support and so I don’t have to fill with ground cover later…

I love what your doing with the place. I wish in my space I could do the organic curves. The way your doing the facia looks great and the foam supports are genius. Should be very solid and once filled with sclupteze (or what ever its called) will be seemless. Keep IP the work its an inspiration