Personally, I would keep the fascia a bit high along the track, and make the scenery slope down from the fascia to the roadbed. That way, if there is a derailment (no that never happens) your prized 2-4-6-2ST wont take the concrete plunge.
Thanks for the comments Devon…
David I have cut the fascia and its not too high. I have had my Modular layout for a while and it has low Fascia in places. I have many hours on it and with the speeds I run I have never had a derailment on a locomotive…So far…
Ty
Next i took my dremel tool with the mulitsaw attachment and scalloped the fascia and cut the opening for the small trestle area…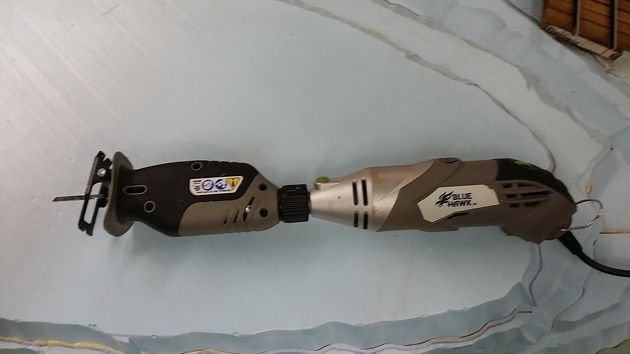
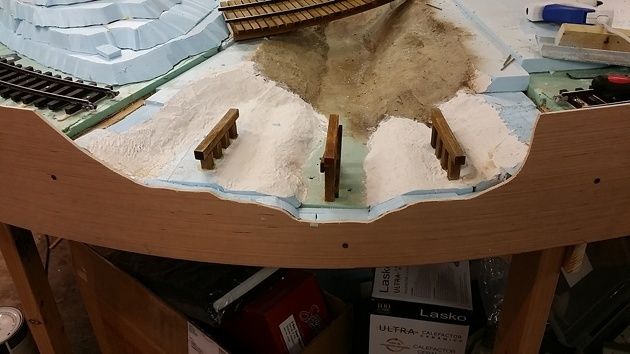
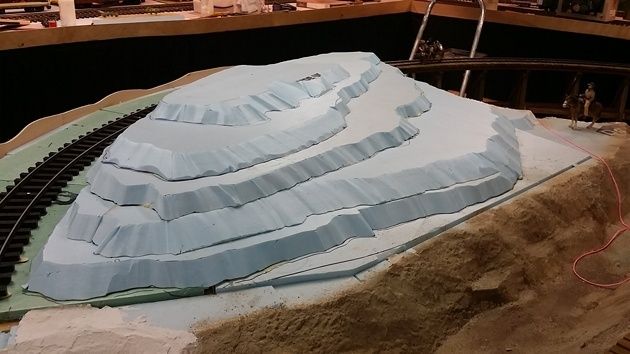
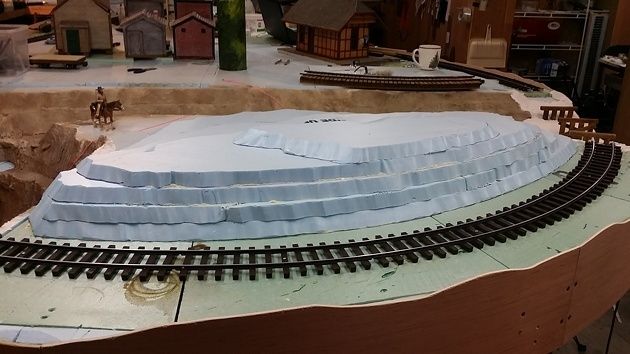
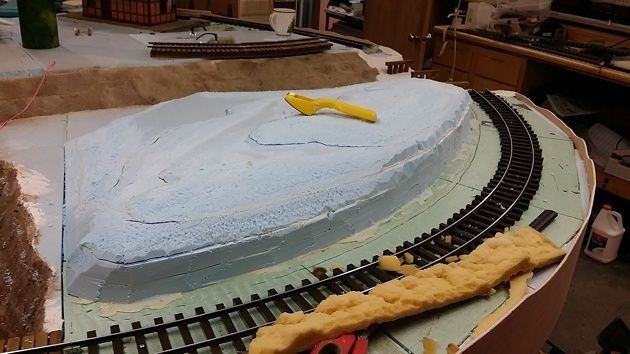
I then built up the area in the center of the loop…
Not sure how I missed the updates to this thread. Very impressive work; thanks for sharing your techniques. Someday I might get motivated to do scenery on my indoor division. For now, it’s just grass paper over plywood which took about .0000002654% of the effort you have invested.
Hey John,
Thanks for the comments… I do enjoy working no things. this keeps me pretty busy…
Thanks Ty
Ok next I moved to the front of the hill. I went to the trusty Frocks. I am able to pull the foam apart in about 1/2" thick pieces. I then cut the pieces to fit the area and Hot glue them in place. Then I go back with a hydrocal mixture and brush it in. once done and dry they are hard as a rock…
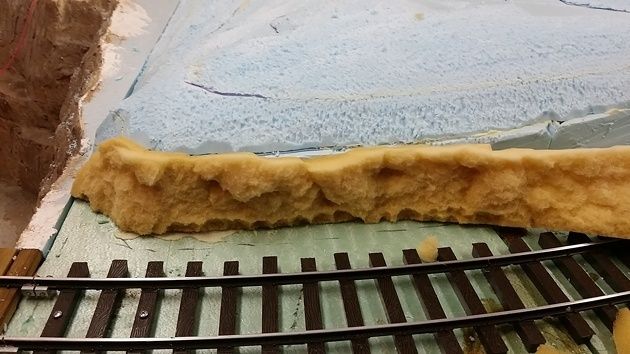
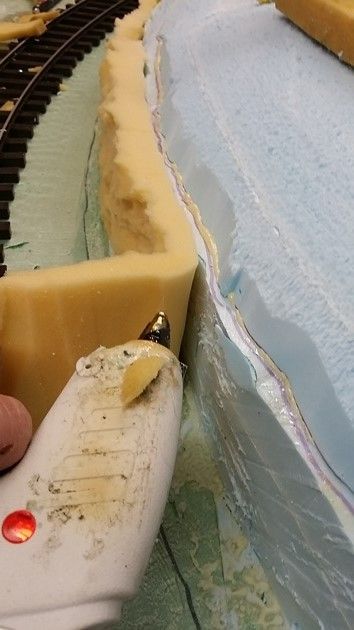
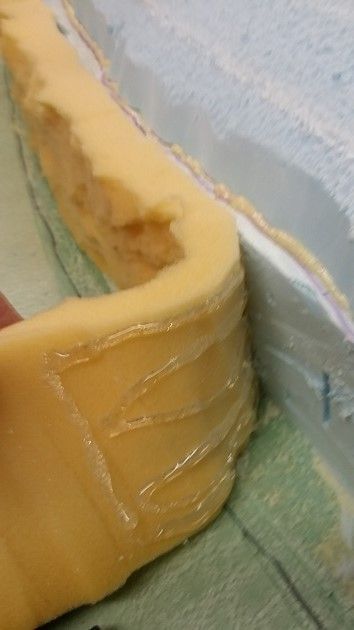
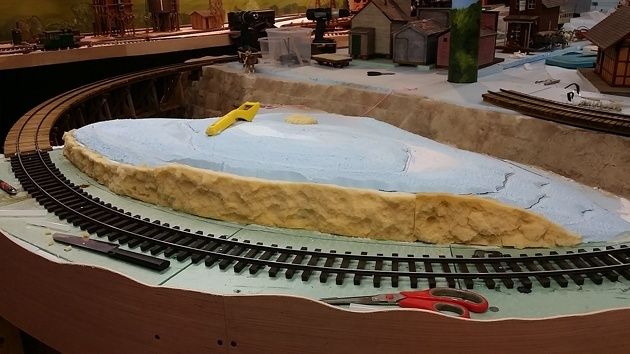
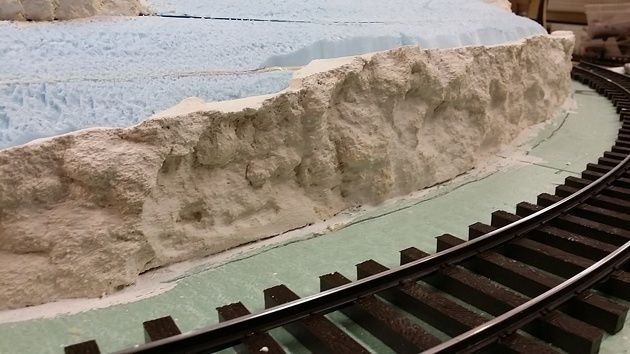
I know there are other ways to do it but here are my videos on the frocks…
ty
Now that’s a nifty idea. I use the pink foam board and then very watered down and dyed hydrolic cement. and then dry brush pain them. but using the yellow soft foam makes a very flexible rock. Good one.
Hi Landrel:
If you have time, can you post close up photos of your small train station?
Is this scratchbuilt or a kit?
Norman
Devon, I did mine in smaller scale. I bough a pack of cheap faom sponges and ripped them to make rock faces on my HO module. For the rock cliff on my module, I crumpled up some aluminum foil, partly flattened it out, taped it in place and poured plaster behind it. Then while the plaster was still a bit green, I carved the puckers out of the plaster to make it look less like foil and more like rock.
Norman,
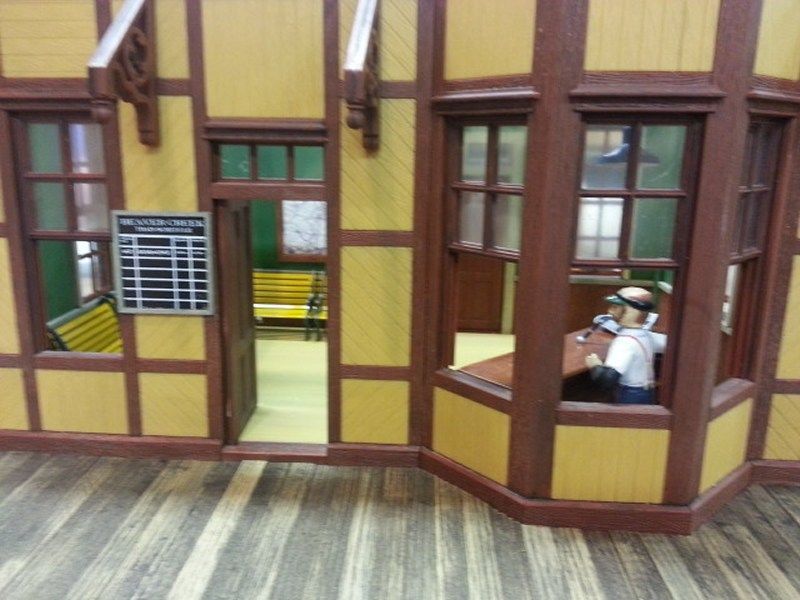
The train station is the Pola Grizzly Flats Station. I use the Buildings from My modular layout on my home layout. So all the building have a base they can be lifted from. I have done a lot to the station though. It has a full interior with lights. It has four speakers for sound. I hand painted every shingle on the roof to give it some color. I do not have any recent pictures. I have weathered the station since these were taken. The base was made from a piece of 1/2" foam the a piece of 1/8" light ply glued to the top. The station was traced on top and then the whole thing was strip planked and weathered. i strip planked around the traced line. so the station itself sits down into about a 1/16" depression. The base was permanently mounted to the layout and only the station was removable. So I can move it from modular to home layout with ease…
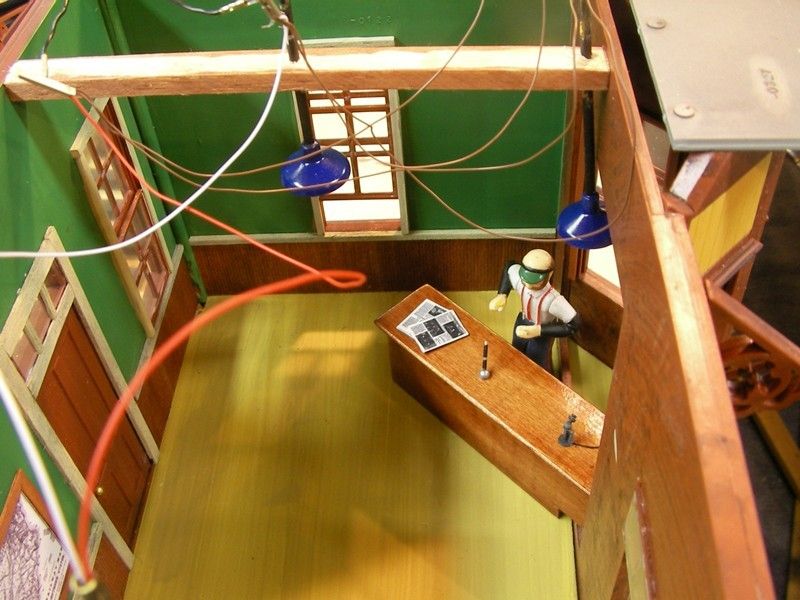
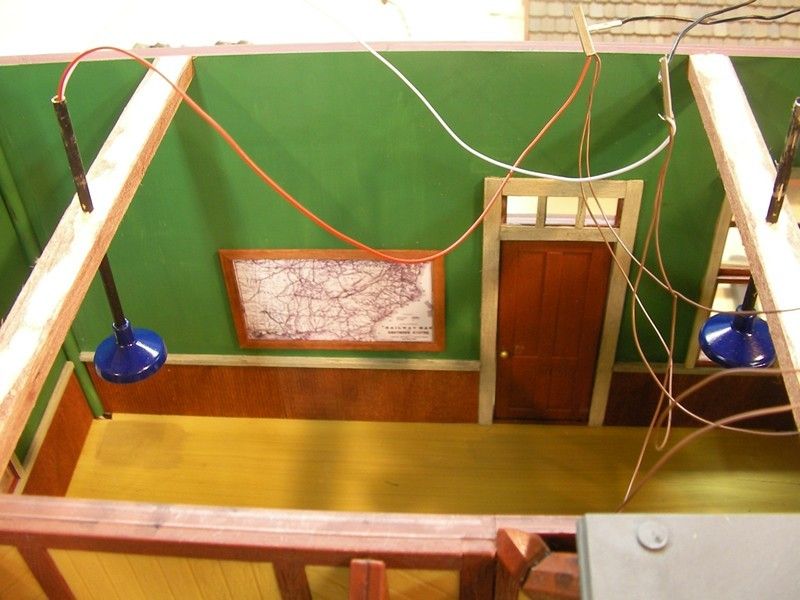
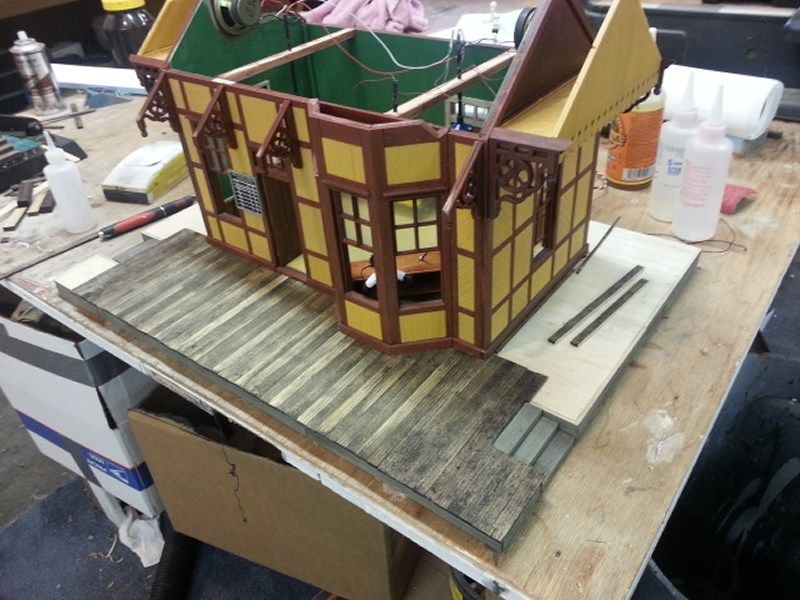
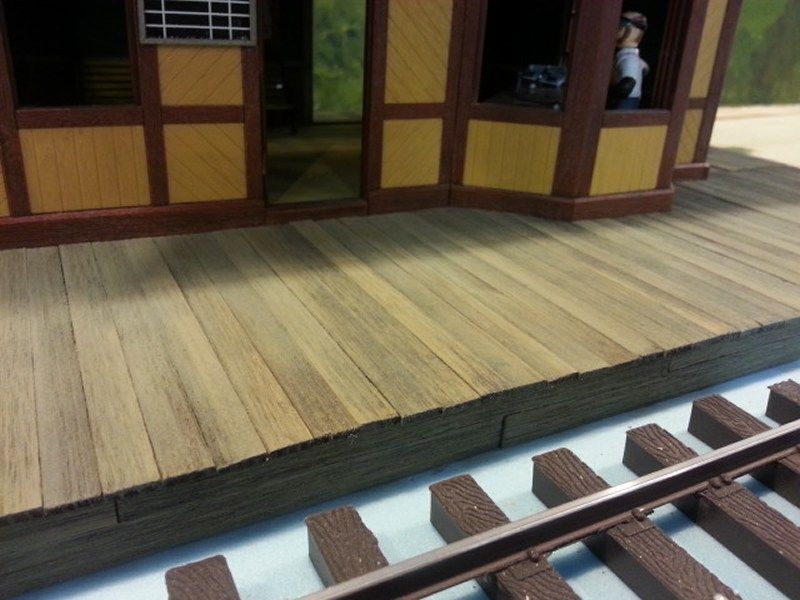
you can see the benches in the station here,there is also a wood stove but I have no pics pf that…
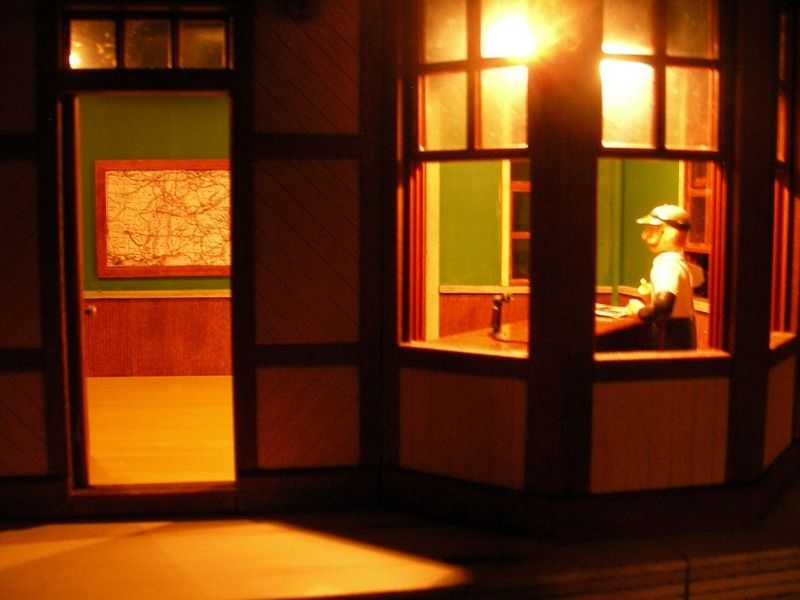
Here is the latest picture of it from my modular at a recent show…
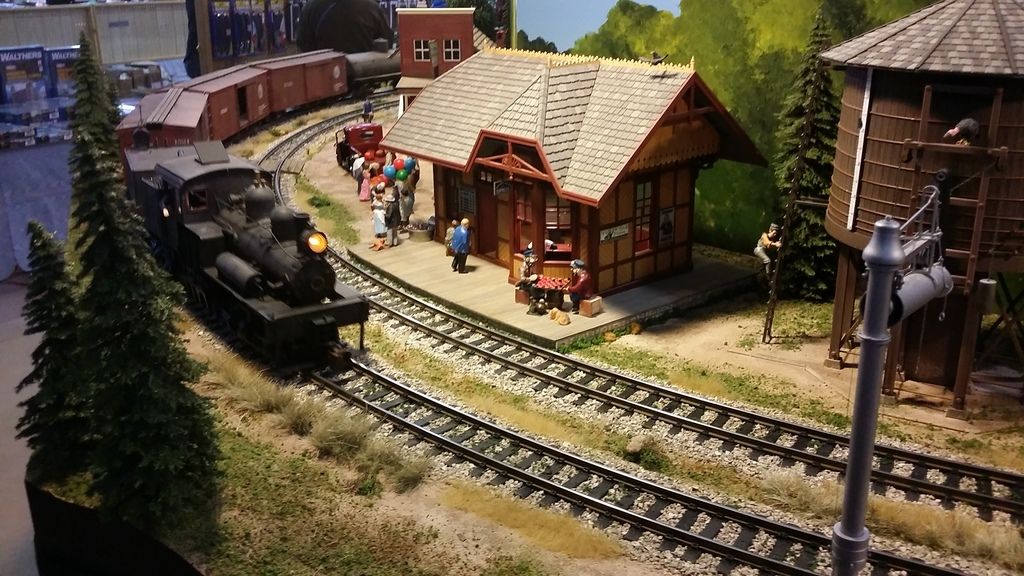
Oh I added a floor to the station. It was easy to do. I used the 1/8" extruded plastic sign material for the floor. it make a good floor and it has the look of a planked wood floor once painted I just painted it with a floquil paint I can’t remember the color …
Ty
Hi Landrel:
Really like the interior detail. Especially the benches in the waiting room area.
Who is the mfg. of the benches? Where did you buy the benches from?
Where did you buy the light fixtures?
Norman
Thanks Norman,
Most of the detail can from Ozark miniatures. The have the benches, small telephone. I hand made the desk and stained it. I have a wood stove in there from. Western scale models and a Telegraph set from scale art models
( scaleartparts.com/page7a.html. ). I also have a station order board kit from Ozark but have not installed it yet…
Ty
Hey Guys,
I have really got a lot done this week. As I prepare to do some work on the ground cover. It hit me once I did that I would not be able to do anything over the top of the layout.
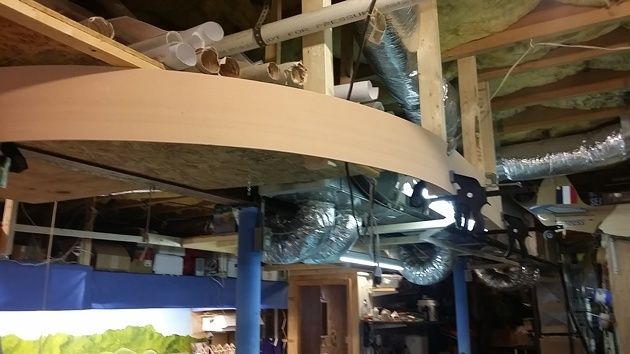
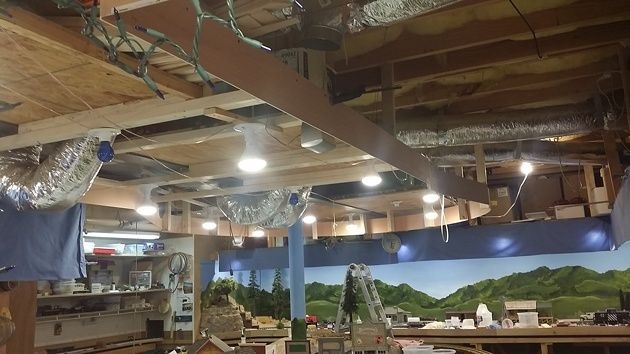
I needed to do another valance over the top of the layout. It will contain the light and and separate it from the room.
When we built the house we made sure the basement had 9’ ceilings. This allowed me over the years to build shelves over The benches and later bench-work. I don’t want to get rid of the shelving. So I had to build the valance around what already existed.
I used 2x3’s and 1x2’s to make a frame to hold the valance. I used 1/4 luan to face the framework.
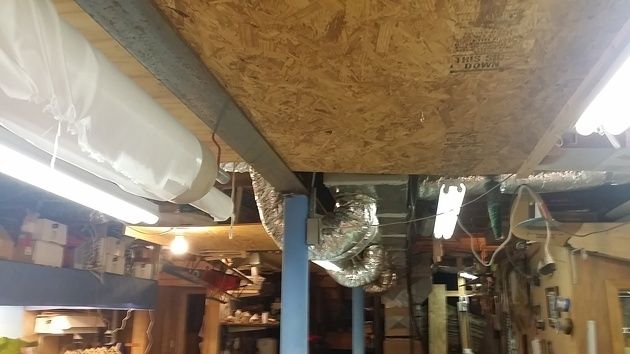
Before any work:
Here is the frame work.
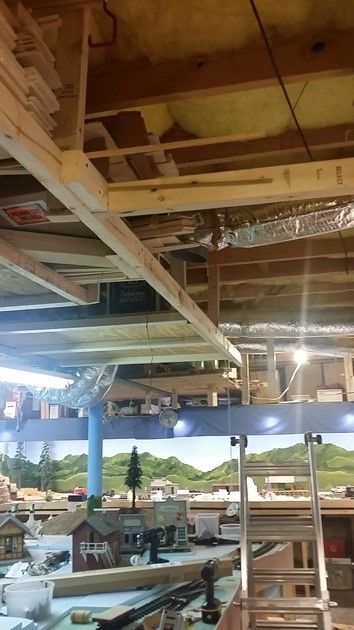
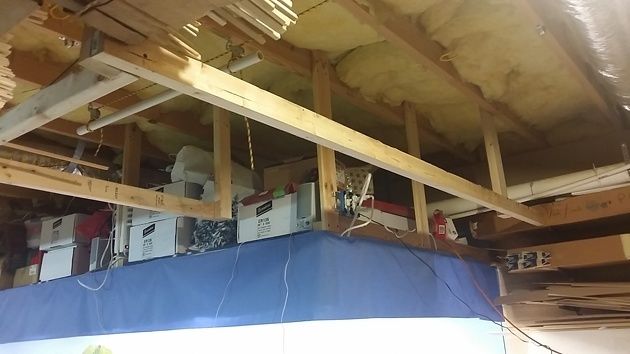
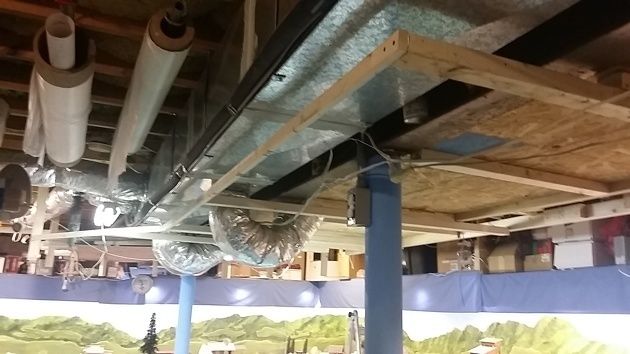
I used pieces of 2x3 mounted directly to bottom of shelves or floor joists for hard points to attach the curved luan.

Very cool.
Thanks Devon
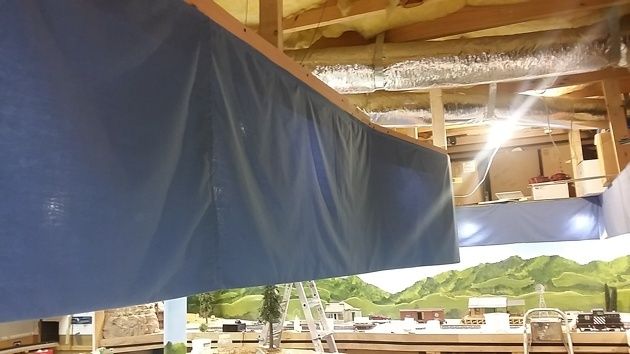
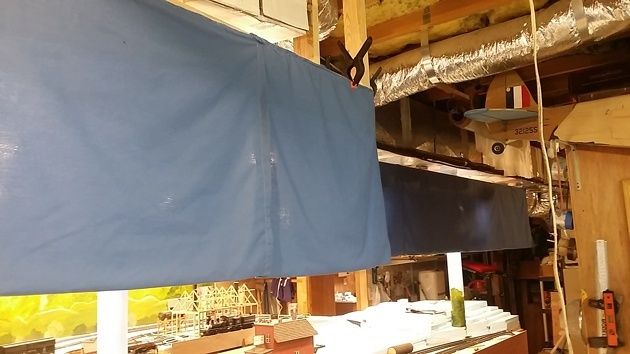
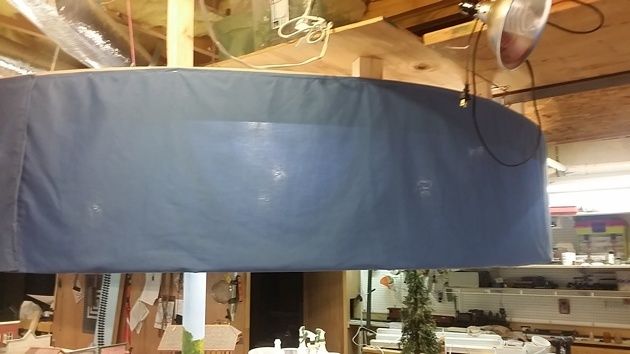
I then went and bought more of the blue cloth and made a valance that attaches to the framework. I have not totally decided if i like the length of it or not. I am trying to decide. My goal is to keep the focus on the layout and not be blinded by the lights I am 6’2" tall and the height is about right. After I got the framework and all the valances in place. All but 2’, I did not measure right. So i have to go get a couple more feet of cloth.
I put light fixtures in place. I am using 10 watt LED lights which is the equivalent of a 65 watt Spot light.
