your turntable is admirable!
Thanks Korm,
I have done some work on the lower part of the trestle area. I had a opening built in so I could add a mine. Here is a before and then the work I have done so far. I had a Western Scale Models ore car and figure That I built for this too. I still have a lot to do .
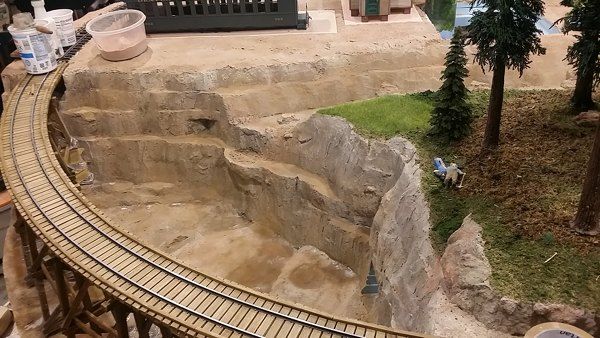
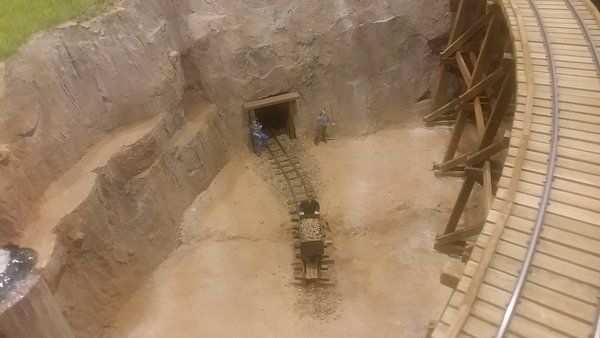
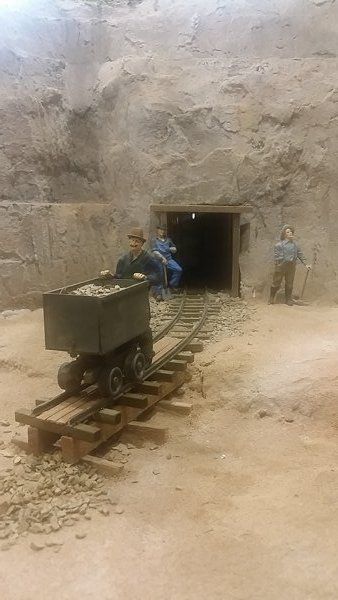
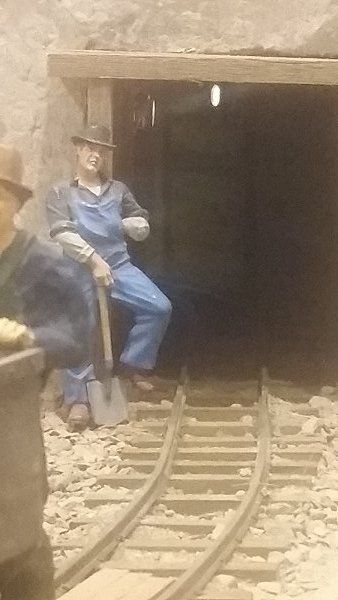
Here are a couple closer pic’s. I built a mine opening insert. I then built a piece that was angled to make the mine shaft look deep into the hill. I added lighting and track that goes back into the mine…
Looking awesome
Ya what Devon said!
the Dust 'n Dirt mine?
i like, how everything is covered in stone dust.
Hey Guys,
Its hard to believe it been since July since i last posted something here. I have been working a little at a time. But is been a busy Summer and Fall.
My daughter got married in September and I just have had a lot of family stuff to do . Also having to use Photobucket to post pictures here is a real pain in the butt…I am also 18 days from retiring from work. Yeah!!!
Well here is a Video I posted about doing the river bed on my layout…
Thank you for the very informative video. You answered a question of mine whether to use mod podge or envirotex to make the river on my On30 mini layout.

I will definitely be using the Mod Podge. Thanks. Doc Tom
Thanks Tom,
I like using the Mod Podge. It all depends on how humid your area is. You can always go back once it is all done and and brush a thin layer of envirotex over the Mod Podge to seal it…
Ty
Nice video Ty and thanks for posting.(http://largescalecentral.com/externals/tinymce/plugins/emoticons/img/smiley-cool.gif)
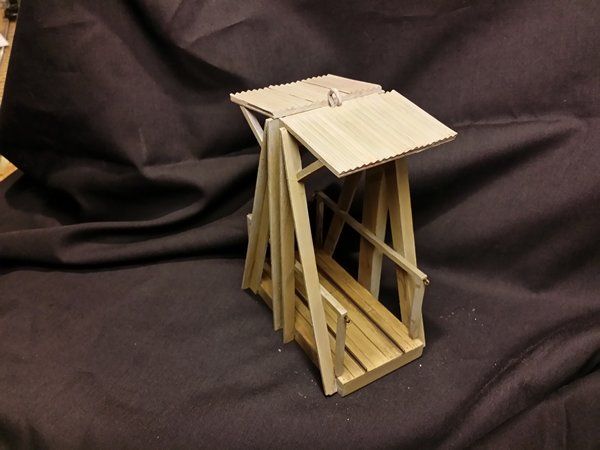
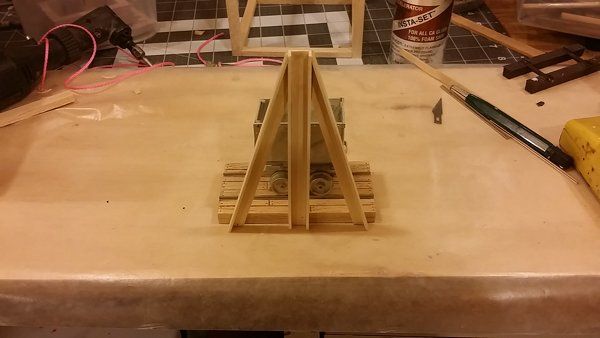
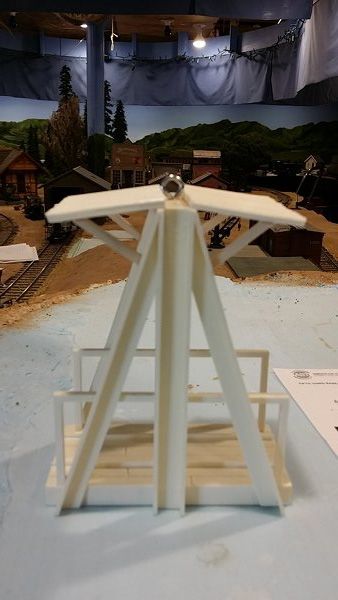
I have started work on a Hoist Frame for a small mine I am putting on the layout. This is just a start of the it. I cast a wheel and the bearing.

I found an old plan in the Gazette for the Rattlesnake Mine. It had a picture of the head frame from the interior. Of course no dimensions.
I did find online a gentleman named Alan Mole that built on in 1:24 scale. After a quick search I found his location and an email Address. I emailed him and asked if he had any other pictures. He replied and sent me a bunch of pic’s the next day…
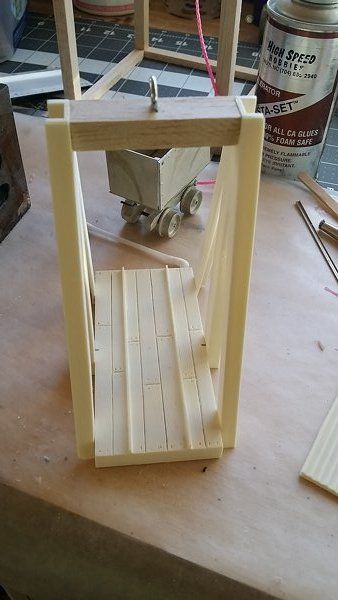
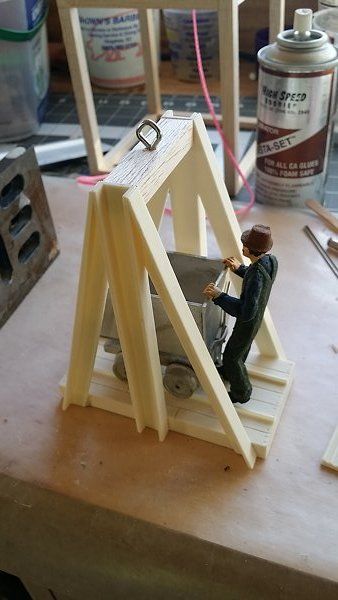
Great Guy…He also sent me a picture of the Mine Cage. I had not thought that far along. So I figured I had to get that built before i got too far along with the Head Frame so I could make everything fit.
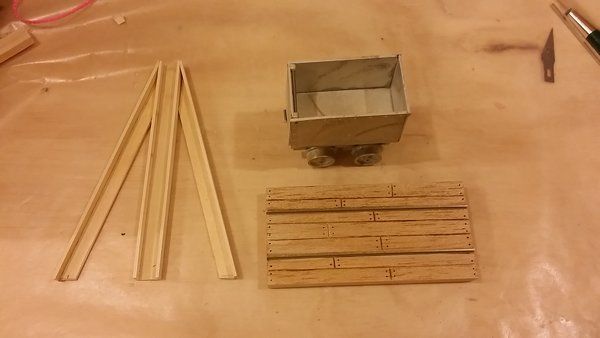
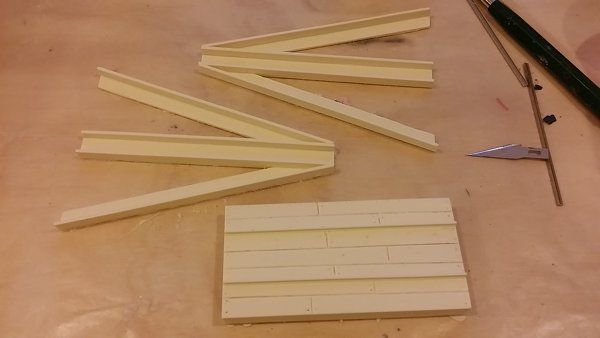
I main goal was to make parts that I could easily cast in resin… So here is what I came up with…
I had a Western Scale Models Ore Car to scale everything around…
Nice work! This should look good in place. (http://largescalecentral.com/externals/tinymce/plugins/emoticons/img/smiley-cool.gif)
Thanks David
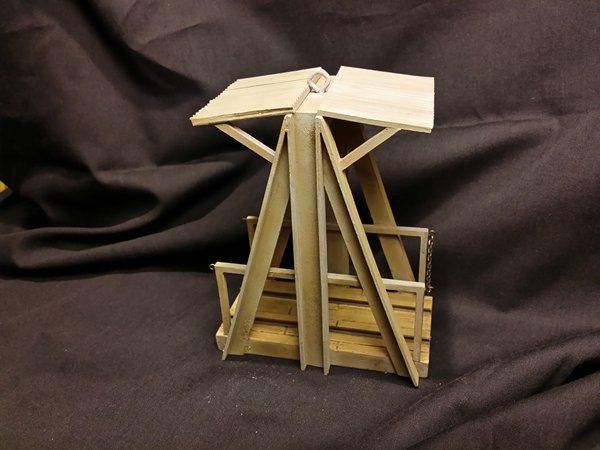
The Metal frame was made from large tongue depressors. The base was made from a 1/4" thick sheet balsa an I used Ho scale rail. I then Molded both pieces and then cast the parts in resin.
First parts out of the molds.
I then put the parts together.
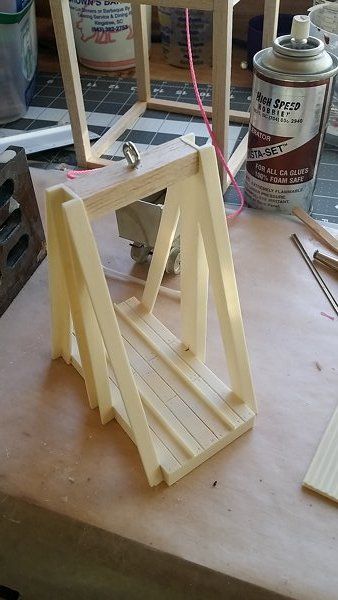
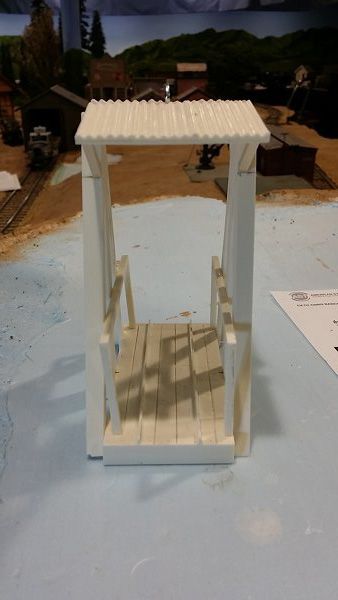
I am still working along. I took a old roof casting and made a cover for each size. I then made a new casting for the guard rail on each side …
Nice job, that’s looking great. I hope these will be added to your growing list of parts for sale. I’m watching.
Very nice Landerl. As I embark on my indoor expansion perhaps your techniques and beautiful work will inspire me to scenic my indoor track. That is if I start scenery before trains run - otherwise nothing gets done (http://www.largescalecentral.com/externals/tinymce/plugins/emoticons/img/smiley-surprised.gif)
(http://i1273.photobucket.com/albums/y405/fockewulf37/m_20161210_092553_zpsnzjoe7bf.jpg)
Nice … worker and everything looks right on!
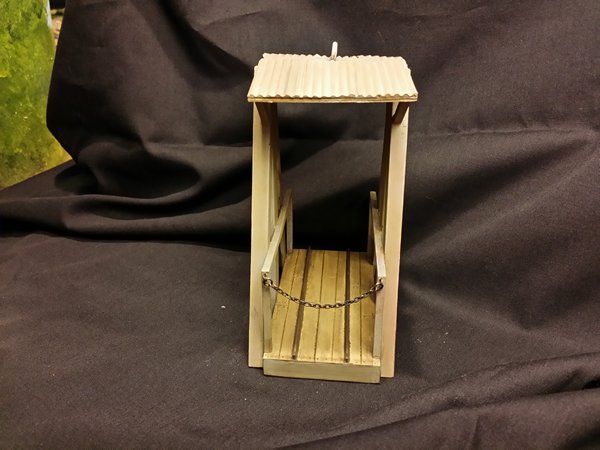
Thanks Guys,
Here are some final pictures of the cage. I primed it and then painted it with acrylic paints. I even added a safety chain…