Large Scale Central

Devon's 2019 MIK build- steam crane

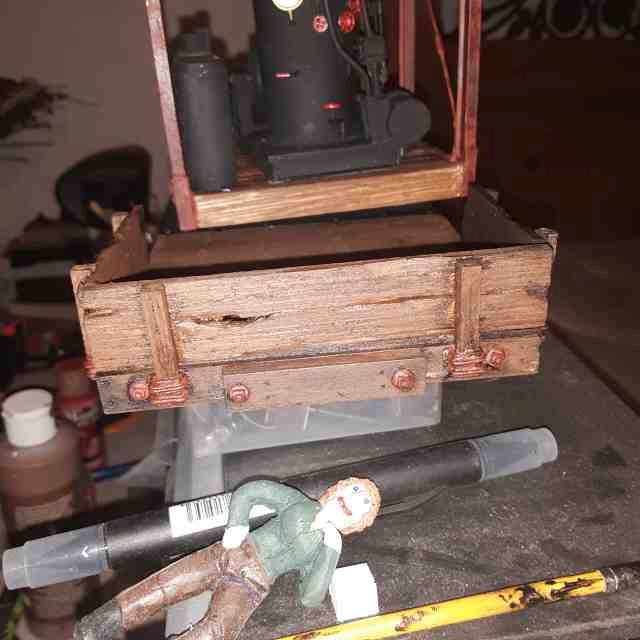
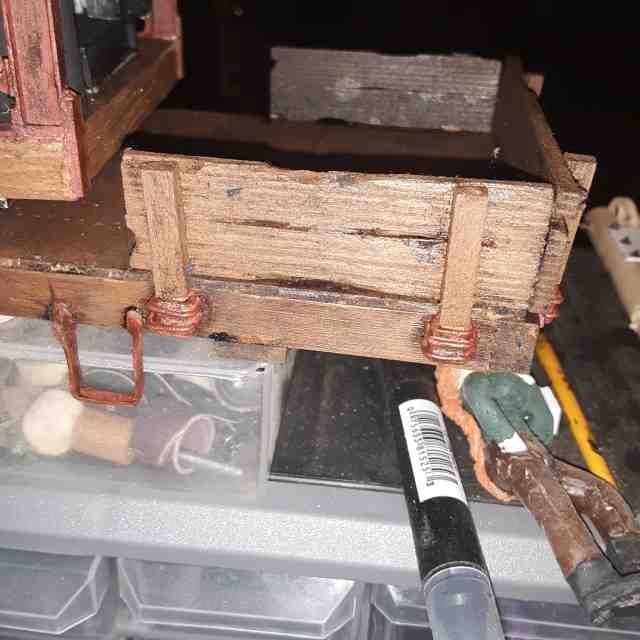
A barrel of tie plates would be too extravagant for the railroad that you describe…but you guys would know things like that, I’m sure. Had they even been invented, or in use back in the days you seem to be modeling in.

If they were in use, back then, it would only be on main line, major railroads.

Fred Mills

Devon Sinsley said:

That’s why I typically don’t do undercarriage details. But dang it I like the truck and it just needed that detail. It takes s little carving.

You need to make sure you have some of those just sitting on a siding somewhere either for repair or spares. They need to be seen. I’m with you on the undercarriage detailing. I started on the brake detail today and finally just said the heck with it. I’m gonna have to do some more research on how all that works and come up with a better idea of what I am doing. Some of it will be there, but not all of it. Can’t wait to see the crane on its new (old) shoes (https://www.largescalecentral.com/externals/tinymce/plugins/emoticons/img/smiley-laughing.gif)

Devon Sinsley said:

That’s why I typically don’t do undercarriage details. But dang it I like the truck and it just needed that detail. It takes s little carving.

Fred,

Tie plates most definitely were not used on the real railroad that I am modeling. It was hand cut/hewn log ties. But of coarse the real railroad didnt even own any equipment so.the whole train is extravagant.

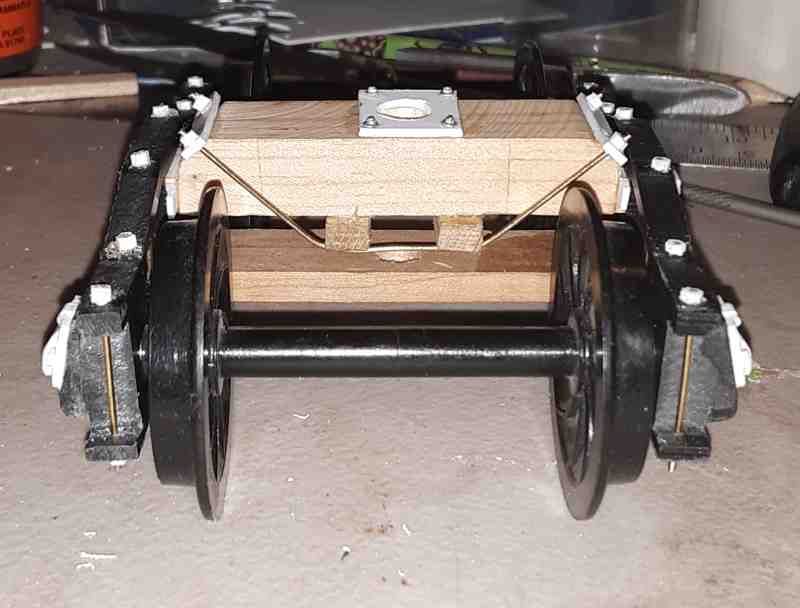
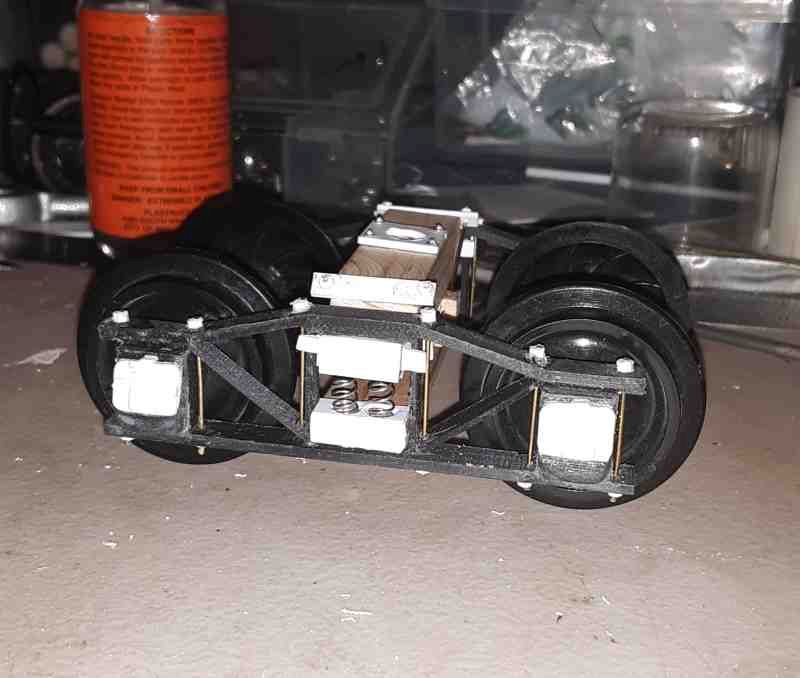
Here is the first assembled truck. Biy they took me a lot longer to put together than I thought. But its worth it. I think it looks good. I am very happy with it. Tomorrow I hope I van get the other truck done, get them both painted and then installed. Once that is done I will be on the hoe stretch. Finish rigging, install the couplers, and then weather the thing up real nice. Am I gonna make it???

Ya done good!! Interested to see if the springs will provide any cushion. Have you considered adding enough weight to the car to get the springs almost loaded so it wouldn’t take much more for them to partially compress?

I am not s believer in the need for functioning spring. I can tell you it would take a lot of weight to begin to compress this truck. But I like the looks of real springs and satisfying that it us functional even if maybe not practical.

Devon Sinsley said:

I am not s believer in the need for functioning spring. I can tell you it would take a lot of weight to begin to compress this truck. But I like the looks of real springs and satisfying that it us functional even if maybe not practical.

Yeah, I got the primary purpose, just wondering how far you were from an actual, operational sprung bolster. And, yes, they do add a lot of character to the truck. Much better than the typical static modeled ones.

Devon nice try. Looks like a stretched spring, real springs are much flatter. (https://www.largescalecentral.com/externals/tinymce/plugins/emoticons/img/smiley-surprised.gif)

Please redo to bring up to our standards, if you please.(https://www.largescalecentral.com/externals/tinymce/plugins/emoticons/img/smiley-tongue-out.gif)

Personally I like working springs which allow smoother tracking.(https://www.largescalecentral.com/externals/tinymce/plugins/emoticons/img/smiley-cool.gif)

The old car I condemned to being an unfinished rusting hulk, is an old Delton and it’s trucks are sweet compared to the Chinese stiffies on Aristo Classics.(https://www.largescalecentral.com/externals/tinymce/plugins/emoticons/img/smiley-wink.gif)

If you are going to bend wire, you should have smooth flat jaw pliers. There should be a sharp bend at the edge of the wooden beams, things will seat better.

Now get back in there kid, we have cheers to raise!

Soft wire, a drill bit and a power drill.

Flatten one end of the wire and chuck it under a jaw as you tighten on the drill bit that will make a spring wide enough for a pair to fill the space. You must not use the flutes, so short set the drill. Wind on the steel shank as slow as you can. Be careful with short wire, the end can slice through skin before you know it.(https://www.largescalecentral.com/externals/tinymce/plugins/emoticons/img/smiley-surprised.gif)(https://www.largescalecentral.com/externals/tinymce/plugins/emoticons/img/smiley-wink.gif)(https://www.largescalecentral.com/externals/tinymce/plugins/emoticons/img/smiley-yell.gif)

The first attempt will teach you which way the wire goes … go slow(https://www.largescalecentral.com/externals/tinymce/plugins/emoticons/img/smiley-wink.gif)

Make yer own…

John

I did stretch that one spring in particular and I have felt it doesnt look right all along. I have more and need to disassemble for painting. Easy fix. I can even make them a little long to compress them a bit. As for them ever actually working, I doubt it. Pretty stiff and the car pretty light. I may add weight as it is real light.

I admit to being lazy on bending the wire. I hand bent it. I have several wire bending pliers and do have a sharp square jaw. So no excuse other than laziness.

yeah but

They’re too skinny, a wider spring would look better … with fatter wire.

Those who can’t compete, kibitz!

Maybe for future ones. Not this one. I have hand bent springs for one of my other cars. And your are correct about the not so prototypical look of these springs. But it’s a junk box build an I am running with this idea. At least for now. Larger diameter springs would require a complete reworking of the bolster and spring board. The have pockets drilled to accept the springs I am using. So for this build I will work on making them more compressed but as for the rest that will be future builds

Darn, my goad must be dull!(https://www.largescalecentral.com/externals/tinymce/plugins/emoticons/img/smiley-wink.gif)(https://www.largescalecentral.com/externals/tinymce/plugins/emoticons/img/smiley-tongue-out.gif)(https://www.largescalecentral.com/externals/tinymce/plugins/emoticons/img/smiley-laughing.gif)

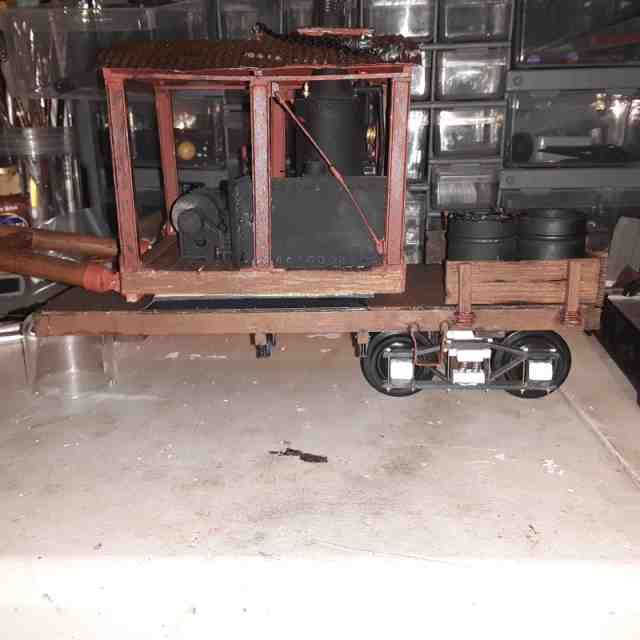
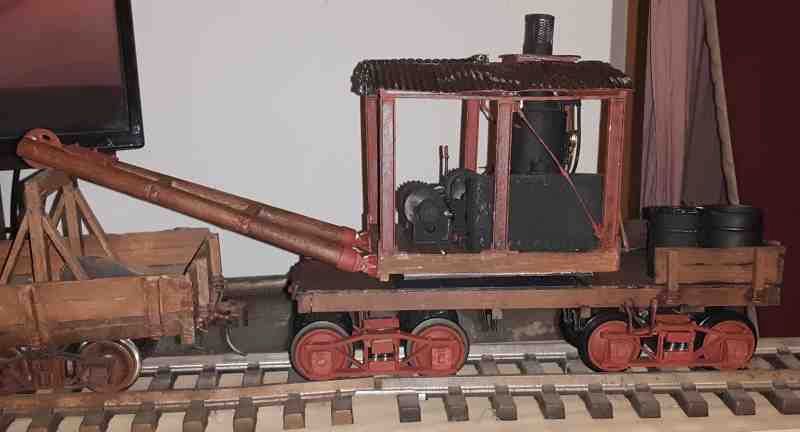
Getting closer. Trucks are done painted and installed. I think they look good but the car is too high up. That’s an easy fix I think. So fiddling with the trucks, finishing the rigging, and some weathering and I will be able to call it done.

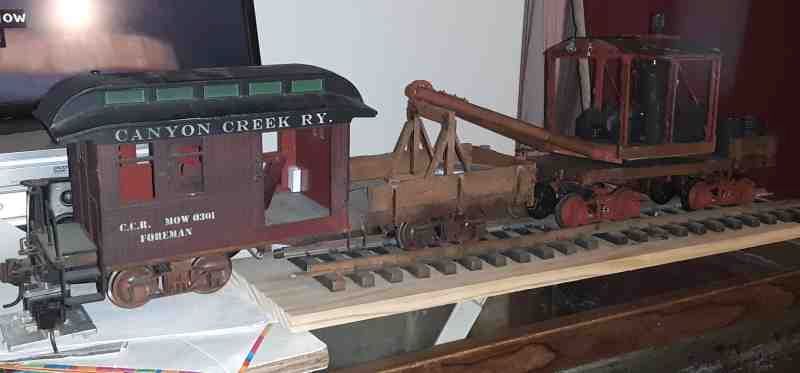
Looking good, Devon. Are you going to soften the rust on that as part of your weathering pass? In other words, make the red on the trucks/wheels (for example) similar to what is on the other car?

Of course it is always hard to judge a color under flash like that. But the 2 cars do seem to have pretty different truck colors…

Pete Lassen said:

Devon Sinsley said:

I am having a rough day

2 pages later and I cannot believe anyone has not noticed the fatal injuries suffered by Devons worker when she had the whole crane assembly dropped on her. Great job on it Devon the whole thing looks awesome

Pete I believe Devon did good.

Regarding safety , I’m sure the work force was good as long as if Tim didn’t help .

Image result for tim the tool man pam anderson

Yes Jim.

That red will be very muted when done. I have to mix up a batch of gunk ( oil paints) and grime them up.

Looking good Devon. the car height is OK to my eye, but if you wanted to shave a bit off the bolster under the car that might be the easiest thing. my 7/8th scale cars have to ride really low and I actually have to notch the car frame a bit so the wheels will pass when rounding a corner.

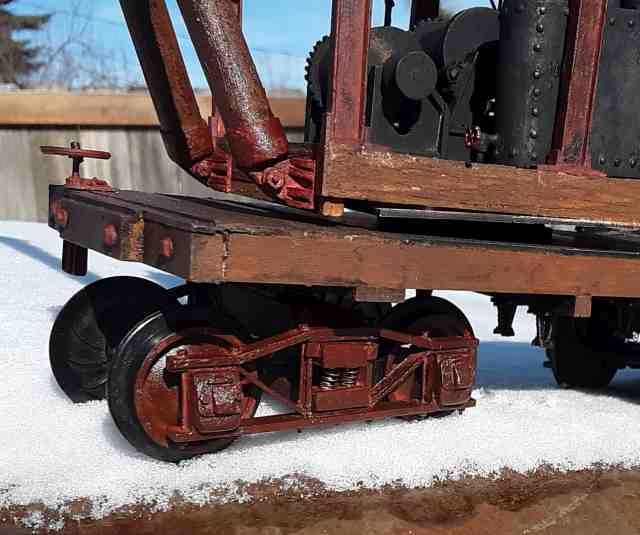
Not a good day today health wise so I am home from work. I did get up enough energy to lower the trucks and give them a coat of gunk. I think they look better. More like what I had envisioned. The height is much better.

Had to get this out in some sunlight so I could get a better sense of the real color. My rooms lighting is horrible, dark and yellow lighting. The glossiness will tone down when it dries, oil paints take awhile to look their best, and once I am all done I will apply chalks which will mute it all even more.