Nice work Jon. Maybe if Ken accepts the challenge, he can bring that plow car up for me(http://www.largescalecentral.com/externals/tinymce/plugins/emoticons/img/smiley-wink.gif)
Daktah John said:
Randy Lehrian Jr. said: But seems like you may be stalling on Mik’s build… (http://www.largescalecentral.com/externals/tinymce/plugins/emoticons/img/smiley-wink.gif)
Yes and no. In order to design McCown Freight Forwarding I needed to determine where the car spots were going to work. It shrunk from my original thought of 5 doors to three due to that little jog in the track. In practice spotting a car there made coupling next to impossible. So a two new industries were born, the Willow Hill Coal Dock and the Willow Hill LCL Dock which are North of the jog and the gauntlet. I still can spot the same number of cars, just not all at one building.
Tonight I’ll get measurements and start on a dimensioned plan. Might post something in the build thread then. The more I look at pictures the more I think this should be a brick, or all stone structure, but I don’t have the budget to buy any brick sheet. I don’t think I am up to carving brick in PVC sheet (http://www.largescalecentral.com/externals/tinymce/plugins/emoticons/img/smiley-surprised.gif)
Ok, I’ll buy that. Your excuse has been approved by the Anti-Procrastination Association of America . Carry on.
Steve Featherkile said:
Don’t accept that challenge. My granddaughter overcame a similar bumper on my layout. She was backing a train into position to spot some reefers at the fruit packing warehouse (shut up, Rooster)
I was cleaning my shop at work on Friday, and in the pile to go to the recycle dumpster were several 4" x 8 foot strips of .063" black finished aluminum sheet. Rather than chucking them I put them in the break and bent them to cover the face of a a 2x4 stud. Sunday I installed them along with some plastic angle to finish the plywood edge. Looks much better now…
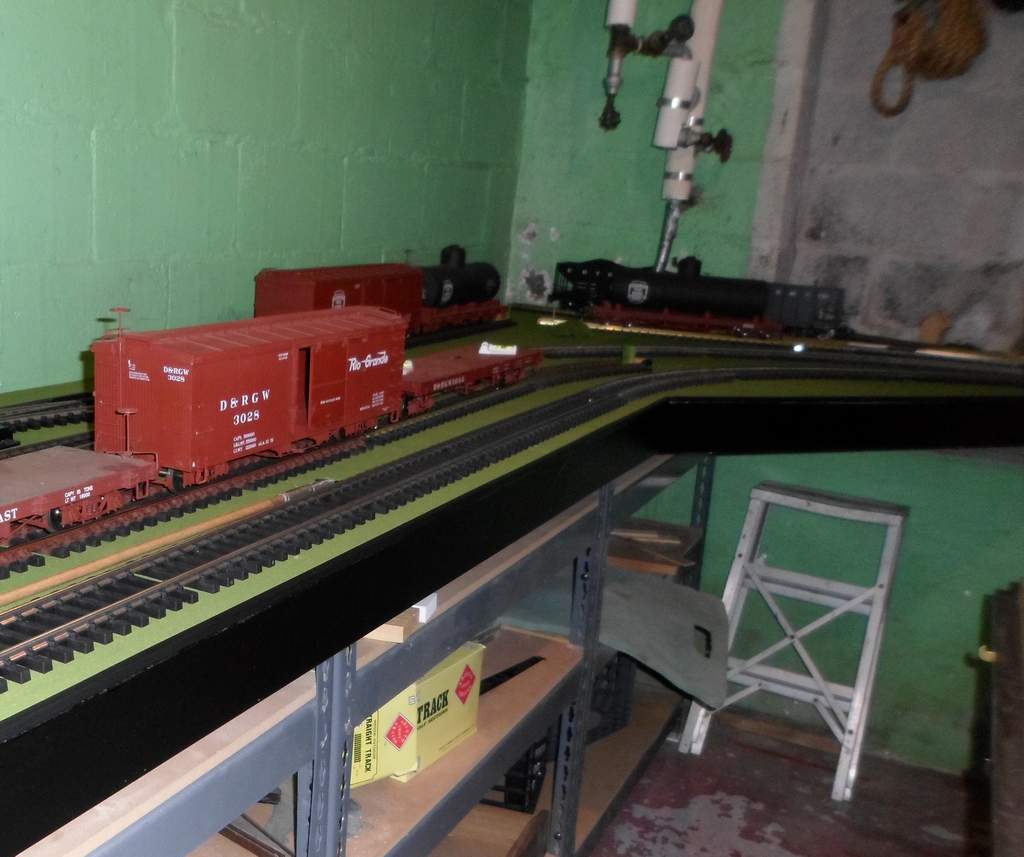
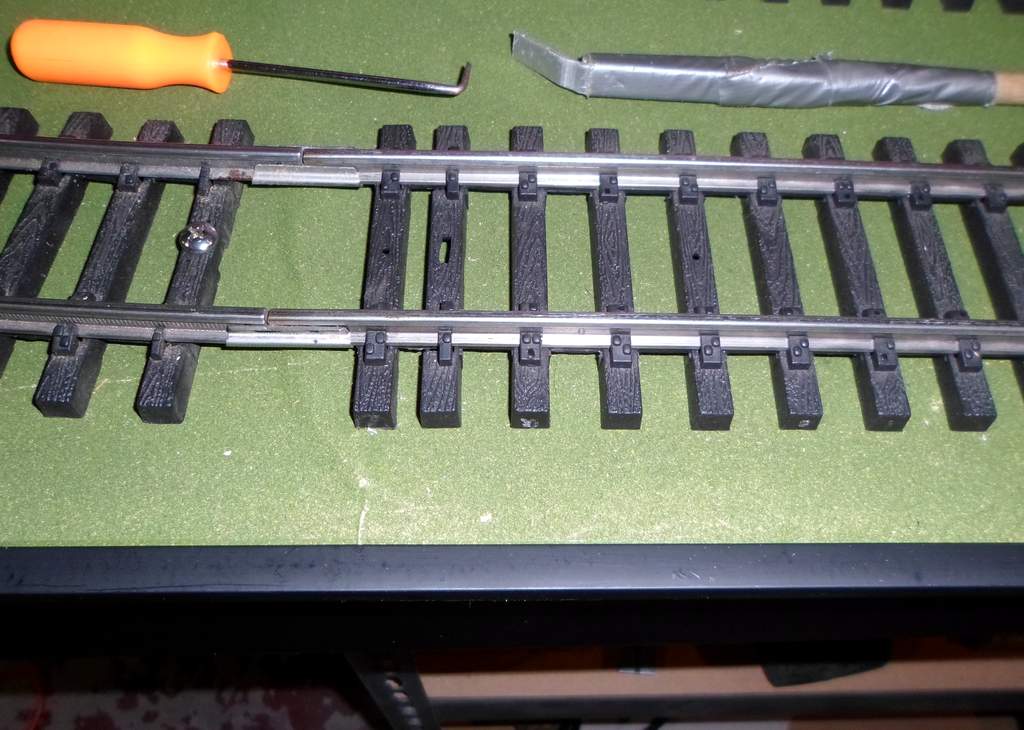
With the track unballasted the lack of ties at joints shows up like a sore thumb. Fortunately I have lots of spares so I can cut some to fit under the joiners to make that look a bit better. I’ll save tha project until after the Mik Challenge.
Time to update this thread. When I began looking for it I realized that it was started in the wrong topic; should be under Indoor & Micro, but it’s not (http://www.largescalecentral.com/externals/tinymce/plugins/emoticons/img/smiley-undecided.gif)
Much of my recent scenic work was covered in my Mik2018 build thread, so I won’t repeat all of that except one photo of the South Willow Hill area to bring this thread up to date…

Since the Mik build was finished I have been concentrating on creating a diorama in this area. My goal is not full scenery like Doc Tom or Kevin Strong are undertaking, but rather a operational railway that looks presentable, with vignettes that can be used for photography. To that end, I began hiding the concrete block and unfinished ceiling in the area. I am using scrap materials to keep costs down and since the walls in this area get damp from time-to-time I am using composite materials that are impervious to dampness and will not promote mold growth. Yes, I should fix the dampness problem rather than hiding it, but it requires excavation of the foundation from the outside to correct drainage issues and I do not have the funds now or in the foreseeable future to do this work; so dealing with it is my only option.
So this weekend I began construction of what will be used to hide the ceiling joists and some of the block. I began by fabricating a couple of valence frames from 2x4 and 2x3 lumber. Once they were built, I attached them to the ceiling joists with screws. This was much easier than trying to build from the ceiling down. After a half-day in the wood shop I was able to install this…
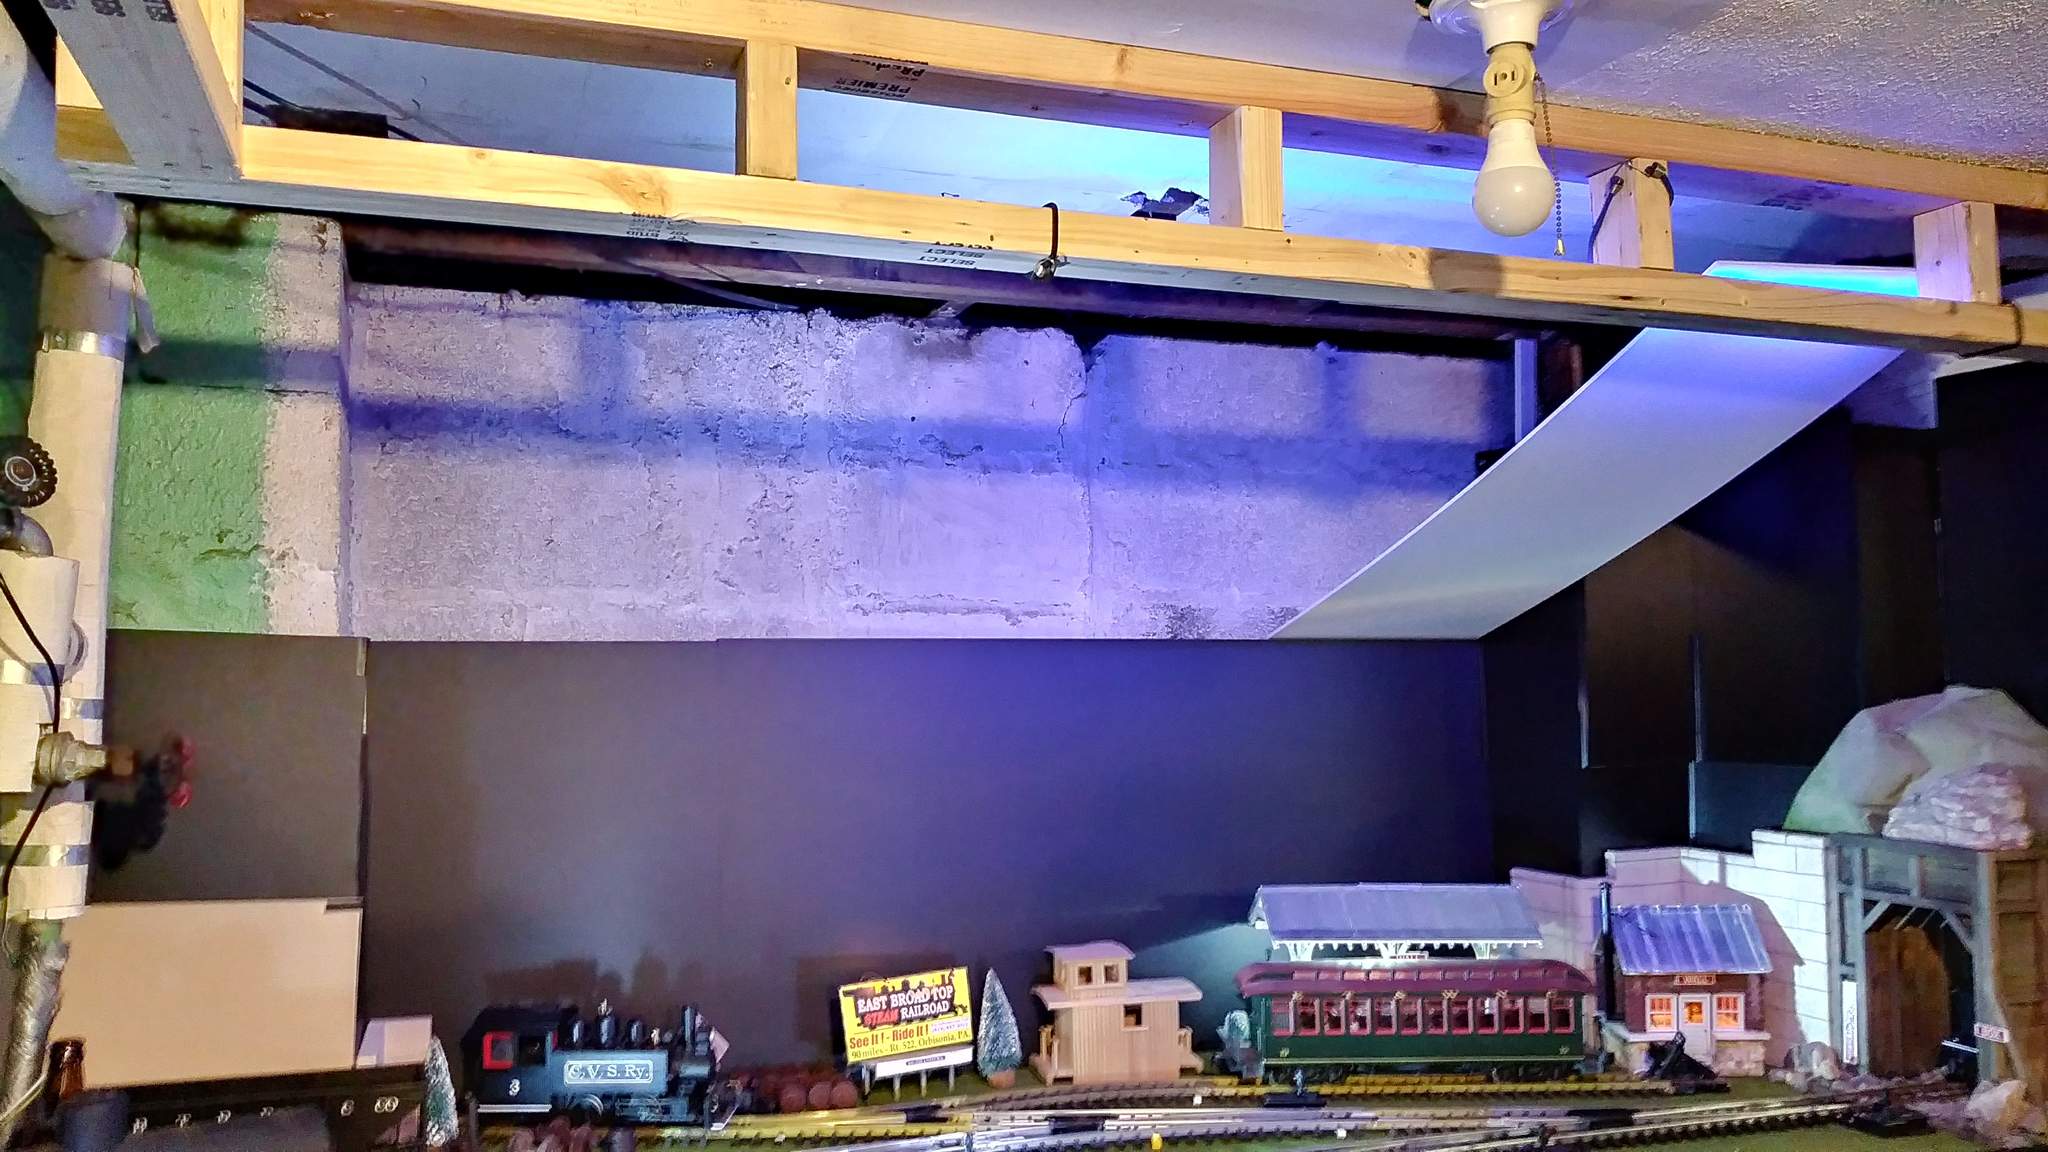
Sorry about the poor focus - it was a hand-held low-light shot taken with my phone. As I complete more work I’ll take better pictures. The blue tint is not the fault of the camera - I have a blue LED strip attached to the back of the framing as a lighting experiment. Additional fill light is being provided by LED work lights. At the right is a small piece of foam board as a test for fit for an angled ceiling. The front and bottom of the valence will be covered with matte black material.
I have installed a small test section of the valence cover. The back will be left raw wood since it can’t be seen and will be used to mount RGB LED strips for adjustable lighting. Here is the prototype test for the face covering and ceiling panels…


When I started measuring for the white panels I realized I really need to finish the backdrop first. The concrete block retaining wall will be continued to cover the wall immediately behind the track for close-up photos. For now the wall above the block will just be matte black. Someday I may have some rural scenes printed in vinyl that can be placed there. So next up is a lot more Fn3 concrete block wall to cover 1:1 concrete block wall (http://www.largescalecentral.com/externals/tinymce/plugins/emoticons/img/smiley-surprised.gif)
Today I might take on some electrical work. That ceiling bulb in the first photo is going away. I’m hoping I can grab power from that box for some accessory outlets and work lights behind the valence. And just for the record, Sean M. is owed an “I told you so” for suggesting power wiring when the bench work was going in a year ago.
Cool pictures of construction and a great inspriation. Having been to your place and know this location, I think this is a great idea!
Use what you’ve got and enjoy the hobby!
I like the simplistic idea of the diorama! It creates a place where achievable ideas can be expanded or tested. It gives you a work and photo platform, which I know you enjoy. Thanks for posting, I feel your work inspires me and others to get at it.
Jon Radder said:
Today I might take on some electrical work. That ceiling bulb in the first photo is going away. I’m hoping I can grab power from that box for some accessory outlets and work lights behind the valence. And just for the record, Sean M. is owed an “I told you so” for suggesting power wiring when the bench work was going in a year ago.
Who me.???
Just love the names …Like BOX (recent build) with Wall
BTW the ceiling screw in chain driven outlet/light fixture is becoming an antique!
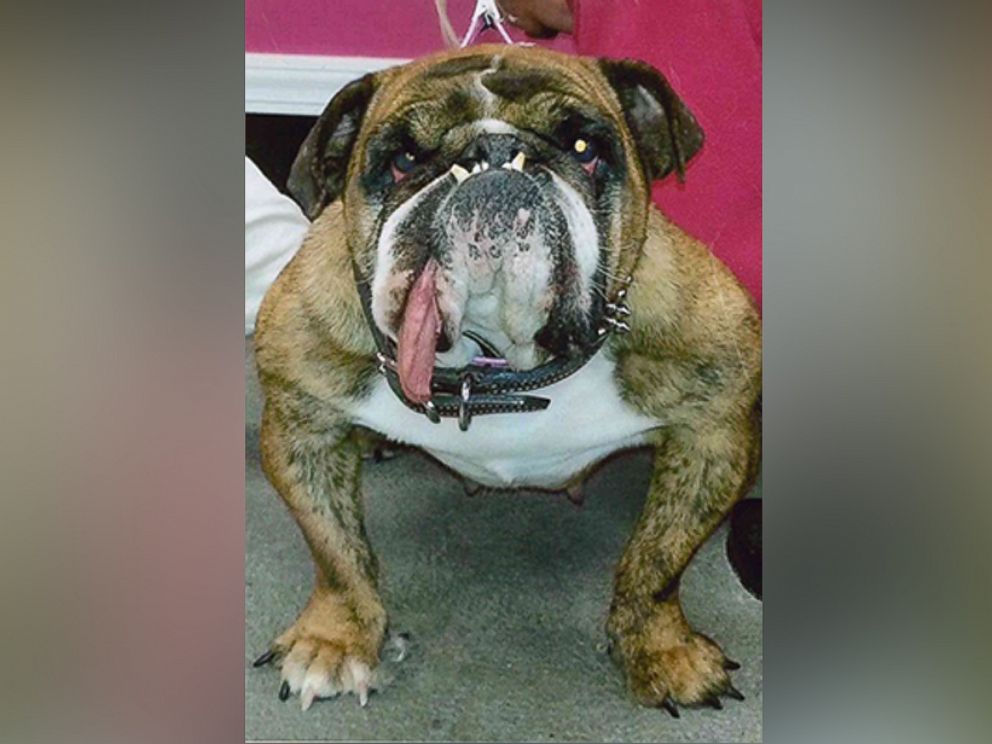
Got the valence and line voltage wiring done, including the ‘Hey Bull Dog’ charging station. I hung an old 12V blue under car LED strip and have one more to hang. This will suffice until I can get to buying and programming some Neopixel strips. I ordered some el-cheapo LED down lights to use over the walkway. Before they arrive I need to re-locate the cable for the kitchen range and some other junk to clean up the framing over the walkway North of this spot. The Valence is done for this phase. Once South Willow Hill has been finished to where I am happy with it I’ll keep moving North with ceiling and wall treatment.
Here is the latest pic from my phone…

Are you going to try to box in all them there vales ? ( with removable panels ) (https://www.largescalecentral.com/externals/tinymce/plugins/emoticons/img/smiley-laughing.gif)
I’m still undecided. The one pipe on the right extends down to the bench so it will always be visible. The industry is Chandler’s Quality Water, so in my head this is a whimsical part of the industry?! One valve is for an outdoor hose bib that I need to access every spring and fall so whatever I do needs to make that easy to get to, The one at right is the main shut-off for the house so it should be accessible too. I guess I’m just going to wing it when I get there!
Those valves would make a great addition to a large industry as smoke stacks. I’d like to see some pictures from other directions. I’m thinking maybe something like the old “Power House” at our old house. As far as its distraction to the mainline, the old mainline of the Illinois Terminal Railroad coming in to Peoria, Illinois, ran tight through the “Power House” and that was also an industry. I’ll see if I can find some pictures to support this description.
OK Ric, that’s an easy request. I’d love to hear your ideas. Here is the Southeast corner looking South toward South Willow Hill. Element description follows photo. Photos are high-res; you can ‘view image’ to see it larger.
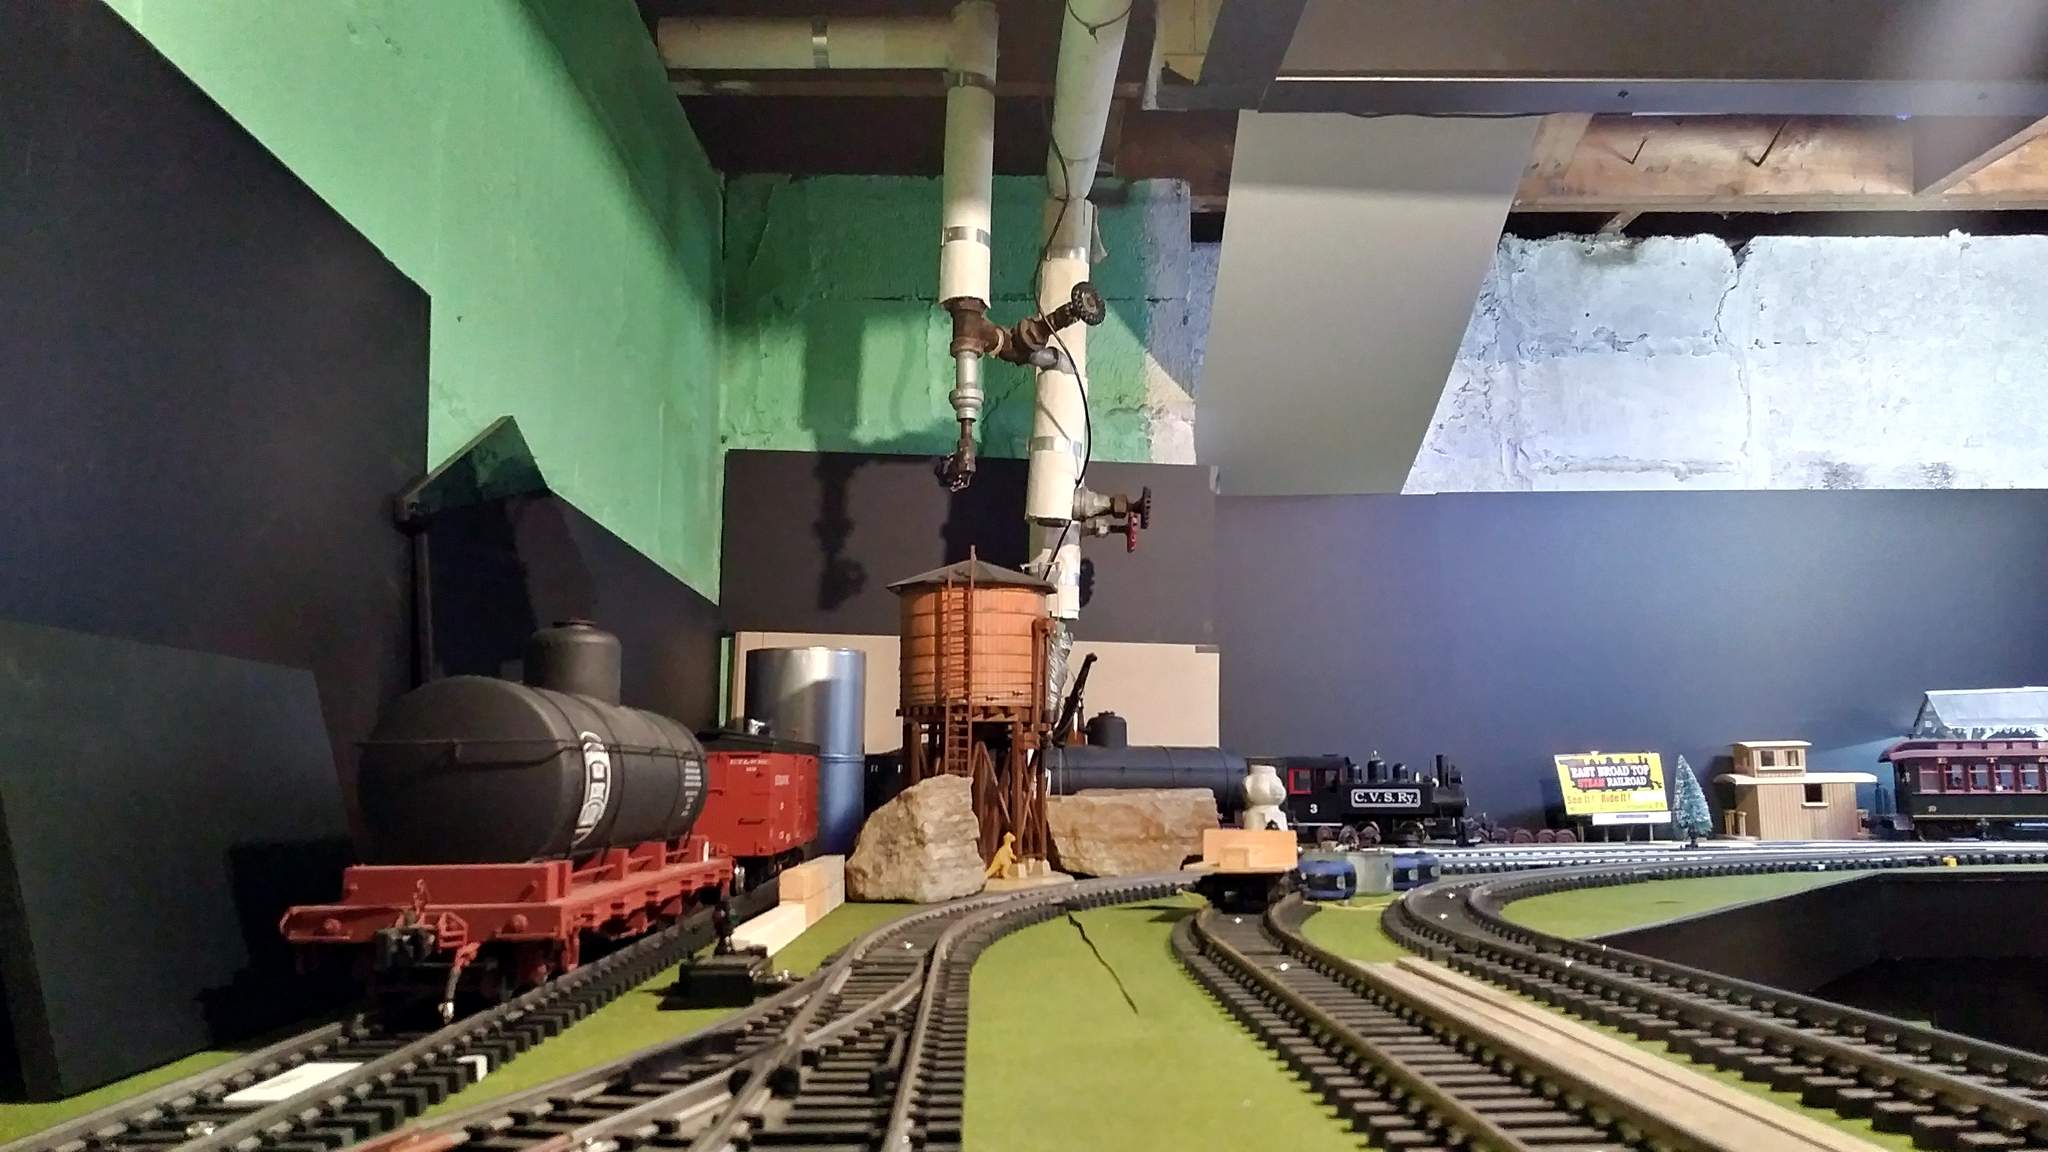
Starting Left Foreground. Track/Industry is Russell Poultry. McCown Freight is on the same track behind the camera. The silver tank is part of Chandler Quality Water which also pumps to the wooden fill tank at South Willow Hill. Next track is the main curving West toward BOX. Next track Right is Golding Square Box which is just a transload track. Far right track is the run-around. Loco #3 is sitting on a servoce track in South Willow Hill.
Moving the view closer and sliding the camera to the right…
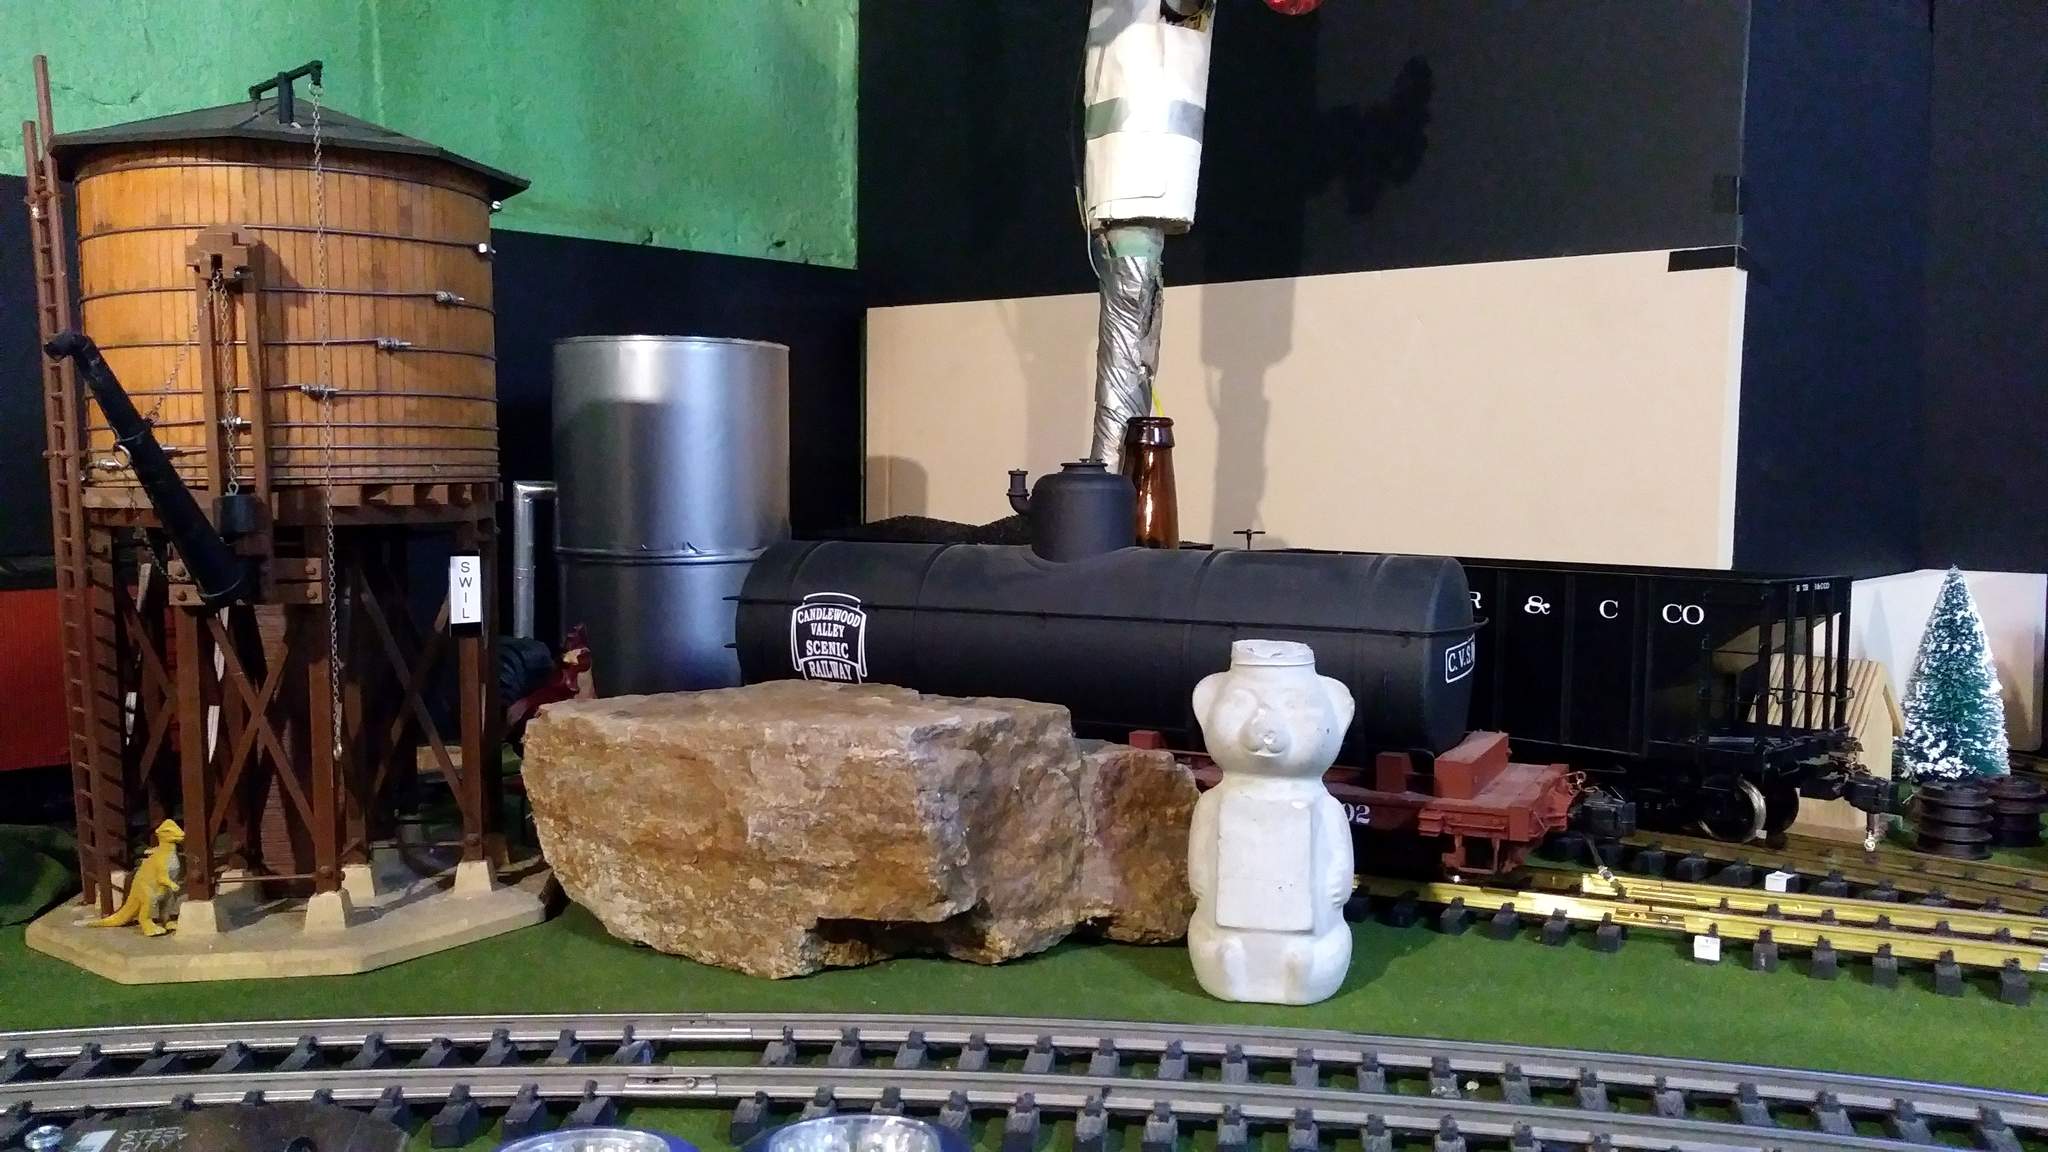
That’s the tank at SWIL on the main with the storage tank behind. The pipe wrapped with duct tape is our water main entering through the foundation and up through the bench. It is also my low voltage power route to overhead lighting. The tank (water) and hoppers sit on the two tracks of Chandler’s. The light colored stuff behind the hoppers is closed cell foam board that will be carved to be some type of flat. My most recent idea is a brick industrial building.
Let’s move the cars out to clarify the track layout and move the camera higher…
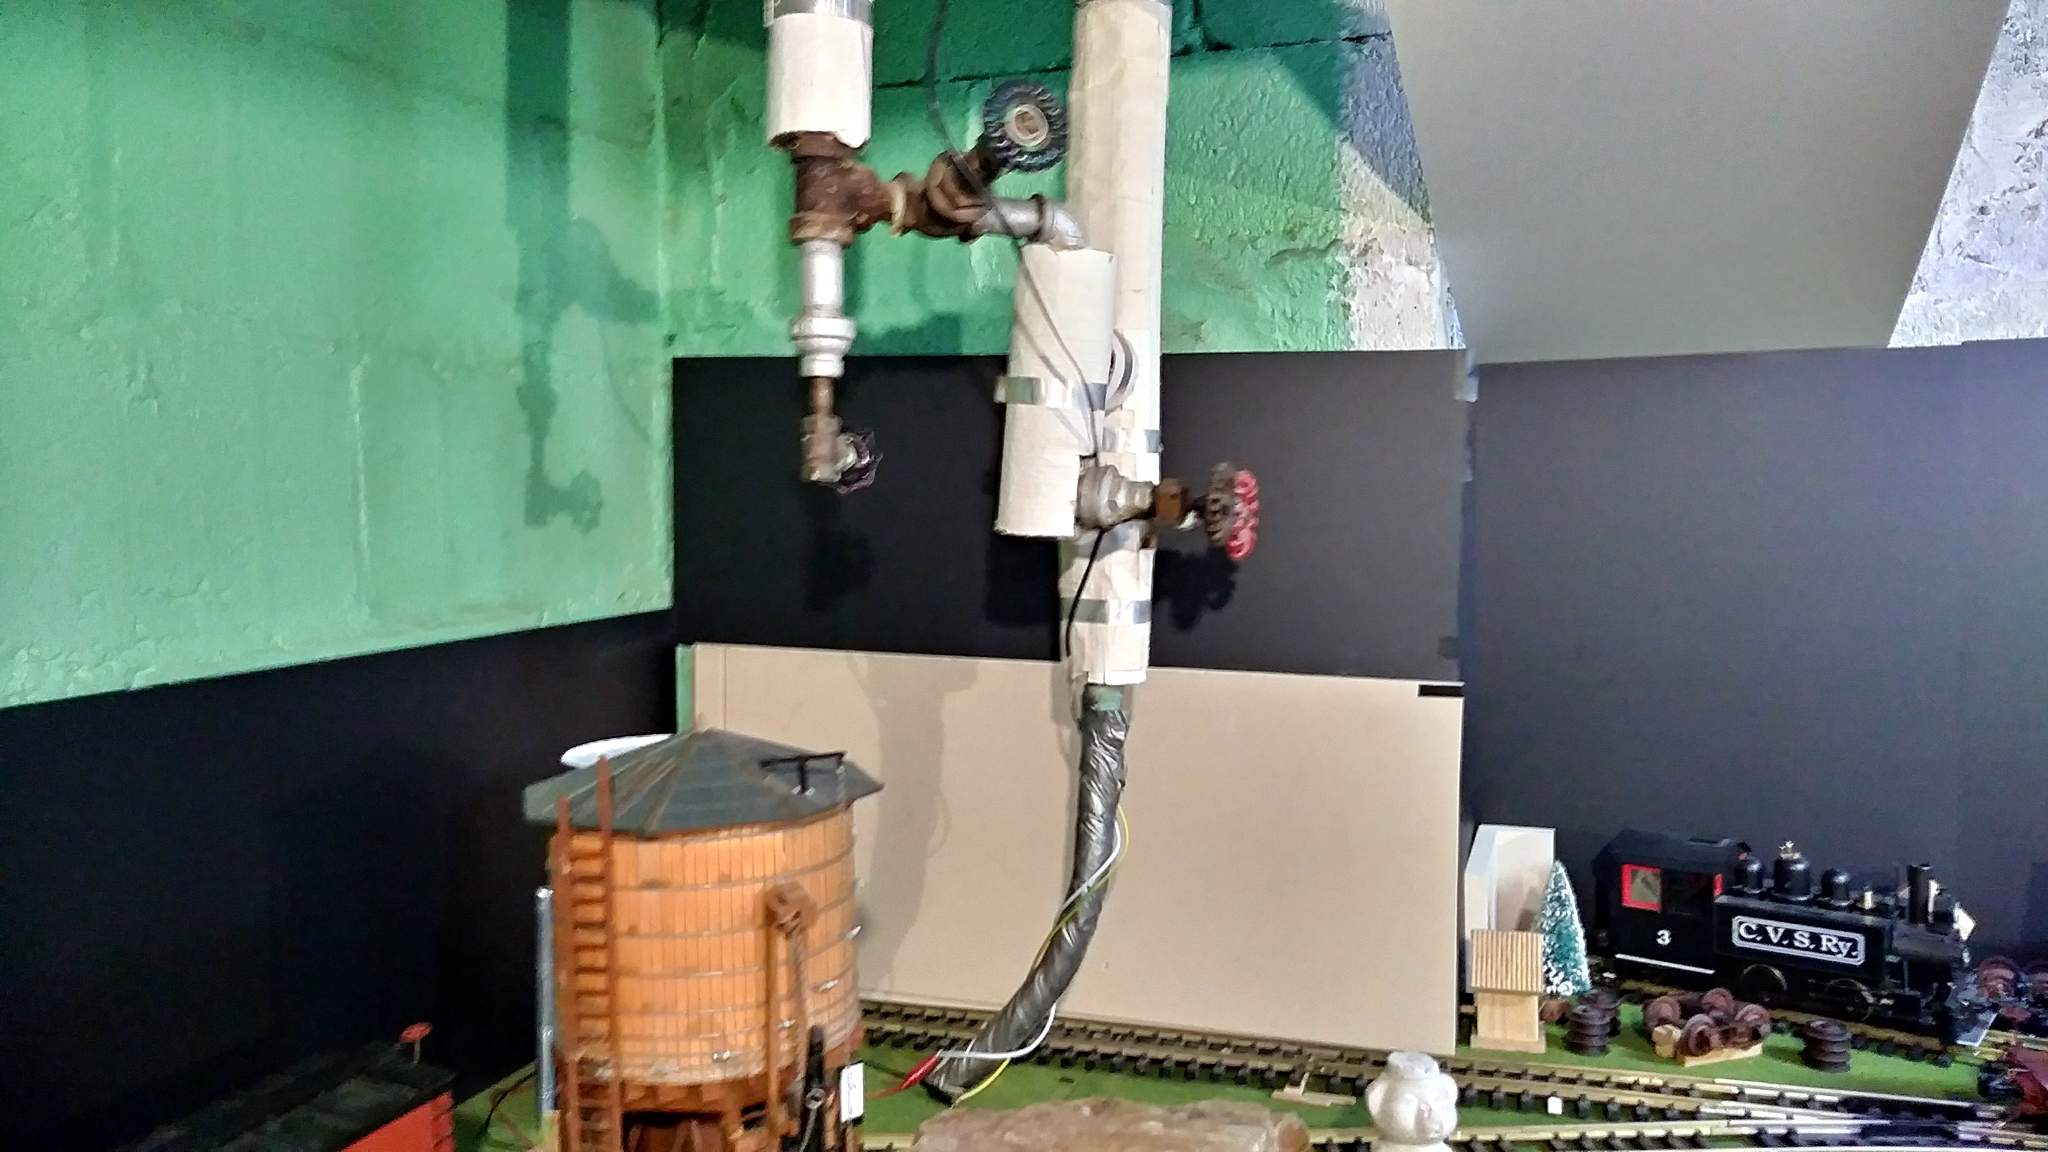
Pipes: Far left drain for outdoor hose bib. I’ve never tried to open this. Above that with the blue handle is the shit off for the hose bib. Next right with dark handle is the whole house drain. Directly behind that at the same level is the main shut off. I have never drained the plumbing but have used the shut-off when doing work. All of these valves should be accessible with minimal work.
Panning further right, now looking due East…
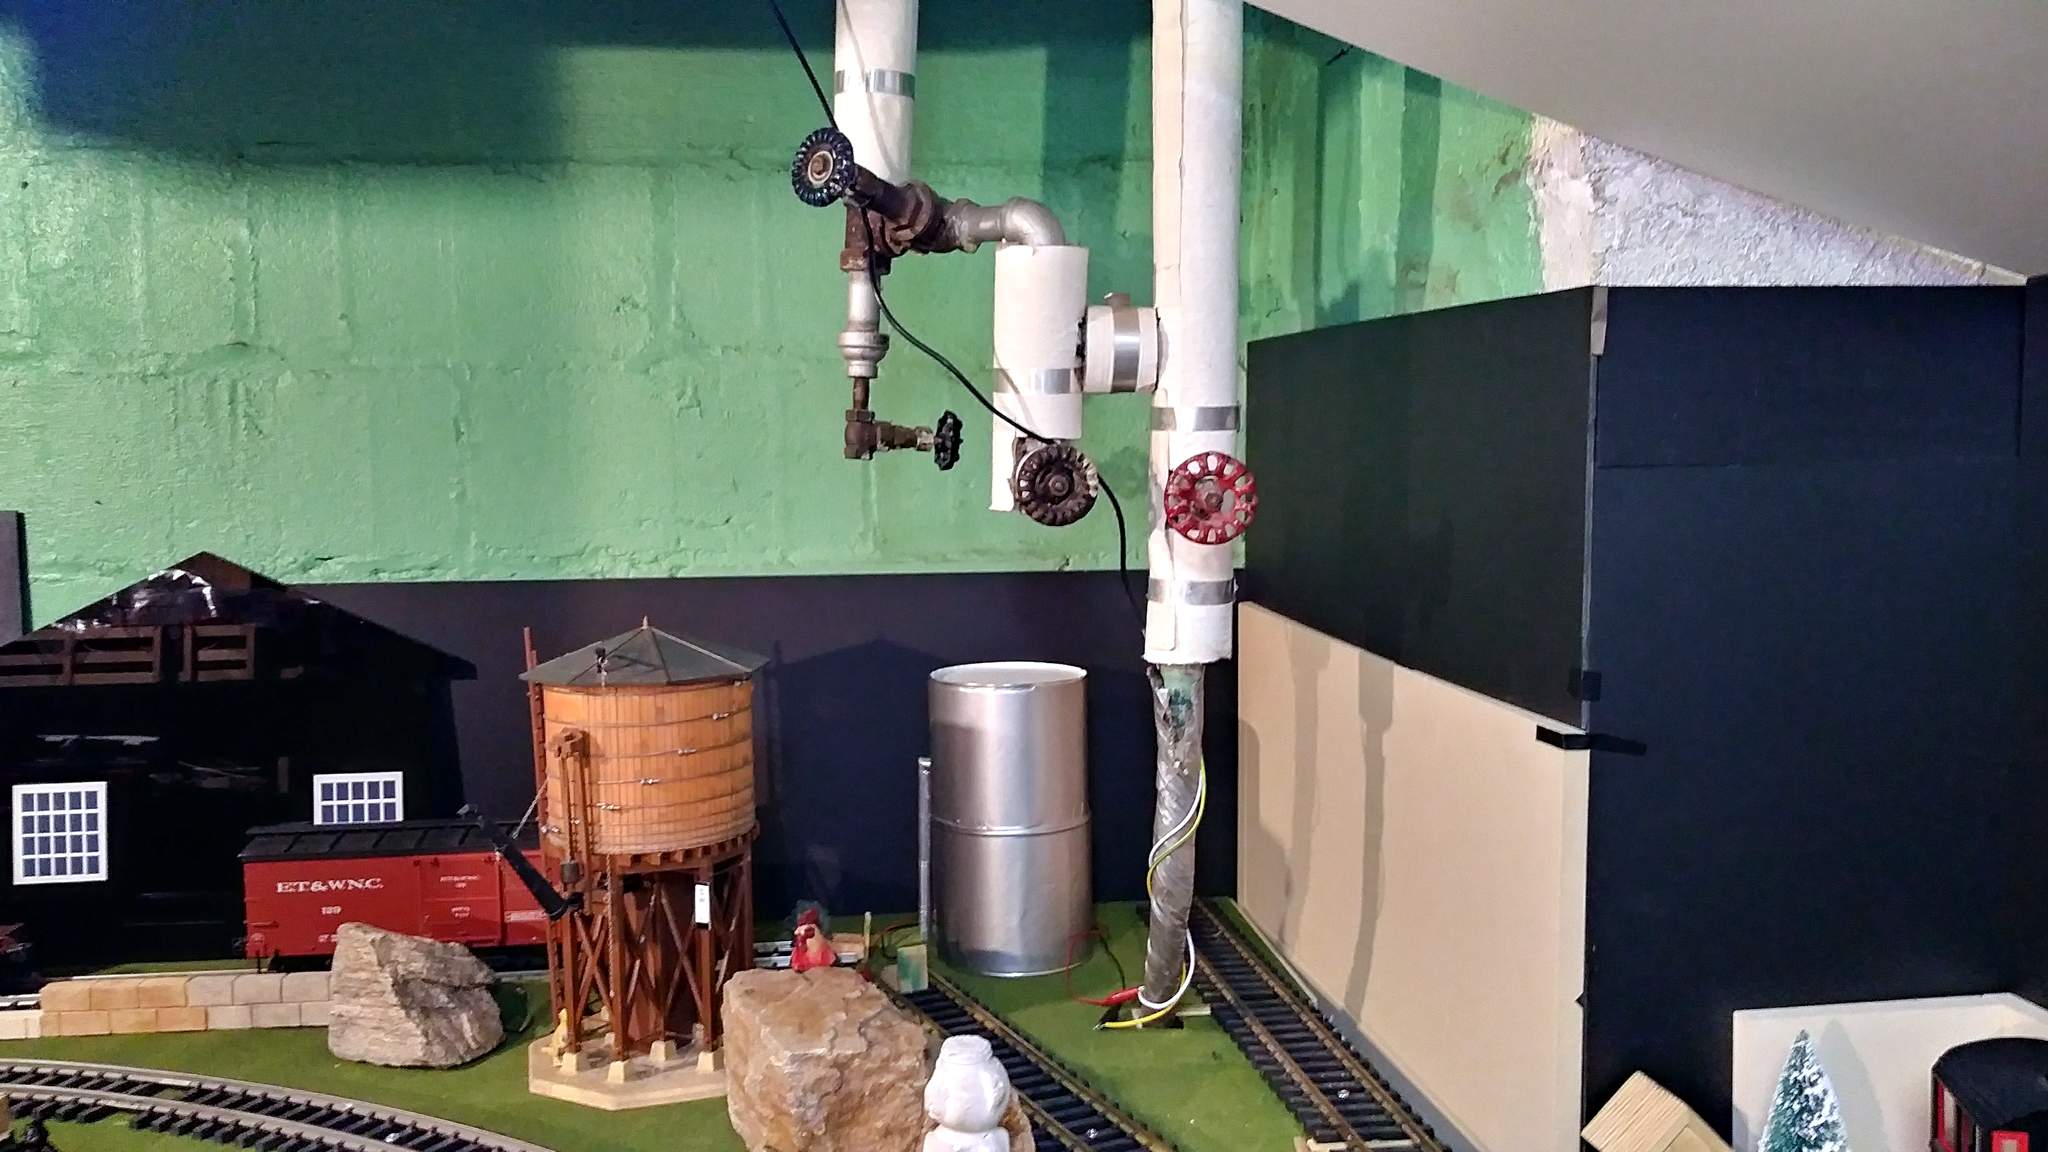
Foreground track is the main. At the wall left to right - Russell Poultry, SWIL Tank, Chandler Quality Water Tank and sidings, South Willow Hill loco service track…
I’d be very interested in hearing your ideas. I have a pretty full junk box with small pipe and access to various diameter tubes for free.
Man you gotta get rid of those gate valves, and put in ball valves… those dang gate valves fail and don’t ever seem to completely shut off… even have ball valves on my sinks and toilets.
Greg
Greg Elmassian said:
Man you gotta get rid of those gate valves, and put in ball valves… those dang gate valves fail and don’t ever seem to completely shut off… even have ball valves on my sinks and toilets.
Greg
Hey good buddy. Ya’ll can just come on out here with some of your big California bucks and pay for that. The line with the duct tape has been there since 1955 and runs all the way to the street valve that has not been touched in as many years. I’m not touching it and a plumber won’t guarantee anything less than a $10K job. The HOA says they can’t replace the street valve without re-piping the entire street and if my plumber FUs the community water it’s my ass.
Jon, give Colorado Models a look. They have a wide assortment of brick buildings and facades. I bought a bunch to use on the backdrop in Delores Yard. 2 of them I may use as industries there.

Most will just serve as the backs of buildings to hide the shed wall.
Jon said - “I don’t think I am up to carving brick in PVC sheet.”
.
Really? You work for a vinyl sign company and your a photo hound. I’m sure you can come up with something. Sheesh!
Ya what the he**
Hey Jon,
Found some pictures on the Yahoo Illinois Terminal Site. I emailed you a link. You know, “email” that 1990’s form of communication.
Thanks guys. Got the 12V bus run up to the ceiling and back to the far end for future lighting needs. Amazon says my ceiling LEDs will arrive next week. I’m really itching to order the neopixel LEDs and a microcontroller board, but I don’t want to be going in too many directions at once.