Great progress John!
Thanks!
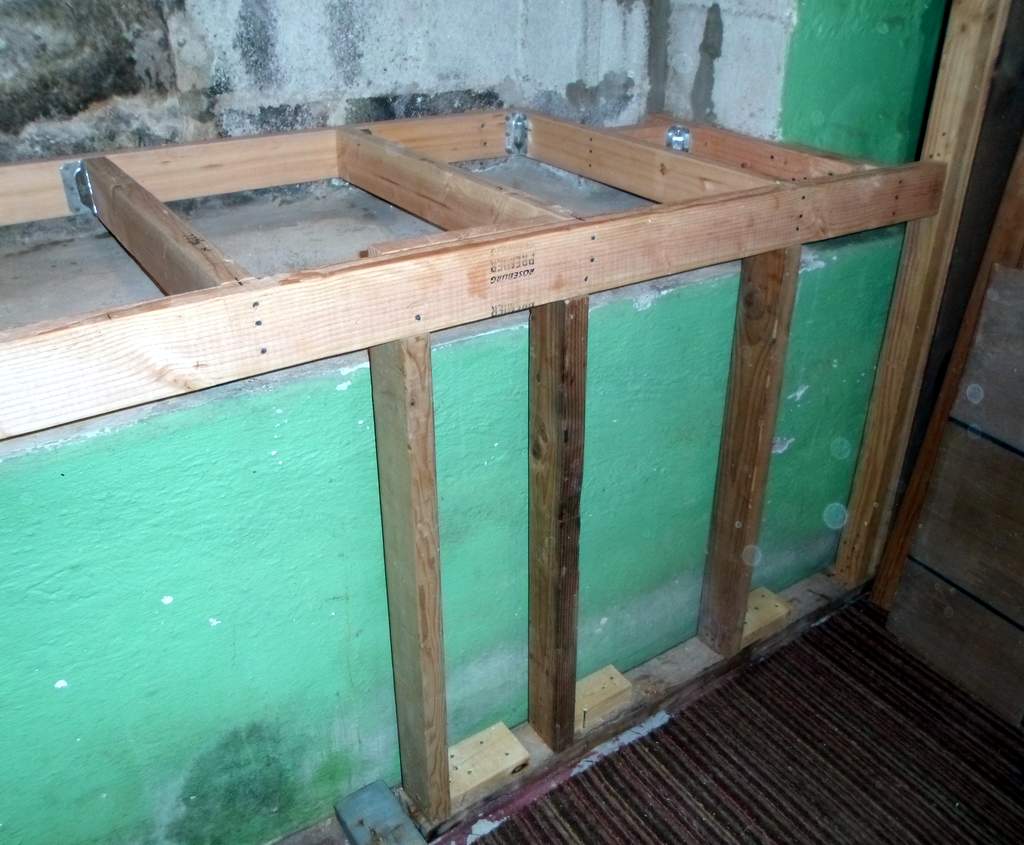
The last part of the frame is done and the first 8 feet of decking is down. The existing benches had 1/2" AC Sanded exterior ply for tops. The big-box store doesn’t sell 1/2" anymore - closest is 15/32; but they only had that ins CD Sheathing and i didn’t like it, so I went for the 11/32 AC Sanded. Had Lowes rip it to 31"so I could get it in the Envoy - it barely fit.
To compensate for the thickness difference I used 3mm PVC on top of the first 32" of framing then let the top come down to the frame; there will be a slight grade at this spot - a 1/8" drop in 16".
I was hoping to have tomorrow off and get the decking finished, but got asked to come in to work on an accounting problem prior to year-end on Friday. Might be a late night tomorrow; I can almost hear the trains running on new track (http://www.largescalecentral.com/externals/tinymce/plugins/emoticons/img/smiley-smile.gif)
Ohhh…John
This is where you should be adding 110 outlets, never enough outlets…less extension cords!!
I agree with the never enough outlets statement, but in this basement, especially at that spot, electrical wiring is not a good idea unless it is water tight. There are (with good reason) no outlets mounted below 42" anywhere in this basement. I’ve never had more than 4" of water in 22 years, but better safe than sorry.
There be TRAINS here !!!
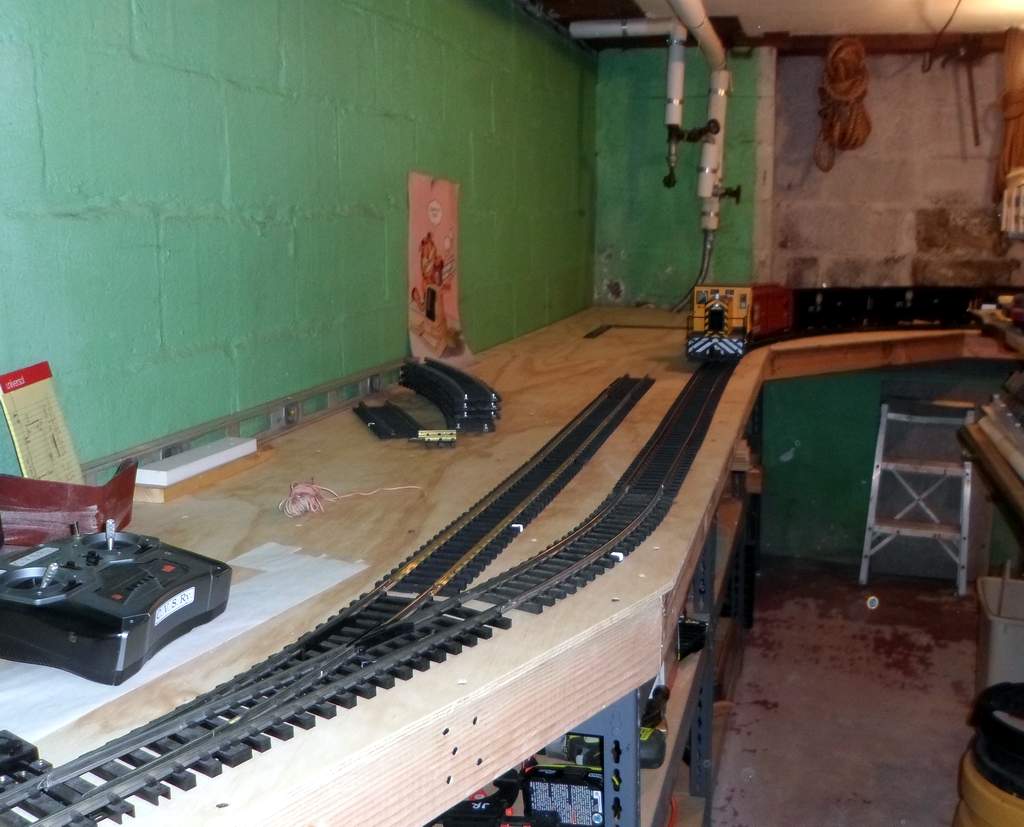

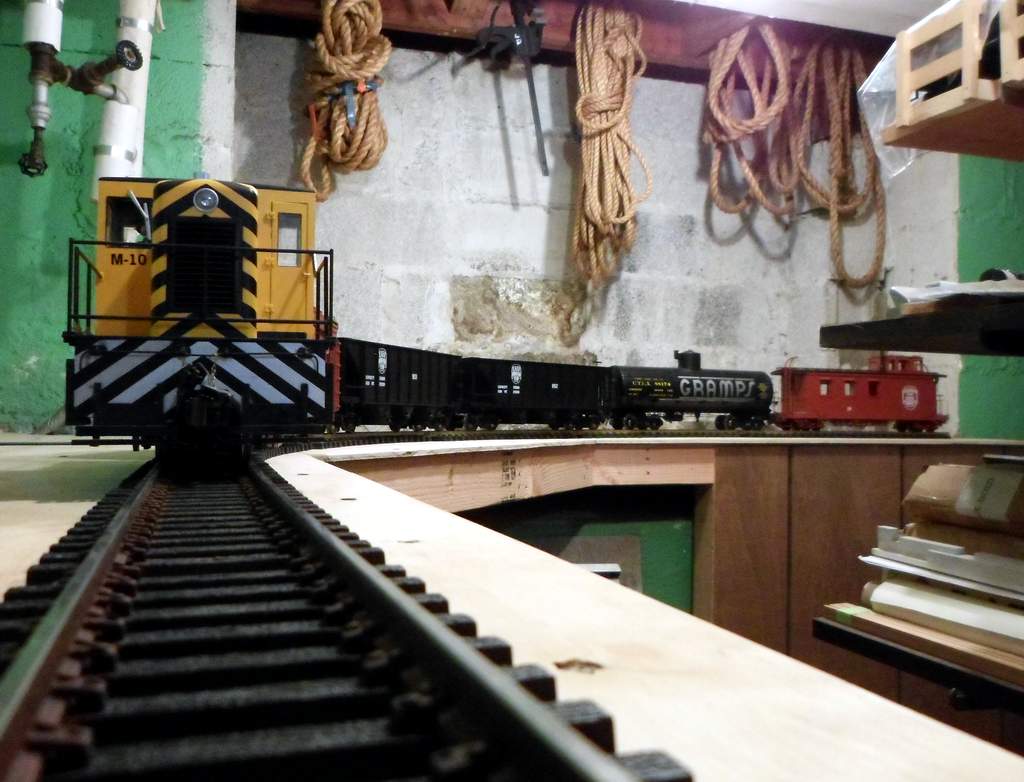
Now comes the really big job, putting away all of the equipment and tools, then moving all the crap back into the shelving units while I decide how to deal with the ceiling and the unpainted wall.
trains yes, but its a powered box car. (http://largescalecentral.com/externals/tinymce/plugins/emoticons/img/smiley-tongue-out.gif)
John I would install some plywood to cover the blocks… you can paint it,and attach things to it also… befor you put the tools away!
Yes, something is definitely needed, especially on that unpainted block wall, but because it’s very damp there I’m thinking maybe a sheet of Gatorplast, that polystyrene coated foam board. For the painted walls might add some shelving for car storage, and some kind of backdrop below. I need to see how much Mr. Bossman will charge me for a digital print. It might be fun to have a print of a 50’s era yard and industries.
This will never be a fully sceniced layout, but a little less of a that dungeon look might be nice (http://www.largescalecentral.com/externals/tinymce/plugins/emoticons/img/smiley-surprised.gif)
EDIT to add: In my excitement at completing the bench top I almost forgot that I still need to build a safe support for the tail that will go behind the wall. That will be my design challenge for today after spending some time with the wife…
John
You should seal the block wall with : 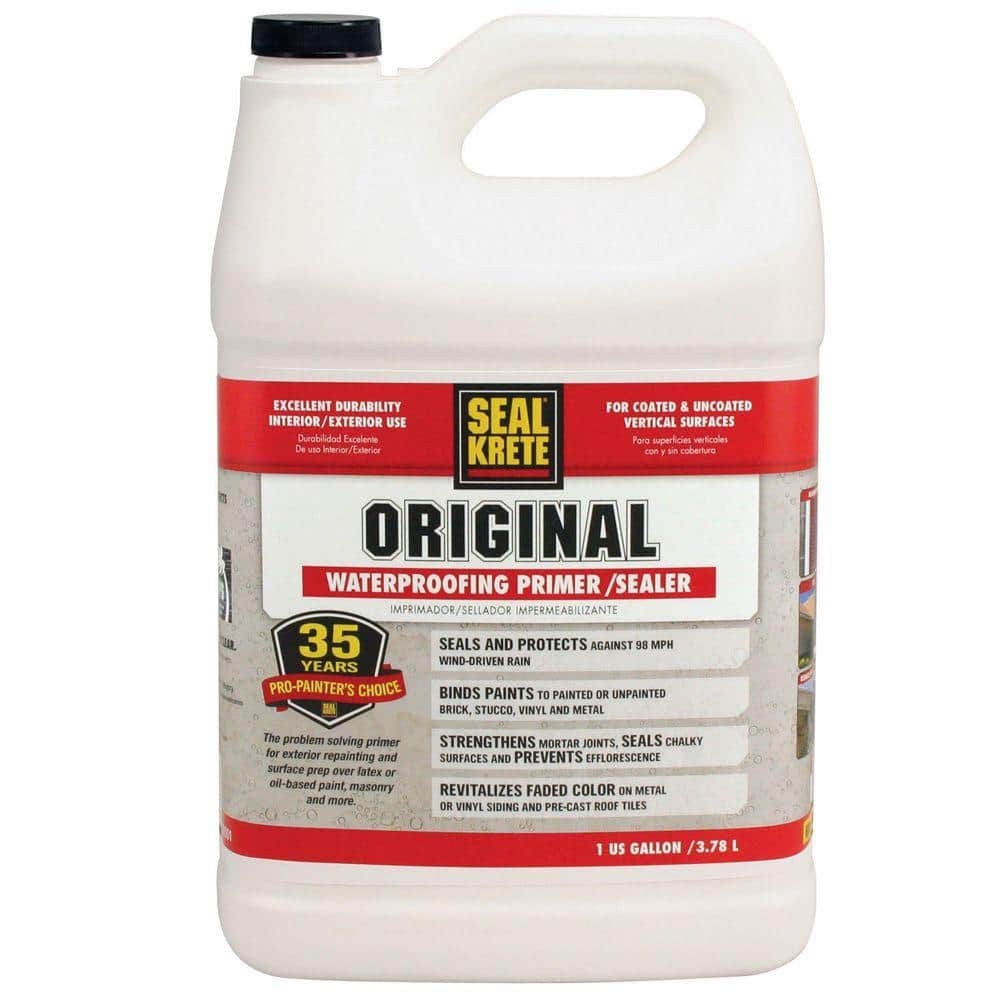
http://www.homedepot.com/p/Seal-Krete-1-gal-Original-Waterproofing-Sealer-100001/100144884
Then add a covering …or
Do you have any sign plywood @ the shop … I heard its marine plywood…
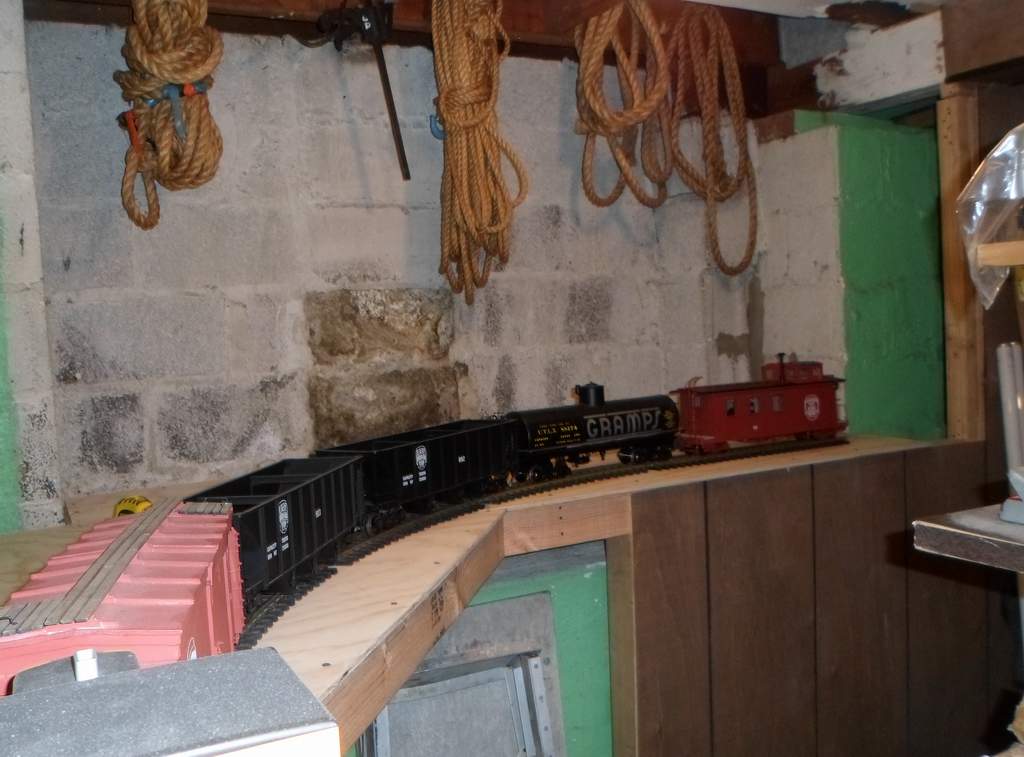
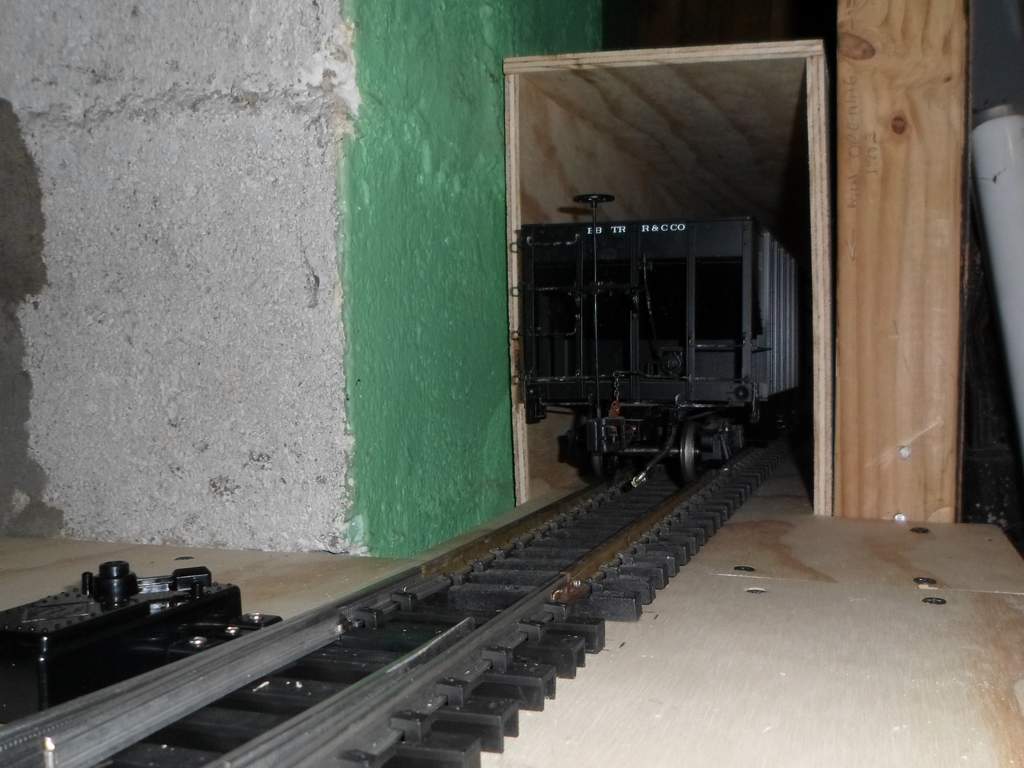
In typical CVSRy fashion, today I added a dead-end tunnel. This box will allow two car lengths beyond the last switch on the main. It has two different length legs because the foundation ledge drops down…
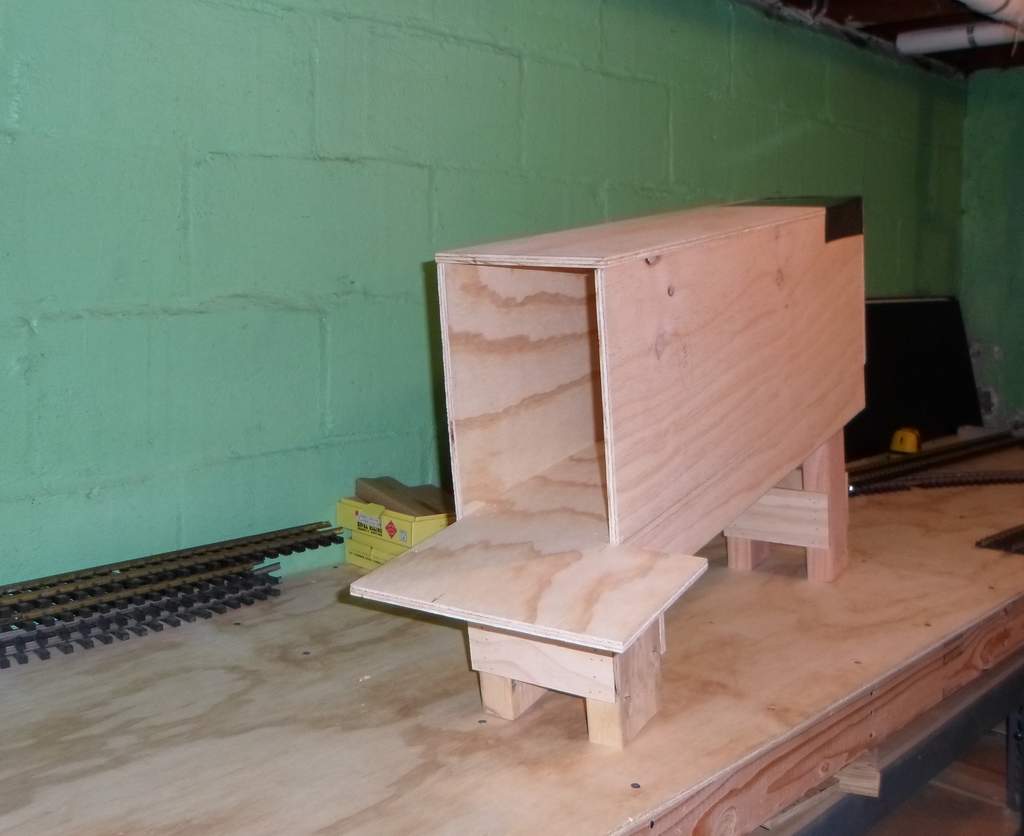
The box fits in the space between the existing wall and the footer for the main beam supporting the floor above…
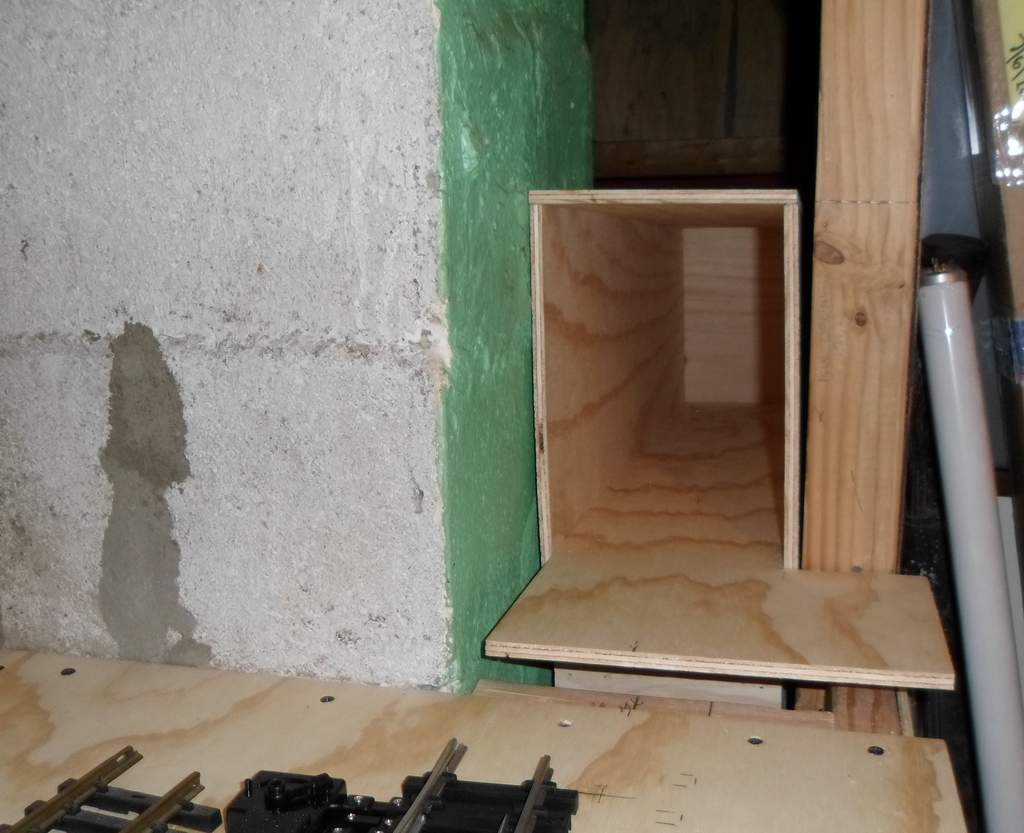
It is fully enclosed to protect the inaccessible track from insects and dirt and to prevent any derailed cars from falling into the abyss behind the wall. Eventually I will close up the opening above and fashion some type of portal or industry front. Plenty big enough for 1:20.3 rolling stock…
@Sean - you just love spending my money (http://www.largescalecentral.com/externals/tinymce/plugins/emoticons/img/smiley-money-mouth.gif)I agree that the unpainted block should be sealed - it might help with some of the water that seeps in here. That sign plywood is nice; pre-finished and painted but very pricey. We never hap scraps big enough to use for much. That’s why I will probably go with the Gatorplast which has a nice smooth surface for applying a background print. When I get to installing something it will be on furring strips to allow air circulation. More explosions (http://www.largescalecentral.com/externals/tinymce/plugins/emoticons/img/smiley-surprised.gif)
John
I think you just like the smell of the burnt gunpowder… (http://largescalecentral.com/externals/tinymce/plugins/emoticons/img/smiley-wink.gif)
Oh yes, burnt gunpowder, lacquer spray paint (especially primer), and good coffee. Just some of the smells I like.
John, I envy you having a basement, and I like what you are doing there. As for the water problem, I know, I dealt with that at the last house I lived in. Even coating the walls with Dryloc didn’t stop all of the water infiltration. But it was so nice and cool down there during the hot summer months.
We have been here since 1991. Rented for 9 years then purchased in 2000. I knew exactly what I was getting into! What’s funny is, that before I opened up this corner to the light of day I never knew exactly where the water was coming in. Now that I have access I can at least attempt to slow it down some. I had water in the garage yesterday - it comes up out of the floor drain in a heavy rain. I know my issues are curtain drain related, but I don’t want to excavate the foundation. I have re-routed downspouts eliminating direct connections to the curtain drains - that helped a lot. Since re-routing the one outside the corner where I am building we have not had major water in the finished area.
It’s a good thing that we are not sensitive to black mold. The sheet of paneling I tore down had it 20" up from the floor - I’m sure the rest of that wall has at least some. That paneling isn’t coming down anytime soon, but If I get another spurt of energy next December it might. There is another 10 feet of block wall behind that partition suitable for the same bench work. And I don’t even want to think about what is under that carpet!
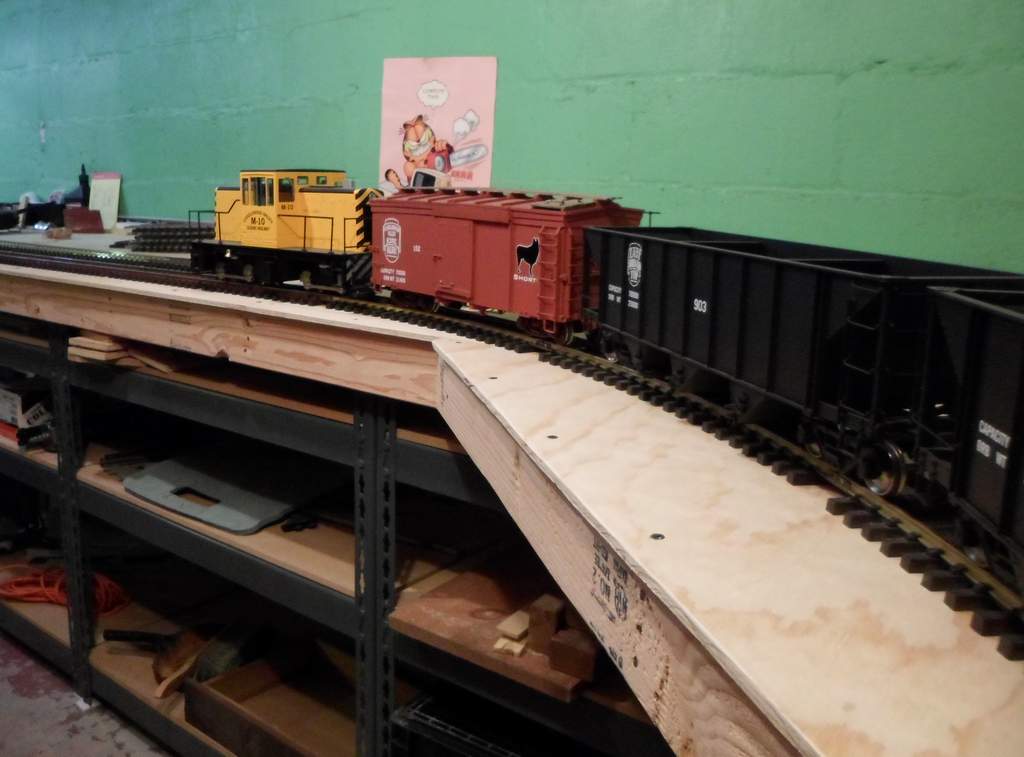
As predicted, as soon as there was surface for track, construction came to a grinding halt and track alignment experiments began. I think I’m just going to toss any thoughts of designing on paper and just keep putting down temporary alignments and working them until I find something I like. That alone could keep me going another month!
Hey John, don’t say your not sensitive to that “Black Mold” it effects everyone. I spent 20 years in construction remodeling and building additions. We came across a lot of that stuff that people didn’t realize they had in their house until they opened an area up where it was located. Once the area is opened up it will go airborne and spread without you being a ware of it. Your HVAC system will suck up any airborne particles and spread them through your home. Clean the area with bleach and spray a sealer over it to contain it. I don’t want to hear that your health is effected after all this great work your doing.
John I will echo Chuck’s comment. Tear out everything you can and bleach the moldy areas. We are not talking major dollars, just some labor and a couple gallons of no-name bleach.
Randy McDonald said:
John I will echo Chuck’s comment. Tear out everything you can and bleach the moldy areas. We are not talking major dollars, just some labor and a couple gallons of no-name bleach.
Thanks for your concern guys. In order to eliminate any mold that might be behind the remaining paneling, they would all need to be ripped out and replaced. We went shopping for paneling today, and anything that isn’t a printed paper face is $25/sheet and up. To me that IS major dollars so it will need to wait a while. In any case, even if I keep at this project every evening it will be a few weeks before enough stuff is moved back to the relocated shelving to free up space to work in the finished room. On the bright side, the 4 foot section I took down was directly in front of the spot where the water was coming in, so there is a chance that the remaining panels won’t be as bad.
Some progress to report - a test alignment of track has been put down and a few switching exercises have bee run. I need to run a few more exercises to determine if this will be the final alignment. I could really use one or two more wide switches.
John …You not Devoning are you?
We need some updates!
OK - well I was going to post this in the track plan thread, but since you asked…
I picked up 4 more NOS Wide switches today which gives me a lot of options. I think I have pretty much settled on a track plan. What I have been up to is running switch operations on the temporary track I have down to see how it works. Quite happy with what I have which is less than what I’ll end up once this track plan is laid down…

The above image is HiRes - just View Image in your browser to see full size
Tonight I plan on trying to get track moved around to as close to this plan as I can. RRTrack plans never quite work in the real world, but I’ll get close. First thing I need to do is find some track to spot all the cars I have on the new section so I don’t have to take them off the layout again
I think you need a new term to describe this delay. I’m guilty of doing it a lot; getting a project to a point where it can be run or used and delaying the finishing touches. My little Porter ran for 3 years with no rear coupler and a temporary front coupler before I got around to finishing it.
Hey Daktah,
Youins needs a runaround track. Middle of the top of the track plan would work great! Betwixt top track and second track down.
Look a little closer… Second track from the top is the main. Bottom track is a run around. It’s long, but anything I could do elsewhere wouldn’t allow running around the entire train. It could double as a passing siding. I worked several trains on a similar plan over the weekend - worked out great!
One big difference between the plan and reality; I don’t have enough room for 5 tracks top to bottom. 4 tracks works good with reasonable spacing.