Large Scale Central

Castle Build

More work

Here’s a test of the stone-like tiles I’m going to use around the base. This will constrain the color options when I go to paint the walls, but I prefer limestone/tan to gray anyway. (No offense Rooster.)

I’m also in the process of building a well for the courtyard. Here were it rains heavily, I need a “drain” in the center of the courtyard to let water out. I thought about just drilling some holes, but then figured it would be better to disguise them as either a fountain or well. I’ve bent the styrene for the base (using a hot air tool) and will post pictures later today (I hope)

Well, well, well…

Styrene formed around a can with a heat gun, then individual styrene “stones” added.

The bottom done. I’ll heat this again and the stones will lay flatter to the substrate.

Just need shingles and paint, and I’ll have a “drain disguise”

As a note: that bottle of Plastruct plastic weld has a nice brush in it. I refill it as needed from a can of MEK, which (as far as I can tell) is exactly what Plastruct is putting in the bottles (and then selling for 4x the price of MEK)

The wishing well is a clever way to disguise a drain.

I wonder if the stones don’t lay flatter after being hit with the heat gun could you use a belt sander to sand down the edges that stick out?

Dan, double check on the MEK (Methyl Ethyl Ketone) . I bought some and it didn’t work, However Methylene Chloride works.

Travis, it seems to work fine. That might be because I’m in the Midwest where we can still get “real” MEK.

A little more progress today. I broke out the dremel and a cutting tip and attempted to put texture onto a leftover piece of PVC. Then I painted it to see how well the grooves showed up when the surface was a uniform color. It was just a test, so the lines aren’t very straight or uniform.

So two things are clear: I’ll need lines to “trace” with the dremel and I’ll need a finer tip. But it went really fast and I think that this could be the way to go for texturing the turrets. It will be time consuming (and tedious) for sure, but I think the result will be worth it. Off to Amazon to find a finer-tipped cutting bit.

Dan Hall said:

As a note: that bottle of Plastruct plastic weld has a nice brush in it. I refill it as needed from a can of MEK, which (as far as I can tell) is exactly what Plastruct is putting in the bottles (and then selling for 4x the price of MEK)

I don’t think so. The Plastic Weld smells different, and also leaves a thin film of plastic when it dries. (I’ve spilled some on a glass surface.)

I had to go look. I used Plastruct Plastic weld for years before I was turned onto MEK. I thought they were the same thing also. According to Plastruct’s MSDS for the plastic weld it is 80-90% Methyl Chloride and 5-15% Methyl Ethyl Keytone (MEK). The MEK I buy is 100% MEK. Now I know.

I only have used MEK on styrene and it has never let me down yet.

Slow progress this week, because it’s been unseasonably warm for February, and nice enough to run trains. That always takes priority.

I’ve textured the gatehouse walls

The lines were to help me keep the mortar lines mostly straight. I’ve painted this with a white latex base and will try to do a color test later tonight or tomorrow.

I’m pretty pleased with how this came out. It wasn’t too difficult to do, though it does take a fair amount of time. One tricky thing is to keep the stones sizes all four faces the same size on average. But I have a handle on that, I think. I’ll start texturing the main building tomorrow.

Wow, this is tedious :slight_smile:

Here’s the largest flat side of the main structure

Here’s an end, done

This I had to do in three separate sittings.

It looks a little rough still “in the pink” but I’ve put a coat of latex on the gatehouse and it improved it significantly. I did have to use som filler to help hide the seams between foam pieces. I’m still deciding about color… a lot of the castles I saw when I was in Germany (U.S. Army: free travel, as long as you go where we say) were of a tan or brown stone. But with the gray concrete I used on my mountain, I might need to make this one a grayer color.

How do I get myself into these things :slight_smile:

As you can see from the lack of updates, the texturing has been a slow process. I’m done with the gatehouse and main building now. One more side building to construct and texture and I can move on. It’s also a slow slog because I want to put the paint on thin enough to maintain the texture–so several thin coats rather than my usual slathering of paint.

I need to clean up the window openings a little more so that the foam “fuzz” doesn’t create odd shadows when lit from inside. I’m also pondering laser cutting a frame for a round stained glass window on the end of the chapel wing. I saw this site about making “mini” stained glass… but I really shouldn’t let myself get sidetracked again. It is really neat how it looks so authentic. But no. Definitely not something that time and work intensive. Probably. I need to look into it more :slight_smile:

Dan Hall said: … my usual slathering of paint.

Hmm, pub names can sometimes be a bit quirky, how about having near the castle one named the slathered paint pub?

It’s just a rainy midnight idea, that’s all (http://largescalecentral.com/externals/tinymce/plugins/emoticons/img/smiley-laughing.gif)

That would be fun. The street sign could be a bucket tipping over and slathering paint everywhere. And a little sidewalk sign offering a pint and fish 'n chips for 2 bob.

today, after only 18 days came my new cutter. (at about $36 including postage)

thanks for the info again.

Korm Kormsen said:

today, after only 18 days came my new cutter. (at about $36 including postage)

thanks for the info again.

Cool! Have fun with it (and wear a mask–the fumes are nasty)

Slow progress, but… last week I took the under-construction castle out to the layout and determined it was too big. It fit in the space I’d allotted for it, but it was overpoweringly large (three scale stories, 24x36") and just seemed like it was too much building for the layout. As I mentioned, one of my guiding principles is to avoid having the layout be too “crowded.”

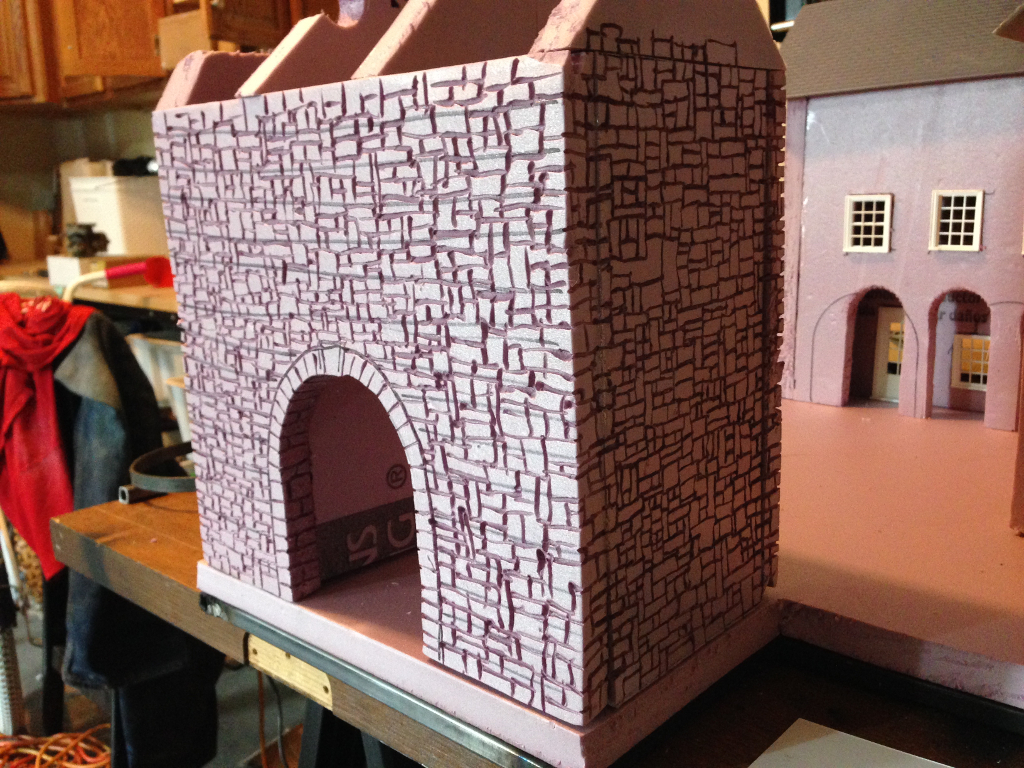
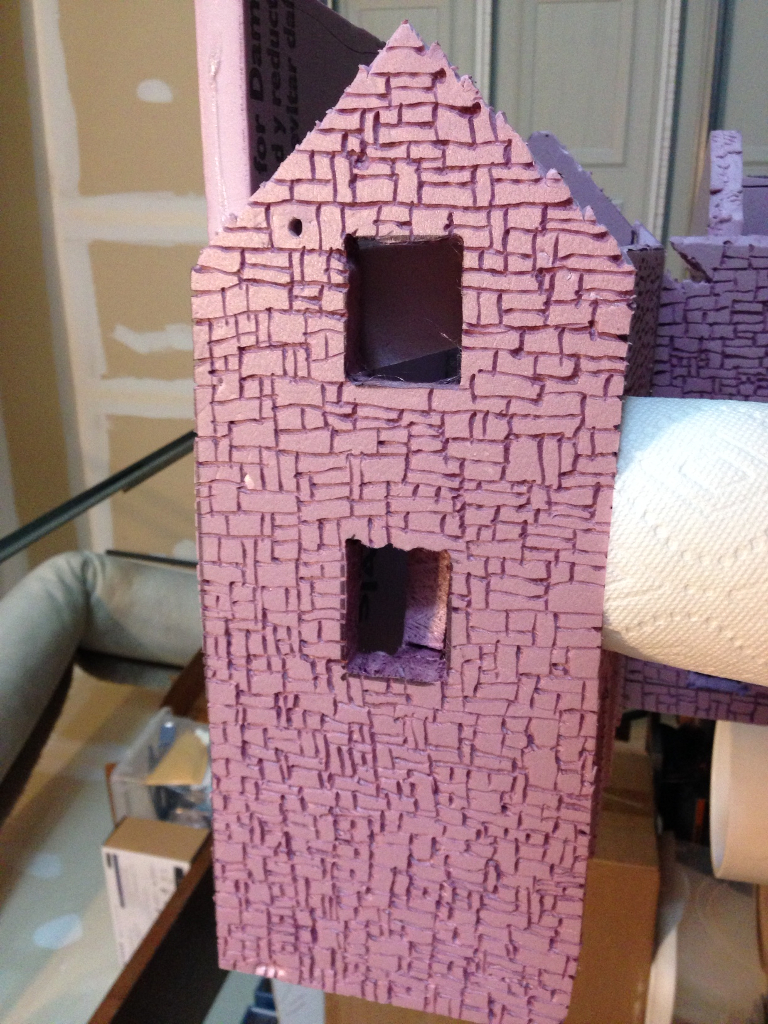
After seeing it in place, I decided it needed to shrink some–which meant re-jiggering some of the buildings and changing the plan. I cut a story off the main building (from the top, so the work of cutting the arches and windows wasn’t wasted) which helped some. I also wound up eliminating the gatehouse, as it was too big to fit in the revised footprint. I saved one wall of it as an outer wall with gateway. I also went from four turrets, one at each corner, to two.

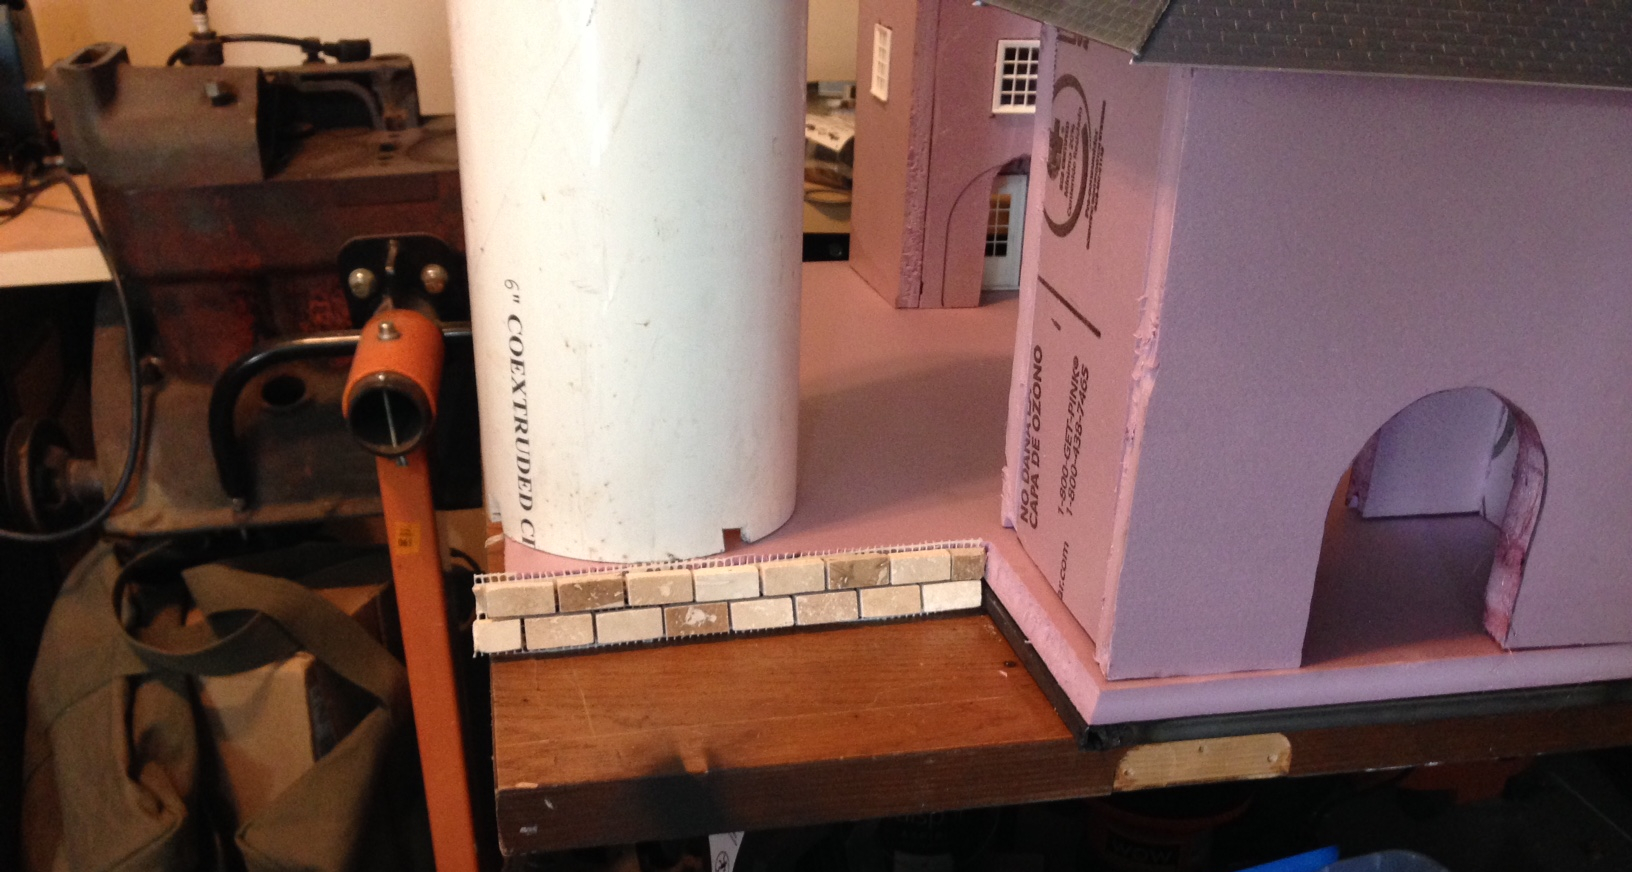
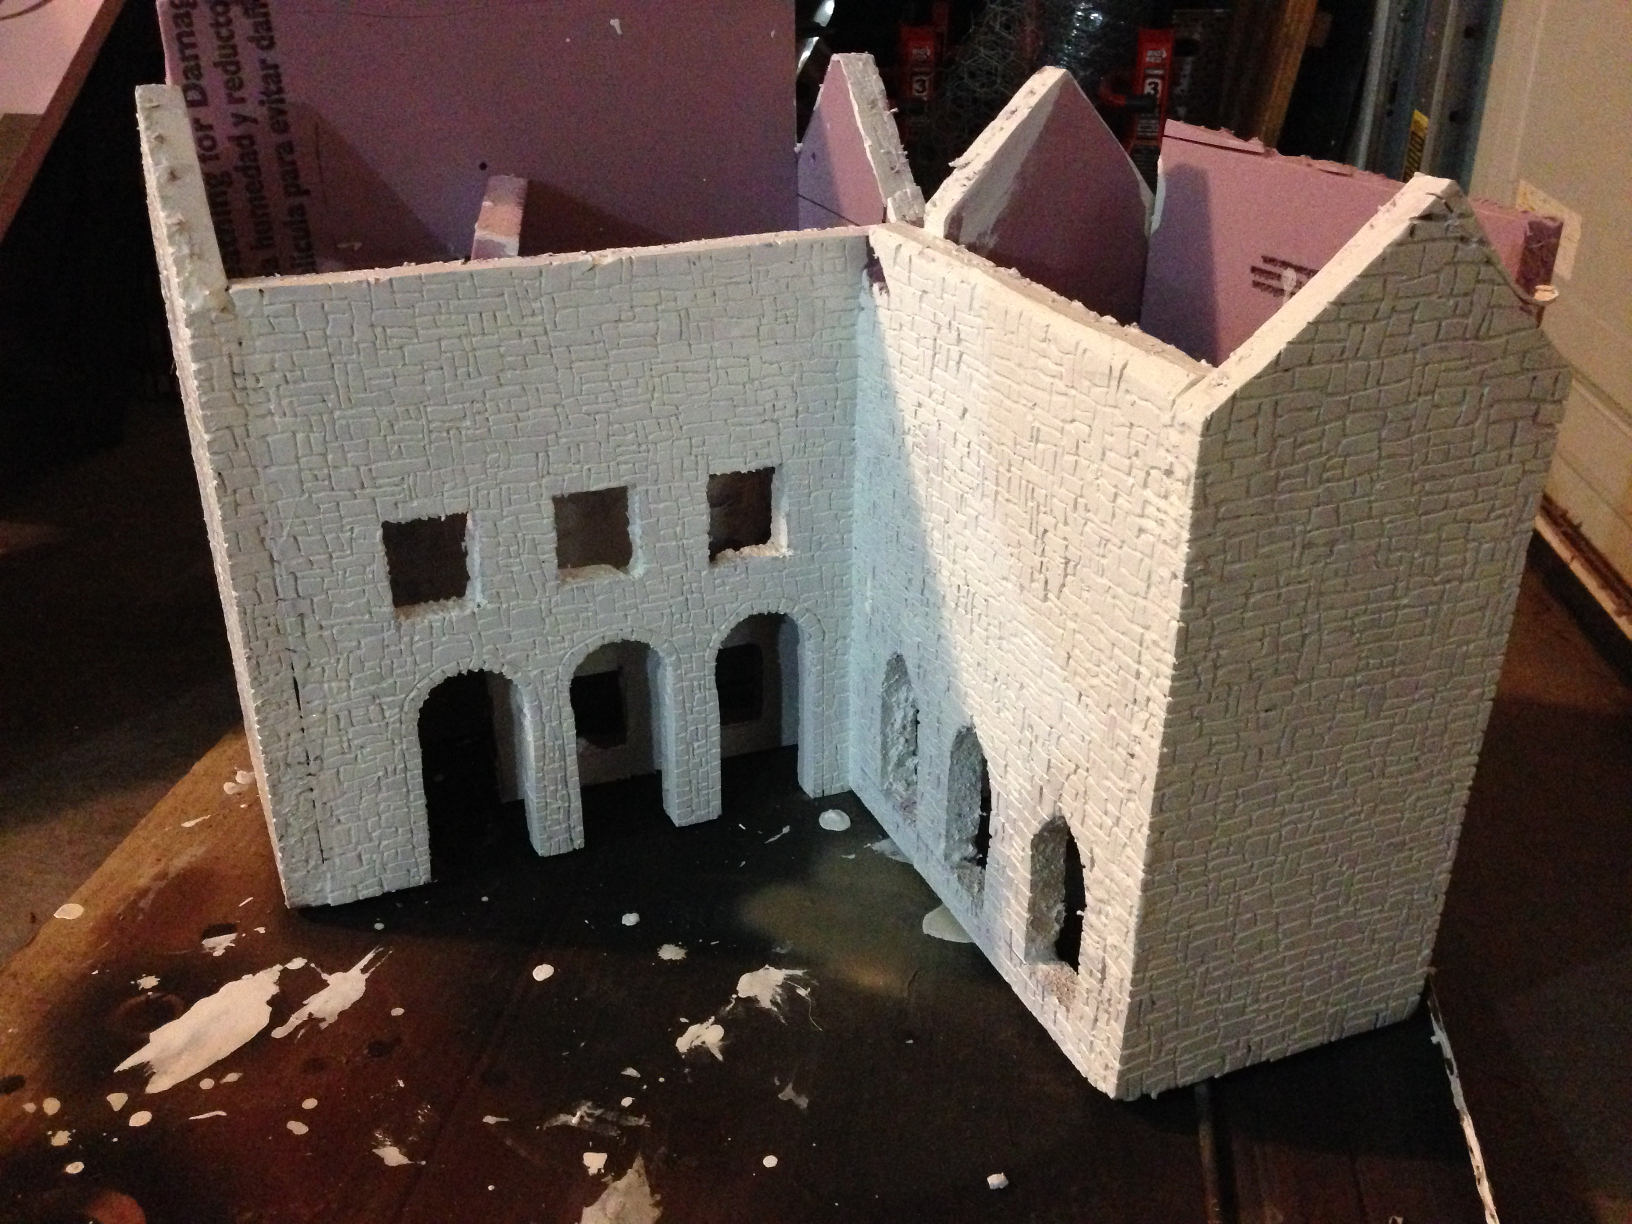
Here’s the current state:

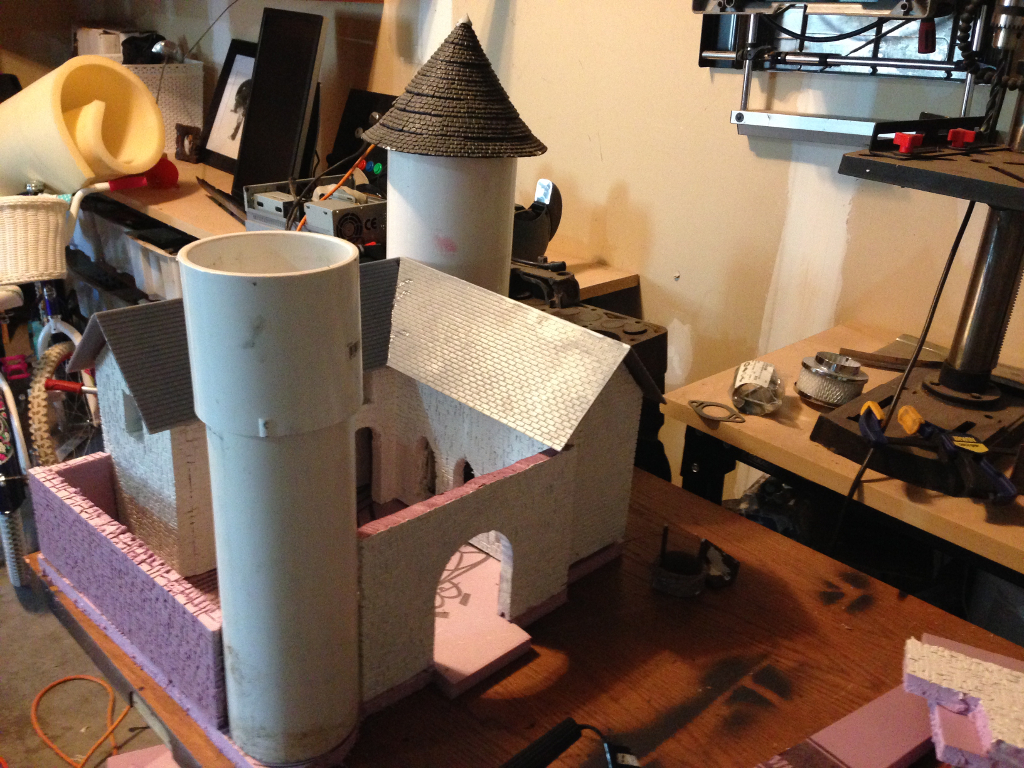
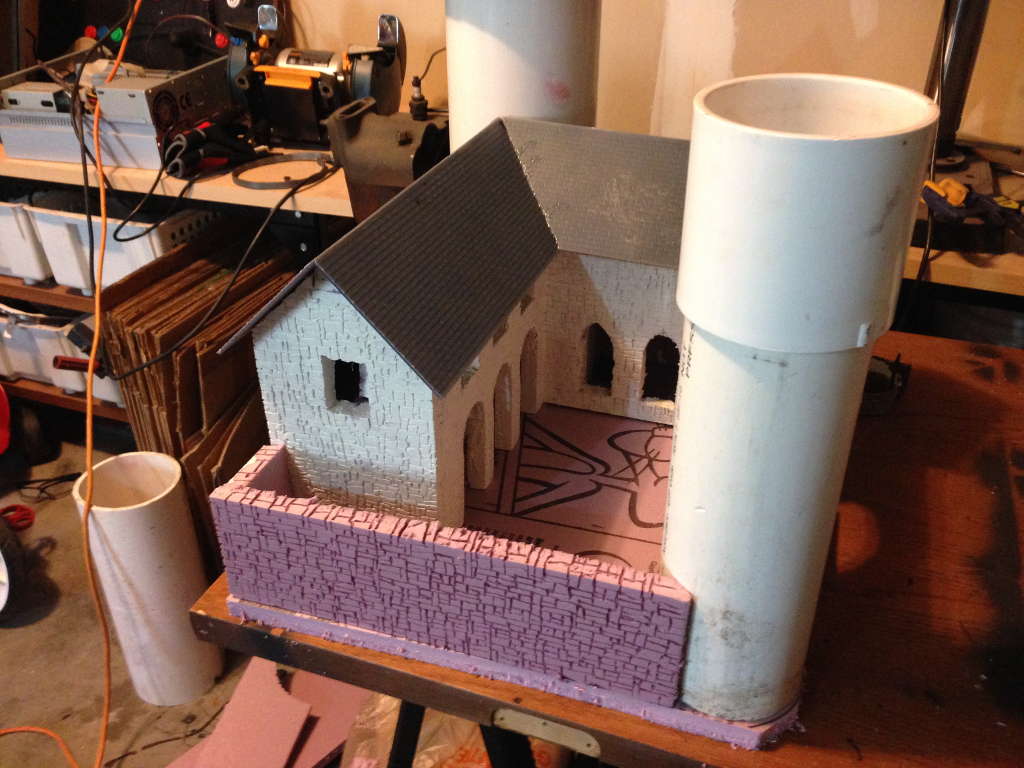
I need to texture the inside of two walls and then put a primer coat of latex on the last few unpainted surfaces. Once that’s done, I can put a color coat on the walls and roofs, and figure out what to do with the courtyard. I’m leaning towards coating it with adhesive and applying sand, but I’m still working on the details.

Dan if you take a little off of the bottom and some off the top of the larger wall , it might not look so tall , compared to the other wall.

I like the new look.

Maybe you could grow moss in the courtyard, for that grassy look.

Your castle is really coming along and carving all those mortar lines is well worth the time because they will make the castle look so good when finished.

Have you given any thought to lowering the courtyard tower several inches? It would give a better view into the inner area that you have worked so hard on. It would also serve to give you more visual interest with different sight lines. Just a thought.