Resistance soldering is a definitely a learned skill. I found that having a foot petal switch was 100% necessary. My issue is I keep getting my tweezer tips dirty and have to clean them with sandpaper, or cut some new ones. I’d really like to try a probe and clip setup or a probe and a flat plate set up. But it’s so nice once you figure it out.
I do have a foot switch. Absolutely necessary! These were done with clip and probe, but the clip was in a bad spot circuit wise. A ground plate would be really nice. I have lots of small scraps of .125 Aluminum sheet squirreled away at work. I wonder if I could just add a bolt for the clip and use that.
I’ve not had good luck with the tweezers, but they seem to be best to keep heat local.
My best results so far was soldering a brass plate over a modified brass hose adapter to make a plug for my drinking water hose on the RV.
1 Like
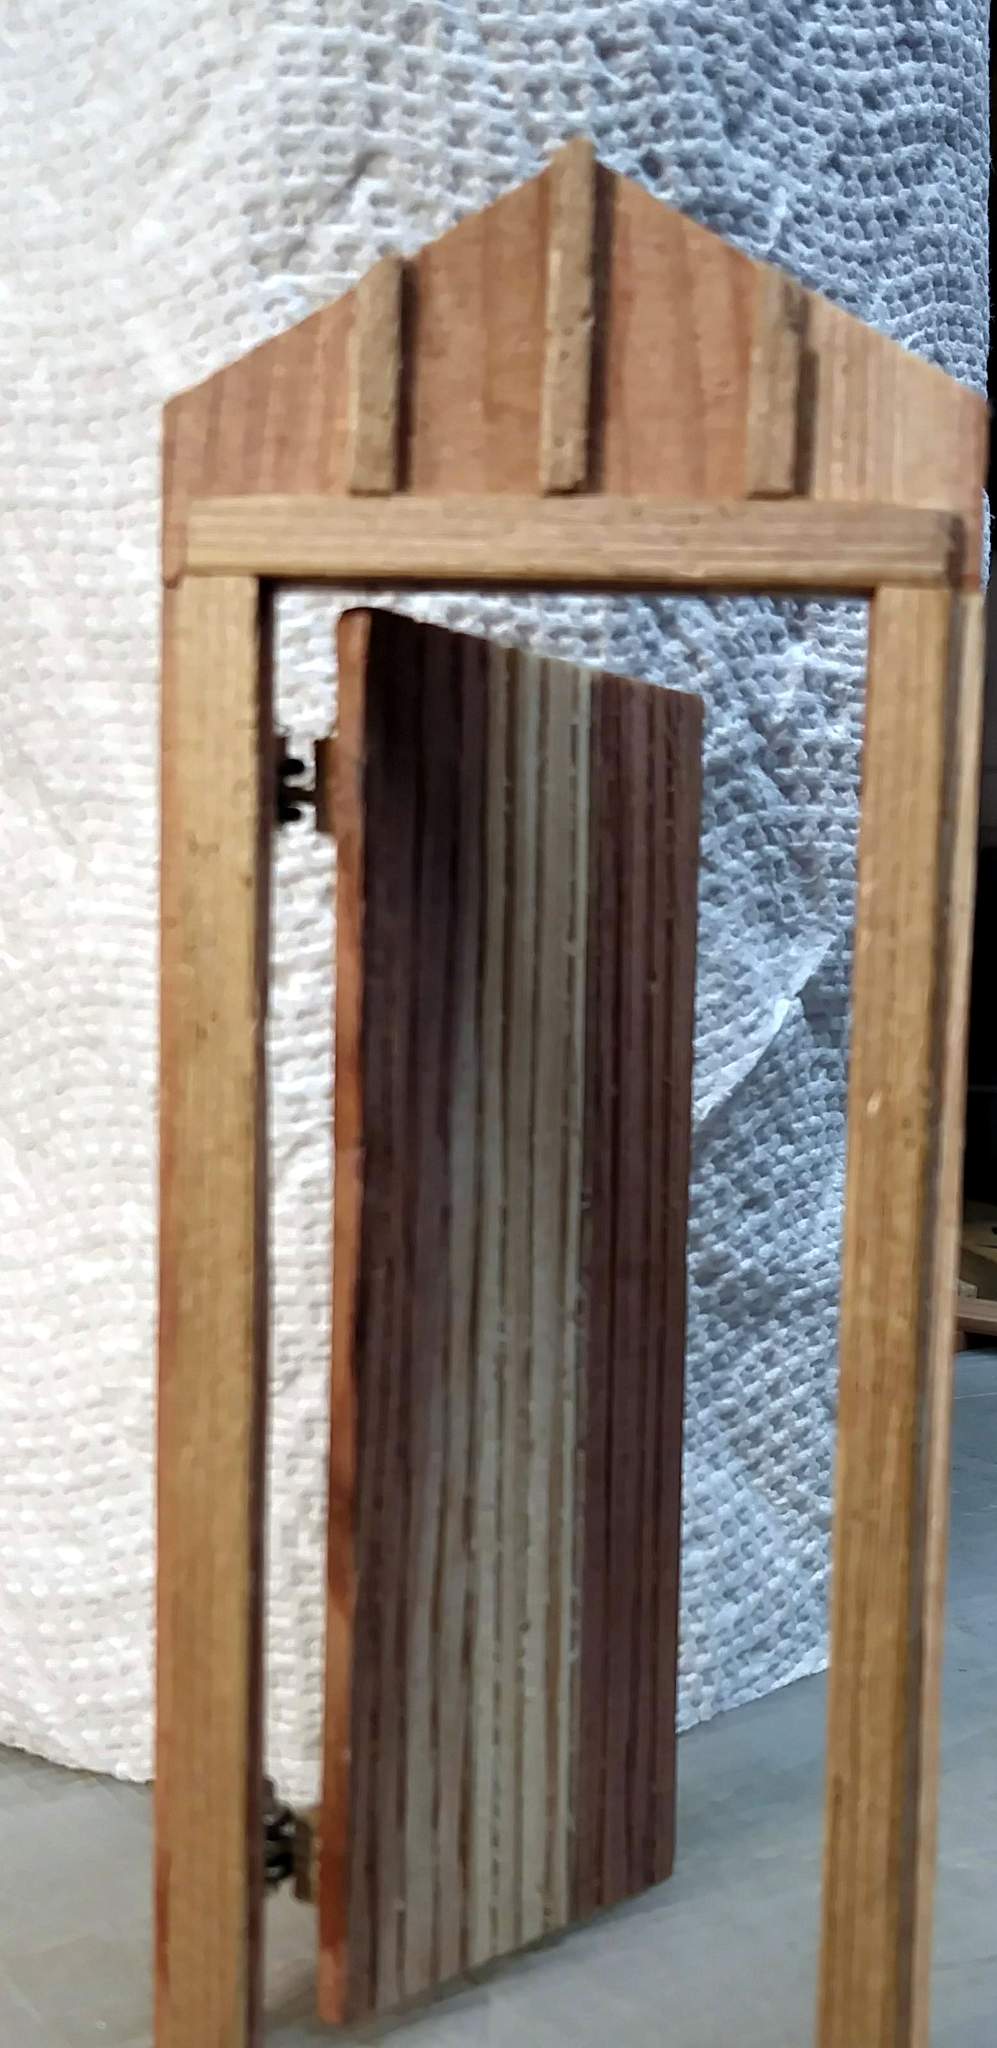
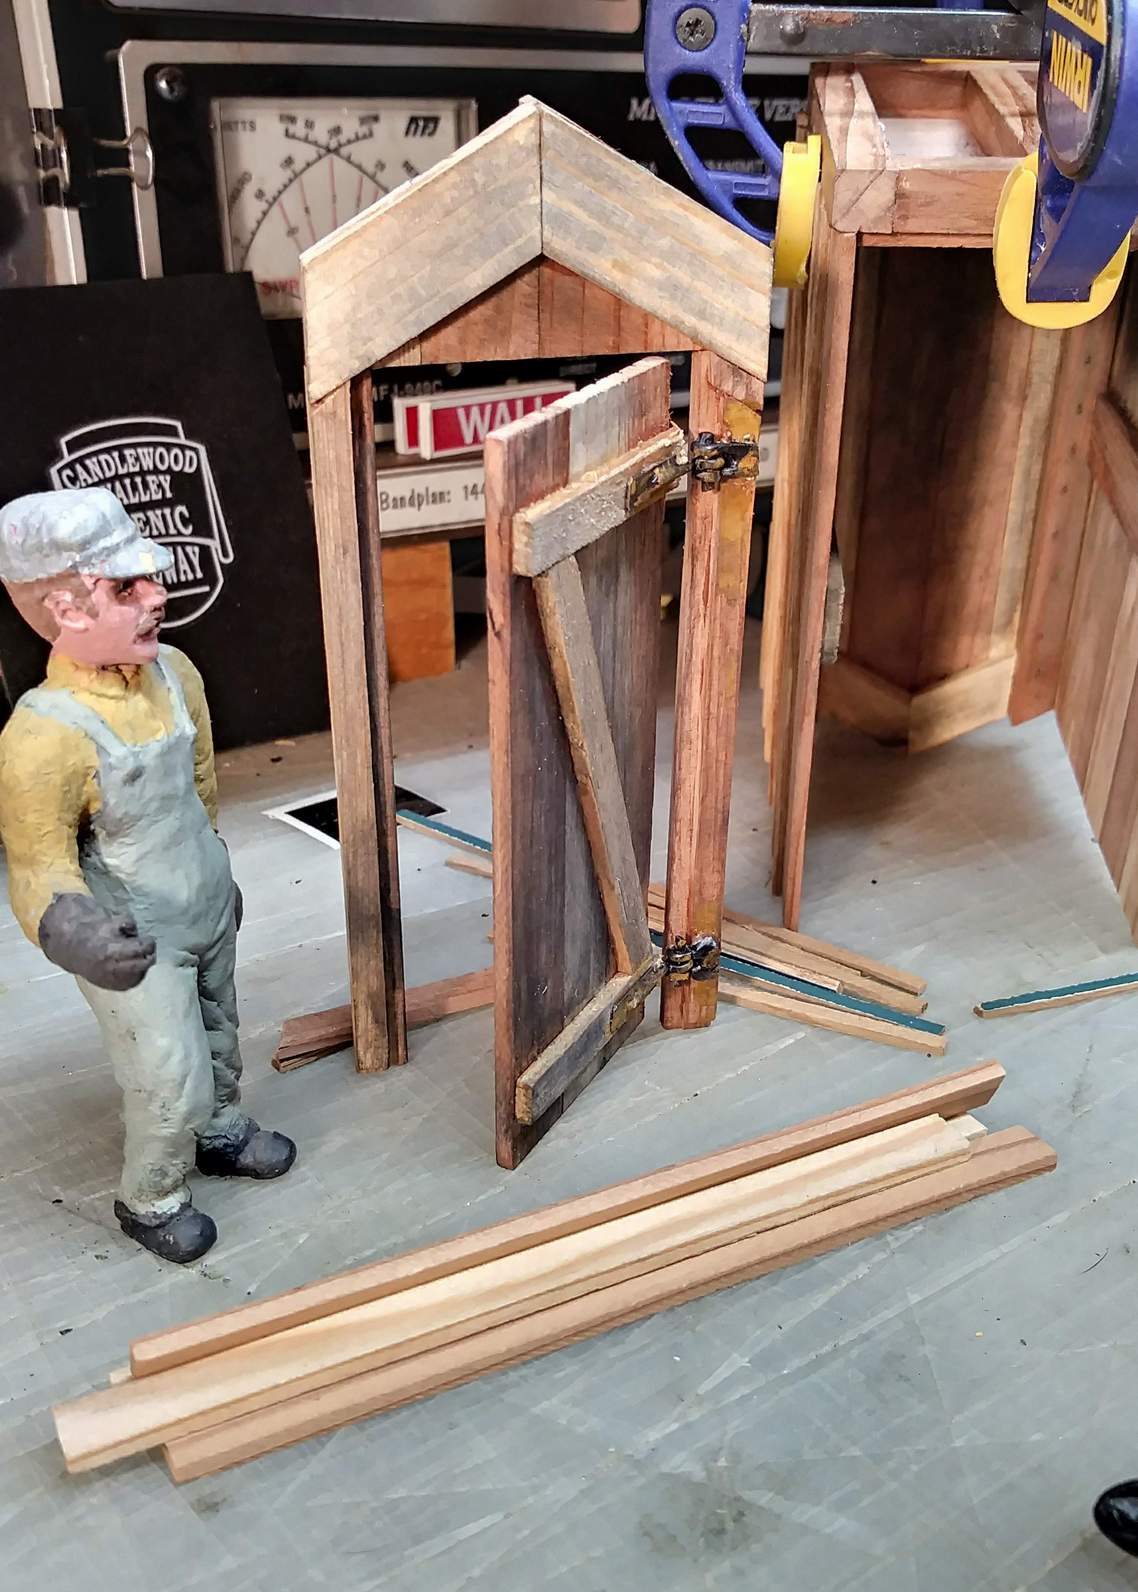
The hinges came out OK. Alignment of the pivot point is not perfect so the door won’t close all the way. That’s OK because the plan all along was for the door to be ajar. I’d like to round one end of the pin, but stuff is to fragile to stress it. I already ripped out one solder joint and my glue of choice, a hybrid CA/Acrylic Epoxy does not bond well to wood so any force will break the glue joints. Don’t ask how I know that 
So here they are, installed and working as good as they are going to get…
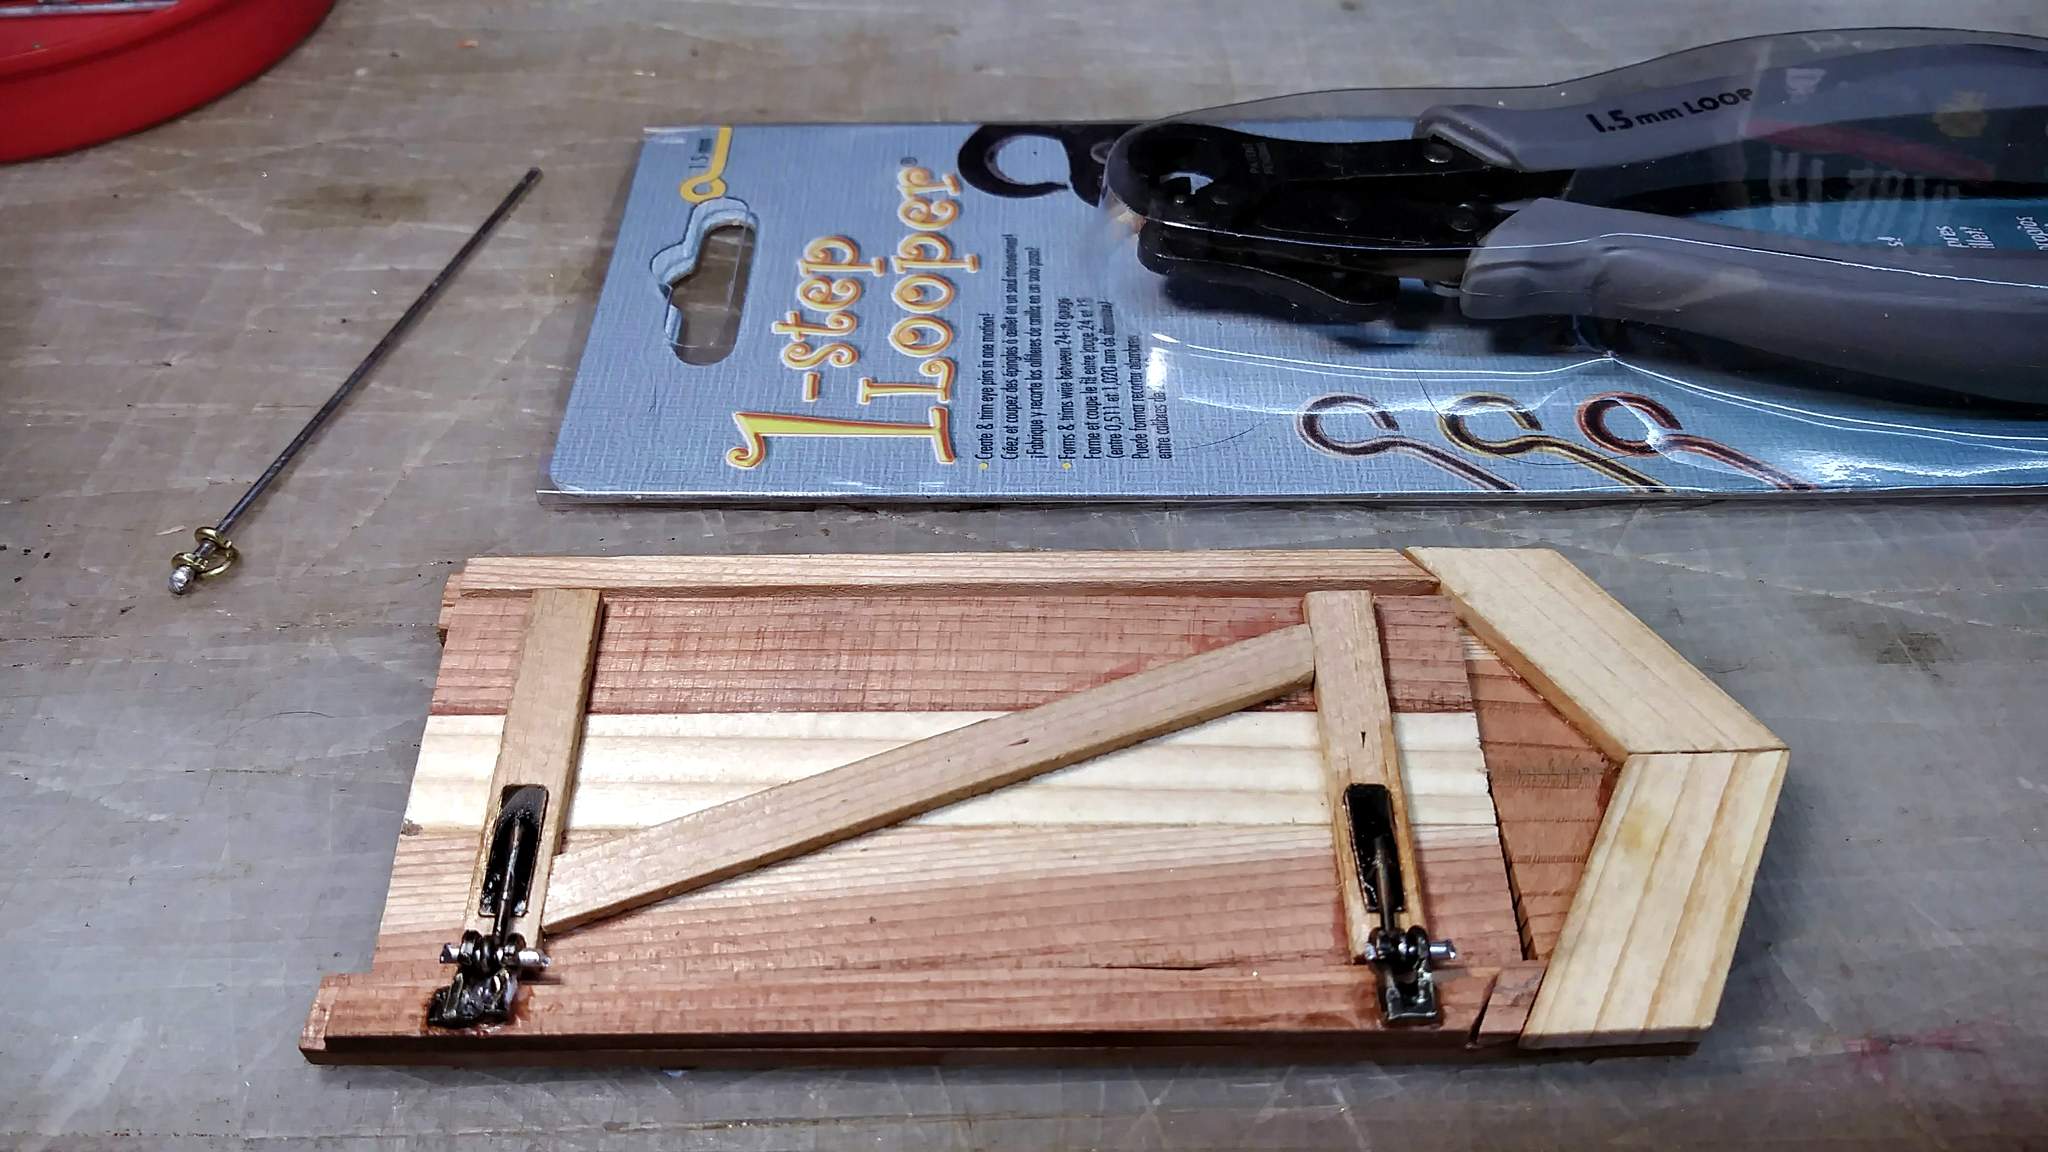
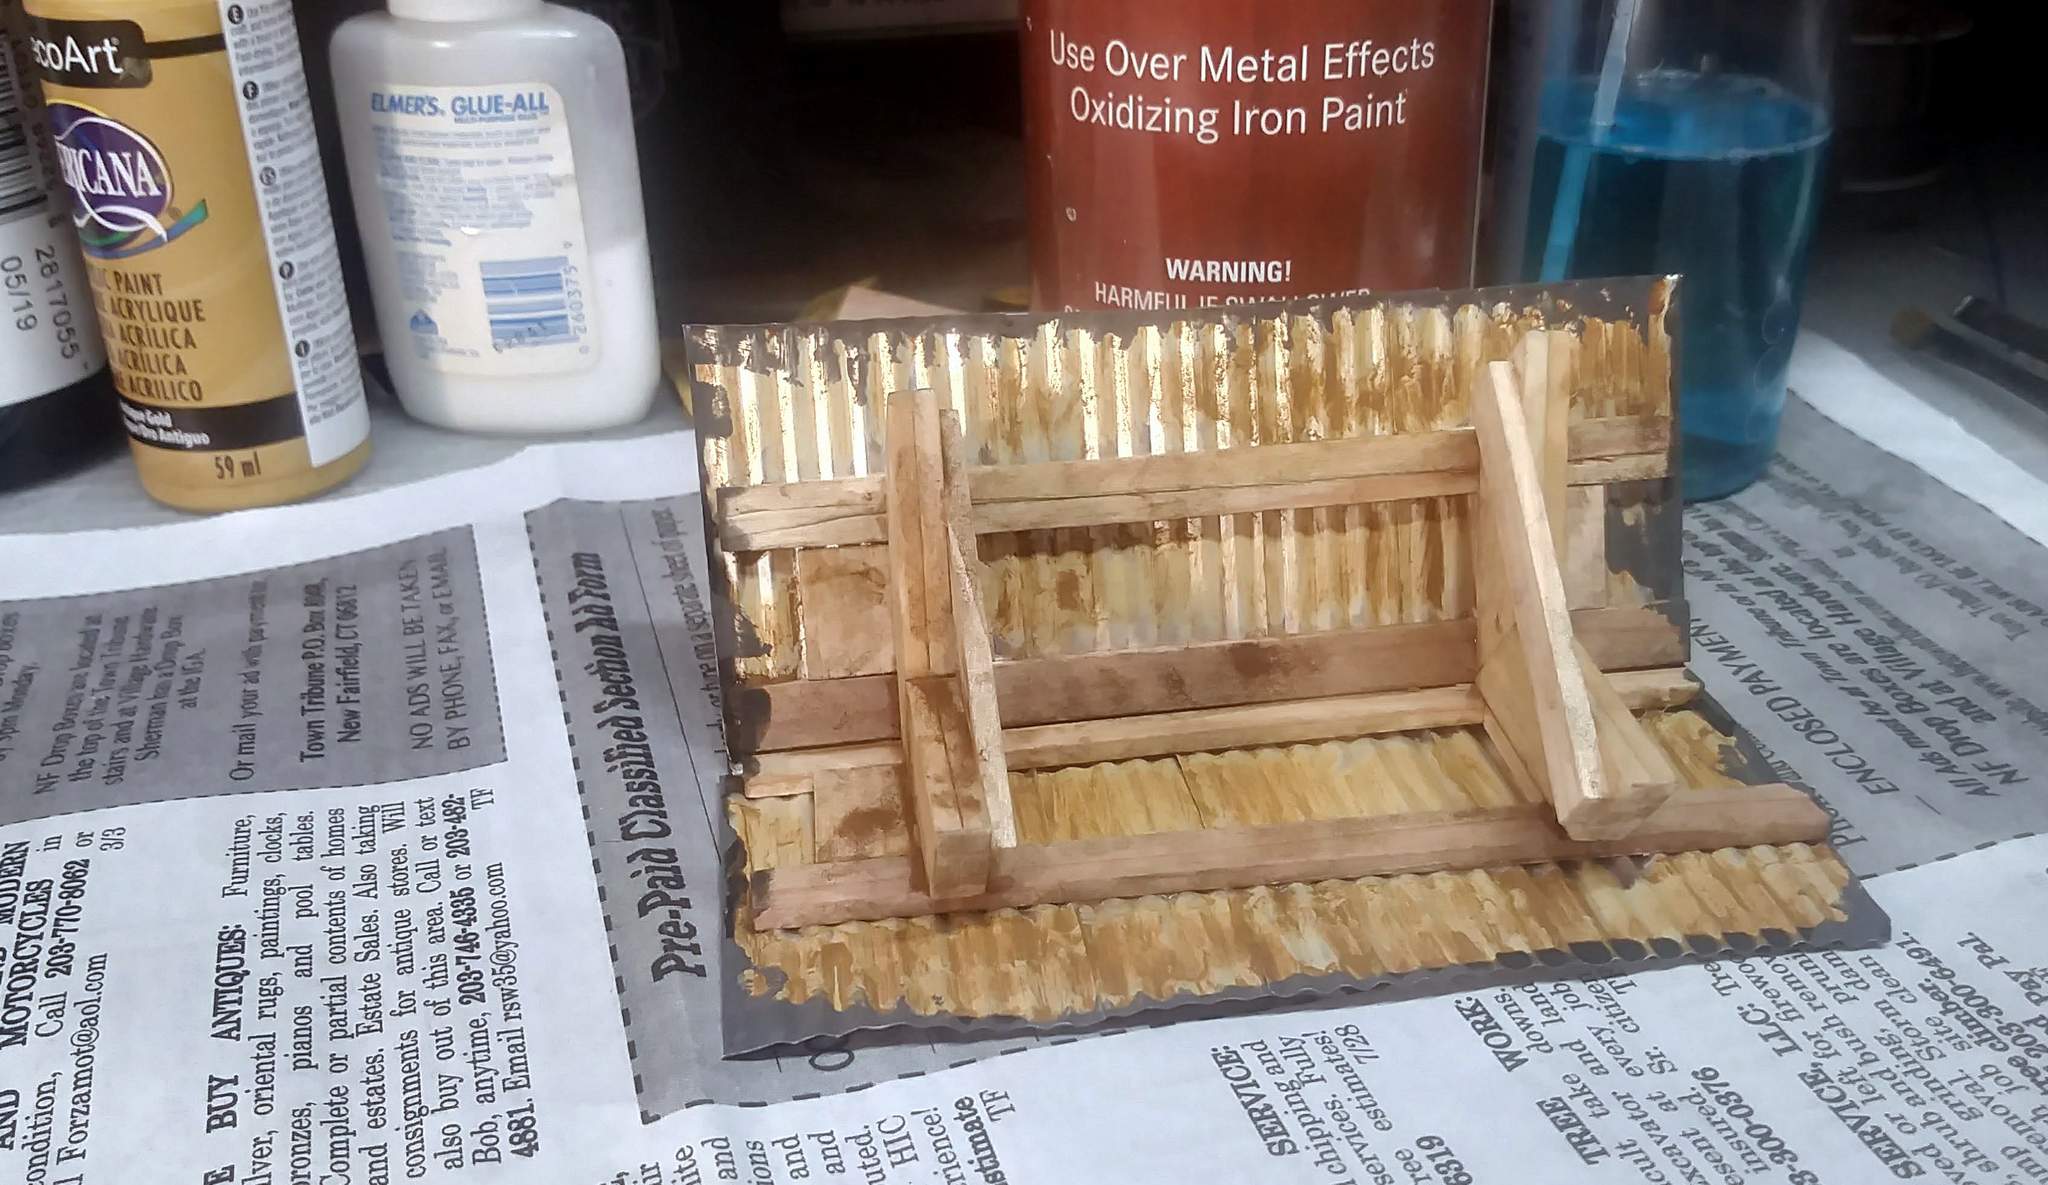
The item at top left above was my proof of concept.
.
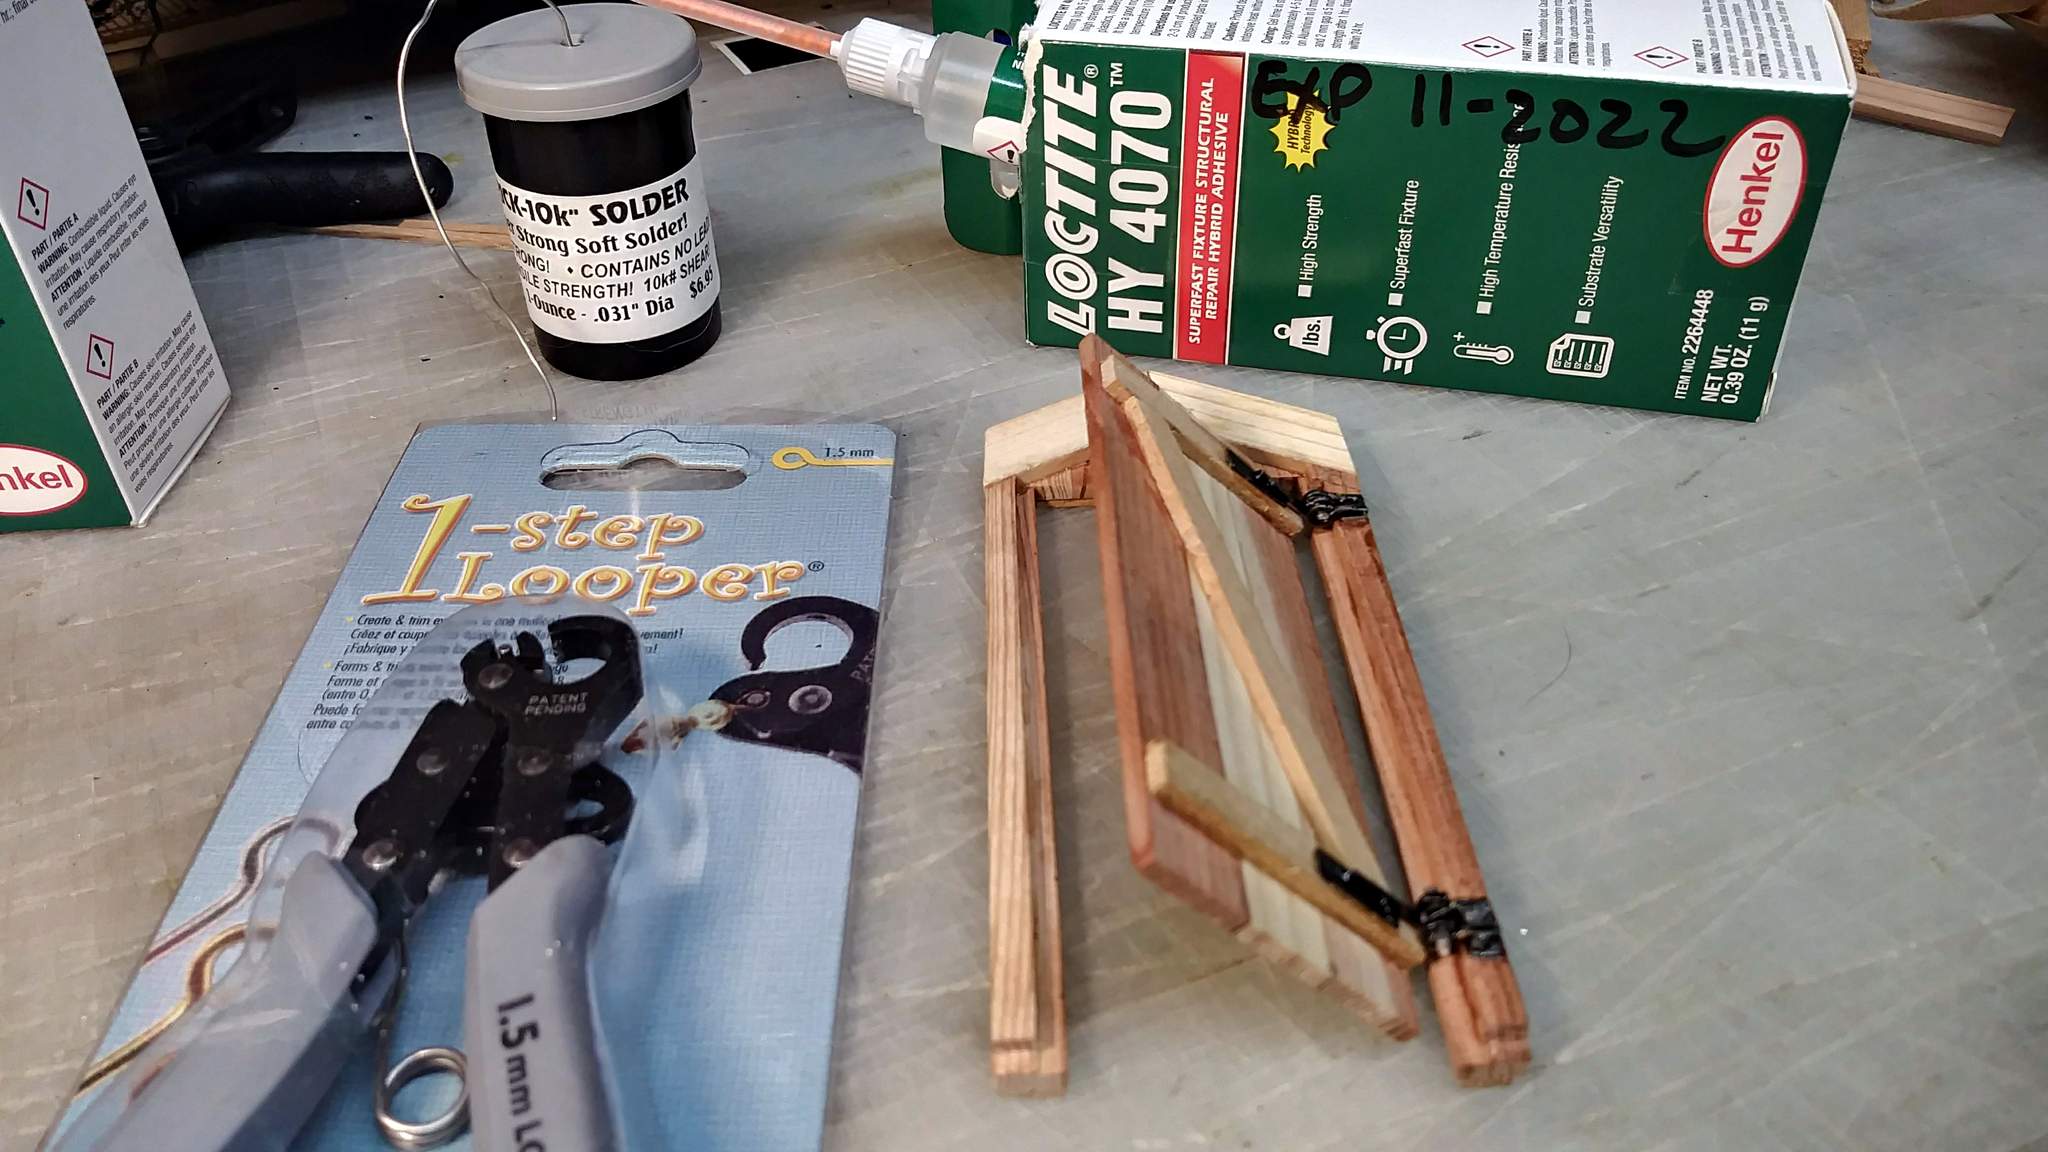
I really like the Loctite HY4070 for most things, but I’ll not use it on wood again. I wanted quick dry, and that it does.
.
Weathering the door interior, insulators and door hardware next. After that I can attach all this to the base, finish the battens, build the roof and weather the exterior. All in just over a week. I think I can do it!
2 Likes
Well, Is it done yet???
1 Like
Well done, Jon. The hinges look great.
1 Like
Hinges are awesome. One of my favorite things to make is working hardware. And you did a right fine job
1 Like
Thanks guys. Making the hinges was fun. A few setbacks, but in the end I’m happy with all but the pins. A mini file will fix my complaint about the pinched ends where they were cut with side cutters.
I weathered the inside of the door. This time I tried some charcoal chalk, scraping some dust off with the Exacto and brushing it in with an old toothbrush. It looks good, but a lot blacker then the walls I did with coal dust.
I also began fabricating the insulators. More on that later today after I get us dug out from yesterday’s snow.
I agree …love the hinges!
1 Like
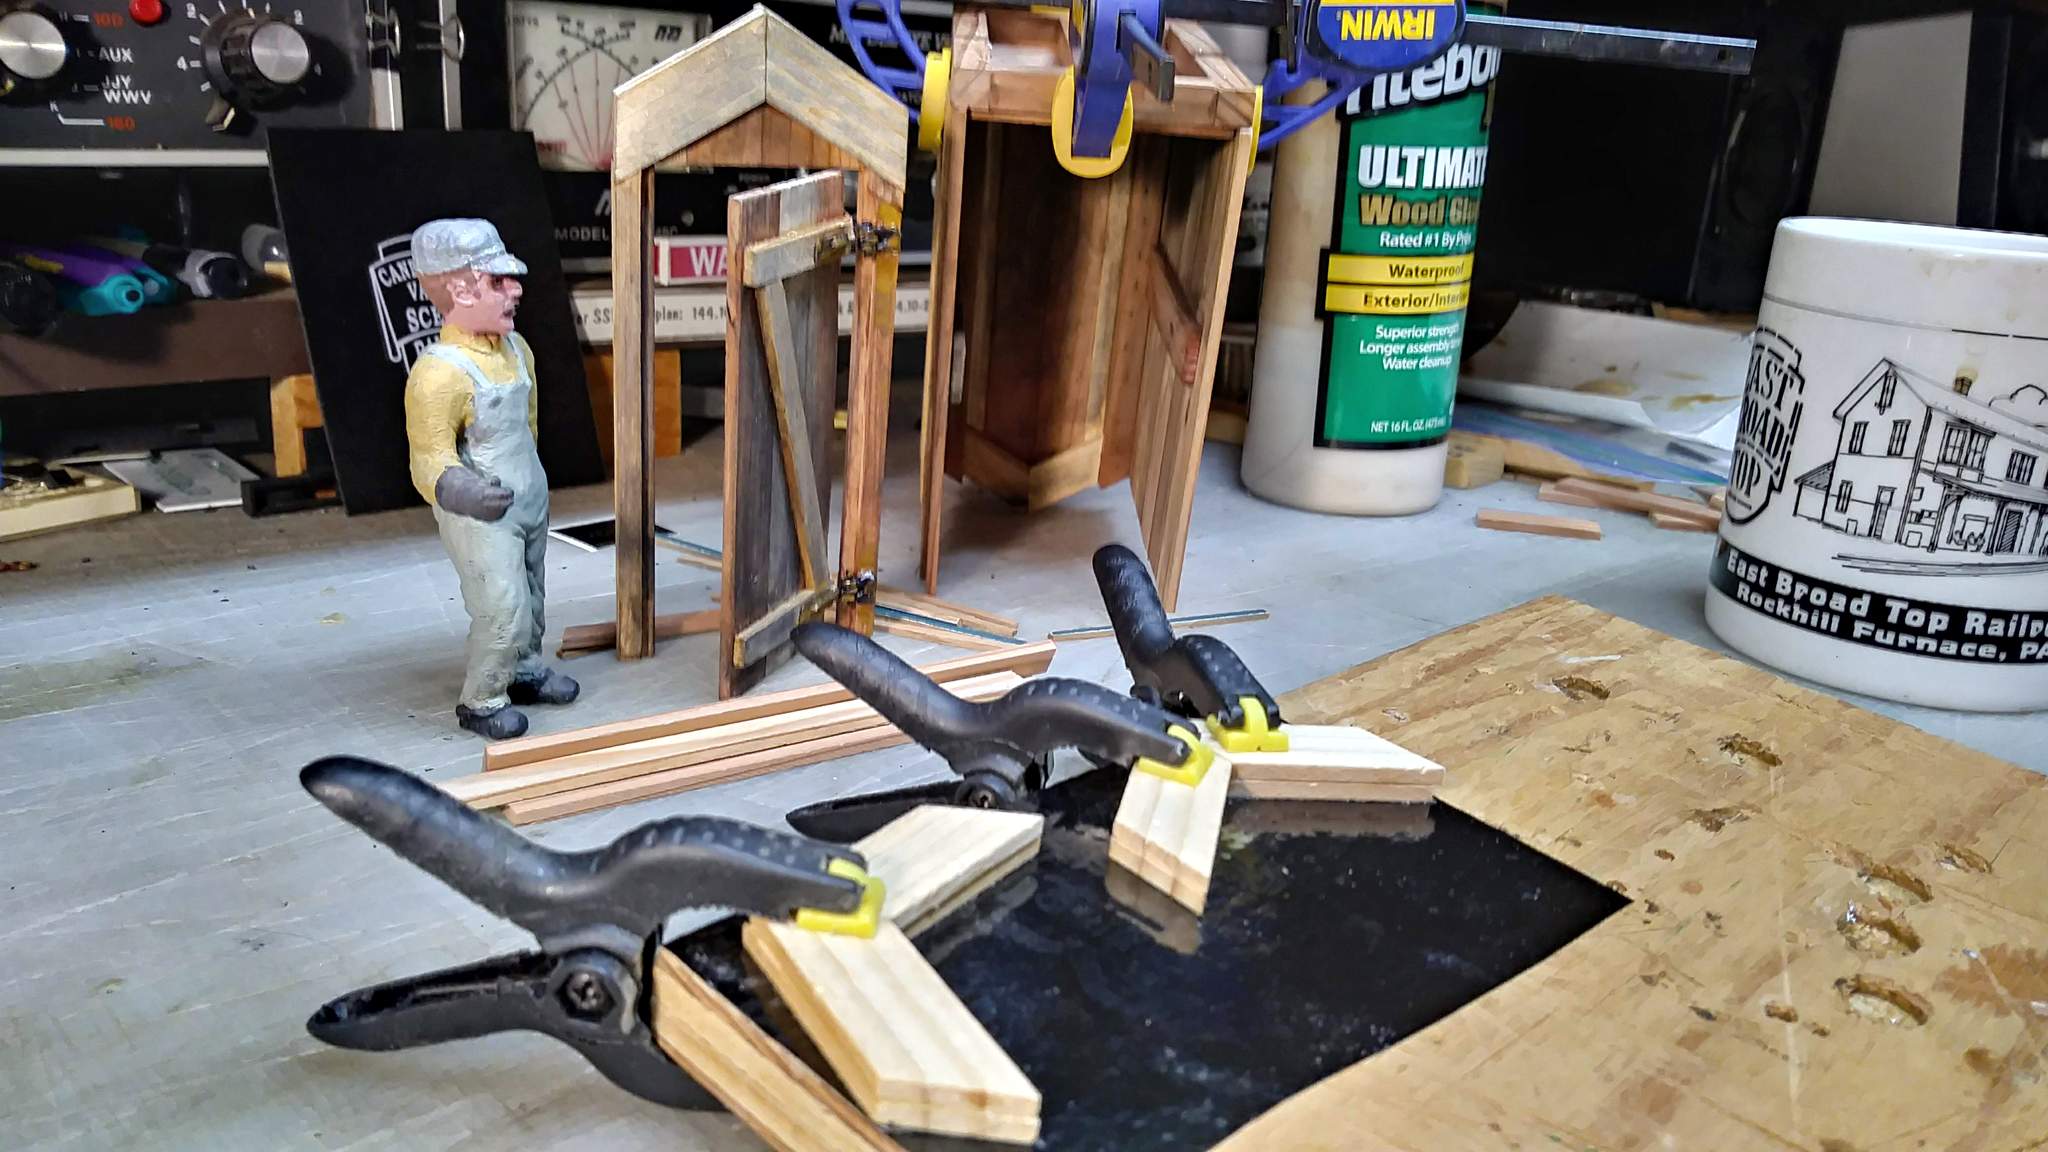
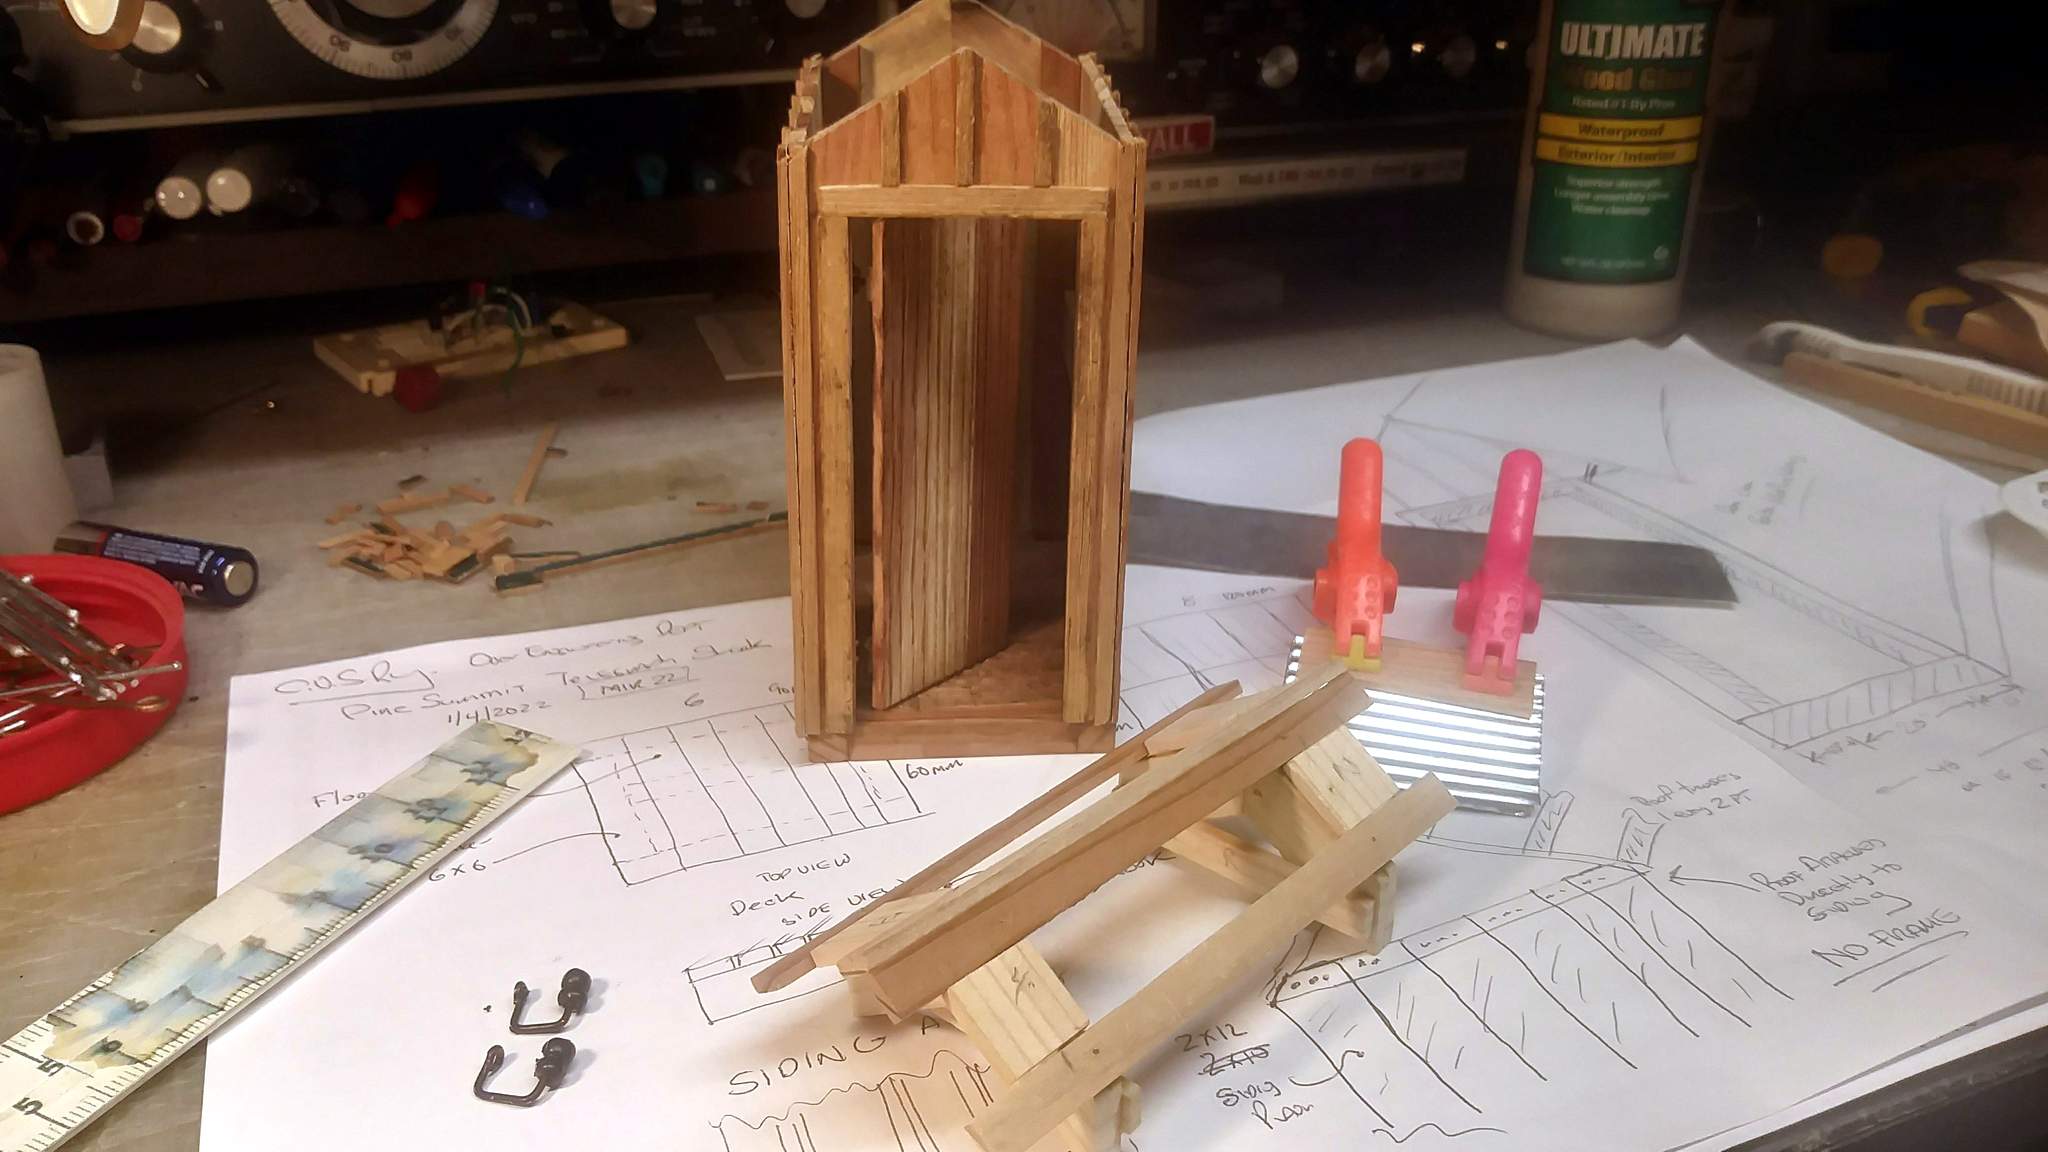
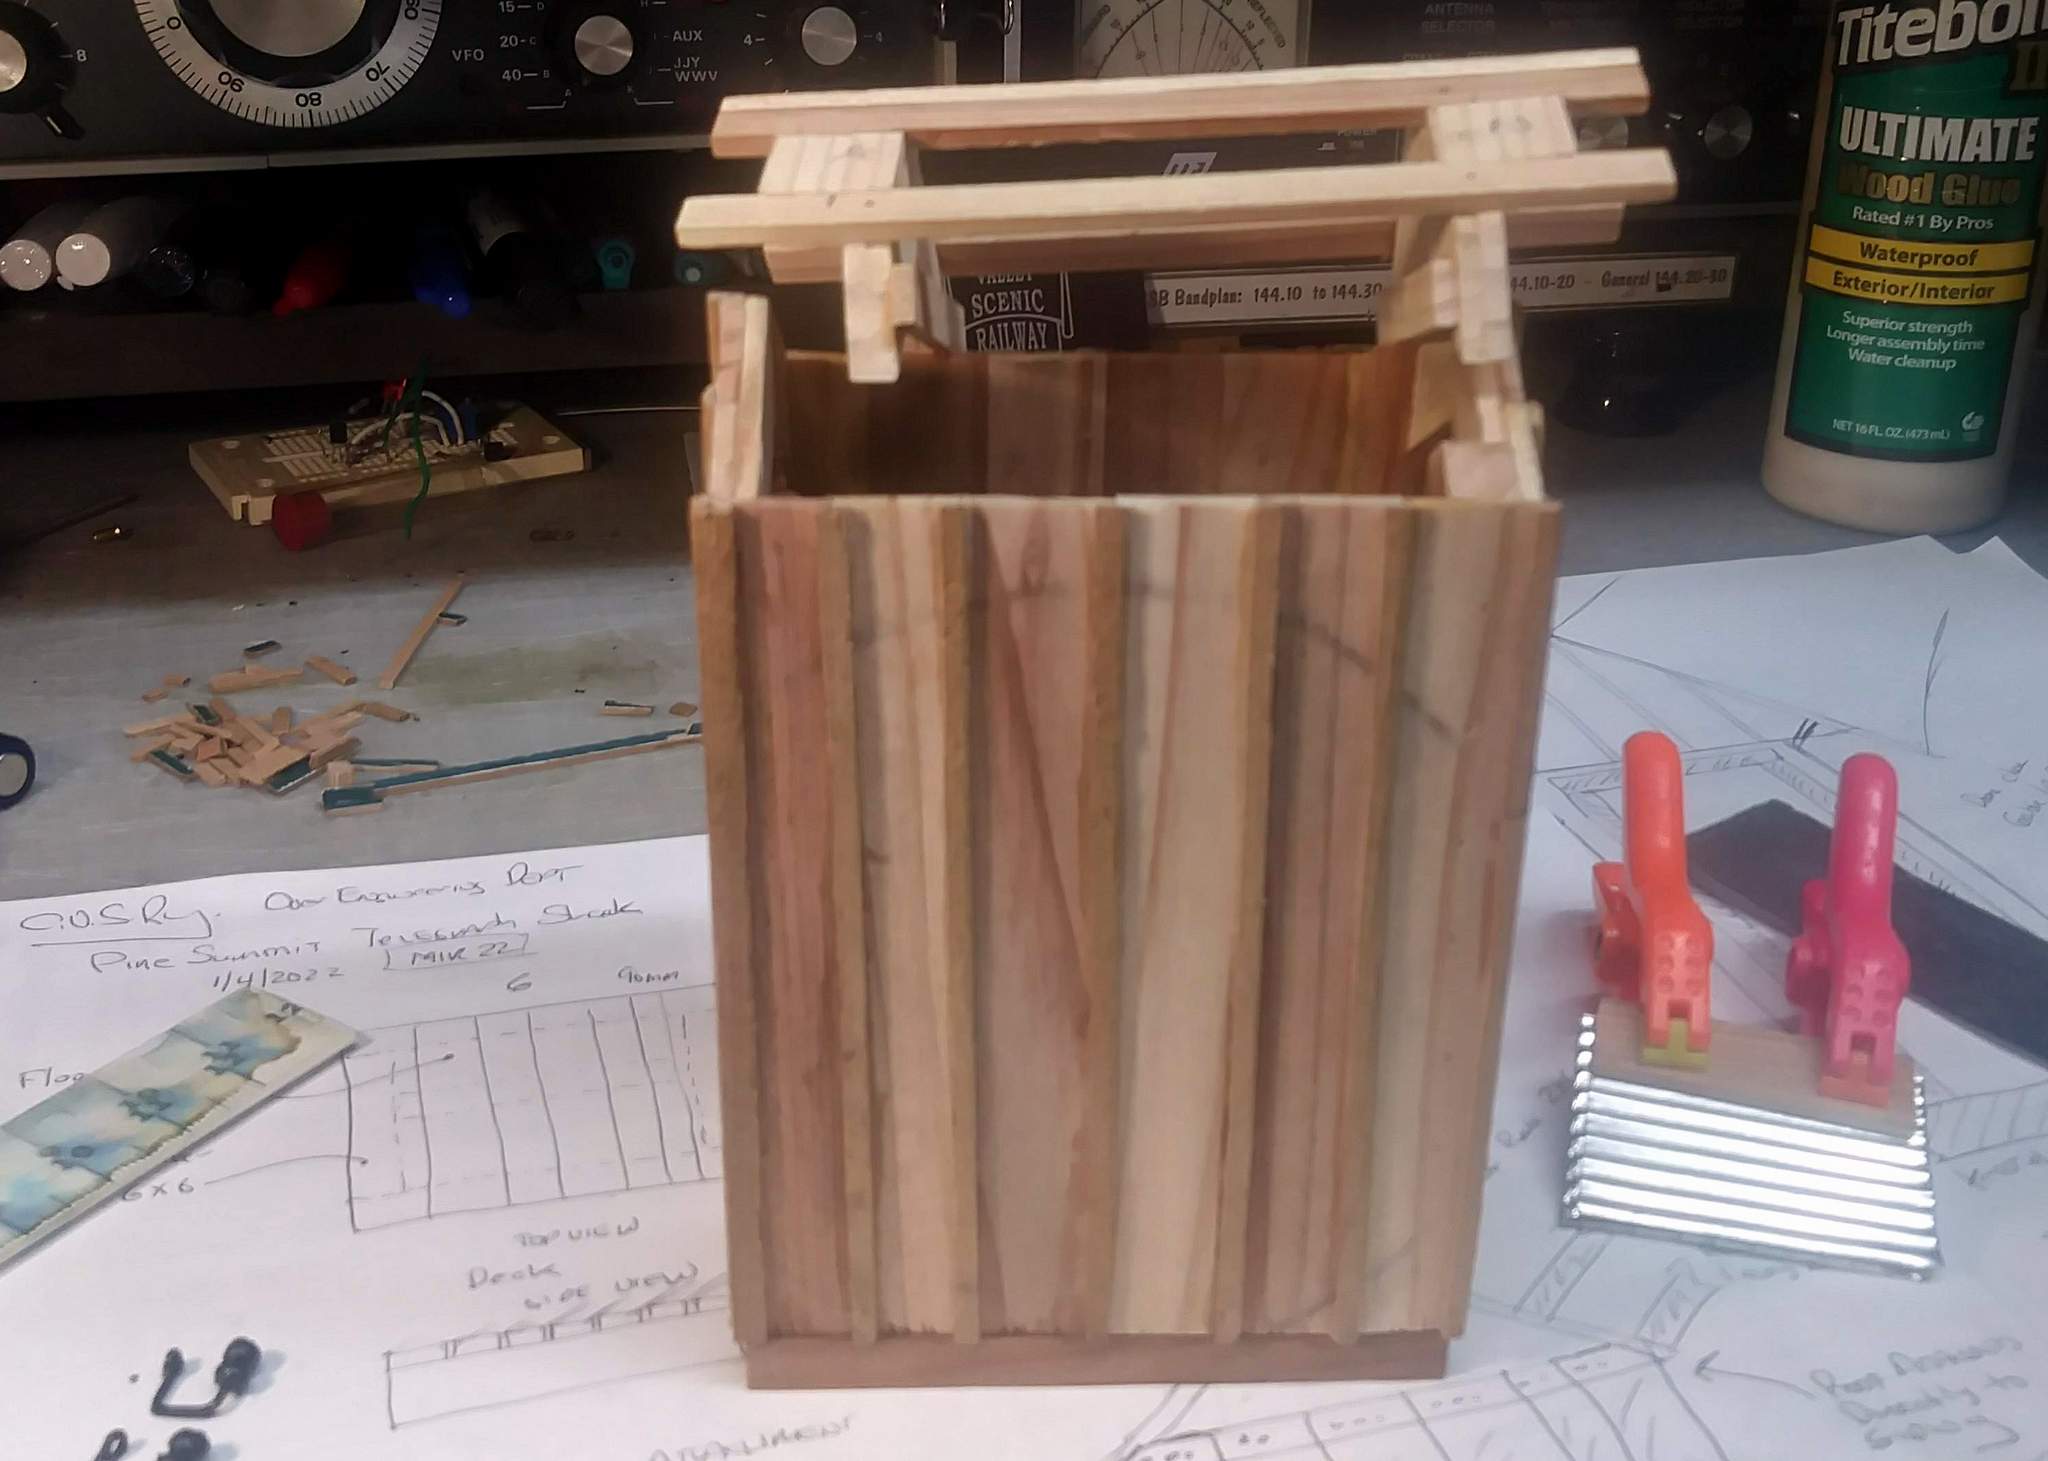
More baby steps. The door interior is weathered and the hinges cleaned up with a little paint and some rust solution. The other three walls were glued to the deck in preparation for adding the door wall.
Work has also begun on the roof, which will be removable. In the foreground are the beginnings of two trusses…
1 Like
Loving this build Jon, so much in such a small footprint. 
1 Like
Thanks Rick! I may never achieve your level of modeling, but it’s fun trying 
When I sat down at the workbench last night I noticed my portable air tank and pin nailer sitting there. When I first started I expected to glue and pin making fast work of the process. Then I realized due to the size of the materials, that wasn’t possible, so it’s been a slow glue and clamp process. If my aim is dead-on I might be able to pin the roof rafters to the trusses once they are all glued up.
1 Like
I ran into that same problem. I was hoping to use the pin nailer on my roofing shingles but they were not holding well and sometimes split so I had to glue a row on and let that setup before moving to the next row. It is time consuming like watching paint dry.
1 Like
Closing in on the finish line.
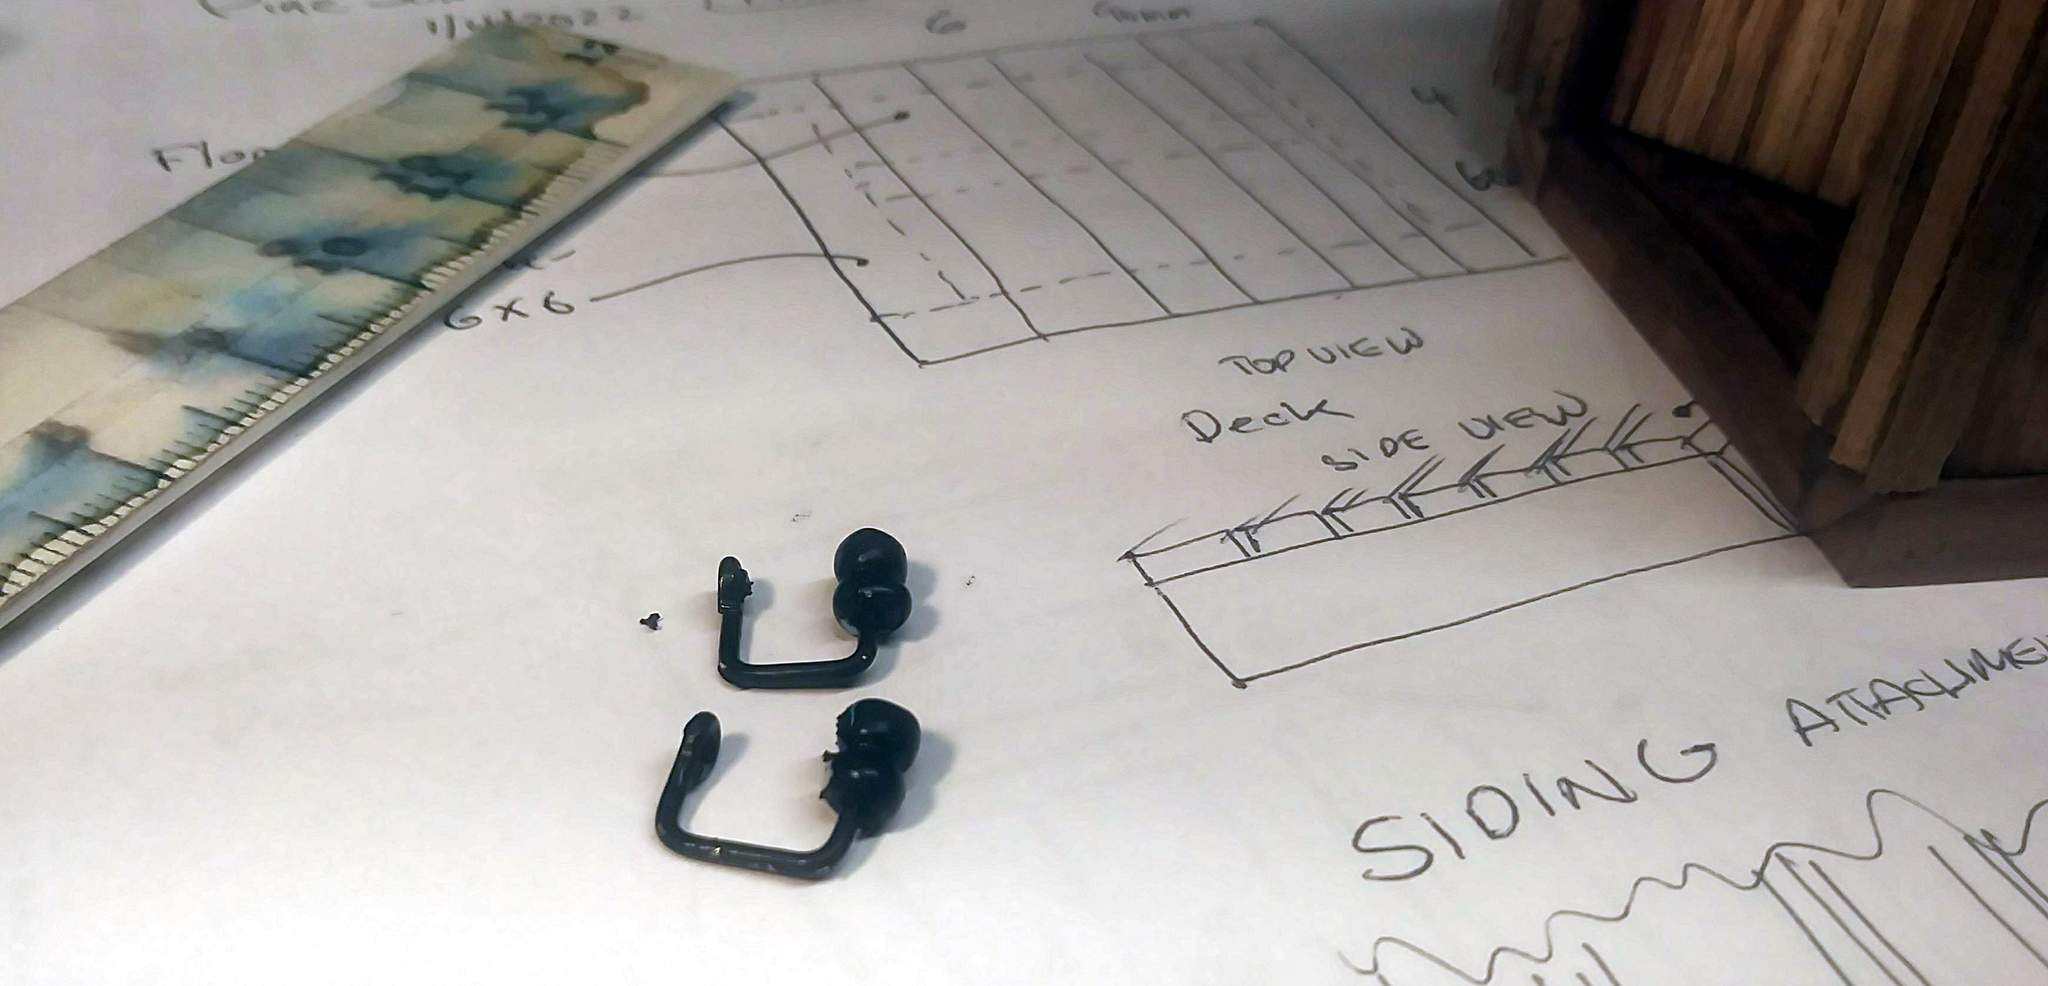
Since my last installment the front wall was attached to the base and work has commenced on the roof. I decided to make the roof removable which added two trusses that I’m sure the prototype did not have. I’m willing to trade off fidelity for access to the interior. In the lower left of this shot is my attempt to fabricate the insulators and brackets. I used some of Marilyn’s craft beads for the insulators. I just need to change the color to a caramel brown. I have a few tiny white ones to use as the knob and tube insulators where the cable enters the building. My scale ruler succumbed to my leaving a wet paper towel on the workbench. I hope I can find the original files these were printed from some 20 years ago…
Here is the roof frame in place. Those chunks in between the rafters were an after thought to block a light leak I noticed when dry fitting the roof panels…

I’m having trouble getting the phone camera to focus on the right spot, but this shot shows how the roof frame will lift out…
Here’s a close up of the insulators and brackets. I’ll use an NB casting to ‘attach’ them to the front gable once paint work is done…
And finally I’ve started attaching some leftover Taylor Tin panels. I was going to use 5 minute epoxy, but the tube I have uses a mixer, so it’s only good until what is in the mixer gels. I need more than 5 minutes, so back to the trusty E6000…
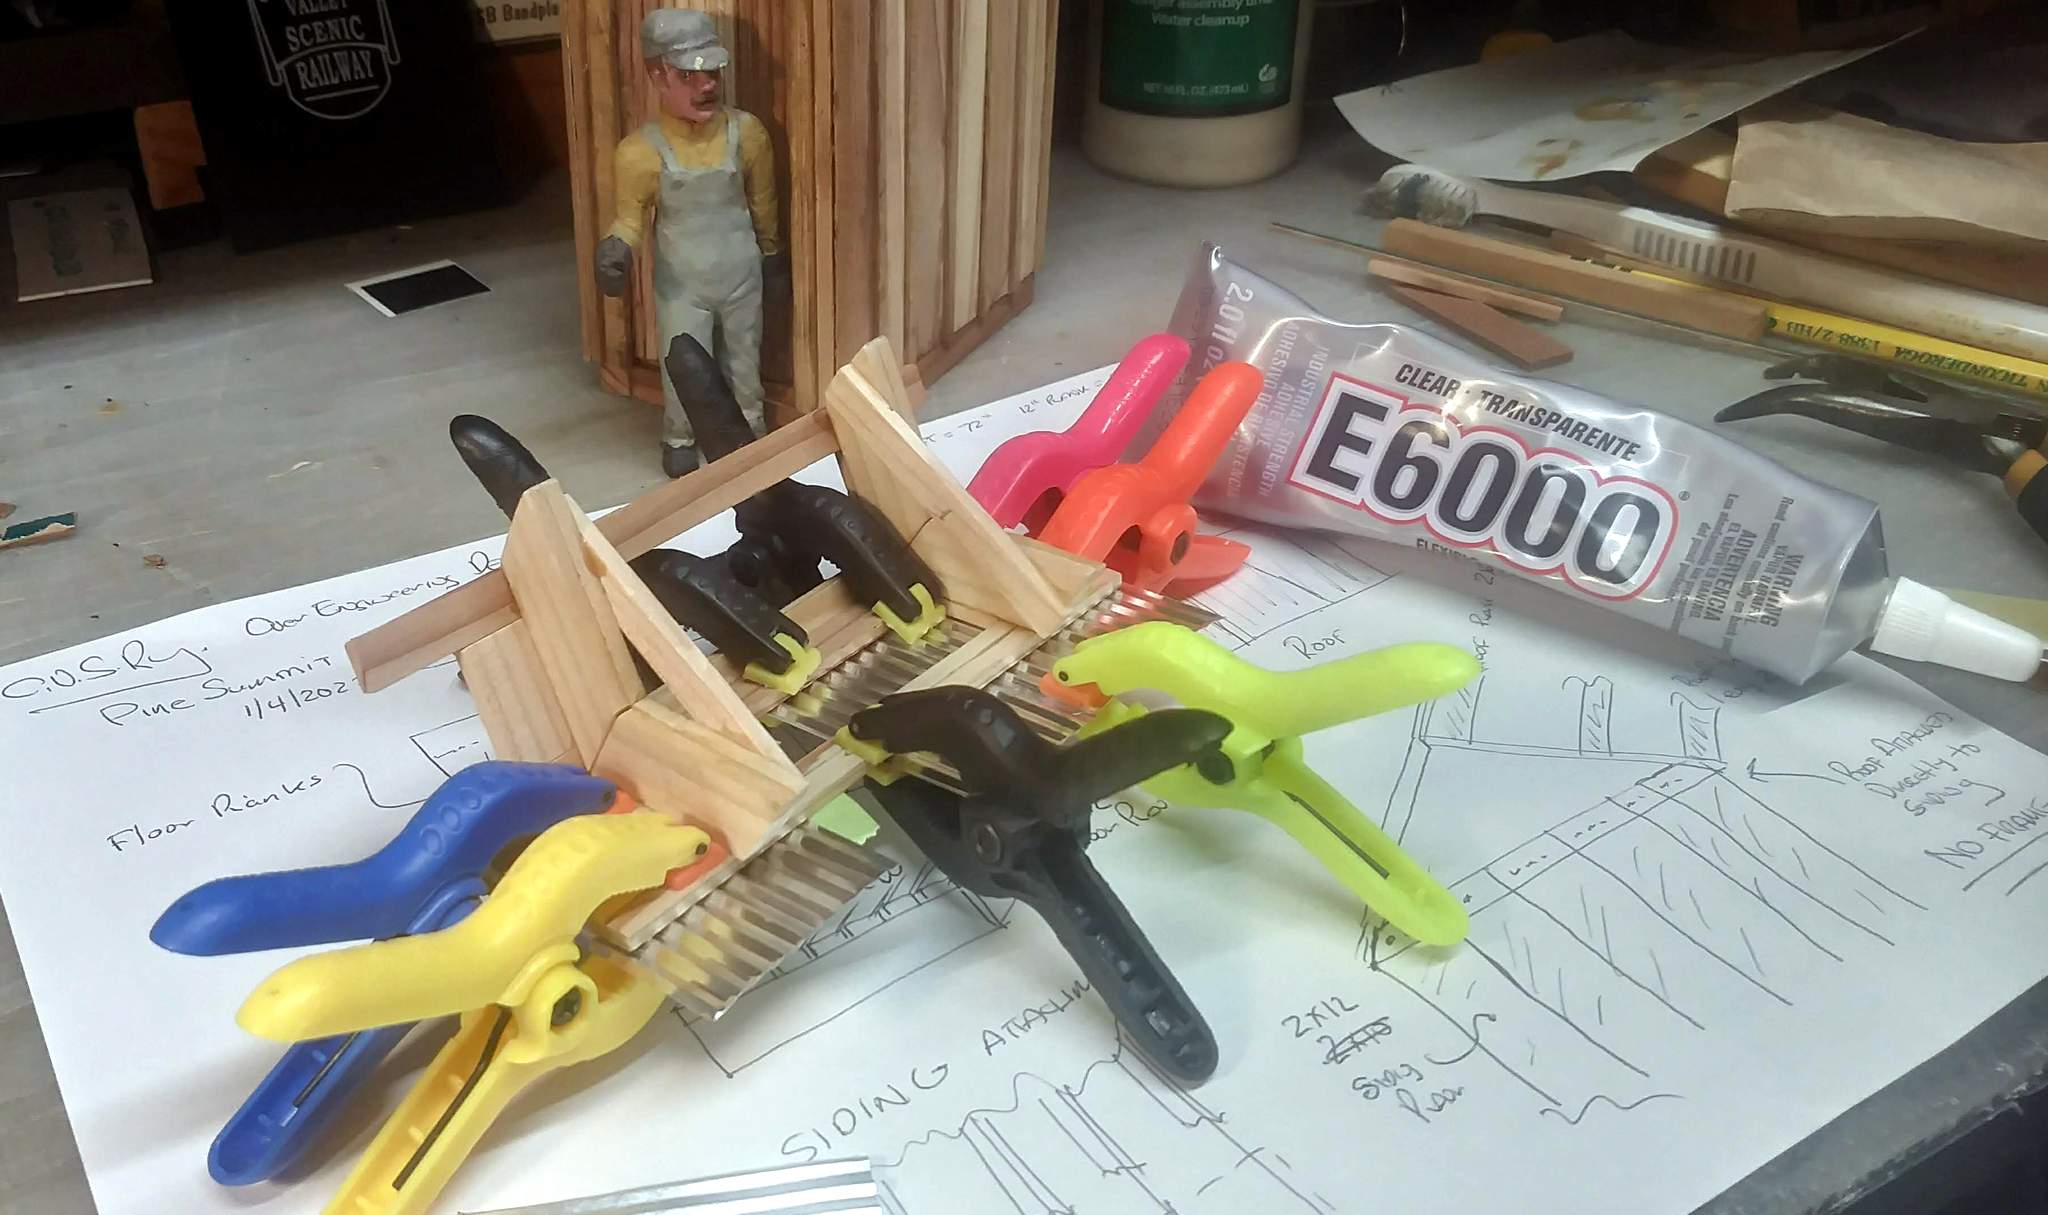
While the E6000 sets a bit I will start experimenting with paint on some scrap. I want to use the glue technique to cause the color the blister and crack. I’m hoping that Titebond will work for this purpose, if not I have white Elmer’s in-stock but that will force this to be an indoor use structure.
2 Likes
That has to be THE most indepth out house build ever. Oh wait. . .Telegraph station
I opt for making the seat the potty seat, so one can do 2 jobs at one time…
Yes, it is a very intricate model… Nice work, Jon…
2 Likes
Sorry Andy - No interior. The shack is modeled in ‘present day’ as if it still existed. Was gutted long ago by vandals.
I’m not having much luck with the wood glue under paint for cracking/peeling paint. I’ve not been able to hit on the right thickness of glue and glue dry time to get the results I’ve seen in videos. One thing I am pretty sure of, Titebond will not shrink enough while drying to produce the effect.
While waiting for the various paint experiments to dry I finished installing the tin on the roof. Now it needs the rust paint treatment - base coat probably tonight.
Calling dibs on the Conrail ruler. Put it in your will for me please!
1 Like
It’s a building!!!

Iron paint on the roof tonight and more paint effects experiments.
3 Likes
Finishing begins!
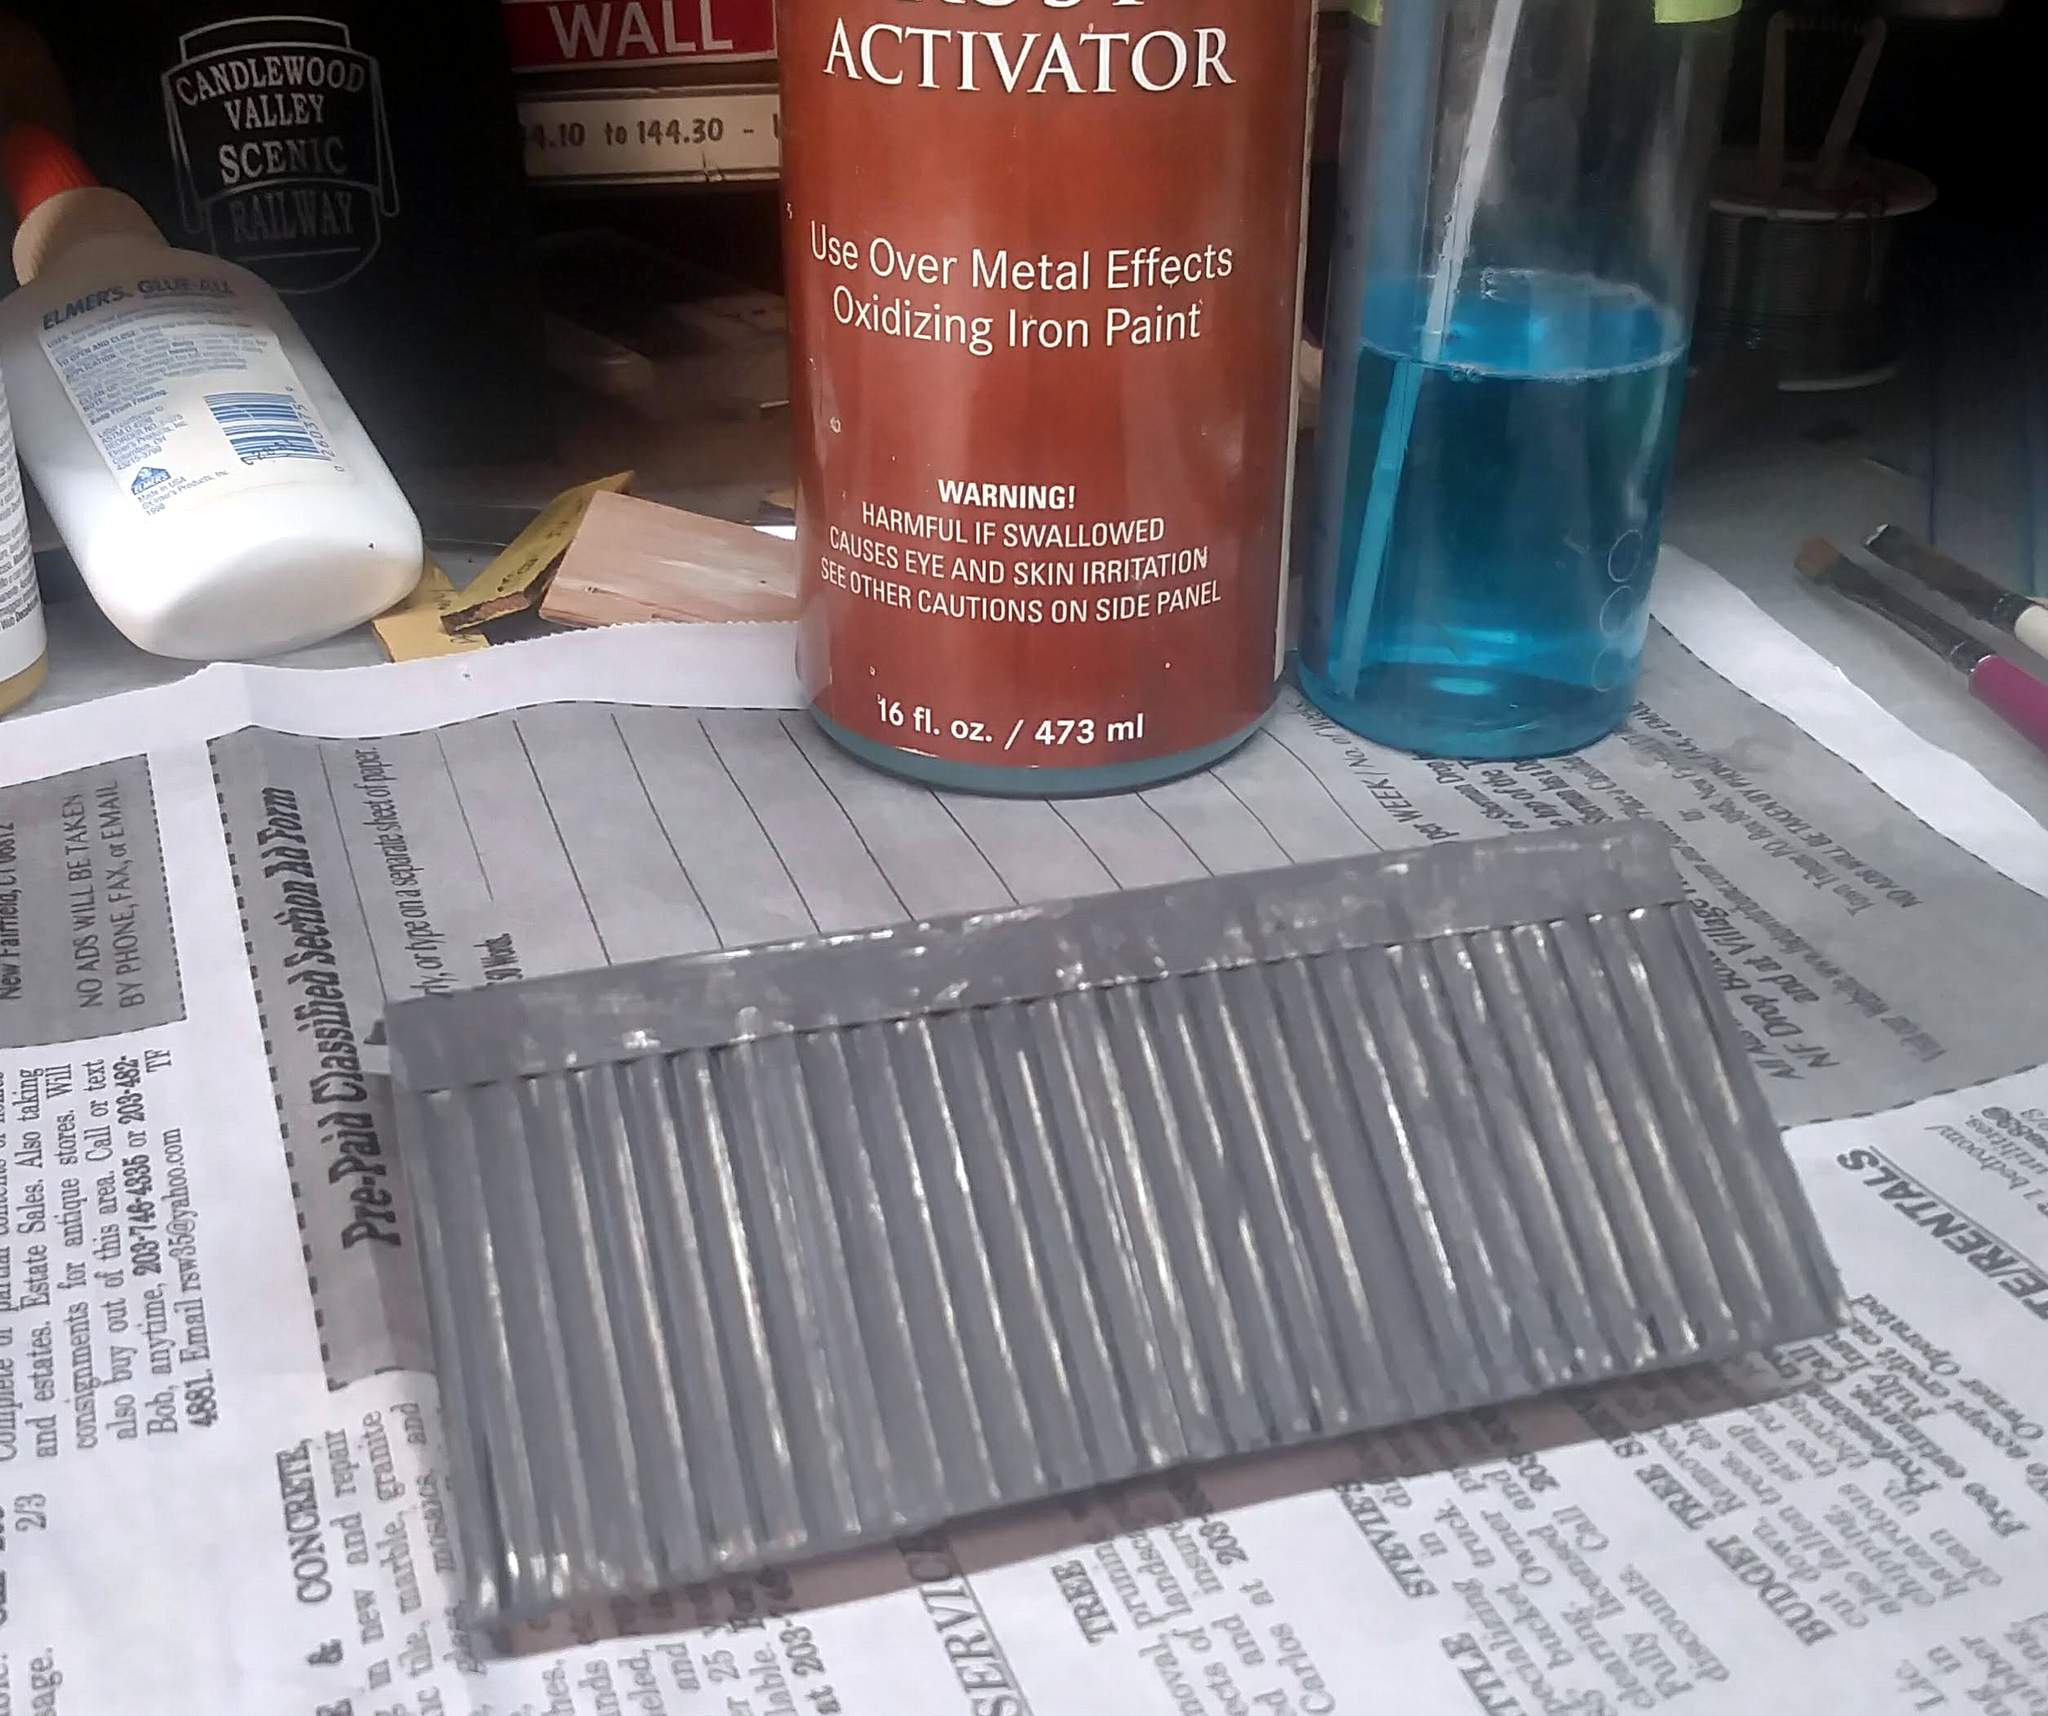
I had two bottles of the iron paint. On that was thinned for spraying, a second full strength. I chose the thinned bottle, but the coverage could be better. I’ll put on another coat of the full strength before treating…
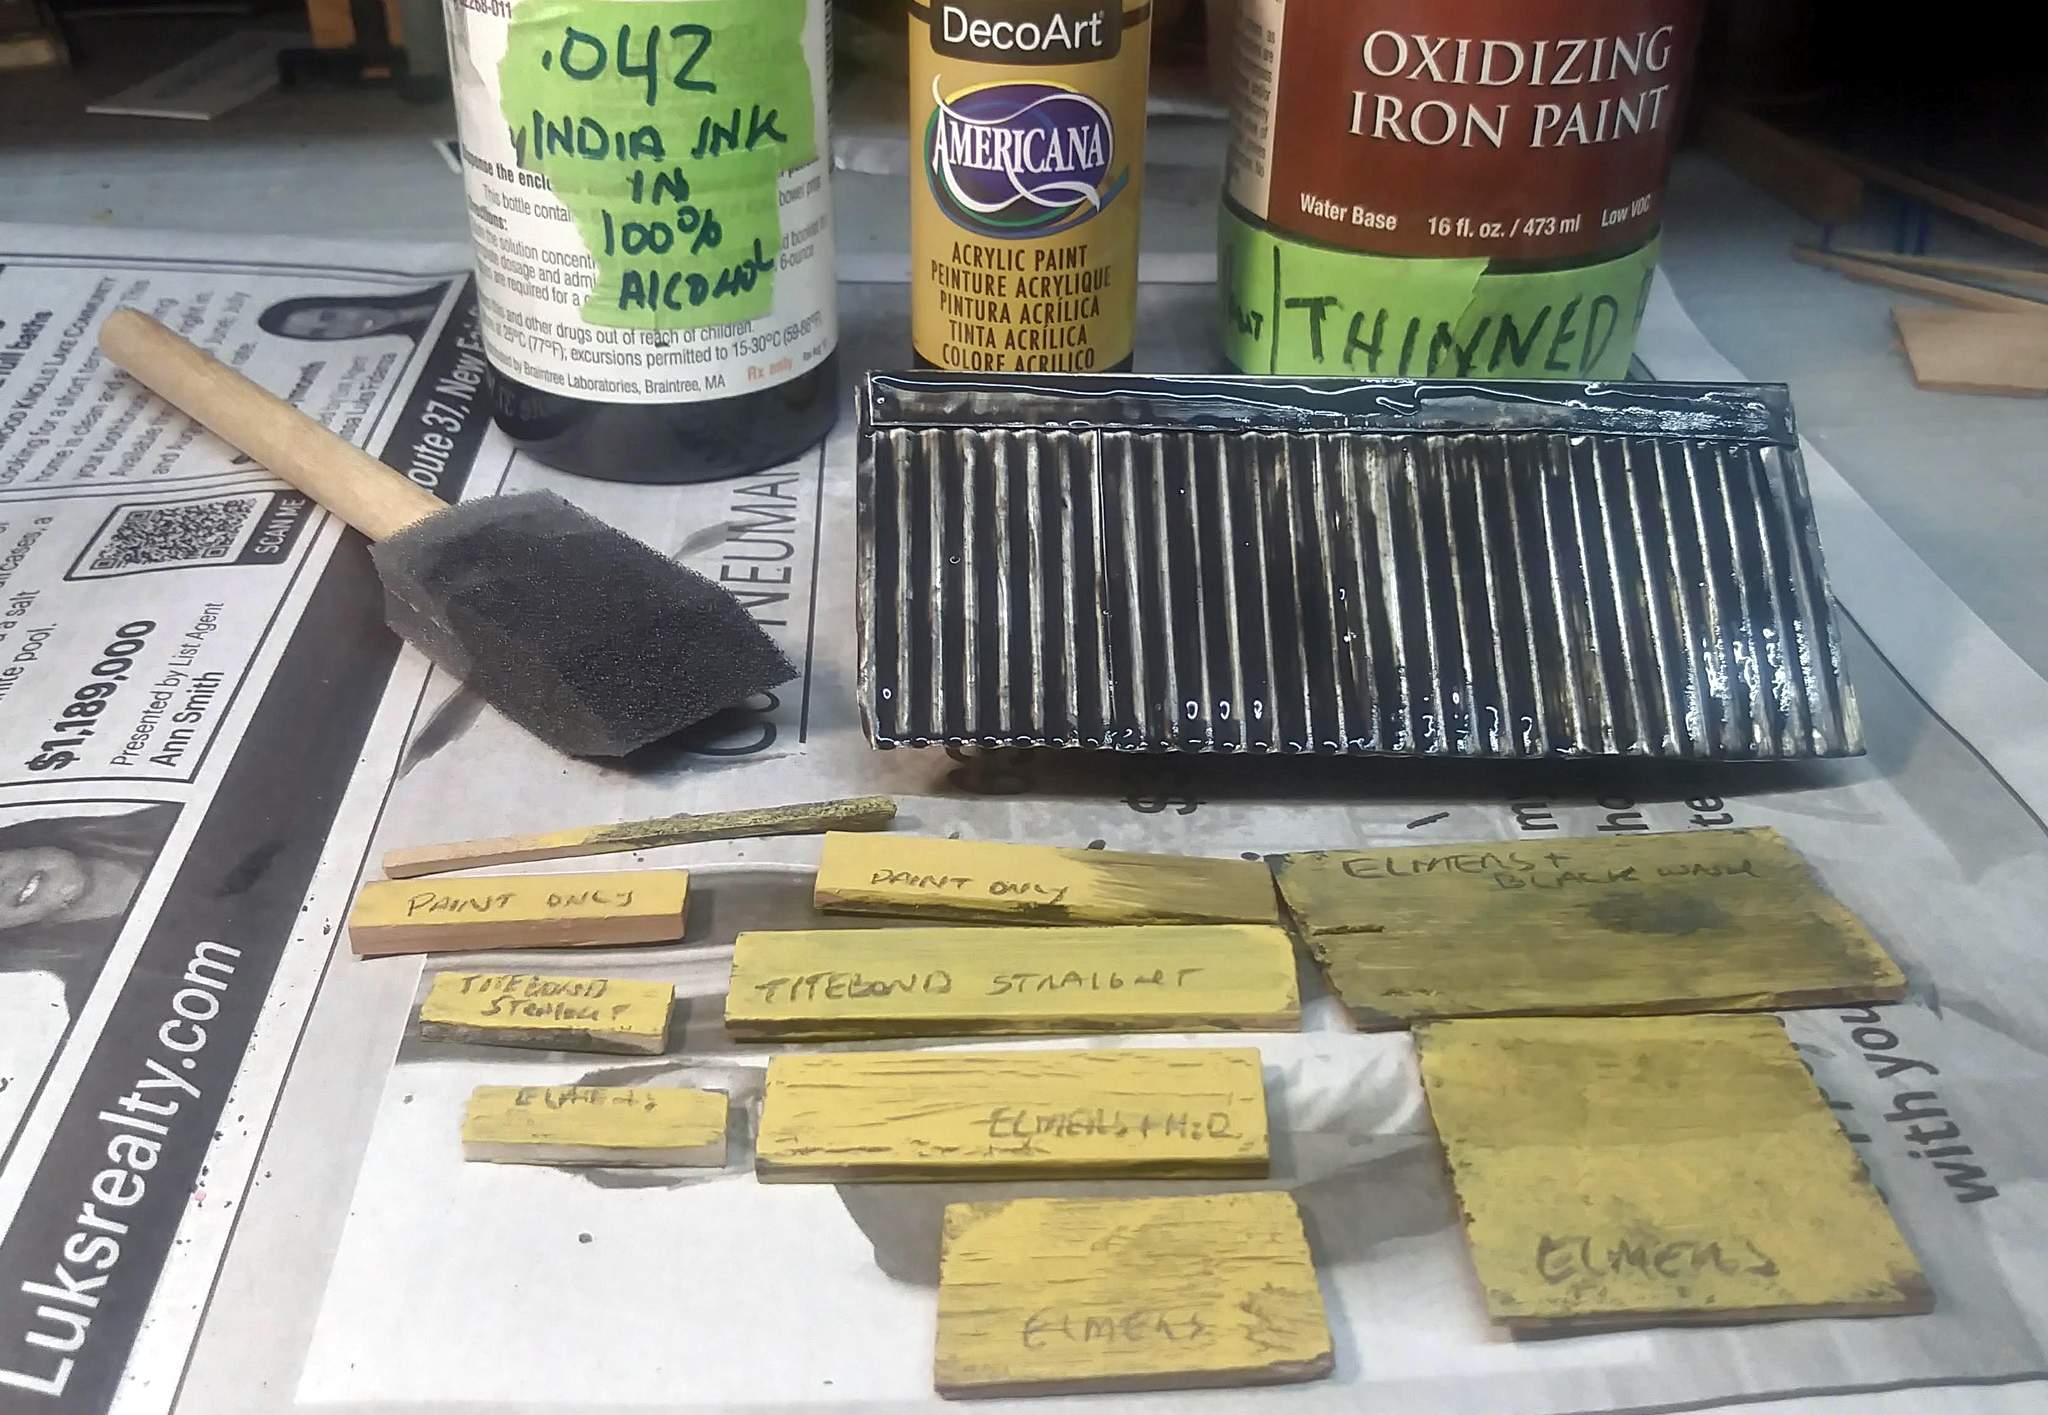
At the bottom of the above shot are some of my peeling paint experiments. None of these show the degree of old paint loss that I’m after, so one more experiment. After staining with the India Ink/Alcohol wash, I laid on the Elmer’s white glue direct from the bottle as thick as I could get it without dripping off the board…
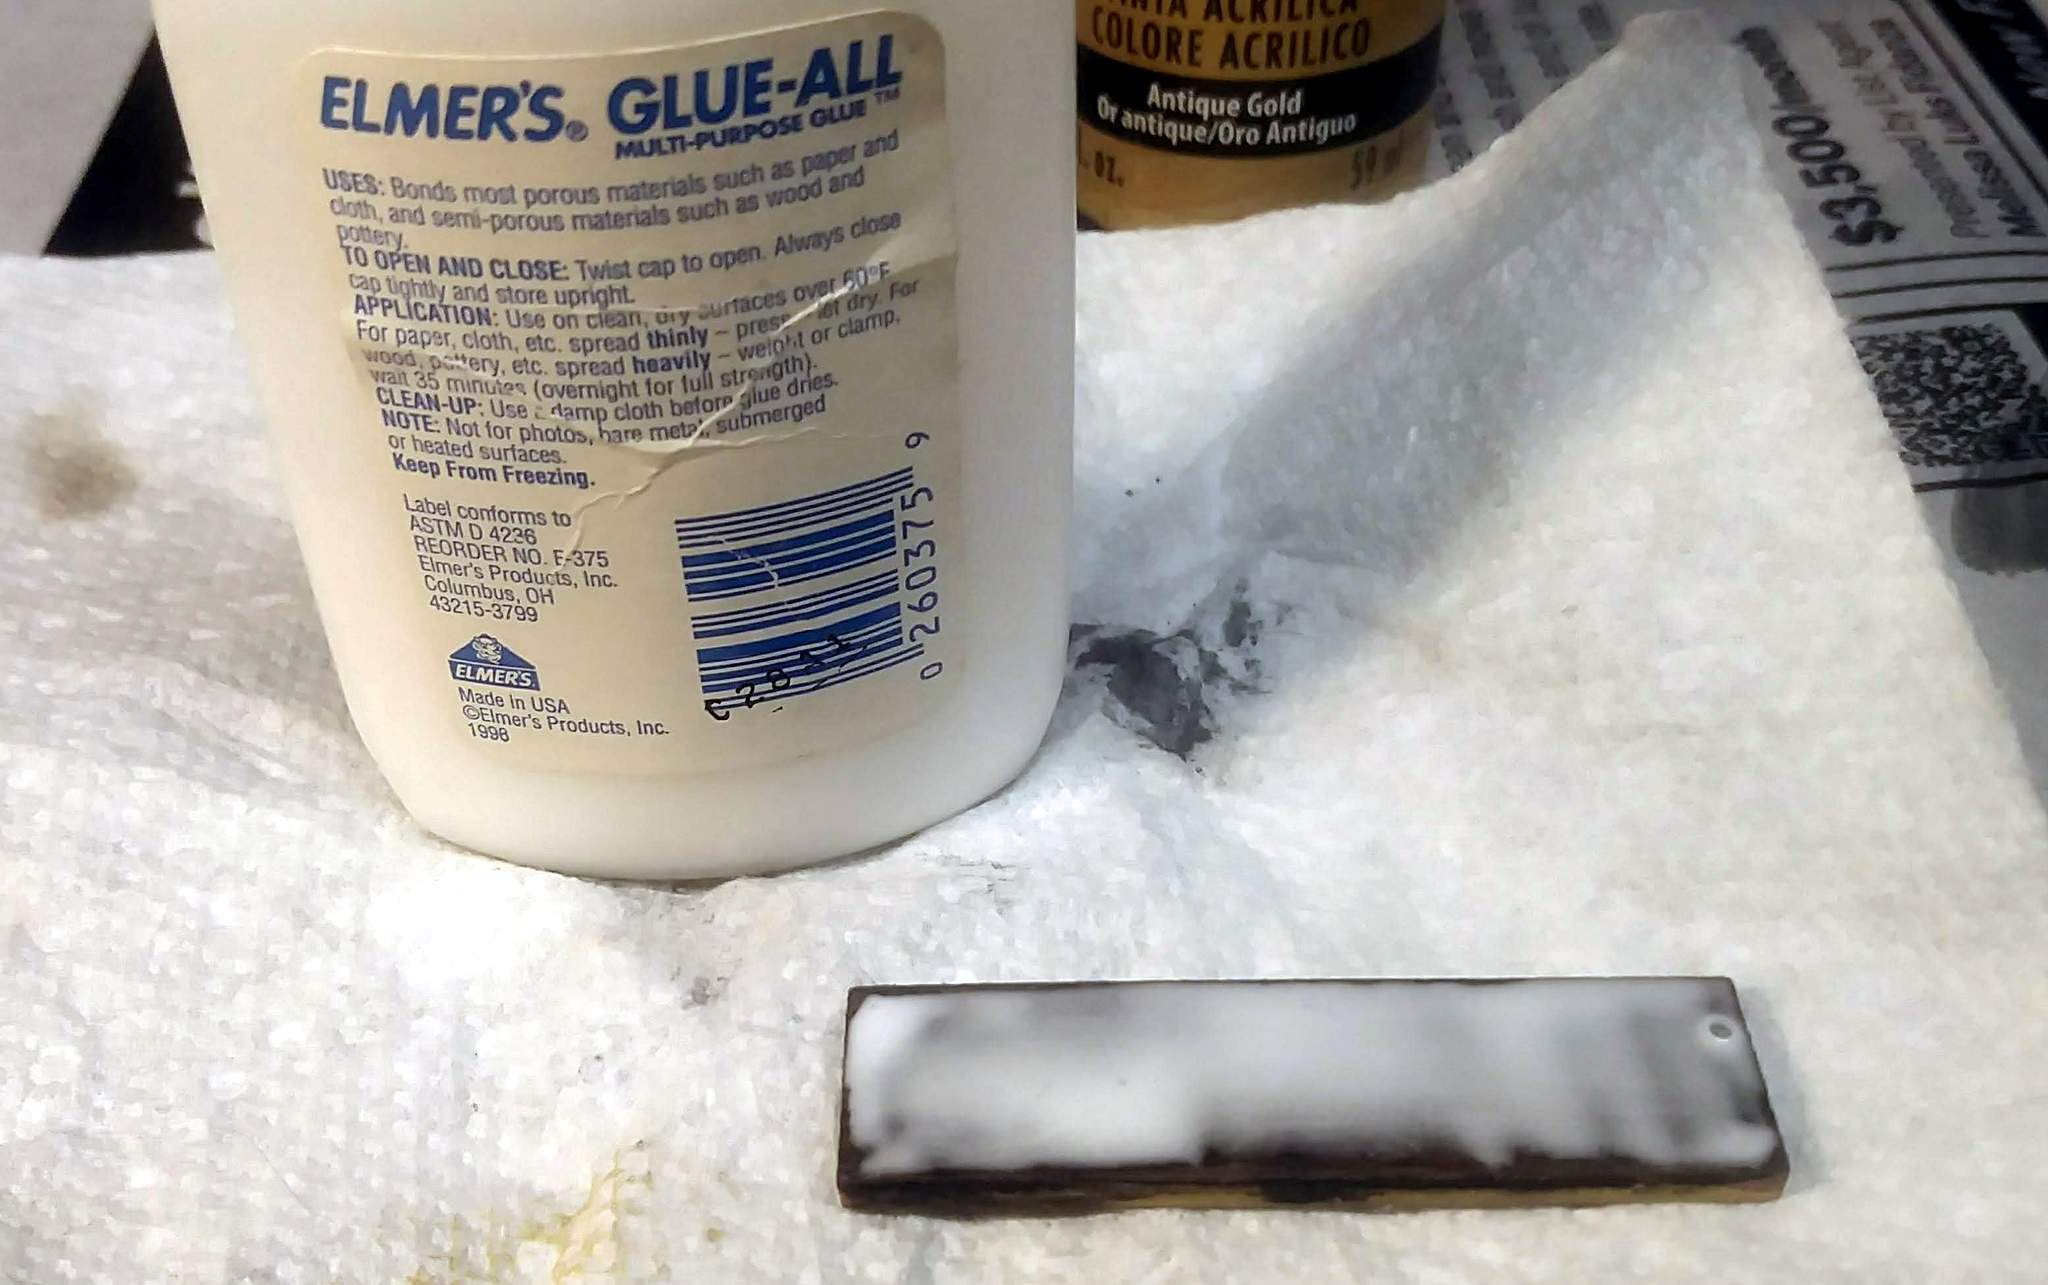
I let that dry for a bit and even helped it along a little with a heat gun before applying the acrylic paint…
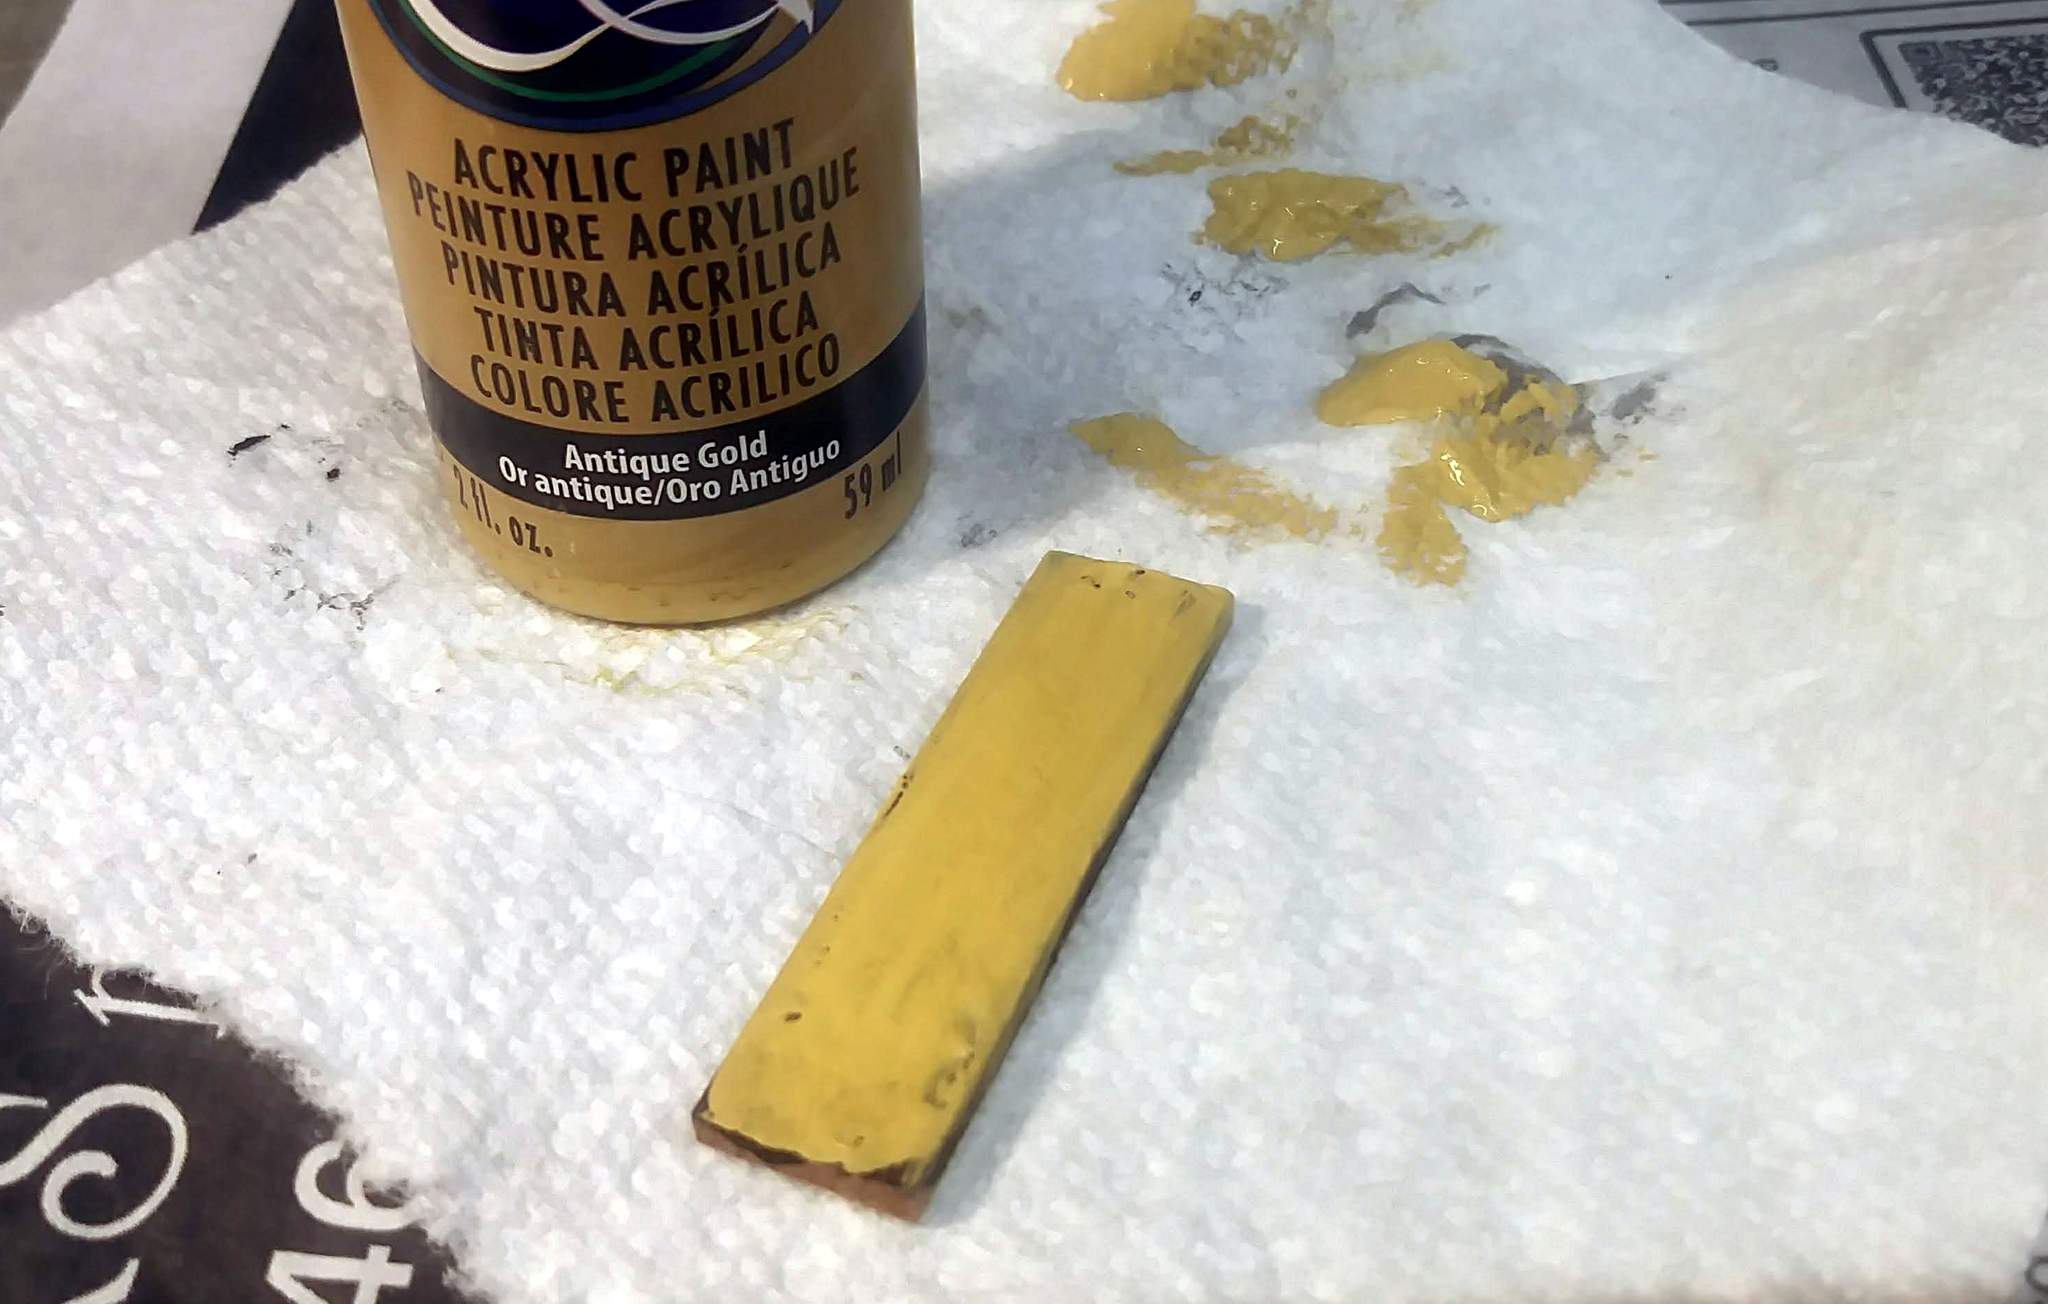
After about 20 minutes it was done changing…
That’s better, but still not quite what I’m after.
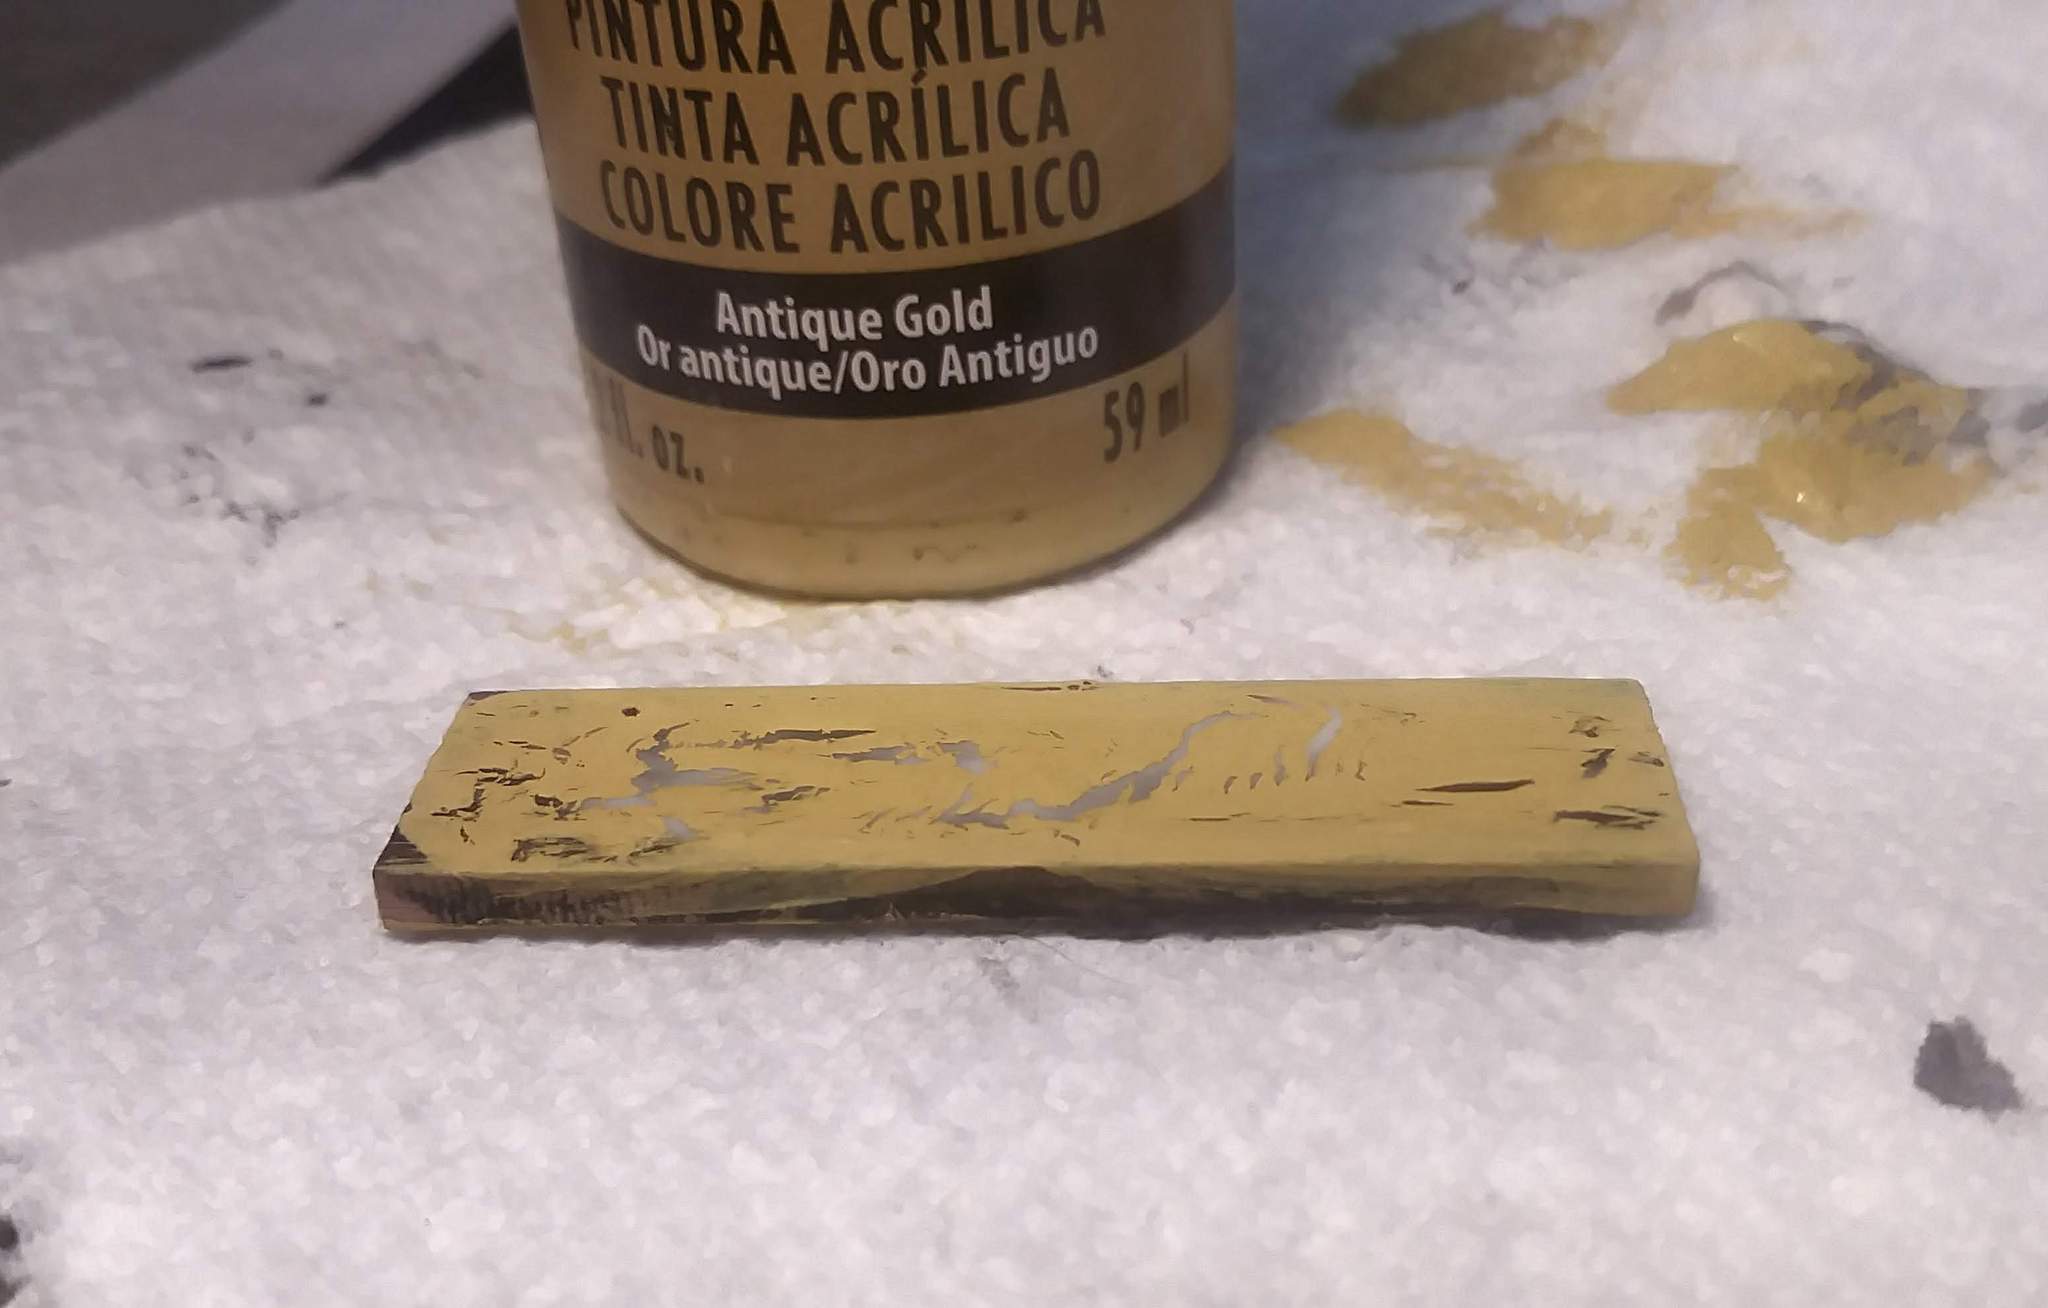
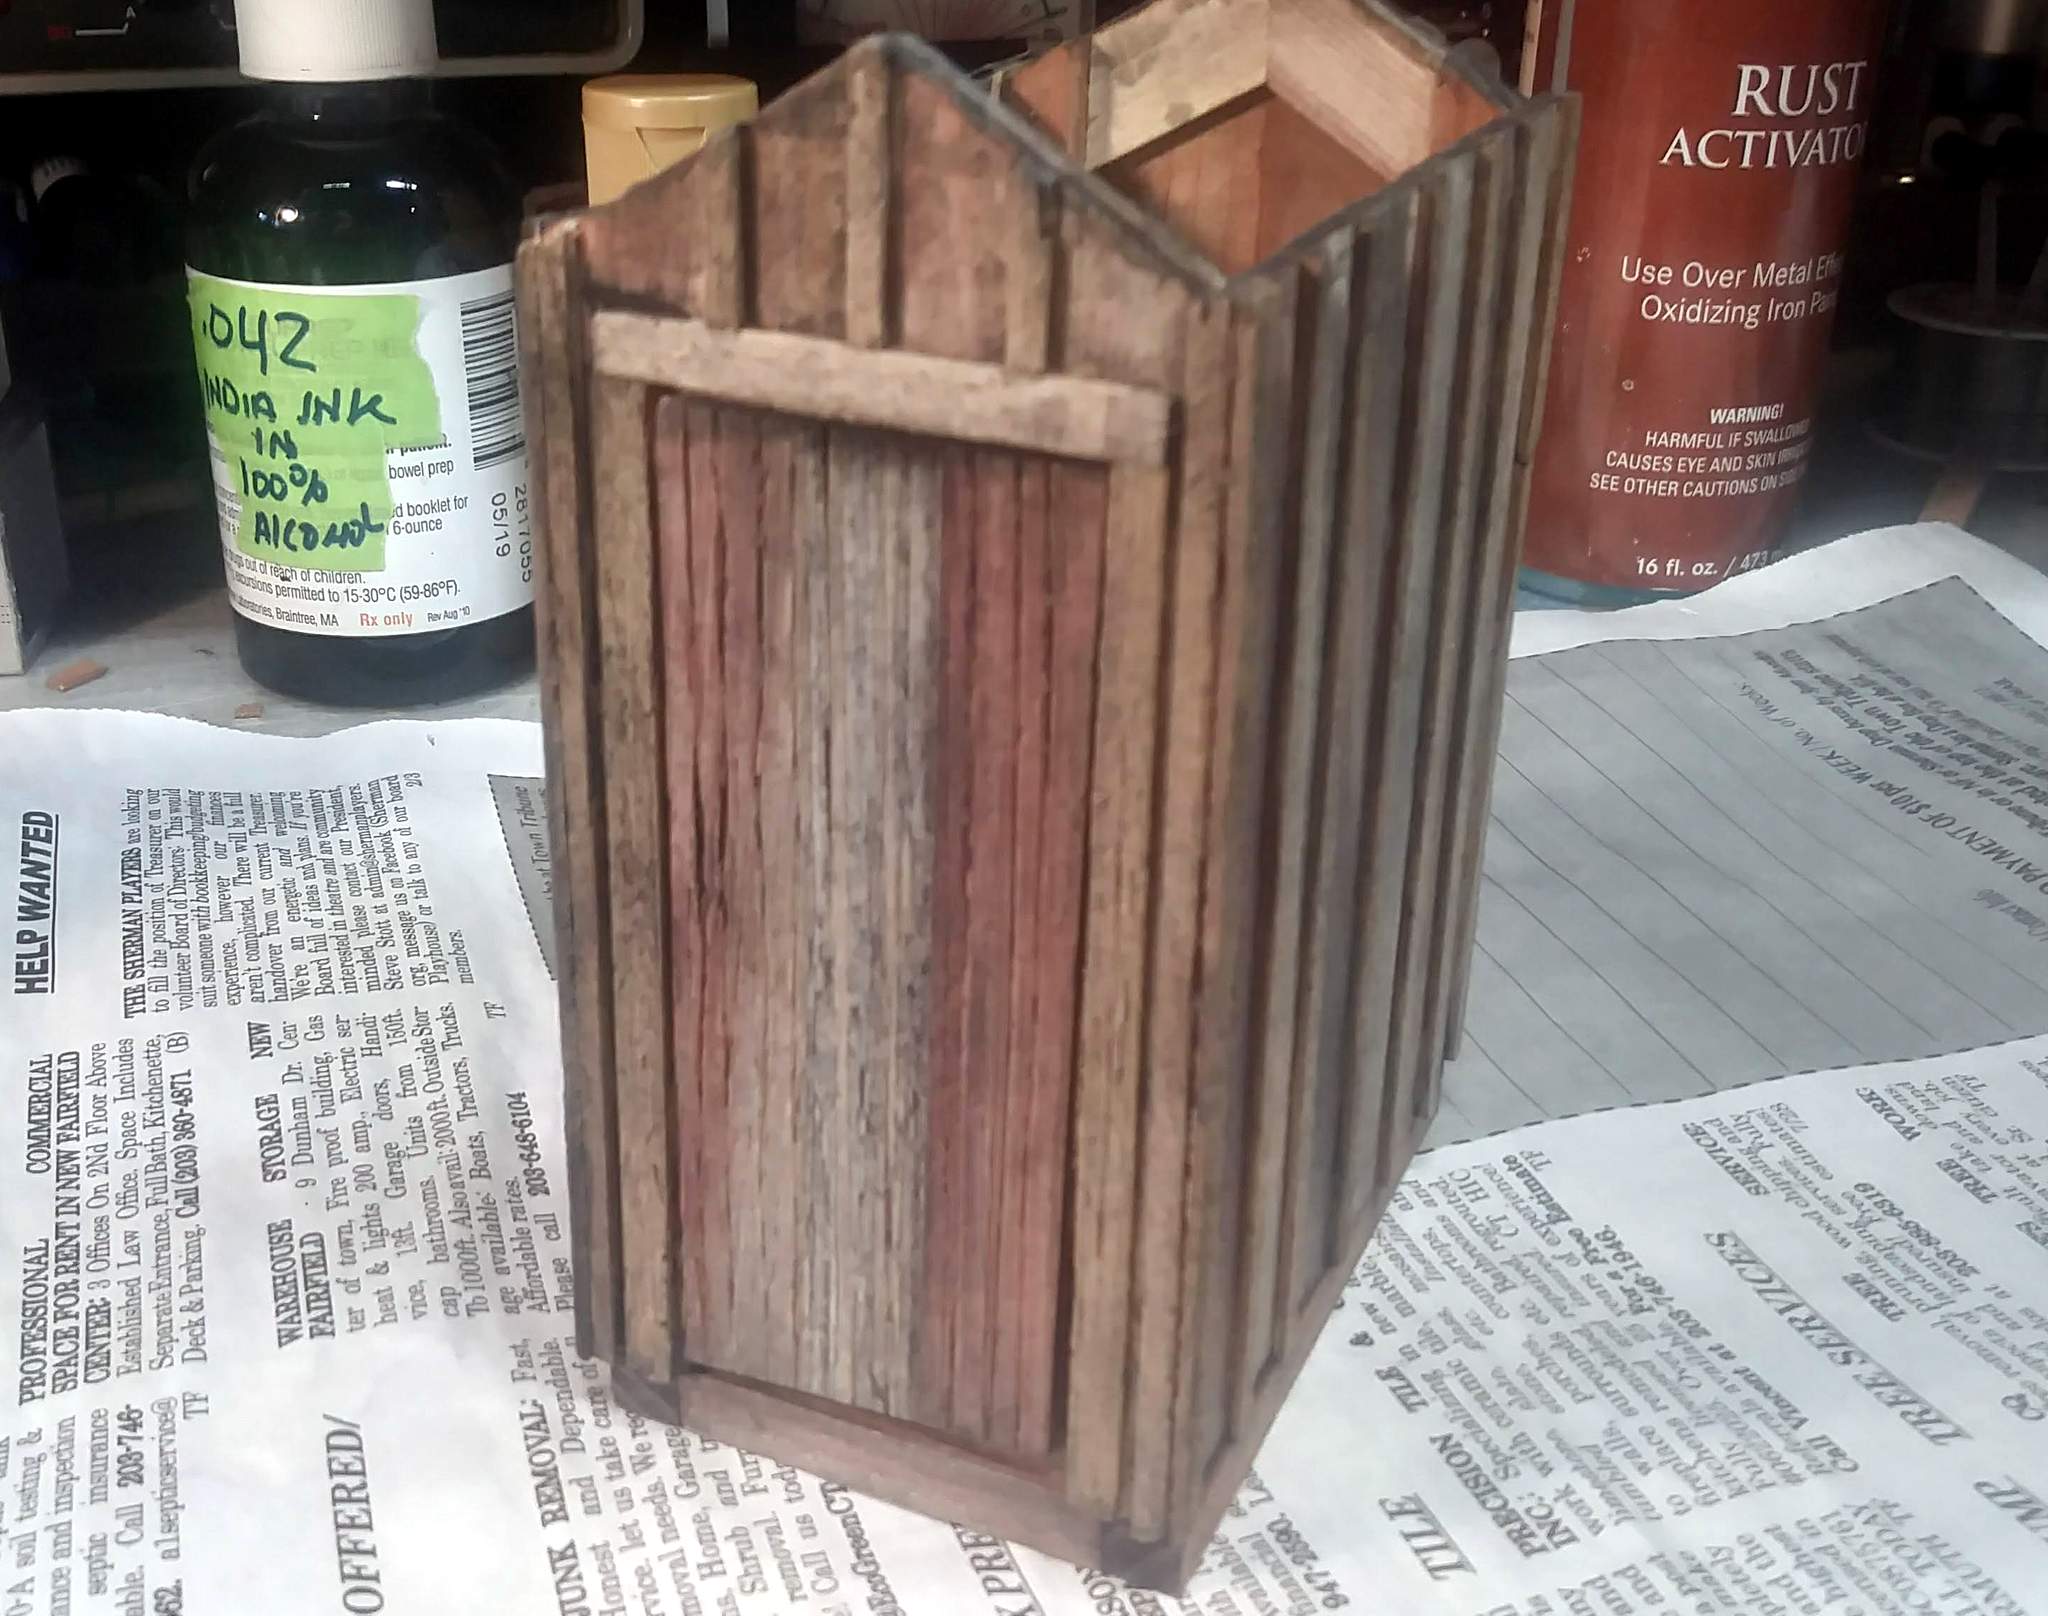
A few progress shots while I wait for paint to dry and rust activator to activate. The first step of the paint process is an India Ink in Alcohol wash…
I thought the wash came out too black, so I decided to dry brush on a color I mixed up. Some of this might show through the peeling process…
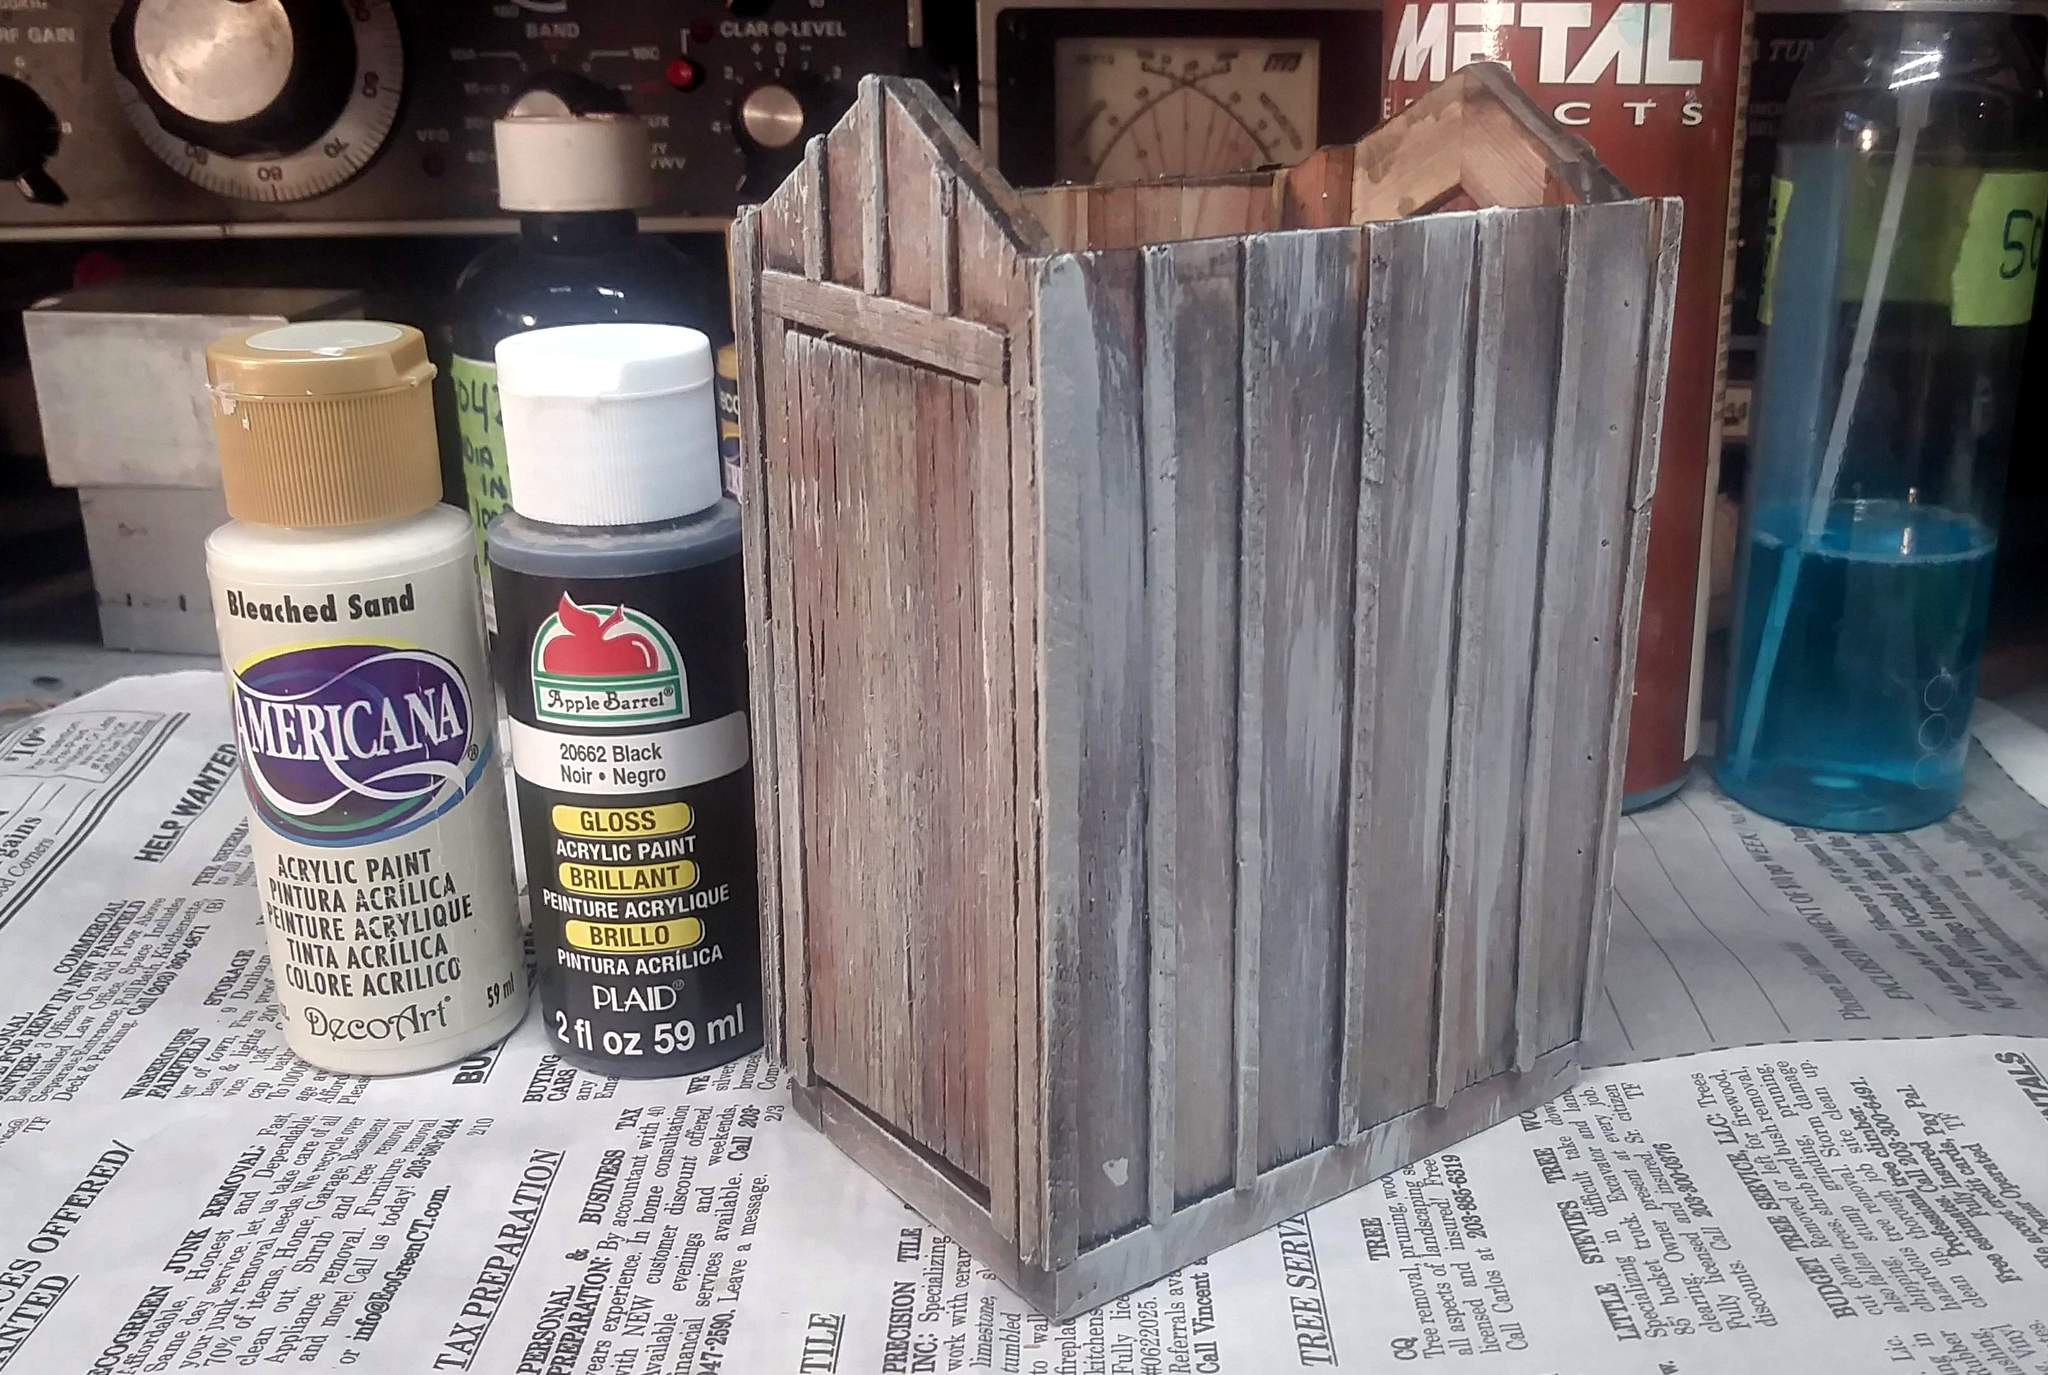
I’m tempted to just leave it there. In the mean time roof is ready for the activator to be applied to the iron paint…
On the underside, I washed the wood and aluminum with a steel wool + white vinegar solution that has been cooking for several years - It was old when I built the Brunt Coal trestle during the COVID lock down. The dark around the edges is more iron paint for a heavier rust…
As of last check, the rust activator was not activating. I’ll ignore it for an hour or so - maybe it’s just being slow.
2 Likes