You think your battens are small, I’ve got even smaller battens at 1/29… I’m figuring I’ll be using precut styrene strips. .030 x .060. Hopefully I’ll have enough or I’ll be blowing my whole budget on strips. Unless I can figure out a way to safety cut them on my table saw ( I used a scrap piece of wood over some 1/8 stock yesterday to hold it all down. Seemed to work okay but not sure how .030 stock will do).
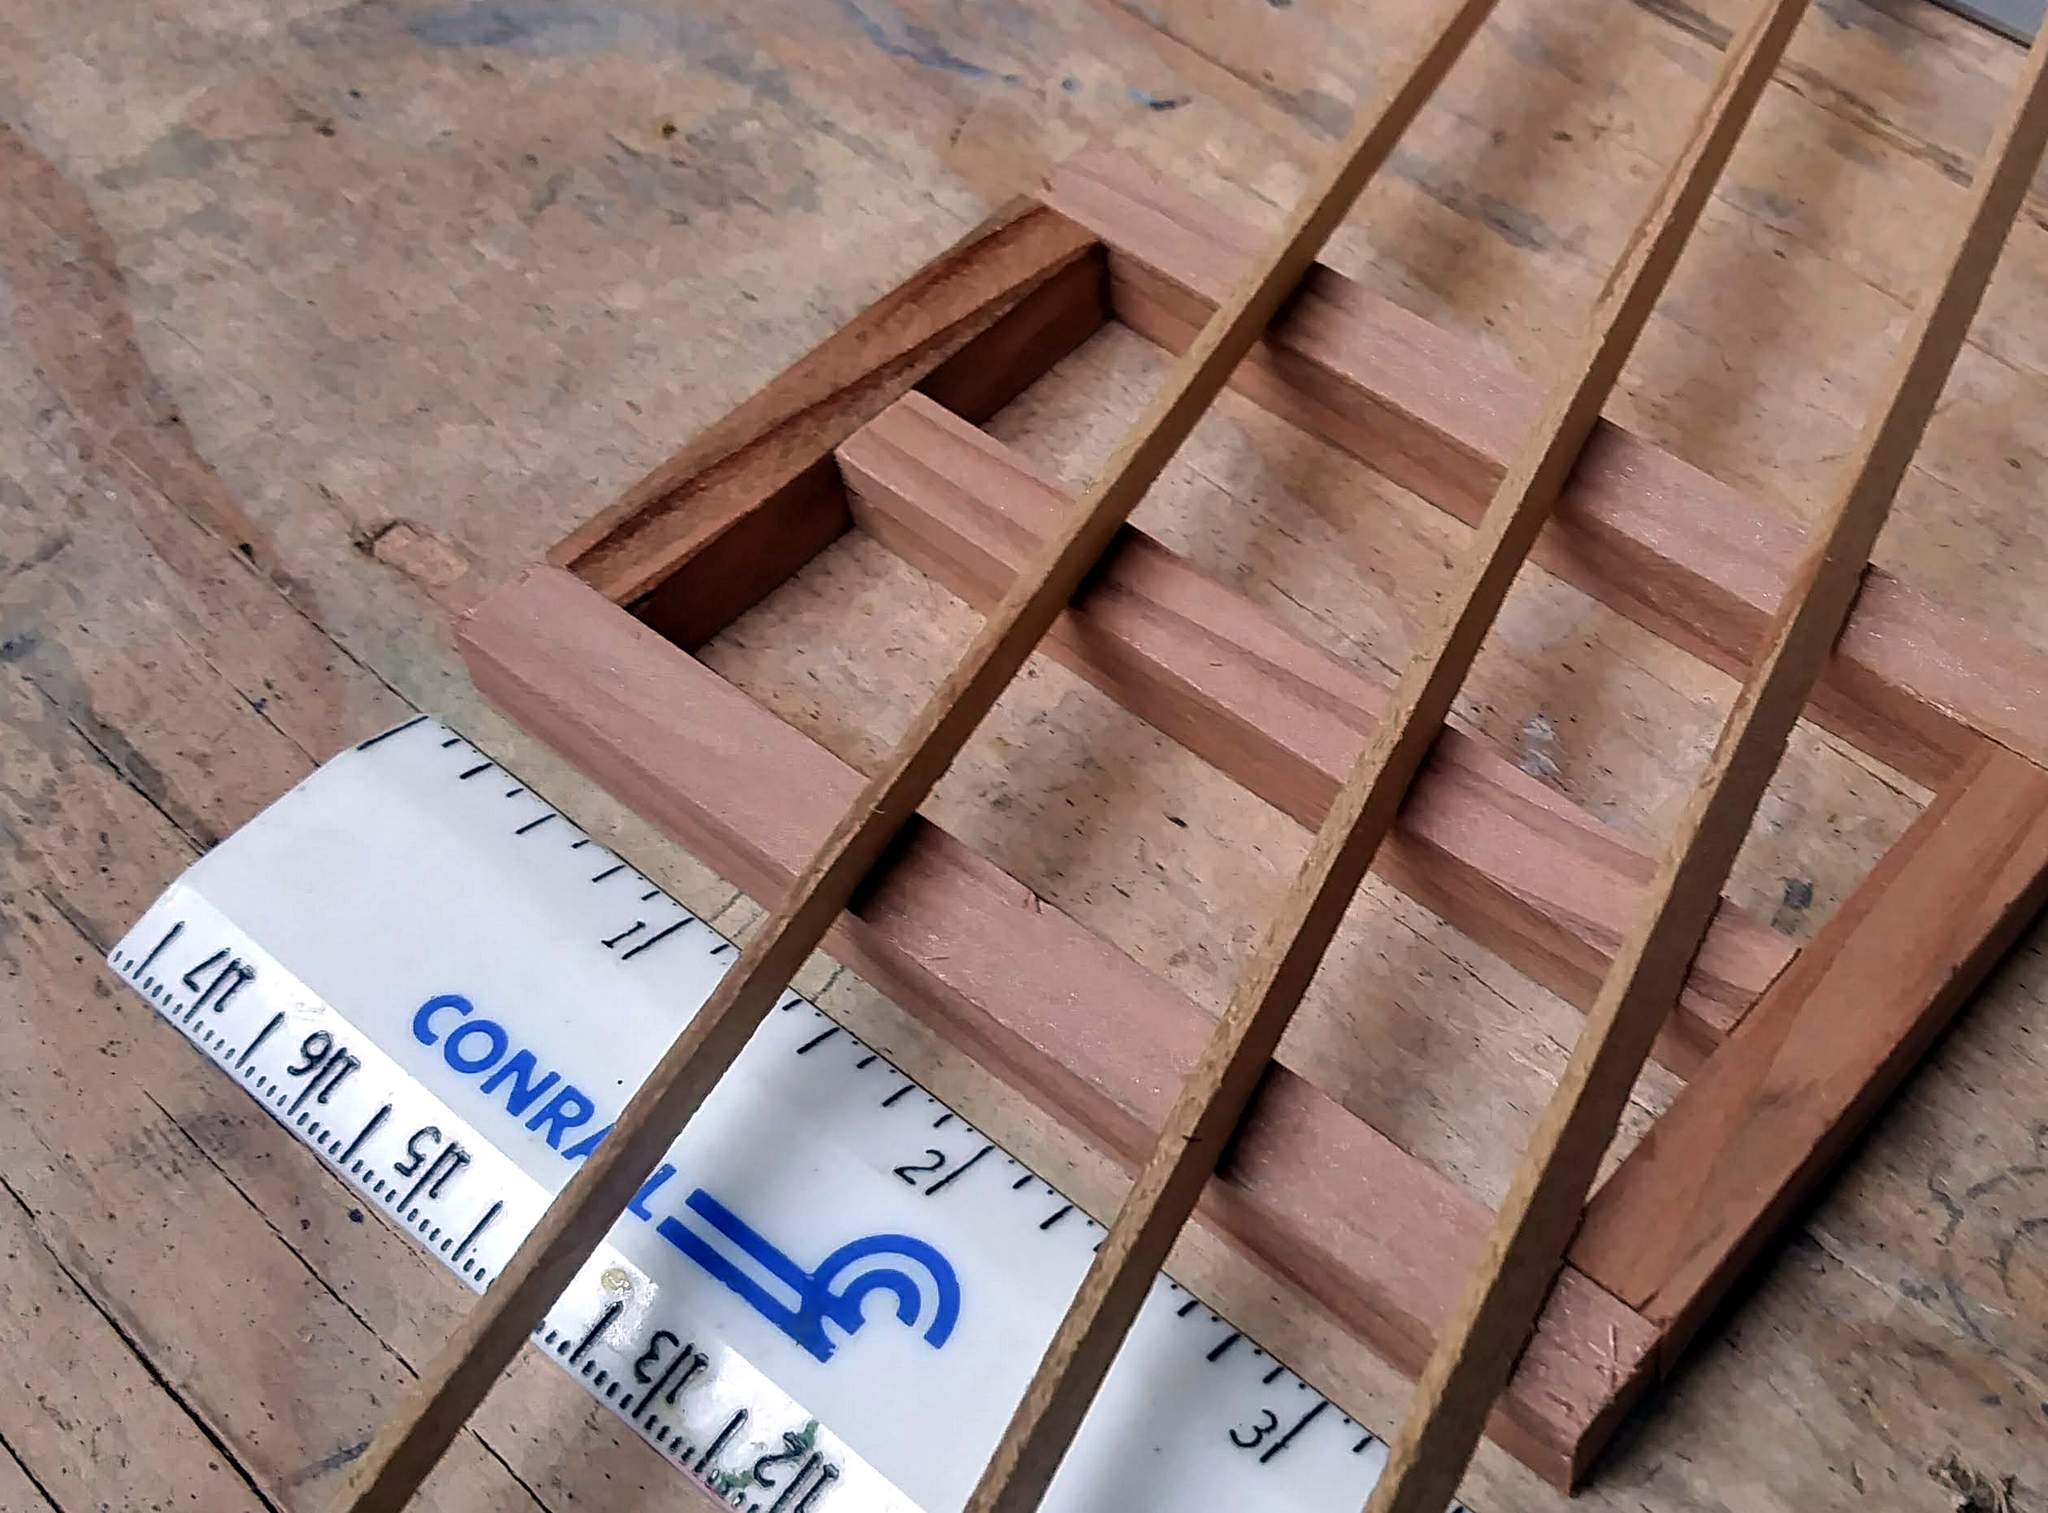
As it turns out, the battens will not be a problem thanks to my scrap bin. First I grabbed some pretty small sticks that I had in lumber storage and ripped them to scale 2" thick. They came out all right, but still a little big to my eye. I did not measure them but the thin side was cut to 2.5mm (2" in Fn3). They are shown sitting on top of the deck frame which is made from 6x6 (7.5mm)…
Then I spied, in a mess on my garage work bench, some redwood veneer. At the beginning of COVID lock down I milled up some old signs to build a coal trestle. Rather than try and remove the paint and gold leaf, I cut as thin a strip as I could off the painted edge. Glad I’m a hoarder because they are still laying around…
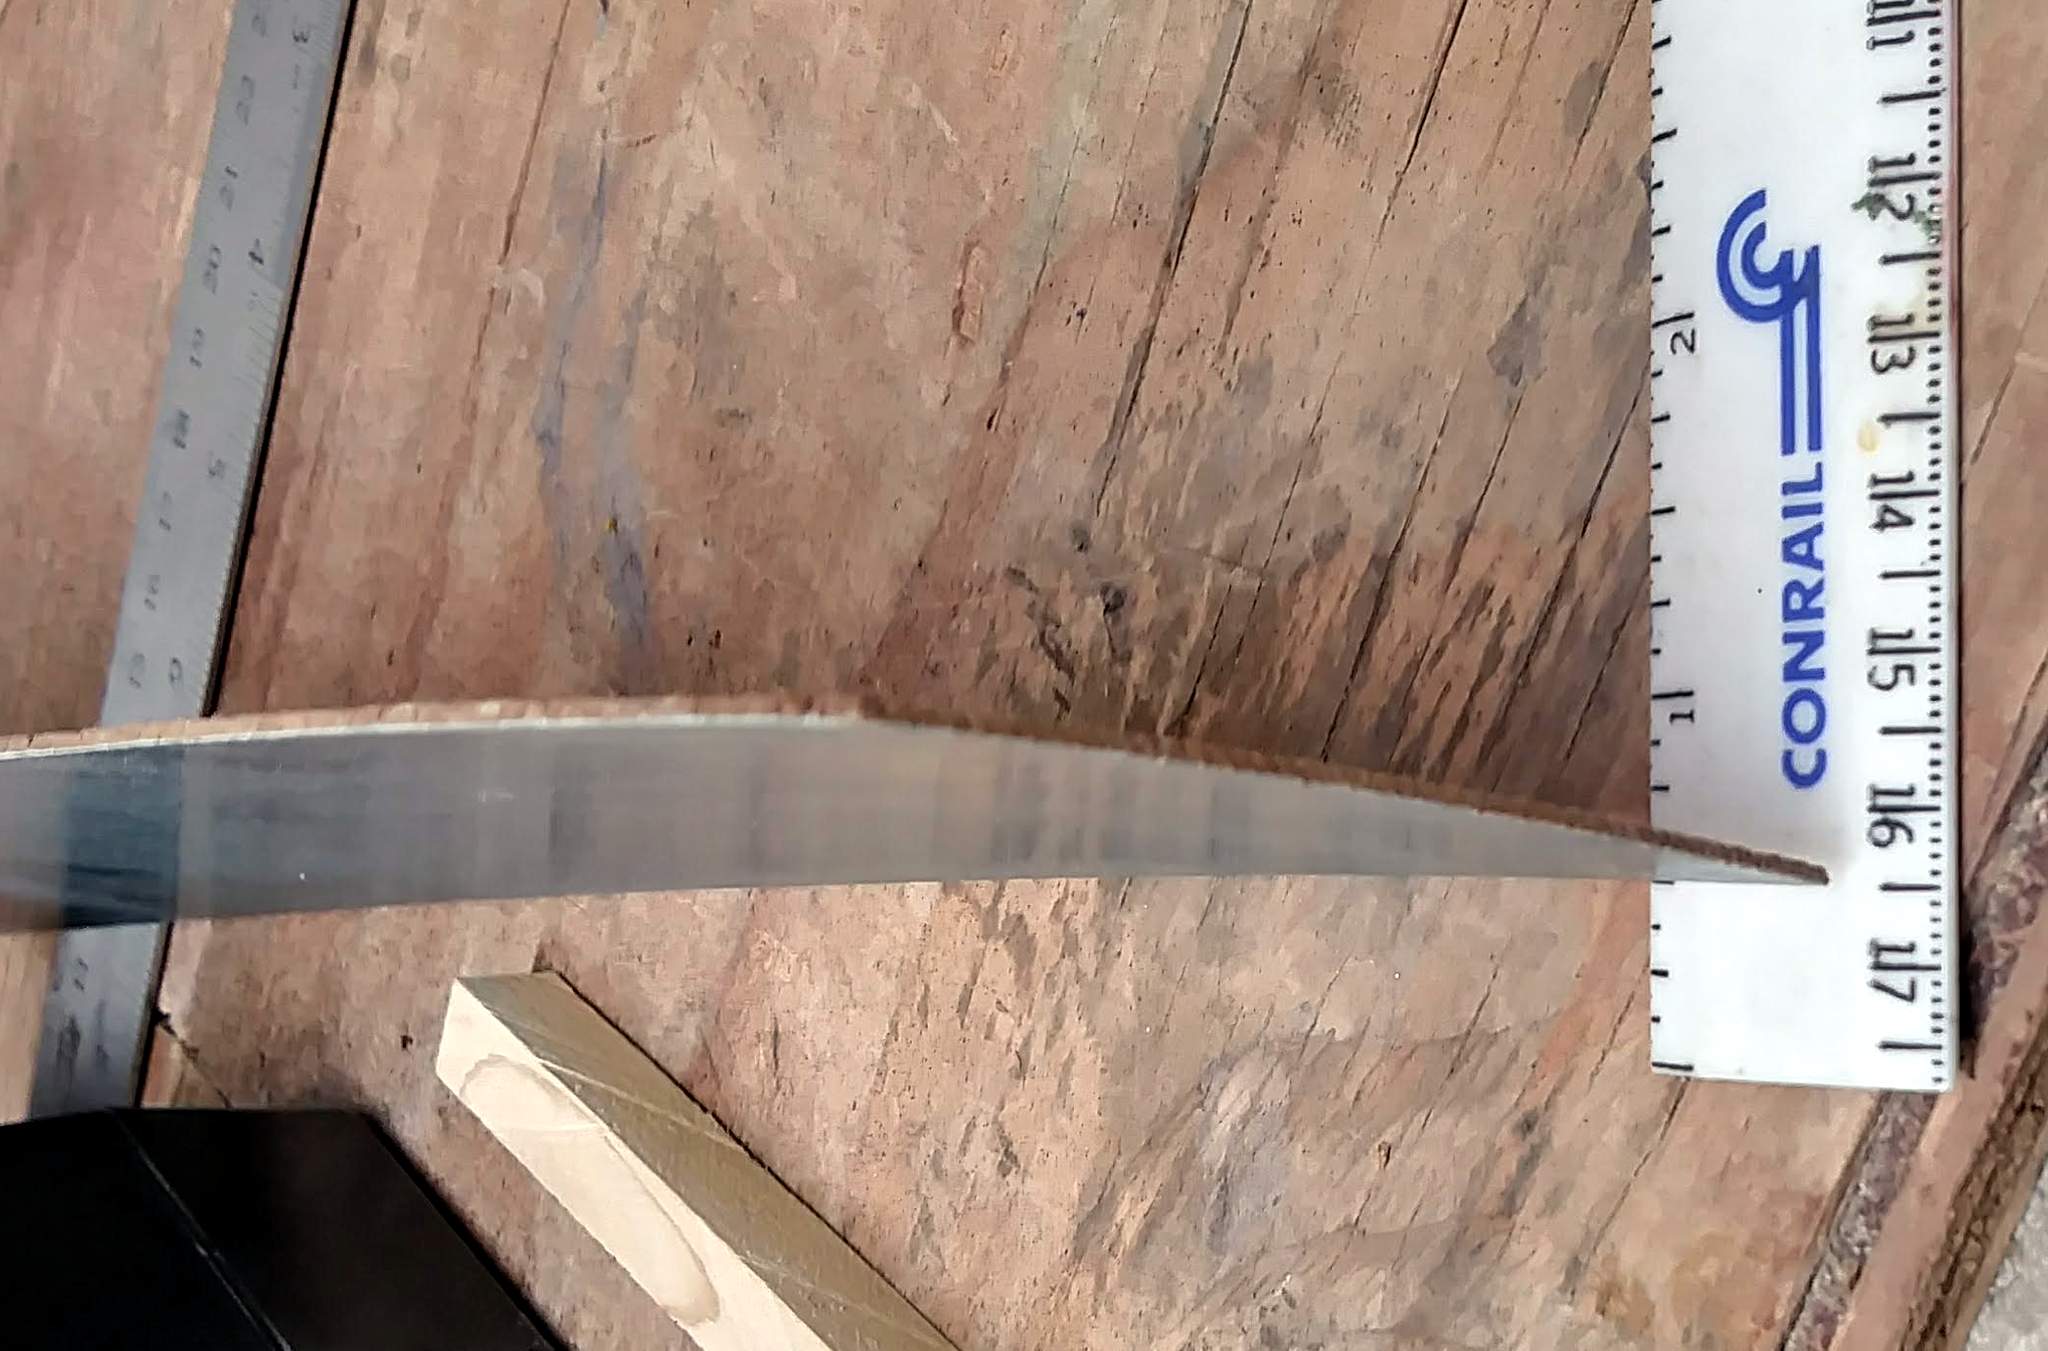
This looks like the perfect thickness for the battens - maybe scale 3/4". My luck continued as the stock fence on the MicroMark saw handled this thin material with ease ripping it at 3mm or about 2.5 scale inches wide. I set the fence using scrap of 3mm PVC board and a small square…
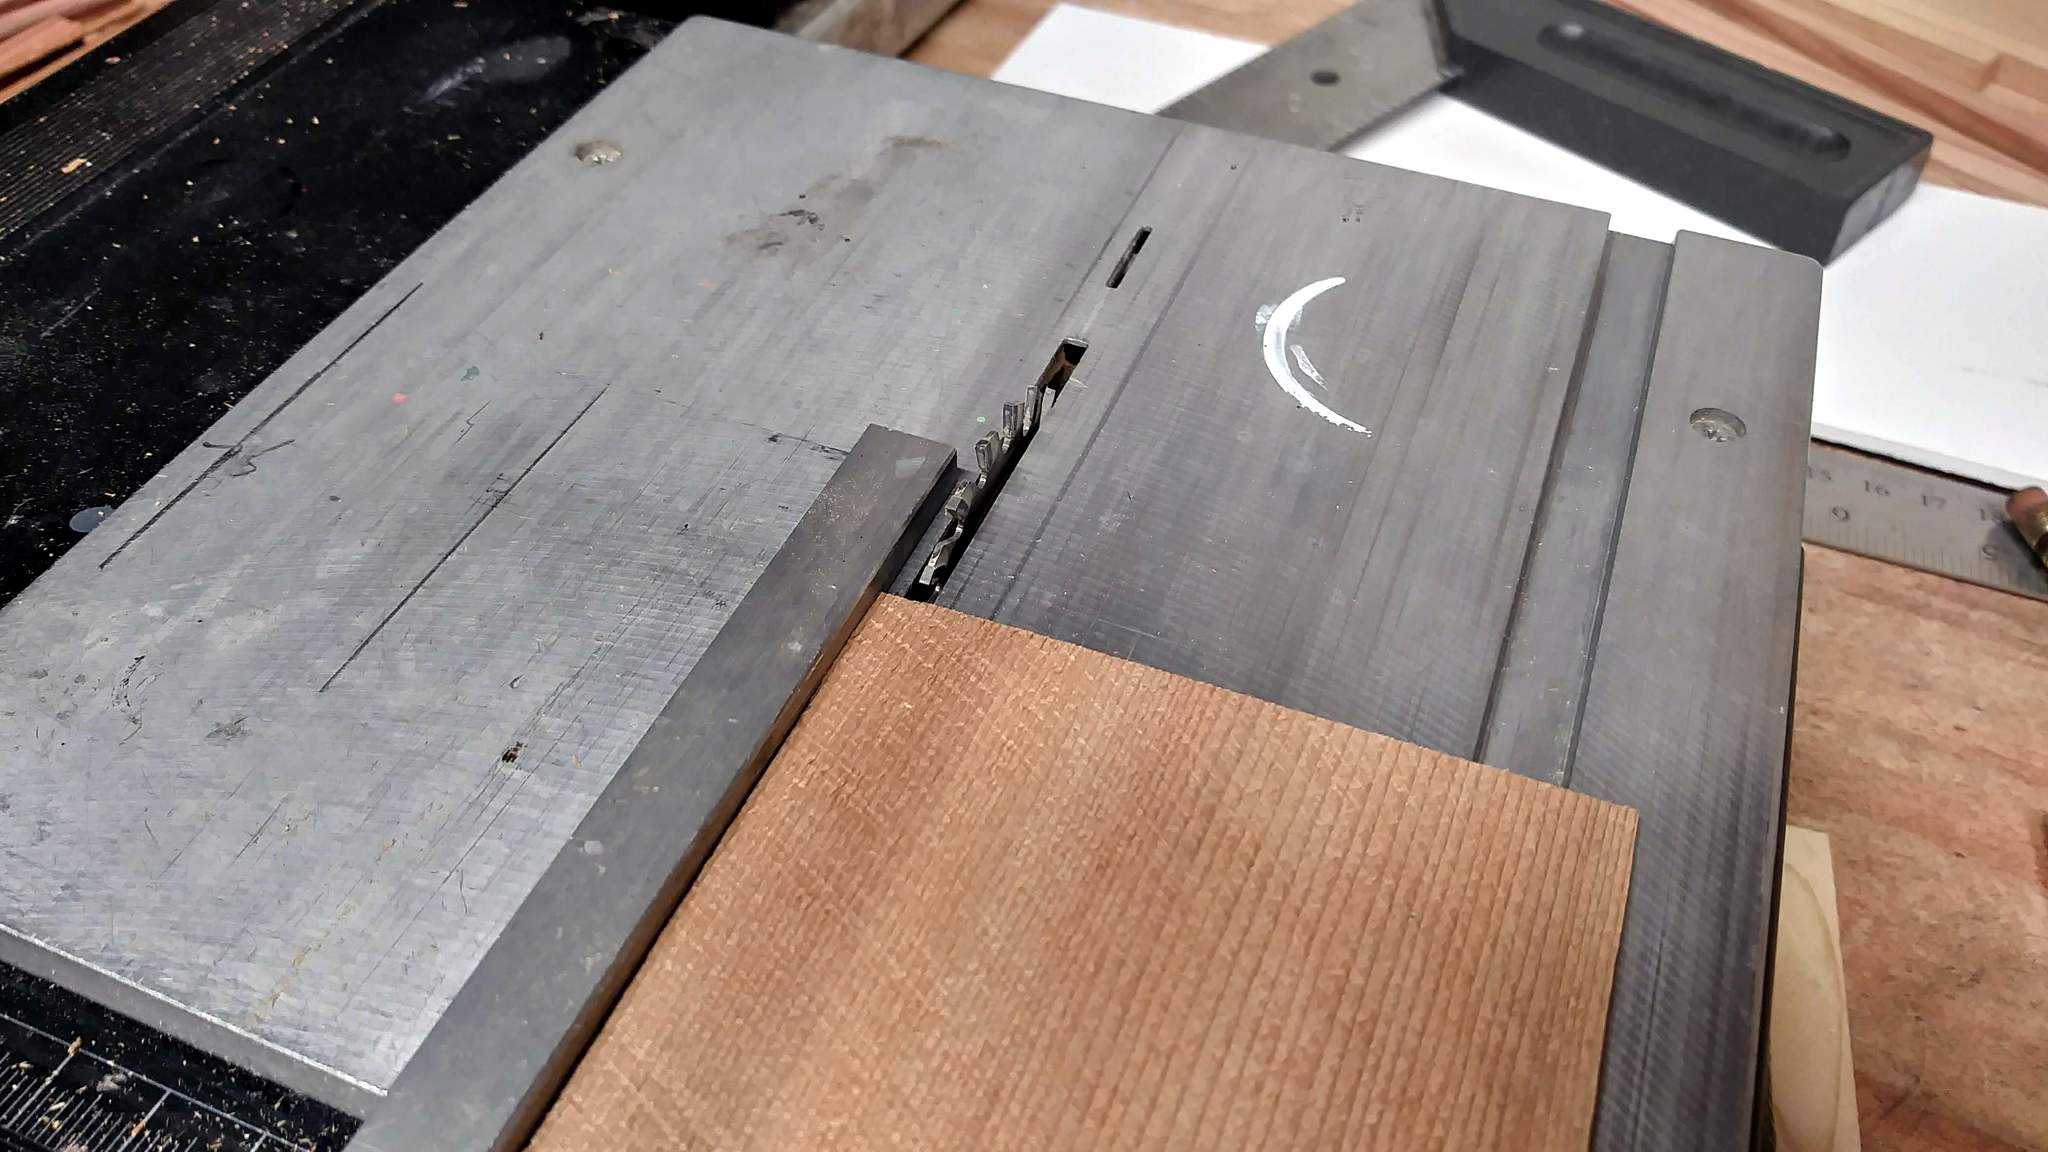
And the result…

I used only about a third of the strip, so if I need to mill more it’s no problem.
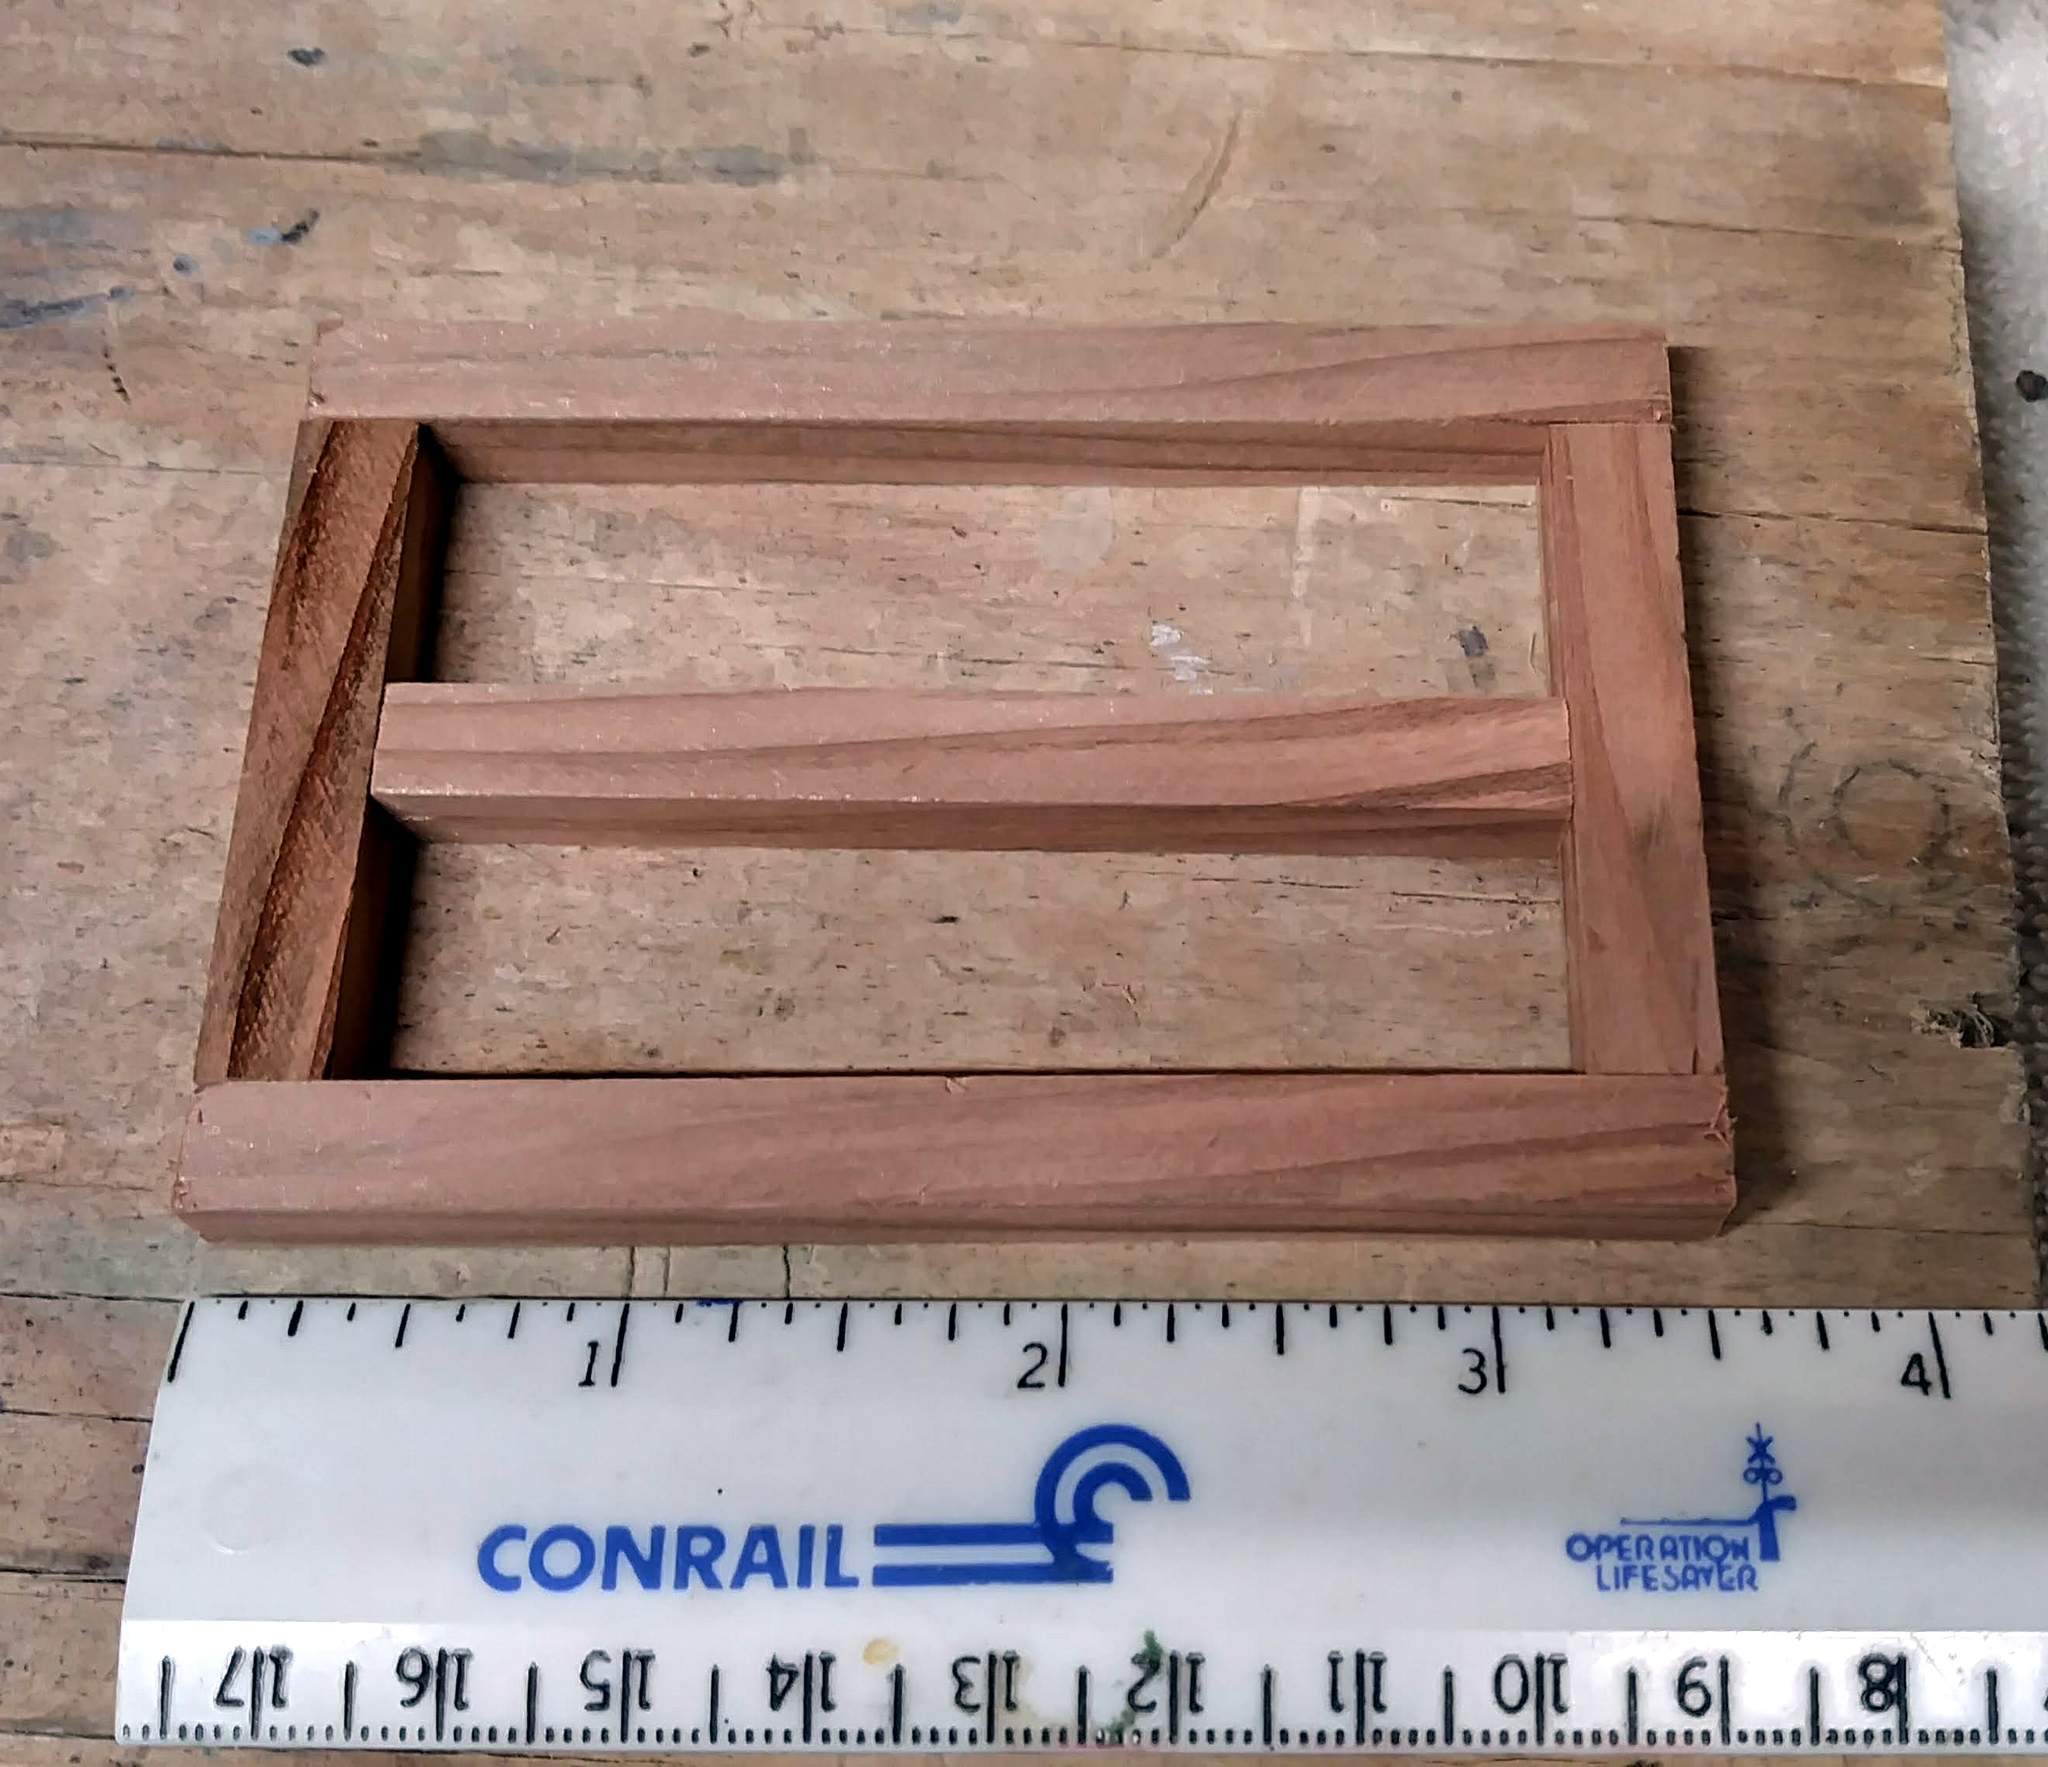
And while I was at the saw I also cut the 6x6 timber to length for the deck frame and some 2x10 to length for the deck floor. This thing is going to be TINY…
That’s probably it for today.
Jon,
What I have done in the past is make a thicker batten and place them between the boards instead of on top of them. A thicker more weather resistant small piece of wood. Unless you really look hard you can’t tell the difference. Also on heavier base stock like 7/16 house siding I have sawn groves in the wood and set the batten strip down in with glue, again works well and can’t tell the difference.
But, I am glad to see that you are getting that saw up and running  .
.
1 Like
Looks like you are getting the job done. I need a good mini hobby saw.
That will be plan B when they fall off 
Jon:
Do you remember the cliffhanger build by Dennis Rayon that had board/batten siding? He made it by running the boards through the saw twice so that the board and the batten were actually formed on one strip and weren’t separate.
Sadly, the pictures need to be resurrected in that thread.
What I recall is that he first cut the boards to be twice as thick as he needed. Then he undercut the batten on one side, and overcut the board on the other side. Then you overlap one strip on the next and you get board/batten.
Might be nice to get Dennis to resurrect that topic if we can…
Actually, he used a router table, not a table saw. And Jon, for your amusement, you commented on how cool that process was and that you had just gotten a router table 

That is a great technique. If I was milling the lumber for this project it would be possible, although if I’m understanding what you mean it might require a dado blade. Or maybe he did it on a router. I do have an ancient and underutilized router table with a nice assortment of bits.
One of my goals with this build was to use as much as I could of the ‘store bought’ scale lumber from a collection I purchased a few years ago. I suppose if I had 6x8s or similar I could use that and mill it down.
I have not cut the siding yet, so I’ll take a look at both of these ideas and see if they will work for me.
Now that I look at the thread, I actually asked Dennis for detail on how it was done. Unfortunately I didn’t take any notes. But reading Dennis’ response I think I can figure out how he did it.
Funny that I don’t see any broken pictures in that thread - just none at all.
I was thinking about using a dato blade in my table saw to make battens as well but I don’t think that 1/8" styrene stock would be thick enough. Might try anyway. Or if the dato setup could even get close to the required spacing.
Dennis used a router table. Easier to set up smaller cuts than a dado and probably a little safer too.
1 Like
I used Cedar fence boards and a dado blade on the table saw when i built the dry kiln building at the sawmill last spring, worked very well.

1 Like
Began construction last night, but when I went to take pictures my battery was dead. Got a few this evening, but only one actually saved to my phone. Yes, it’s time for a new one.
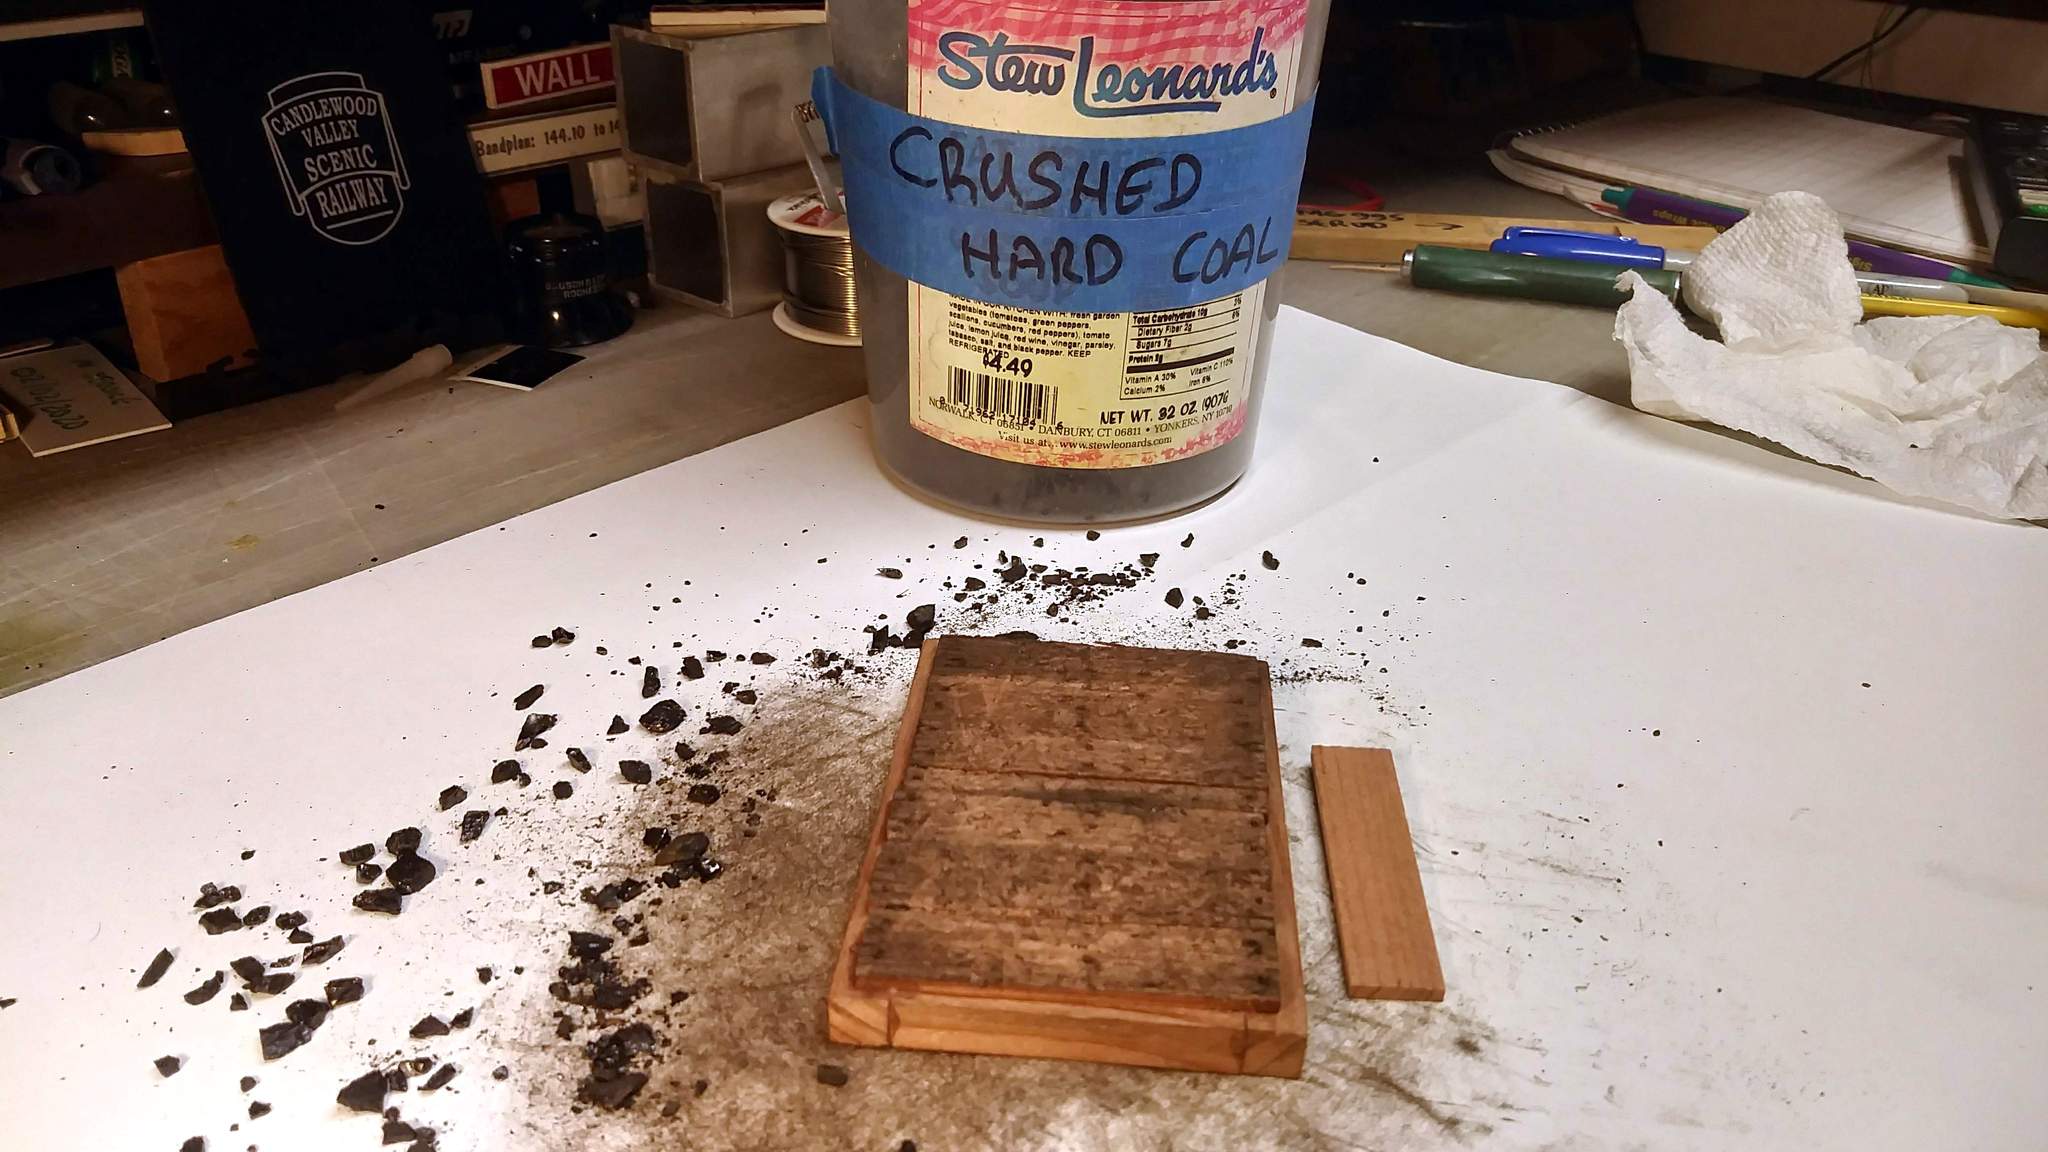
So here is the completed deck. There is one more 6x6 running down the center, my picture of the back was one that didn’t make it. Since I won’t be able to access this floor once the walls go up, I needed to weather it now. I started by just beating up the floor, mostly with my fingernails and a few tools. Then I rubbed it in crushed coal which is very authentic since the prototype was right next to the coaling dock.
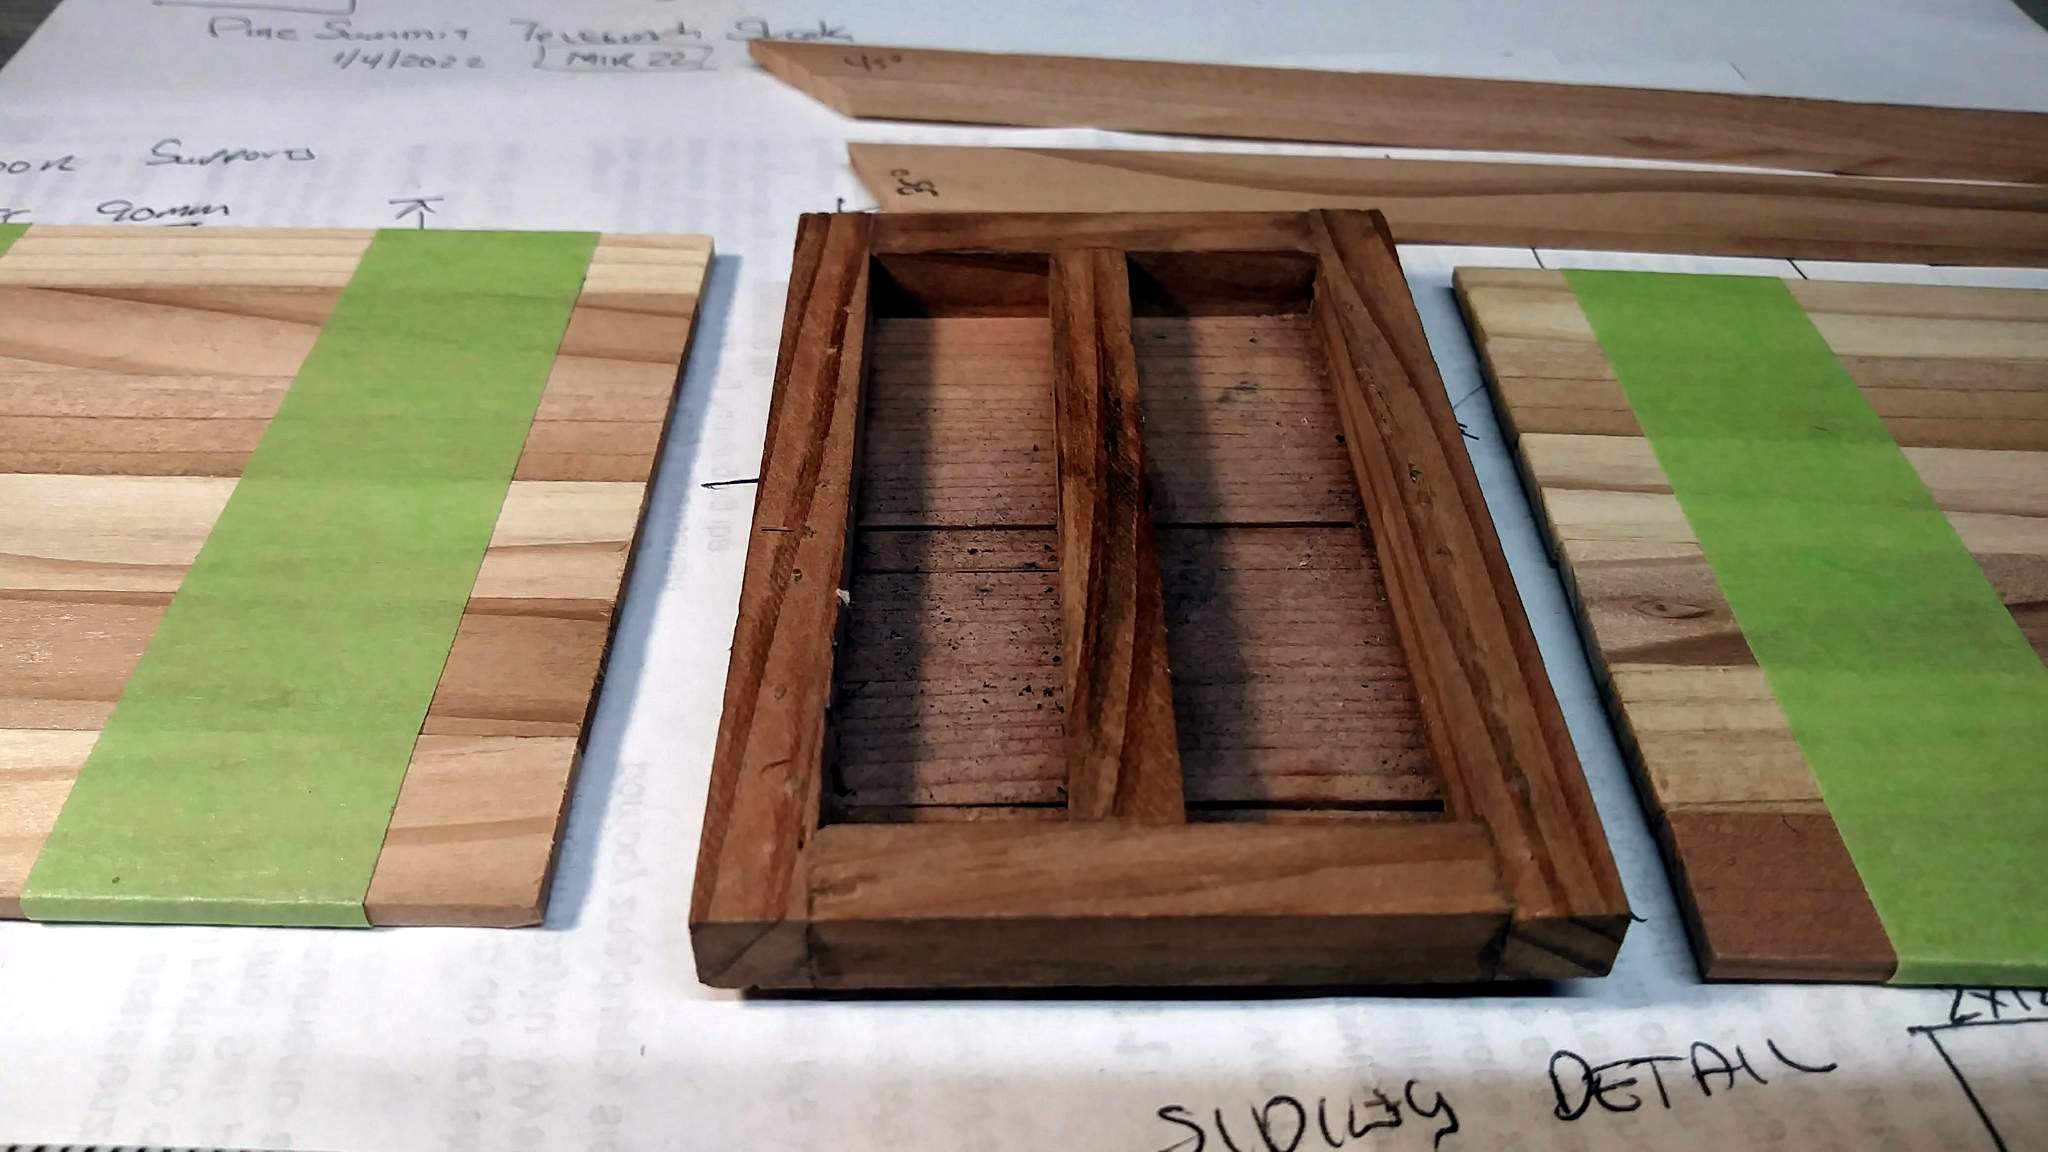
So here is where we are as of today…
Walls are next.
Again, there is no frame other than the deck, that is the reason why the floor is set in from the 6x6. Walls will attach directly to the floor.
I like your weathering technique, Jon.
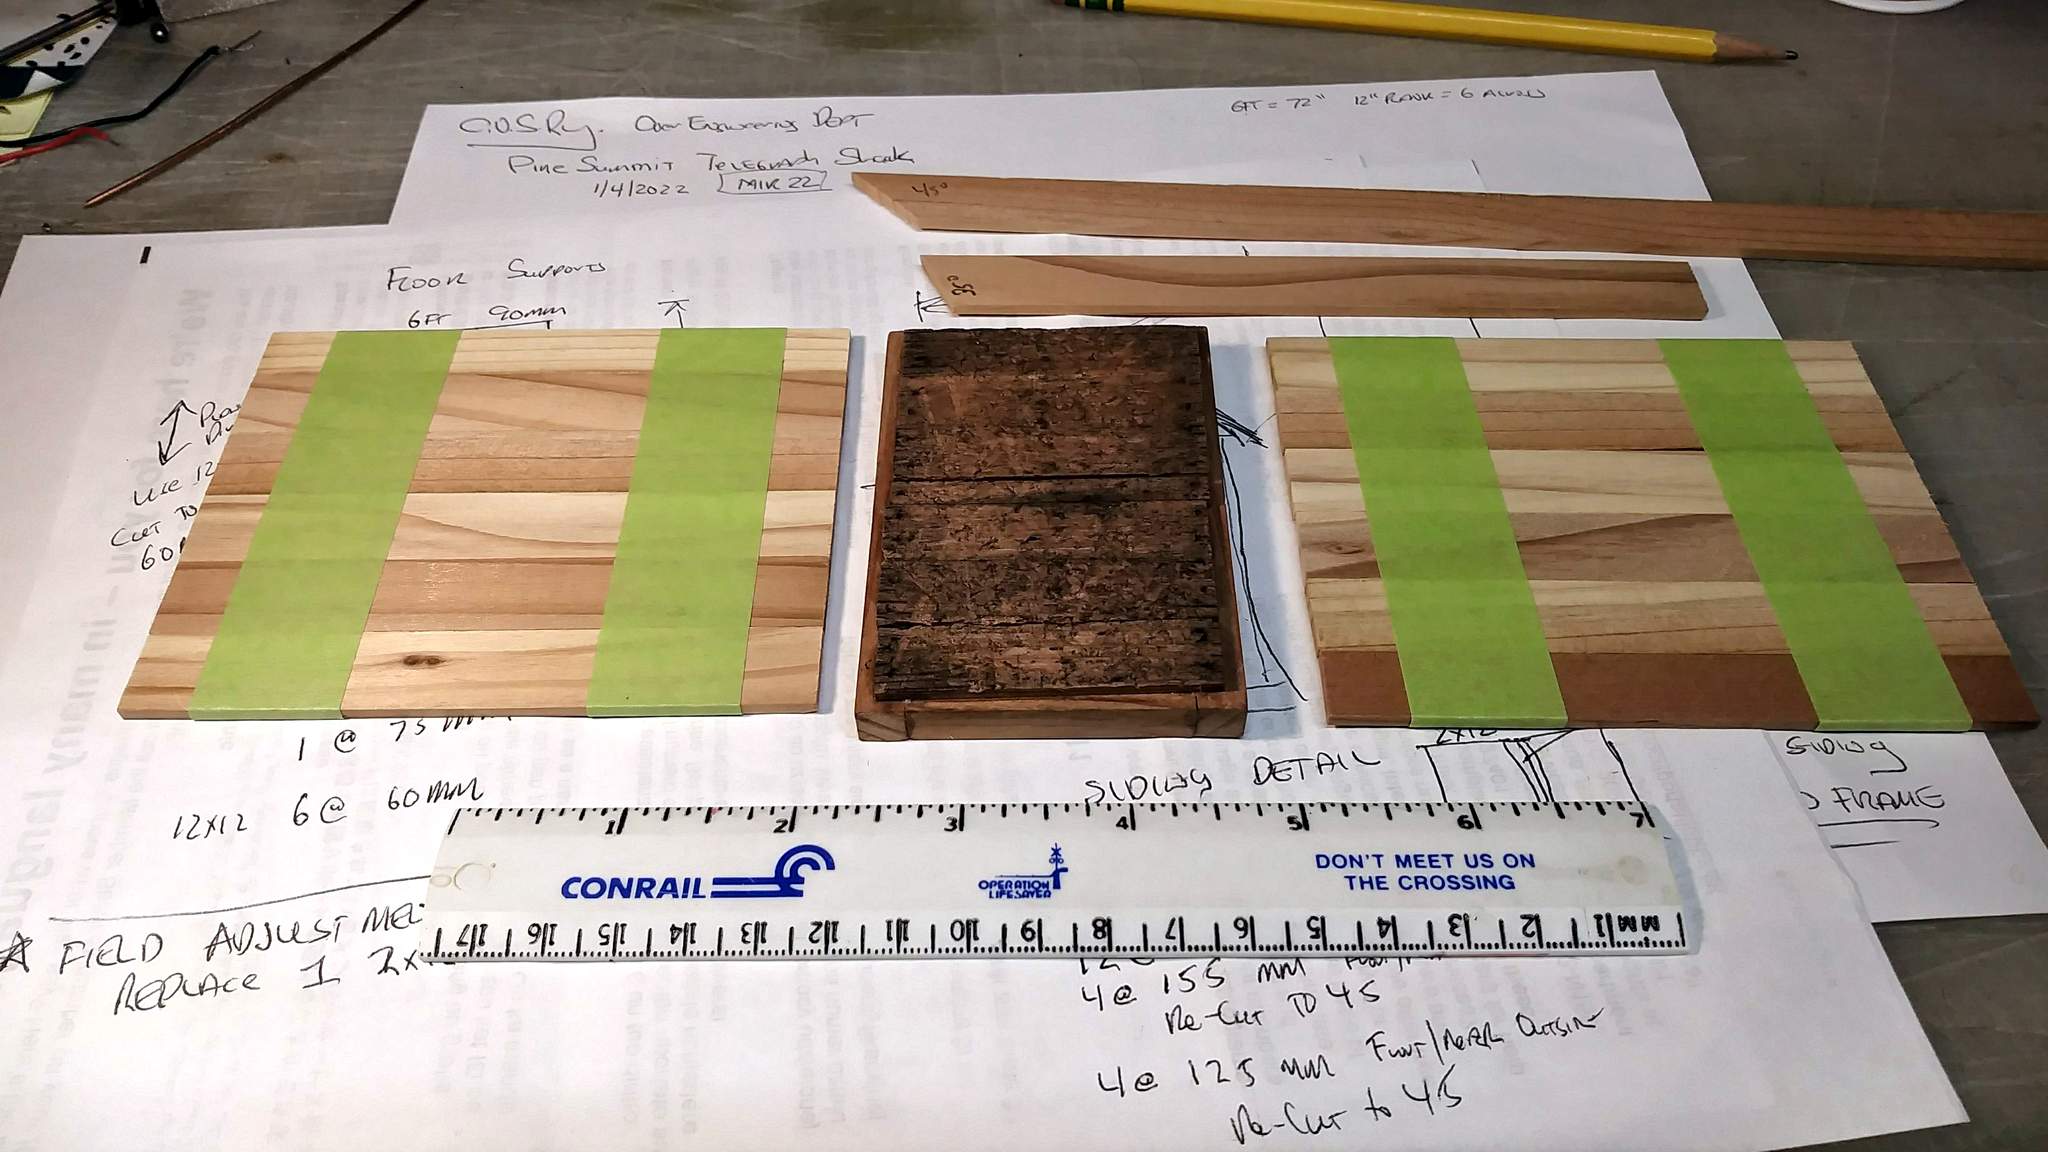
My phone decided that fresh off a re-boot it would cooperate, so I re-took some of the missed angles and got a much better shot of the floor weathering. I cut the wood for the two long straight walls and dry-fit them with tape. My scale measurements of the deck were off by 2" so I subbed a 2x10 for one plank to fix the error. I’m leaning toward a more shallow roof, around 30-35 degrees. You can see a 35 and 45 test cut at the top of the group shot below…
And here is a much better in-focus shot of the floor. I really like it which brings me to to a crossroads…
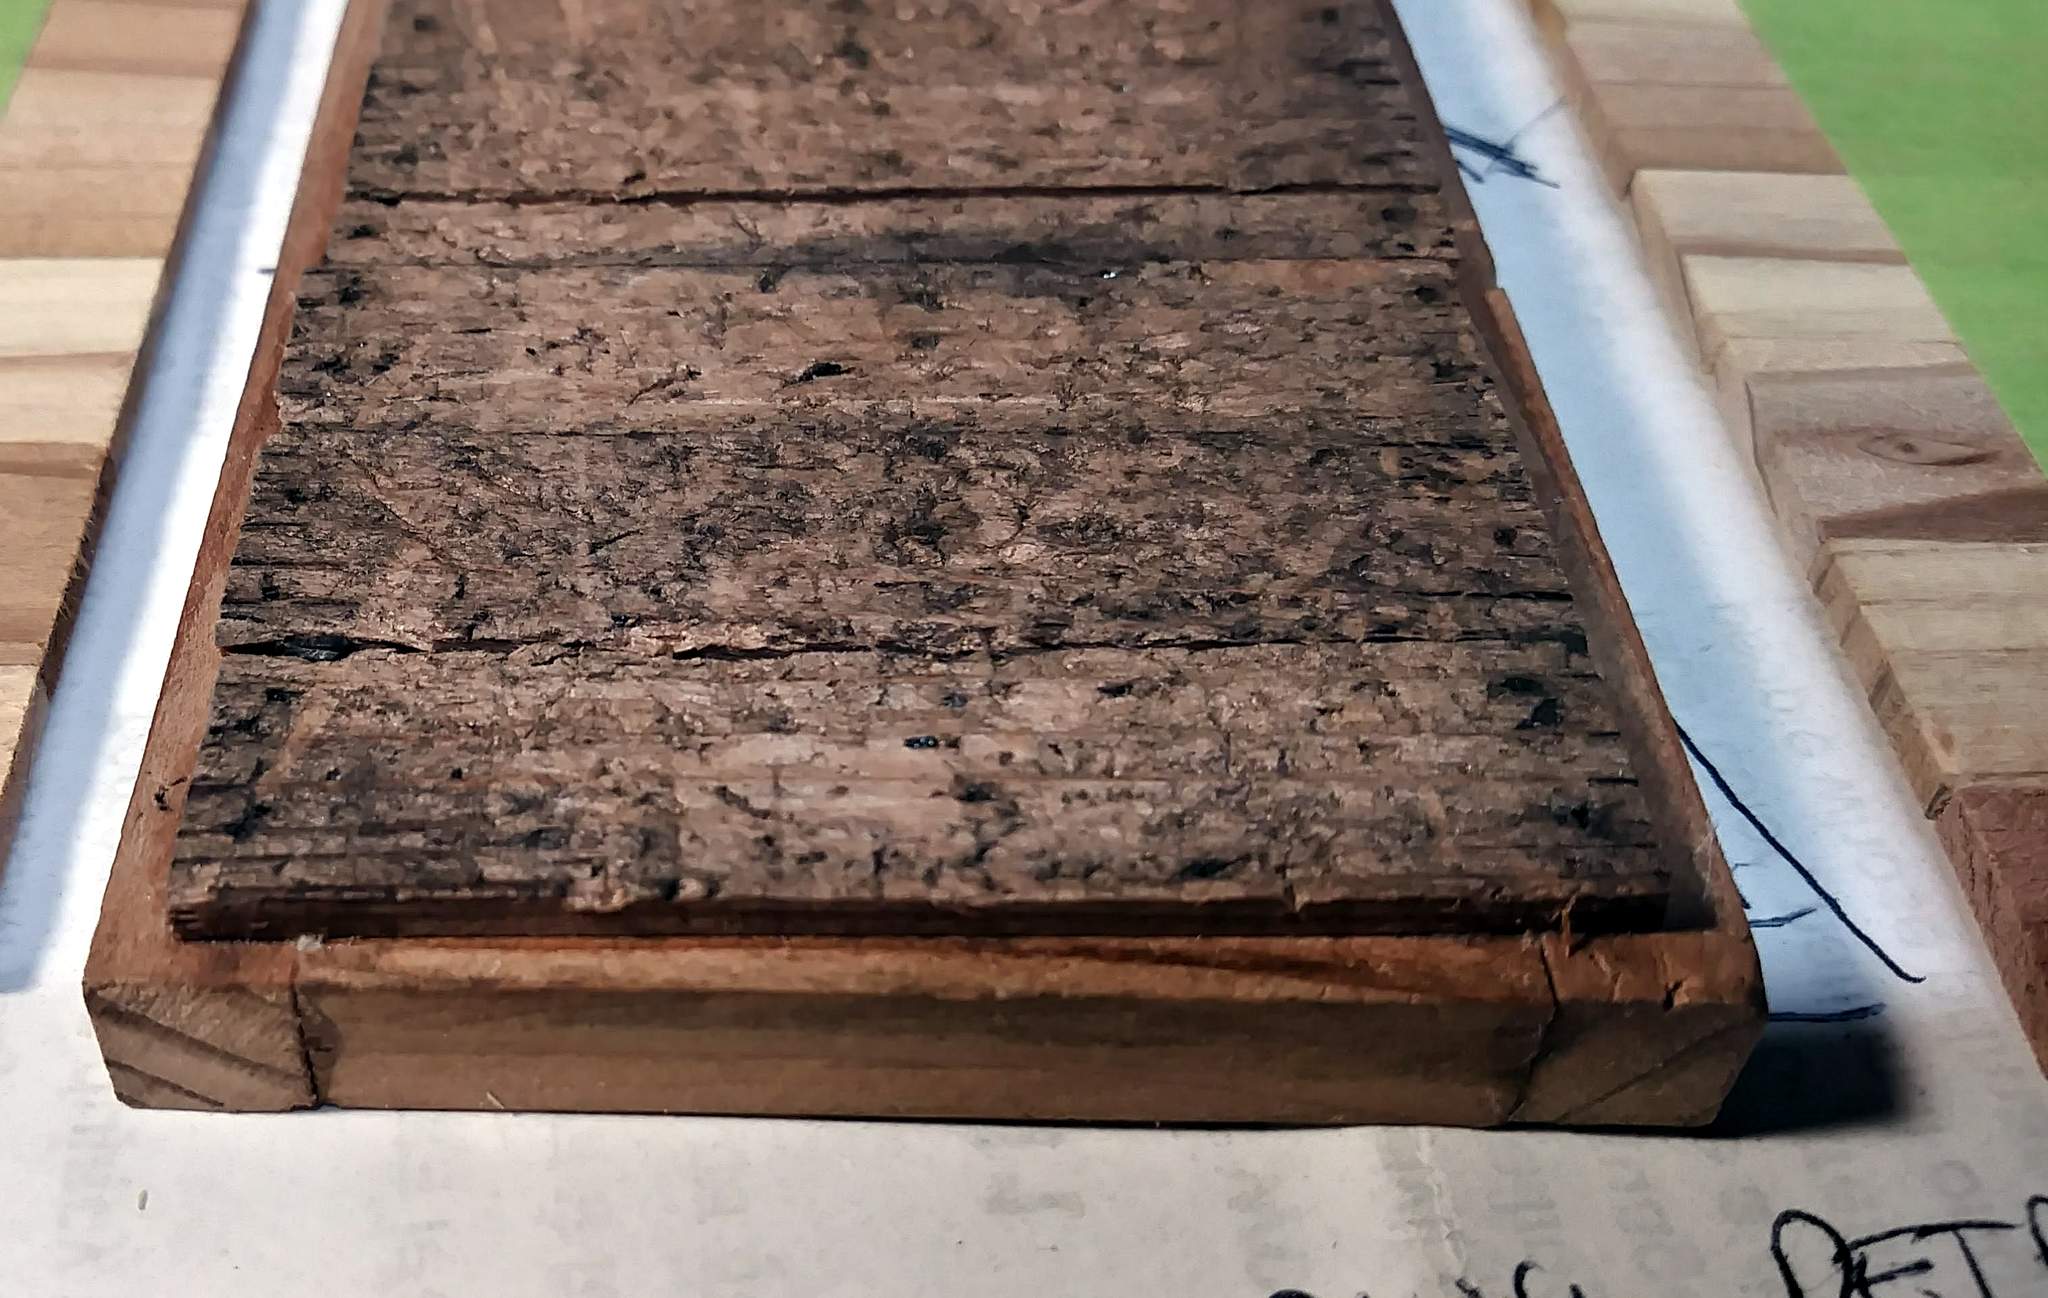
Do I model the era as shown in my prototype photo, or model a re-creation in the restoration era. Restoration era would allow stain or paint to make it better suited for outside, but I really love the barely standing look.
Finally, here is a retake shot of the underside of the deck. My shortest (3/8") pins from the flooring poke out of the bottom of the 6x6’s…
The end walls are going to take some thought to lay out. My hand drawings have all failed. Time to break out Viso to work out details.
Looking good Jon. Keep the pictured look as it lends character to the build 
WOW, putting a telegraph in an outhouse… Who’da thunk…
Nice Jon…
I like the coal for weathering looks good. Very nice out house. . .er. . . telegraph station.
I vote with everyone else, keep the look as is
As I move on to the end walls I am coming to realize that completely frameless construction is not likely to work well. My pin nailer skills aren’t quite good enough to nail to the 2.5mm edge of these planks. It won’t be visible once the roof is on, but I am adding nail boards in each corner using the 6x6 stock I built the deck frame with.
And since this scale lumber is just a tad oversize, I’ll need to rip a few planks to get the end wall size correct. Calculating this has me back on the computer in Visio. I am no longer a Visio expert as I jumped from Version 2000 to the 2019 verison that came with the new PC last year. Still struggling to get the roof line profile drawn!