Large Scale Central

C.V.S.Ry. Mik 2022 Build Log

I spent most of the day working out the end walls. I laid them out in Visio, but when I printed the page it just looked wrong. I moved on to cutting wood and dry fitting parts to come up with a shallower, and lower set roof and a wider door. My original plan was for a 24" door, mostly because that it what worked out with pre-cut lumber. Taking a page from The Book of Rooster, I played around with it until it looked right and decided to mill some wall plank and set the door at 30". This is where I’m at as of this evening…

Not shown is a gable section for over the door that has been glued up and is drying.

1 Like

That coal dock ^^^^

Or this one?

Rooster goes shallow and allows the build log to continue.

The one you pictured. Here it is from on top of the boney pile in the 60’s…

That is the lumber shed in the background. Brass bands prove tourist era.

Tonight I tried out a new (to me) technique to edge glue the planks into one solid piece to aid assembly. The first step was to get all the boards aligned and use masking tape to hold them in place. To get the nice even edges I butted one end against a solid object then, after taping, cleaned up the other edge on the mini saw…

The black item is self adhesive vinyl scrap from the sign shop. Next I flipped the wall over, pulled back the masking tape and applied the vinyl…

Next, clean up the vinyl edges with an Exacto and remove the masking tape on the front…

Now, with the vinyl firmly adhering to the back, you can flex the wall to open up the edges…

Slop in some glue to all the joints. The tool I’m using is from my grandmothers nail care kit…

Lie the assembly flat and clean up with a wet paper towel…

Apply some weight to keep things flat while the glue cures…

Tomorrow we will find out how well this worked and how badly the vinyl and glue mess up the other side.

3 Likes

couldn’t you have just done the tape and roll part without the vinyl backing? I have used that to build boxes going the other way but seems like it could work. Hopefully the vinyl backing comes off clean or minimal cleanup! :grin:


Is it just me or does that Rooster look like he is baked? :woozy_face: :herb:

Pete - The tape alone might have worked, but I was concerned that the planks might shift and I had the vinyl, so why not!

This morning I was pleased with the results. The vinyl peeled off with minimal effort and only took a small amount of wood fibers with it. I’ll just consider that step one of the weathering process…

One of my paint cans decided to leave a mark on the wet wood. It should come off with a bit of sandpaper, but in any case, I’ll use that side on the inside…

One other minor issue is a bit of curl toward the vinyl side. I’ve got them clamped to the table to keep them flat. When I add the nail boards they should help hold them flat.

Today I’ll get the front inside corners made and try and figure out how I will make the door. The prototype looks like perhaps 2" lounge & groove board. I could probably simulate that with a solid door and route the v grove lines. Kind of tedious, but might be worth it.

EDIT to add: The vinyl I used is called Avery Control Tac. It has that diamond pattern you can see in the adhesive. It applies easily with without bubbles and is designed to repositionable which also makes it easy to remove when recently applied. I’m not so sure standard vinyl would come off as well.

Sorry Roo, the Conrail rulers are not for sale. The backside has my scale rules…

Neat trick, Jon! Thanks for stepping us through!

coming along nice Jon. I really like the coal weathering of the wood. I have used graphite drawing sticks for much the same look but it does not have the shine that coal does.

Got sent home early from work since it was raining inside my shop with about a half inch collected on the floor. Not really a good environment for power tools :open_mouth:

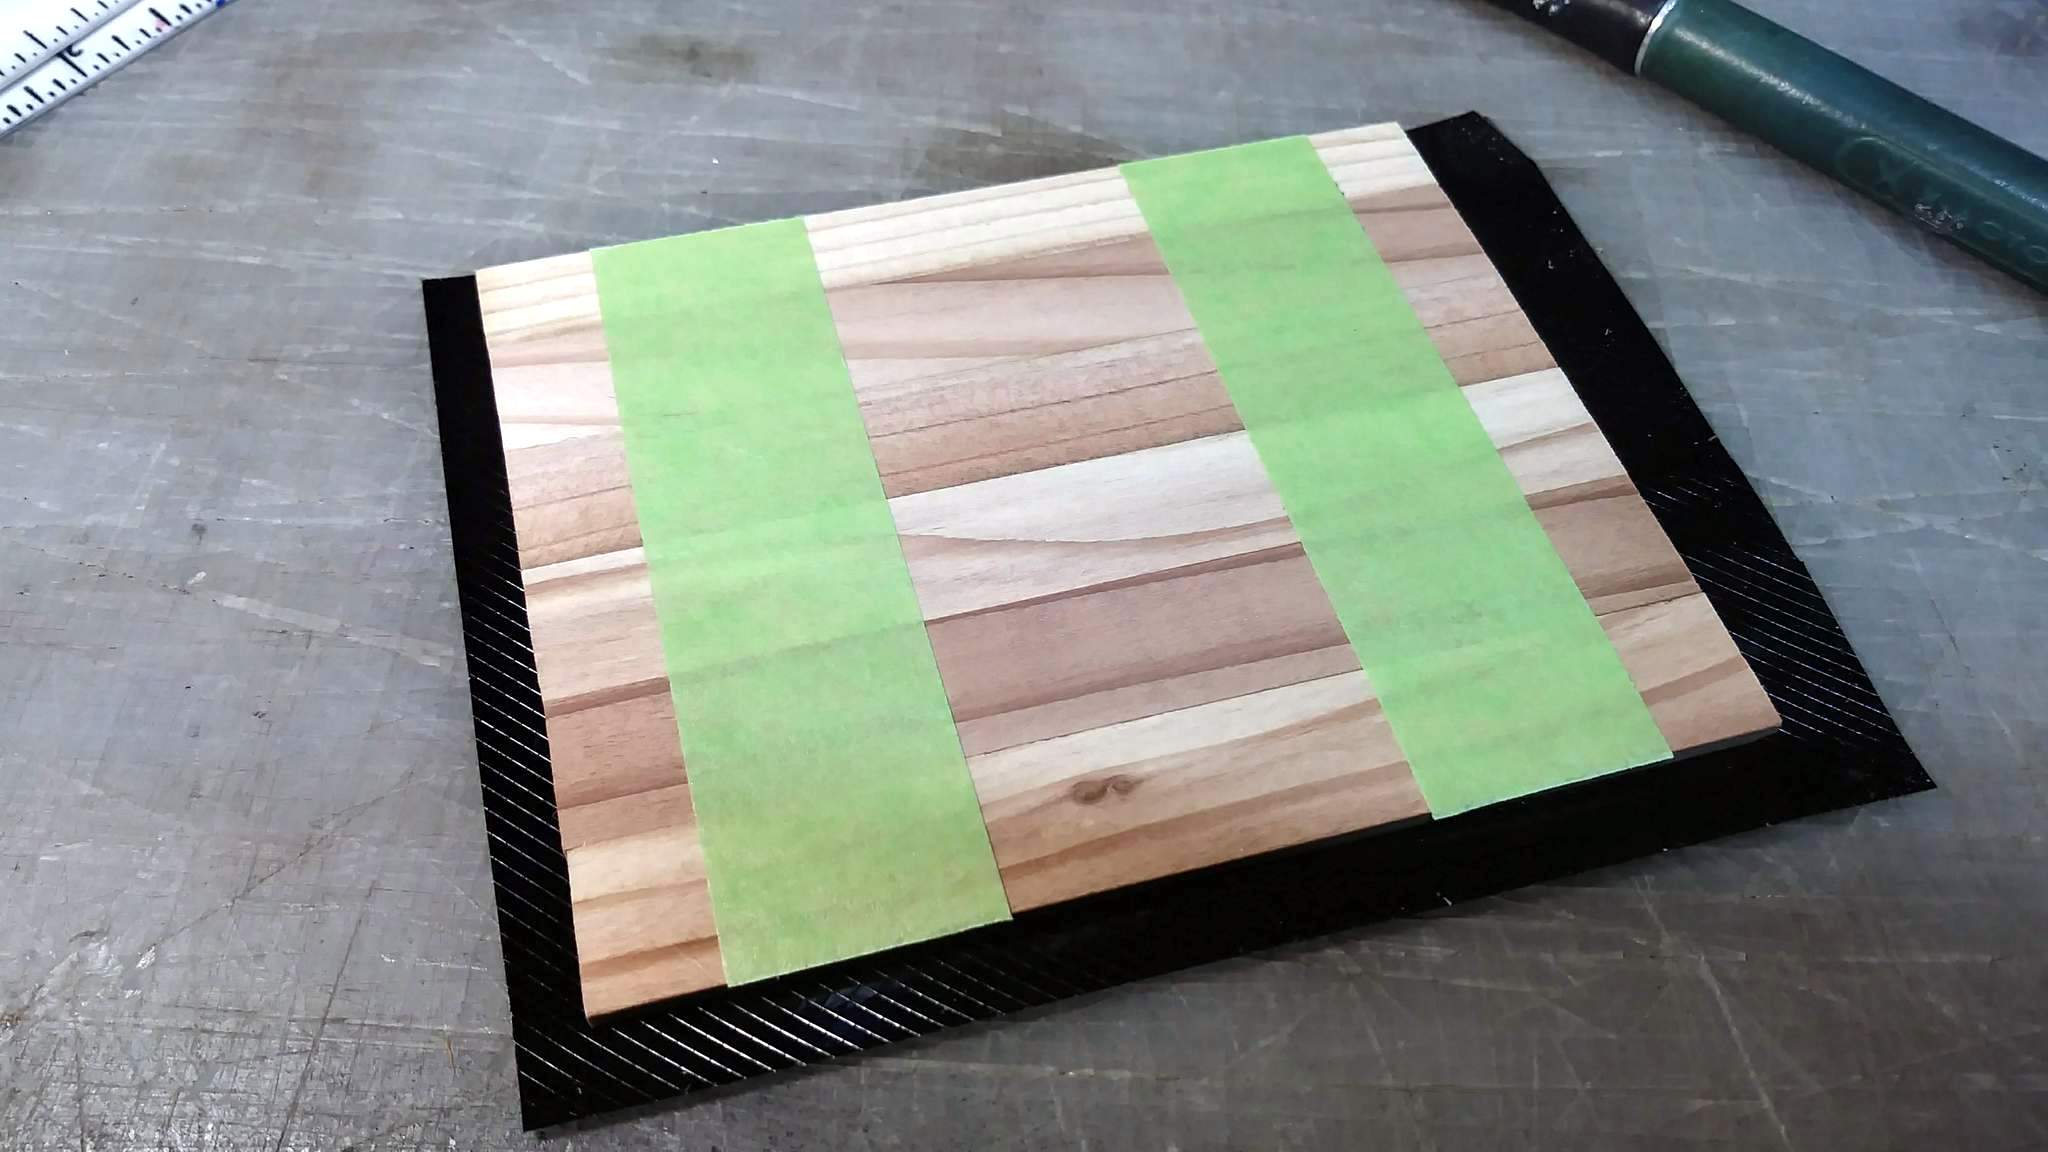
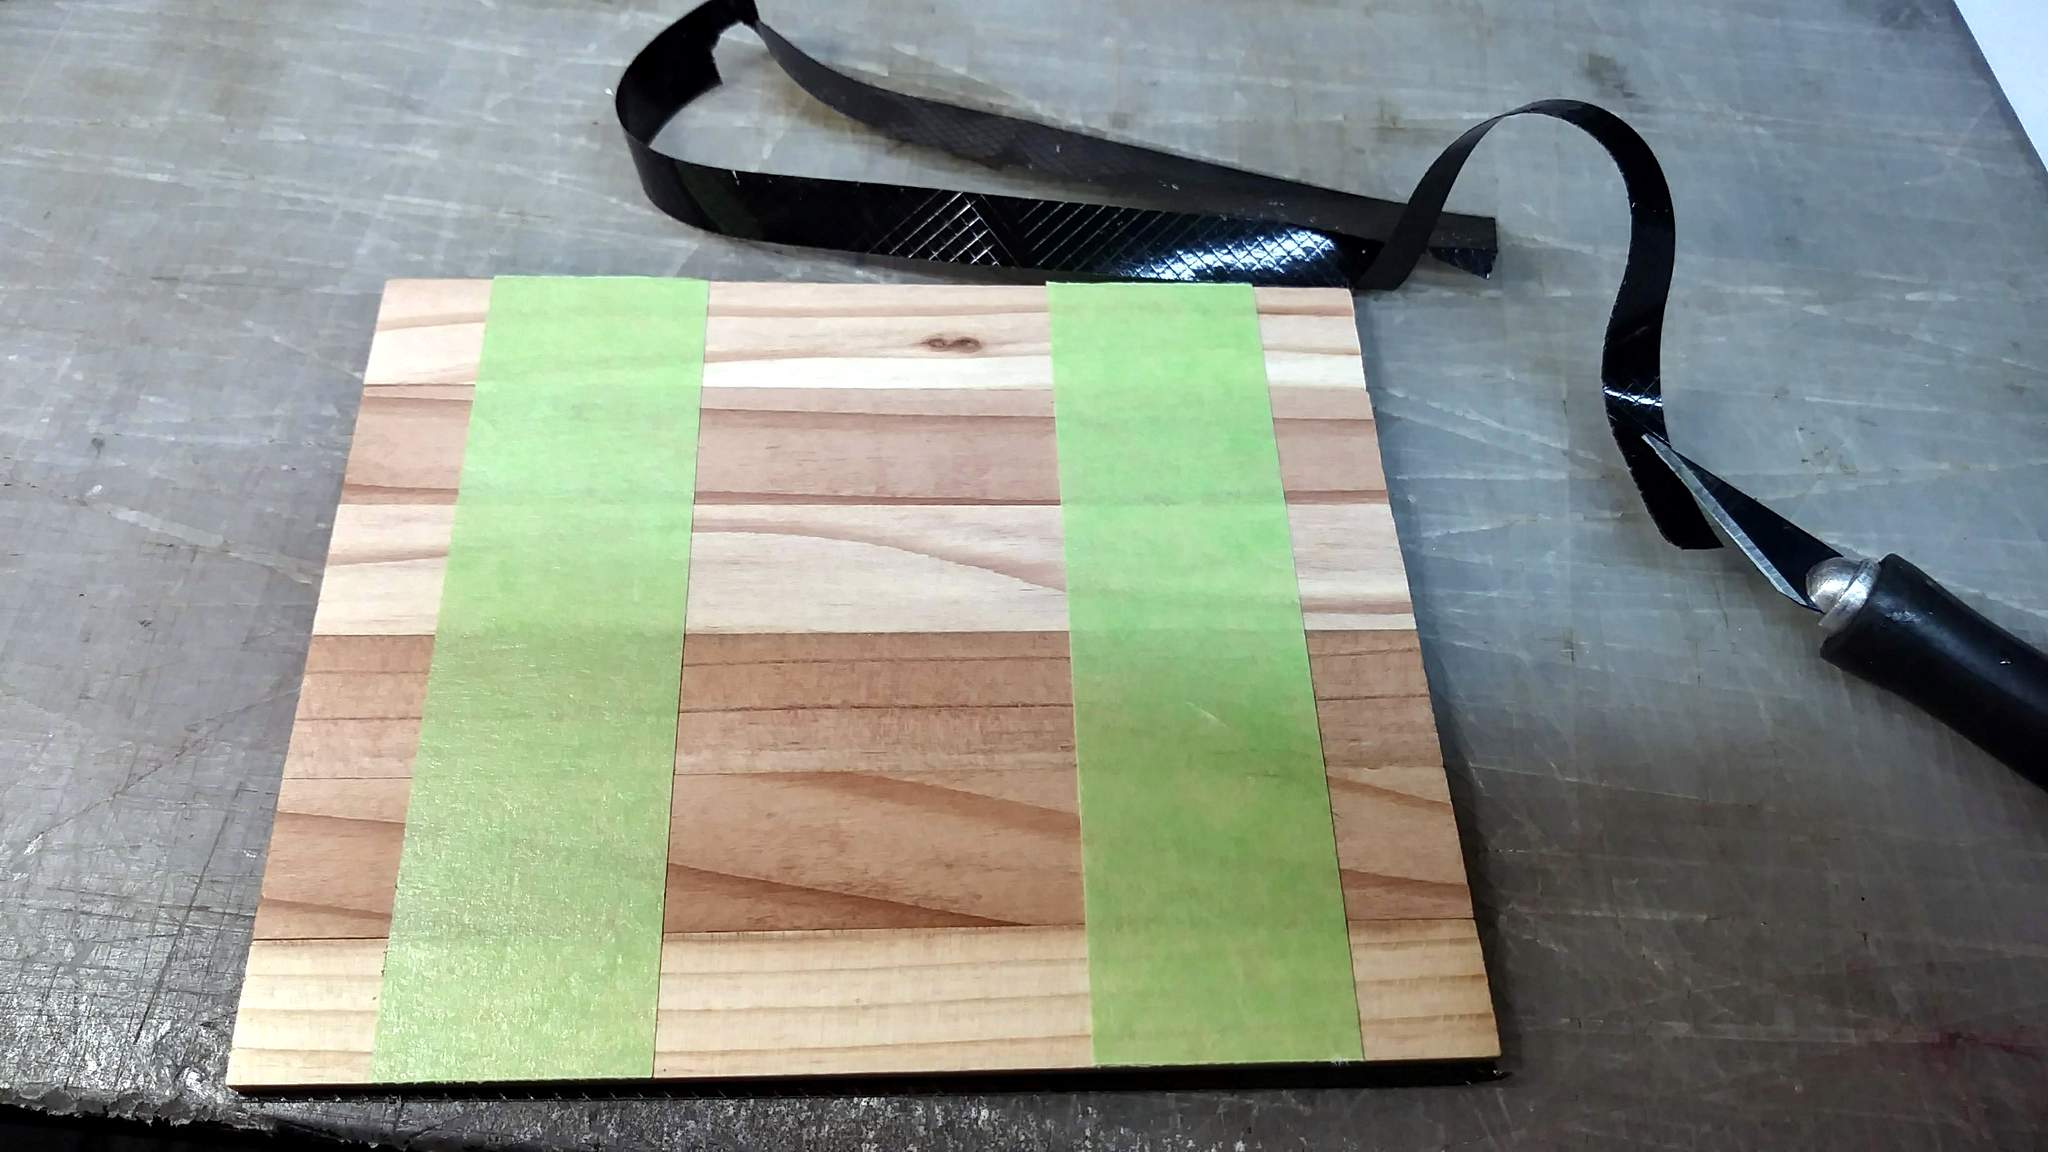
That gave me a few hours to work on the shack. Since the last time pictures were posted I built up the front wall. I’m not used to this waiting for glue to dry thing. My builds usually will handle pins, but this stuff is too small. The front wall consists of 12 pieces of wood including the battens all held together with Titebond III.

And speaking of battens, shout out to @ctown Craig Townsend for his example of cutting the battens long then trimming after the glue sets.

First up is a dry fit test. The aluminum things are small hunks of tube that are helping to hold things up for the picture…

My mini-saw does not have a tilt arbor to trim the wall top. I might just lower it a smidge and call it a day since the weathered roof is bent at that point and there will be a few boards under the metal roof. Here’s a peek inside that will not be seen once the walls are erected…

If I had built a paper mock-up first I probably would have made the whole thing bigger. I may skip the vent pipe as there does not seem to be enough room for a stove and a man inside.

And finally, the details are starting to go on - battens on the end walls are done…

Starting to think about the more difficult items like how to make a v-grove door and what I am going to finish the wood with. I am thinking about trying my hand at paint weathering. Need to watch some Youtube videos :slightly_smiling_face:

1 Like

Put an addition on the side then you will have room for the stove. :smiley:

2 Likes

Glad to be of help. I was just being lazy and didn’t want to measure. :joy: 
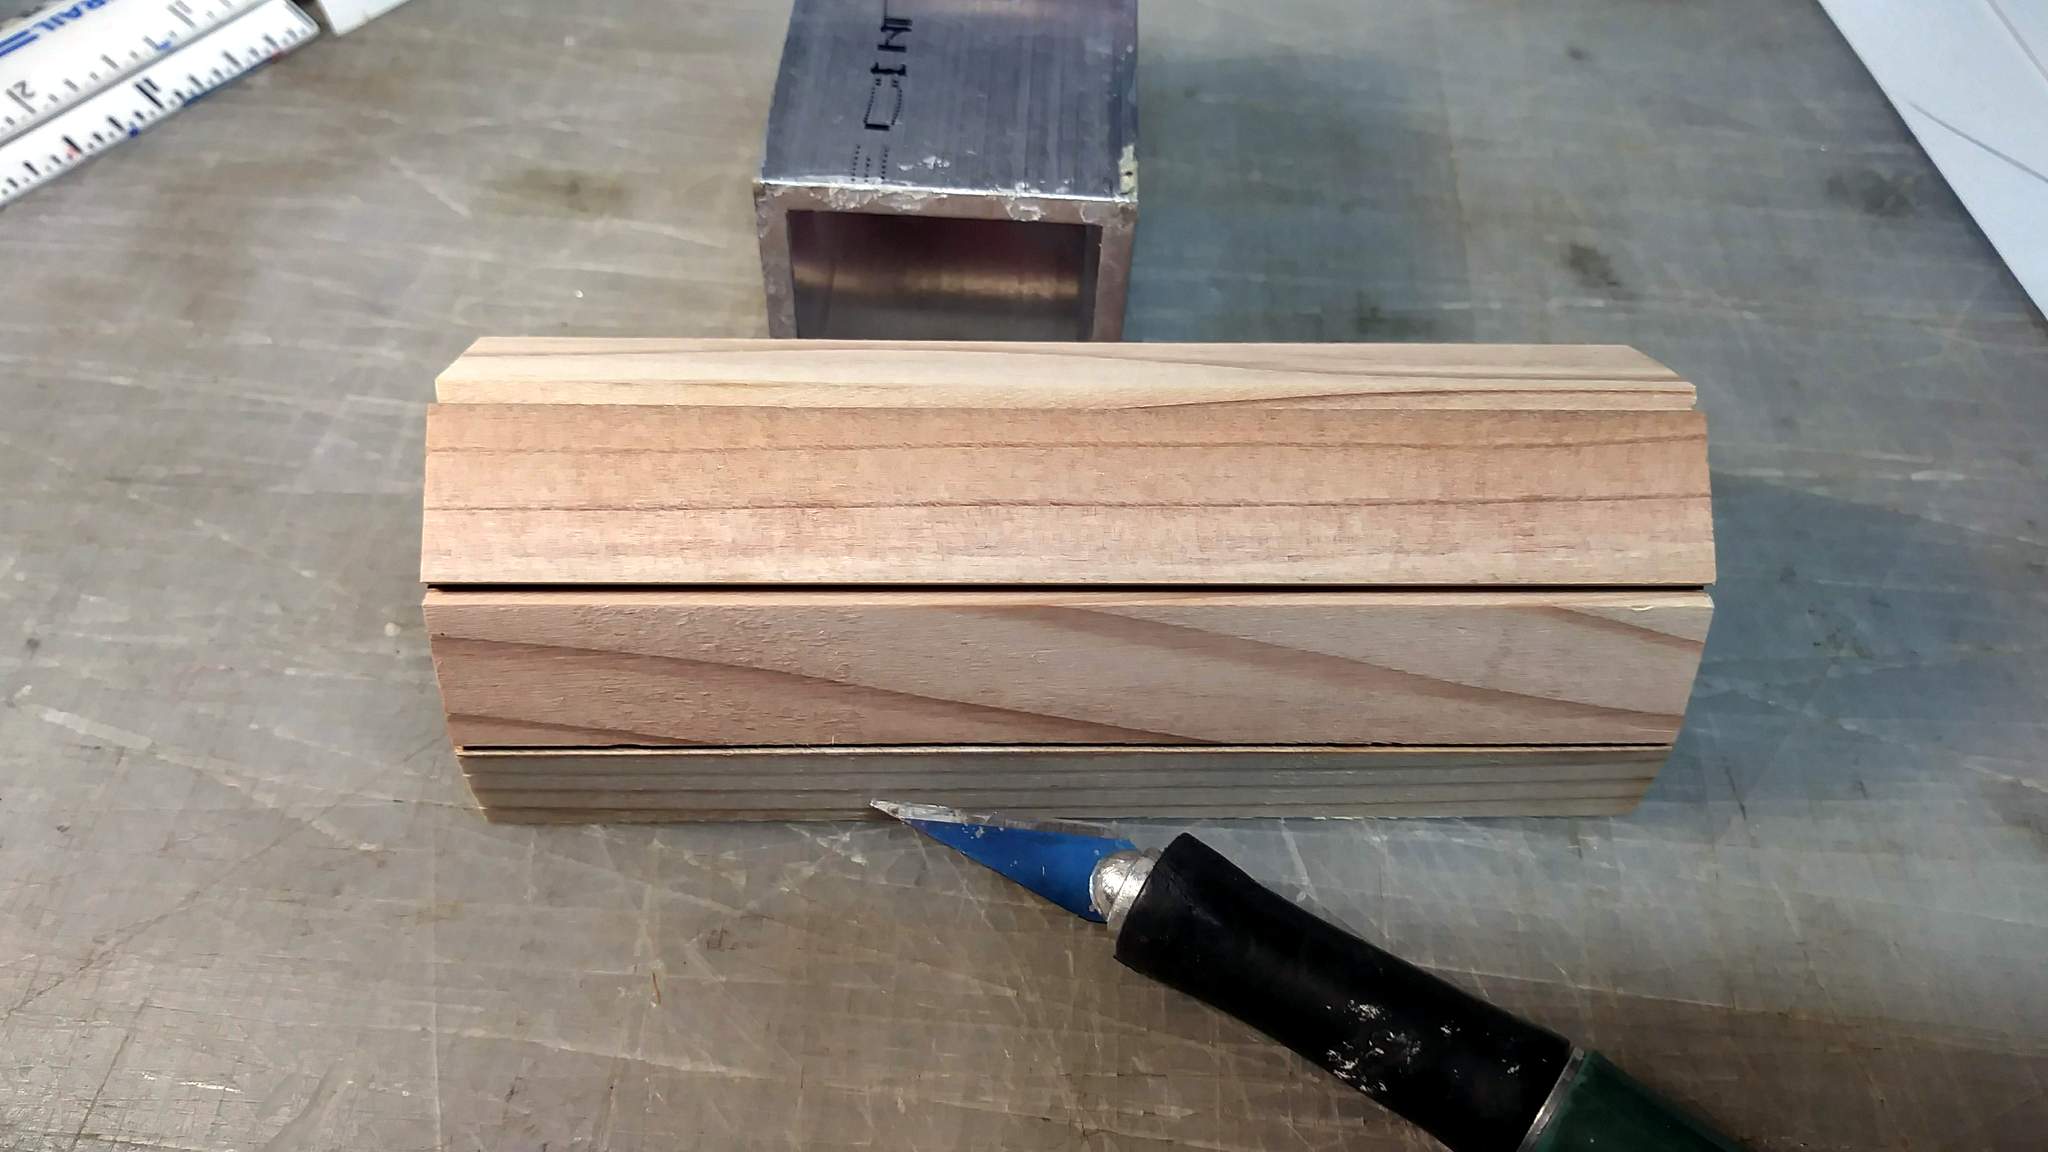
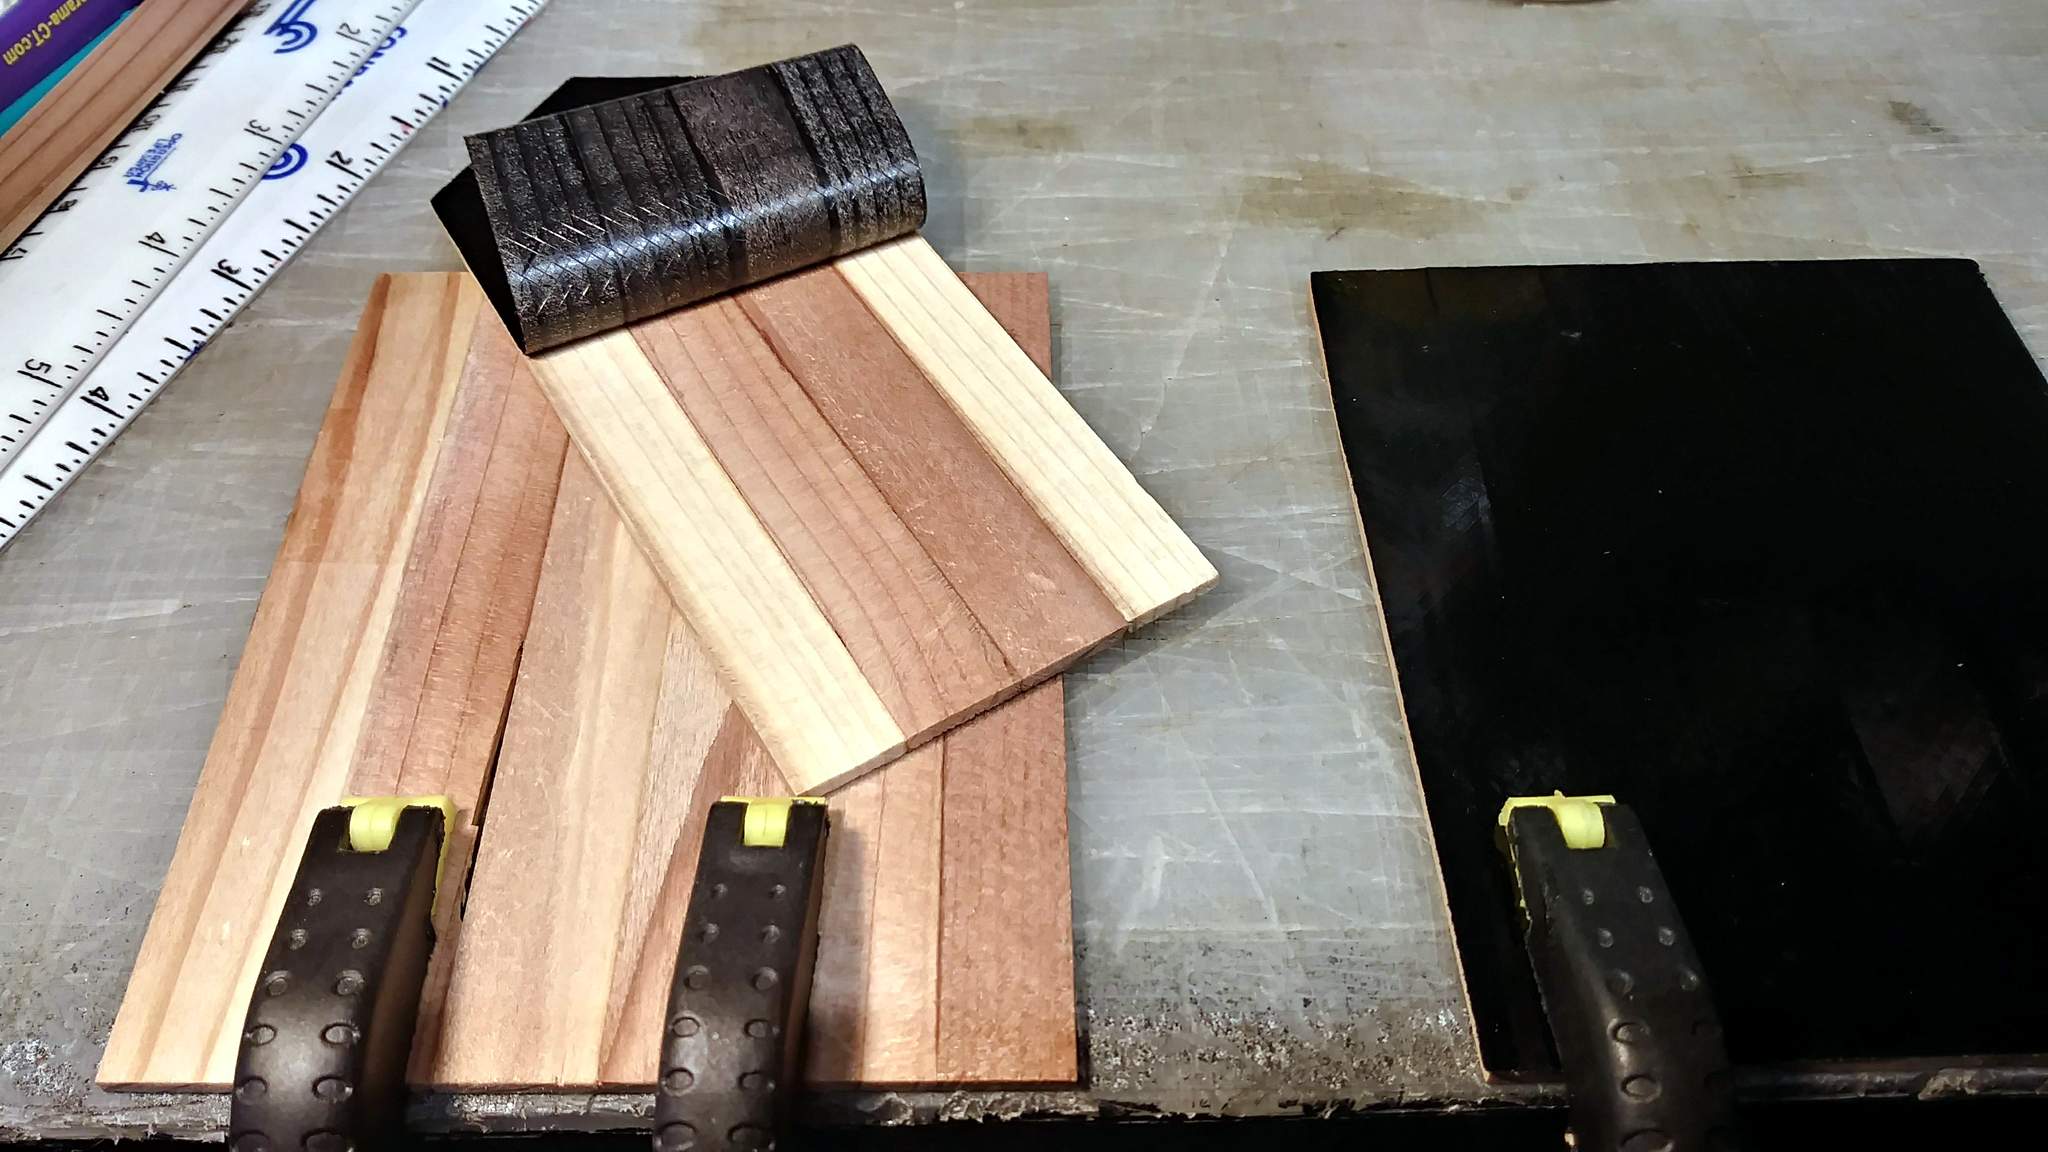
The cut offs have been proven to be useful for small battens under the windows, etc.

1 Like

Looking good, Jon. I agree on no room for a stove unless the worker is using it for his seat :wink:. That would give “on the hot seat” a whole new meaning :nerd_face:

Nice work Jon. You are making big work of a little building. Putting a lot into it.

That sure is a neat little building.
I have used a dado blade to make battens on a small building and also clapboard siding on my engine house. I have also used coffee stir craft sticks on other projects and I’m thinking about using that approach on this years Mik build.

Those mini table saws sure are neat. I have a cheap mini chop saw and I just used it to make the spout pipe for the sander.

Keep up the fine work.

I am going to give this a try I think when I do the mine building. Sure would be a lot faster to set up a sled for the table saw than to cut and glue a million battens.

I really like the British slang word for a privy, “Thunderbox.”
Cheers, David Meashey

Glueing the battens isn’t bad when there are only a few. I’m going to do the side walls tonight, so I’ll let you know if I still feel the same way after.

I think that I need to do any wood texture weathering before assembly as this will be spindly little box.