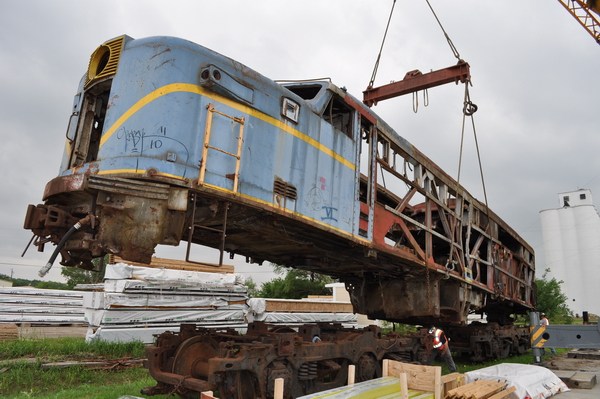
Large Scale Central

AM-Critter....Kid-zilla goes freelance

Update:

First, @David_Marconi_FOGCH , thanks for the detailed way forward. For now, I have Kid-zilla focusing on the mechanical part of the AM-Critter. I figured if he can get it rolling, it will keep him rolling! I also don’t want to get in a situation where he has built everything only to find some internal issue isn’t quite right. That is always demoralizing. I figure closing the back will be the first major step prior to paint and external details. Oh, and yes, @Rooster , we have the card ends and PVC board.

Second, the motor block confounded us for a bit. Those jumpers should have worked. Kid-zilla began by opening up the block…

…and inspecting the internals.

We even tested the motor. No worries. We saw no bent bus bars or loose solder joints. Kid-zilla hit upon the idea that you had to jump from port to starboard across the block. I didn’t think it mattered, but, what the heck, and lo! it worked! Strange…For kicks, we removed the motor, inverted it, reinserted it, and replaced our jumpers. Turned right over. Weird…There is a reason I barely passed electrical engineering eons ago.

Next came the all-important on-track test.

He noted that the drivers spun on the rails, and he quickly deduced it needed more weight, but how much? He grabbed a B’mann 4-6-0 weight (Thanks, @John_Bouck !), removed the motor, and tried again.

Success! Next, of course, came a partial reassembly to see this thing roll (video)!

The following day we were off to the hardware store for some nylon washers to properly mount the weight and the trucks. This required a full disassembly.

I should add we also got the requisite aluminum paint!

We got a couple extra washers to see how AM-Critter sits on the rails. One washer gave the following results:

Two washers looked sort of silly to Kid-zilla, as the cab rode high above the motor blocks, so a bit of filing is in his future!

He can file with the best of them. I did tell him he has to think about how to add couplers so that AM-Critter serves an economic purpose. One hurdle at a time!

On Behalf of Kid-zilla.
Eric

P.S. My role remains one of safety and the prevention of catastrophic failure. Most of the troubleshooting and solution generation is his.

7 Likes

Excellent work and learning experience with the motor block! I personally would recommend putting the power truck in the rear.

:rooster:

1/8" PVC board ( included in box with enough for mistakes )^^^^^^^^^^^^^

ALCO_PA_Lift_May_11_2011_(66)_600px

Brakes1

Gotta have cross drilled rotors !!!

1 Like

Update:

I shared the recent idea generation posts. They did little to alleviate a bit of sulkiness that someone had to disassemble AM-Critter to reverse those trucks. We got that done today. Someone was just as sulky to find he had to move the weight back over the powered truck. He made preparations to do that today, too.

Meanwhile, he has been slowly shaping the front of the body to clear the rails. I talked to him about the couplers. He nodded. I talked to him about closing up the back. He nodded. I reminded myself “His project!” My better self nodded…

Updates as progress merits!

On Behalf of Kid-zilla,
Eric

Mr. Mueller and Mr. Mueller spawn,

When you boys are finished with the pouting and headbutting may I ask you gentlemen to both have a peek at my recent addition to an “Amtrak Bashing” thread ".

I would like you to note that I am currently using and primarily have used the same materials you received in a modeling care package and they can and will work very well.

Just think simple and “take your time”. No need to rush as Rome was not built in a day.

Amtrak Yoda

1 Like

Update:

OK, we took @Rooster 's advice, took a deep breath, and reviewed his AMTRAK Bashing thread. I set a goal this weekend to get the couplers set up, but first we had to make space on the lanai. There were any number of almost finished, not really started, and where-were-we projects on the table between trains, rockets, planes, Halloween costumes, and stuff. All excellent, but it was time to finish some things, clear some parts, and focus on the main effort - AM-Critter!

I did think it was important to get some “wins” on the board, so we repaired Diesel Dan and swapped out Bumble Bee’s bottom plate to allow for a stock pilot (Still grinds as it rolls, but at least it doesn’t derail! We’ll putter with the homemade pilot later…maybe…).

In between this activity, I caught him modifying the shell interior to allow the weight to center over the powered driver.

His plan, his execution, his success!

Flush with victory, we took a pair of hook-and-loops from the bit-box, and had a good “think.” I noted a little screw on the back of the USA Trains motor block. He rifled through my box of leftover home improvement doodads, and he found a picture hangar. I bent it to an “L” for him…

…and he set-to with a DREMEL to enlarge the holes to accommodate the various screws.

We laid a quick test track, and, after he corrected for installing the “L” bracket upside down, mounted the coupler…

…and tested his rig.

He had to put the shell back on to better picture the finished product.

He wants to explore using a long bolt to hold the forward coupler in place. I am suggesting we go with Roster’s donated PVC boards. His project, and, he has been right before. Next Saturday is coming, and we’ll see what he comes up with by then

Looking ahead, we have to figure out how to light the interior and power the smoke generator. Kid-zilla correctly noted we could run power off the tabs we used to jump from the power intake to the motor. I have a bunch of 7mm LEDs sitting around, but I know 24V DC will fry them. I have a slew of random resistor I could solder in place; alternatively, I have some LGB headlamp bulbs ready-to-hand. The smoke generator? No clue…

On behalf of Kid-zilla,

Eric

2 Likes

To use a Navy term I learned while serving '63-'66:

OUTSTANDING

1 Like

Not optimum however just about the perfect number that is very forgiving with LEDs.