Large Scale Central

Z scale on G scale

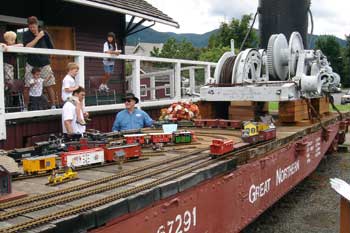
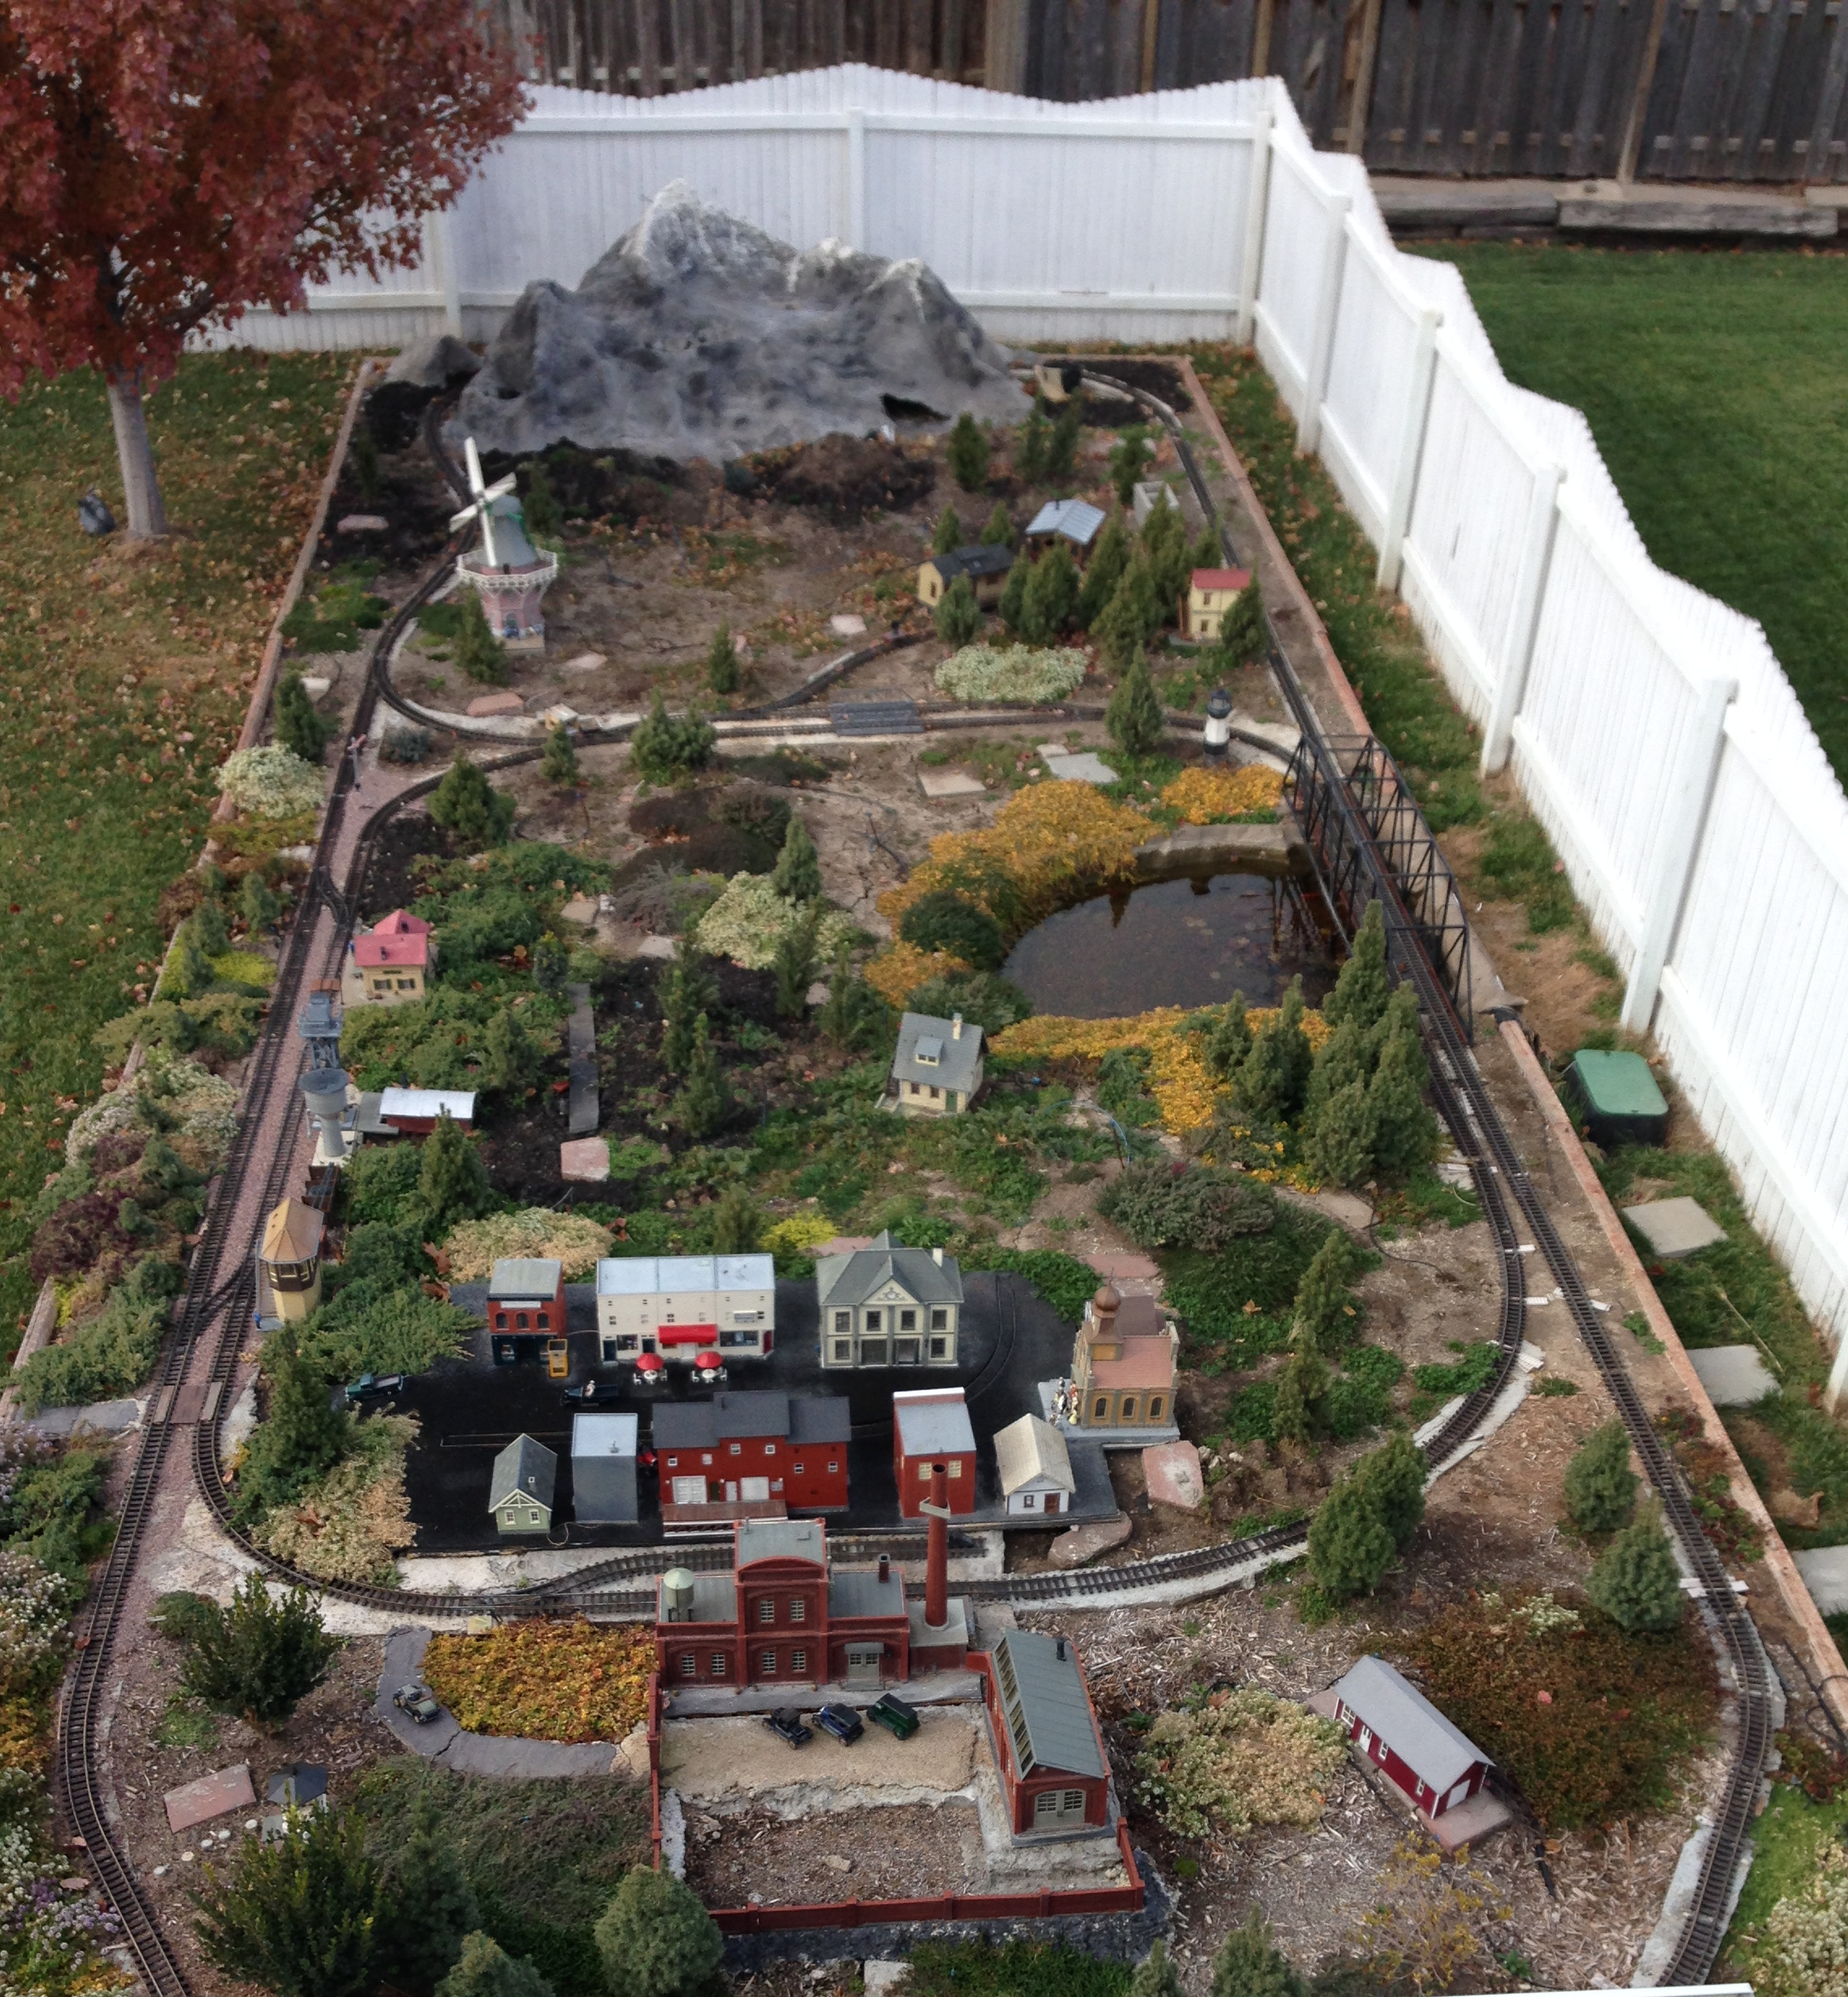
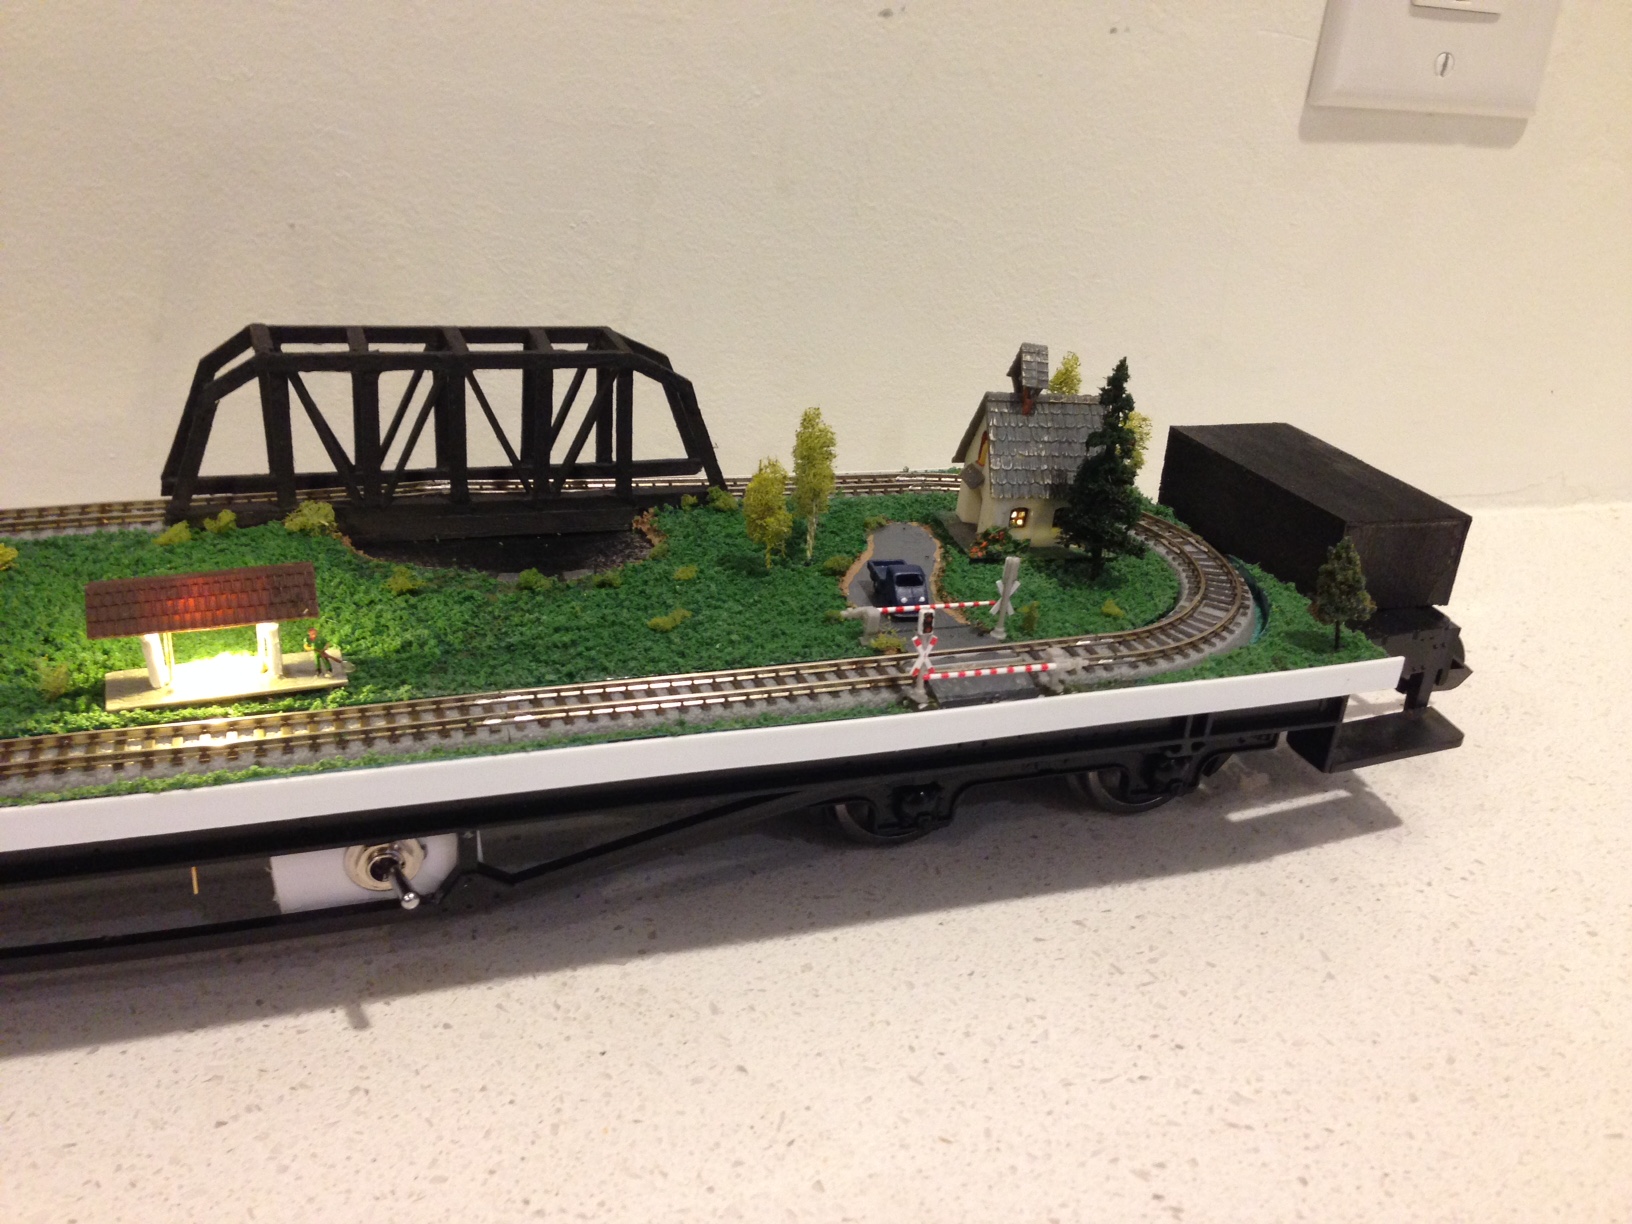
So, inspired by a discussion on Vic’s N-scale thread, I decided that it would be amusing to re-create my G scale layout in miniature. I’m going to try and capture the essentials of my backyard layout in a Z scale layout that will fit on a flat car.

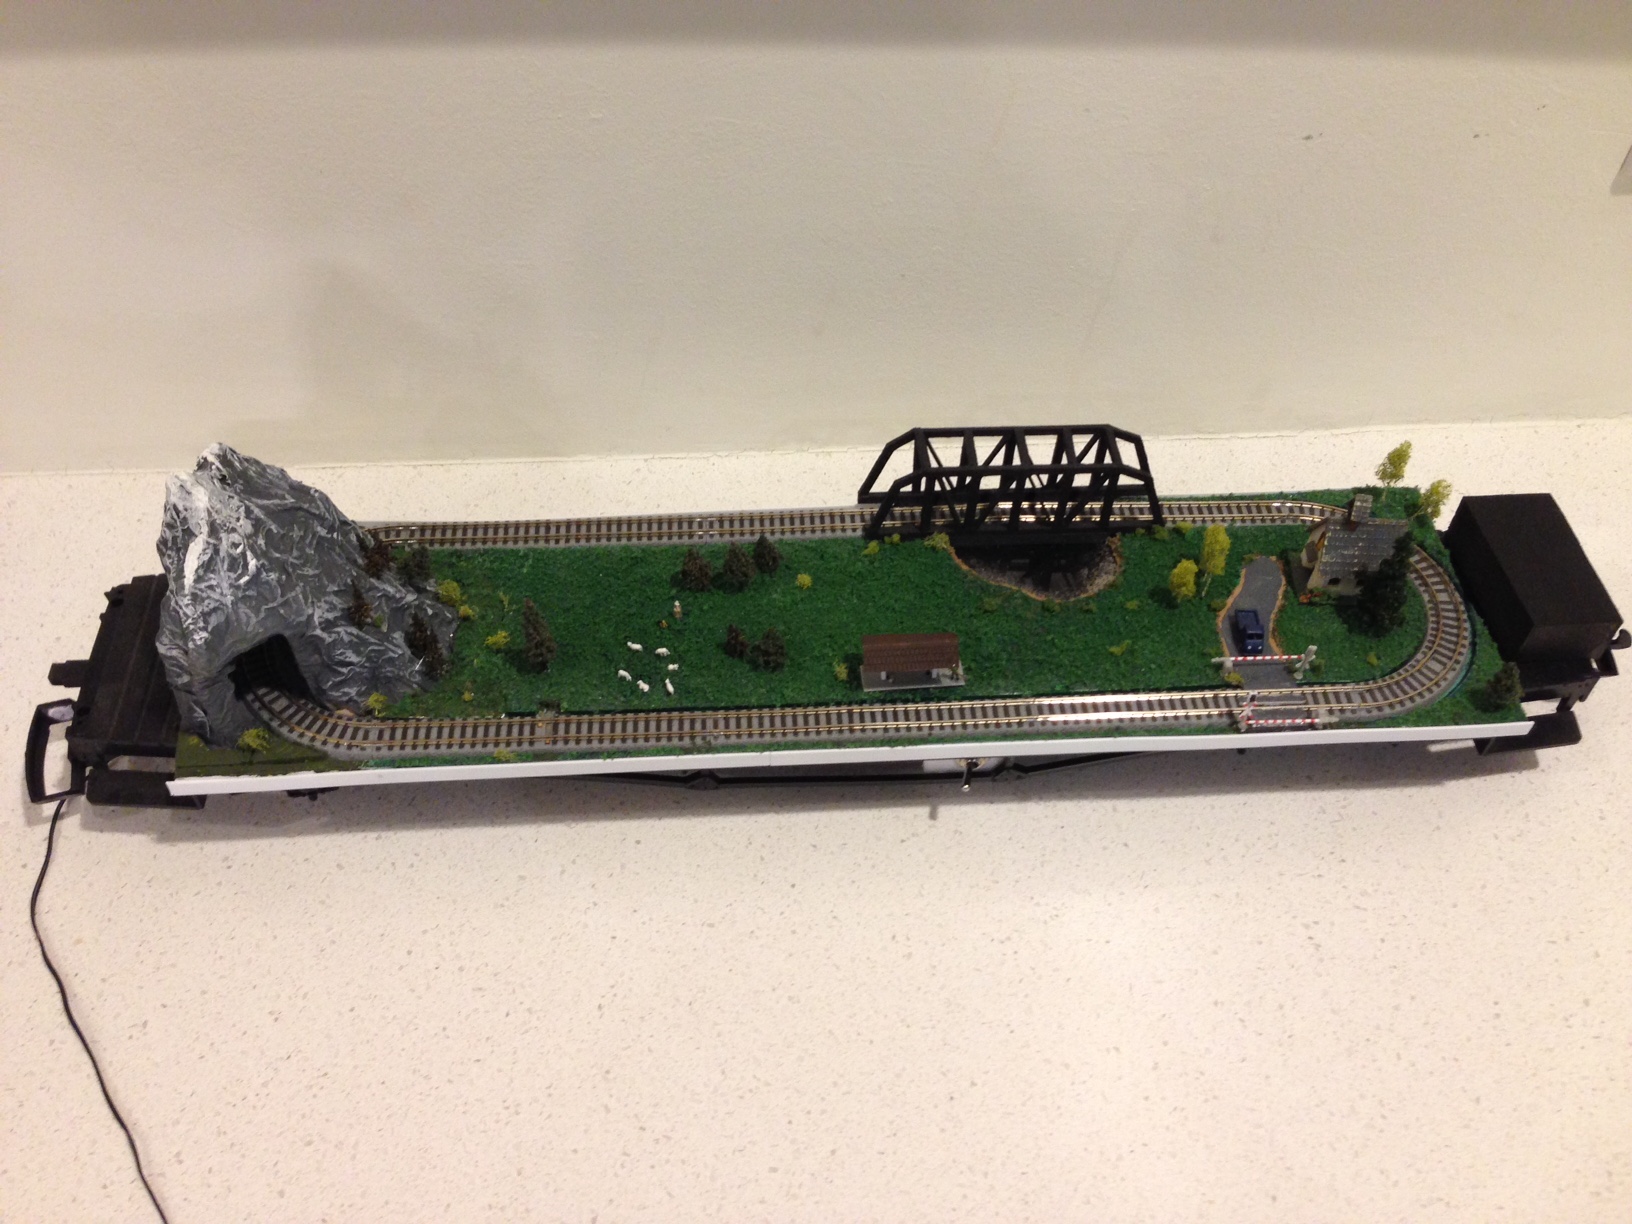
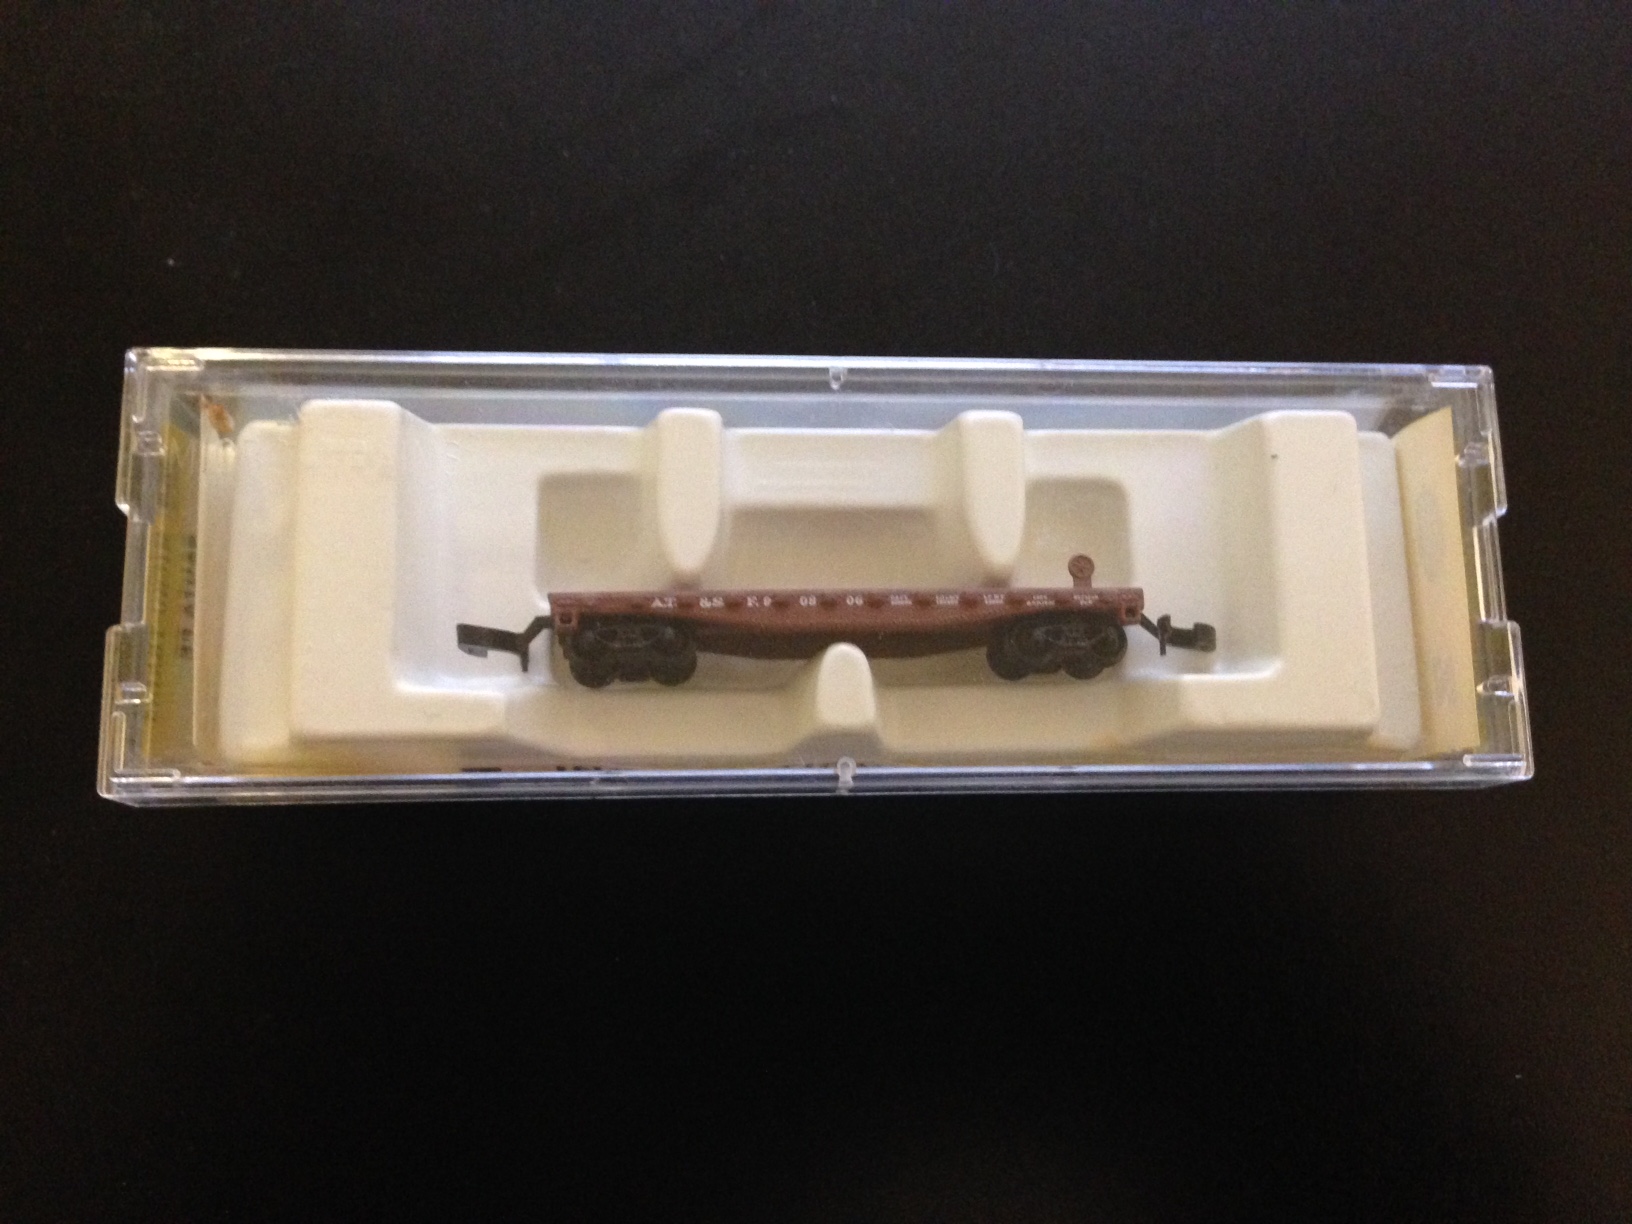
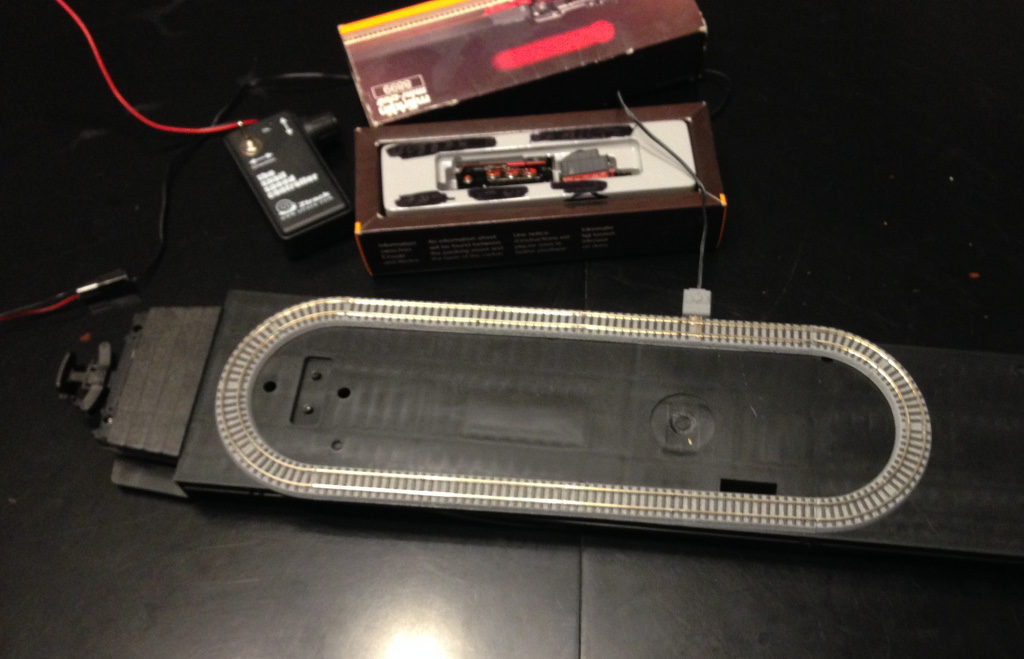
To start with, I wanted something pretty big, but I didn’t have any large flats. I did have a Newqida passenger car in my parts bin, so it was off with the roof and body. Next, I bought some Z scale “R45” curves. I’ve used Rohukan track on my shelf layout, but I hadn’t seen these tiny guys until Greg E mentioned them. It’s funny (to me at least) that these curves have approximately a 45mm diameter–the width between the rails in G.

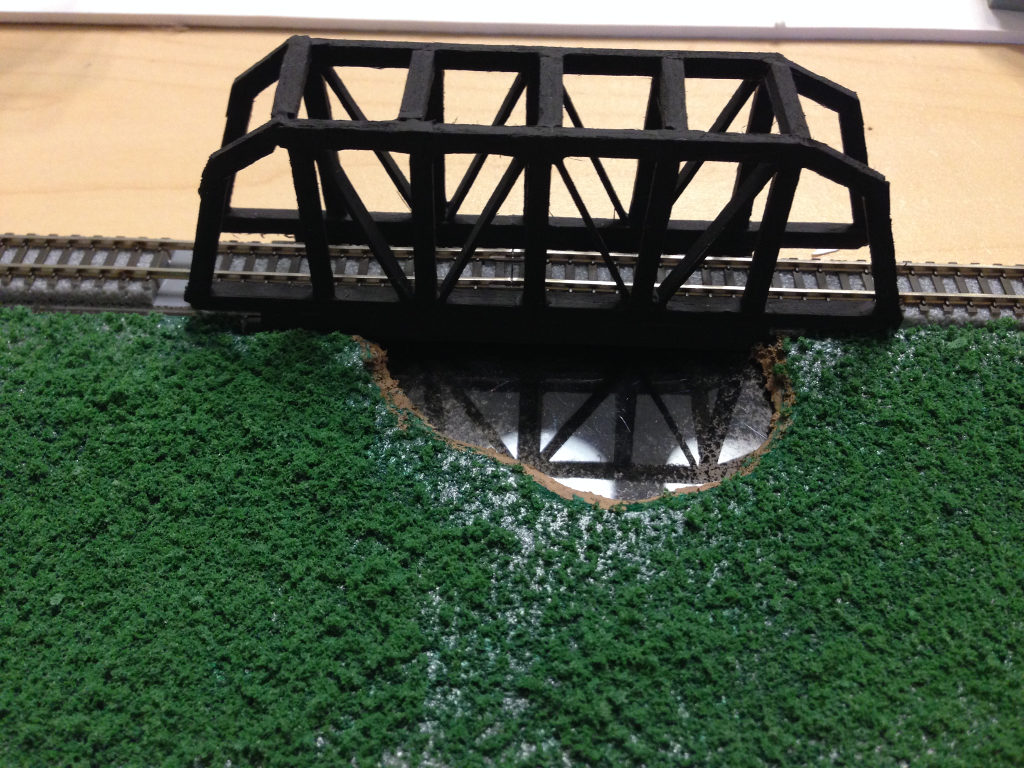
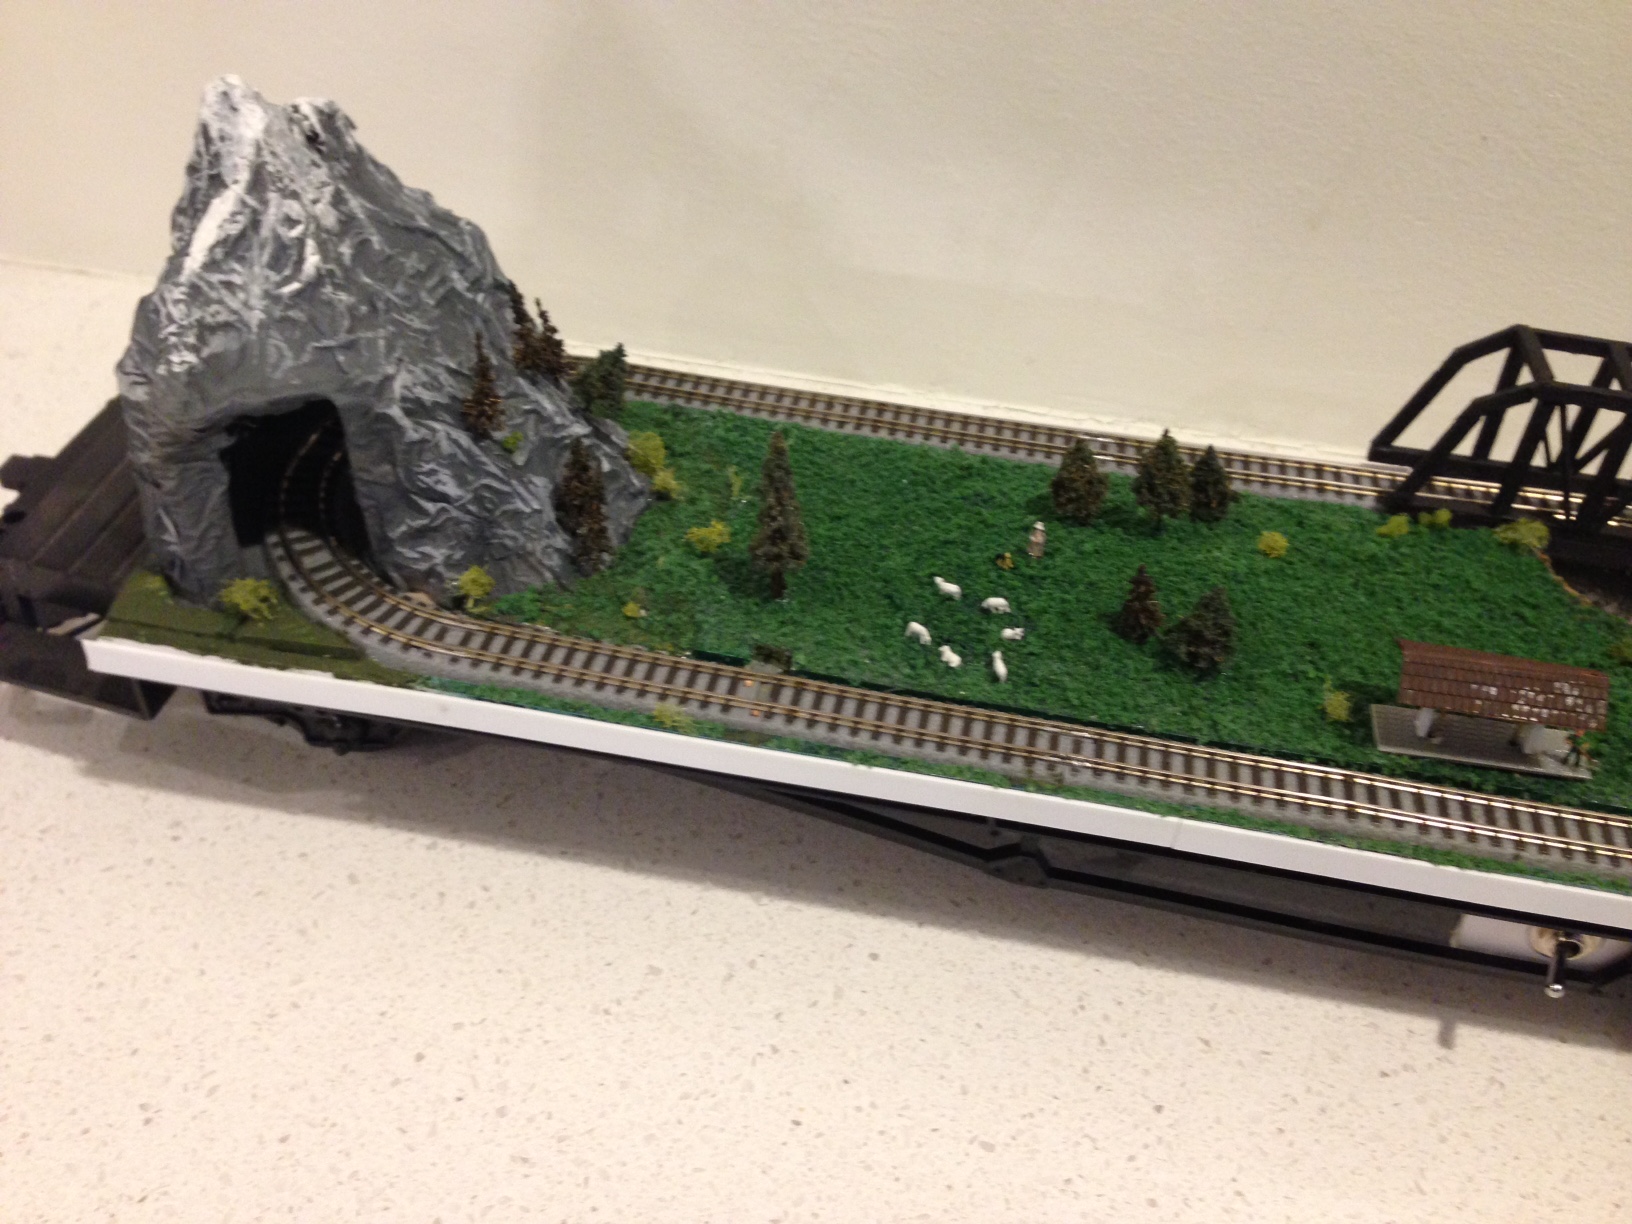
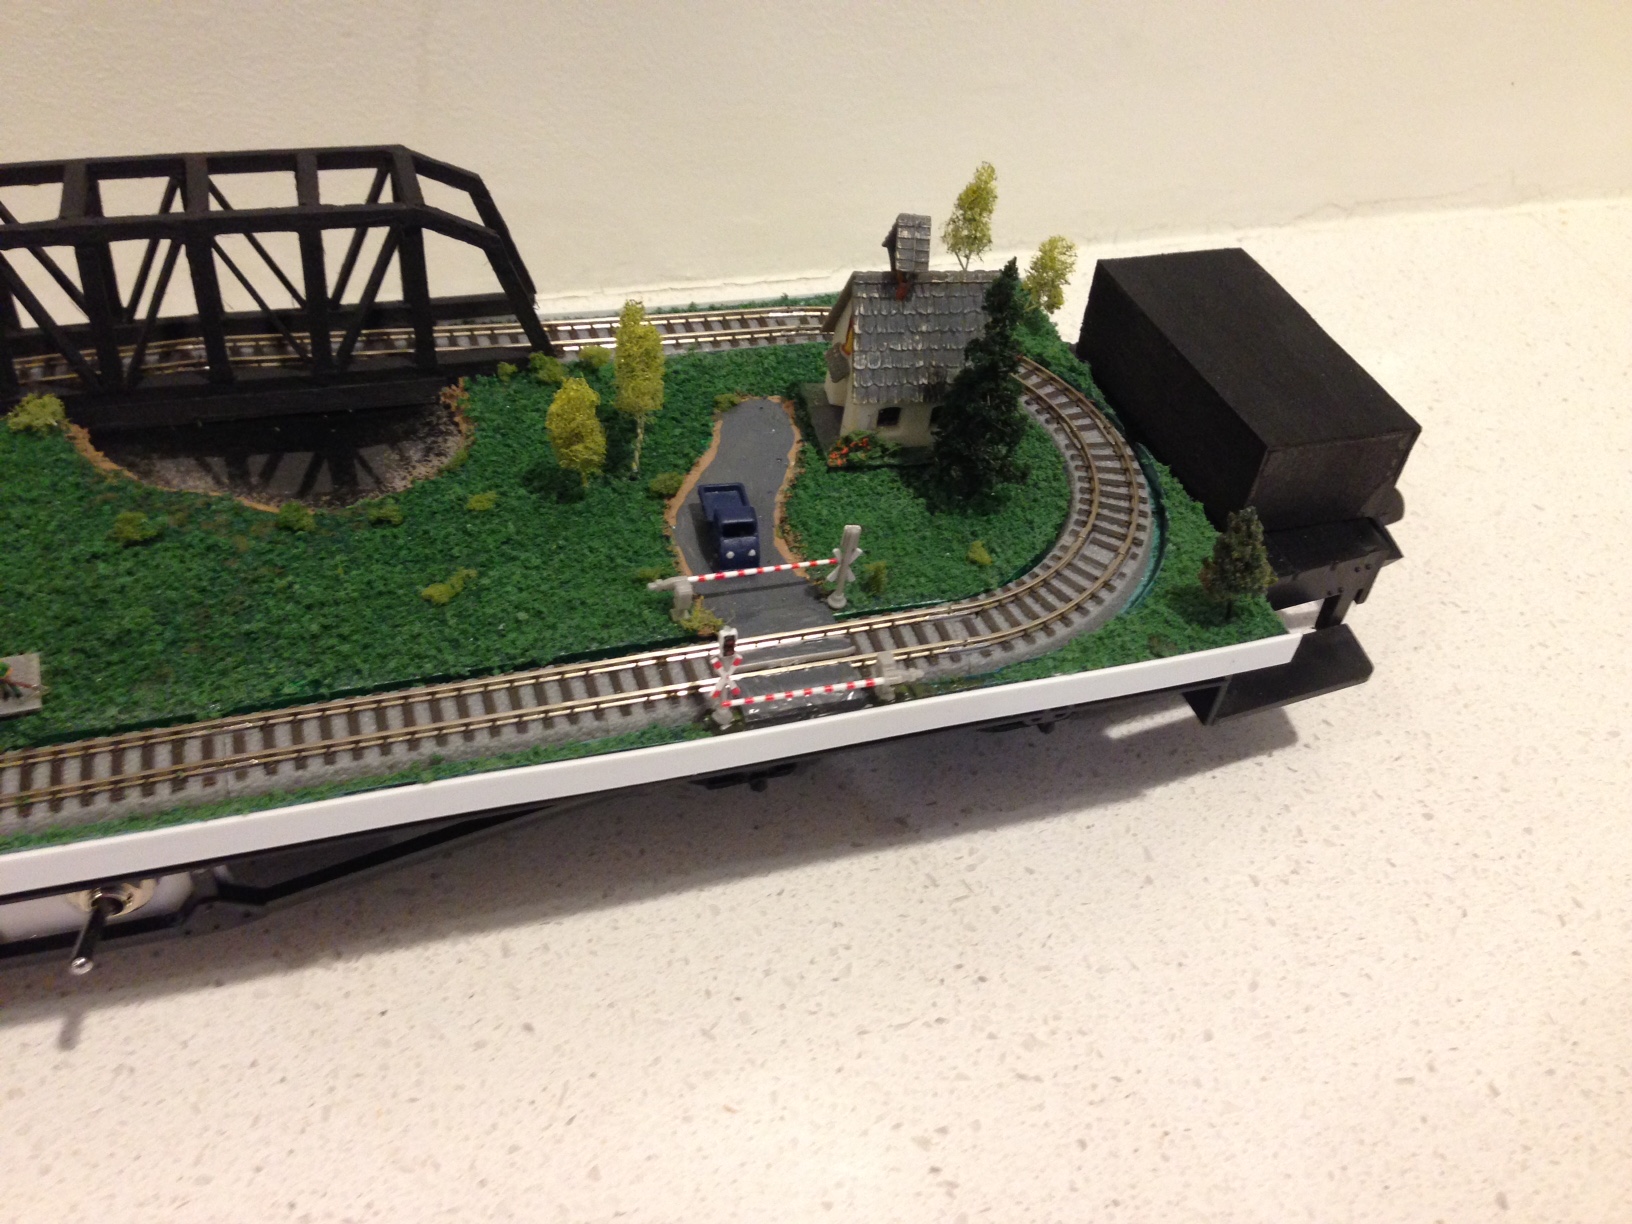
Since they fit nicely, it was on to thinking about the things that I like most about my outdoor layout. The two that I like best are my steel bridge and alpine mountain. So I needed to recreate these in Z, but at a size that would fit on a flat.

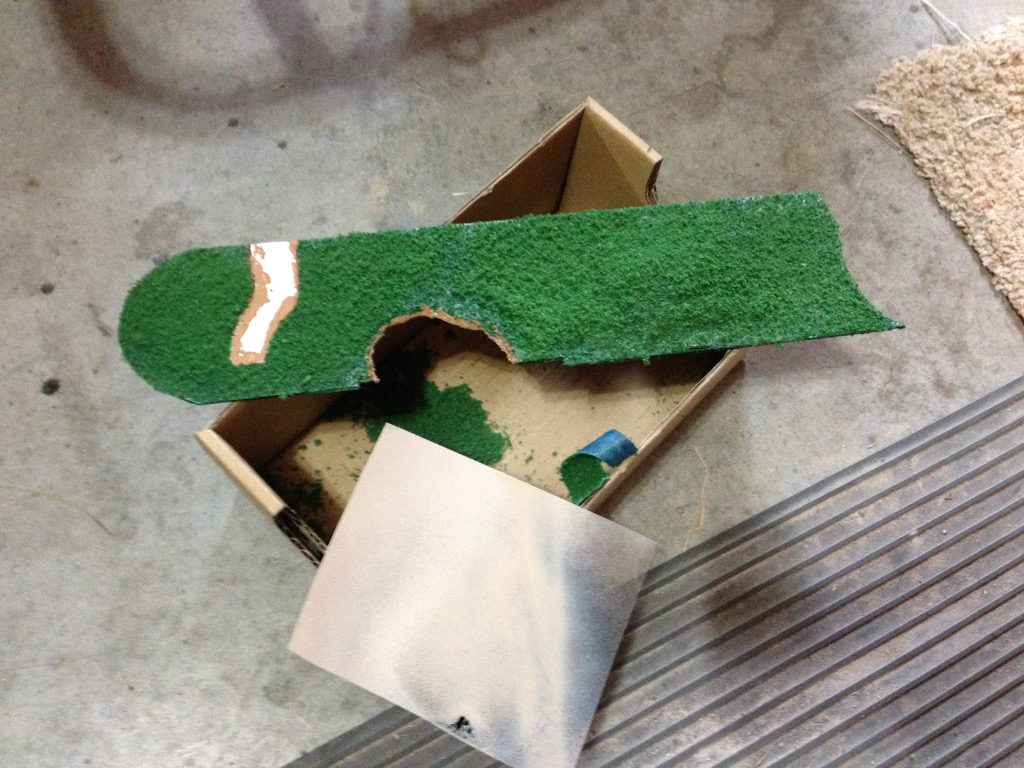
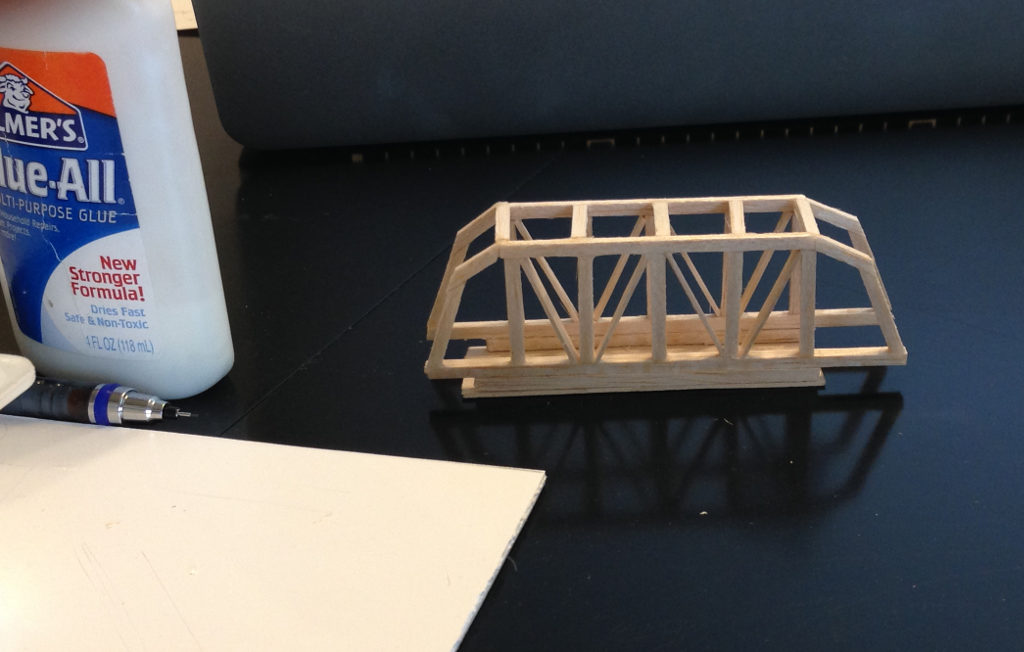
The bridge was easy. I made a template on paper,

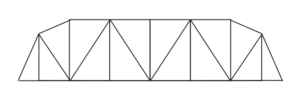
then used balsa to build it

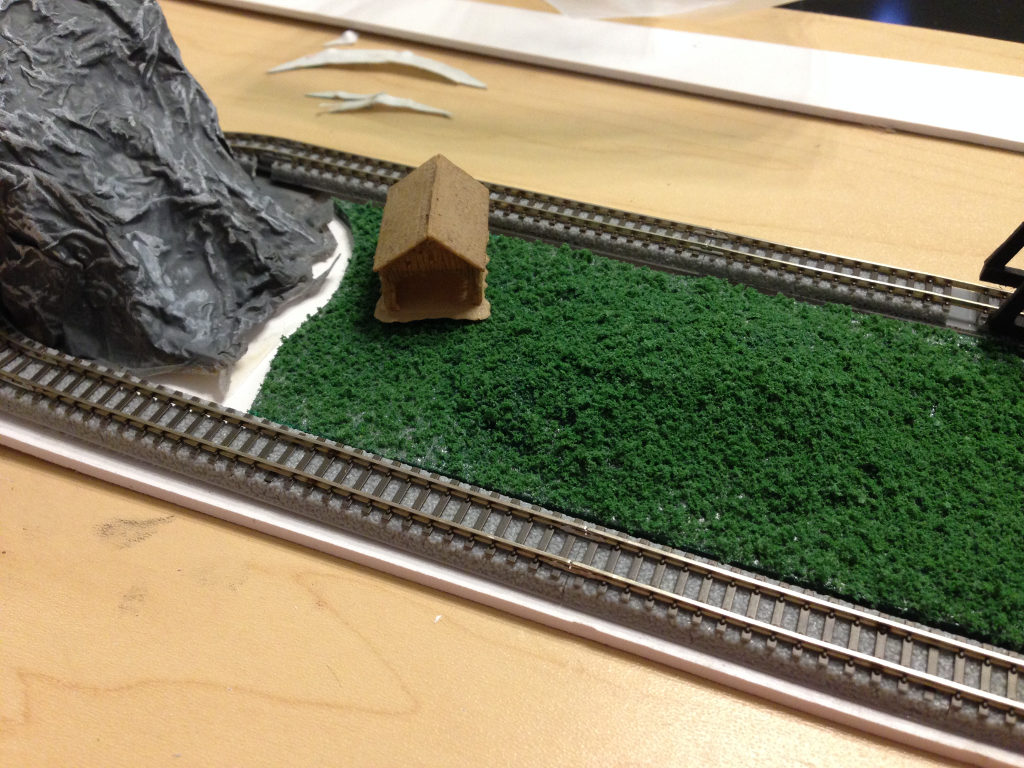
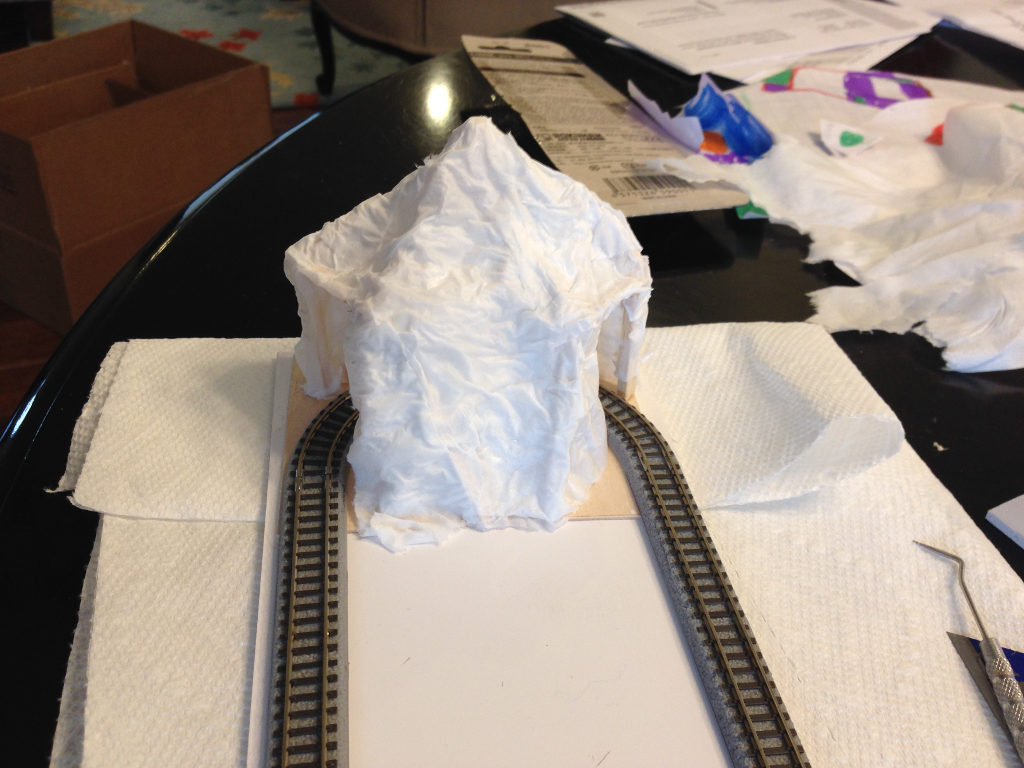
The mountain is a balsa shell with paper mache–just tissue and glue, really

Then painting

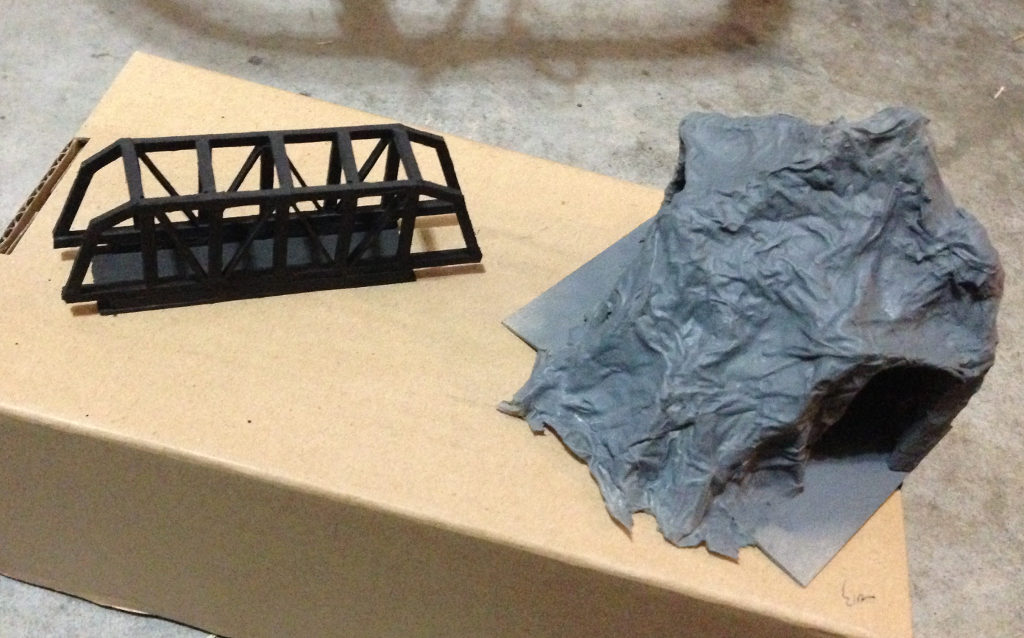
Here they are on a piece of Sintra that I’m going to use for the base. There’s a piece of paper behind the bridge as it didn’t show up against the black table.

Next steps will be slower. I need to make a “pond” for under the bridge. My current thought is to laser cut a piece of acrylic for the water and paint it black on the back. Then cut the same size/shape hole in a piece of sintra so that it sits flush with the ground level. That will take some time to sort out (and my laser cutter has a bunch of junk on top of it at the moment)

I also found that the smallest Z scale engine I have (a 0-6-0 switcher) won’t handle the r45s. I hate to remove the center wheels from a nice Marklin locomotive (that I bought in West Berlin in 1988) so I decided to buy a Searails four-wheeled power unit and 3D print a shell. I’ve ordered the drive and the 3D print should be done this weekend. I will probably also need to 3D print some short-wheelbase passenger cars. I have a set of nice DR passenger cars, but they’re the three axle style and they’d never make the curves.

I’ll post more as I make progress, but it might be a slow go of it, so don’t hold your breath for updates :slight_smile:

Z scale? Zo hard to see!!

Manfred Diel said:

Z scale? Zo hard to see!!

Yes… I’ve pretty much give up building in that scale. I loved it when my eyes were better, but now I sometimes have to ask one of my kids to put them back on the rails. I do have one of those large illuminated magnifiers (that I use for G!) that has helped as I’ve started on this. Of course the upside is that as my eyes get worse the quality of my modeling can deteriorate and I won’t be able to see the difference!

Here’s mine, which runs on an aristo flat car… DCC layout with reversing section and uncouplers under the track.

Pretty cool Greg. What are you using for decoders? Most Z scale DCC installs I’ve seen are in diesel locomotives. People claim really not room inside a Marlin steam loco shell. All my Z stuff is analog… so far.

I stumbled on this somewhere a while back…

I think it would be funny to run my Z scale flatcar layout on this G scale layout on a 1:1 flat car.

Maybe I could get a Z scale flatcar and make a tiny (non-running) sub-micro layout.

At the ECLSTS I remember seeing one of the G layouts with a Z train in a backyard that was a ride on. Cool use of resources.

Some more progress (an ice storm kept me inside today)

I manged to cut an “insert” to fit inside the track area. I built it up in a couple of places (I dislike pancake layouts) and flocked it

I have some nice Rohukan crossing gates, so those had to go on to match the LGB ones in my backyard

I mentioned that one favorite feature is my welded steel bridge. The acetate painted on the underside gives a good reflection.

I have a mini-logging scene on the outdoor layout, so I’ll replicate it to some degree here.

Since I’ve come from the “other” U.S-based G scale forum, I suppose I should share this, which is what I’m reproducing in miniature.

The smallest decoder is the C.T. Electronik, and we have fitted them to locos smaller than the 0-6-0, in fact the Searails units.

Greg

Making more progress.

Pretty much done with the “scenic-ing”

Here’s the mountain on one end and a pastoral scene (shepherd, sheep dog and flock)

The church and crossing gates. I like the “reflection” in the “water”–that came out pretty good.

An overview of the whole thing…

And the lights turned on. I need to tone down the station light, either with a resistor or some paint. You can see the switch underneath. The black balsa wood box on the right holds the batteries for the lights.

Next step will be to make a shell for the Z-scale Searails chassis. I 3D printed something, but I’m not 100% happy with how it came out. It’s a little too big and the motor doesn’t fit as far up into the shell as I’d like. I’ll probably make something from styrene.

I have a 9-volt battery controller, which should be good for a few laps around the layout.

My middle daughter found this in my box of Z stuff and suggested I create an even smaller version to be pulled around the Z scale layout… :slight_smile:

I thought there were a number of printed locos that fit over the searails chassis?

Ahh… most are nn3…

Will be interested to see what you come up with.

Greg

Yeah, I think right now searails only has steam nn3 shells. The diesel critter shell is Z (but I want steam) and the porter shells they sell are for N narrow gauge. They say they’re making a Z scale docksider (in brass) but I haven’t seen any timeframe offered.

I haven’t yet used 3D printing but have bought a couple printed items; gotta say, it has opened up so many possibilities in both larger life and hobbies. Cool stuff.

Pretty neat that there were curves which worked out to fit across car.

Layout is attractive. There’s a feel to that picture which gives the layout a ‘somewhere in the New England region’ flavor.

This is very cool. It will surely be a conversation piece trundling along the G layout.

Done (pretty much) with the flatcar and locomotive.

The “final” locomotive form is a Marklin shell I picked up off eBay for a song. I cut the front and back off, threw away the middle, and epoxyed the ends together to create what I’m calling the TFL (tiny, fat loco). It really needs cylinders on the front to help hide the drivers, but I’m out of styrene rod at the moment, so that will have to wait until I order my next batch.

This was fun. I hope to have it out on the layout this weekend–here’s hoping my trackwork is level enough not to have the TFL jump the rails and wind up on the G scale right of way.

It will. Either due to uneven track, or due to a sudden jerkey acceleration/deceleration.

David Maynard said:
It will. Either due to uneven track, or due to a sudden jerkey acceleration/deceleration.

That’s what I’m thinking. Probably at open houses, I’ll park this on a siding if it turns out to derail too easily. One good thing is that the Z scale loco is traveling along the same axis as any stop/start motion for 80% of its travel–it’s just those tight turns where fore-to-aft motion would derail it.

Anyway, it’s an excuse to work on MOW stuff, right? I have to level and straighten everything to get an accurate test :slight_smile:

You’ll need to properly suspend the car it rides on as well as smoothing out your track.

I did an Nn3 conversion about 35 years ago. It has a white metal casting on a 2-6-0 chassis. I think the extra weight would help, but I doubt there is tunnel clearance…

Your loco gave me a chuckle!

John