Terry, I did exactly that, as I wanted them to look less molded when you looked in the door. We’ll see how it is when I un-clamp that board. I’m thinking that the side will hold it in place just fine.
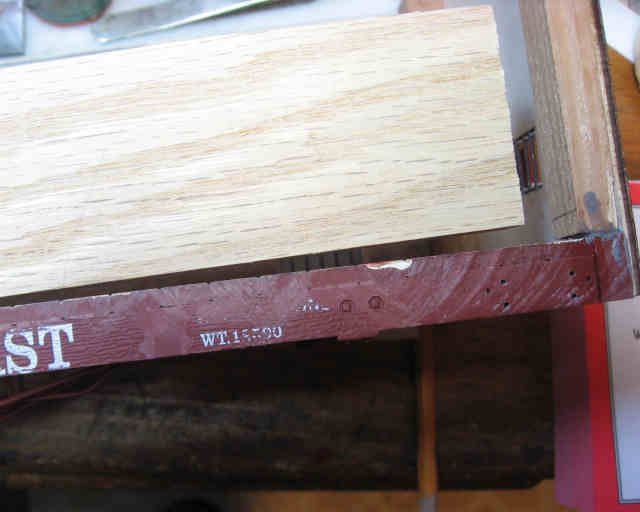
I think cutting the boards makes it bow more. My unmodified flats are much flatter.  Here’s what it looks like with one side glued in place. This board is clamped to one end…here you see the gap:
(http://www.jbrr.com/Pics/RollingStock/Boxcars/Ventilated/IMG_5781.JPG)
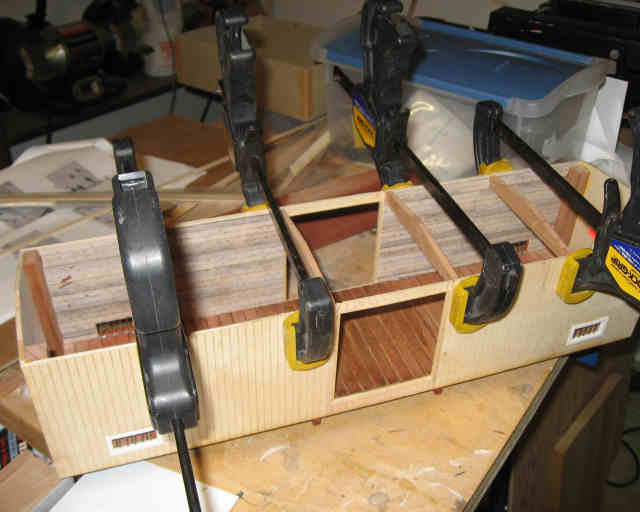
So, I clamped a taller board in place. I used JB Weld to glue the side on, and more than a few clamps to hold it in place.
(http://www.jbrr.com/Pics/RollingStock/Boxcars/Ventilated/IMG_5783.JPG)
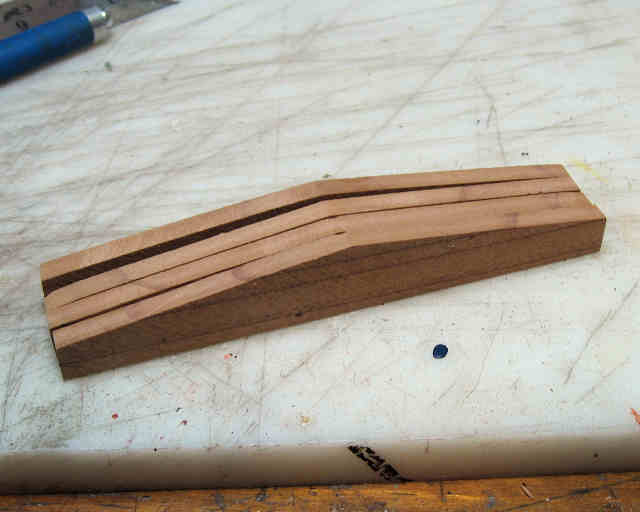
Removing the clamps this morning and everything looks OK. The sides hold the flat in place with no bowing. I hope the glue holds. I cut some interior bracing pieces:
(http://www.jbrr.com/Pics/RollingStock/Boxcars/Ventilated/IMG_5784.JPG)
And glued them in place.
(http://www.jbrr.com/Pics/RollingStock/Boxcars/Ventilated/IMG_5785.JPG)
Bruce: The box car is looking good. I like the crates as well. I have to do something like that for my box car. Cant wait to see the finished product.
I have started to add the detail parts. I was going to make ladders, but I looked in my scrap box and I had plenty of grab irons and NB from Phil’s Narrow Gauge, so I thought I’d go ahead and use them. The other parts are made from styrene and some NB that I had on hand.
(http://www.jbrr.com/Pics/RollingStock/Boxcars/IMG_5788.JPG)
I just love how detail parts bring an ordinary wood box to life. Looking good, as usual 
My other thought when looking at your pictures: A man can never have too many clamps All Electronics just sent me a catalog and small clamps are 2 for $1 - need to order some.
Looks good Bruce. I guess now Salmon’s Produce can get some business…
Jon: Head out to a flea market. There’s one near me that has 4 packs or 8 packs of clamps like that for $1.
Bring some to York, Bob.
Bruce, The details sure do add a lot to the car… Looks fantastic…
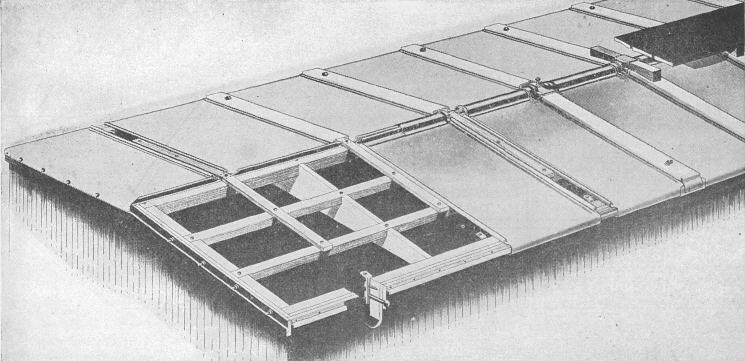
Thanks, guys. Today was do the roof. I decided that I wanted a Hutchins Steel Roof, and I got a lot of details from the 1924 Car Builders Cyclopedia. It looks something like this:
(http://www.jbrr.com/Pics/RollingStock/Boxcars/Ventilated/HutchinsSteelRoof.jpg)
I have a bunch of 1/8" styrene, so I thought I’d use that for the base.
(http://www.jbrr.com/Pics/RollingStock/Boxcars/Ventilated/IMG_5797.JPG)
I glued it on with Welder contact cement and also put some brass pins to hold it in place. The heads were filed flush after the glue dried. I used 1/4" wide .060" strips for the end pieces and marked lines on 3 foot centers for the other carlines.
(http://www.jbrr.com/Pics/RollingStock/Boxcars/Ventilated/IMG_5799.JPG)
The dimensions call for 2" wide, so I used some .125" x .060" pieces and glued them in place.
(http://www.jbrr.com/Pics/RollingStock/Boxcars/Ventilated/IMG_5800.JPG)
The ends have been tapered and all that remains is to glue some strips to represent the end clamps. Next, I’ll add the roof walk supports. It’s looking like I could have this done by York, so I’ll plan to bring it along.
Sweet!
I was worried that Bob wanted Jon to buy some fleas, but after I read the whole thing… :lol:
Fleas sell! OK, the roof is done. I decided to add some NBW I had laying around. The roof walk supports were made using Gary Buchanan’s method: a couple of pieces of styrene for legs glued to the horizontal piece. They’re easy and quick to make, as opposed to putting a tapered “V” in each piece.
(http://www.jbrr.com/Pics/RollingStock/Boxcars/Ventilated/IMG_5807.JPG)
Bruce, can you show us from the other angle?
D’oh! I guess THAT would help.
(http://www.jbrr.com/Pics/RollingStock/Boxcars/Ventilated/IMG_5811.JPG)
Once the roofwalk is in place, you really can’t tell unless you look closely.
Oh! Cheatin’
Nice job
-Brian
Bruce, That is a nice way around a tedious operation!!!
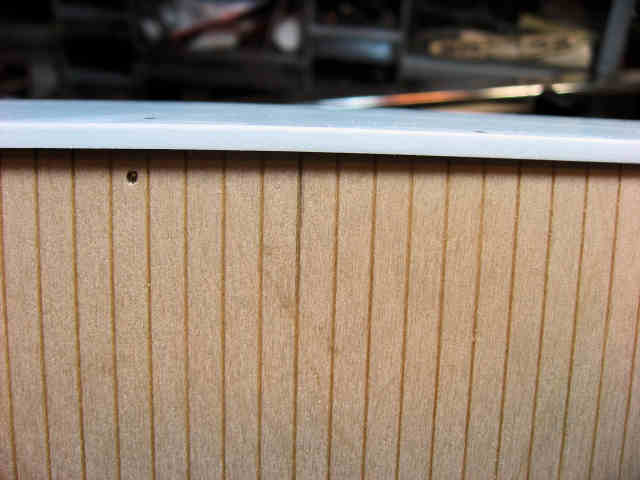
Today was rainy, so it was a good time to work on the doors. I didn’t have any more scribed wood, but I did have some thin plywood. I scribed this at 4" intervals, along with some .040" styrene:
(http://www.jbrr.com/Pics/RollingStock/Boxcars/Ventilated/IMG_5813.JPG)
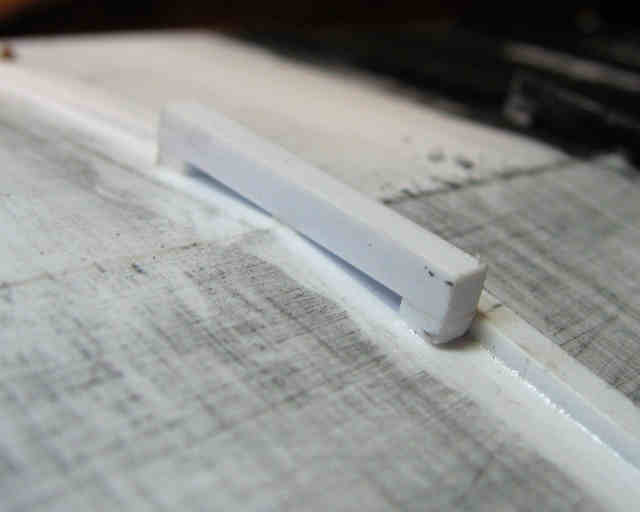
I laminated the styrene on to the back of the wooden door. This piece will be used for hanging the door. Next, I framed the door with some styrene angle, and added some styrene strips for interest.
(http://www.jbrr.com/Pics/RollingStock/Boxcars/Ventilated/IMG_5828.JPG)
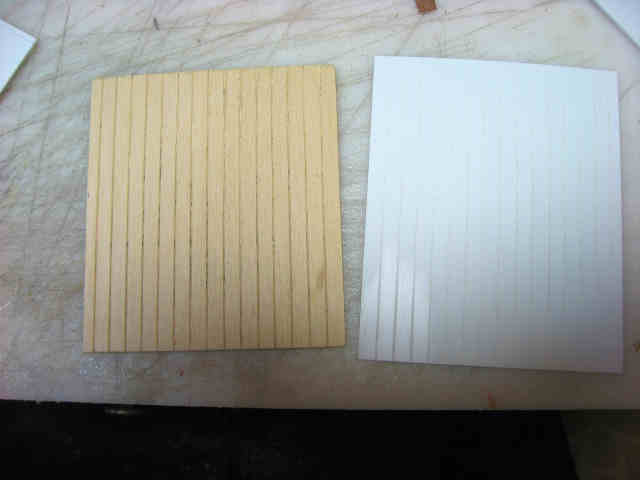
Meanwhile, I’m making some progress on the other doors.
(http://www.jbrr.com/Pics/RollingStock/Boxcars/Ventilated/IMG_5831.JPG)
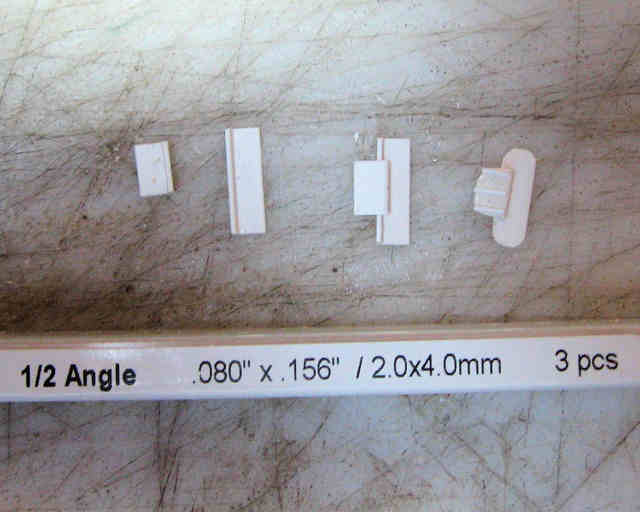
I struggled for some time trying to figure out how to do the lower hanger pieces for the door. Finally, I settled on gluing two angle pieces together. These are made from a 9" piece and a 4" piece, glued together. Then I round the corners and glue some .020" rod pieces on the front for “detail”.
(http://www.jbrr.com/Pics/RollingStock/Boxcars/Ventilated/IMG_5836.JPG)
Next, I’ll pin these in place beneath the doors.
Very kewl! If you find you have no produce to haul, you can always use that car as a jail…
Excellent work Bruce. I like the produce boxes too, they really look good.
Jon.
The doors looked a bit too plain.
(http://www.jbrr.com/Pics/RollingStock/Boxcars/Ventilated/IMG_5850.JPG)
So, I decided I needed some hanging hardware. I couldn’t find any channel in my scrap box, but I did find some square hollow tube. I filed one side off. Each hangar is made from two pieces of styrene: the channel and a piece of .040" styrene that is cut to 5" x 6". I use my Dremel with a cutting wheel to cut slots in the channel and the styrene. The rectangle and some indentations filed in each side.
(http://www.jbrr.com/Pics/RollingStock/Boxcars/Ventilated/IMG_5849.JPG)
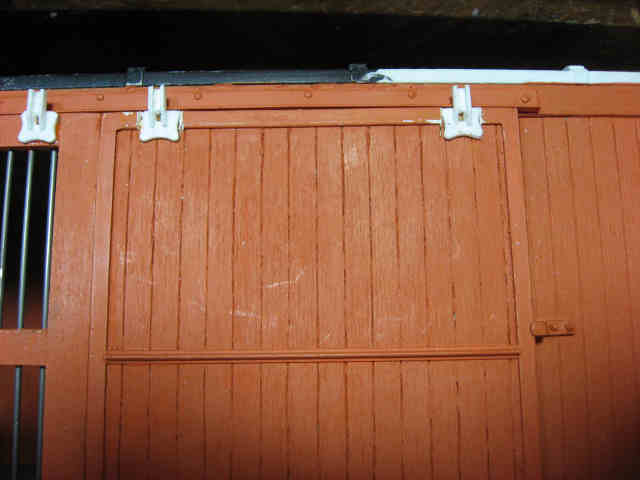
Since I hadn’t thought about these ahead of time, I had to remove some of the angle I applied earlier, but it does dress up the door a bit.
(http://www.jbrr.com/Pics/RollingStock/Boxcars/Ventilated/IMG_5851.JPG)
I was thinking of putting rollers on, but I couldn’t find anything suitable.