Large Scale Central

Train Engineer Develops an Interesting Problem. Any Thoughts?

It was hot (~90s) at our open house yesterday and one of the Train Engineers developed an interesting problem. I don’t know that this was caused by the heat of the day, from last weekend’s outing in the rain, some combination of both, or just age but:

I had an Aristo FA/FB/streamliner consist, a USA GP-9/freight consist, and the aerial tram all running on one 10 amp TE powered by a Meanwell 24 volt, 12.5 amp supply (at 22 volts input). No big deal and this is the usual fare

Worked fine last Sat and for a bit when I started out yesterday. Then the trains stopped. The circuit breaker (fuse replacement) was fine and the Meanwell put out power, but when raising the throttle voltage on the TE, it would go up to between 4.5 - 6 volts then drop to zero each time I would try to bring up the throttle.

The breakers didn’t pop and I had the same results turning off the aerial tram and removing the trains from the tracks.

OK, perhaps a “partial short” across the rails?

No.

When I switched those routes to another cab (also a TE), they worked fine and after it cooled down a bit I just ran the four trains (two on the other TE), and aerial tram on one TE and they performed flawlessly. I didn’t want to do this during the heat of the day for fear of loosing another TE and having even fewer trains run.

So, any thoughts or similar TE experiences as to the problem and how to go about fixing it?
The TEs had the option of adding a cooling fan to them. If you don’t have one, that could help. In the computer controllers I used to work on, they would just shut down for no reason. The fix I found, was to take the heat sink off of the CPU and clean off the old heat sink compound, and put new compound in its place. I don’t know about the TEs, I haven’t taken mine apart. But if there is a heat sink, there is probably compound between it and the component it sinks heat from. New heat sink compound may help keep it from overheating.

Thanks,

Yes, already has a fan and it comes on normally and stays on while it does it’s “self-zeroing thing”.

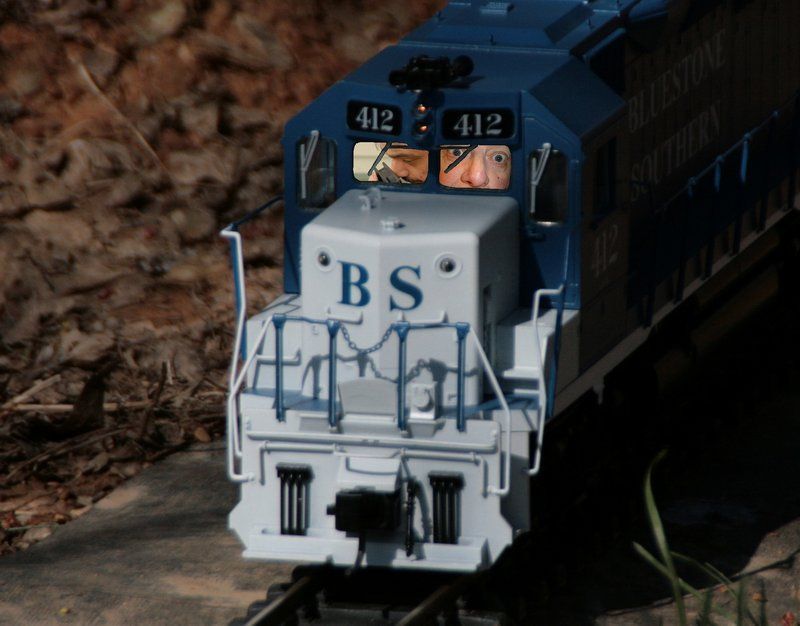
Hah…my guess is the problem is with the fan…been there and done that! In fact got photoshoped for fan sniffing!

Unplug the fan ! Don’t be a TE fan sniffing conductor!

" Rooster " said:

Hah…my guess is the problem is with the fan…been there and done that! In fact got photoshoped for fan sniffing!

Unplug the fan ! Don’t be a TE fan sniffing conductor!

That would be too simple. Are you “CS’n” me? (http://largescalecentral.com/externals/tinymce/plugins/emoticons/img/smiley-undecided.gif)

Don’t hurt to unplug the fan does it?

Not at all, once it cools down a bit (102 degrees here today).

The transmitter links and the unit changes direction but puts out max voltage on the meter. This is typically due to an internally shorted FET.

But, I’m thinking it’s a 1 uH SMD piece in the circuit. I should get continuity across it and I don’t. And it looks white and fuzzy and melty.

When I try a different TE (but not identical) that also has this portion of the circuit, I get continuity across this same piece. The other TE also gives all the same values for the legs of the semiconductors, so none would appear to be shorted out internally.

Also, luckily, the other TE lists the parts on the board whereas the broken one doesn’t. That’s the only way I can tell what burned out the part is.

Where does one find elves with fingers small enough to desolder/resolder SMDs?

Last time I drank something white, fuzzy and melty I tried various TEs and ended up with the with the TE that had no semiconductors but great legs!

Todd Brody said:

Where does one find elves with fingers small enough to desolder/resolder SMDs?

West from you a little over 5,000 miles I believe

Todd, get in touch with Dave Bodner, he plays with them tiny little wiz bang things.

I believe Navy Twidgits are still taught micro-miniature repair. I know my son was, back in 2001.

Steve, yea, but in the civilian world its mostly plug and play and throw away. Our skills of being able to troubleshoot down to the component level, aren’t being taught to the later batches of techs. That is evident in the service manuals of these new machines. They have wiring diagrams, but no board level schematics anymore. And since techs no longer repair boards, they no longer need to have good soldering skills. Some of the repair jobs I have seen, would make any true, board level tech, cry. Or cringe.

In school I repaired a connector, and the instructor was stunned at the repair. His comment was “WOW! You’ve done that before.” Ah, yea. (http://largescalecentral.com/externals/tinymce/plugins/emoticons/img/smiley-undecided.gif)

This shows the open 1uH inductor on the bad board at teh bottom center. I don’t get continuity across the component.

This shows the same part on a working board and I do get continuity across the component. Luckily, this board includes the component values so I know what the piece is.

Todd, the transistor next to the crispy component might be suspect too.

Agreed. Even when I jump the inductor, I get differing resistances between the transistor legs on the two boards.

Transistor is a KTC3880

BTW, the white portion of the inductor “disintegrated” when I tried to jump it.

A 2 pin surface mount is easy to change with a fine tipped iron. I am able to change 8 pin mosfets with this iron and a soldering aid to hold it in place.

Repair centers use hot air to do this work and it is important to have everything pre-tinned.

Soldering them on isn’t so bad. Its removing the old one without damaging the board I had issues with. I replaced many surface mount, 4 pin push buttons in my last job.

Removing surface mount parts is all about a light touch, and a small tipped iron with a temperature control. Many folks with limited circuit board repair experience tend to think that the harder you push the iron against the board the better it will work. The end result will be a damaged or lifted pad. On surface mount boards the pads due to their size are easily damaged and once lifted make successful repair very difficult unless you have the skill and materials to repair it. A small tip iron with a clean tip and some small diameter solder and a light touch will improve your chances of being successful

All our designs are SMD and barring the right equipmnt (hot air, ir, or specialized tips), using 2 small irons and heating each end of the component is quick and easy.

If you use just one iron, then you are usually required to overheat the component and board.

The higher temperature required of the lead free solder does not help anything at all.

Greg