Large Scale Central

The EM-BARK DOG PARK

When you hear the words “dog park” you naturally think of a park-like setting with dogs playing with other dogs and their owners.

But when you hear the words “car park” your mind goes to a parking lot where people leave their cars so that they can go about their business. A really nice parking facility would offer other amenities, such as “detailing” and such.

So what if one were to merge the two so that people could have their dogs parked and/or serviced while they mull about town? And wouldn’t it be nice if this was a mobile service?

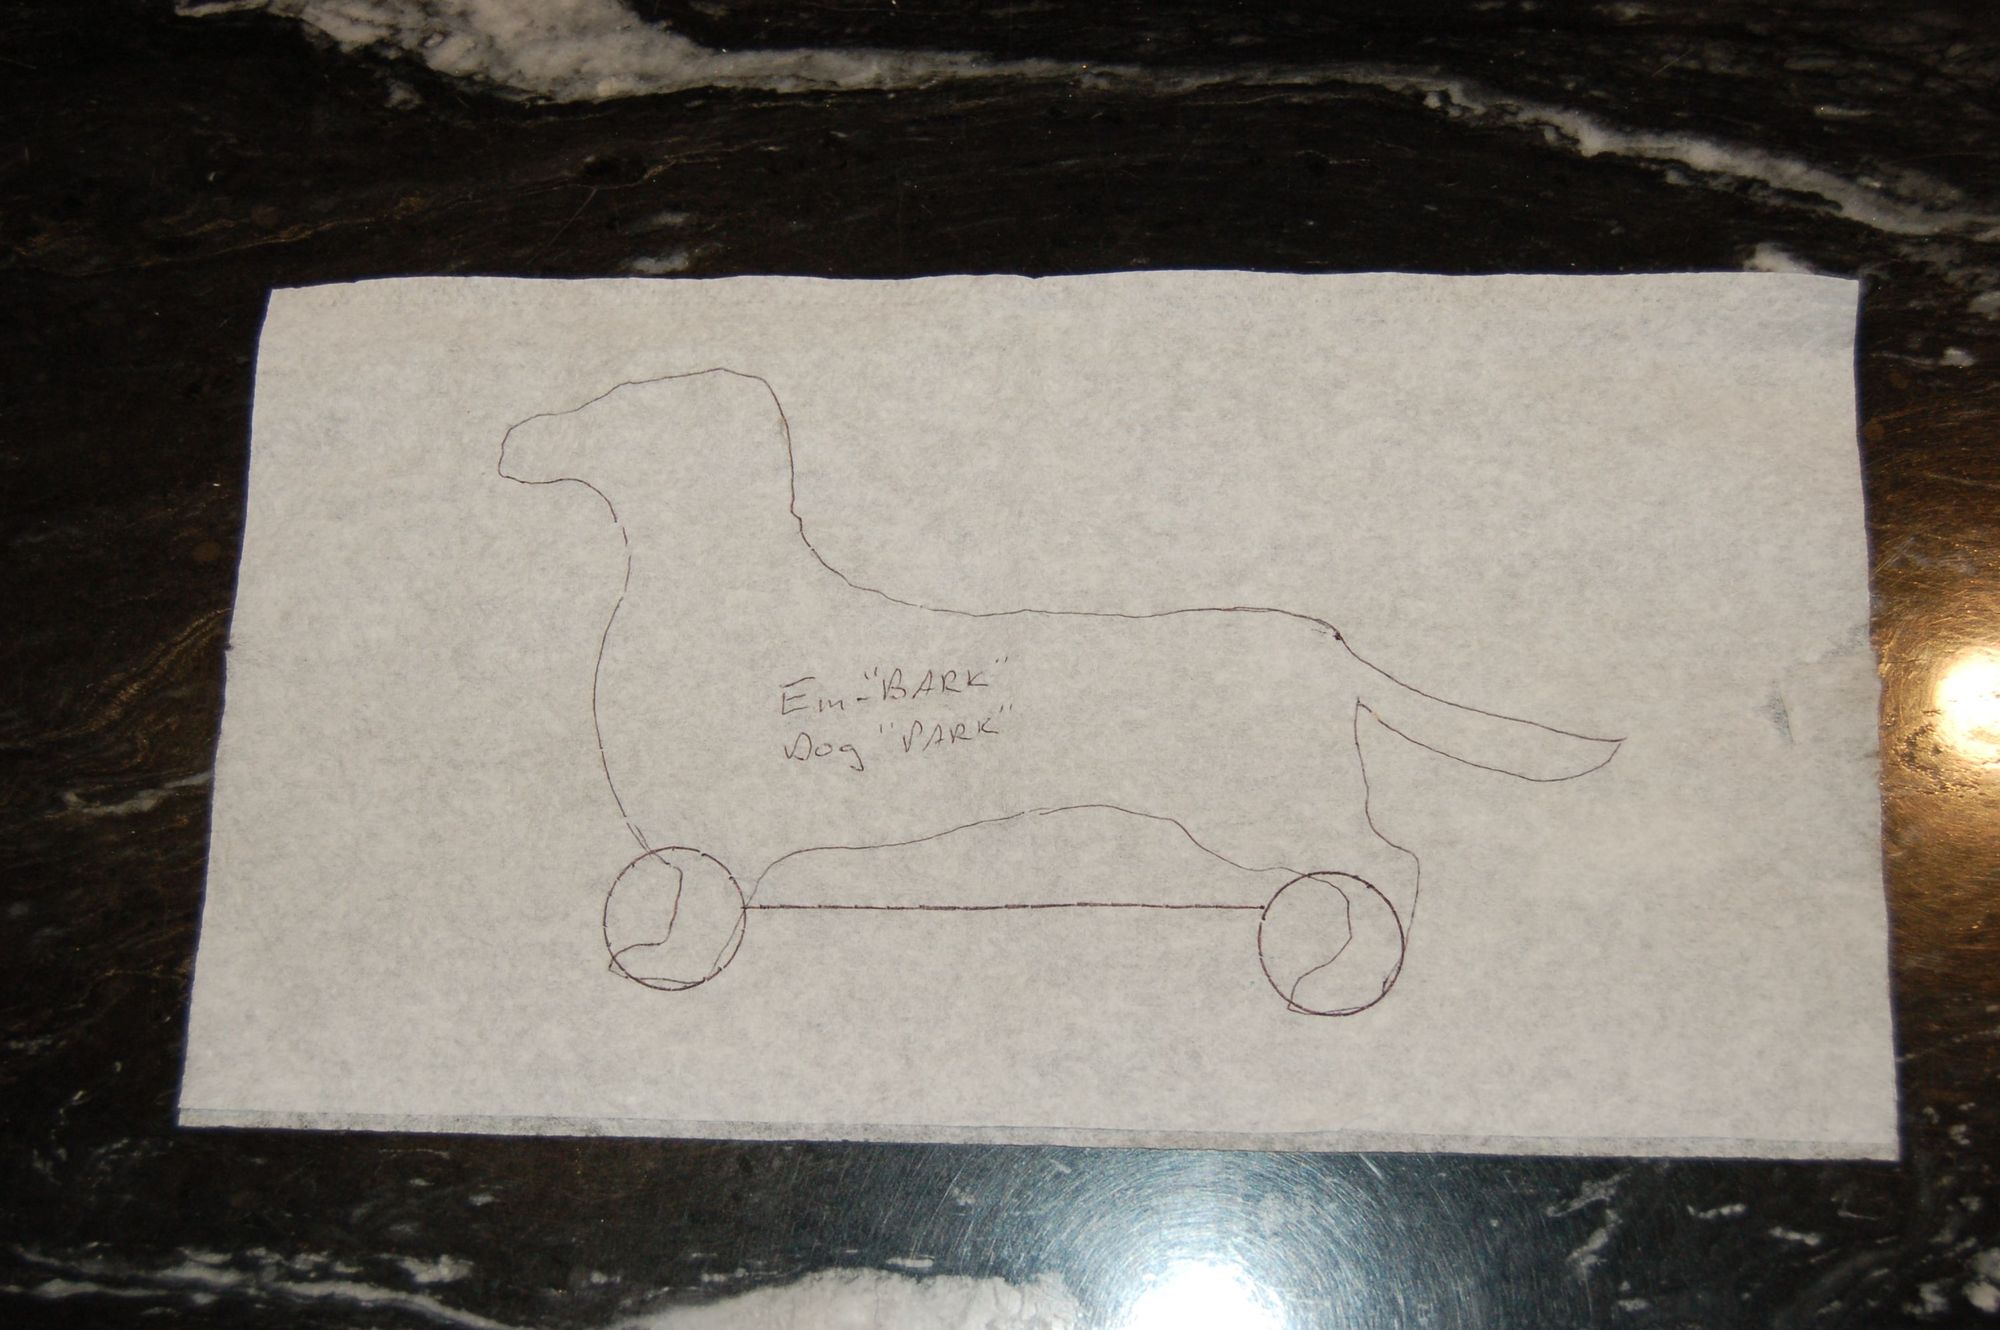
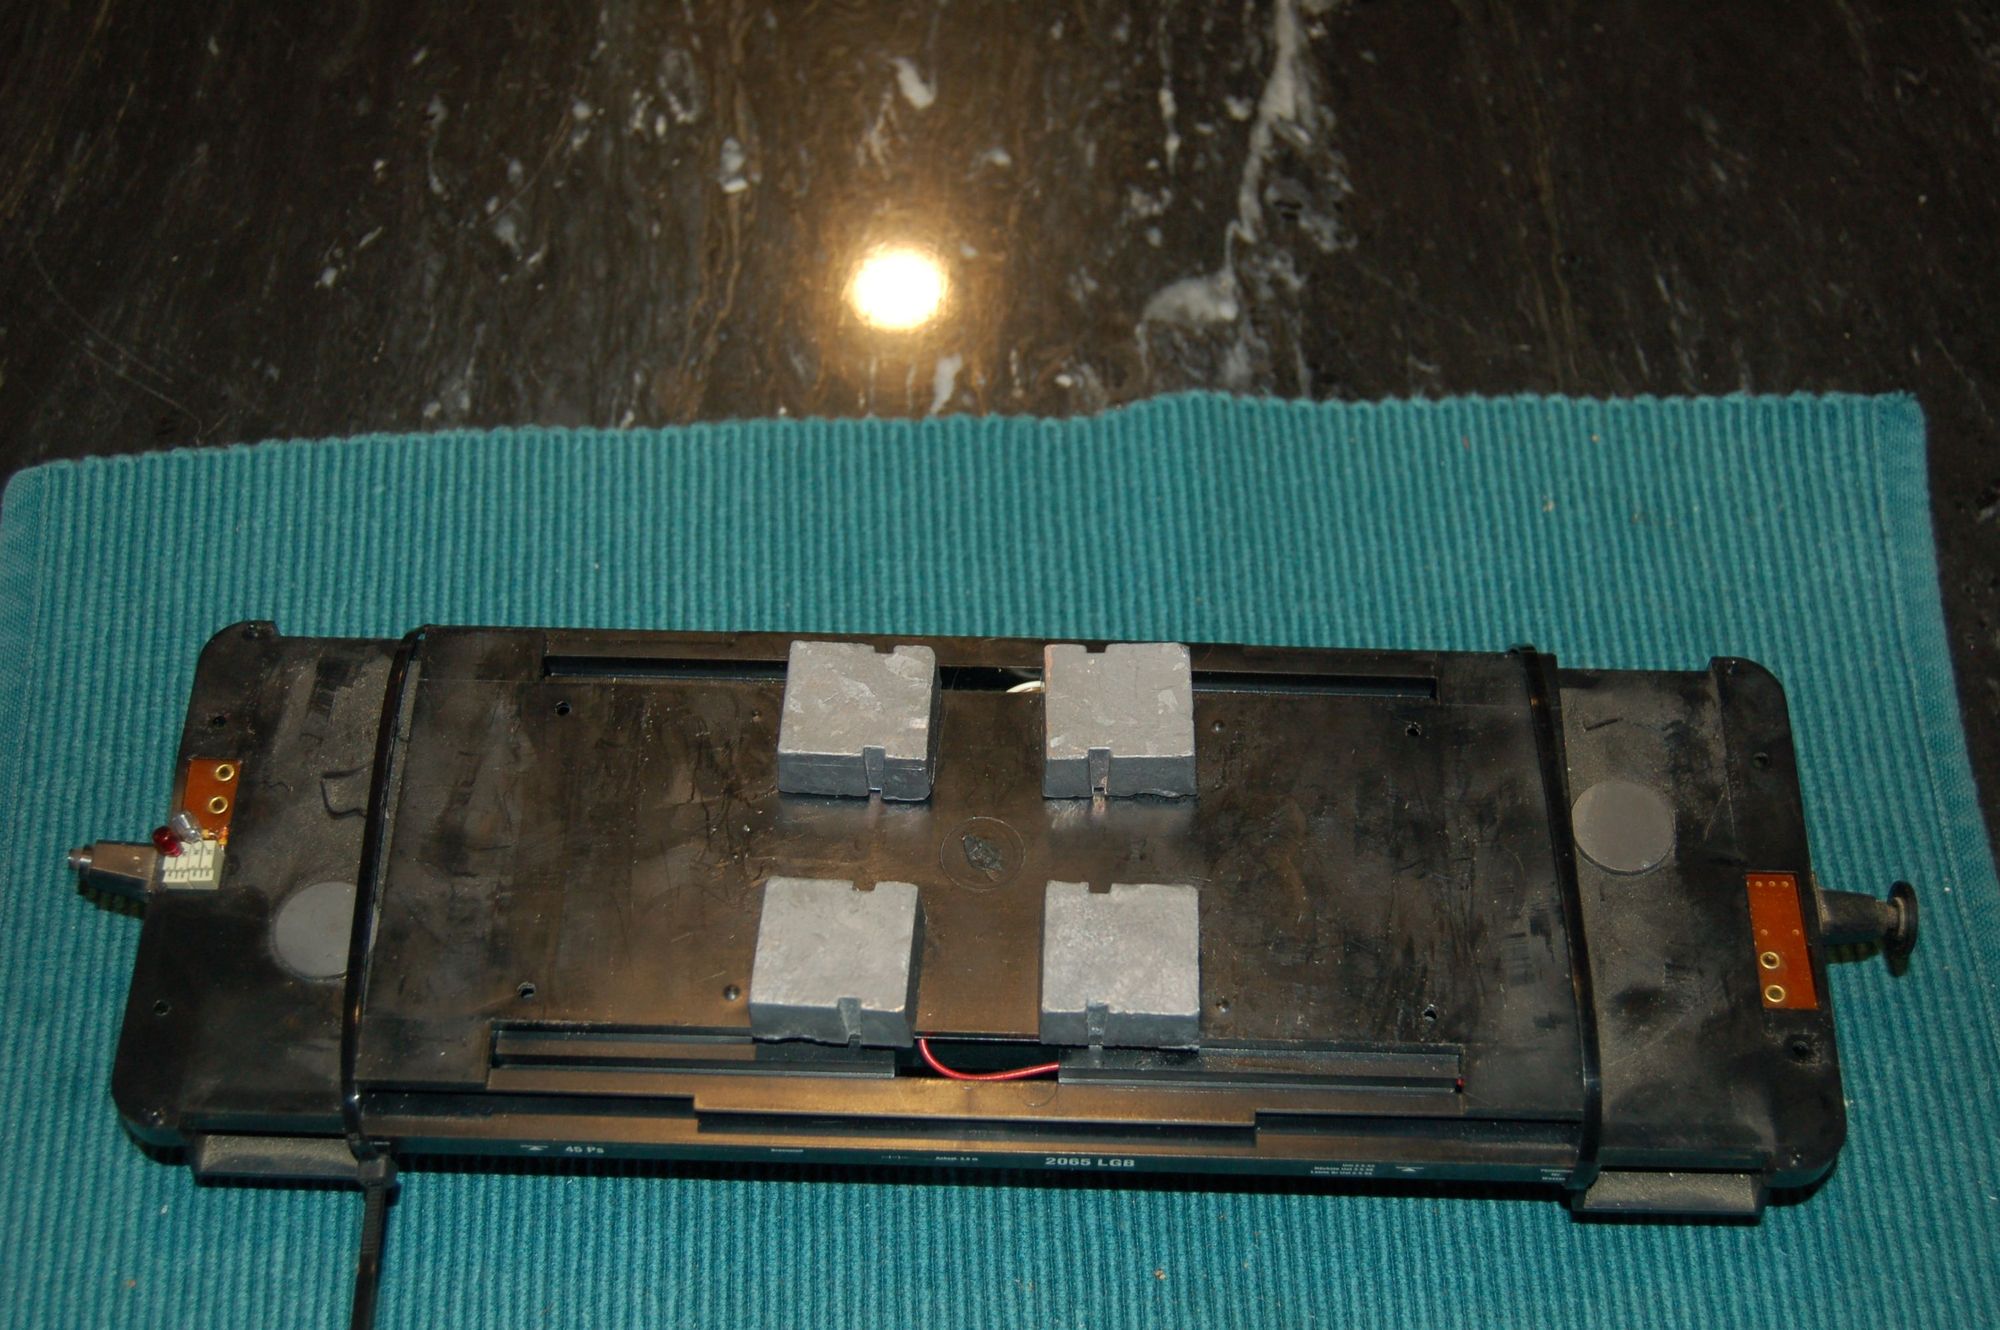
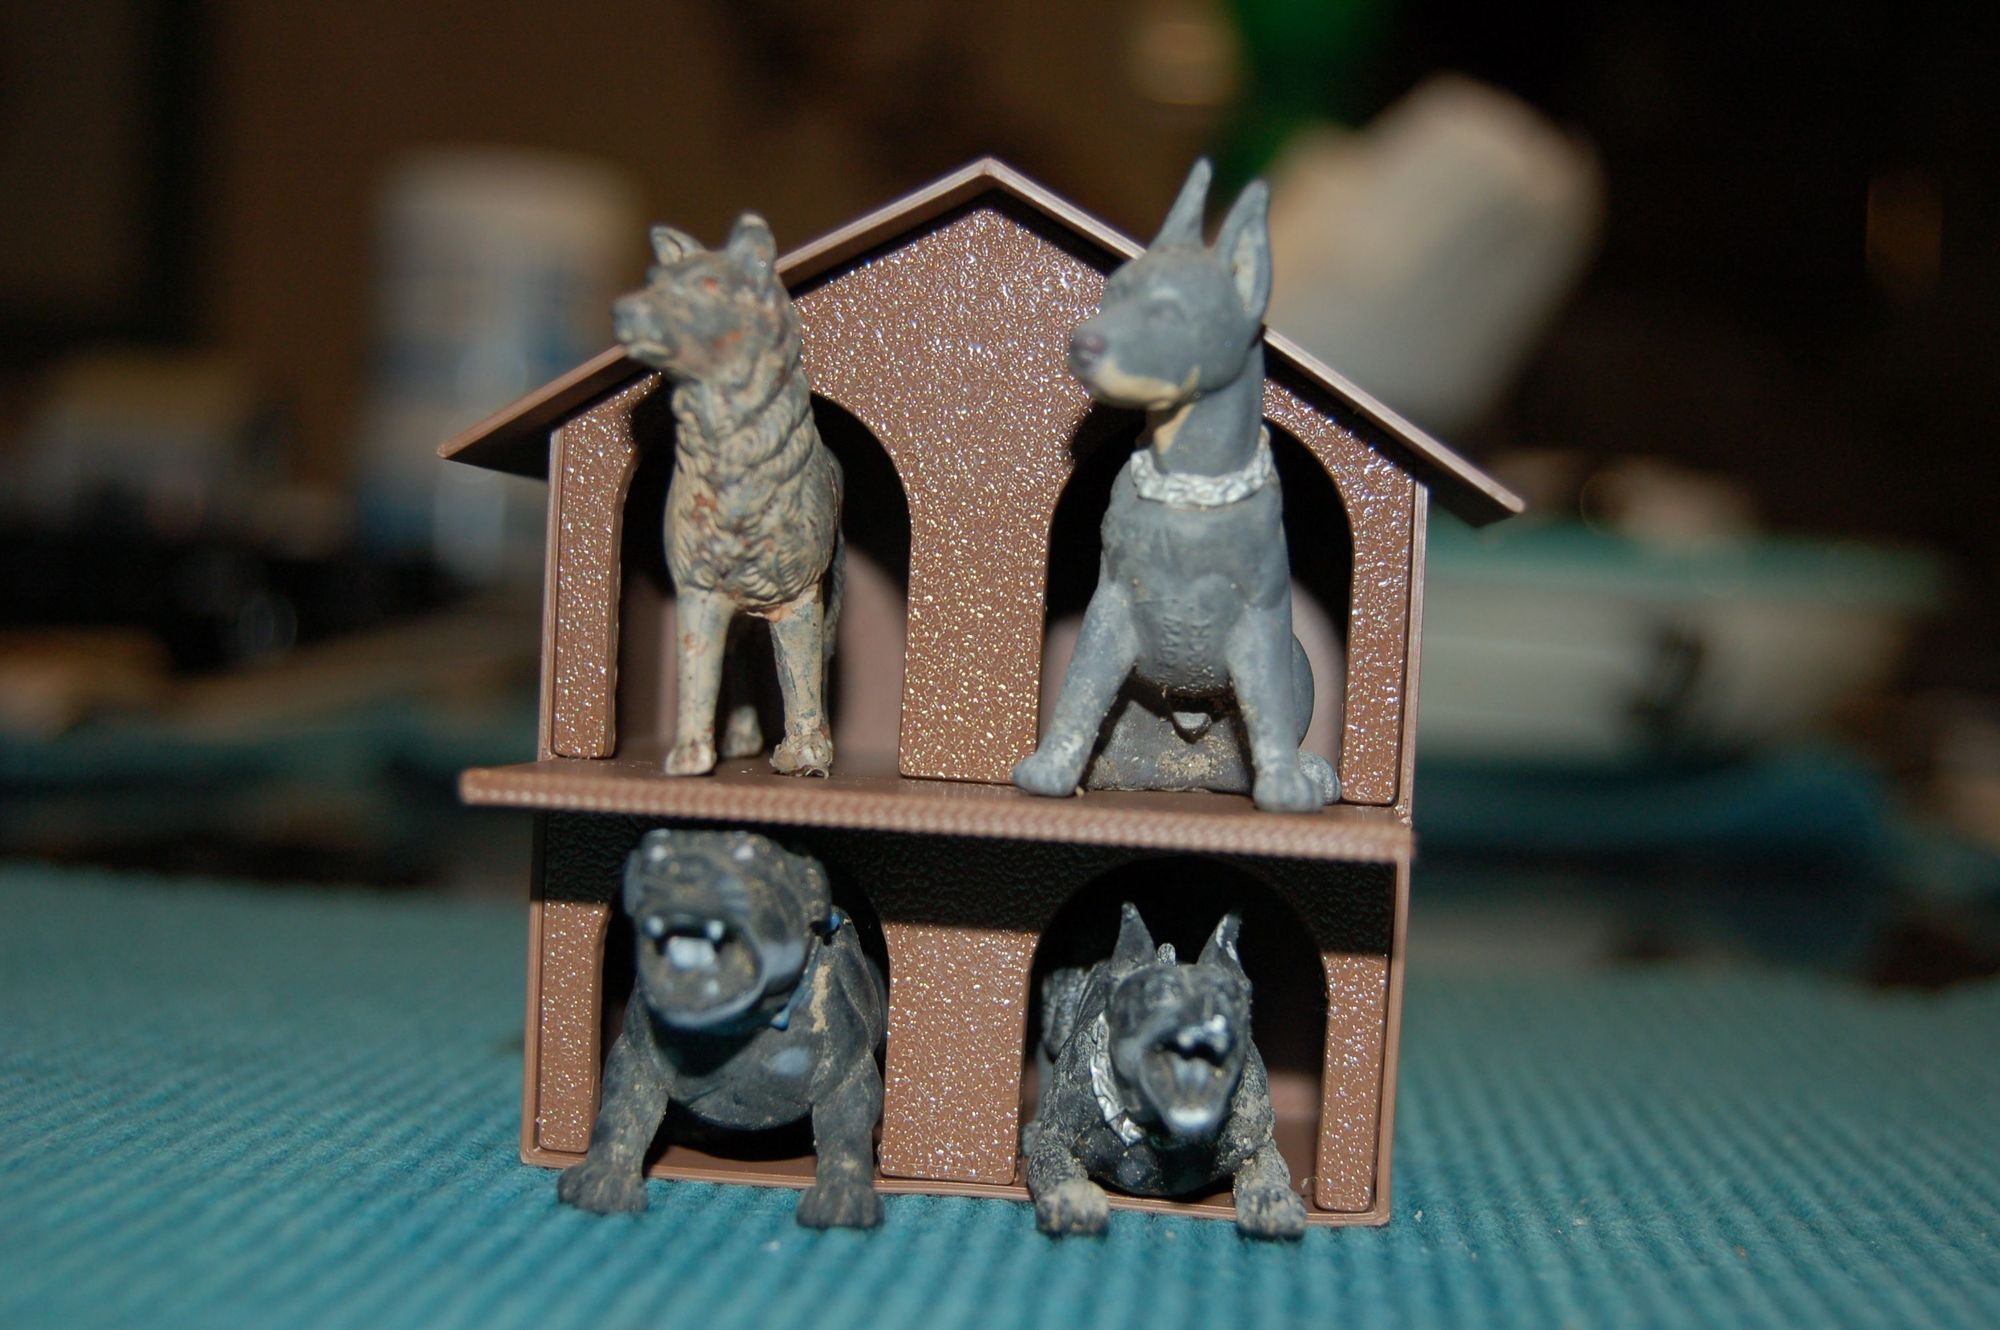
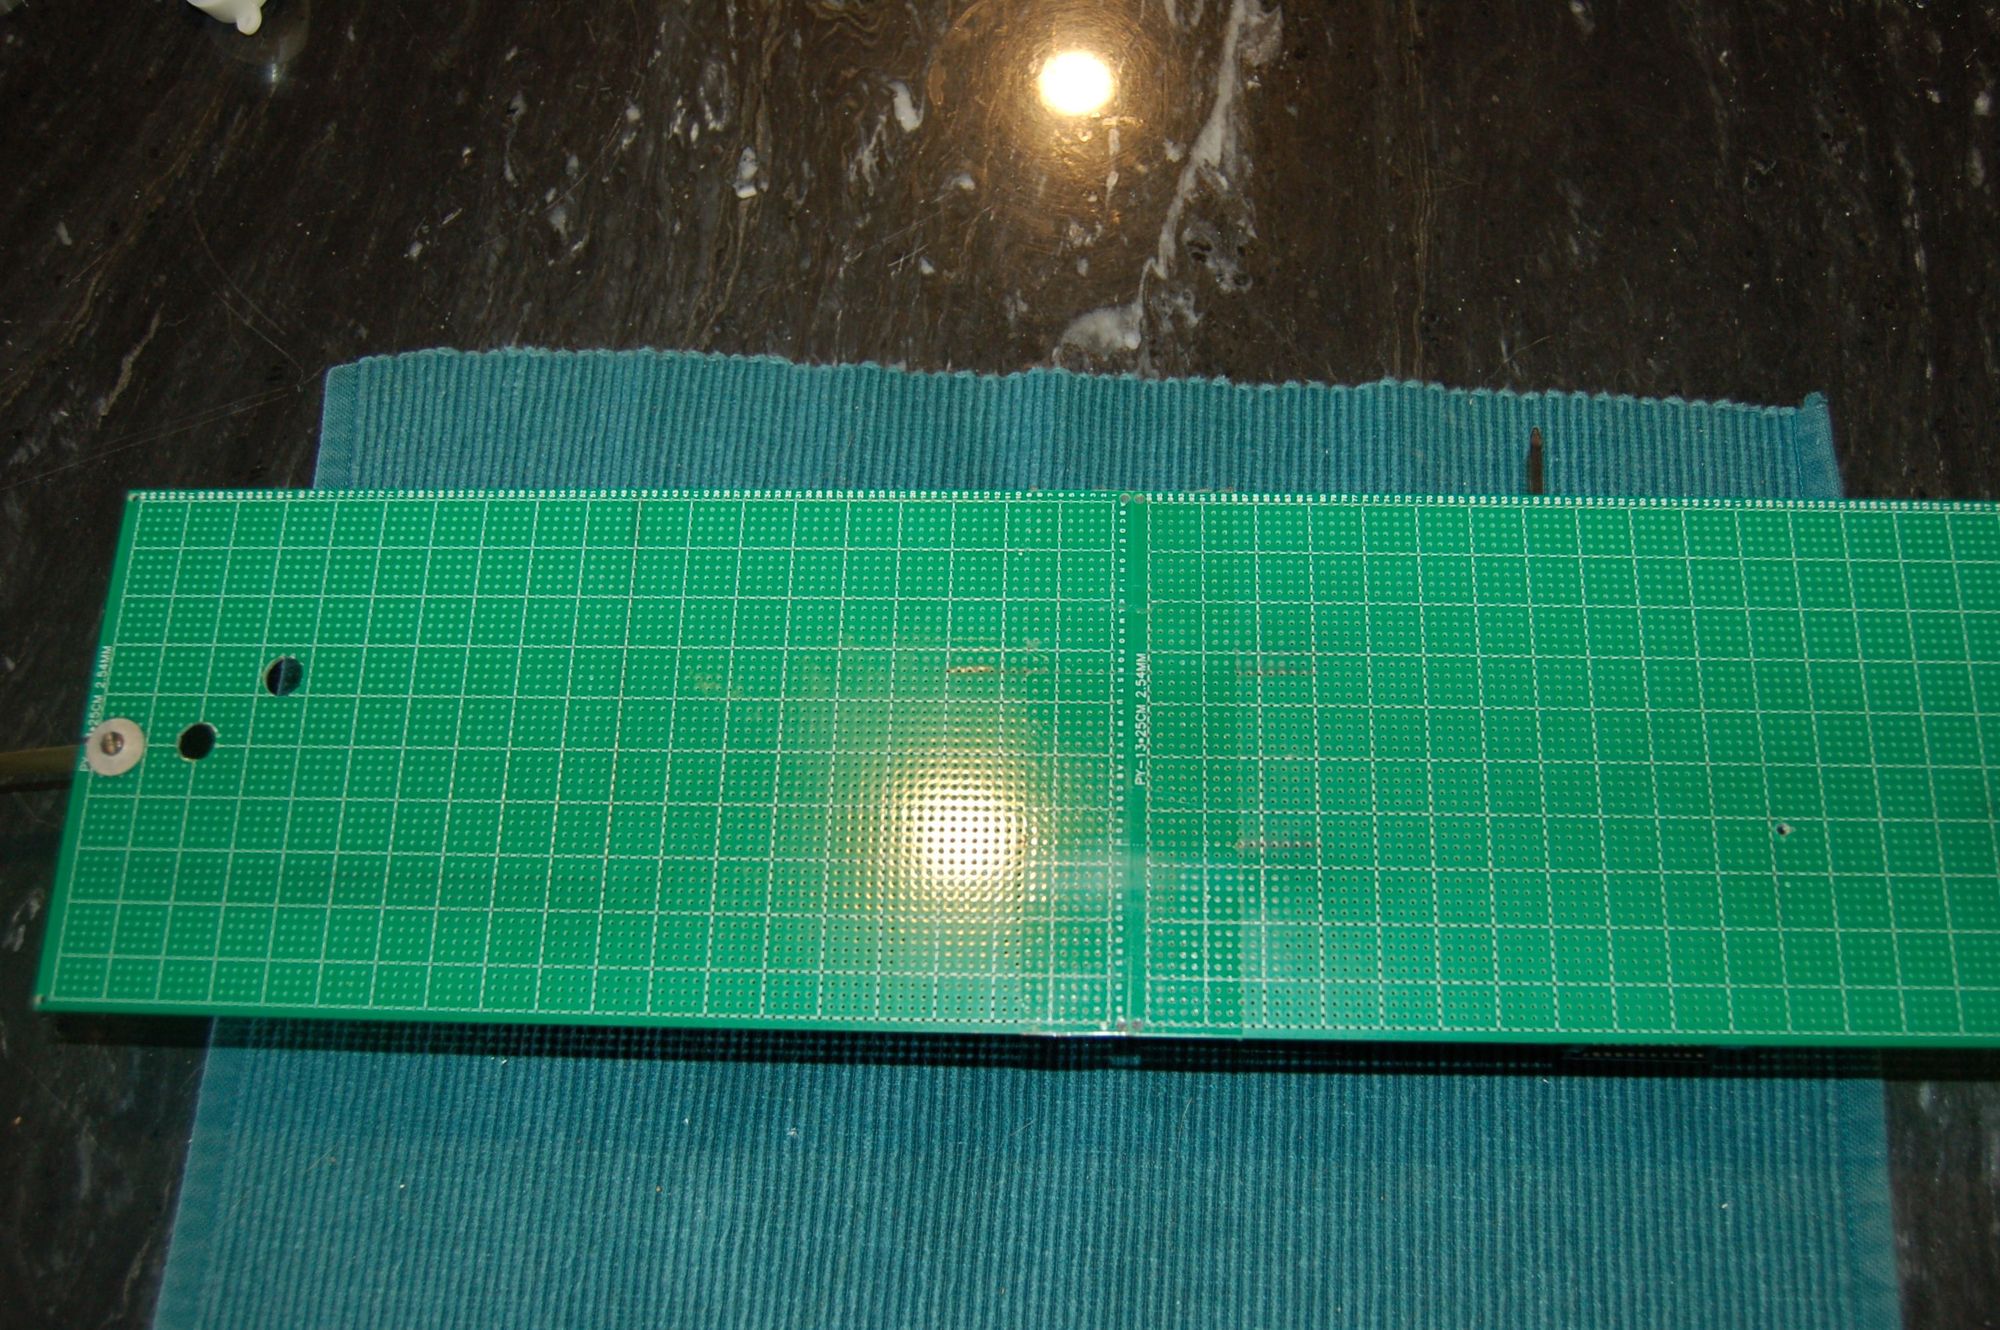
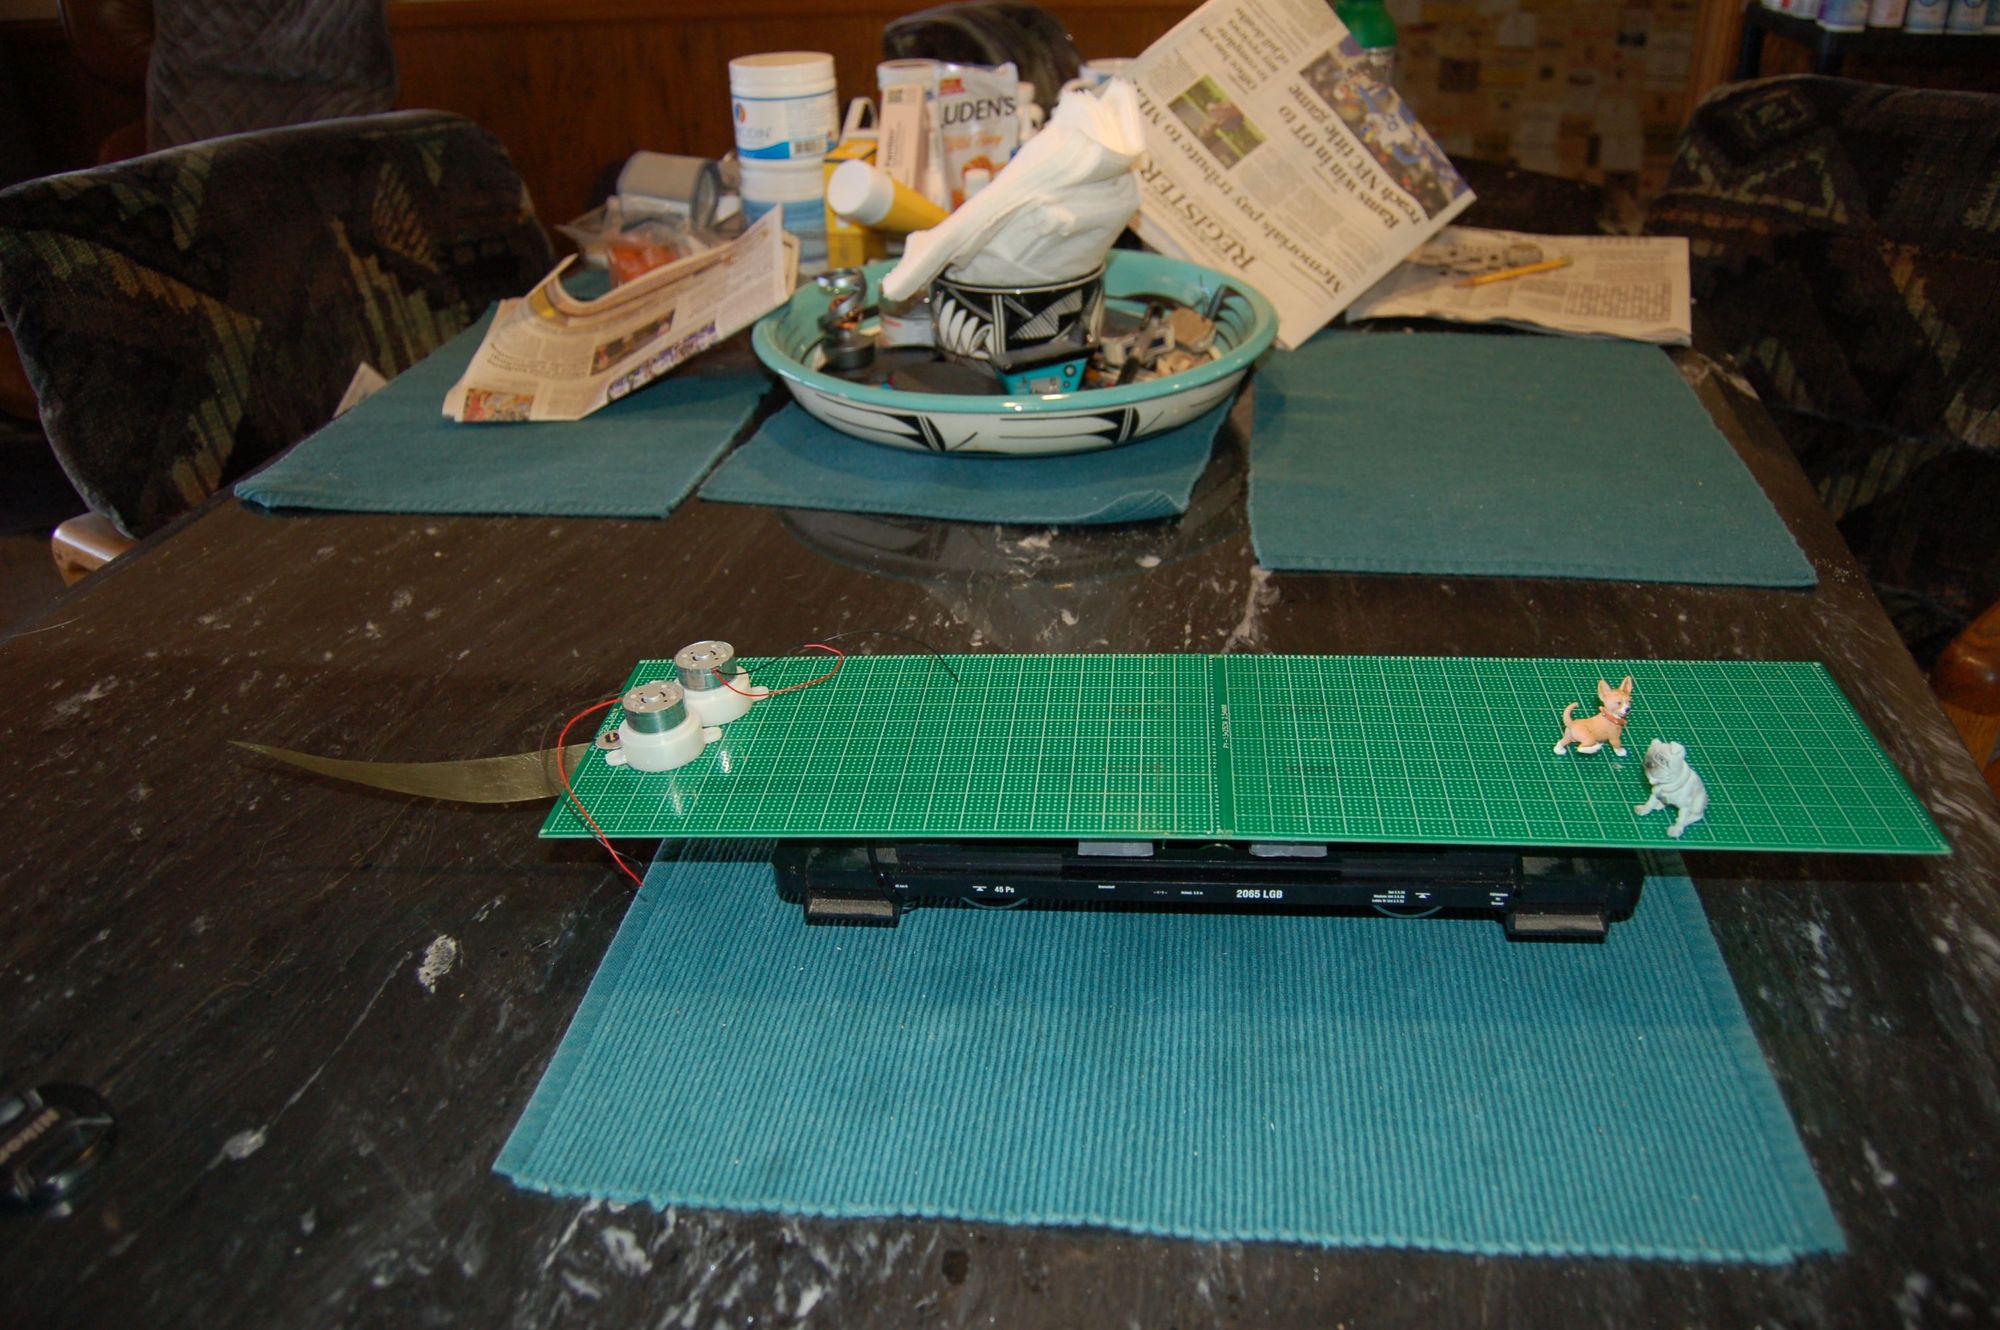
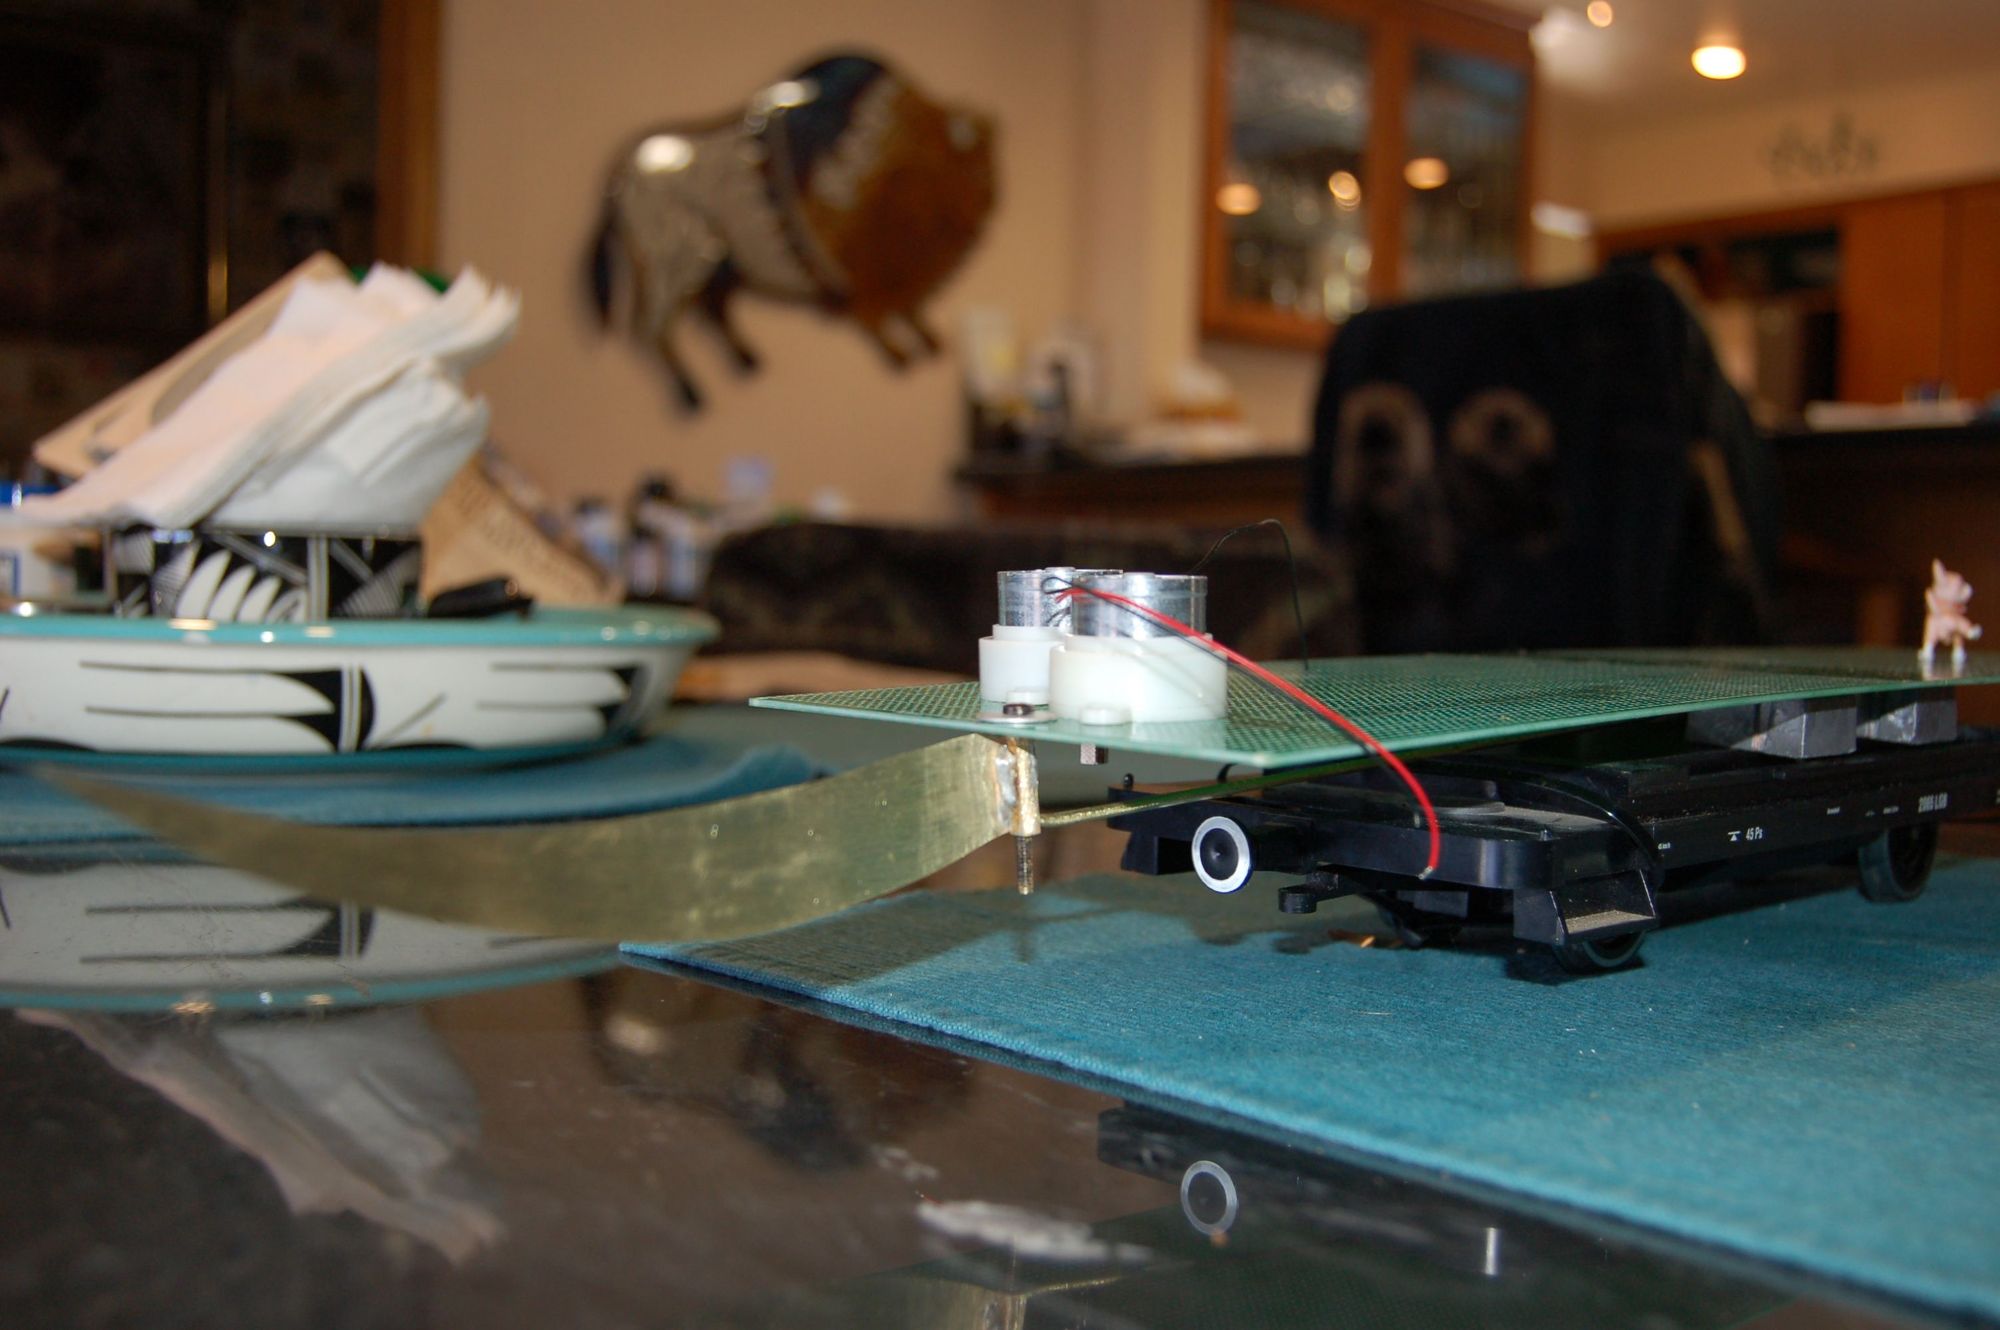
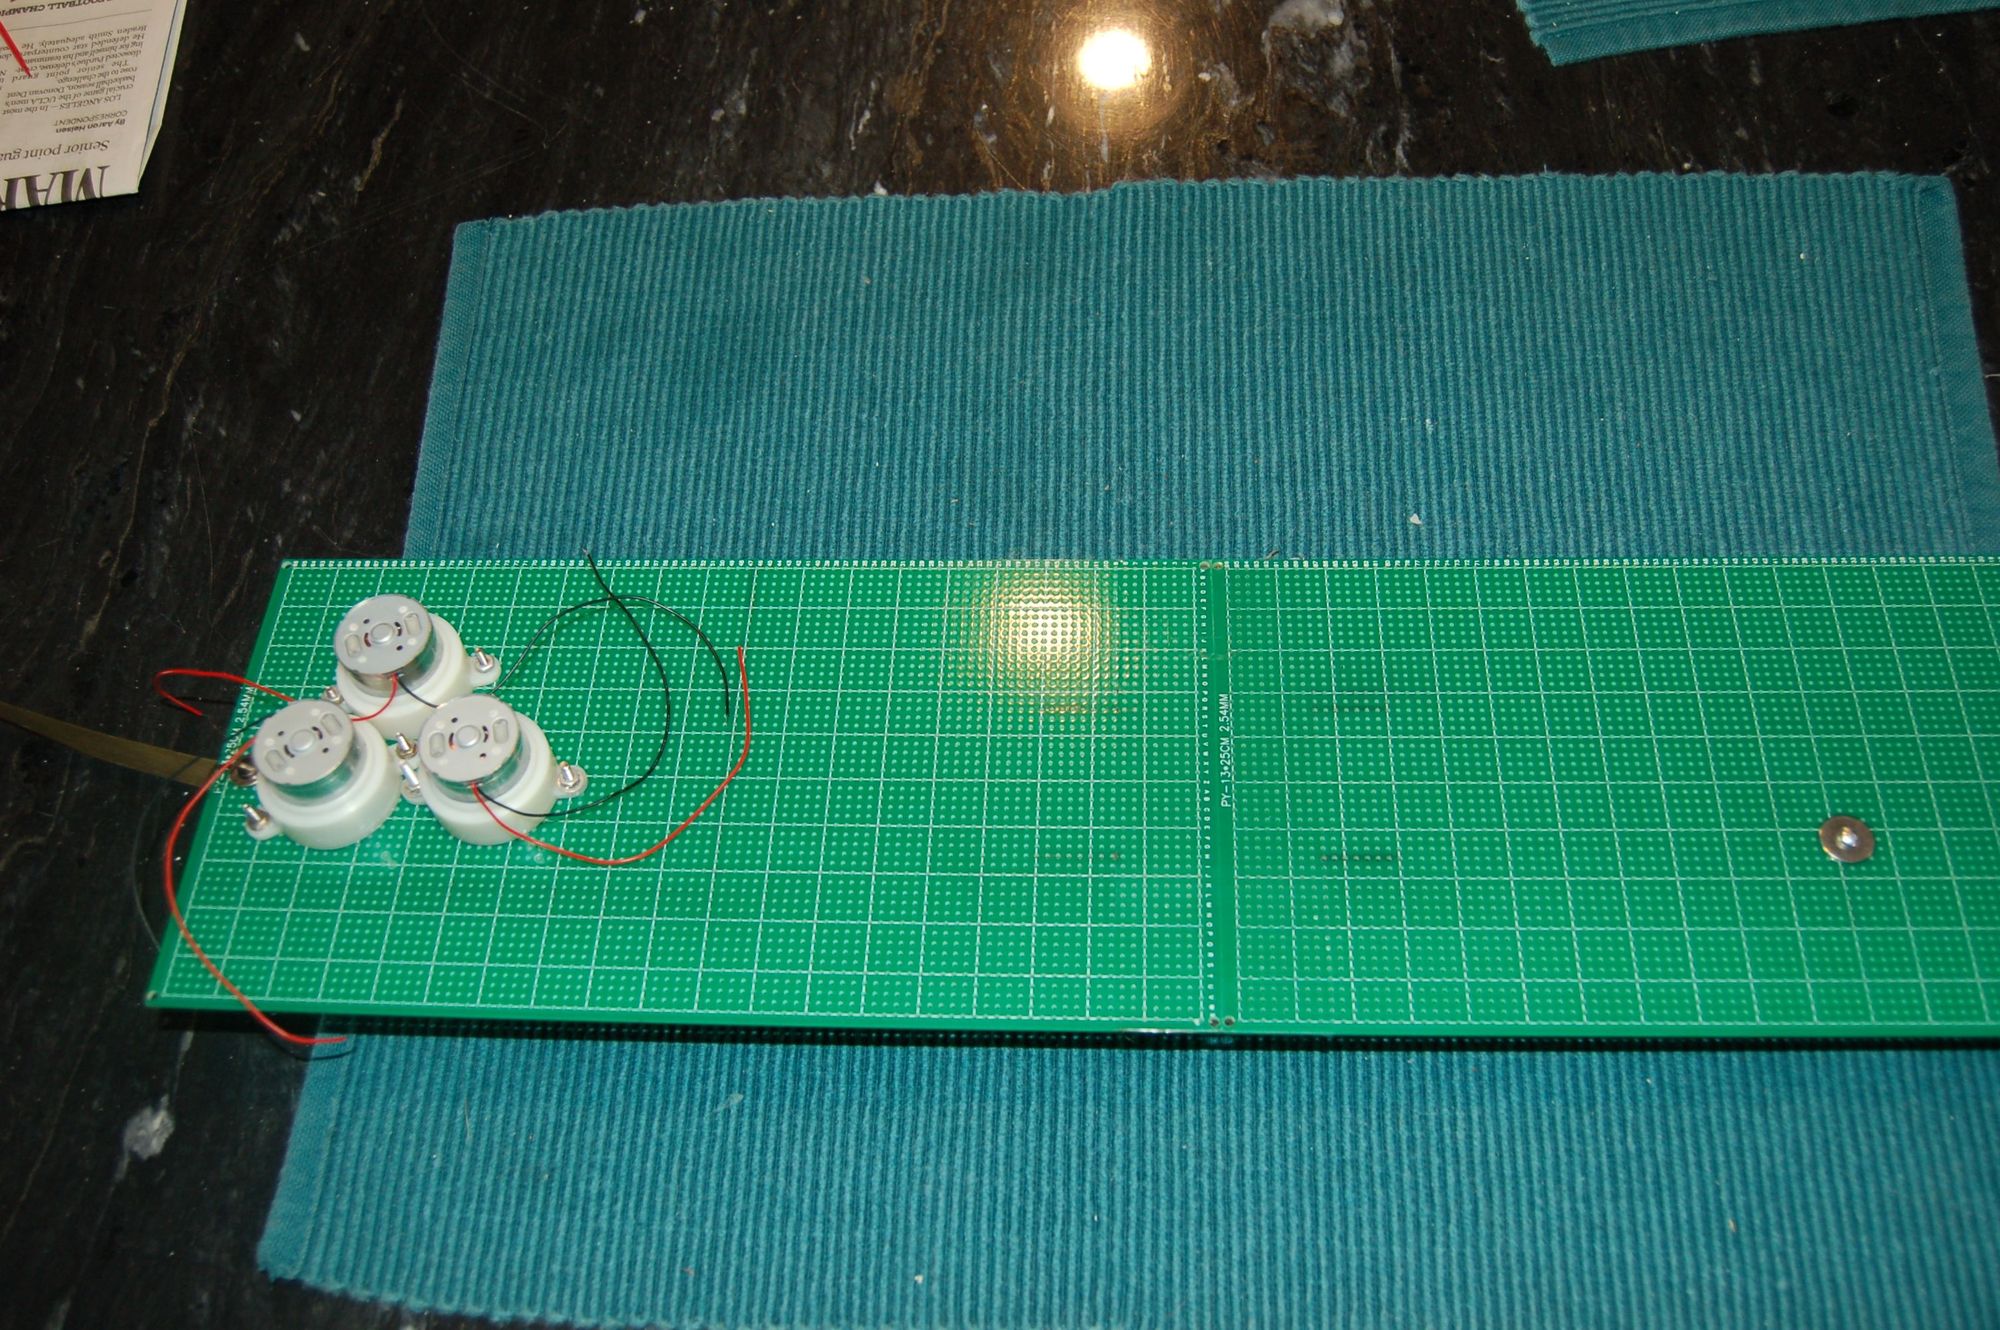
I give you the Em-Bark Dog Park. This will be based on a flat car or possibly unused LGB engine if removing the body yields a clear floor pan.

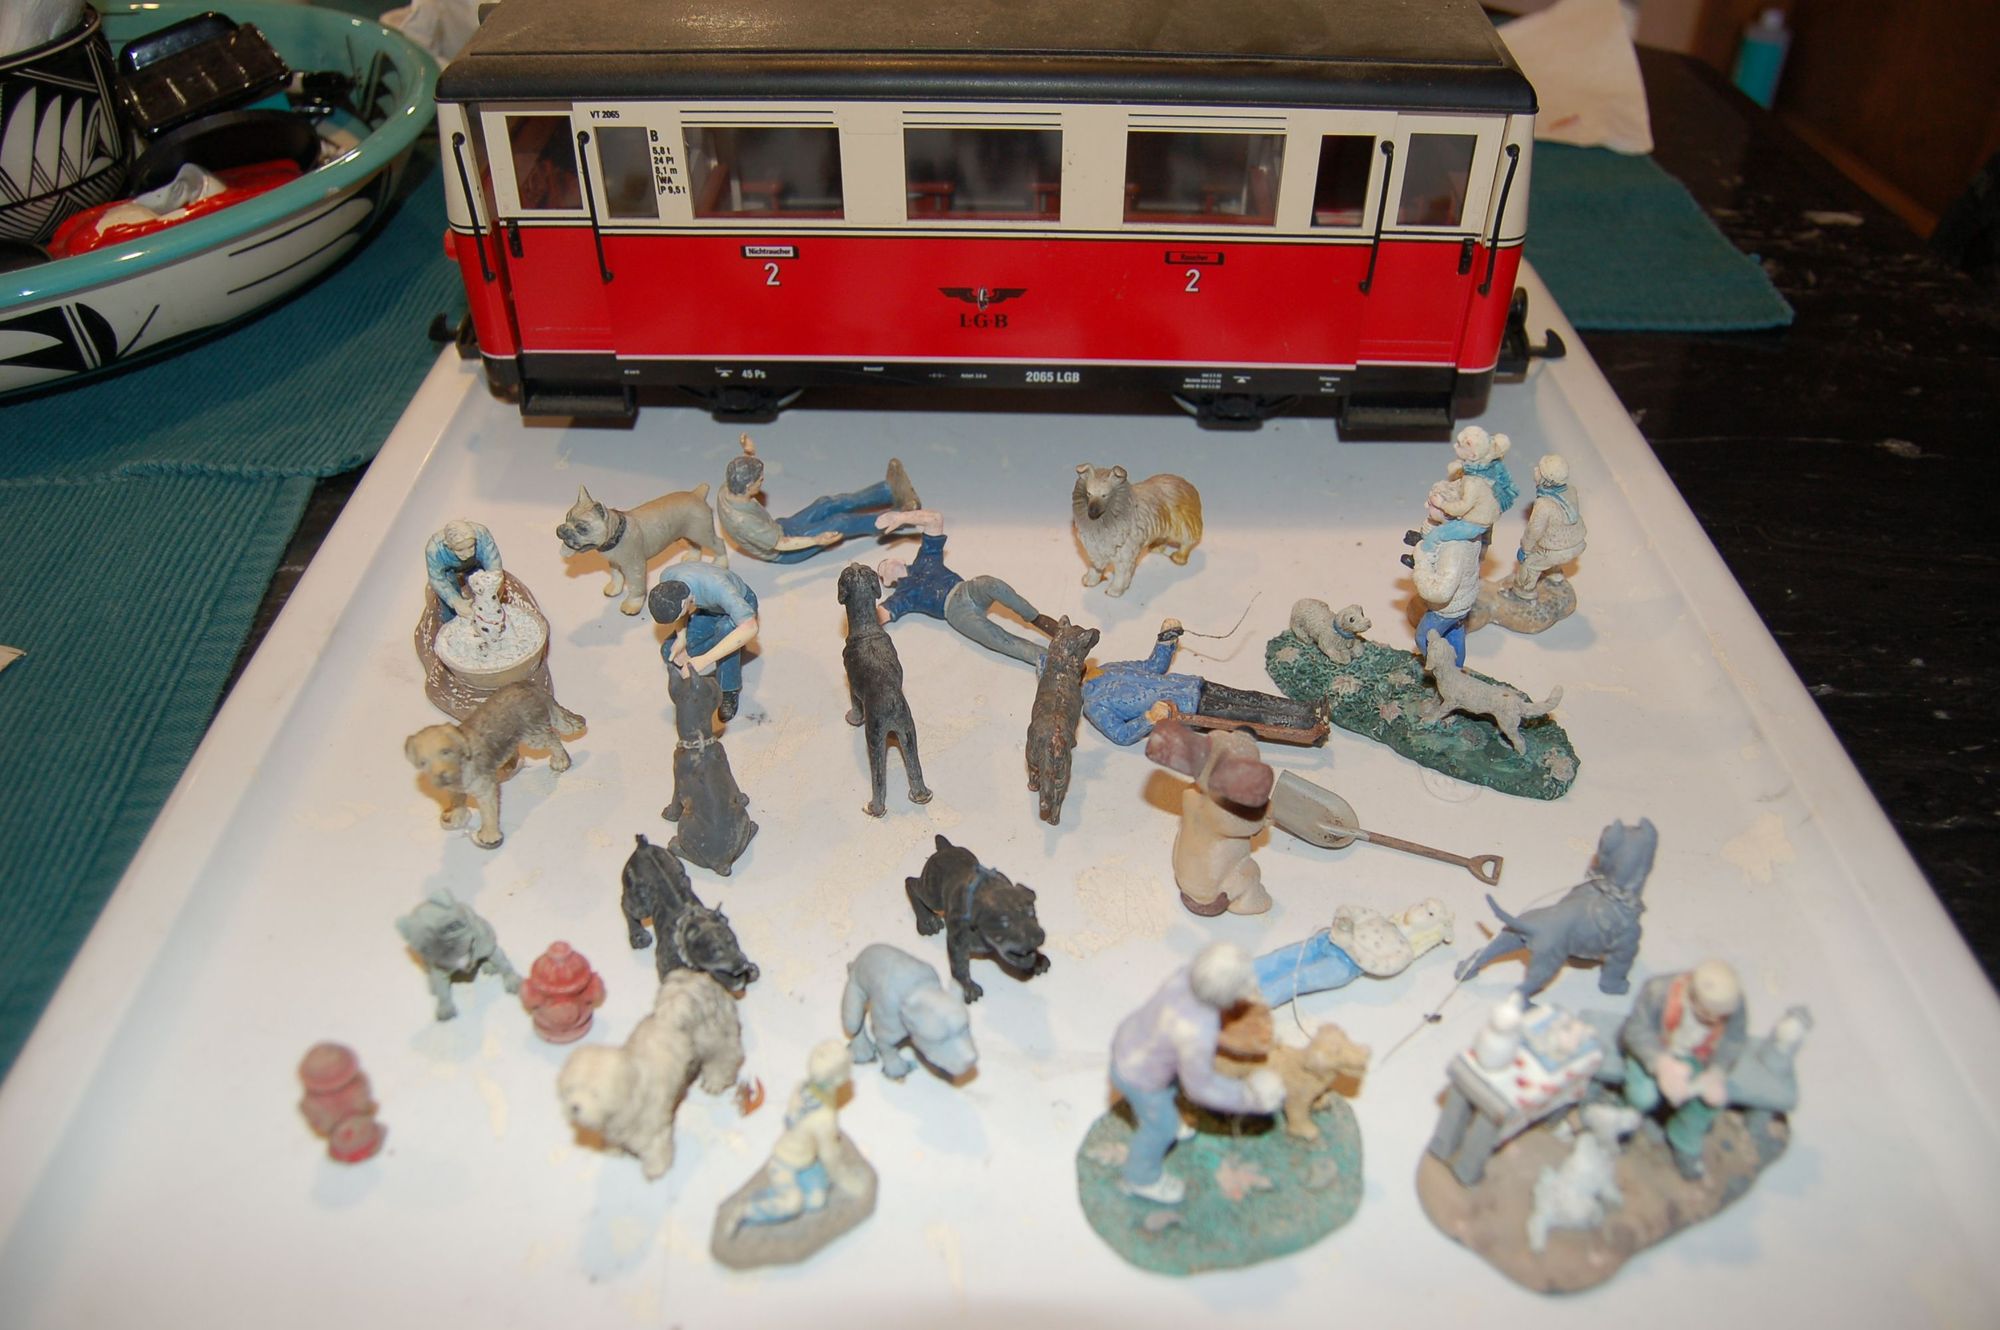
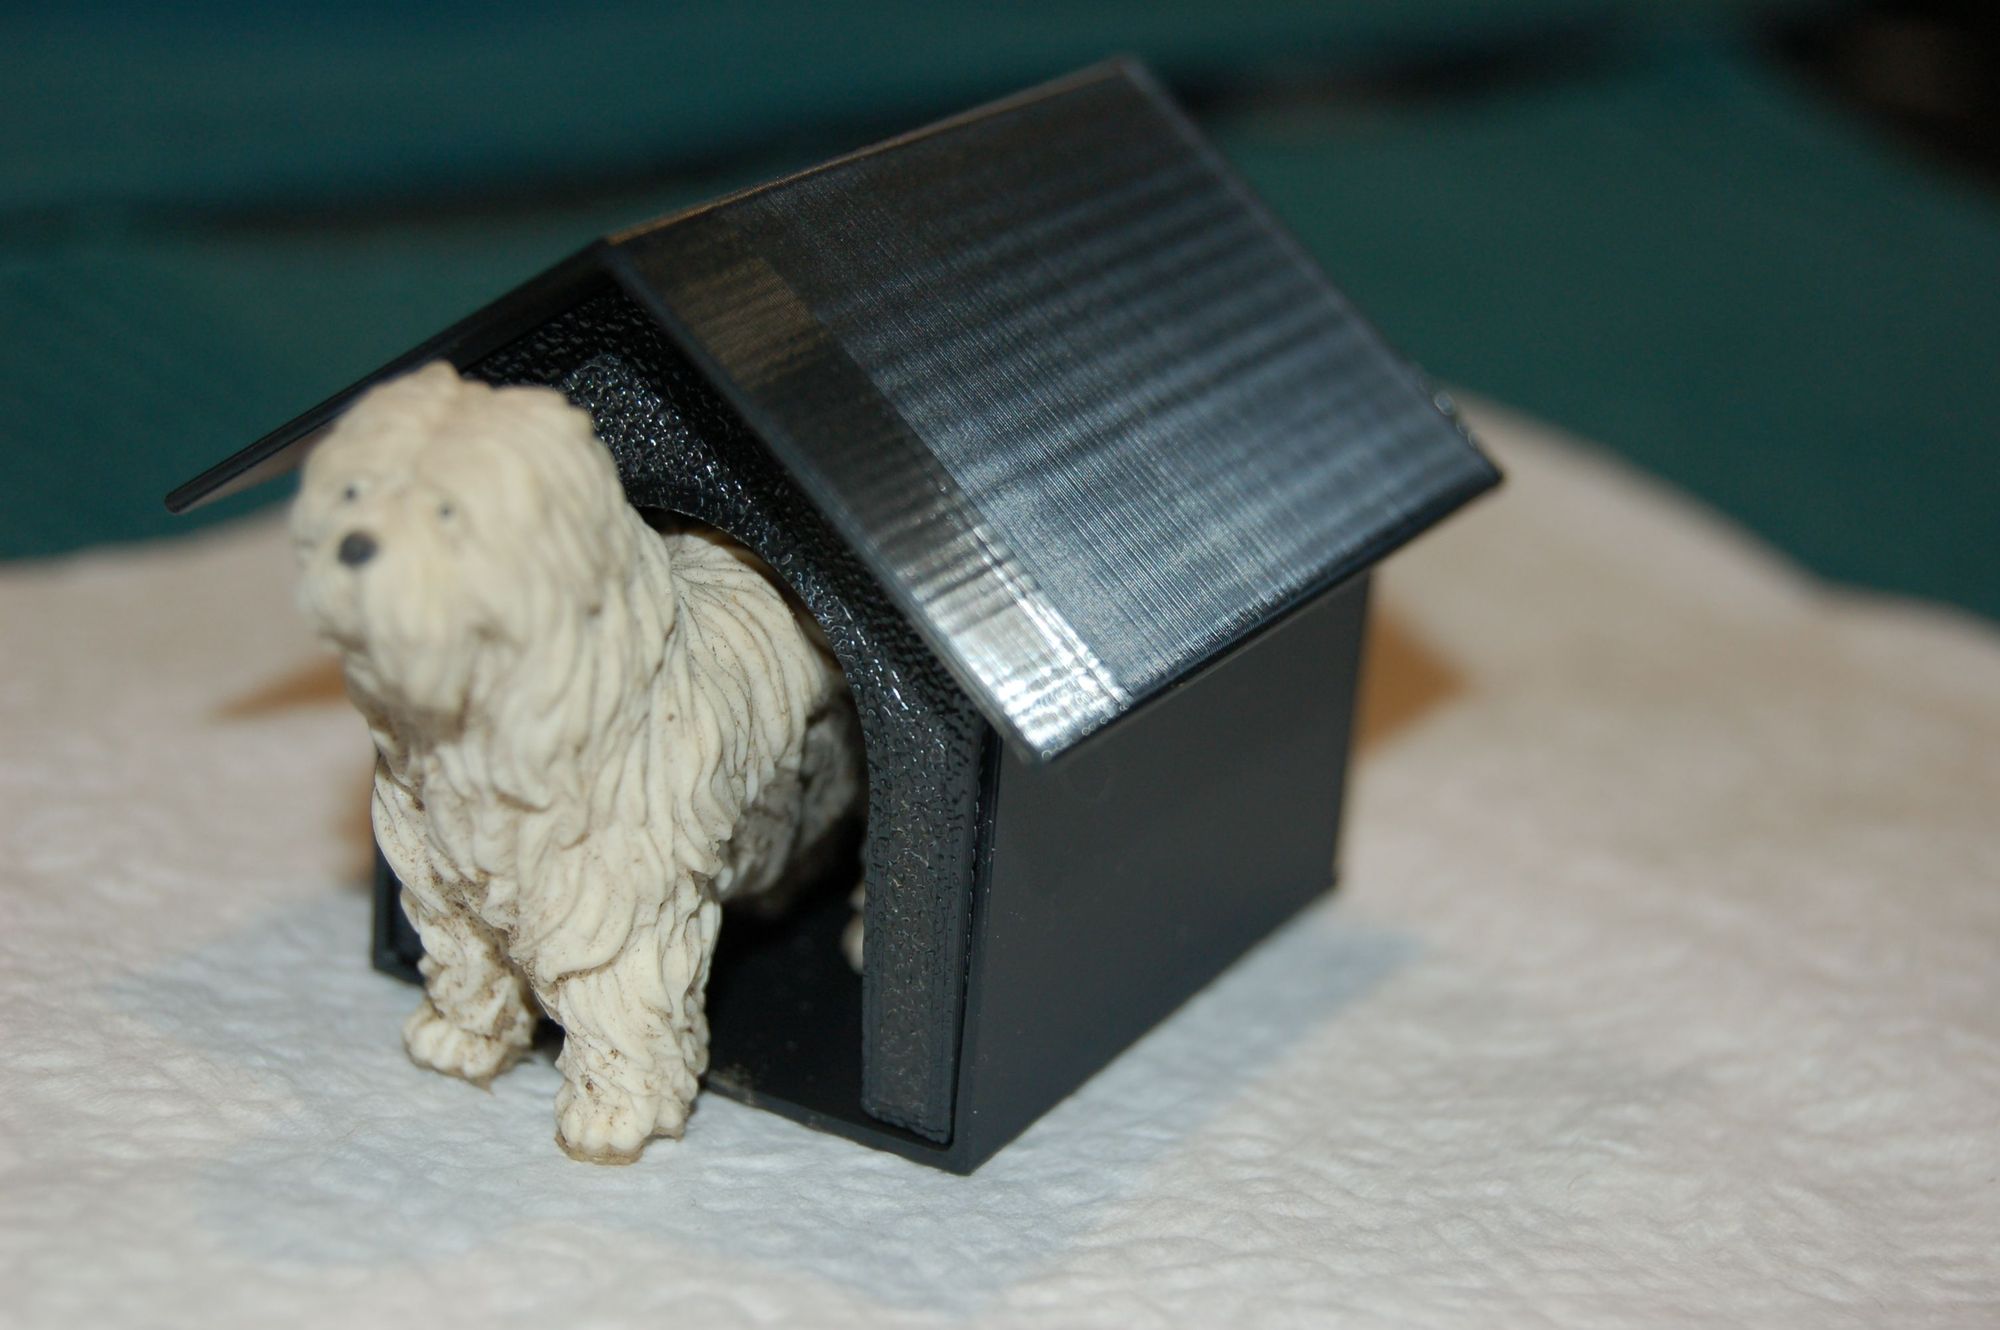
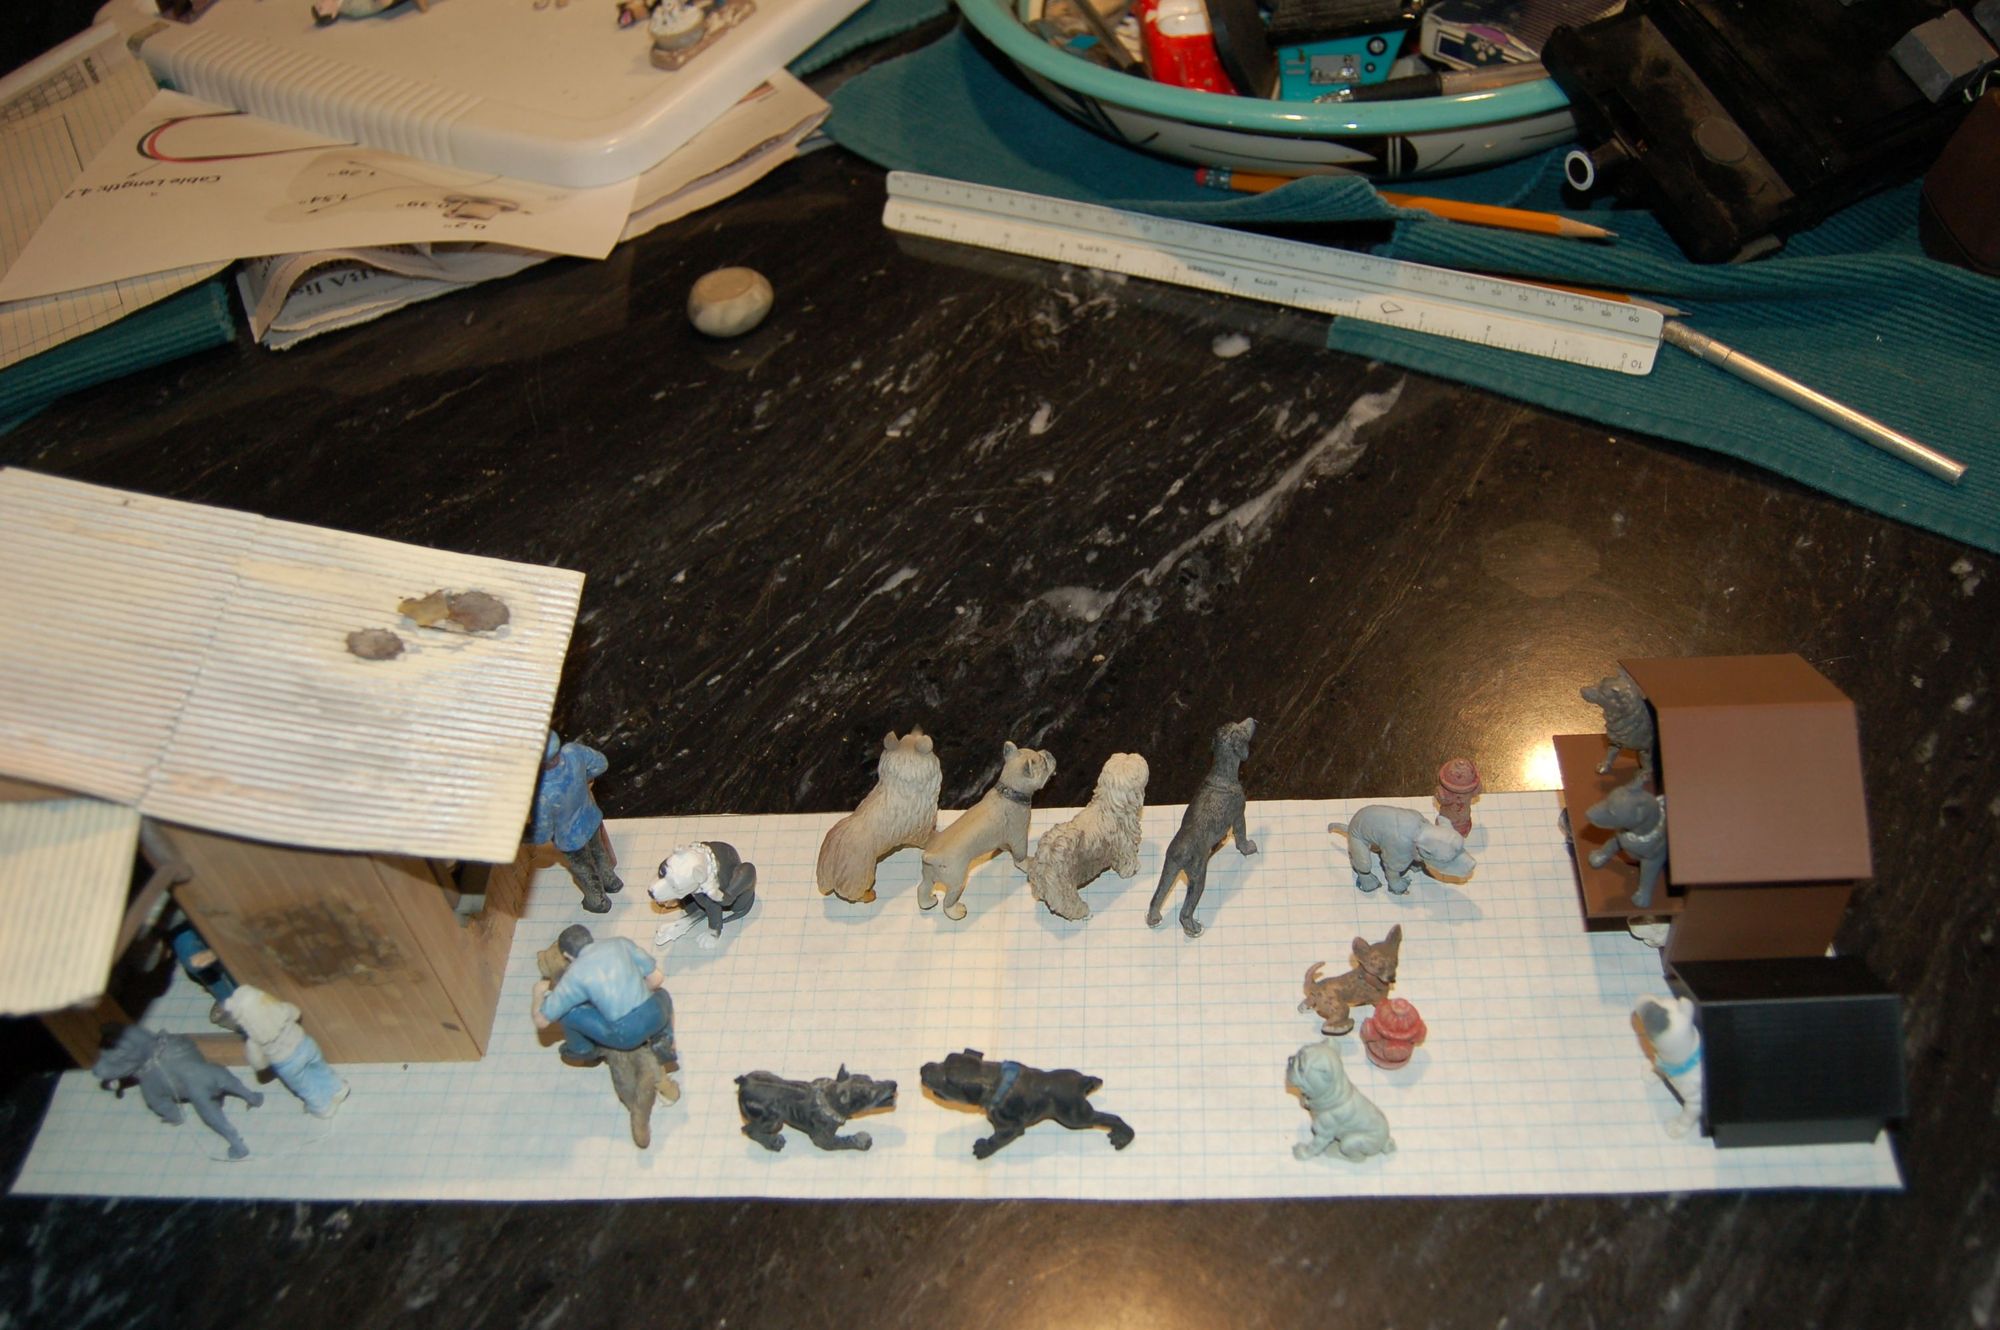
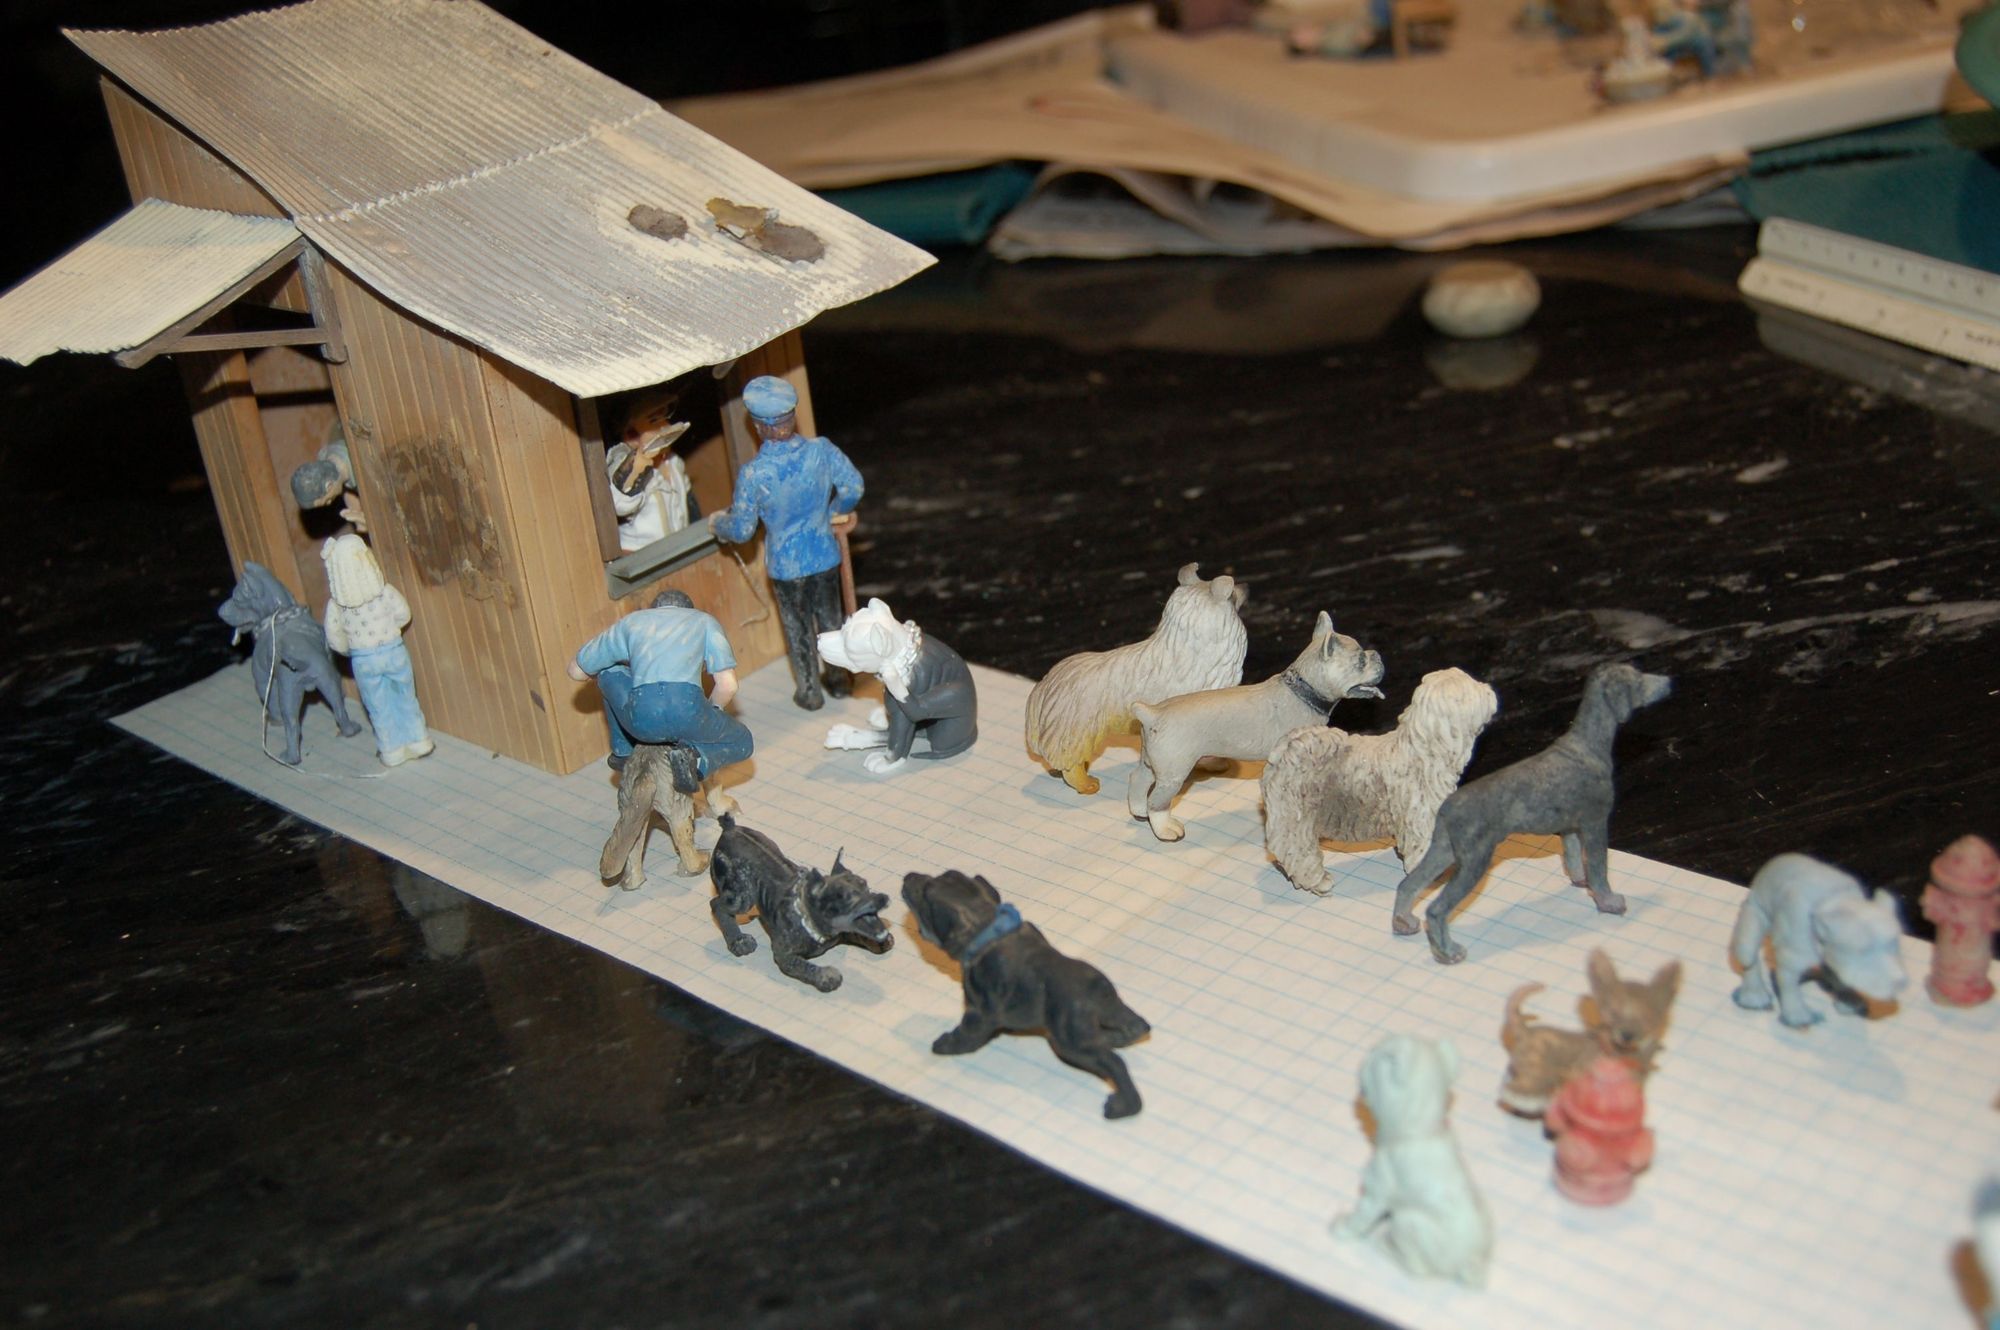
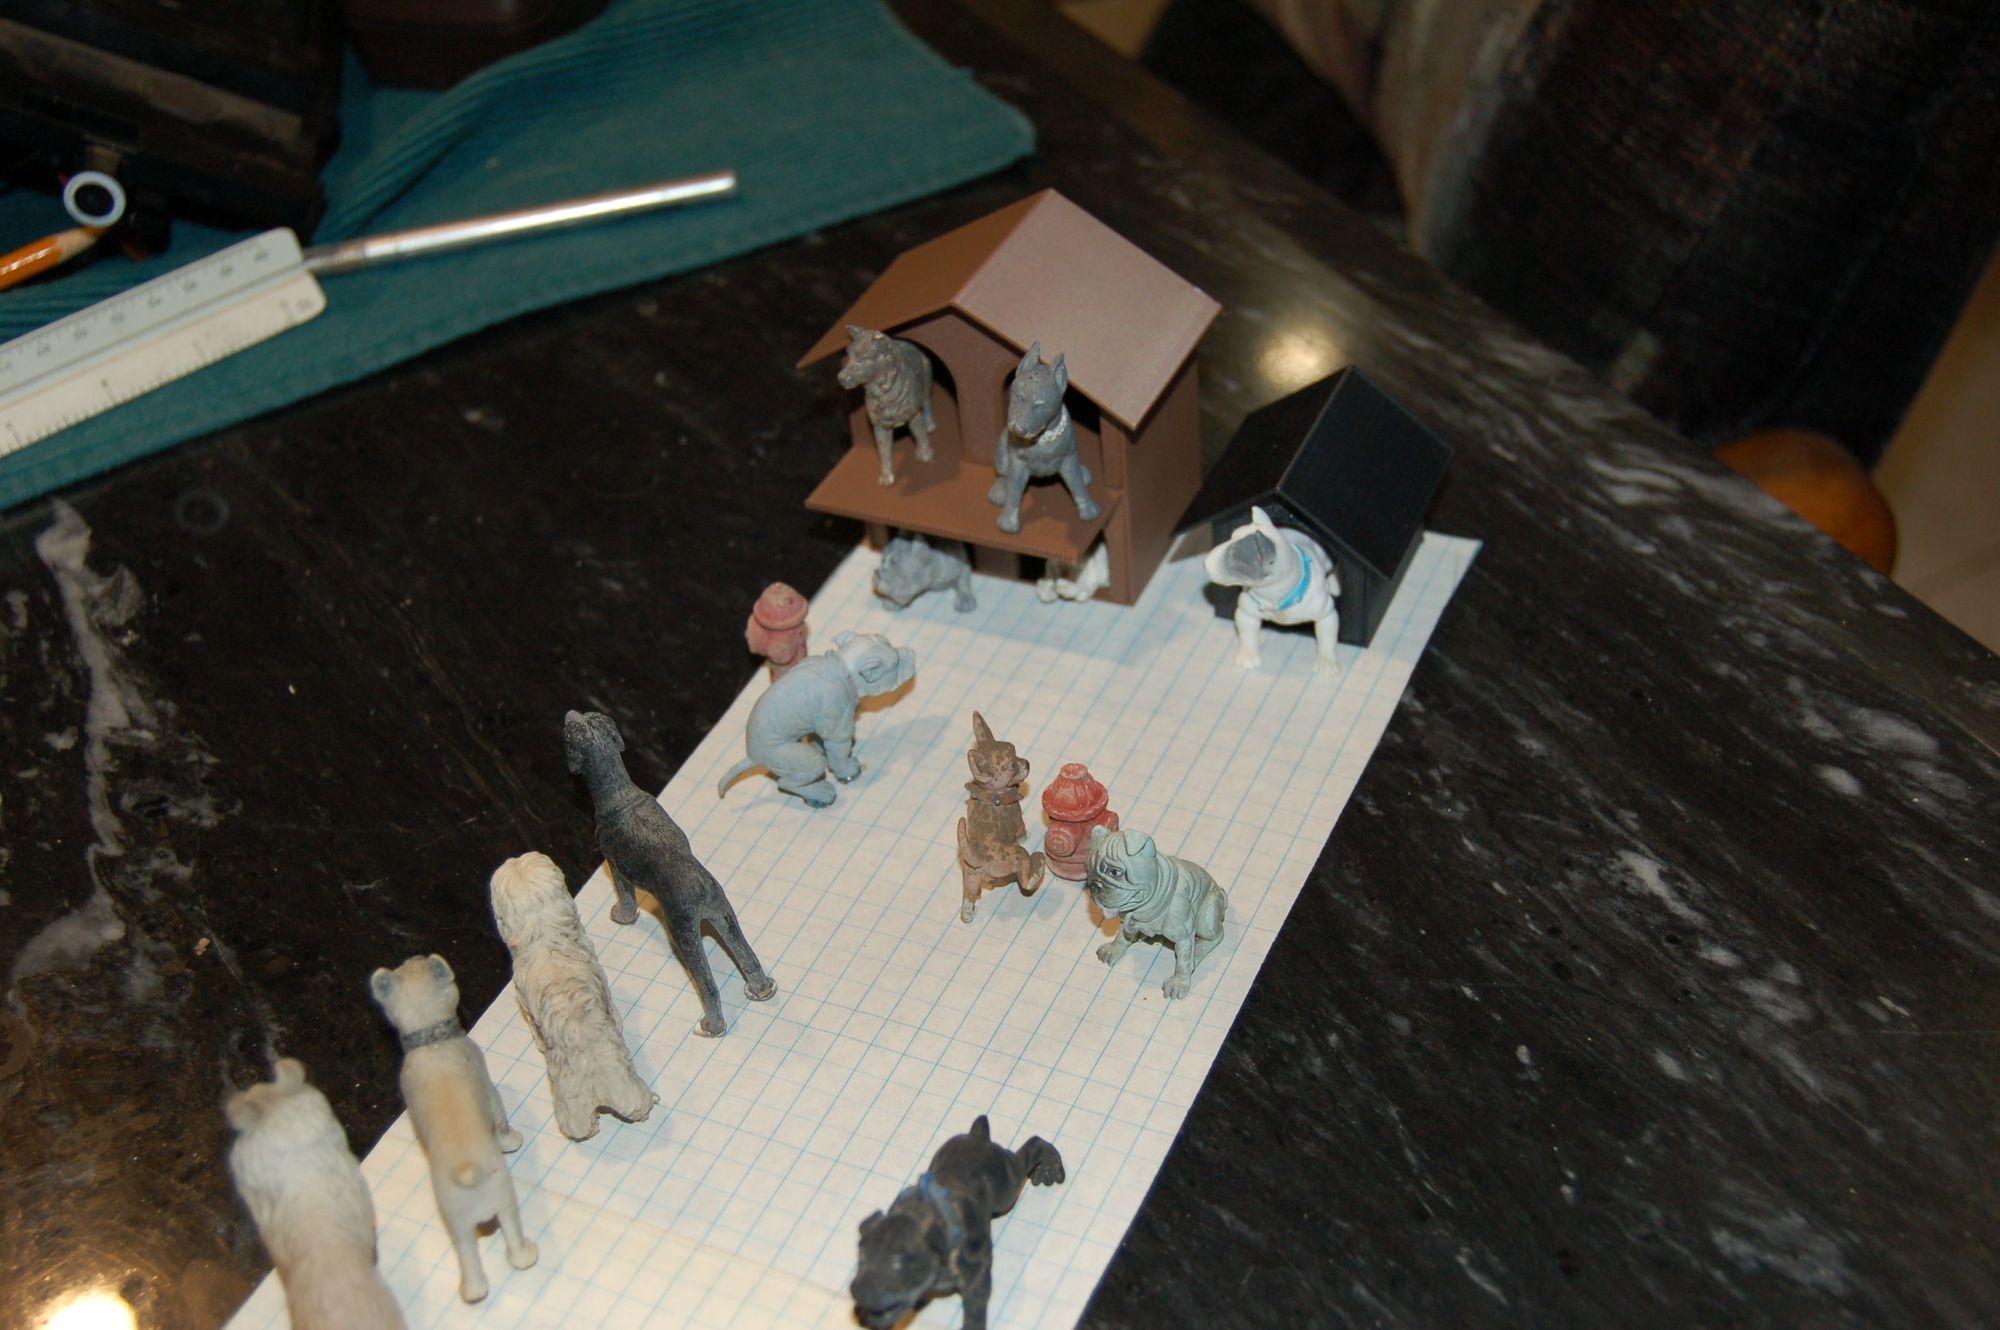
People can bring their dogs for open or covered “parking” (row of dog houses), and have them serviced while they are there. Of course we would offer valet service and for those in a real hurry “Express” packages.

The car would be modified to resemble a dachshund and just maybe I can figure a way to make it appear to walk as it moves along the tracks.

Just why do I think that there will be a wagging tail, flopping ears and eyes looking around?

I put out the word and most of the dogs on the railroad came running as well as a few people looking for work.

If the LGB body comes off clean leaving a flat floor, this may serve as the basis for the build. Otherwise, I have a few flat cars to chose from.

I was able to remove the body leaving the drive intact, though there are BIG lead weights on four regulators (heat sinks and weight) that will probably need me to raise the floor unless I replace them with low profile brass strip, though the weight is desirable.

From the Bambu:

I was able to strip the body away and leave the running gear intact on the LGB engine. This will serve as the basis for the mobile dog “park.”

The decking will be made of perforated circuit board. This has many advantages. It will allow me to accurately place any potential animation over the gridwork, using the holes as necessary, and give me a place to “plug in” many things, like fence posts around the perimeter. It can also be used as the basis for any electronic circuitry that may happen and this can hidden under something.

Any covering can then just be a thin applied layer (e.g., felt) because the board provides the support.

Obviously every lot needs a structure for long term “dog parking.” Seems like the tenants on the lower floor have more to gripe about. Watch you ankles as you pass!

1 Like

I went though my boxes and the layout and dug out a few more dogs. I more of less decided on the project layout and animation.

The four dogs “parked” on an angle represent the short term/hourly parking. The dog house/parking structures are for the over-night, long-term parking.

John is riding in on his dog, but obviously the lot is already full/over capacity, as Max and Sarah, and their dogs, have just found out.

If things work out as hoped for… the pug will drag his butt around the hydrant and chihuahua. The two dogs in the foreground will tussle back and forth over a bone and the rail car itself will have a tail that wags.

1 Like

That is a nice lookin’ waggin’. Very rebarkable.

1 Like

Today (right now) is the first time that I’ve tried to print using supports for overhang. I may just have to go back and do it piece by piece and glue them together.

I also figured out how to do compound pullies, which is why I need the supports.

Edit: It came out perfect and I now have no qualms with using the supports!

1 Like

This is the pulley/spinner for the dog to drag his butt around the hydrant. The magnet on the other side is for the chihuahua lifting his leg on the hydrant.

All of the ASA is done as one piece and the magnets simply push into their pads with a nice friction fit. If you look closely you will see the coupler spring underneath. This puts a light upward push on the assembly to ensure that the magnets stay in contact with the bottom of the circuit board.

1 Like

I can’t believe how easy it is to work on the perforated board. Any hole you want to drill is already pre-started and the material drills like butter with hand pressure.

I wanted to center a hole between the existing holes and even that was simple matter of scratching the material between them with an X-acto to make the starter hole before drilling.

The tail will/should wag and is made of 0.005 brass sheet thinned down by sanding to less than paper thin. Watch those finger slices…, OUCH!) (Can’t be A.W.N.U.T.S. without some “tin/sheet metal” in the build.) The material is so thin than any movement causes it to “wag” but with the motor at only 5 rpm, I don’t really count on it. Maybe I’ll replace it with a faster motor in the future, or simply “pulley” up the speed to get more movement.

A third motor will make dogs tussle over a bone.

So far, the three motors were three for $9.99 and the circuit boards were four for $12.29 (but only used two). I found my existing magnets were a bit too small in diameter, so some should arrive today. They worked fine for the chihuahua but the spread on the pug was a bit too wide and he kept loosing grip.

Oh, also will be a few drops from a bottle of CA I purchased.

1 Like

More progress. The motors are mounted and the two dogs that circle the hydrant “system” is complete as is the tail wag. If the belt for the hydrant system slips (doesn’t seem to), I have a roller that I can install as a tensioner. This is actually the roller from a “roller switch” that I removed. Alternatively, it is now so close, I can adjust the tension by slightly altering the pulley size.

The third motor will power the tussle over the bone/toy.


1 Like

It’s going to be neat seeing the animation come to life.

AAARGGG!

I put the electronics together and found that I had used a 5 rather than 6 volt regulator even though the pack said 6 volt regulators. It was an open pack, so I must have done it. Just my luck, four pieces in the pack and I pick the wrong one. :upside_down_face:

Voltage regulator was replaced and I still need to connect the motors. I’ll still probably add a switch for each one once I determine direction.

Some ideas are great in theory but after painstaking hours of development, just don’t work out and are abandoned. I had the idea to mount a magnet in a channel and when the spinning magnet comes around, they repel each other and the magnet slides to the other side of the channel. A smaller magnet of similar polarity is mounted in the other end of the channel and when the revolving magnet spins away, it then repels the magnet in the channel, pushing it back out. This way one of the dogs was going to retreat into his house every time the spinning dog comes around, and return when the spinning dog leaves.

I made up the channel(s) and magnet “sleds.” If a round magnet is allowed to slide back and forth in the channel, it gets some spin and this would disorient the dog going in and out of the house so that he would foul the door.

Works great until, you find… While the spinning magnet/channel/sled work fine of themselves, when you add the friction of the magnets on the dogs feet across the surface, magnet movement becomes nil.

Still the channel is to be used in the tussle to locate the fight, so the 5 cents in filament that it cost to print, doesn’t go to waste. :wink:

The double sled is for the two dogs in the tussle. This will be moved by motor.

1 Like

The perf board is too flexible such that the belt looses tension as the board flexes and tightening the belt produces a “bow” effect.

Not to fear, with a box of 2’ Aristocraft straight track in the garage, one piece donated it rails, cut down and CA’ed under the board along either side as stiffeners. This should be enough to stabilize things. I knew this would be encountered and was wondering what I was going to use. :wink:

Of course no good deed goes unpunished and the pug’s spinner had to be redone taking off 2 mils from the diameter where it would hit the rail.

I spent the day working on the tussle mechanism. I wanted to run a cable/wire though a tube to get it under the pulley system. I was thinking of using a 3D printer filament line and filament as the “wire” but now it would not hold up for long. I used some copper tubing hand bent with a length of spring intended for ??? (maybe a radio dial) but found that it presented too much resistance.

I ended up just using the spring and rerouting the attachment point to the sled and this seems to work well. I should have done this originally and saved several hours and some nice tubing, but that’s why it’s a hobby.

I’ll try to get a video of the three motors in operation tomorrow, but noticed hat the tail rotor motor was not running when switched on. Maybe/hopefully just a bad switch.

1 Like

Todd, what’s the backstory to having so many dogs in a box?

maybe, just time and patience?

contents of my “Bird Dog” box. (the one standing up front is 72 or 73 year old)