Holy smokes! That is a lot of birds and dogs. Is the 73 yo one carved from wood?
nope.
as my parents told, it was part of the first set of “soft” plastic animals, that were sold in germany after WW2.
i still got some pigs, sheep, horses, cows and wild animals from that series.
today the plastic is still flexible, not as brittle, as the plastic toys from the '60ies.
but Todd got nicer dogs. in the bigger scales (1:22.5 and 1:24) there are more detailed animals and figures available.
1 Like
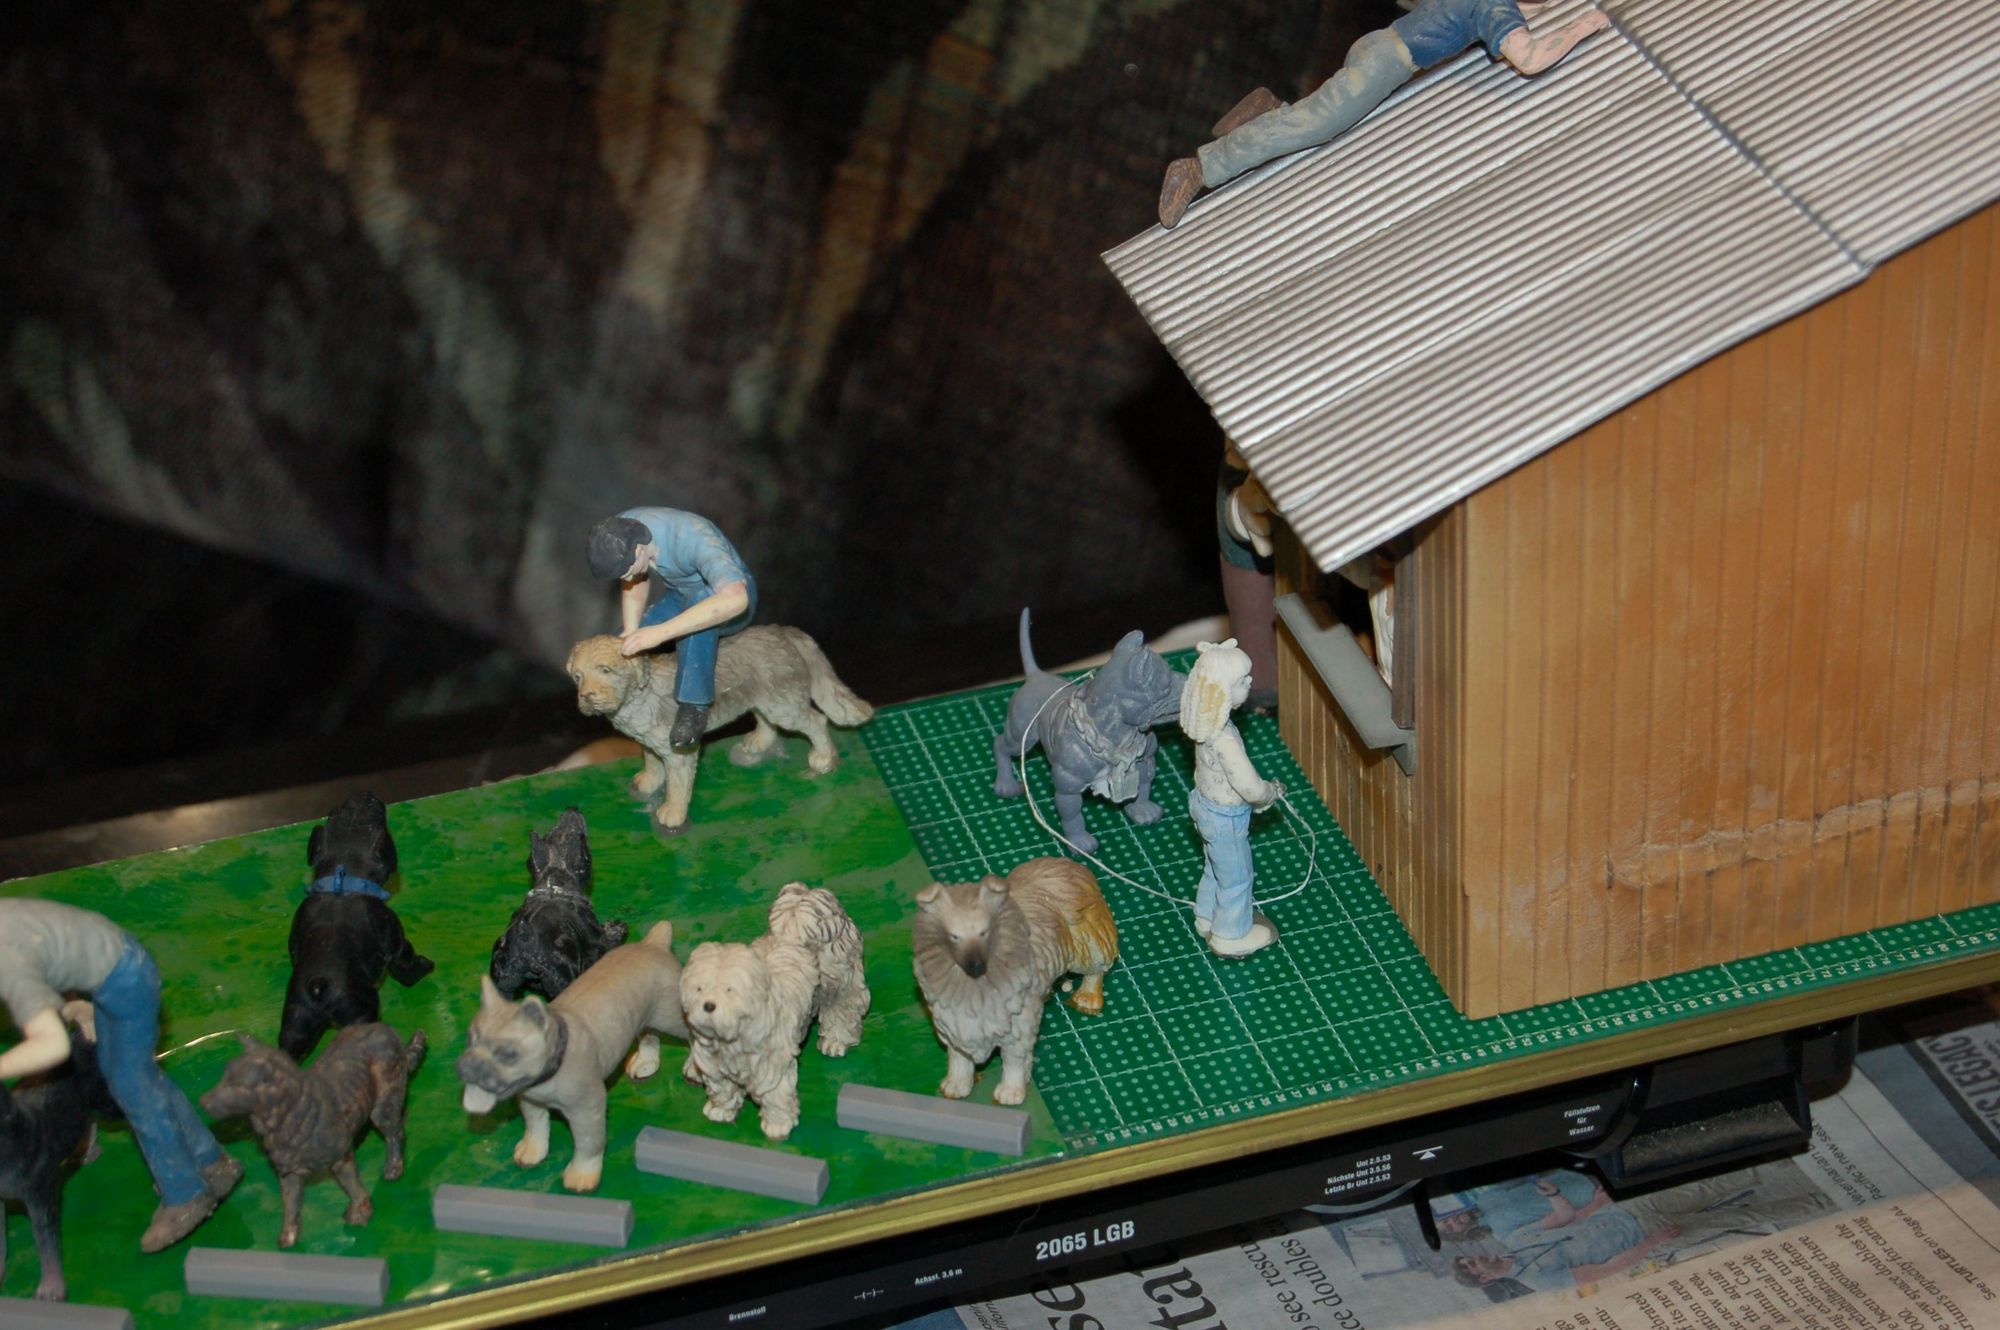
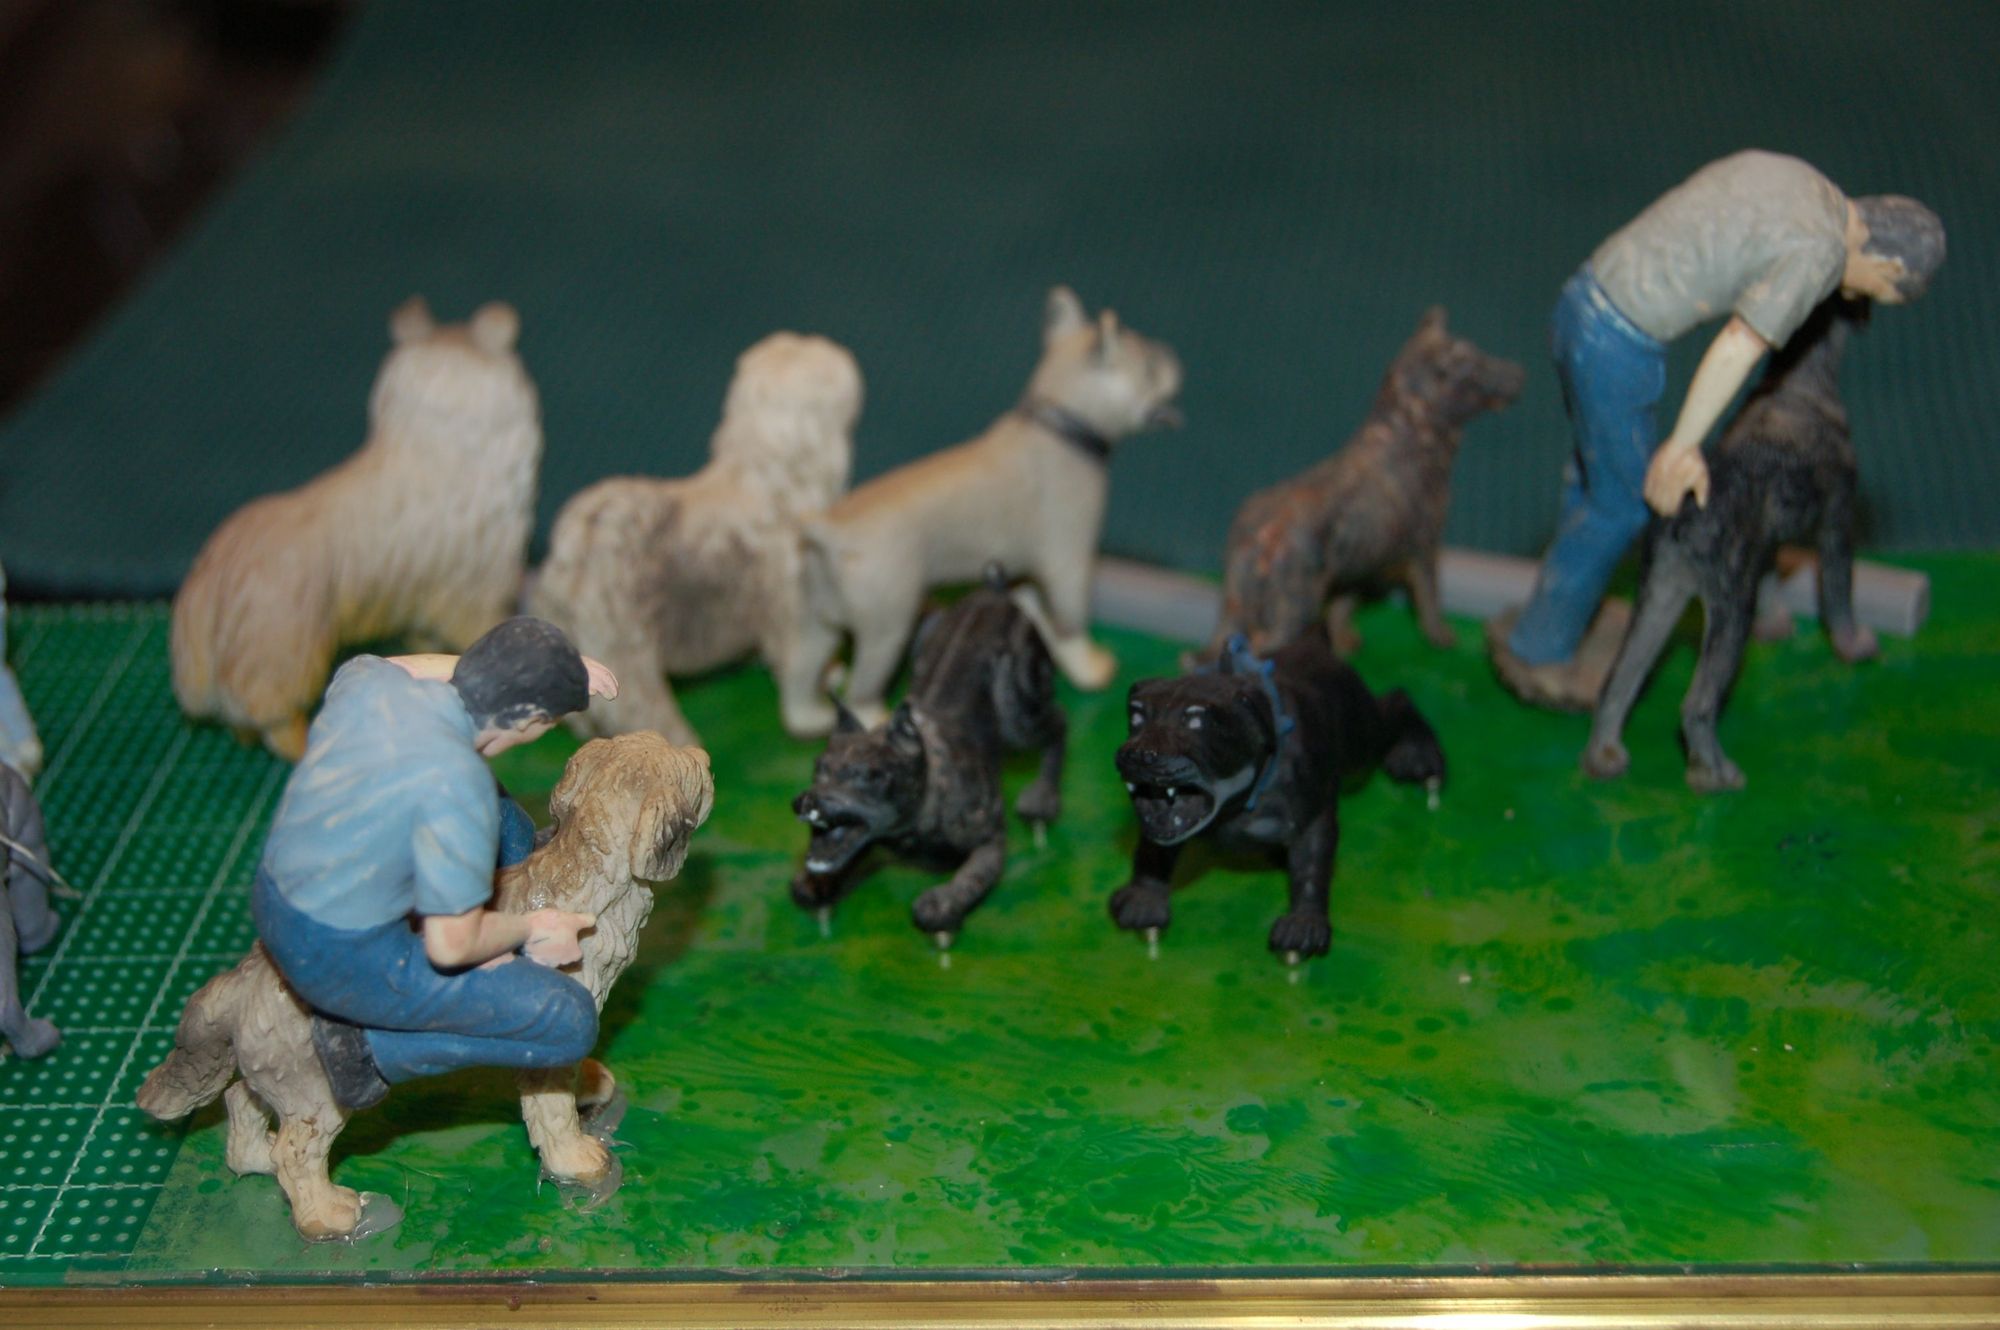
They were just dogs collected over the years (started in 1997) and taken off the railroad (actually out of boxes in the garage) just for this event. We have a few more, but they were glued down to various vingettes too well to pull up without breaking or are part of other figures (e.g., LeMax girl washing a dalmasion in a tub).
I have to bring in all the buildings, figures, details every Sept and put them back out at the end of May to avoid the Santa Ana winds. I actually live in the Santa Ana Canyon that the winds are named for.
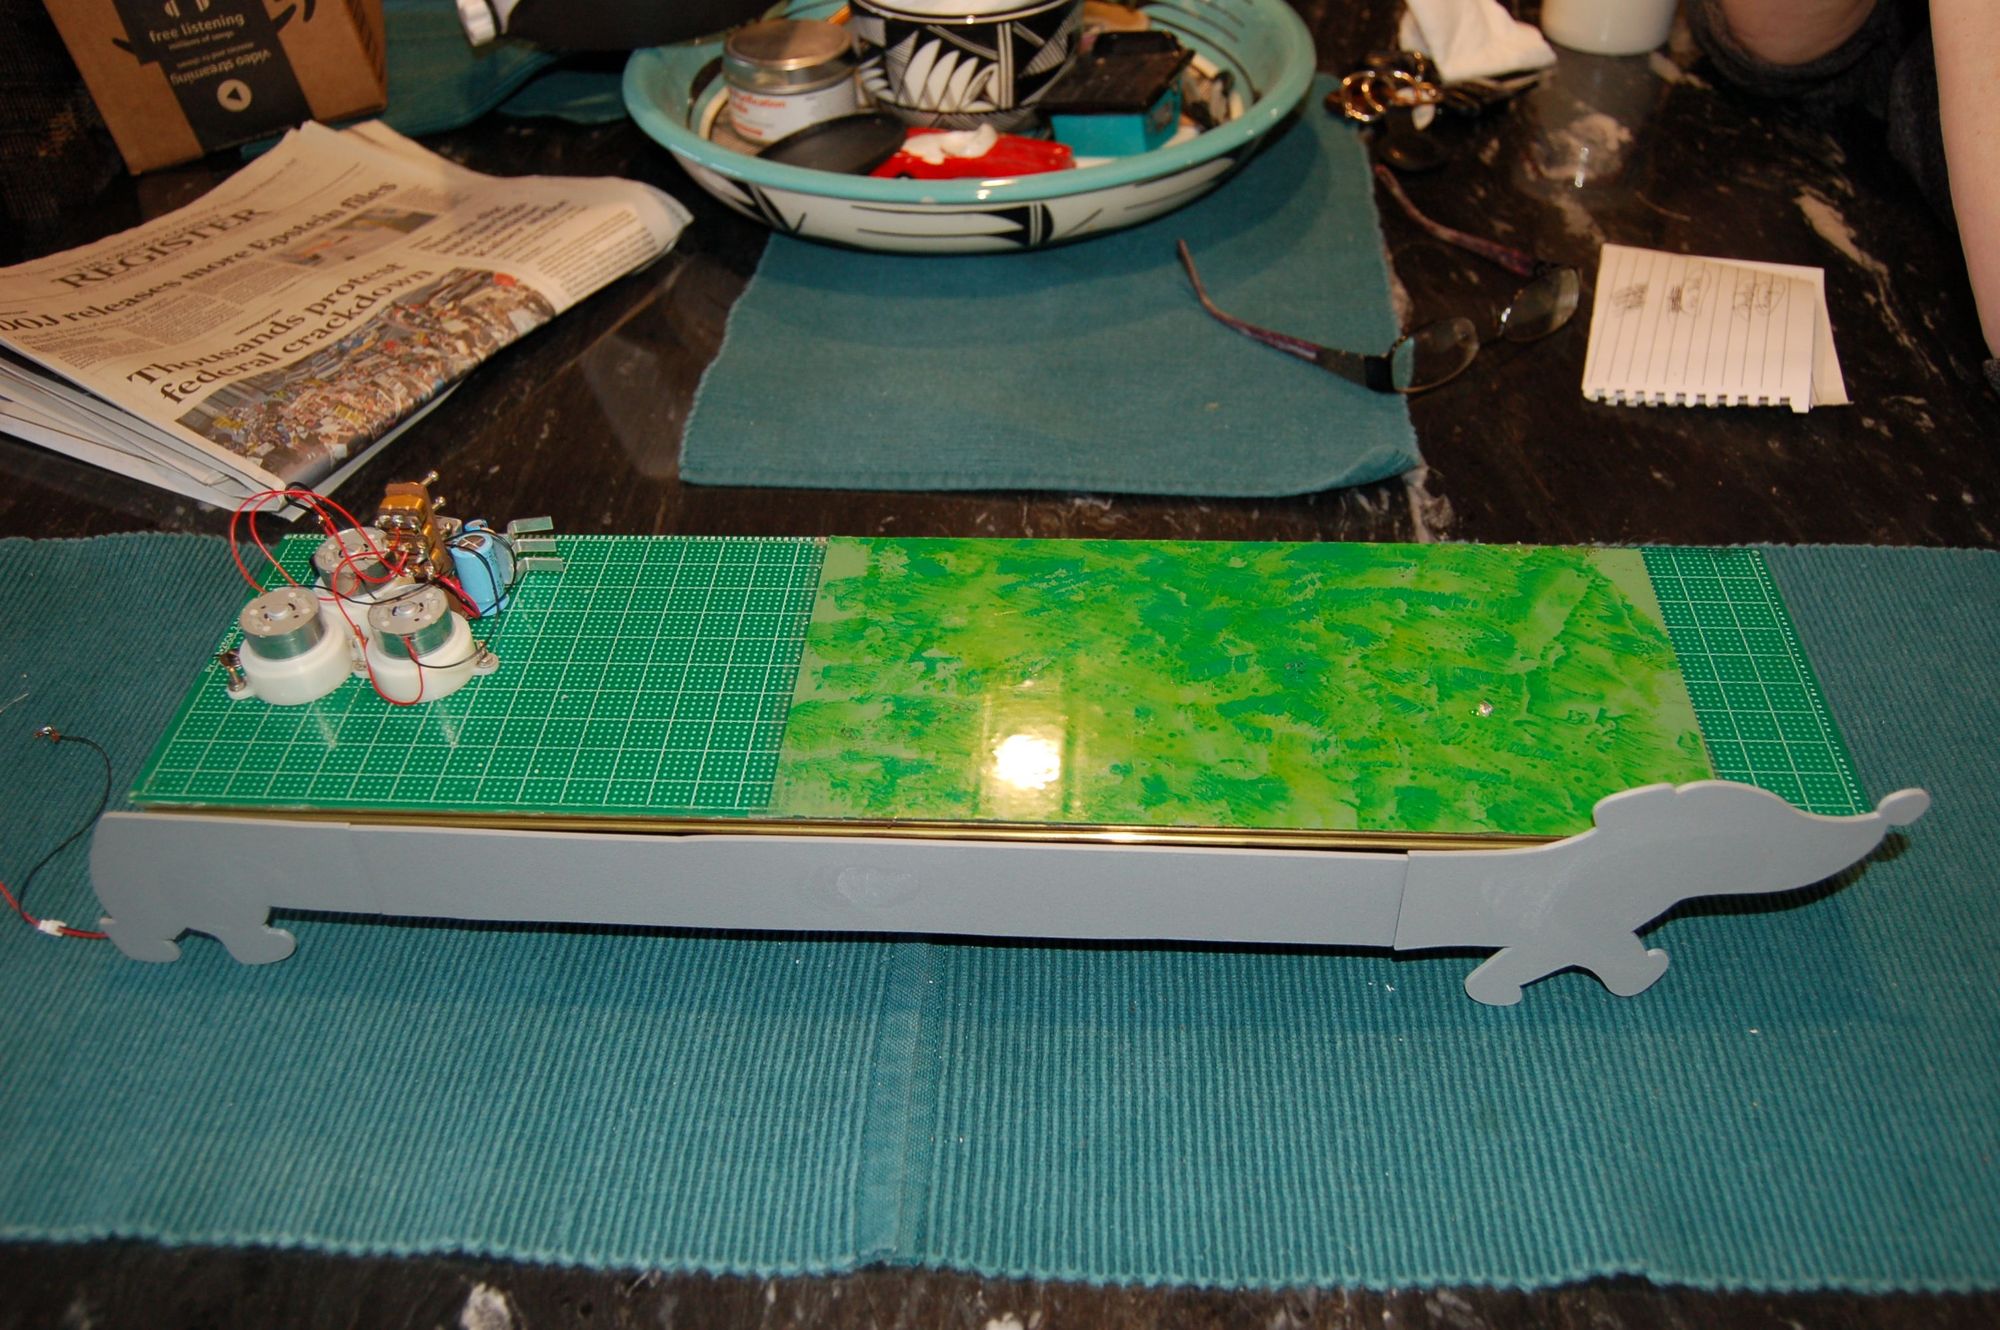
As promised…,
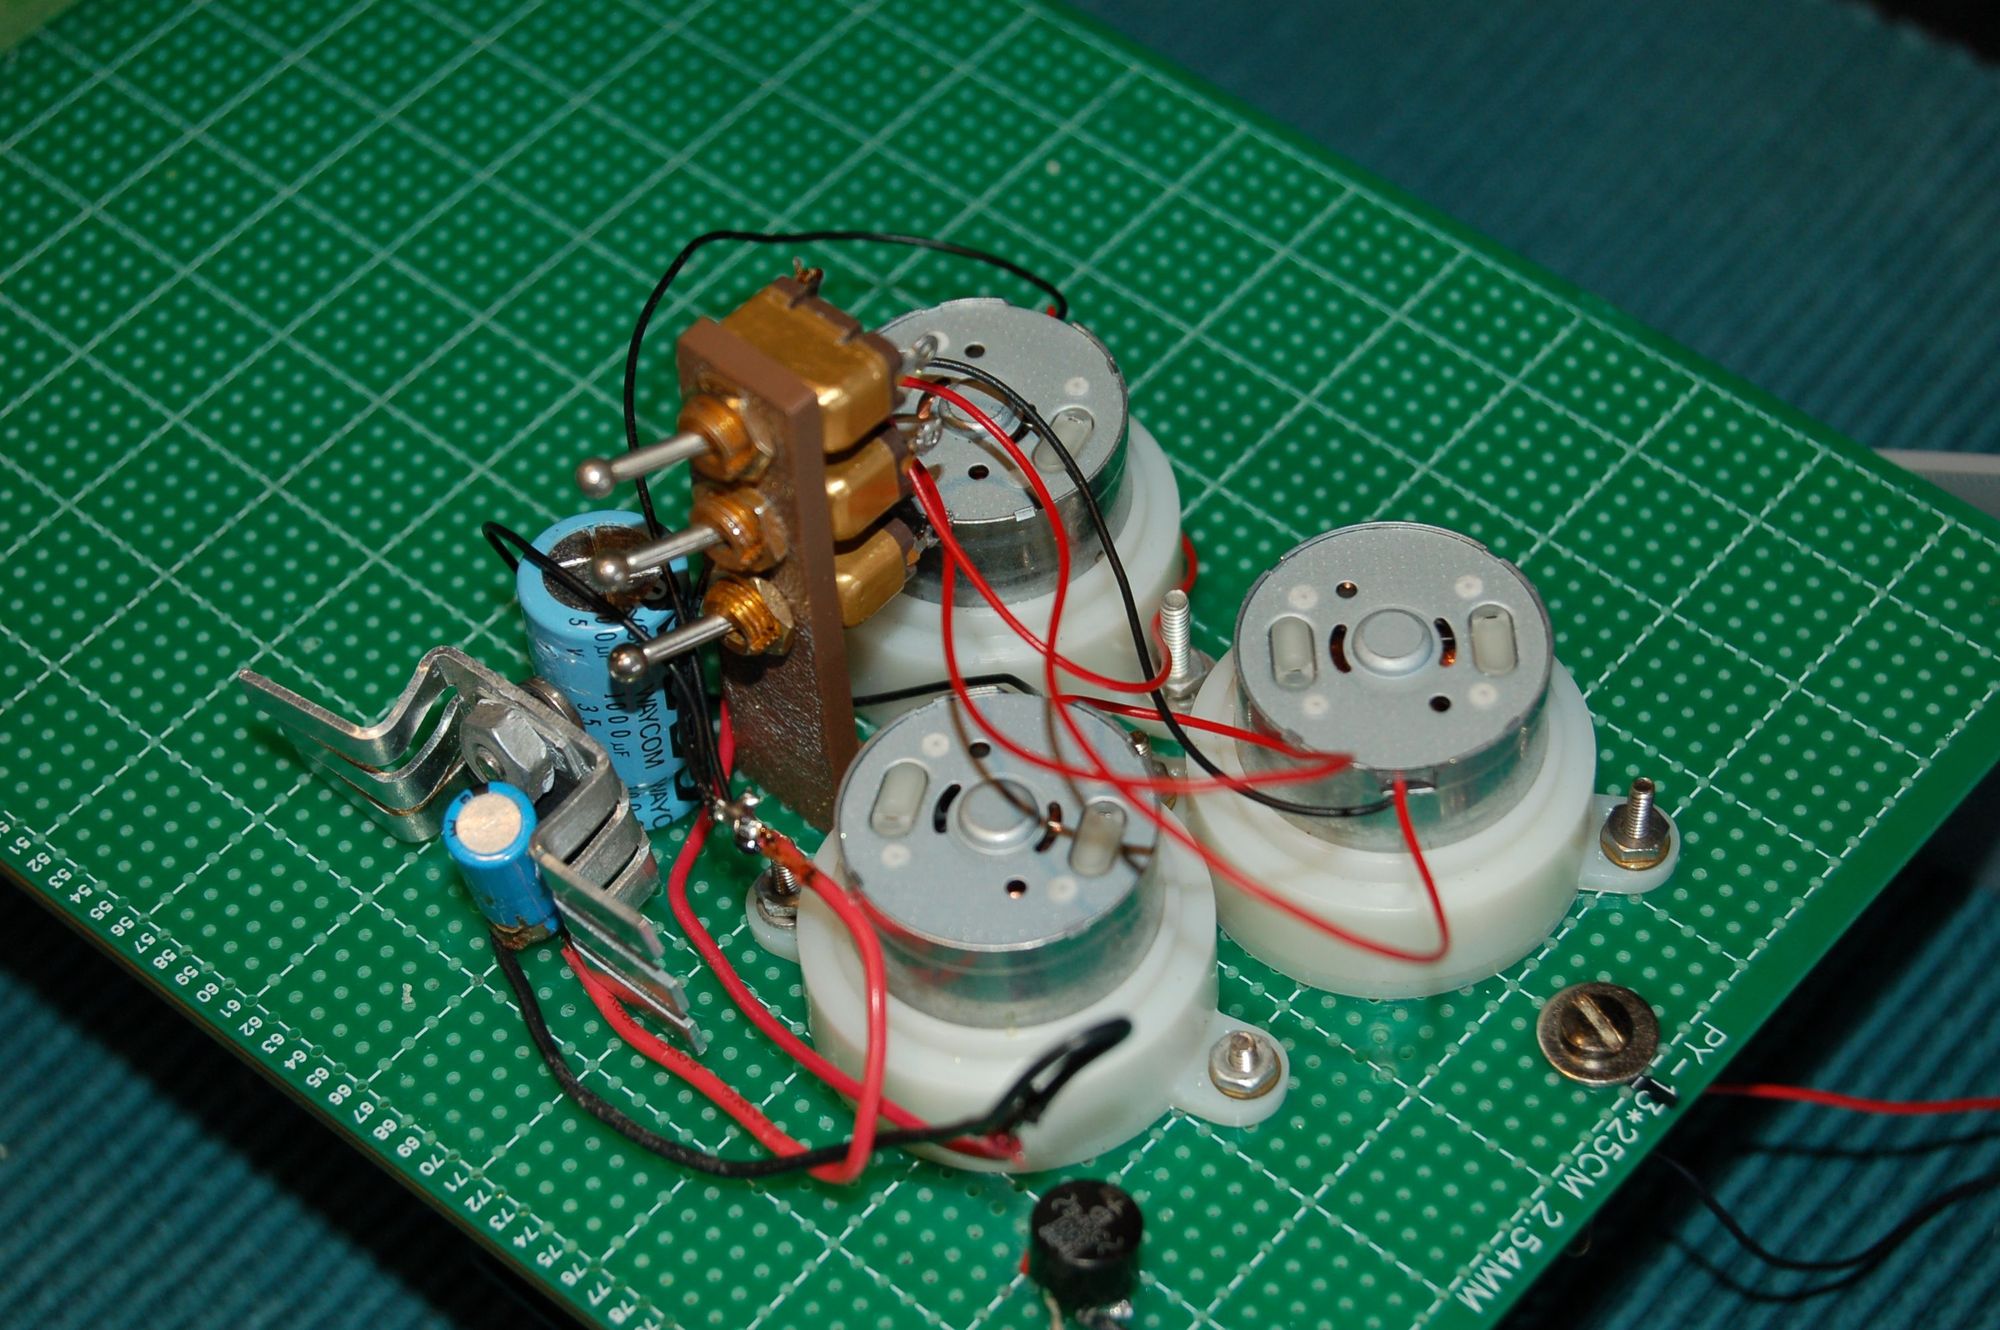
Note the three motors work in a linear longitudinal, transverse, and rotory fashions.

1 Like
Just my luck, the replacement regulator was defective. The output would track the input - ~1.4 volt. Luckily I found this out before burning out the motors.
Third time’s a charm and I now get a steady 6 volts. But those motors now turn a lot slower. I have some 8 volt regulators and may go this route after the challenge. Hopefully, that’s not too much voltage and I know I was running more than that at times without problem.
What makes everything more difficult is that it has to run down a narrow channel (<2" wide) between the lead weights/heat sinks of the LGB engine.
Progress! Lots of unforeseen obstacles to overcome.
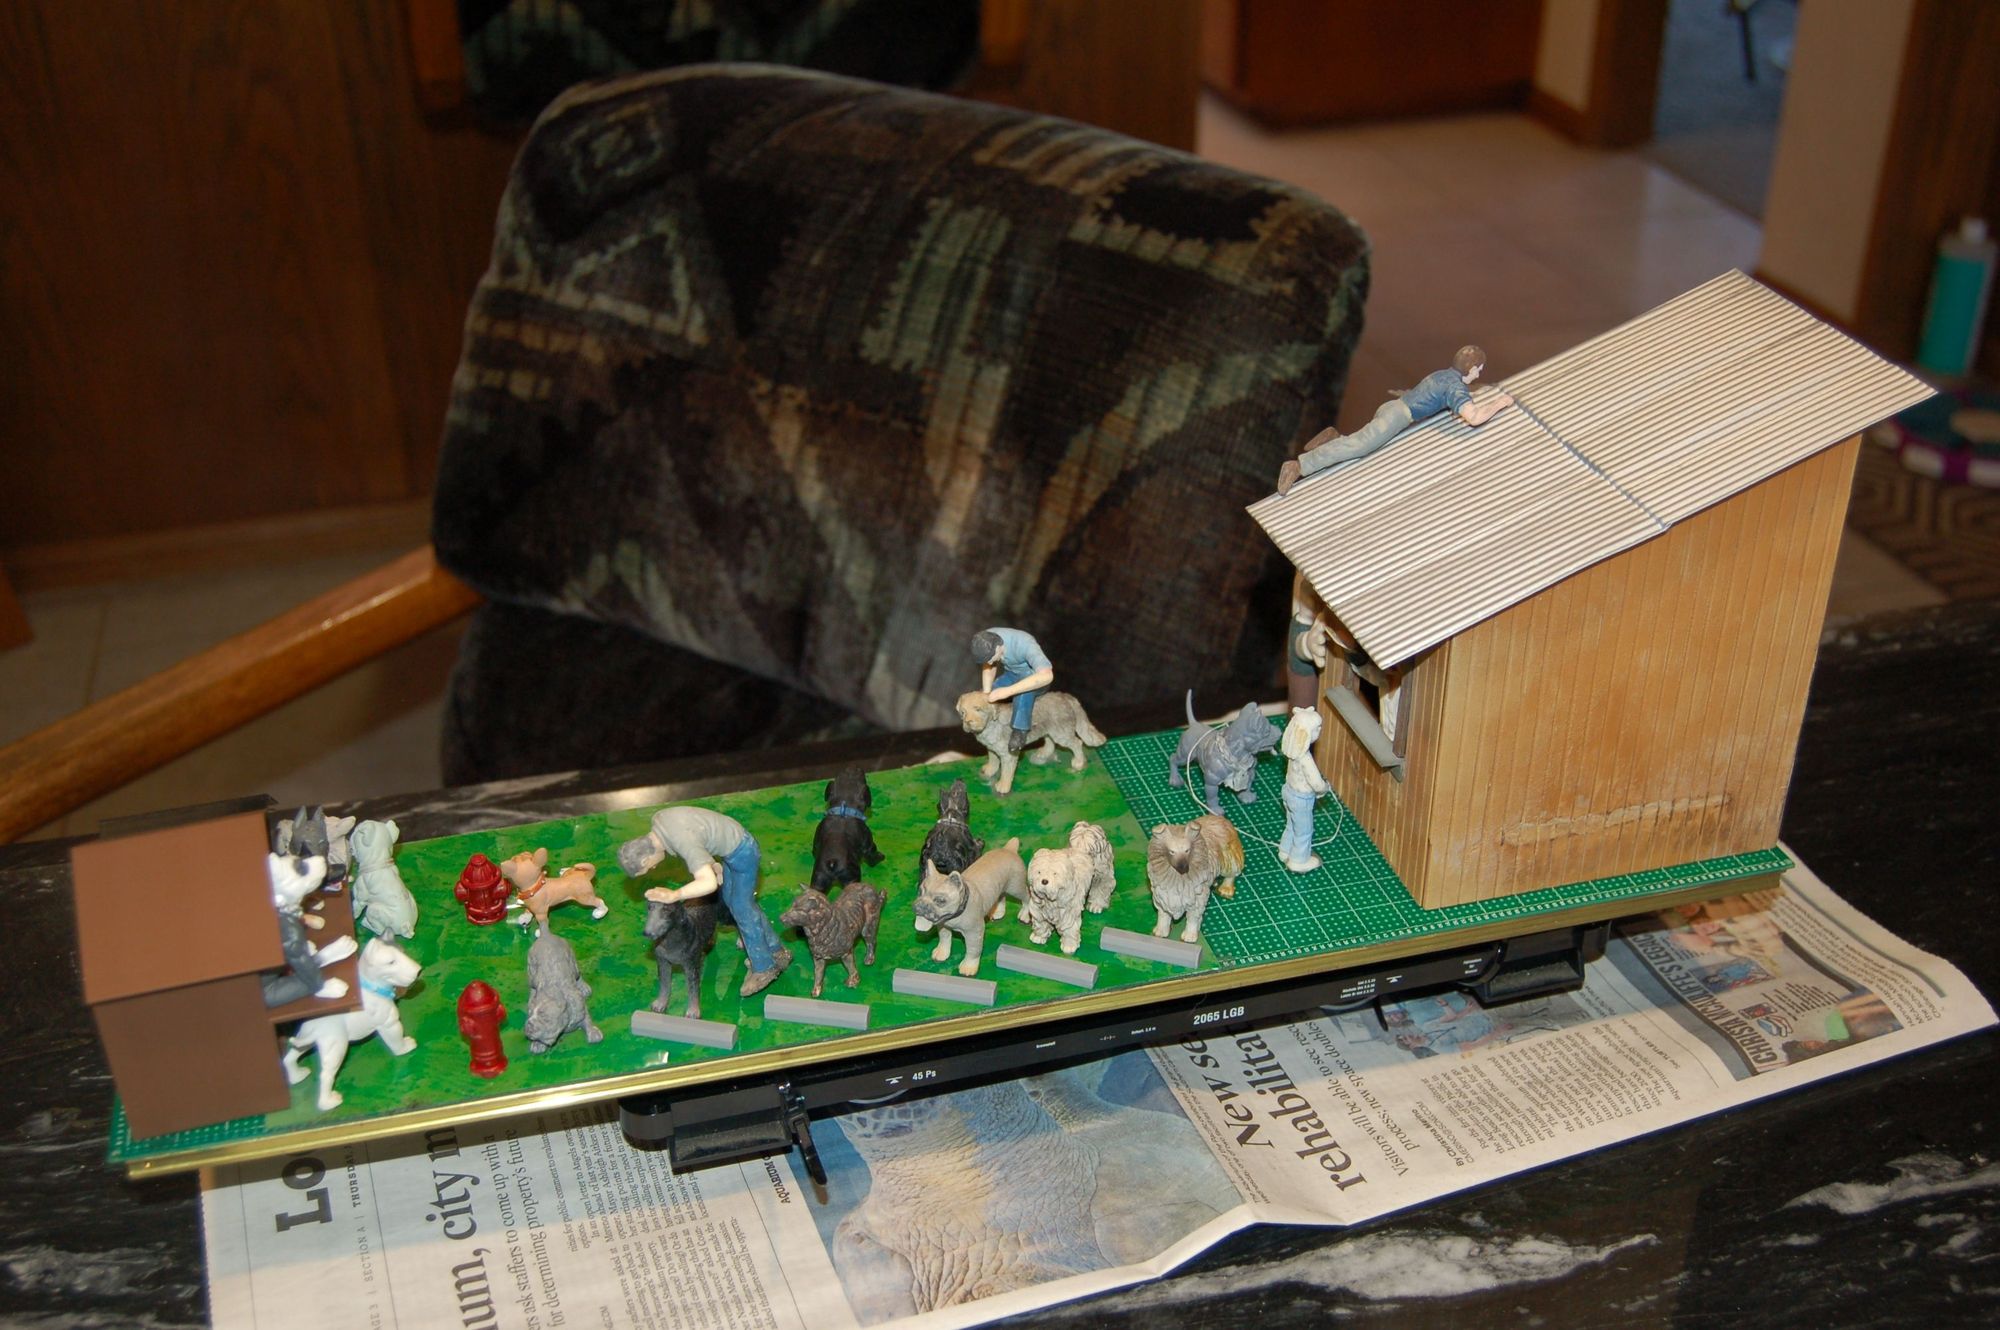
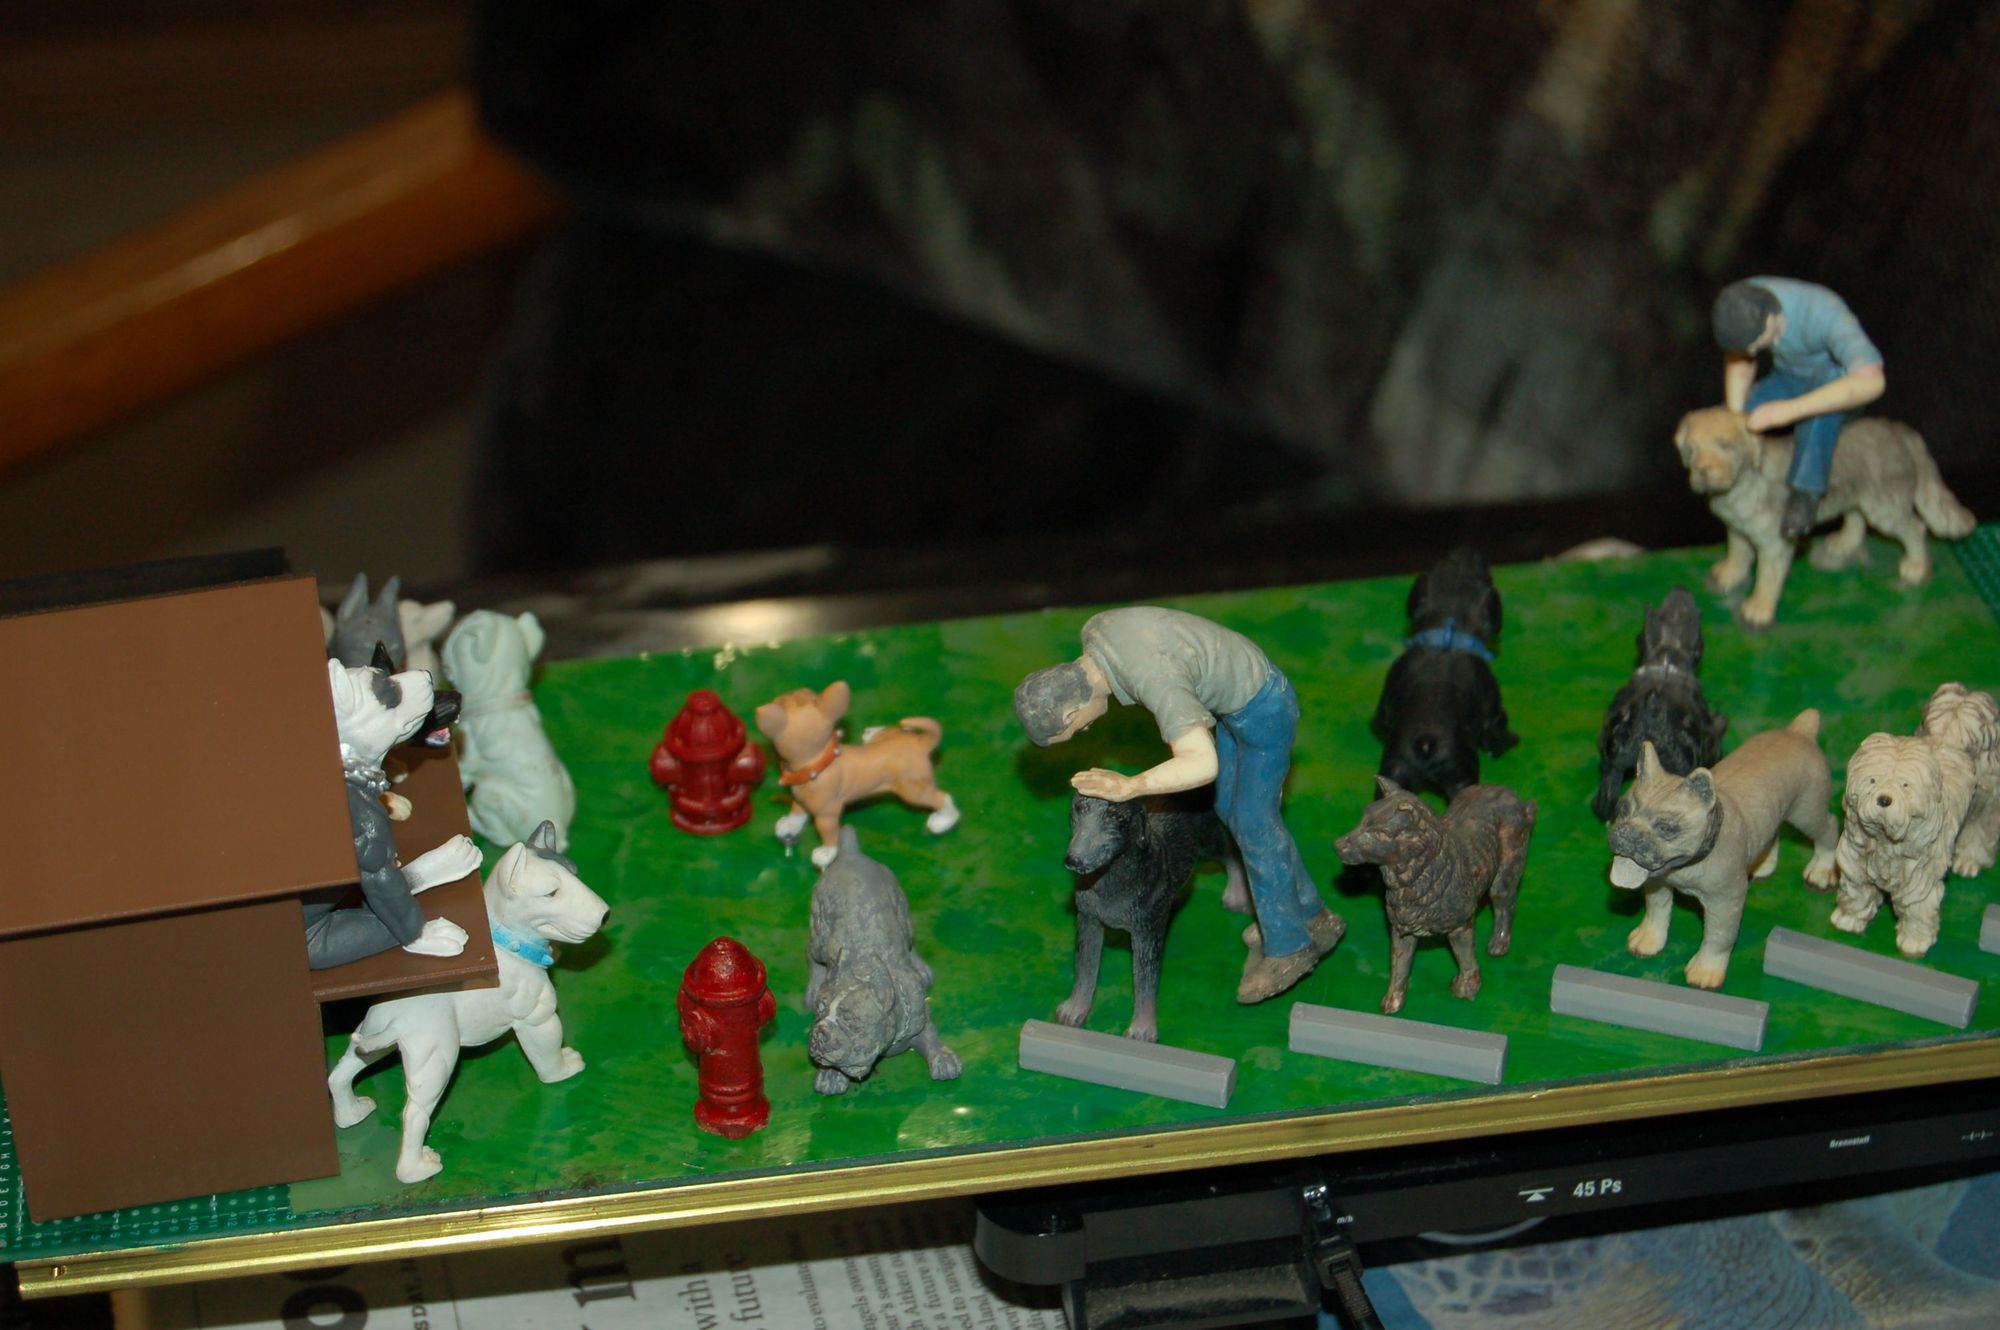
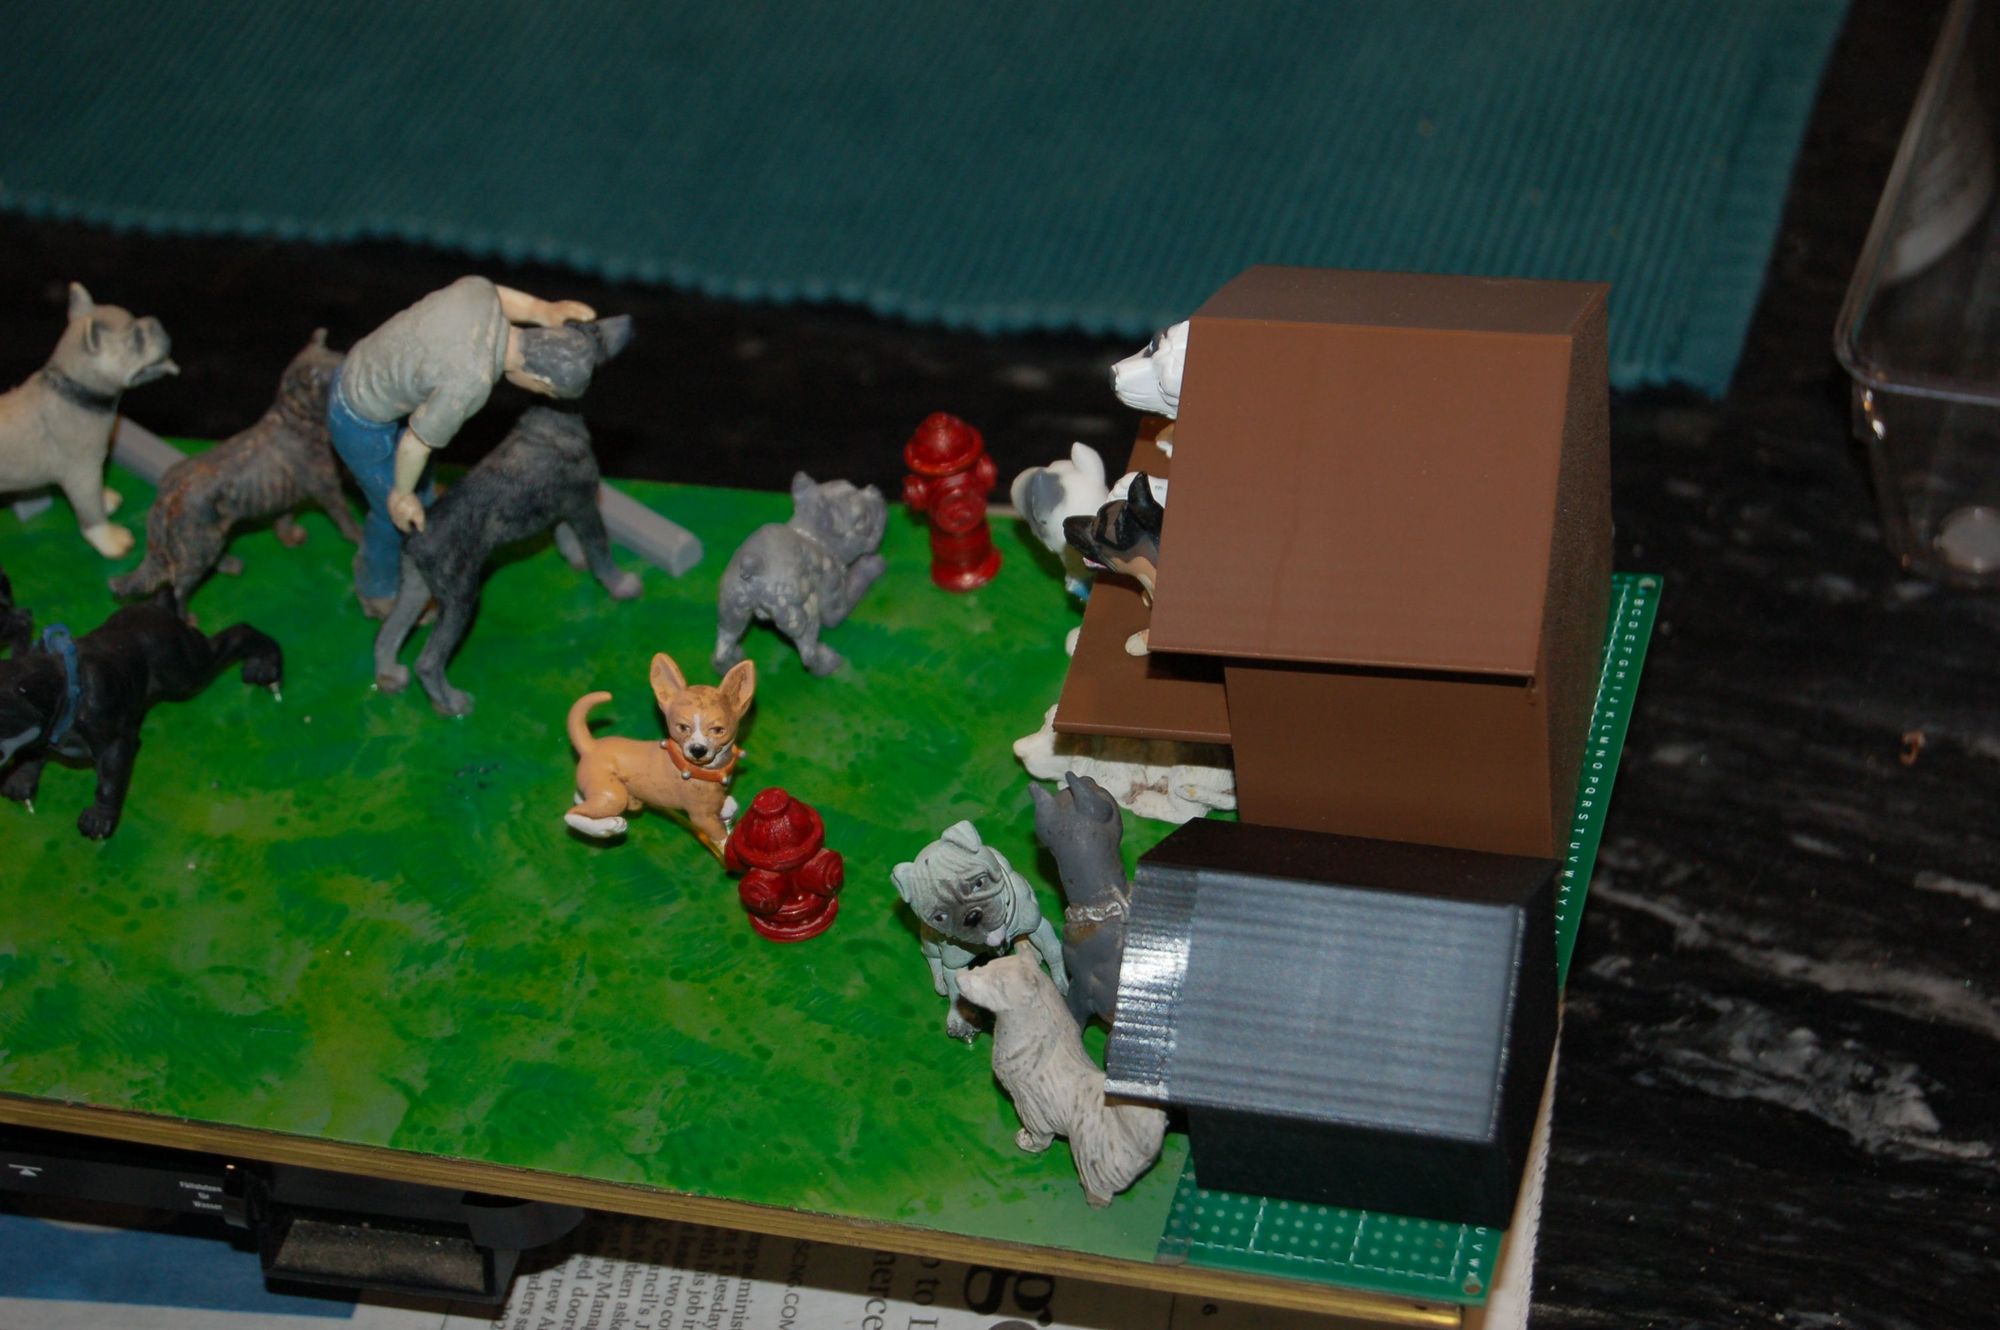
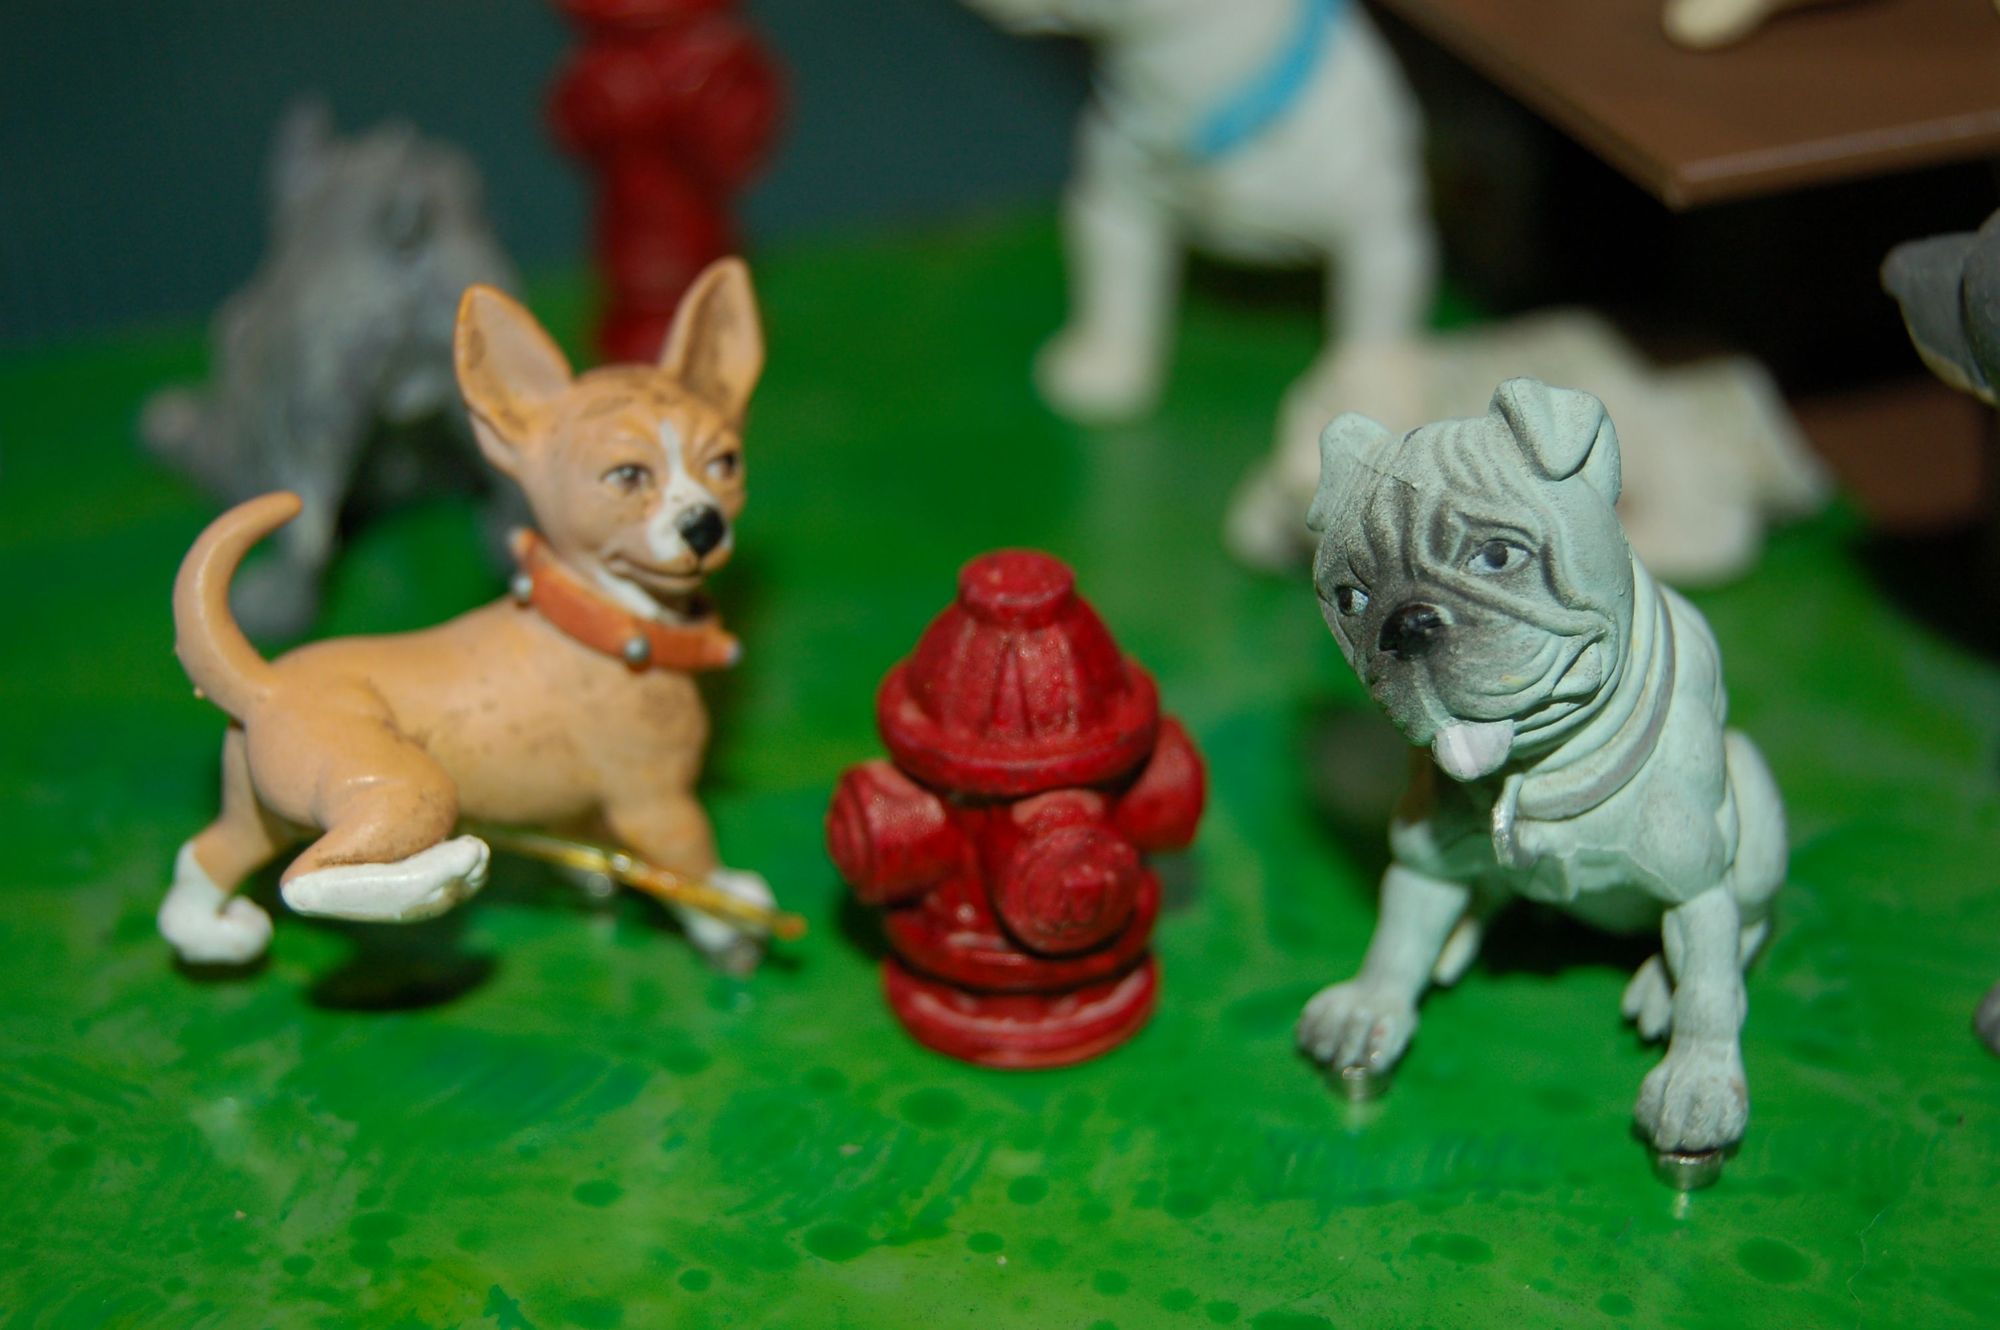
The Pug and Chihuahua circle the hydrant, at least most of the time. 
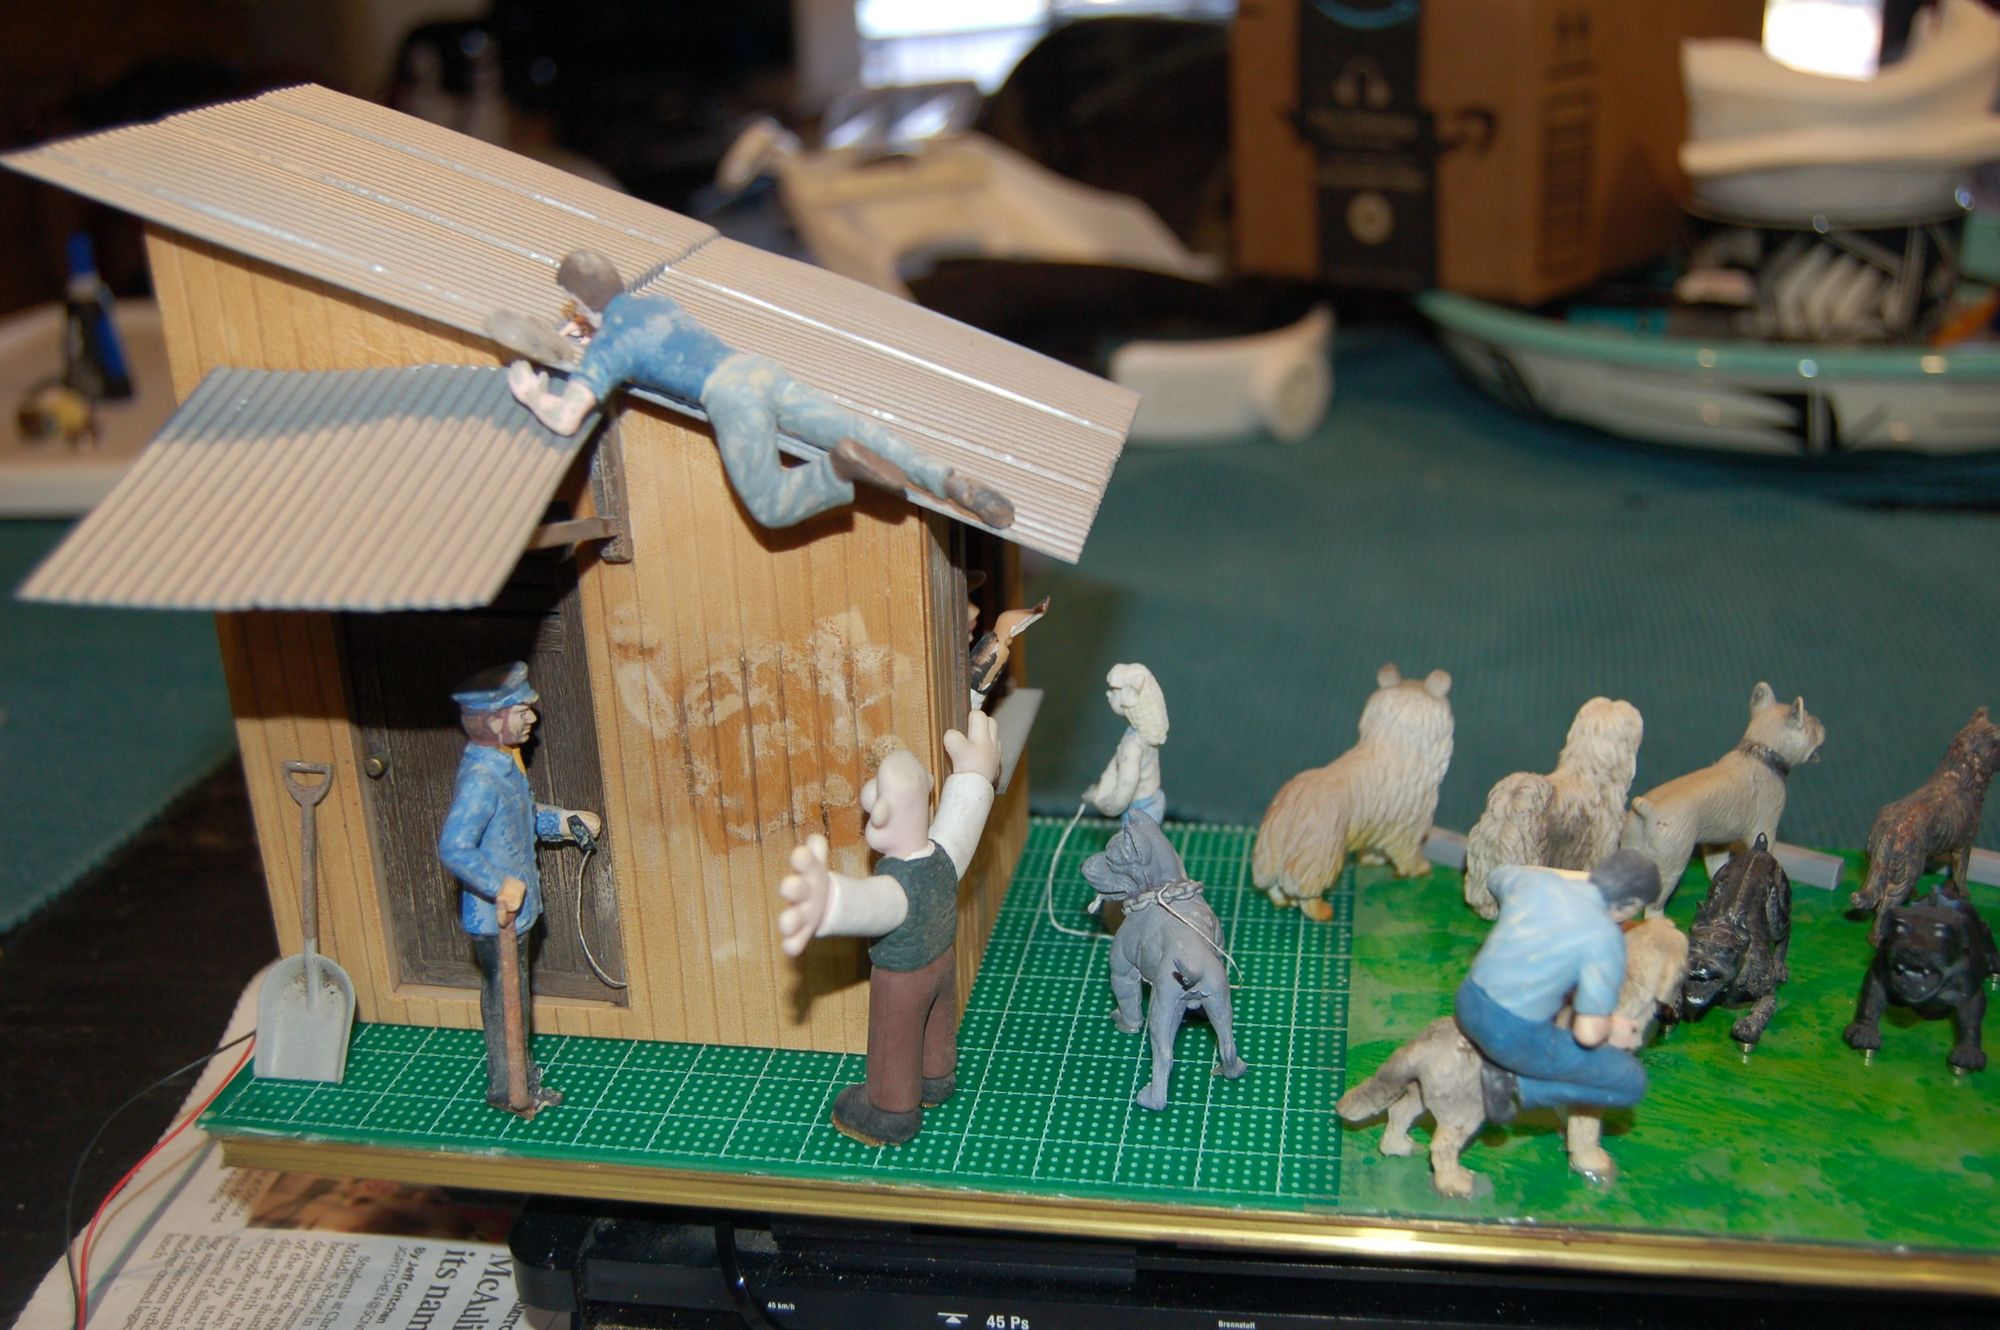
Note Pete setting the “alarm” button on his Great Dane:
The welcoming committee is not always so welcoming!
2 Likes
The beauty of the build challenge is that it “forces” us to do new things outside of our usual preview.
I want to make a flat 3D print of a jpg and my CAD program does not allow this. This has forced me to seek other programs to accomplish the goal. Then there is the matter of splitting up the object and resizing it/the pieces to fit the printer for the intended purpose as well as all fitting back together.
You can spend many more hours on the computer dealing with this sheet, than are spent in actual build time. But at least I learn how to do this stuff…, until I forget.
3 Likes
I absolutely agree, Todd!
You’re doing some amazing stuff, soldier on!
Honestly,
That single quote really puts a new perspective on the Mik Challenge!

This sure applies to me…
Every time I click on this thread I the Dog Park insurance commercial tune pops in my mind. 
You got a lot of dogs there. Will you put up a fence to keep them from jumping off and chasing squirrels?
Of course. I am debating using some cut down wire cloth (most probably) or doing it up in CAD.

That’s the ad. You should set that tune up on a MP3 player, stuff it into the shack on the flat car and have it play on repeat! 
Not really a lot of room for speakers.
The proposed siding for the “Park”:
2 Likes
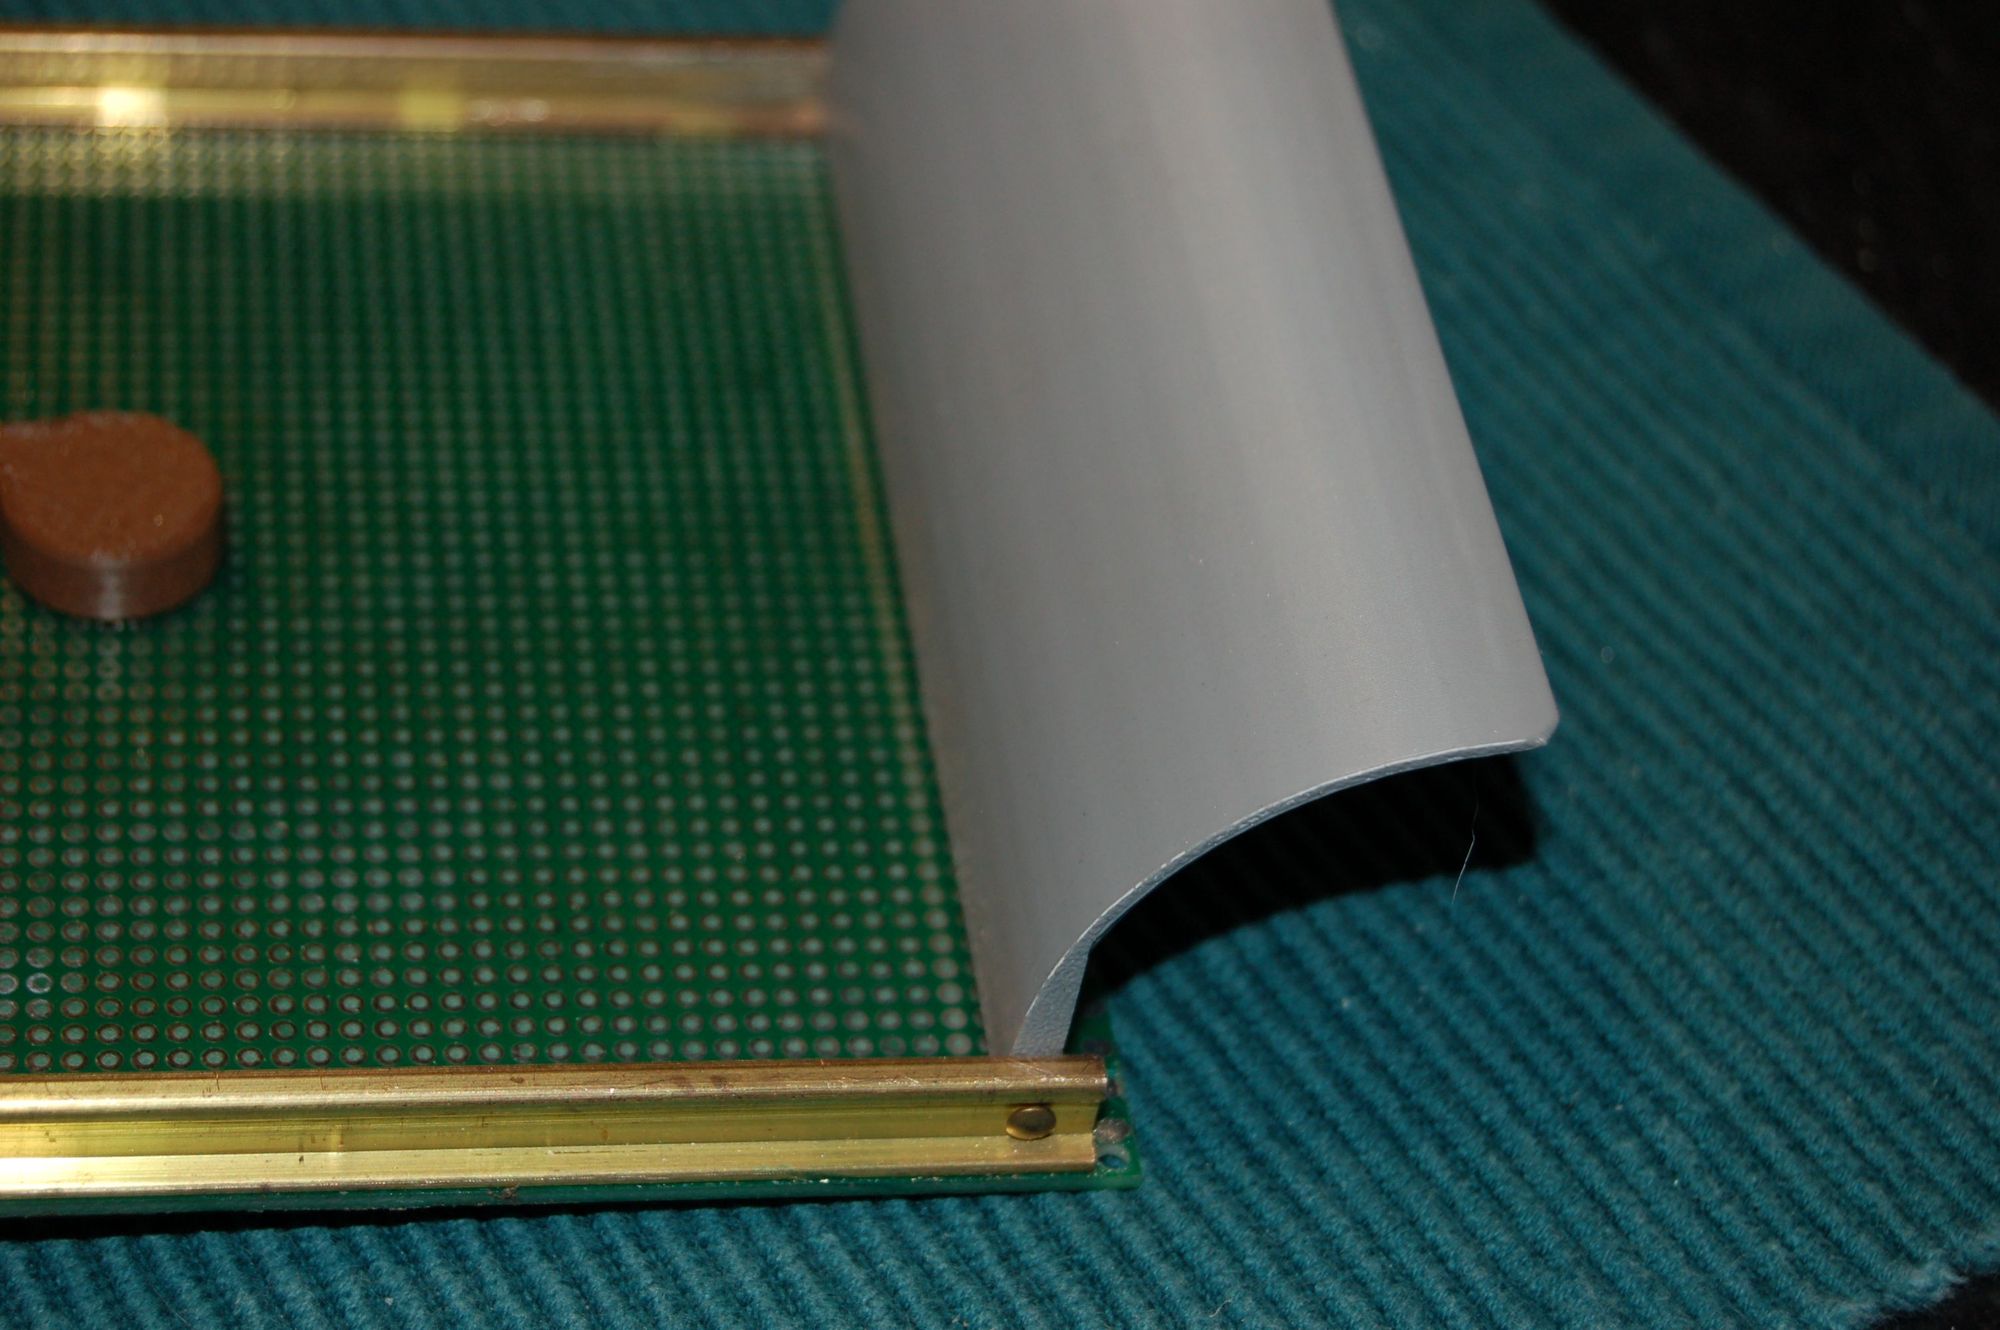
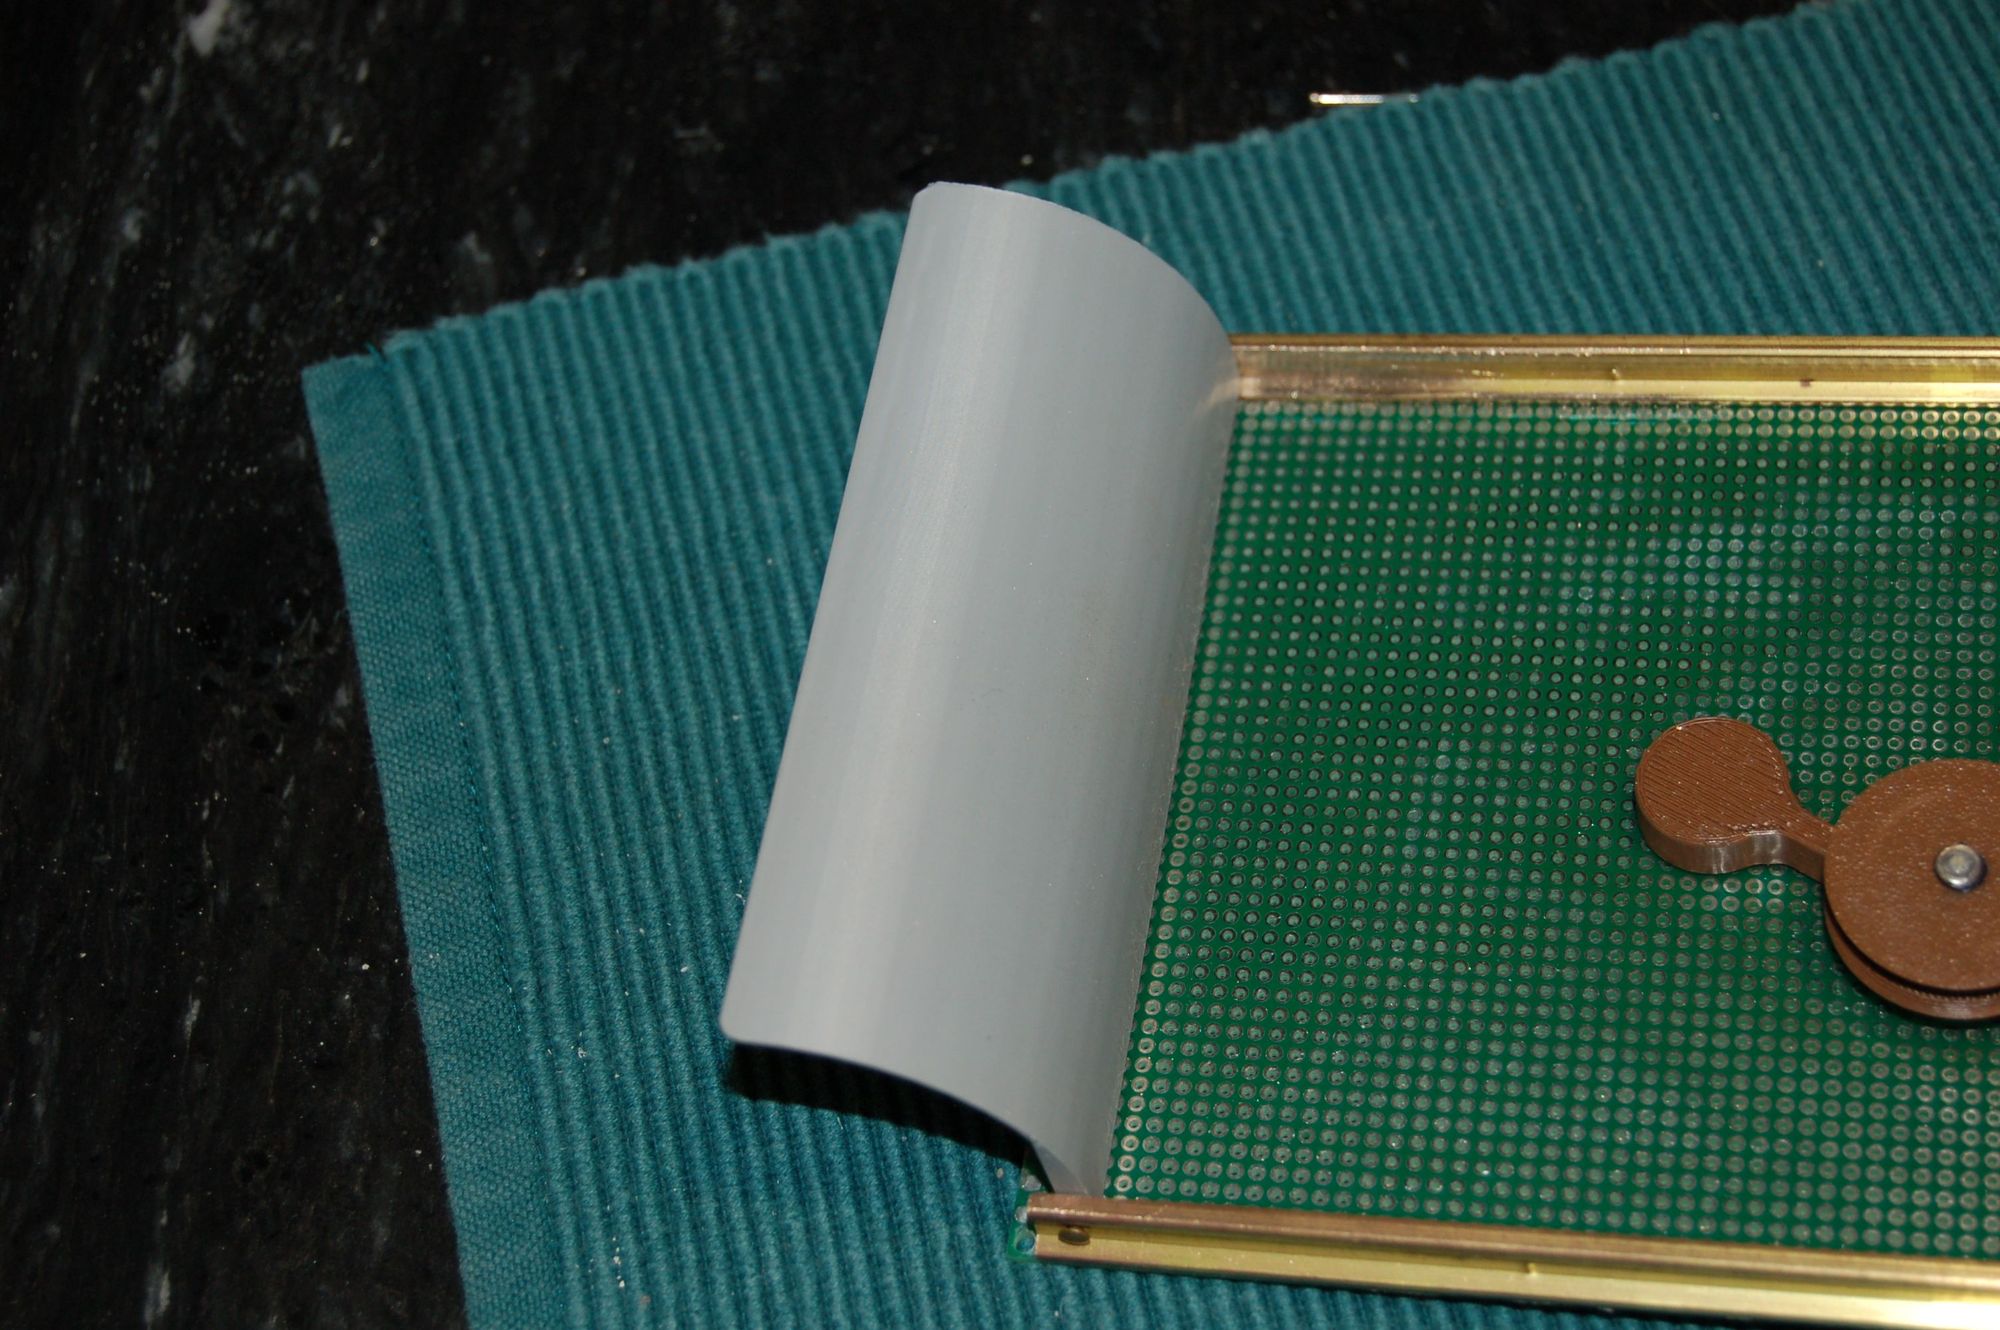
So how to attach the sides to the PC board, especially in light of the fact that the outline does not maintain a straight line?
Lengths of brass channel were added along each inner side of the “facade”. Every great once in a while serendipidy strikes and things do go my way and I just happened to have five 1-foot pieces of channel that are perfect to fit over the PC board edge when combined with the “foot” of the rail support located beneath. These are CA’ed into place and a nut will be CA’ed to the bottom of the channel at each end allowing me to “tie” the two sides together such that they will be easily removable. They also serve as much needed reinforcement for the ASA plastic.
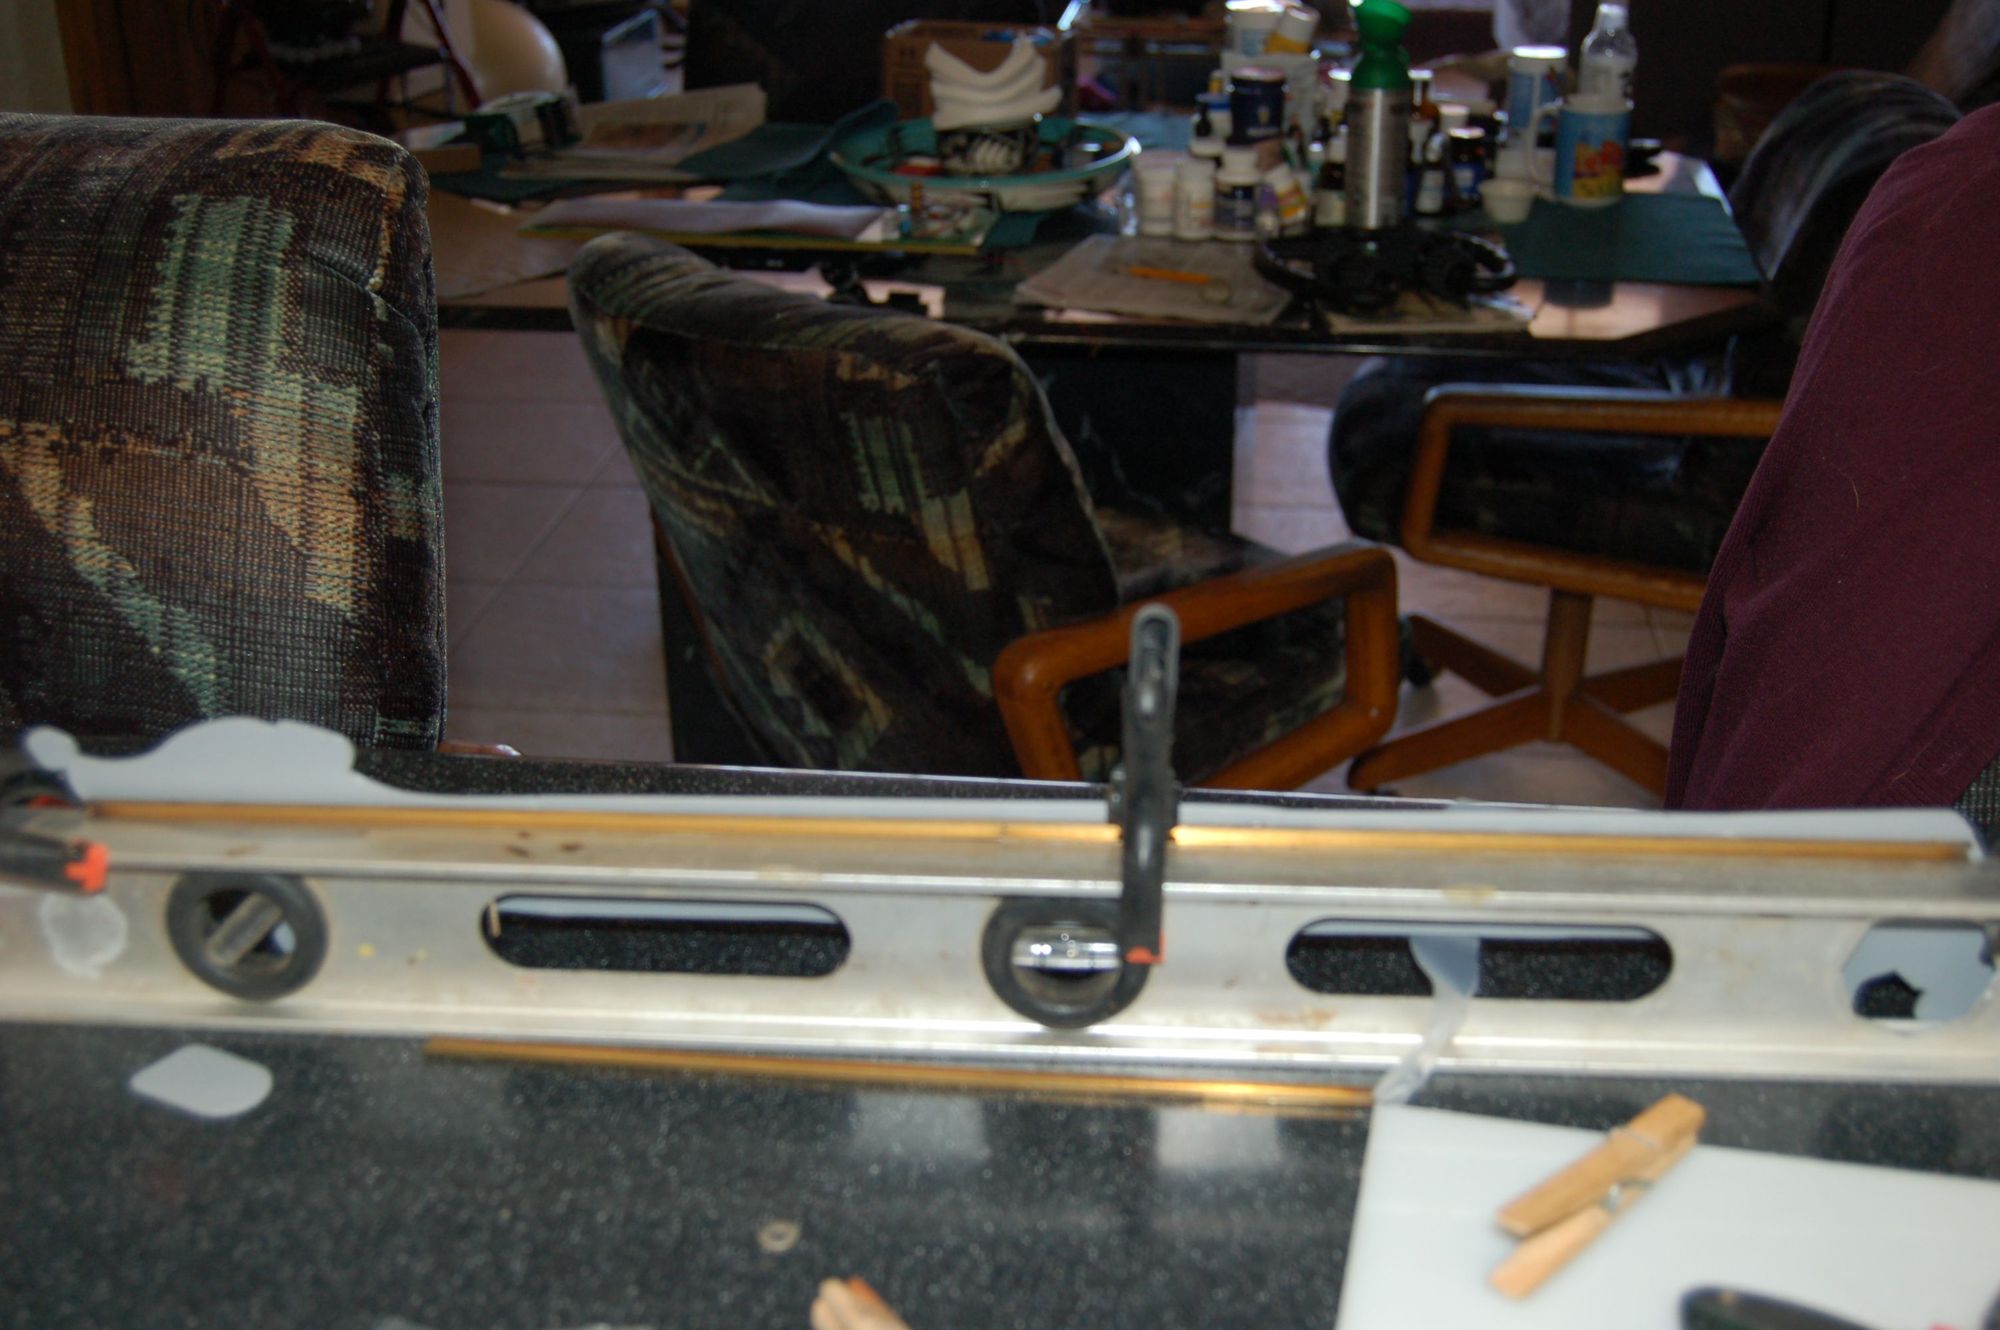
Again, sometimes things do work out and my bubble level is about the perfect height to keep things level, relative to the feet while mounting the channel and this will allow me a place a fence on the sides above the channel.

1 Like

3 Likes
I didn’t know what I was going to do for a front end, but I did have the foresight to know that what ever I did needed to attach and the existing threaded holes in the AristoCraft track could serve as a point of attachment. So so it came to be.
I had to file the railheads smooth on the inside and the cow catcher is a tight friction fit with a couple escussion pins to hold it in place. Nice thing is that it is also adjustable so I don’t need to worry about height from the track when finished. The catcher was done on the 3D printer.
Did you know…
If you print a thin piece is ASA, you can lay it over a jar and use a hair drier/heat gun and make it take the curvature of the jar working it (pushing down) with a stick., x-acto, etc.
The blower wants to make it move, but you can use electrical tape top and bottom to make it adhere to the jar as you slowly work it and redo the tape.

1 Like
All done…, back to life.
Any dogs left over Todd?