Thanks, Martin! Just got it and it looks pretty cool!
Bob McCown said:
There was a lot of talk on Saturday night about 3d printers and the like. A few suggestions came out, like a pointers/tips and tricks for the various 3d packages, and even a sticky thread with links to available files. So, what exactly should we start threads about?
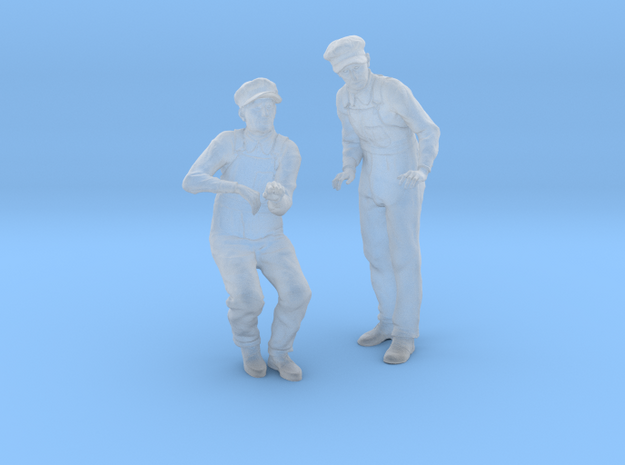
How about the subject of why 3D printing services website search functions suck so badly, as in totally sucks so badly that human language can’t even begin to describe how badly it sucks. For instance, at Shapeways I put in as a search term, ho scale steam locomotive fireman, pretty clear and specific, right? Nope, whatever AI logic they use for their search program is so unbelievably stupid it vomits up over one-thousand pages of results, 1188 pages to be precise, of "“ho scale steam locomotive fireman” 58K Results" and after looking at 20 or so pages of them, not one result was an ho scale steam locomotive fireman.
I have had a similar search problem, Forest. I just tried using the magic site: selector in google and struck out with your search terms
I tried a few other things and with this search “site:shapeways.com locomotive figure” found a shop on shapeways that does “humans” with a small set in HO scale [link] and some in G and other scales that might possibly be scalable to what you need.
If you are looking for some odd people files to experiment with, here is a dump of various folks from makehuman setup in blender format. They should load in the latest Blender, I’m running 2.83. I just zipped up everything, no telling what is what. Some of these you can just load in blender and export to an stl file for 3D printing, some were experiments and first drafts and the like, some are probably drek (sorry) - http://martinsant.net/blend.zip
This will be an interesting thread to keep an eye on, Some very intelligent people with lots of experience full of information here.
Dennis
I’m no whiz in Fusion 360, but I can make it do what I want if I poke at it enough.

Done in DesignSpark and cut on the 60-watt laser today.

This stuff is a piece of cake.

Laser cutters are another tool that I’ve been interested in for ages, but the price point is keeping me away from one. It would be incredibly handy for making buildings and freight cars.
1 Like
How about those paper cutters? They seem to be getting able to cut thicker stuff all the time; not as thick as a laser, but I was wondering if anybody had tried one?
Bruce;
Can’t remember the modeler’s name at the moment, but I remember somebody posting about using the paper cutter to cut vinyl letters for freight cars, signs, and large building wall signs. It may have been Kevin Stone (uh, make that Kevin Strong), but don’t hold me to that.
Regards, David Meashey
Bob McCown said:
Laser cutters are another tool that I’ve been interested in for ages, but the price point is keeping me away from one. It would be incredibly handy for making buildings and freight cars.
So much faster too! Took about 10 minutes of actual cutting time to do the three pieces. I belong to the Urban Workshop and it works like a gym membership to use their equipment (three laser cutters, $30K 3D printer, vinyl printer/cutter, wood (with CAD 3D 8’ router table), metal, welding, auto workshops, molding, electronics workshop, vacuum forming, etc. etc. etc.).
$200/mo and 1/2 hr drive each way.
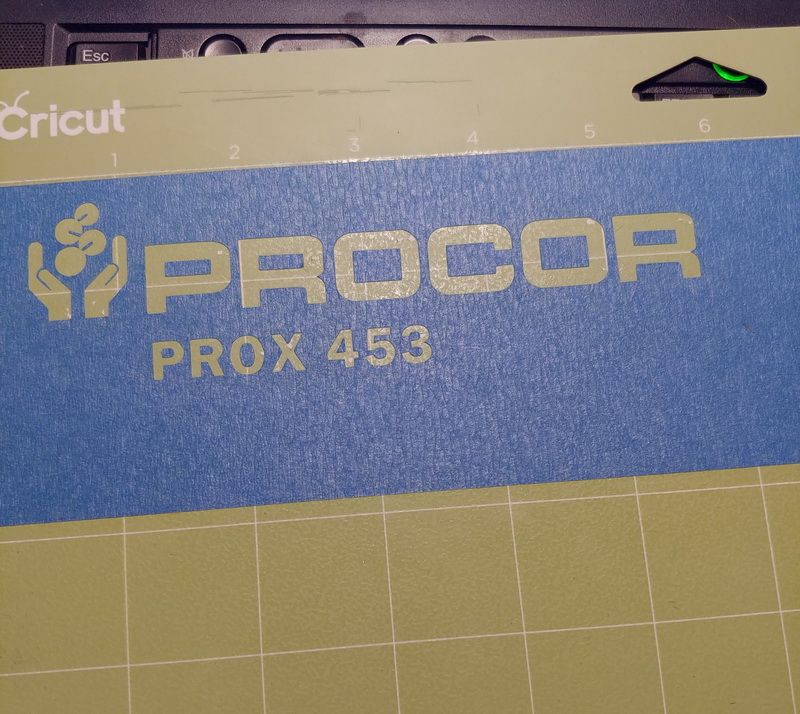
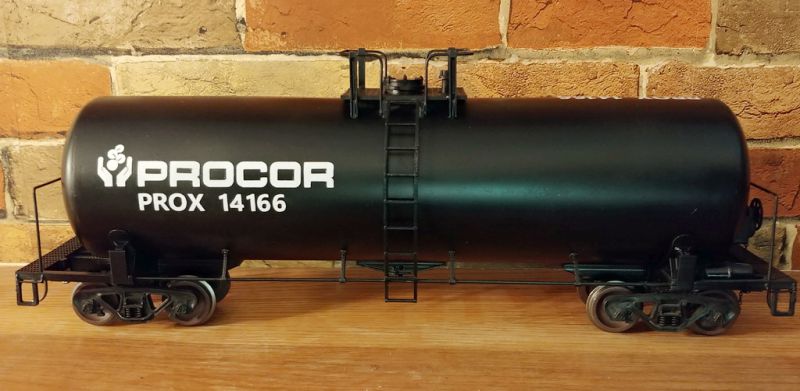
I’ve used my Cricut Explore Air 2 to make masks from blue painters tape.
1 Like
That looks really good Dan. Exactly what I want to do. I just got a silhouette cameo 4 and have been messing with it a bit.
How do you get the stencil to the model? Transfer tape like vinyl?
I did some white vinyl stuff just for testing and it’s ok but it does look like a ‘sticker’ and doesn’t go over the rivets very well.
i am using a ner 100 year old paper cutter for cutting veneer and plastic sheets.
Martin Sant said:
That looks really good Dan. Exactly what I want to do. I just got a silhouette cameo 4 and have been messing with it a bit.
How do you get the stencil to the model? Transfer tape like vinyl?
I did some white vinyl stuff just for testing and it’s ok but it does look like a ‘sticker’ and doesn’t go over the rivets very well.
Thanks Martin. For those I just lifted the tape (carefully) and applied to the model. I Picked and placed the little bits with a dental tool. The numbers are about 1/4" tall.
On the subject of Laser cutters, I have a mutual relationship with a commercial laser cutter, so I have no desire to own one. wattage is a key issue if you are working in large scale. cutting thicker materials above 1/8" requires some power to get relative straight cuts. the laser I work with is 120 watts I believe. this is capable of cutting 1/4 material but leaves an unacceptable cut edge. I think to do this thickness effectively you need a 250 watt laser.
AL P.
I cut 3/8" on a commercial 60 watt Epilog laser without problem so long as everything is clean and aligned. I run it at 3 - 4 (on a scale of 1 - 100 with 1 being the slowest) and focus a bit below the surface layer. I used to do it on a 50 watt Epilog machine, but they upgraded.
Is the top edge the same as the bottom edge??? No.
Here’s an example cut on Tuesday. The “chassis” is 1/4" smoked acrylic and I cut it at “15,” but it took two passes. The coupler mount is 3/8" and was cut in one pass at “3”. The wood was cut at “15” in one pass.
Hi,
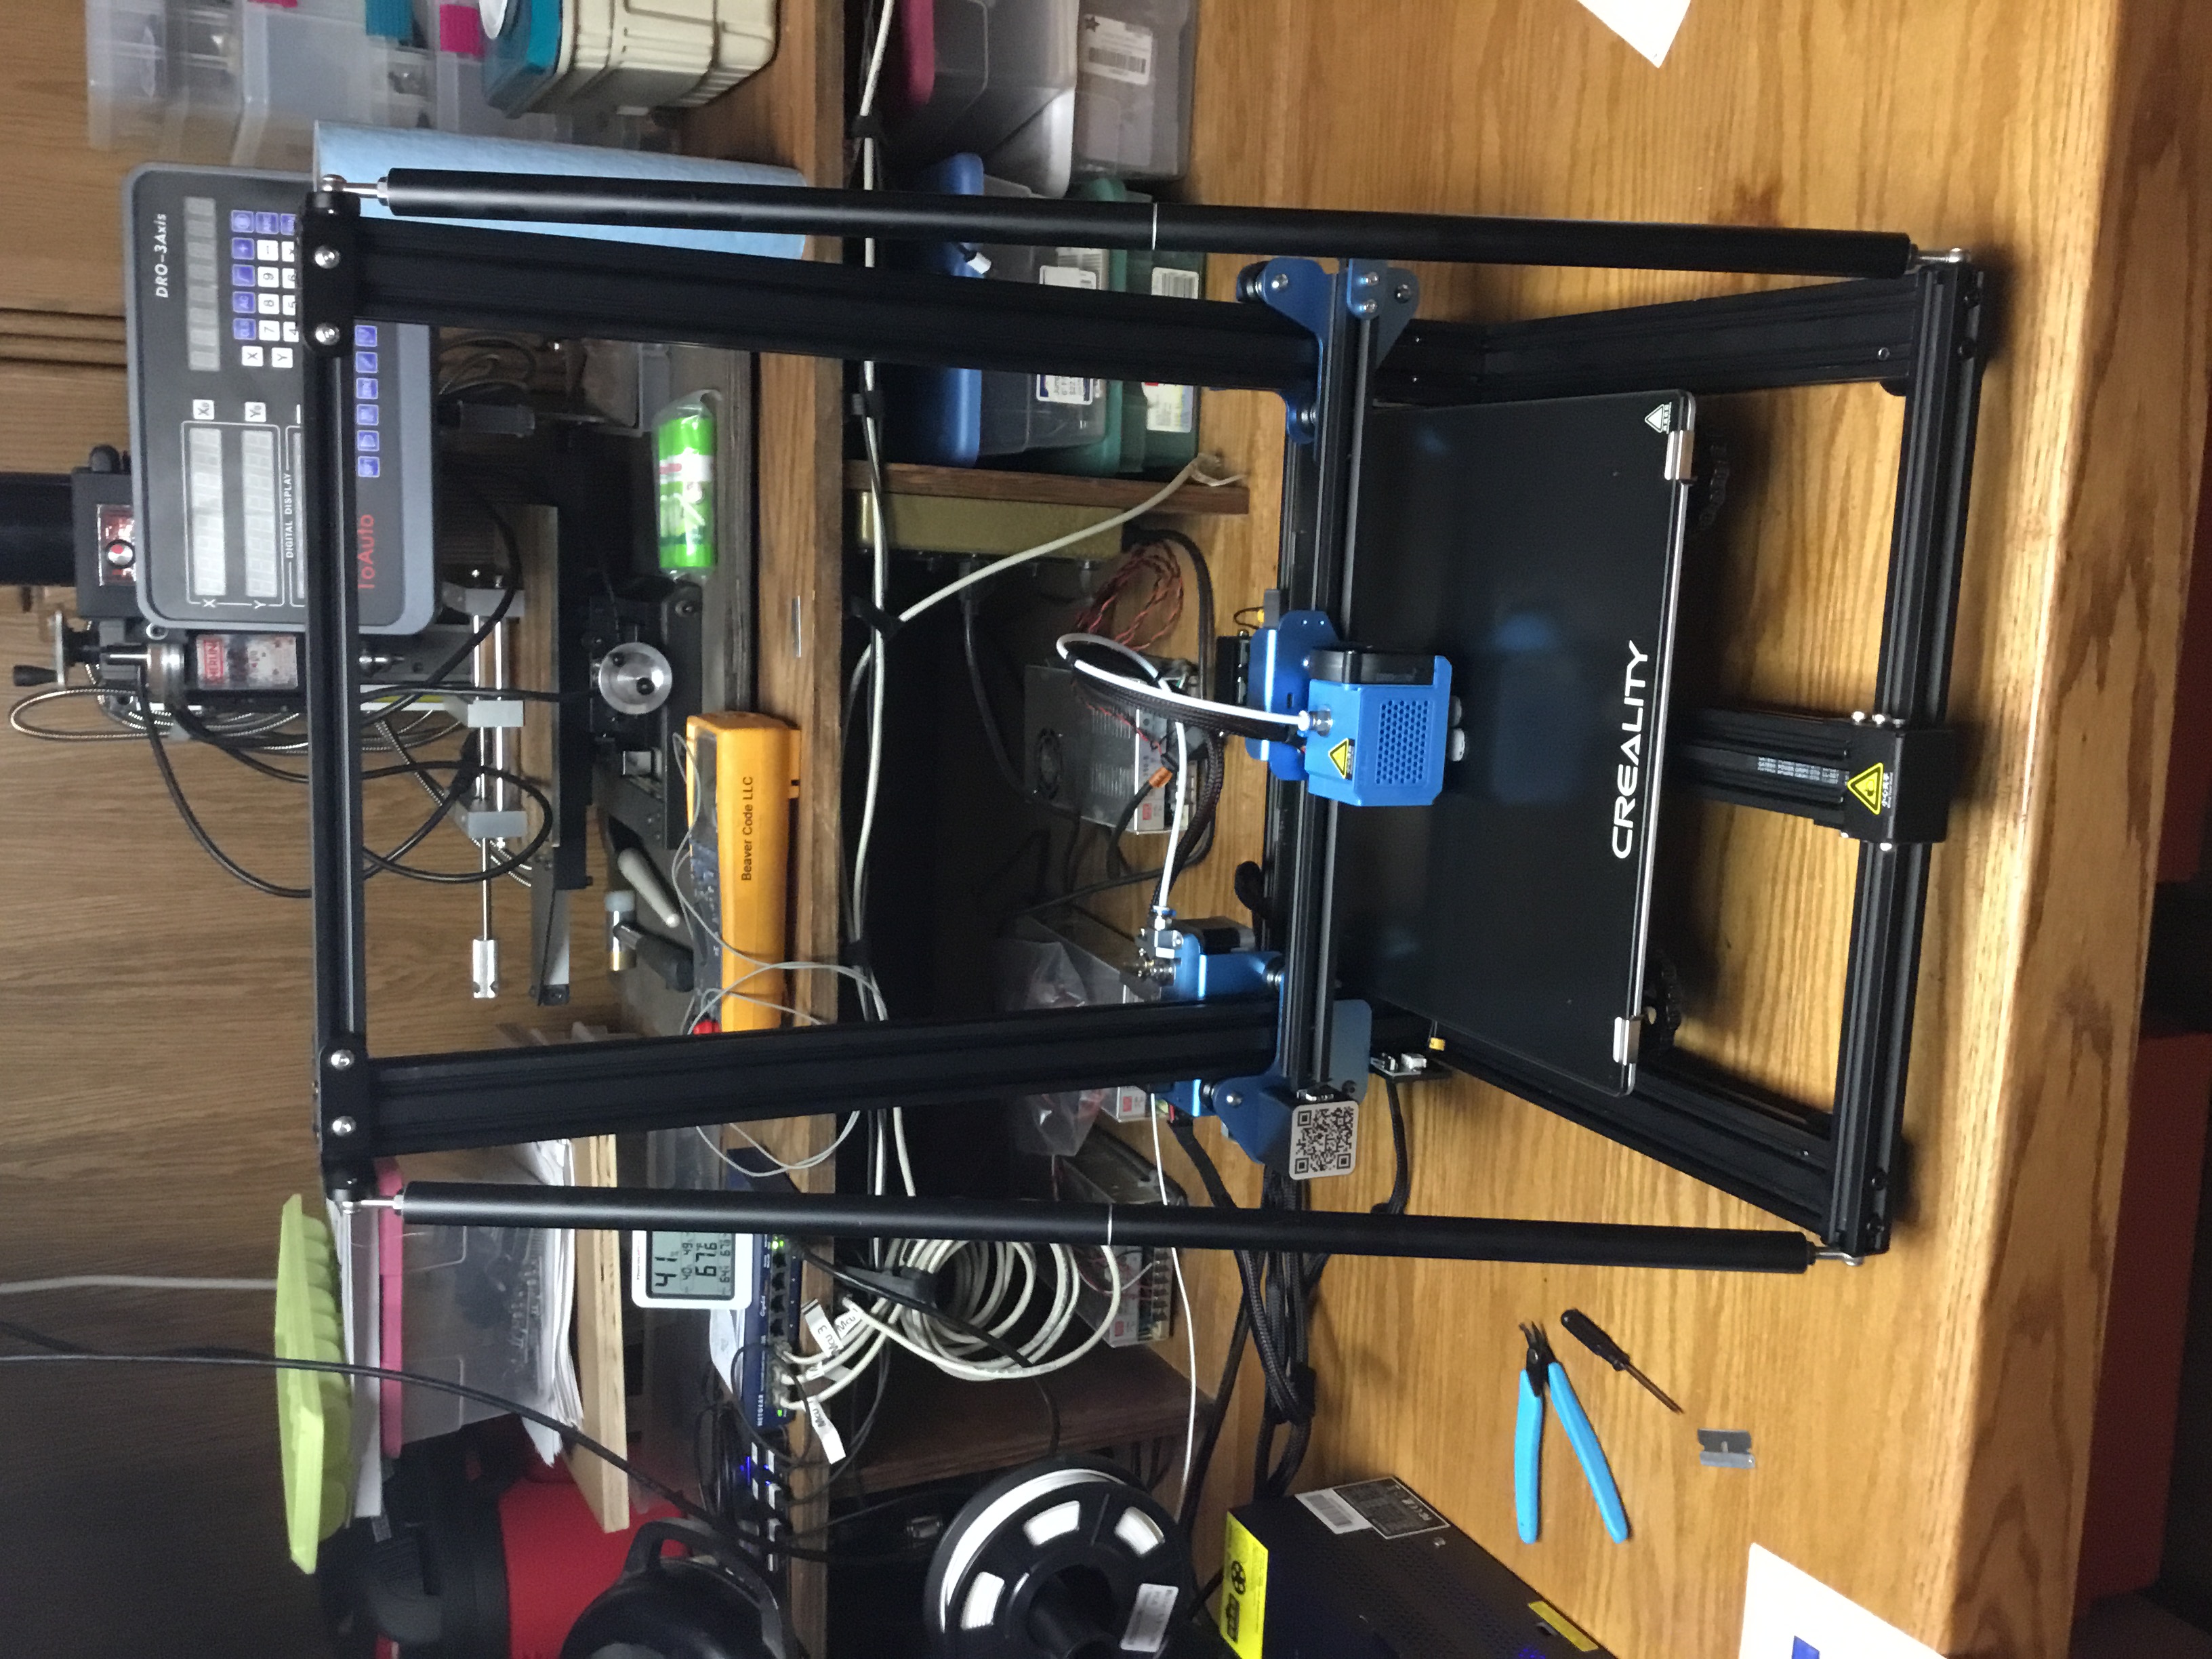
I use a Creality CR10-V2, and am very pleased with it:
The motor block mounts in both of my MTH GS4 locos broke after very little use, poor design.
It didn’t look like I would ever get replacement parts from MTH, so I designed a replacement with FreeCAD and printed new ones:
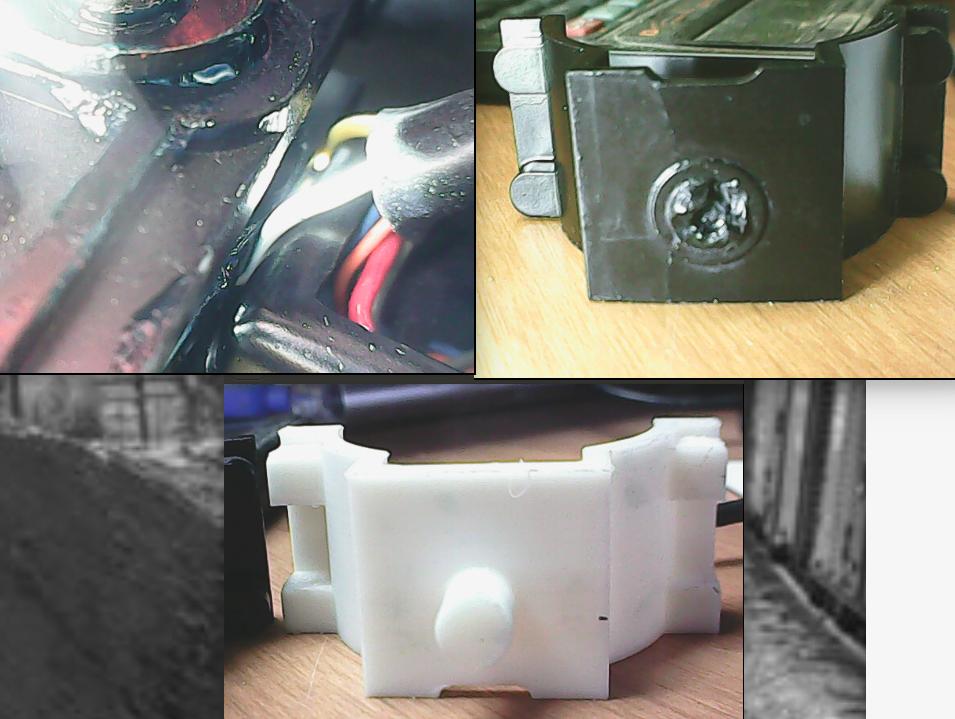
Top left shows design problem. they placed the cutout for the wires on the wrong side. This caused pressure/buckling on part when it was tightened
down against the wires. You can see the stress crack this caused, and how the stud fell off as a result in the top right picture.
The bottom pic is of the part I printed. Instead of forcing sheet metal screws in holes as MTH does, I drilled and tapped holes for cap head bolts.
These should last forever!
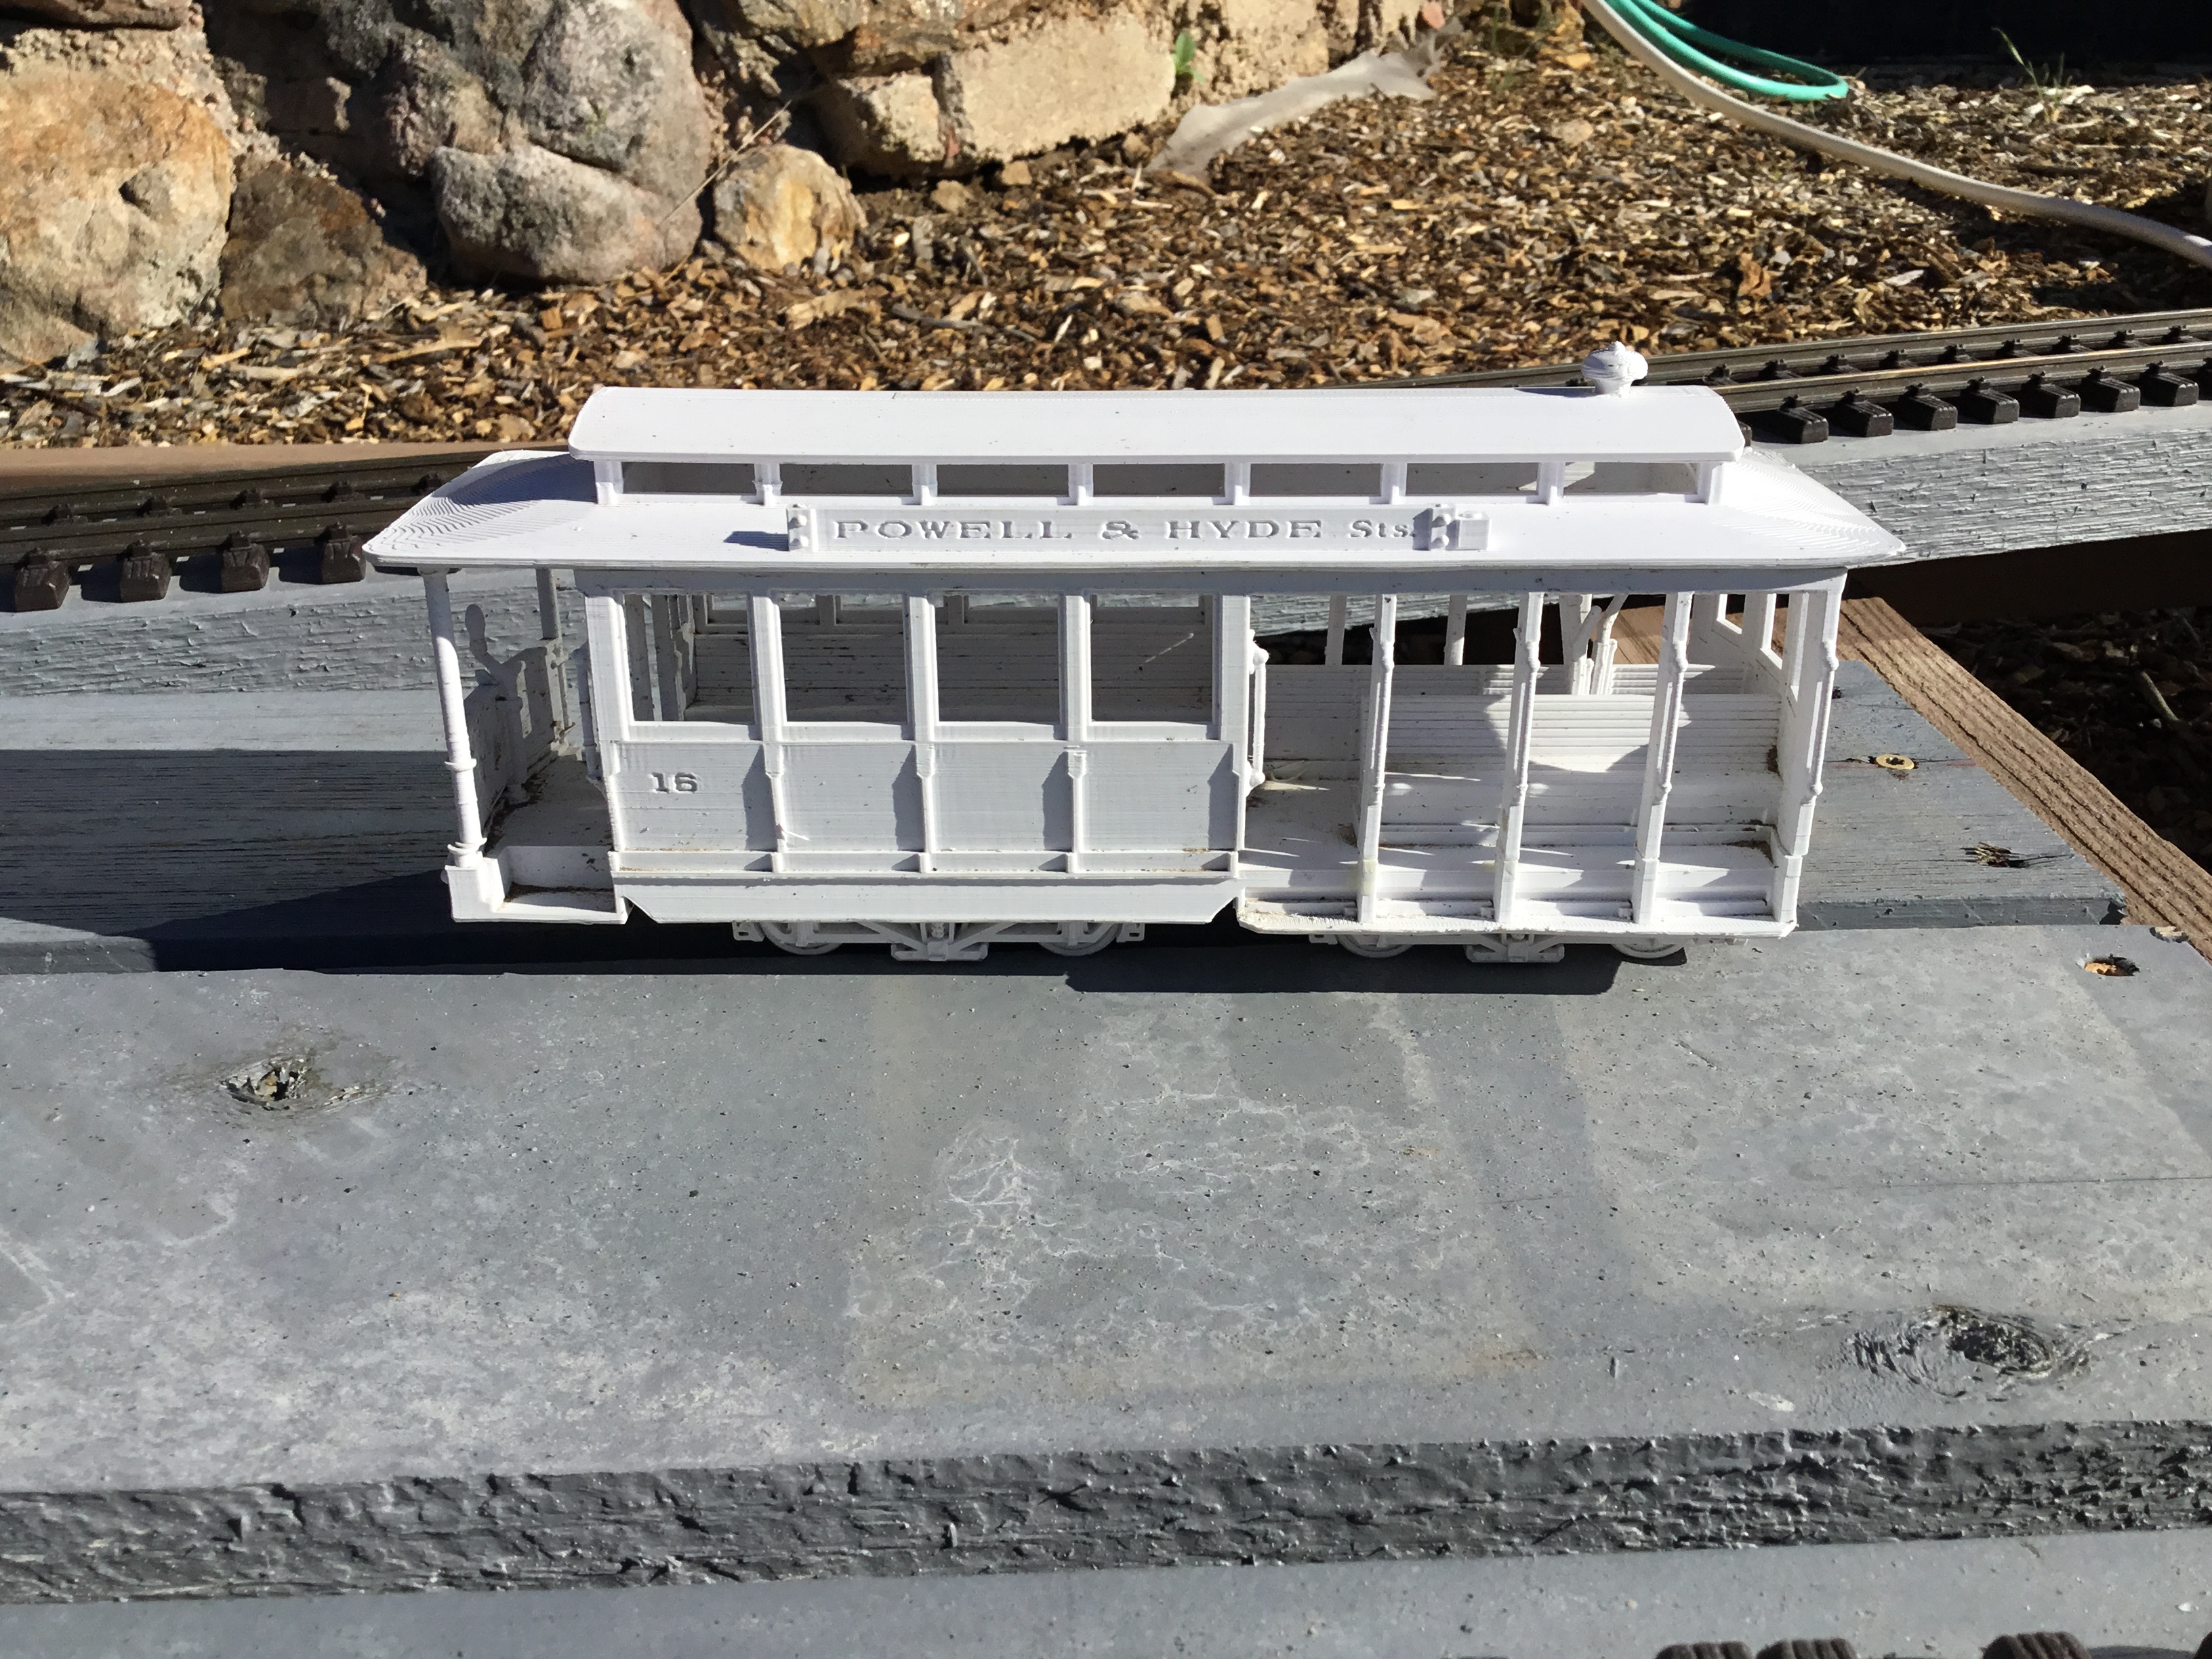
The most complicated thing I ever printed was this cable car. Someday it will be running up/down the hillside above the SF depot:
Steve
1 Like
Steve said:
Hi,
I use a Creality CR10-V2, and am very pleased with it:
The motor block mounts in both of my MTH GS4 locos broke after very little use, poor design.
It didn’t look like I would ever get replacement parts from MTH, so I designed a replacement with FreeCAD and printed new ones:
Top left shows design problem. they placed the cutout for the wires on the wrong side. This caused pressure/buckling on part when it was tightened
down against the wires. You can see the stress crack this caused, and how the stud fell off as a result in the top right picture.
The bottom pic is of the part I printed. Instead of forcing sheet metal screws in holes as MTH does, I drilled and tapped holes for cap head bolts.
These should last forever!
The most complicated thing I ever printed was this cable car. Someday it will be running up/down the hillside above the SF depot:
Steve
VERY nice work!
BUT, I’m going to admonish all those folks that think they can buy a 3D printer and duplicate it for ZERO cost. (Or at least zero ADDITIONAL cost, after buying the printer!)
First of all, I own a similar printer. BUT, there’s just a LOT of work to getting just about anything printed the way that YOU want. I sure don’t want to discourage anyone, but these things are not as easy to use as your typical inkjet printer. AND, if you want to design something on your own, there’s a pretty steep learning curve! Mind you, the rewards are there as well, but I don’t think we’ve reached the future yet. My kudos go to everyone that does this level of work - it is truly amazing.
Bruce,
You are correct, it does take a LOT of work (perhaps PLAY would be a better term?).
In addition to the printer, about $300-$700:
A roll of filament is about $30, you’ll want to play with 3 or 4 type from the get-go: ABS, nylon, ASA.
ASA is the plastic used for exterior cars parts. Handles UV and extreme hot/cold. I’ve found it is no harder to
print with than ABS once you get dialed in. Perfect for outdoor G-scale stuff.
You want a PEI bed sheet, really helps with both getting the part to stick during the print, and releasing when done.
Don’t use it with TPU (a rubbery type filament, TPU welds itself to PEI, I ruined a PEI sheet with it.
They always include a sample roll of PLA with a printer, thats because PLA is very easy
to print with. Use it to learn, but graduate to ABS or ASA for anything you want to last. PLA is brittle and wont last
long outside.
Speaking of sticking to the bed, you REALLY want to make an enclosure, consistent temp and lack of drafts is vital
for anything but PLA.
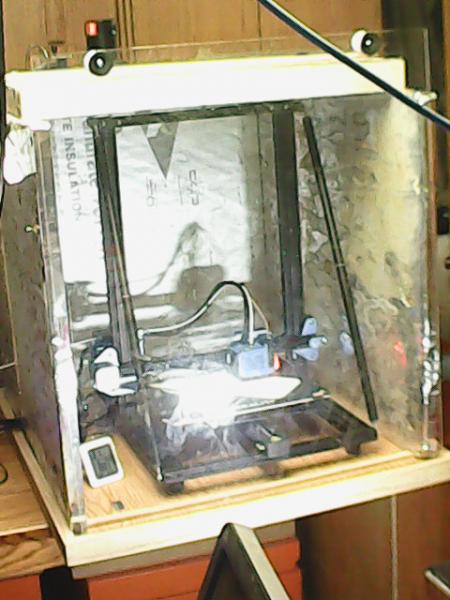
It doesn’t need to be fancy, I made this one from scrap in the barn. You NEED an inexpensive ceiling fire detector
placed inside, 3d printers are notorious for burning down houses! I also have a cheap LCD thermometer inside.
I use FreeCAD for design, not the easiest but once you master it, it is very powerful.
I slice the model with Cura, a very nice and easy to use program.
To do the actual print I use OctoPrint, running on a raspberry PI B+
You download the G-code produced by Cura and it controls the printer. This allows you to turn off your
main computer during the print, prints take a LONG time. It has a browser interface so you can monitor
the print from anywhere you can access it via your pad/phone. It supports a web cam so you can see
the actual progress of the print. How many times have you come back to the shop to find a huge ratsnest
of filament wrapped around everything (https://largescalecentral.com/externals/tinymce/plugins/emoticons/img/smiley-frown.gif)
Steve