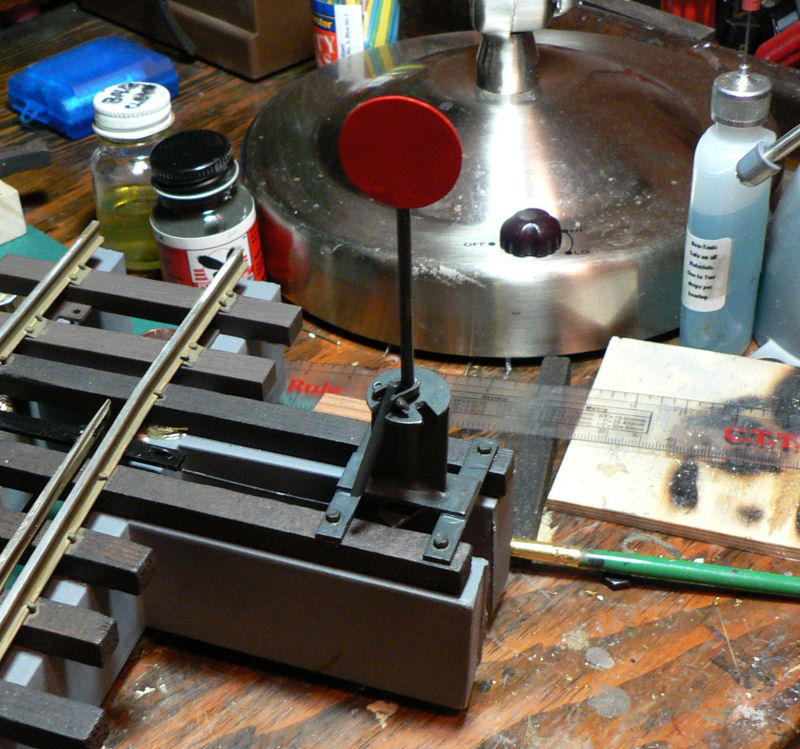
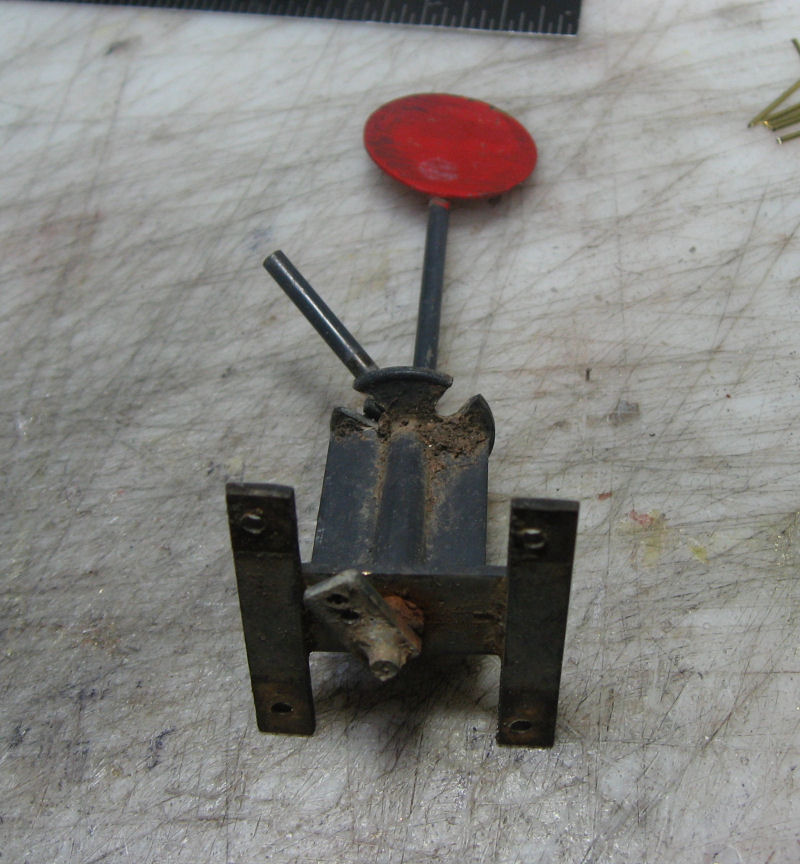
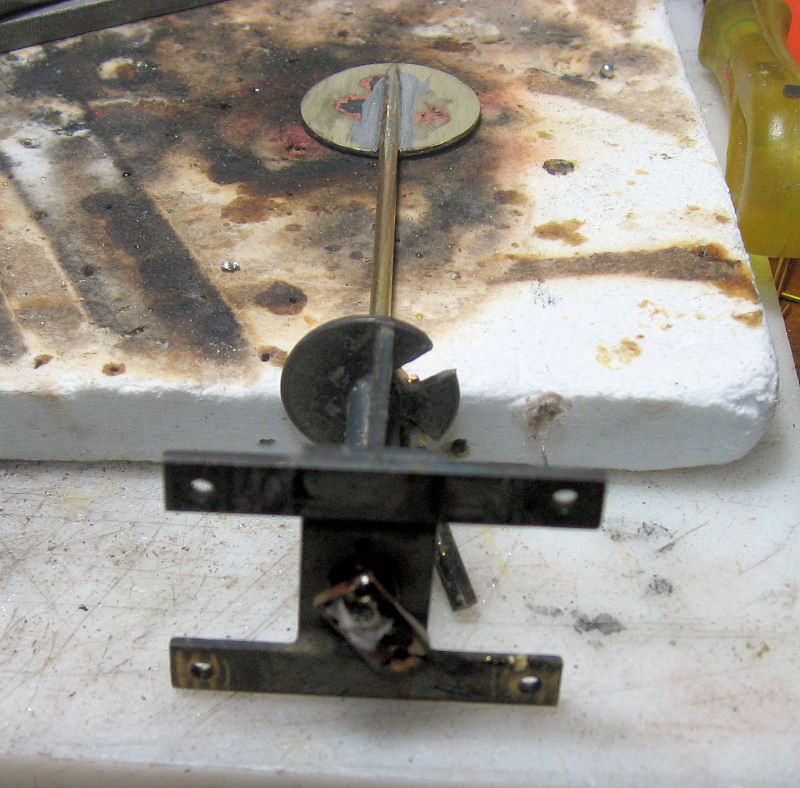
Steve, I solder everything I can. I’m using a thicker piece around the rod. I think this is a 1/8" x 1/32". It’s wrapped around the rod and then soldered in place. You need to make sure there is a very good bond here, as this is where a lot of the pressure exists. I center punch it after soldering so I can drill a hole to mount the handle. The handle here just acts as a spacer.
(http://jbrr.com/Pics/Switchstands/IMG_7531.JPG)
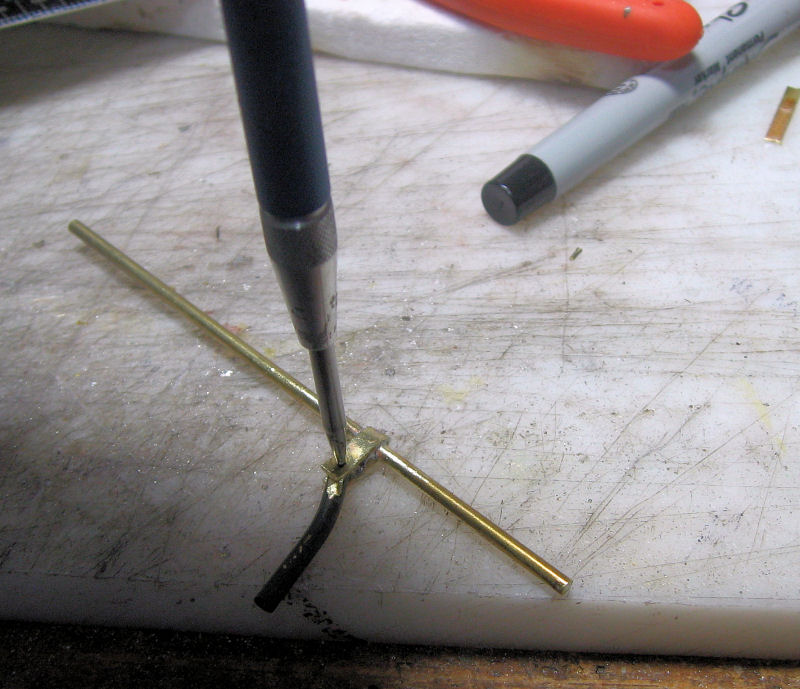
After I drill the hole, I run a small eye-pin through that piece and through the handle. These come from MicroMark (http://www.micromark.com/MINIATURE-BRASS-EYE-PINS-PKG-OF-144,7071.html) (.033 inch diameter brass, 1/2 inch long, 3/64 inch inside eye diameter. Approx. 144 pins per package.) I didn’t count how many I got. 
(http://jbrr.com/Pics/Switchstands/IMG_7532.JPG)
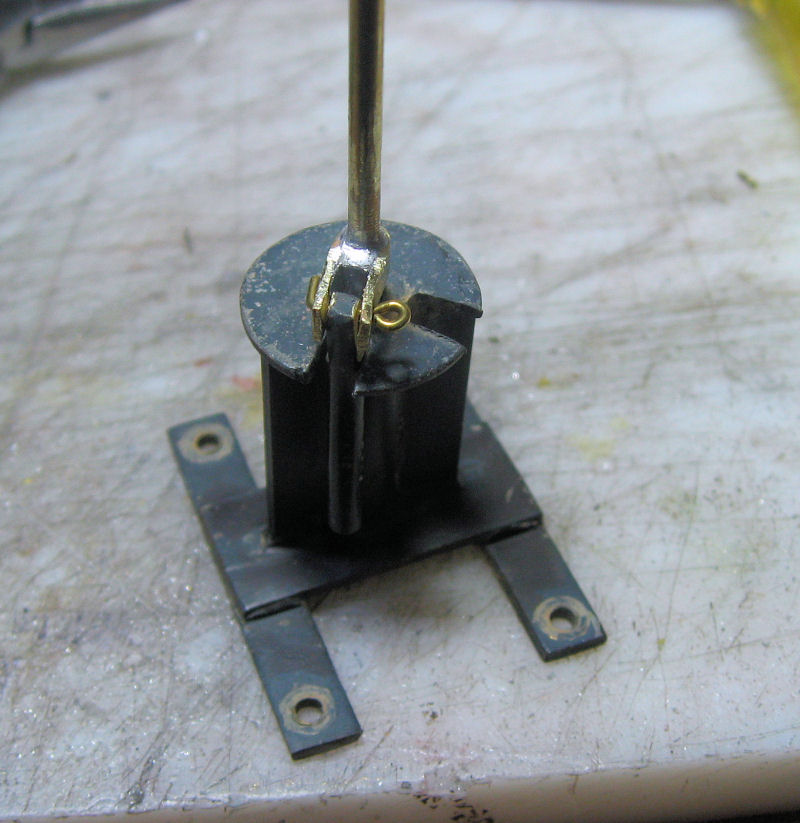
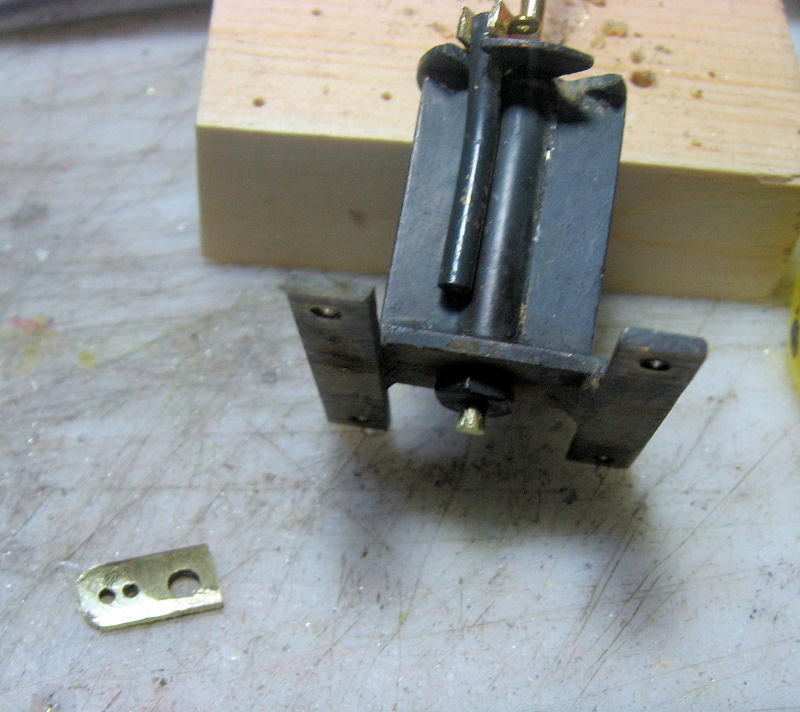
I slip a small nut on the end of the rod, as I don’t want the solder to stick to the base.
(http://jbrr.com/Pics/Switchstands/IMG_7534.JPG)
Next I solder the small brass strip to the bottom of the rod. It’s very important that this faces the same direction as the handle.
(http://jbrr.com/Pics/Switchstands/IMG_7537.JPG)
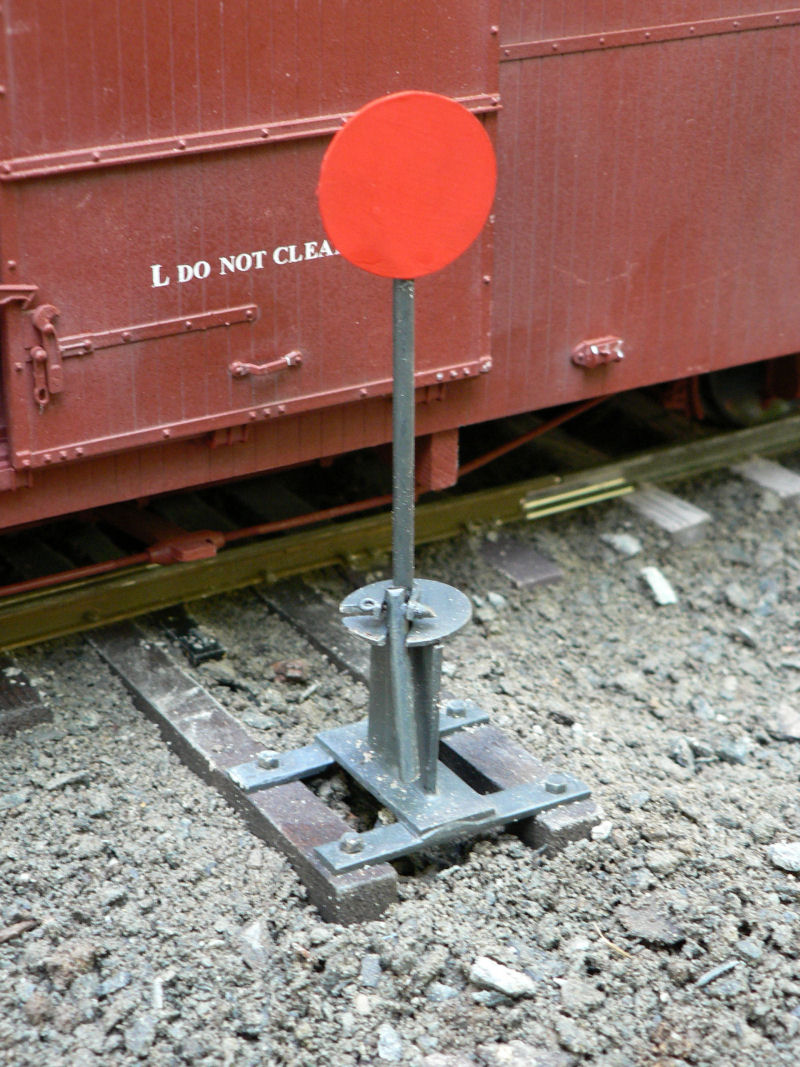
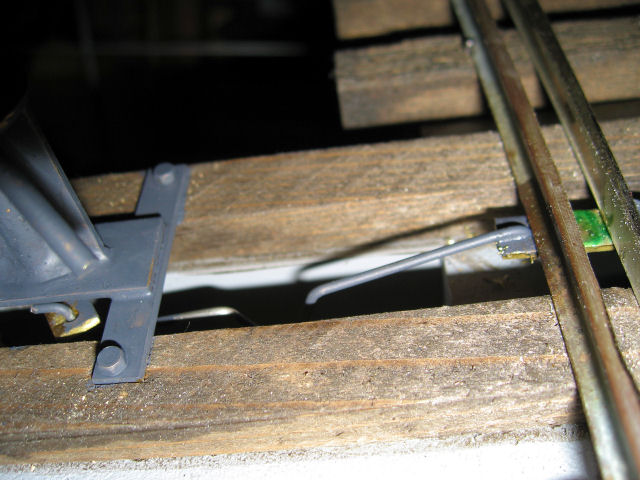
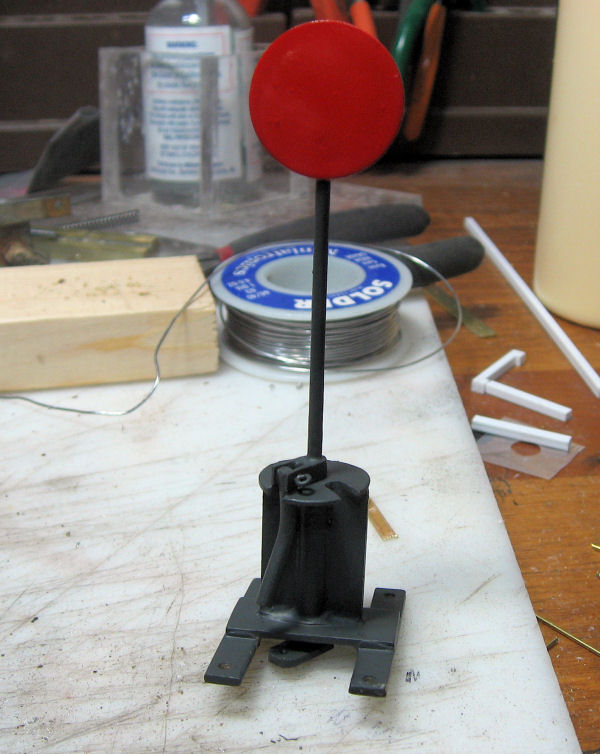
When I started, I originally cut the target from brass sheet. That didn’t seem like a lot of fun. I found these tags over at McMaster-Carr (http://www.mcmaster.com/#blank-tags/=65bugm). I bought 1540T13, the Blank Metal Engraving and Stamping Tag 18 GA Brass, 1" Round, 3/16" Hole. If I were doing it again, I’d look at 1540T26 Blank Metal Engraving and Stamping Tag 18 GA Brass, 1" Round W/Ear, 7/64" Hole. Then I’d just cut the ear off. As it is now, I have to fill the hole with solder. Repaired and ready to put back on the layout.
(http://jbrr.com/Pics/Switchstands/IMG_7539.JPG)
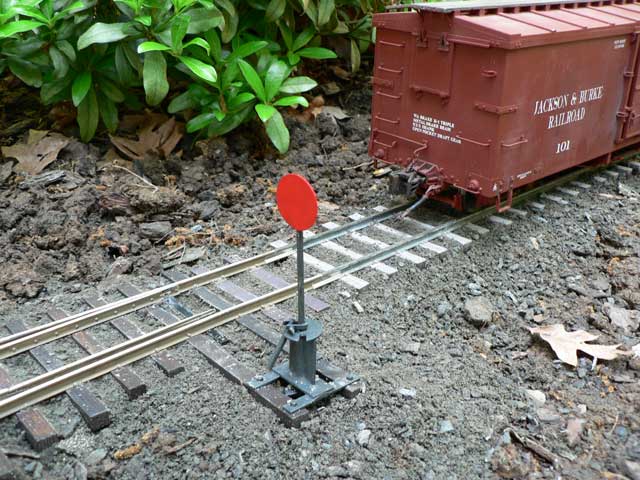
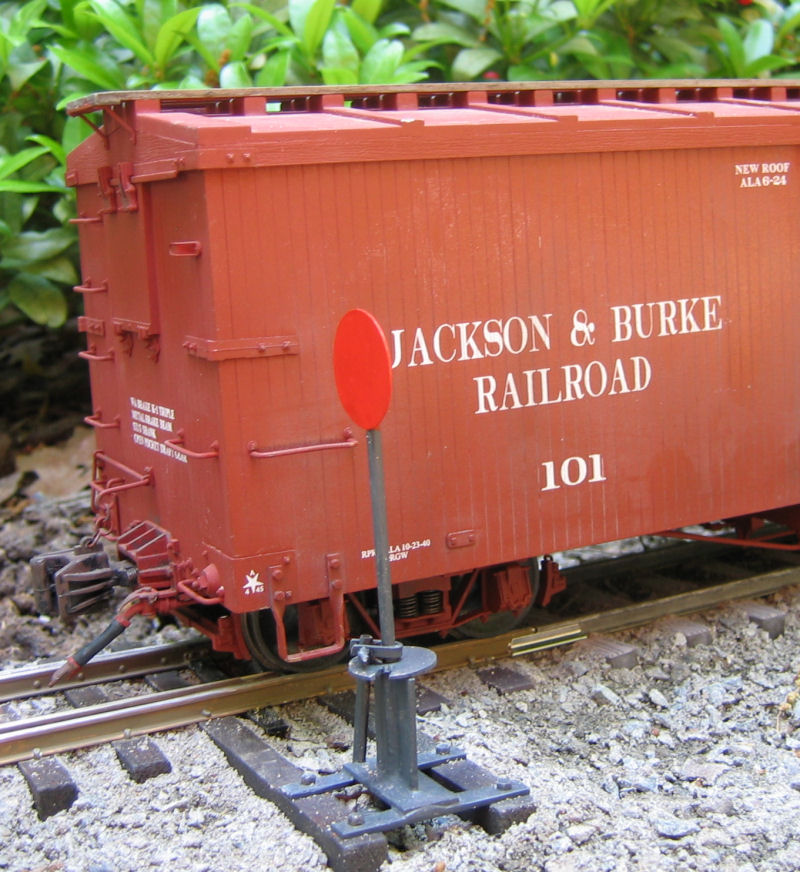
I bent the handle a bit more as it makes it easier to grab when you’re switching.

