Large Scale Central

Sutro Pneumo Loco

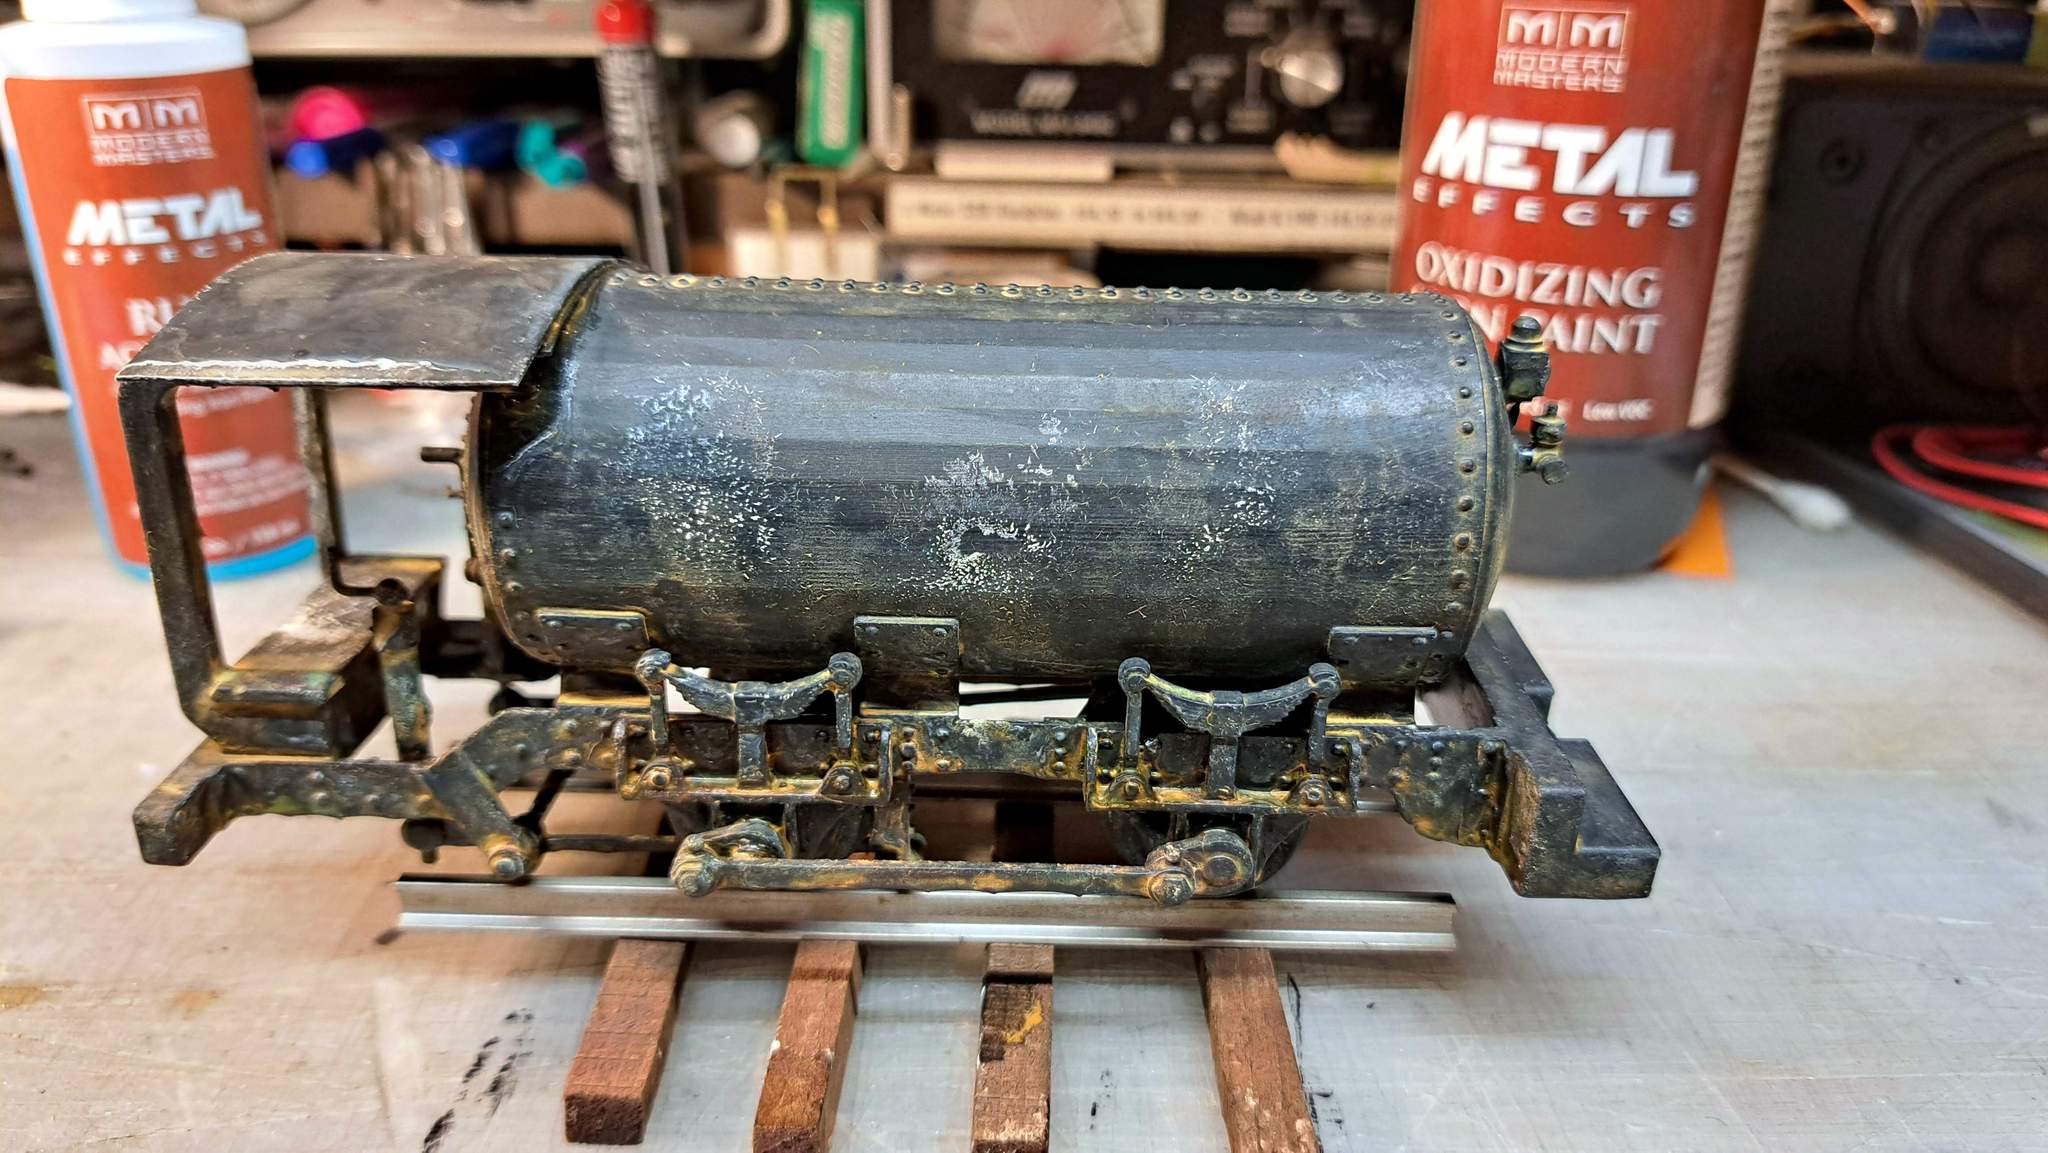
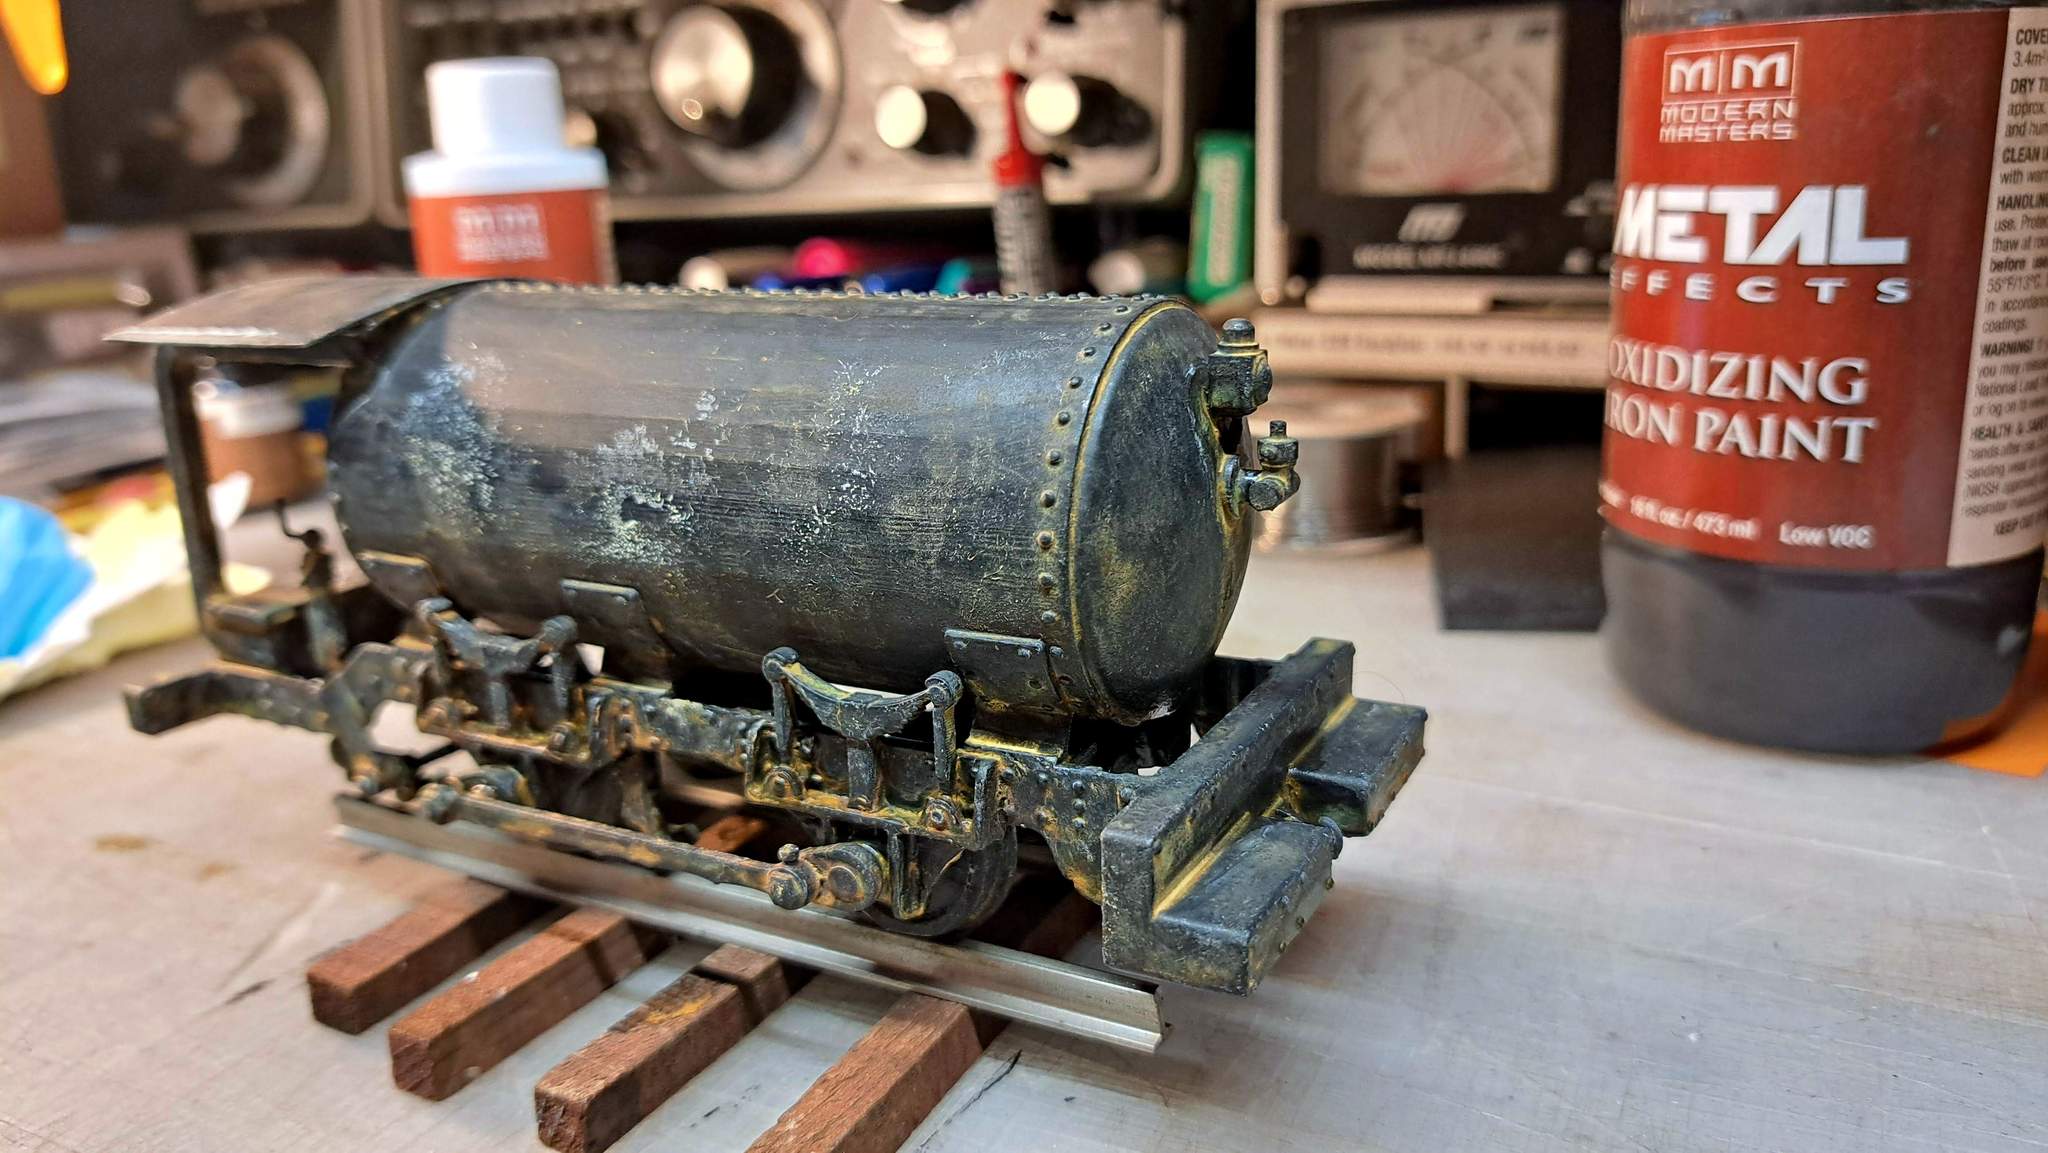
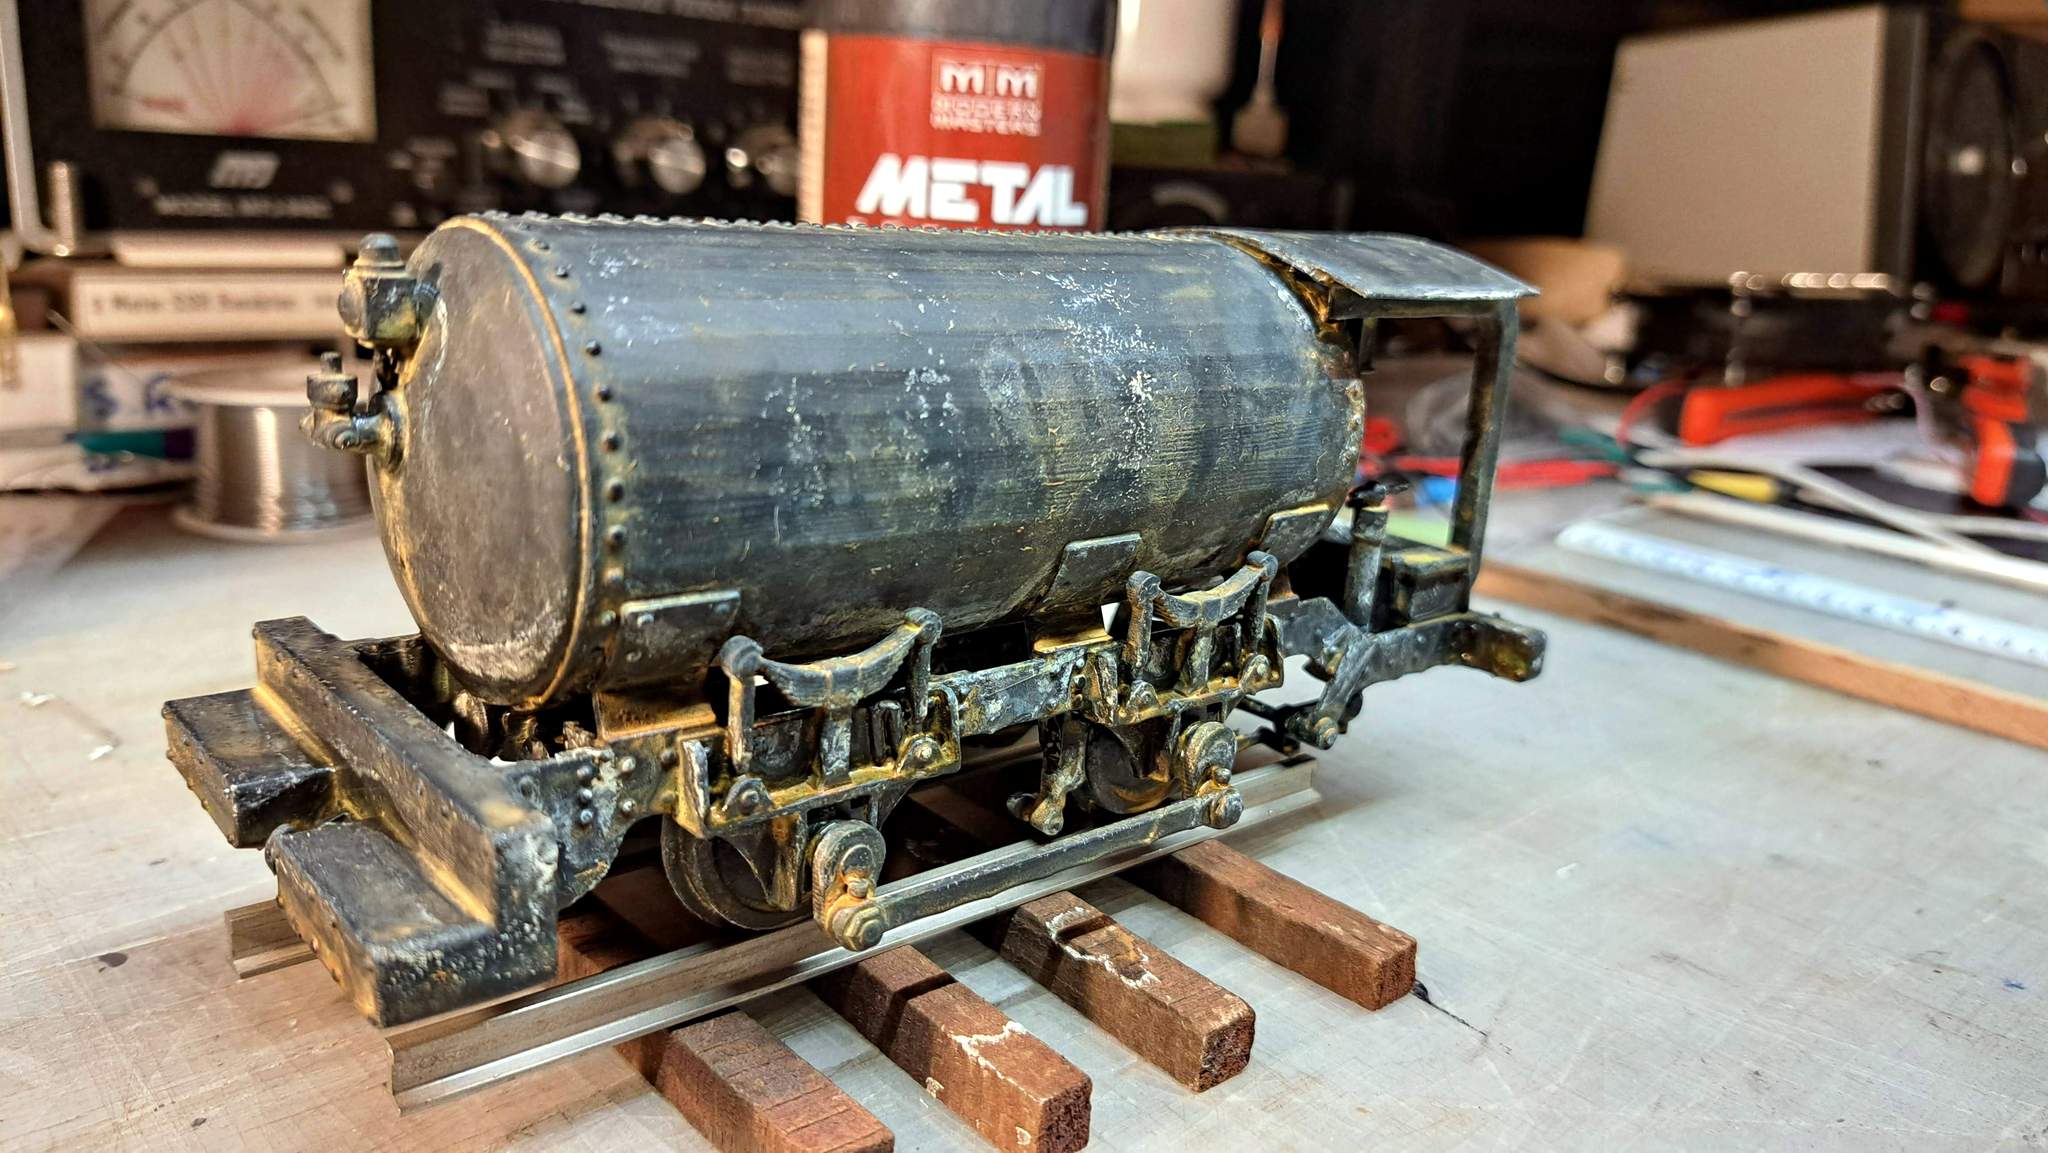
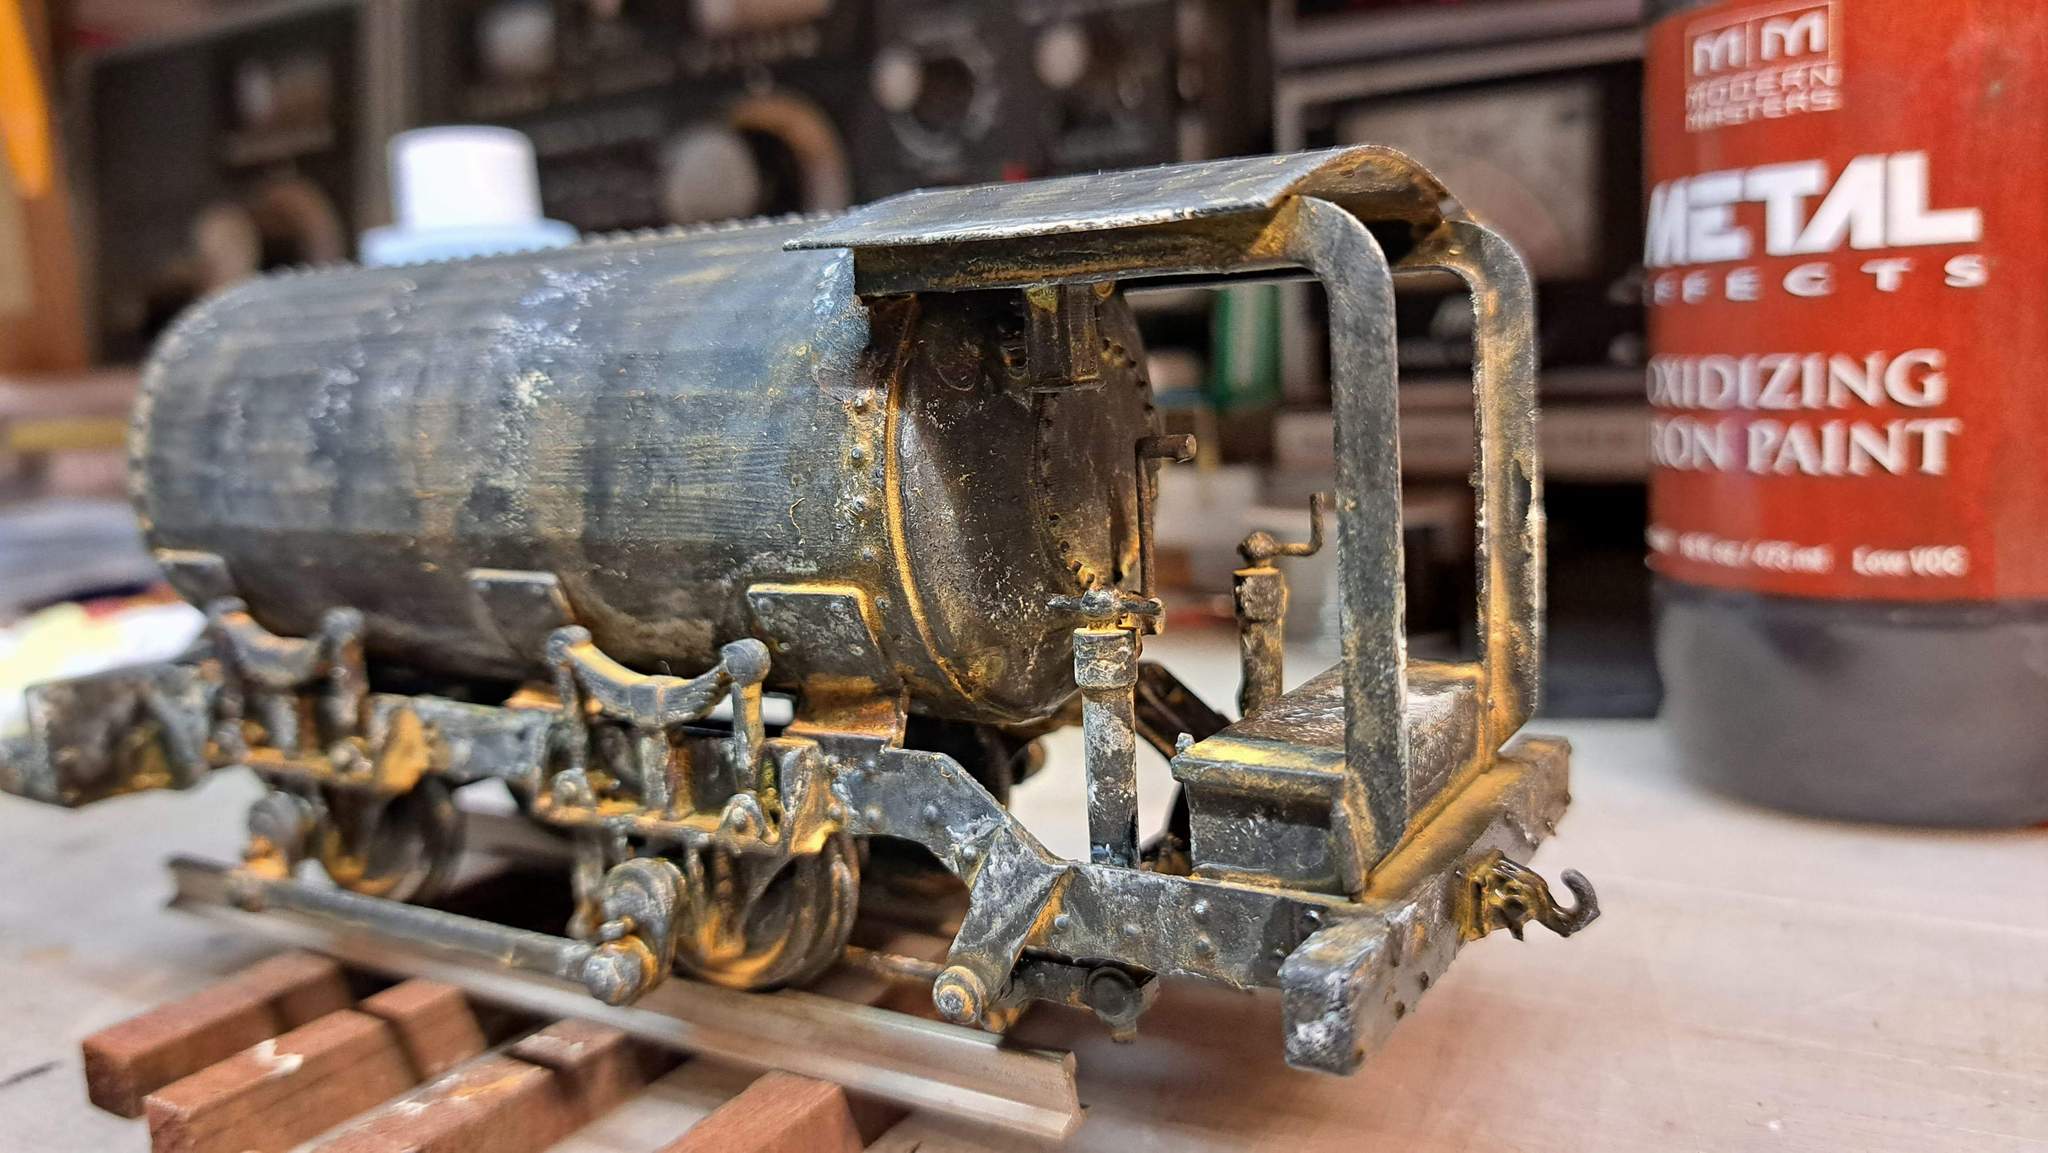
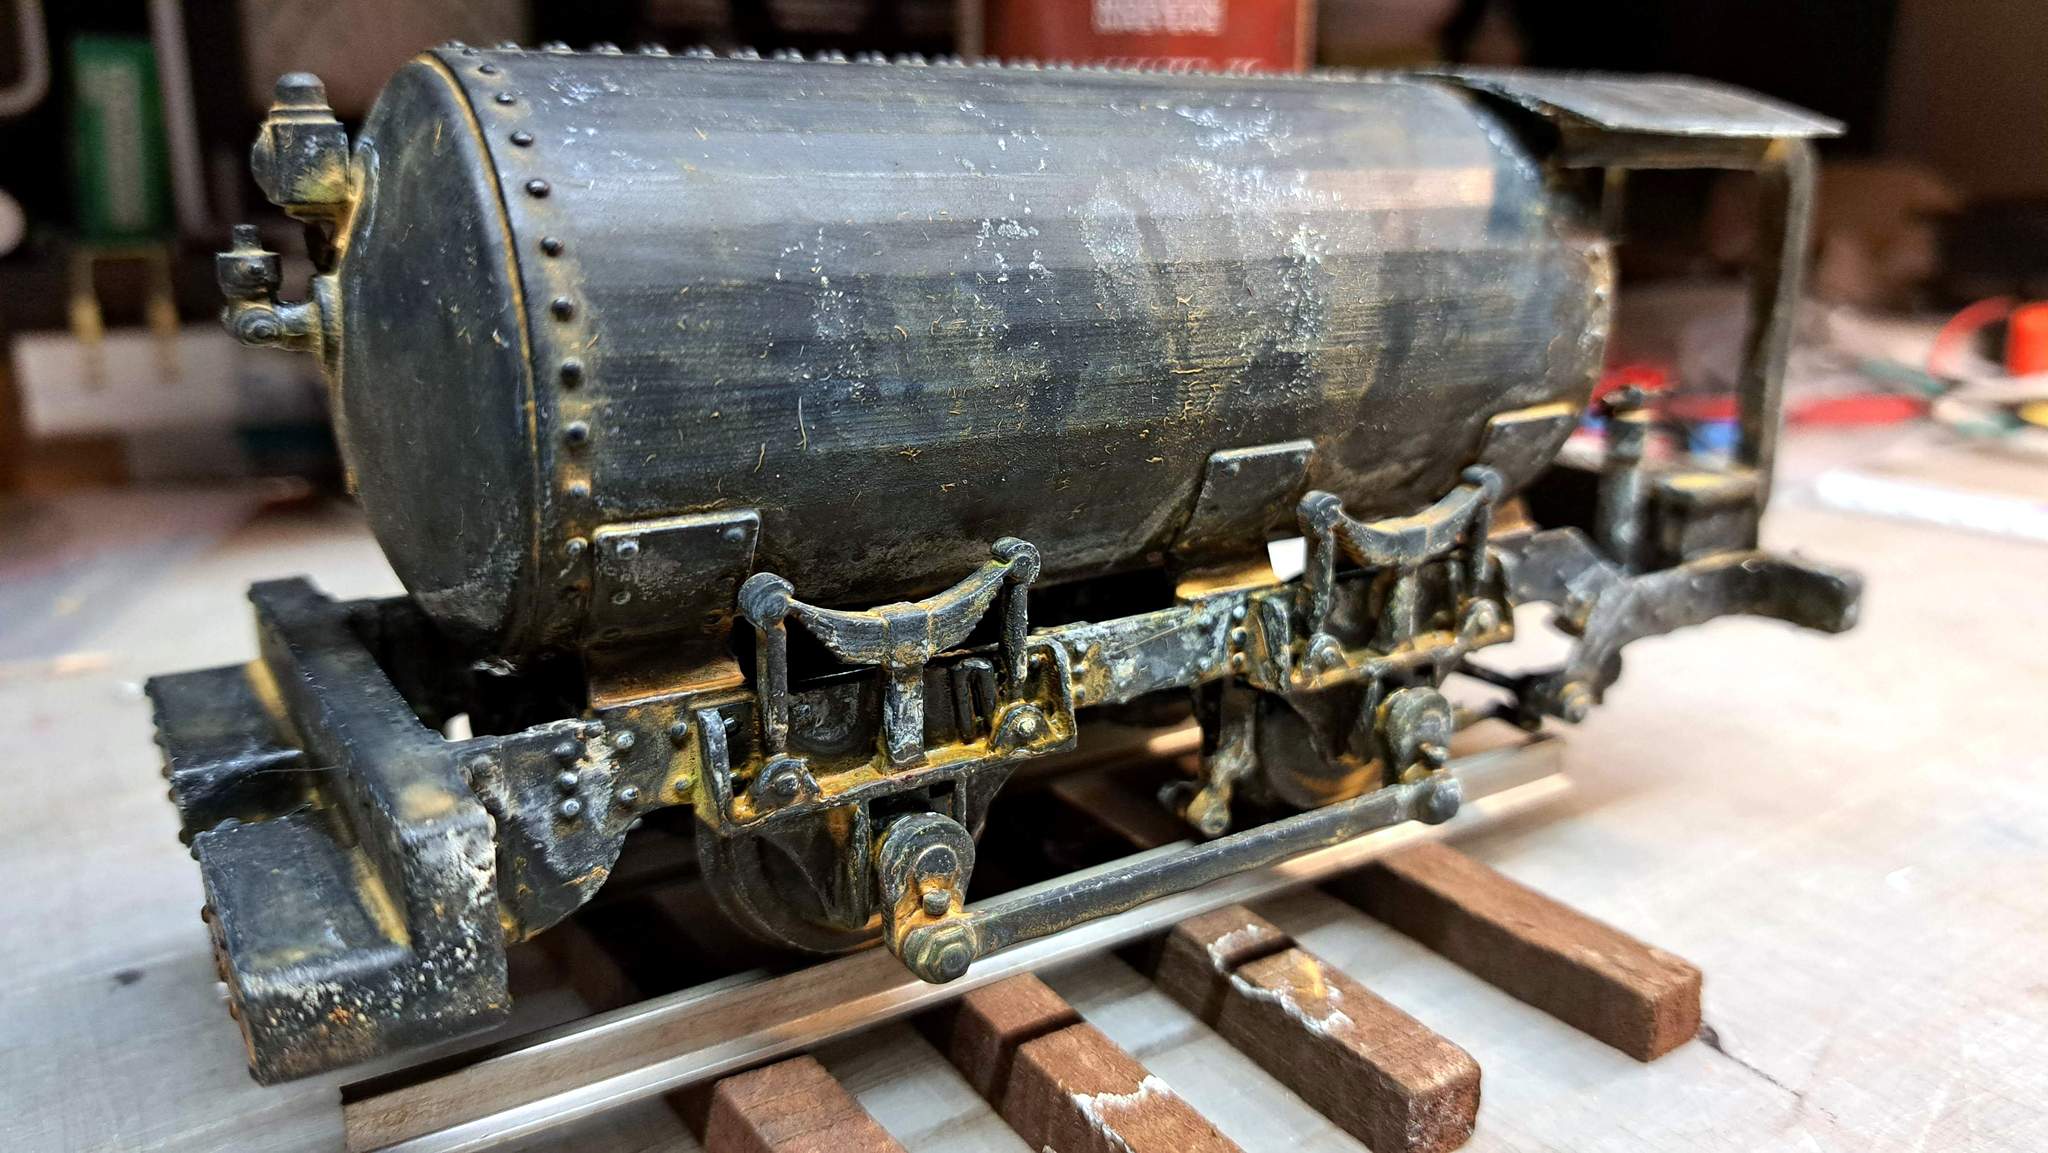
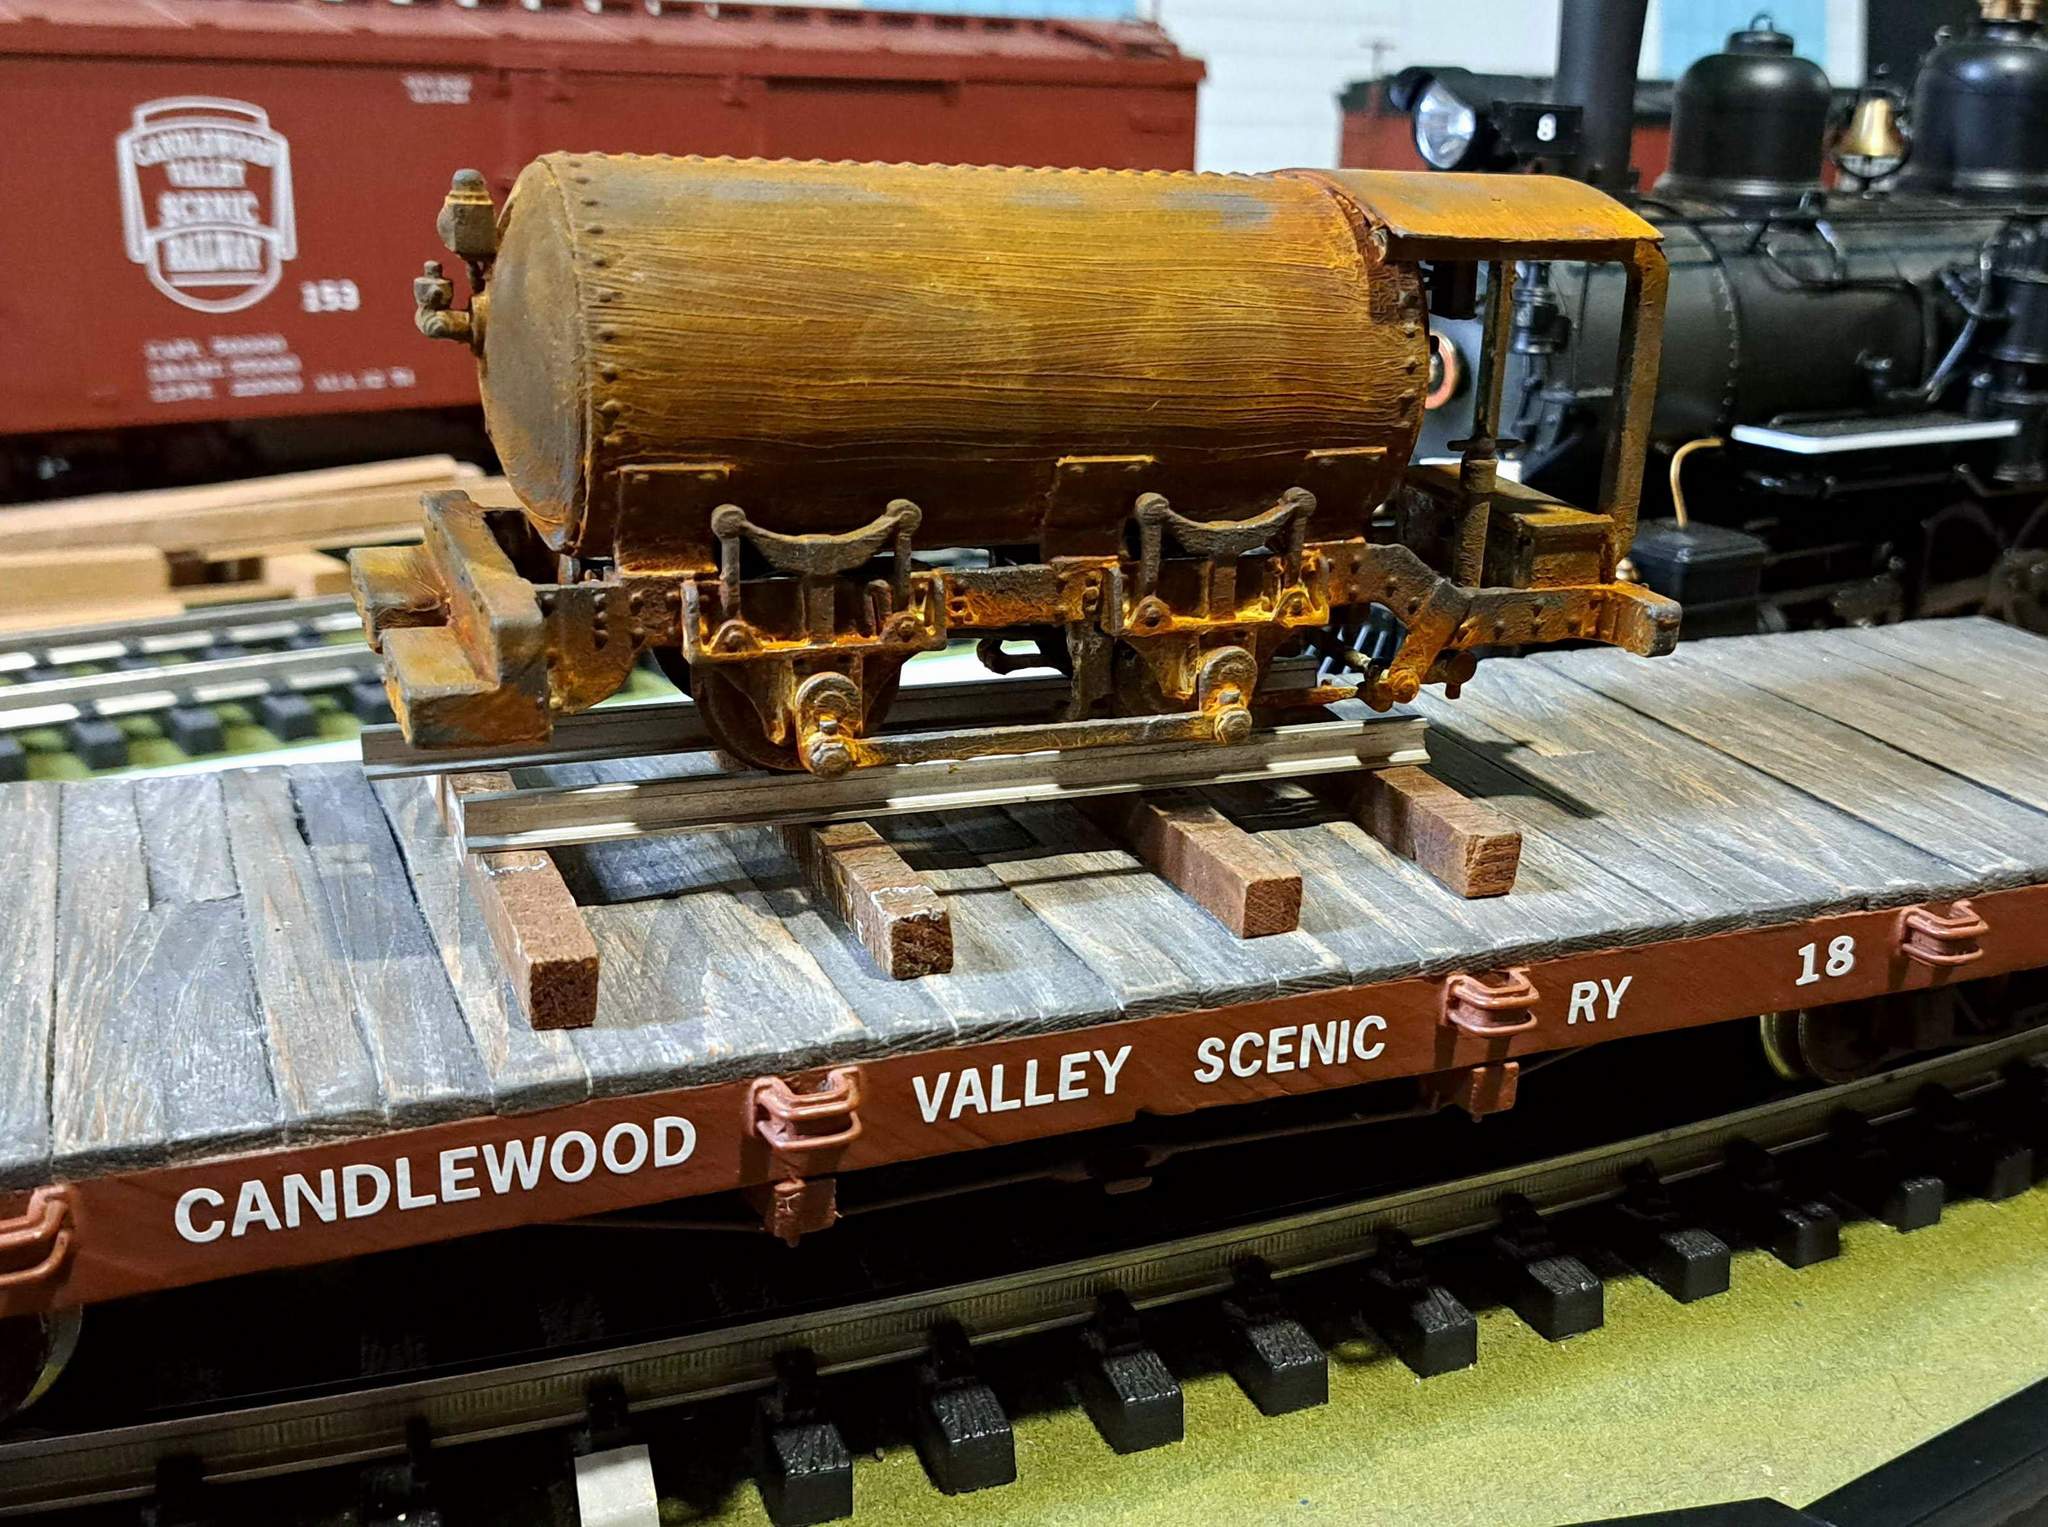
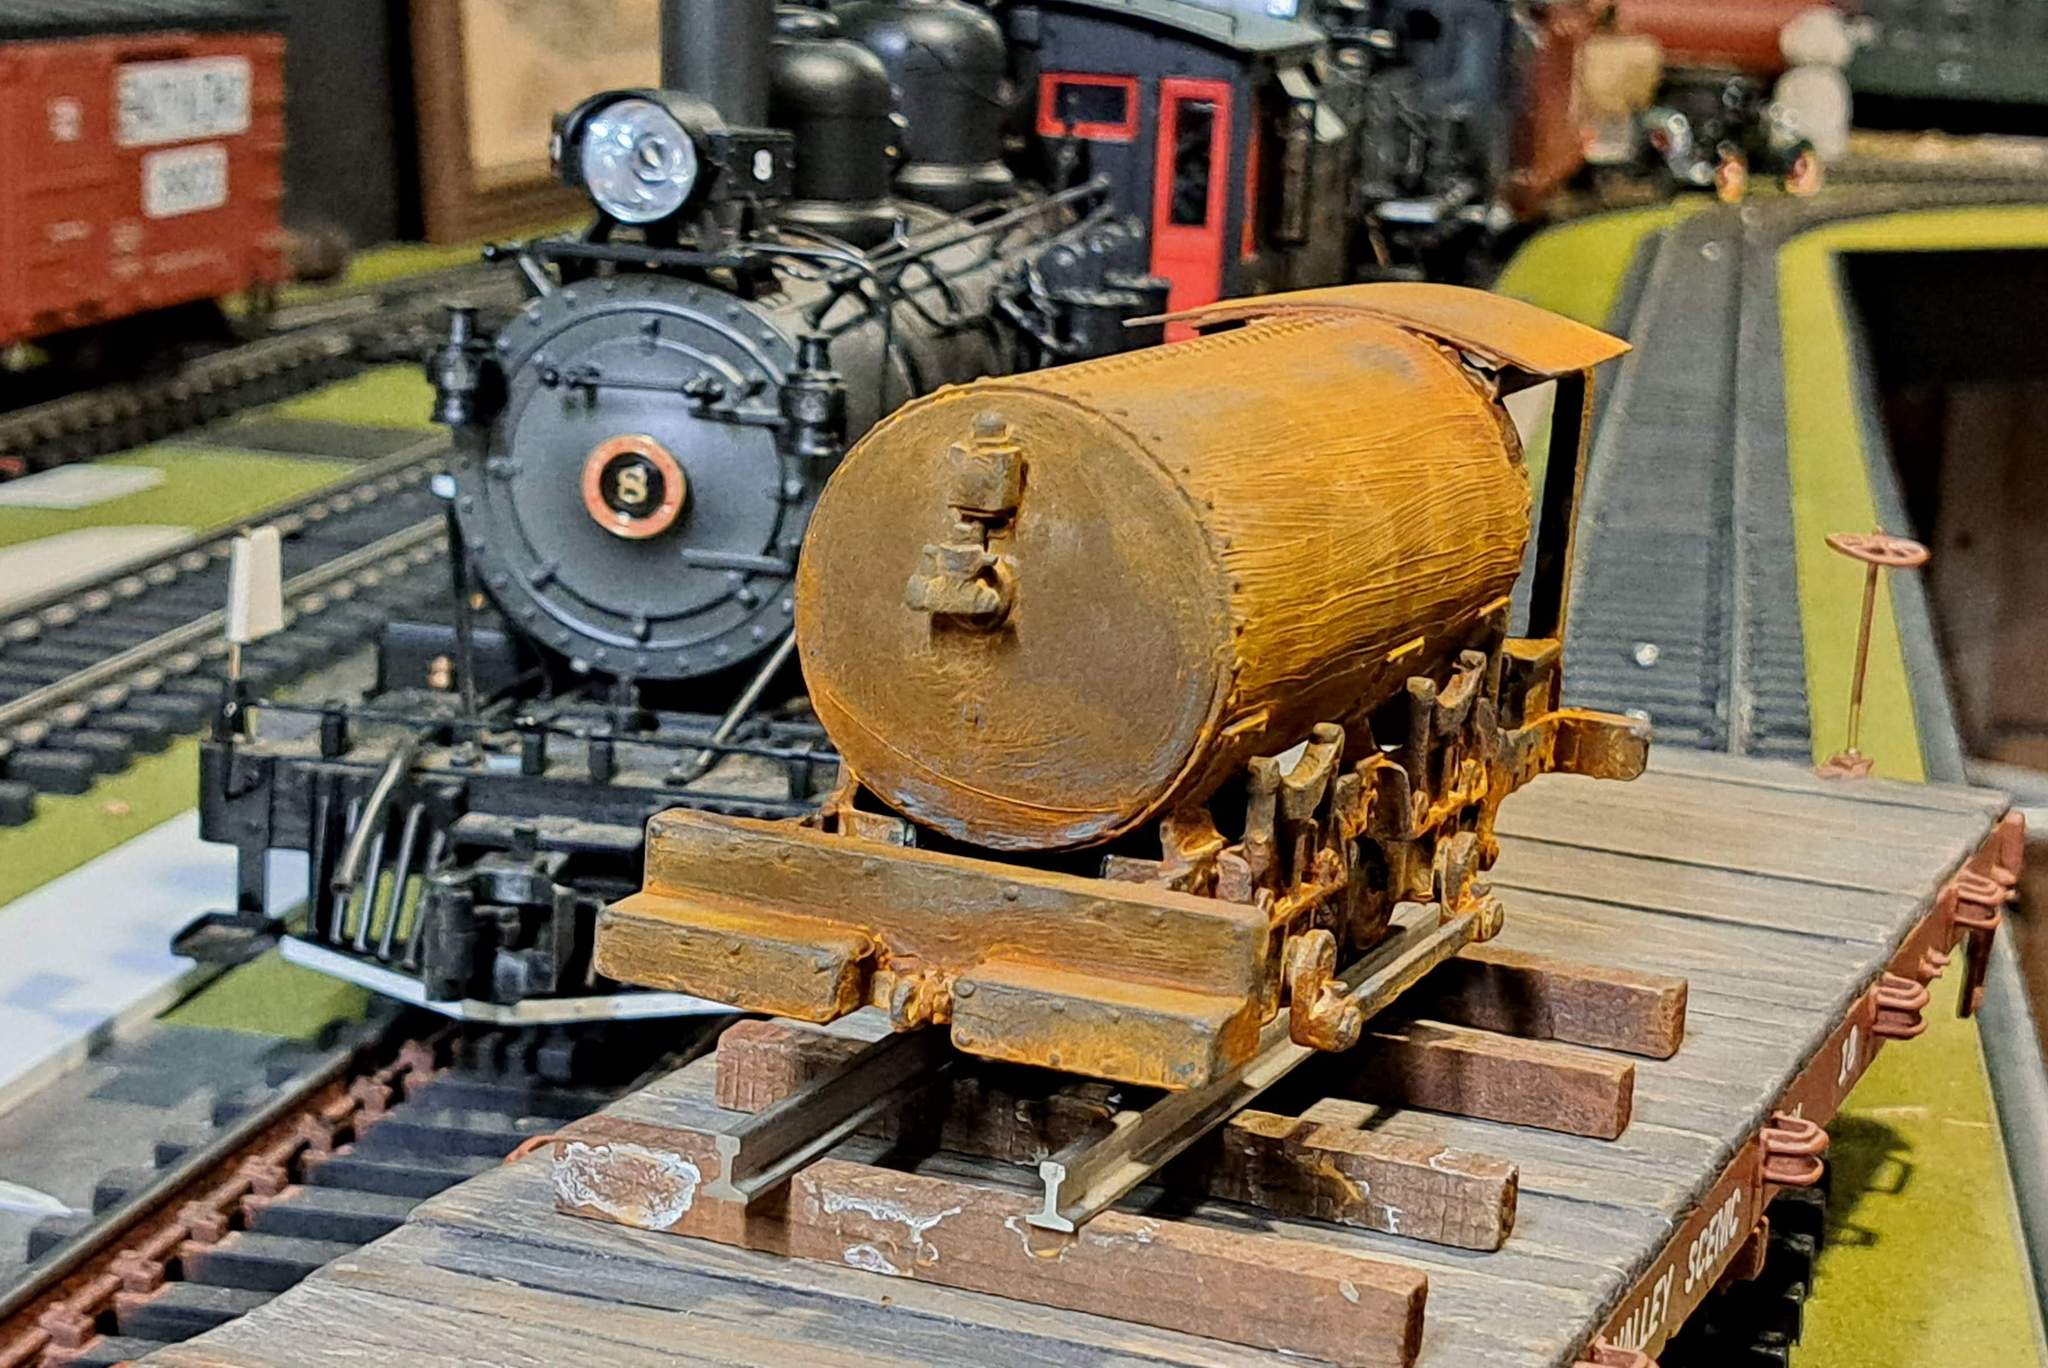
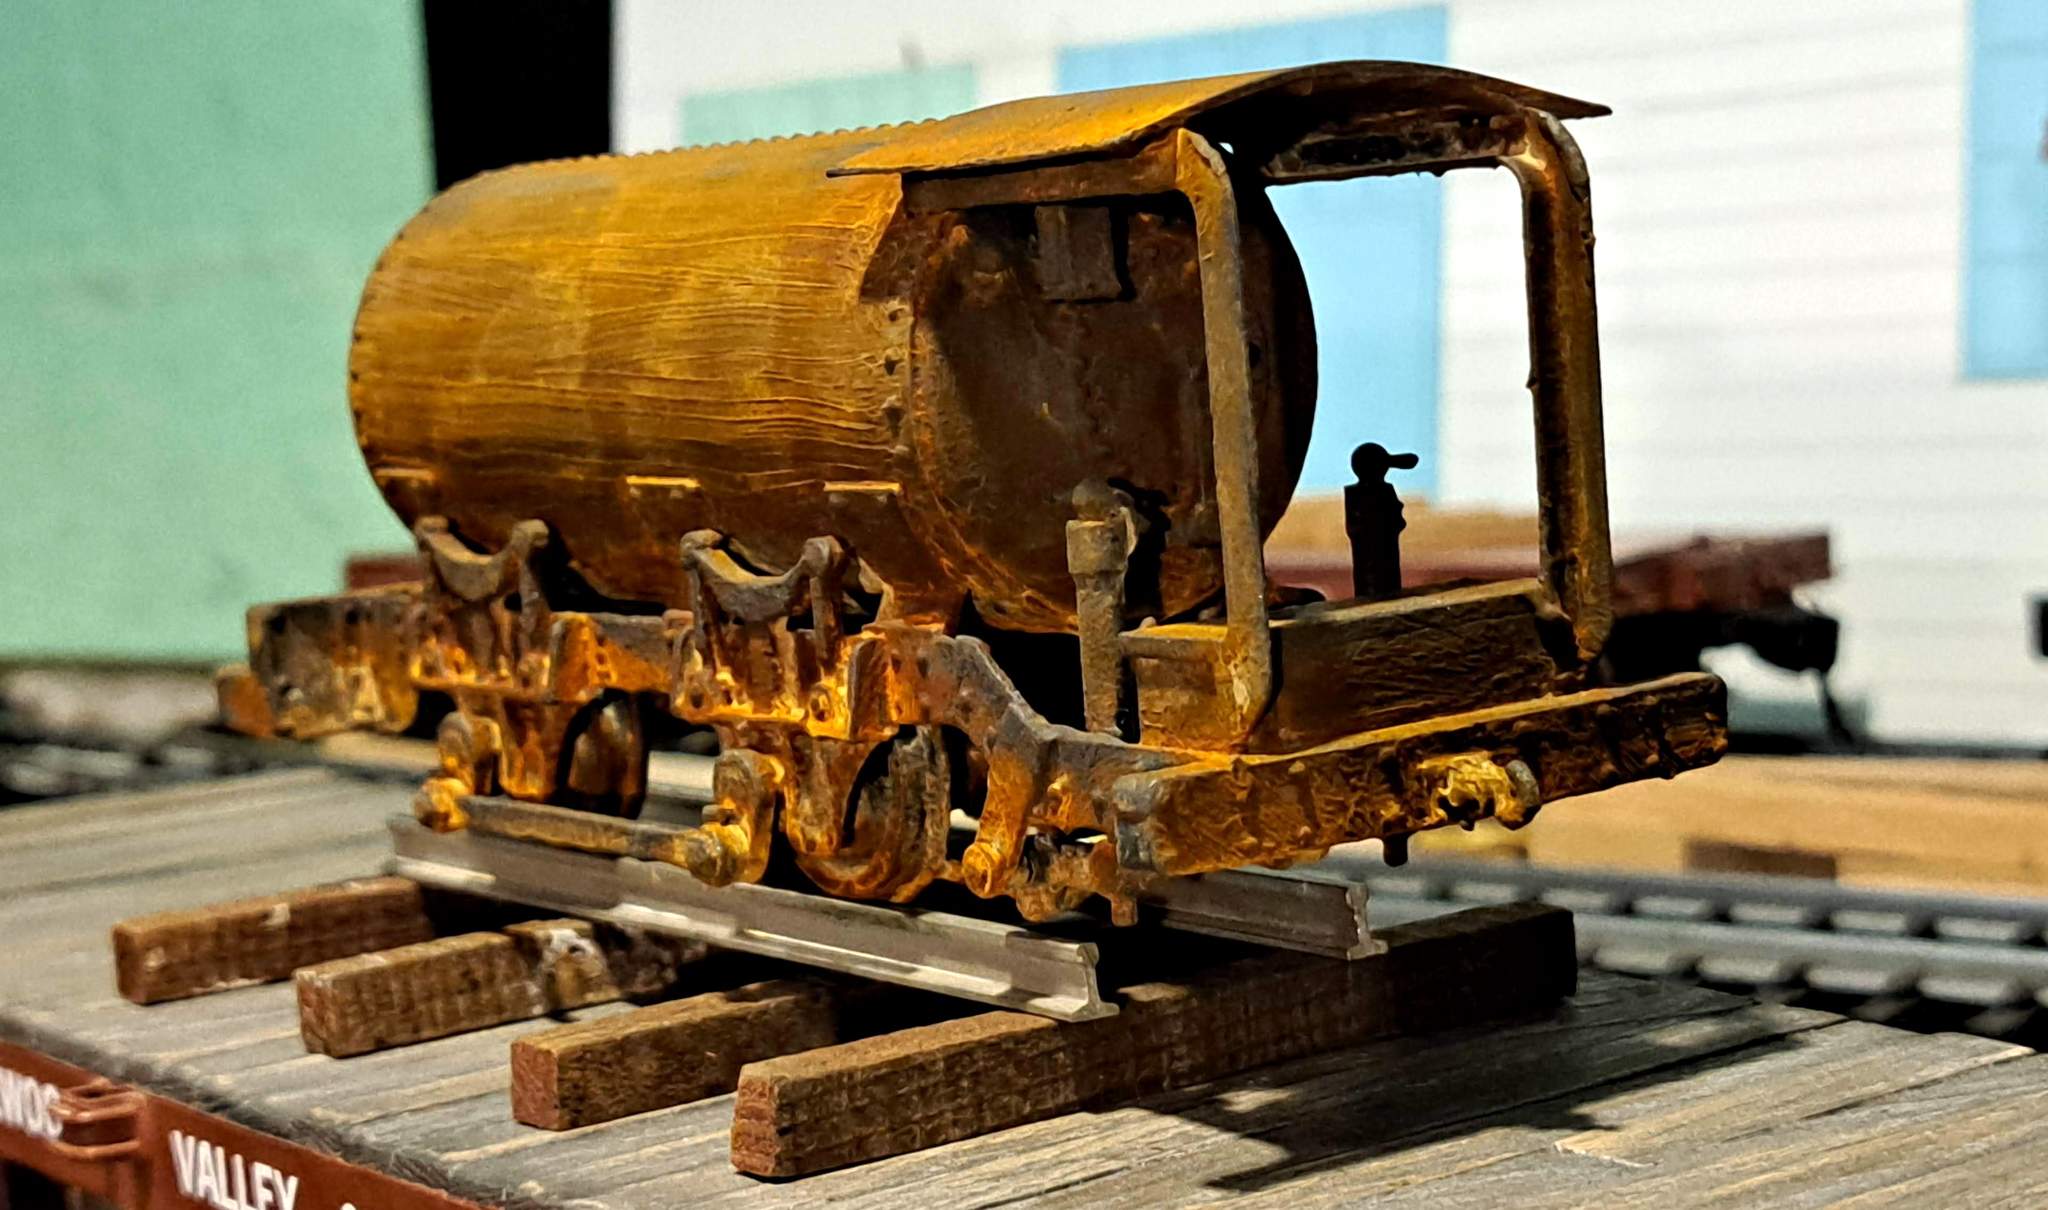
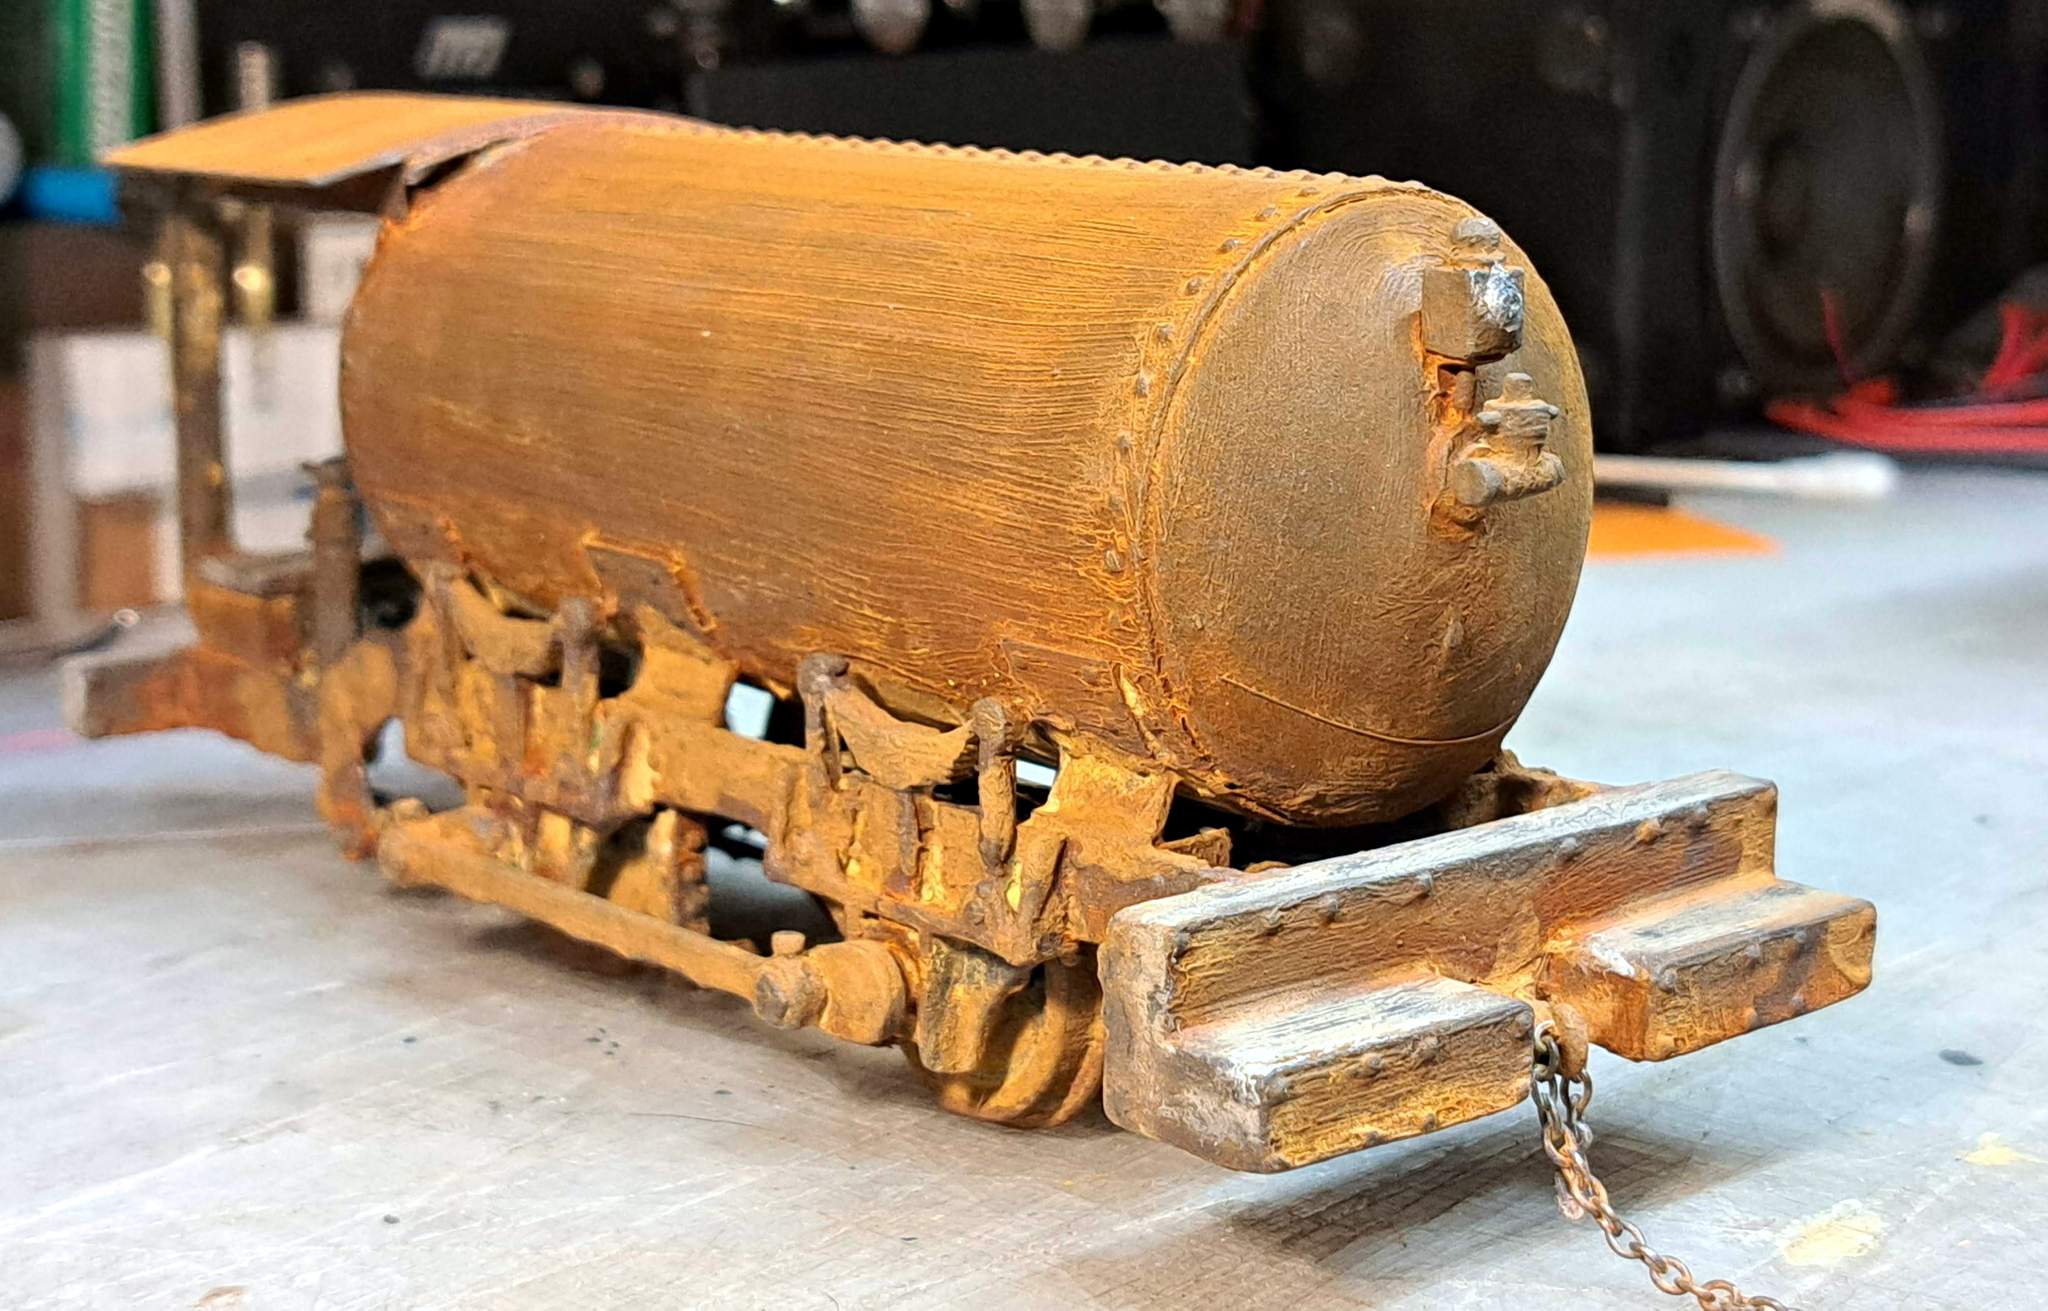
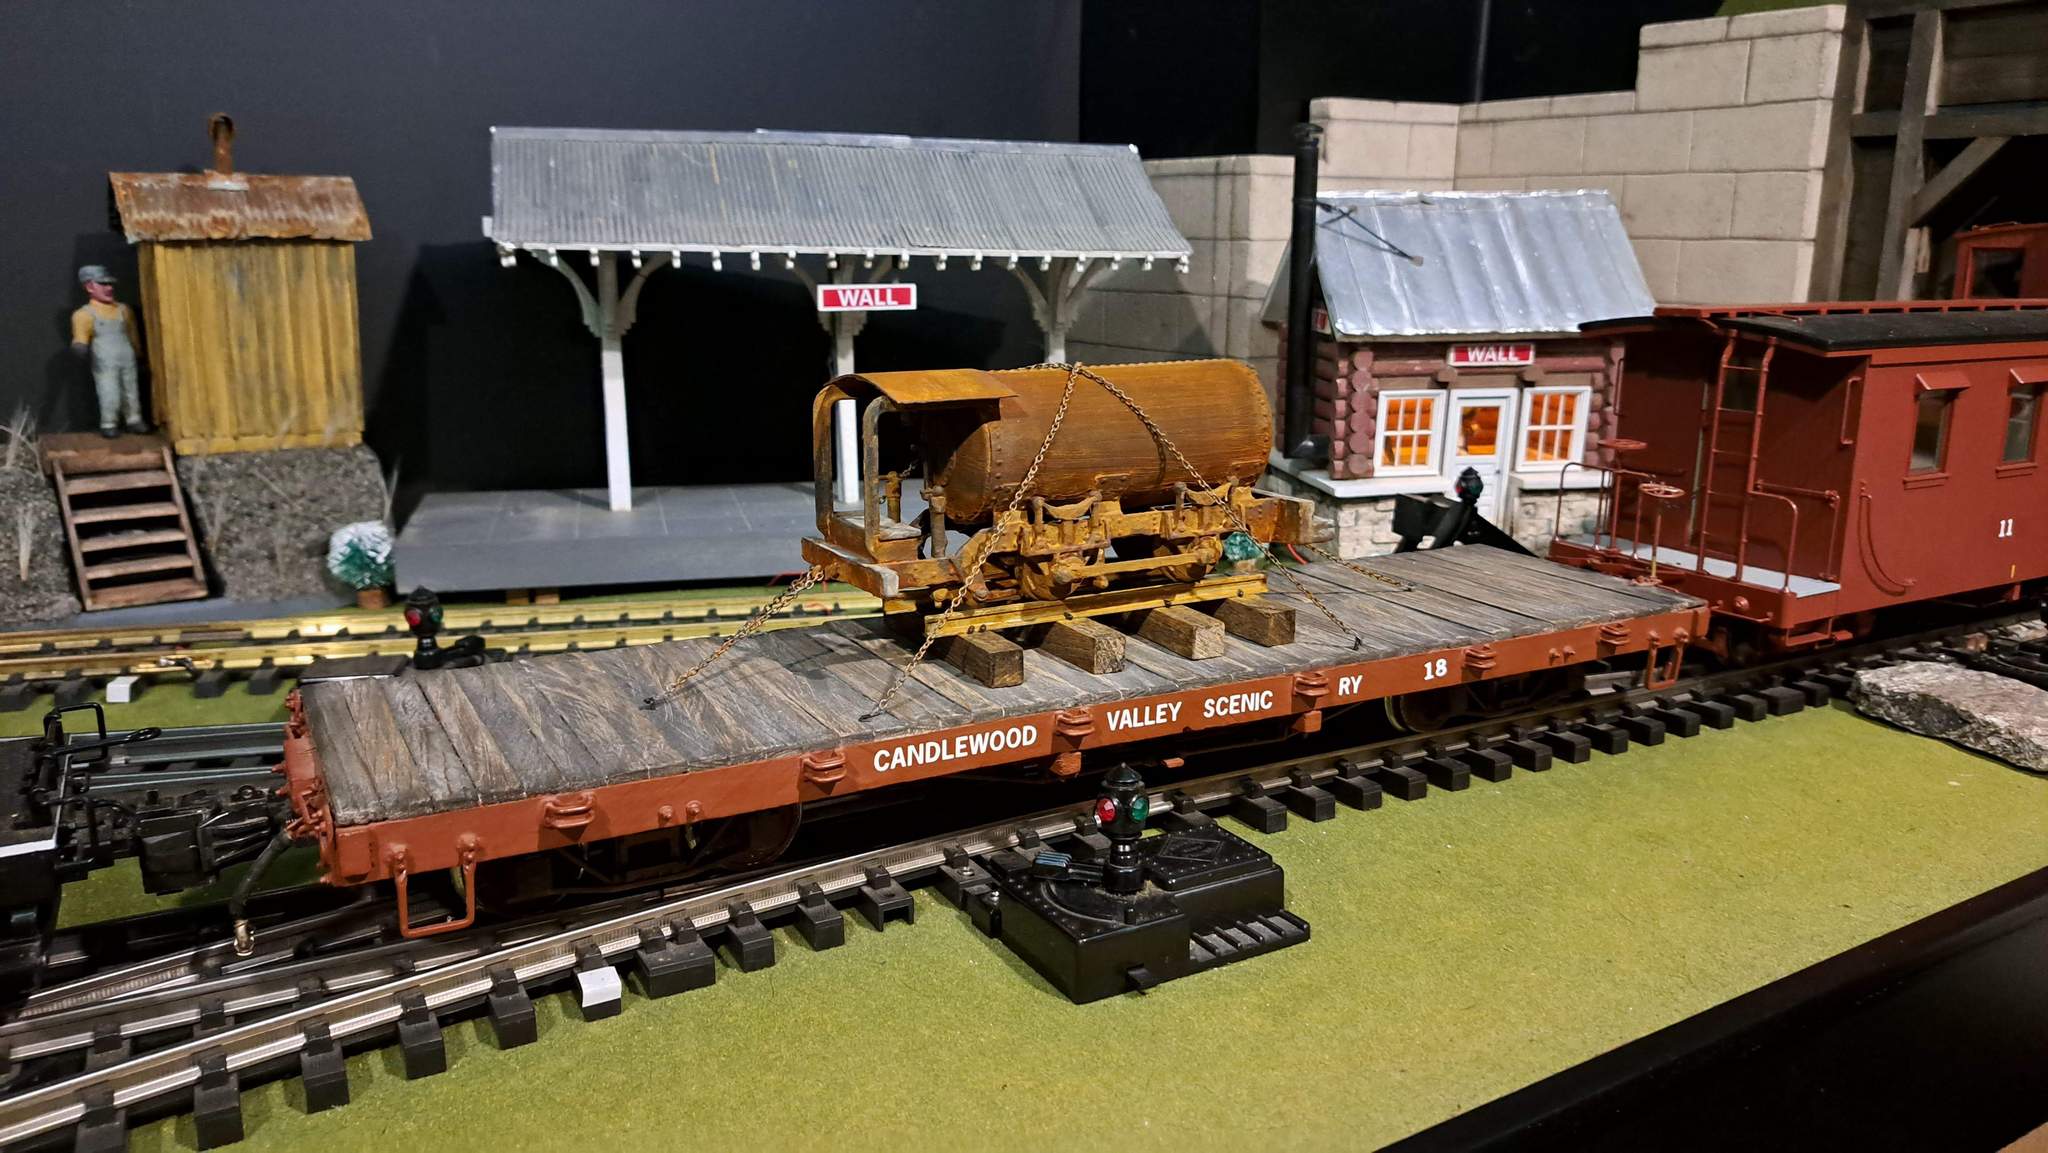
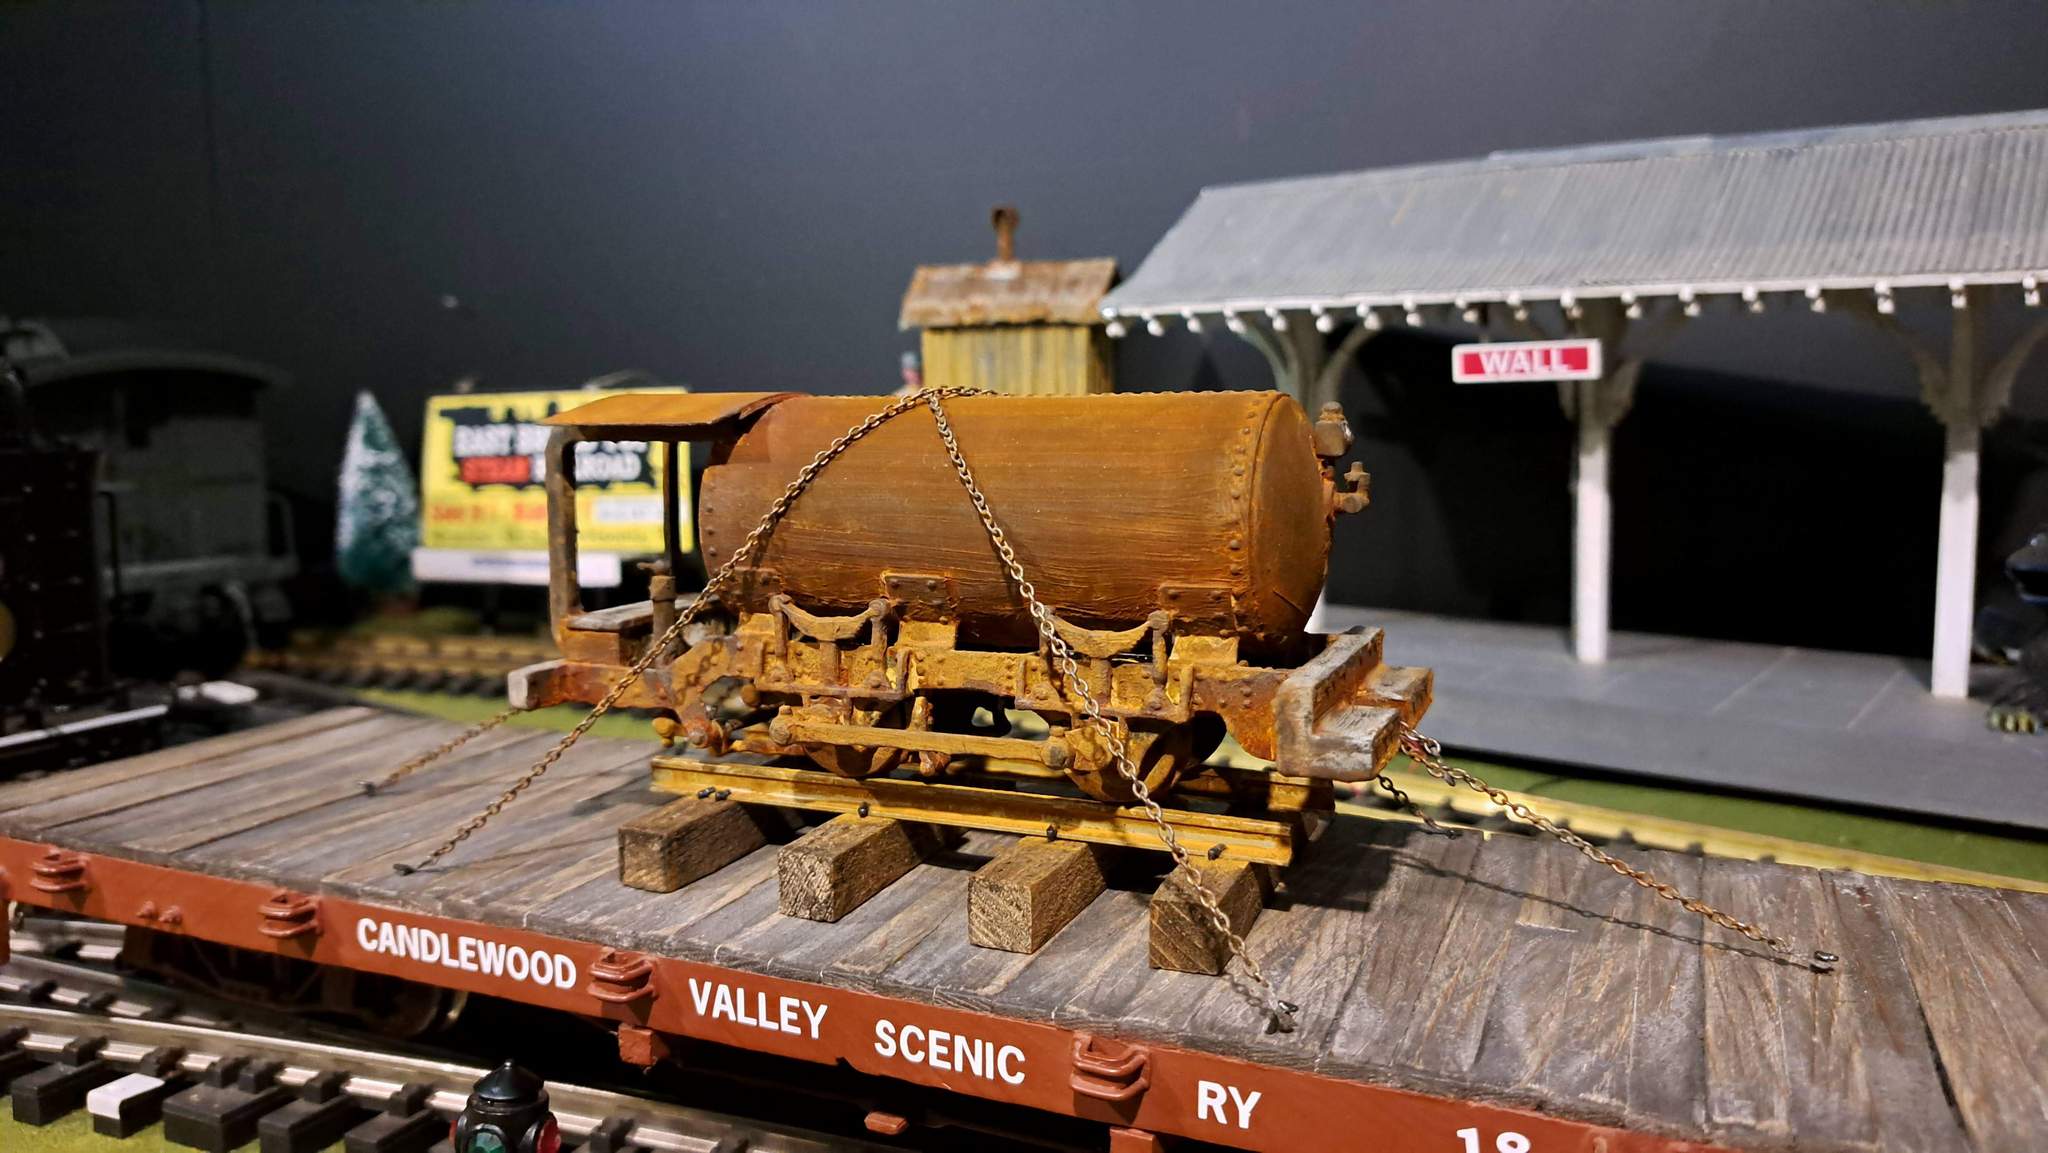
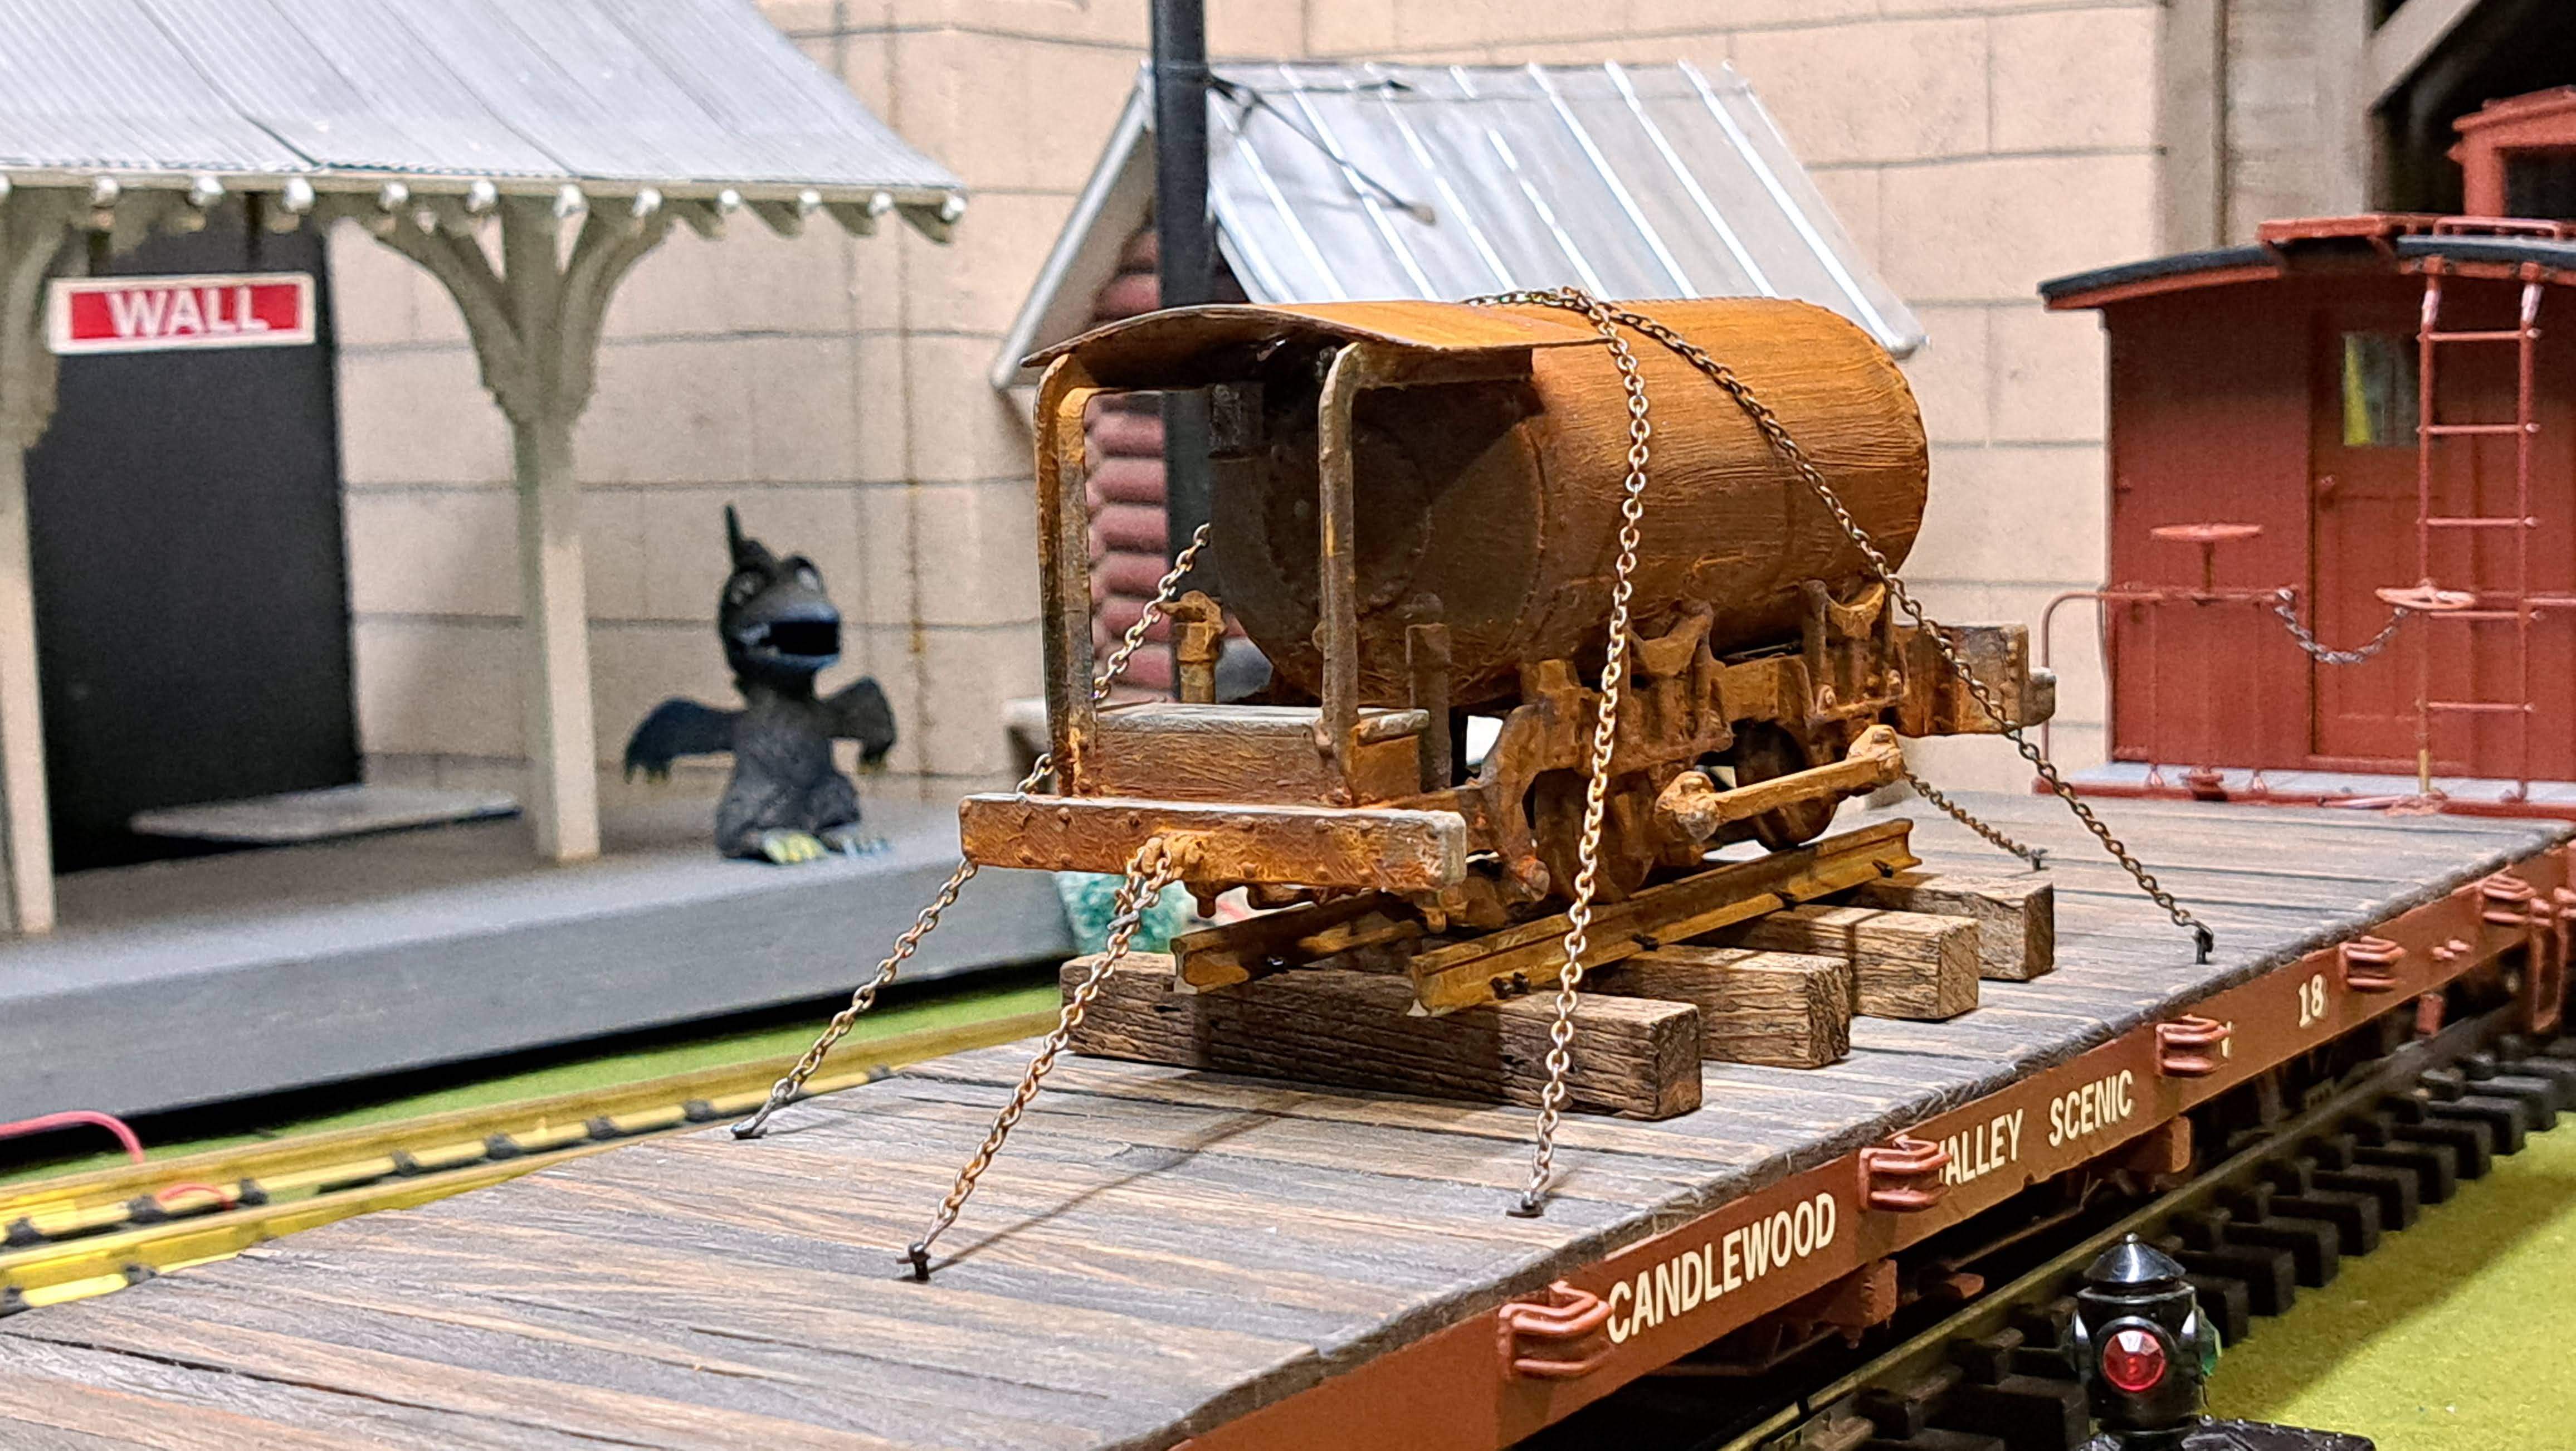
A fresh bottle of Rust Activator arrived today. It seems to work better, but the results are still not what I was expecting, so I think my Iron paint is going bad too. I can’t understand it, it’s only 7 years old! I was going for a completely rusted surface, like it had been outdoors for 75 years or more. What I got looks closer to what it might look like 15 or 20 years after being parked outdoors. I’m pretty happy with how it looks right now, but will soldier on trying to make it look worse. As of this evening…

1 Like

This is the look I was going for. Same process, but the product was fresh…

Same product a year or so later…

I’m not disappointed enough to start over, but I might add a little more iron paint in spots and douse it with the activator a few more times.

I had some of the iron paint settle and I could never get it to mix right. I ended up cutting the bottle and spooning it all into a different container, adding some thinner and mixing thoroughly.

Quite likely that is the issue. I can’t imagine the iron would go away, but settling out of the suspension sounds reasonable. I thought I mixed it good, but who knows.

1 Like

Hmm… Not sure why some of my pictures are no longer loading. I guess my host is having issues.

Anyway, an additional treatment with the activator pretty much took away all that was cool in the above photos and started to develop lots of copper patina. The activator has copper salts and I suppose over-loading it with activator was the culprit. So I went back to the iron paint, this time to the unthinned bottle and mixed the heck out of it and painted it on again . It’s a lot thicker and left heavy brush marks, but rust began to bleed through from the layer below - so that is good. I applied what is now the fourth coat of the iron paint from the thinned bottle to smooth it out a bit. I haven’t looked at it since, so not sure where it’s at right now.

What I did do is read the instructions! Imagine that. I thought I remembered how to do it, but I think I have been over-treating with the activator. Instructions say to coat and let dry, then re-coat as needed. I was brushing everything that dripped off back to the top for about 15 minutes. Activator overload!

I have a few football games to watch today, so I may not get back to it. Go Bills!!!

1 Like

Looks like I got it figured out. Other than the heavy brush marks, this is the effect I was after…

I’ll tone down some of that with paint or a wash and then see what I can so with the “wood” parts and lamps.

I found some jewelry chain and chain hooks in my stash. Blackened them up with Jax followed by rust activator. The chain actually got a bit rusty. Opening those tiny links to attach the hooks is really tough. I got two done then quit for the night.

5 Likes

Looks great now (other than the brush strokes as you mentioned).

I hate to say this but I am glad you had these issues. I have some iron paint as well that I used for the sand shed two MIKs ago that I had every intention of using on my current MIK for the congregated roof. I will make sure I read the directions and also make sure I give it a good mixing.

As for the heavy brush strokes. Not that this helps you at this point, but I wonder if instead of brushing it on if stippling it on would give a good coating and not give brush stokes. Just thinking allowed here for when I go to use mine.

Thanks Devon. I’m pretty used to having to recover from problems, happens at work on almost every project. The latest being the boss got in 48’ of 2"x2" aluminum C-Channel that was supposed to be 2x2 square tubing. So I adapt, come up with a solution, and move forward.

Having to do a third and fourth coat of iron paint also helped give more texture to the frame parts.

On the bright side, the brush strokes tend to hide the steps in the boiler curve. I was going to use a foam brush, but forgot :frowning:

1 Like

I think I am finished distressing this model. I also started working on hold-down chains. Using cheap jewelry chain that was soaked in the rust activator and some Ozark hooks…

I toned down the really yellow spots with some Iron Acetate (steel wool dissolved in vinegar) and then tried to simulate lenses on the gauge, cab lamp and front lamp. Also tried to simulate some weathered wood on the end beams and seat top…

I’m calling this part done and moving on to the mounts on a flat.

1 Like

that is one very neglected loco :stuck_out_tongue_winking_eye:

I’m calling this one done. Thanks to Cliff for providing the print and my junk collection for providing all the rest of the materials.

2 Likes

Came out pretty darn nice. That scene just yells some compressed air loco was left in a wet damp mine tunnel for 80 years and then someone decided to donate it to a museum and now its loaded on a flat car and headed for its new home.

Yep - That’s the back story.

Well then I’d say you nailed it

Looks god Jon, a unique load for any railroad.

Well done, Jon. That will garner lots of questions from visitors to your RR.

For some reason I missed all the notifications for the last couple weeks… My mistake I’m sure.

But Jon, your loco looks amazing! Like Devon said, freshly hauled out of a mine (or reservoir!) after many years. Very convincing. I’m so glad you followed though with it, one way or another!

I’m also very glad to see so many entrants for the Mik Challenge, and all the correspondence over them!

In the meantime, I’m continuing my study of Sutro Tunnel “locomotives.” This is very out of sync with everything going at the moment here, but since I don’t know anyone else that might be interested than my LSC friends, I’ll share it anyway.

This “locomotive” was a hand-cranked hand-car, and drove an early carriage of visitors (potential investors) into the Tunnel in its very early stages of excavation.

It was named Emma Sutro, after the Adolph Sutro’s eldest daughter. This photo was taken in the early 1870’s.

Over a couple weeks of spare time (been snowed in!), here’s my model of the Emma.

Cheers,
Cliff

2 Likes

That is a 3D CAD model right? Not rendered in actual atoms.

Or am I underestimating you.

Hi Jim! Good to see ya!

Yes, just a 3d CAD model.

I’ve been looking all round for evidence of this ca 1870 handcar in patents, ad’s or the press, but can only find sort of near (but different) versions. I like this one because to change directions, all you had to do is stop and change seats. :wink:

Another shot…

I was tempted to put this on the Fun Foods thread, but, naah…

This 1.5 cup resin patty (of “brainz”, haha!) came out of the 1 gallon of alcohol I’m in the process of cleaning. Still working out the bugs, the stuff isn’t near clear yet. On the right is what I’m working on; the pickle jar on the left is what I did last weekend.

A process still in development…