Thanks all! It is a fun build so far. Trying not to rush through it…
Jim Rowson said:
Yes, Cliff. #14 wire. remove insulation and then slice it into narrow bits and put back on to simulate fittings.
So simple and so effective!
Beautifully executed, bravo!
To be clear, this was suggested by Rick Marty in his recent award winning Mik build that turned into the best-in-show at the NGRC.
Roger that, Jim. Bravo again!
And Rick, that’s just so elegant, sorry for missing your posts on that.
Jim Rowson said:
To be clear, this was suggested by Rick Marty in his recent award winning Mik build that turned into the best-in-show at the NGRC.
Yeah and what you are building will give his a run for the money!
Cast parts, thicker than pipe can be insulation bent around the corner for an elbow or as a T.
Shrink tubing can also be used this way…
You could make the pipes work if you really wanted to Jim …Just saying!
Thanks gents. John: I didn’t have any shrink tubing that would shrink far enough. I’ll need to see if I can get some the right size.
Haven’t done any small piping but like water pipe I use hollow styrene and insert a straightened paper clip which keeps the tubing from collapsing when bent then place under sized 2/56 nuts with the threads drilled out and cement in to place for joints, your project is looking is looking great as usual, Bill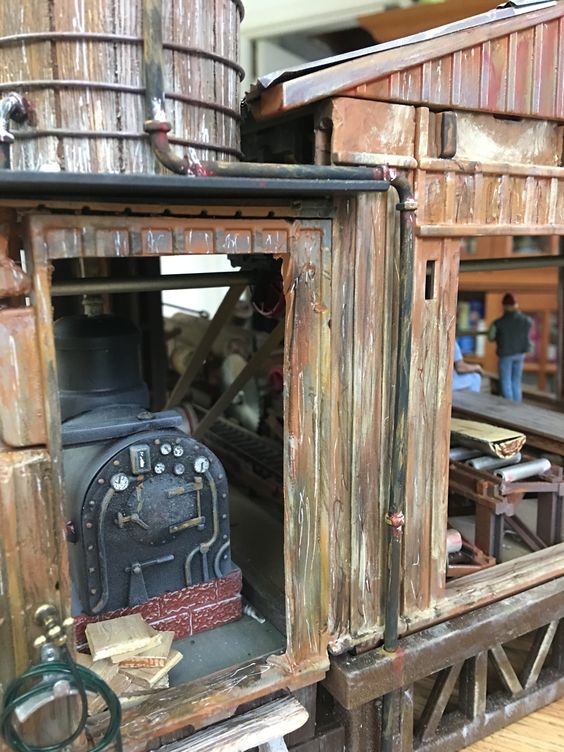
Nice technique, Bill. I will need to borrow that!
I assume you are using tweezers to handle those parts.
Here’s a simple method to true the tweezer’s grip.
Use a dremel cut off disc (they are thicker than some). While it’s spinning grab both sides with the tweezers, gently. The separating disc will grind both faces parallel to each other for a sure pick up. Clean off any flash and you’re good to go.
Nice idea John!
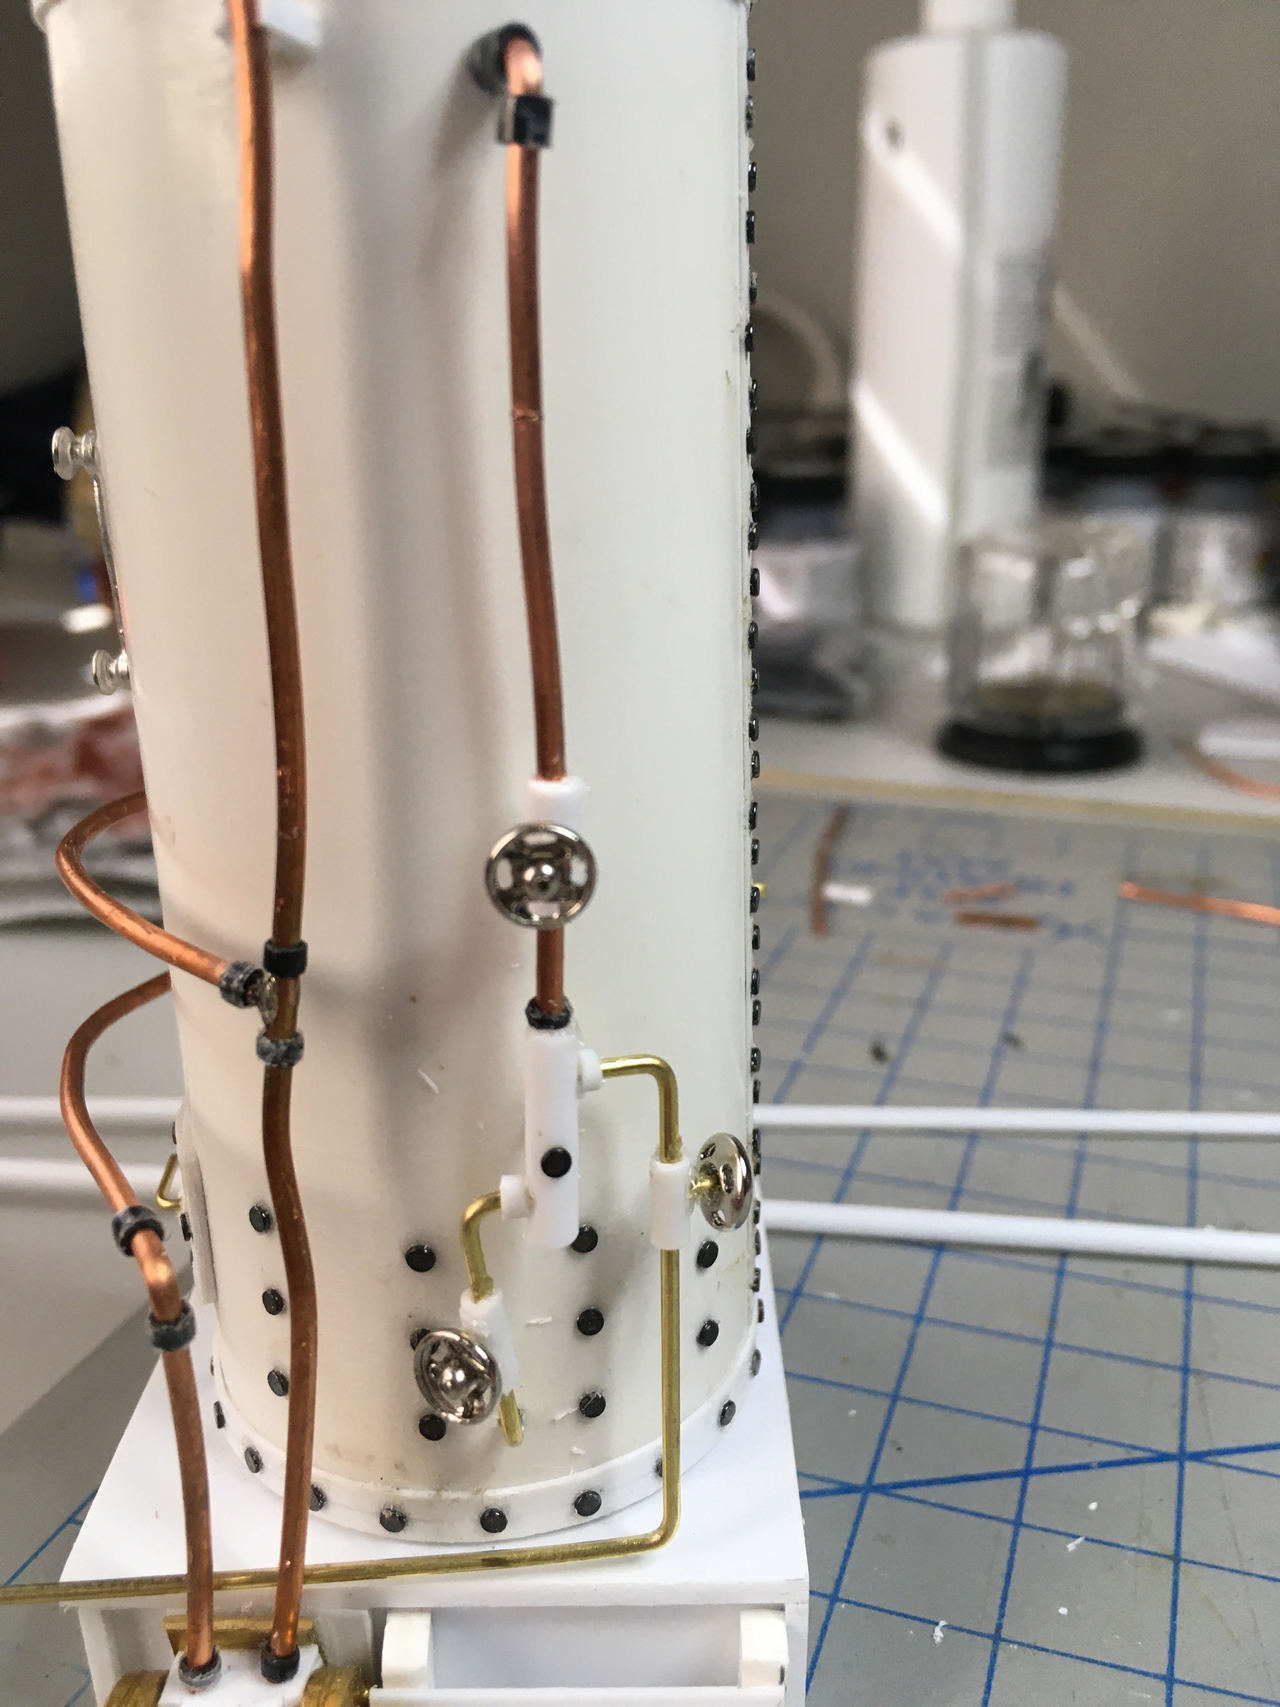
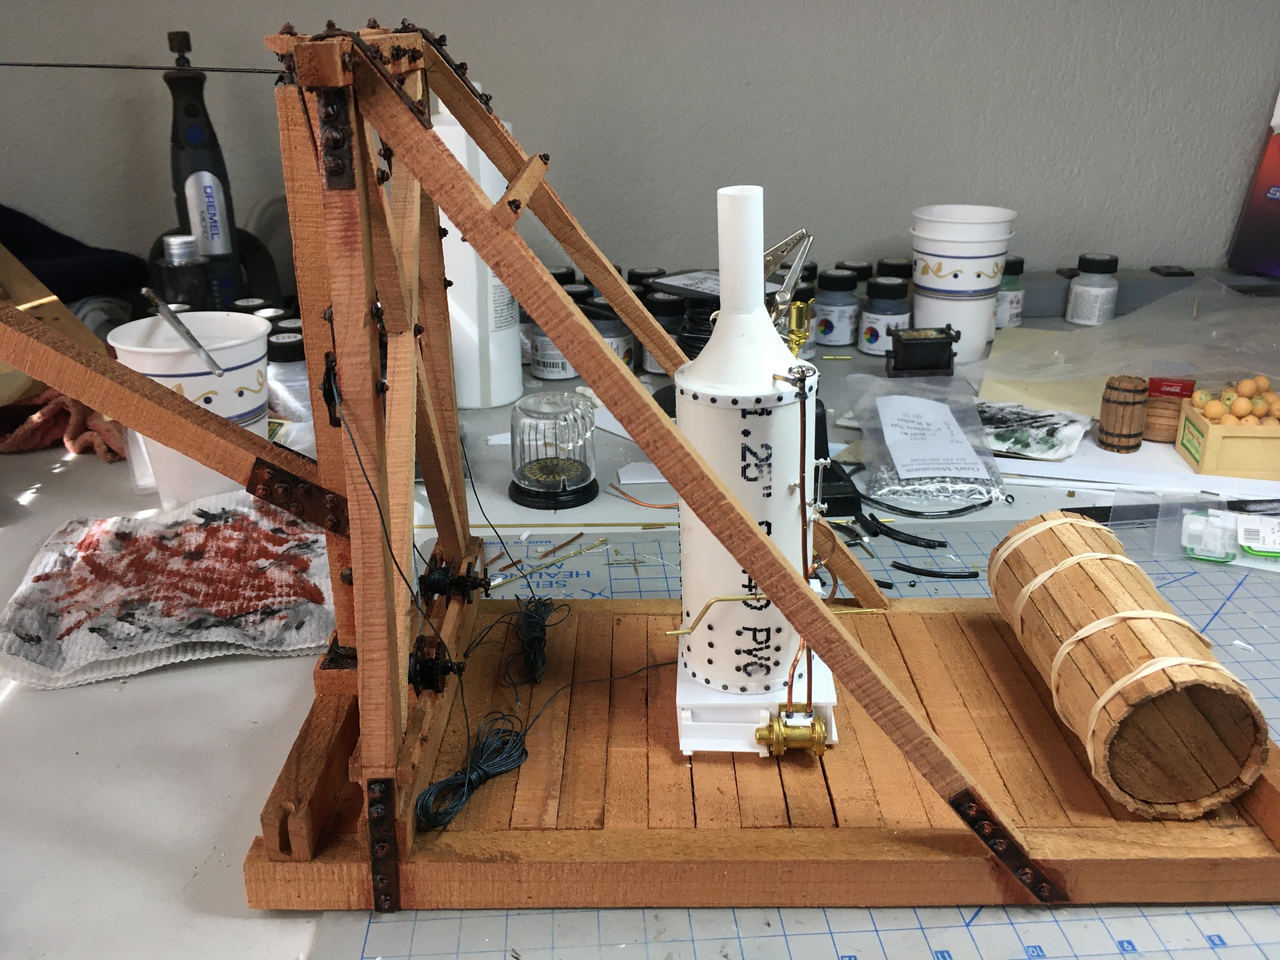
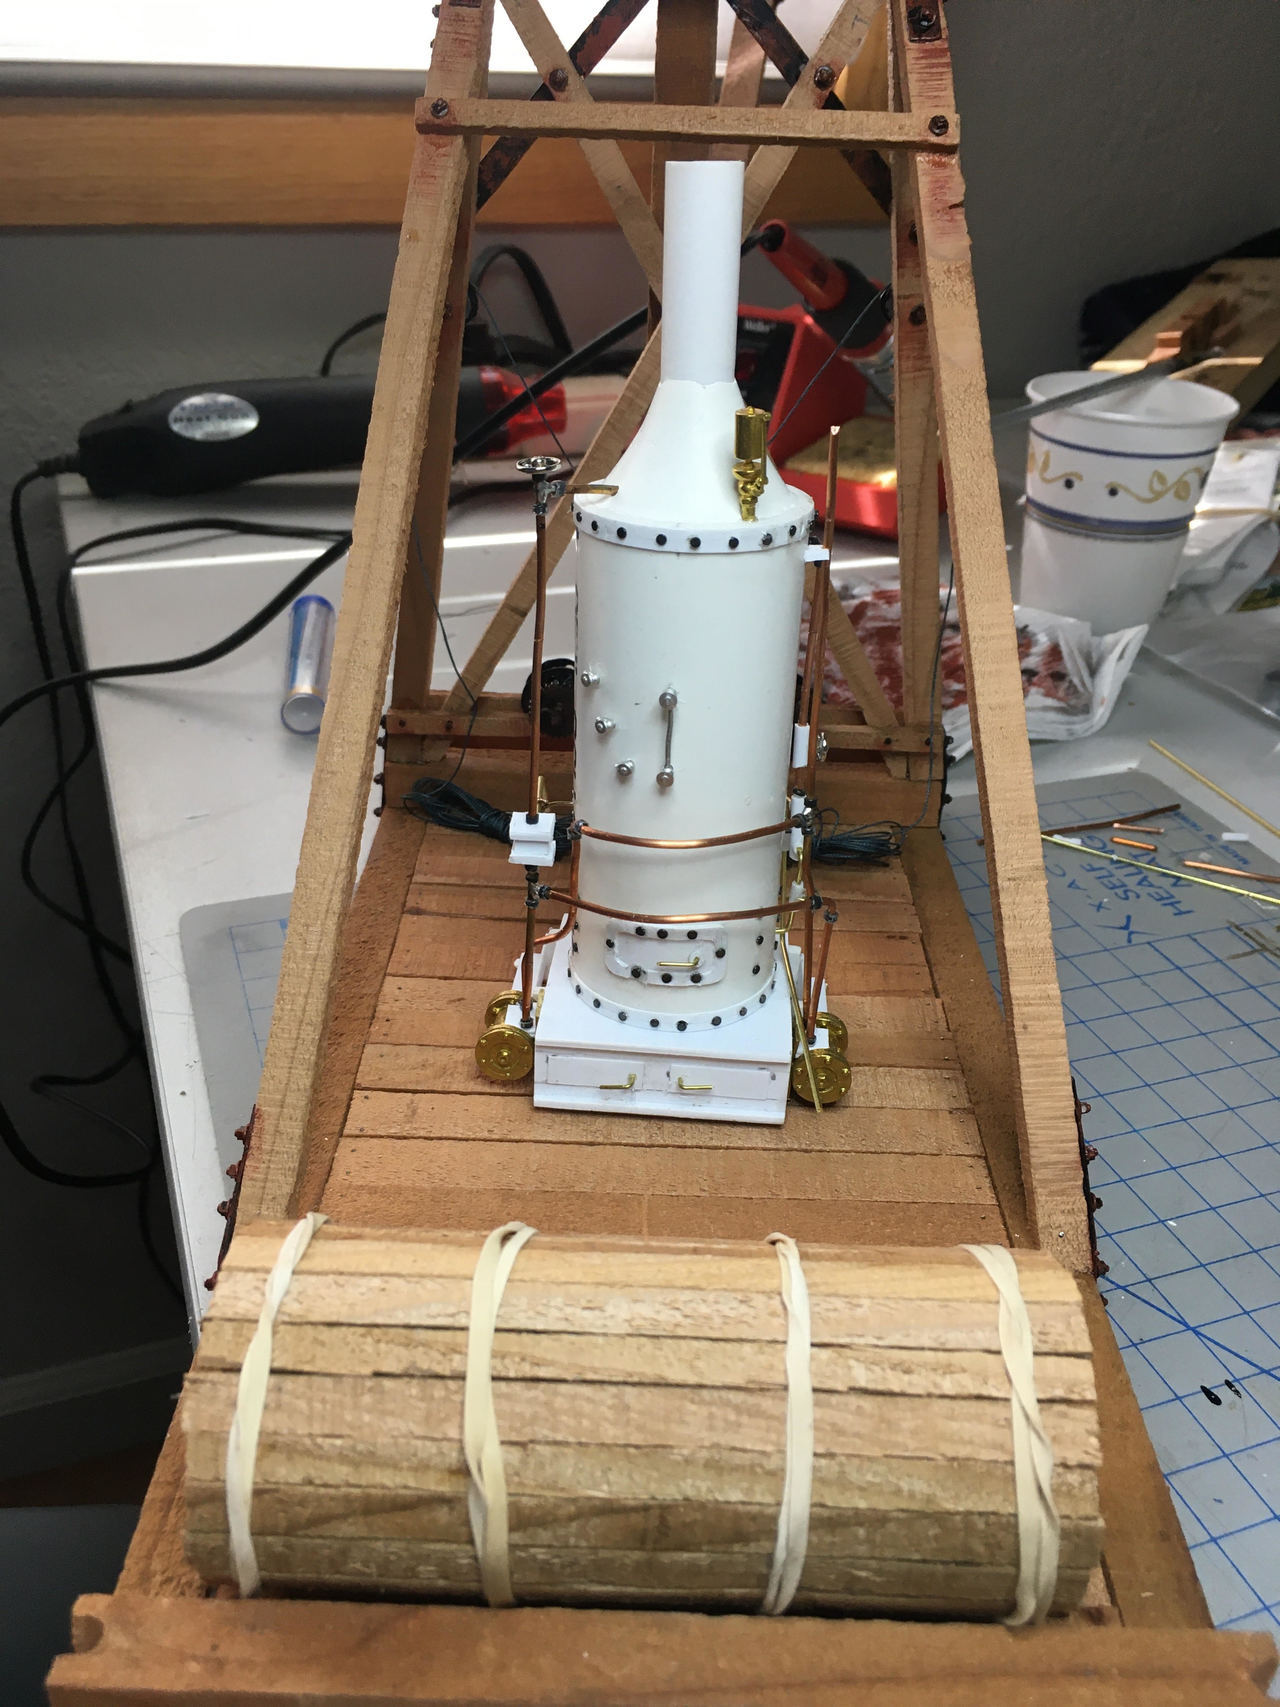
It’s Friday so I must have way too many photos to show of the tiny amount I got done today :-). Today was spent trying to get the rest of the piping on the steam engine in place, ready to paint. There are 3 basic sets of pipes: steam input to drive pistons, exhaust from drive pistons, and water fill. The bulk of the first 2 were done-ish last week, so I finished tying those off and worked on the water fill.
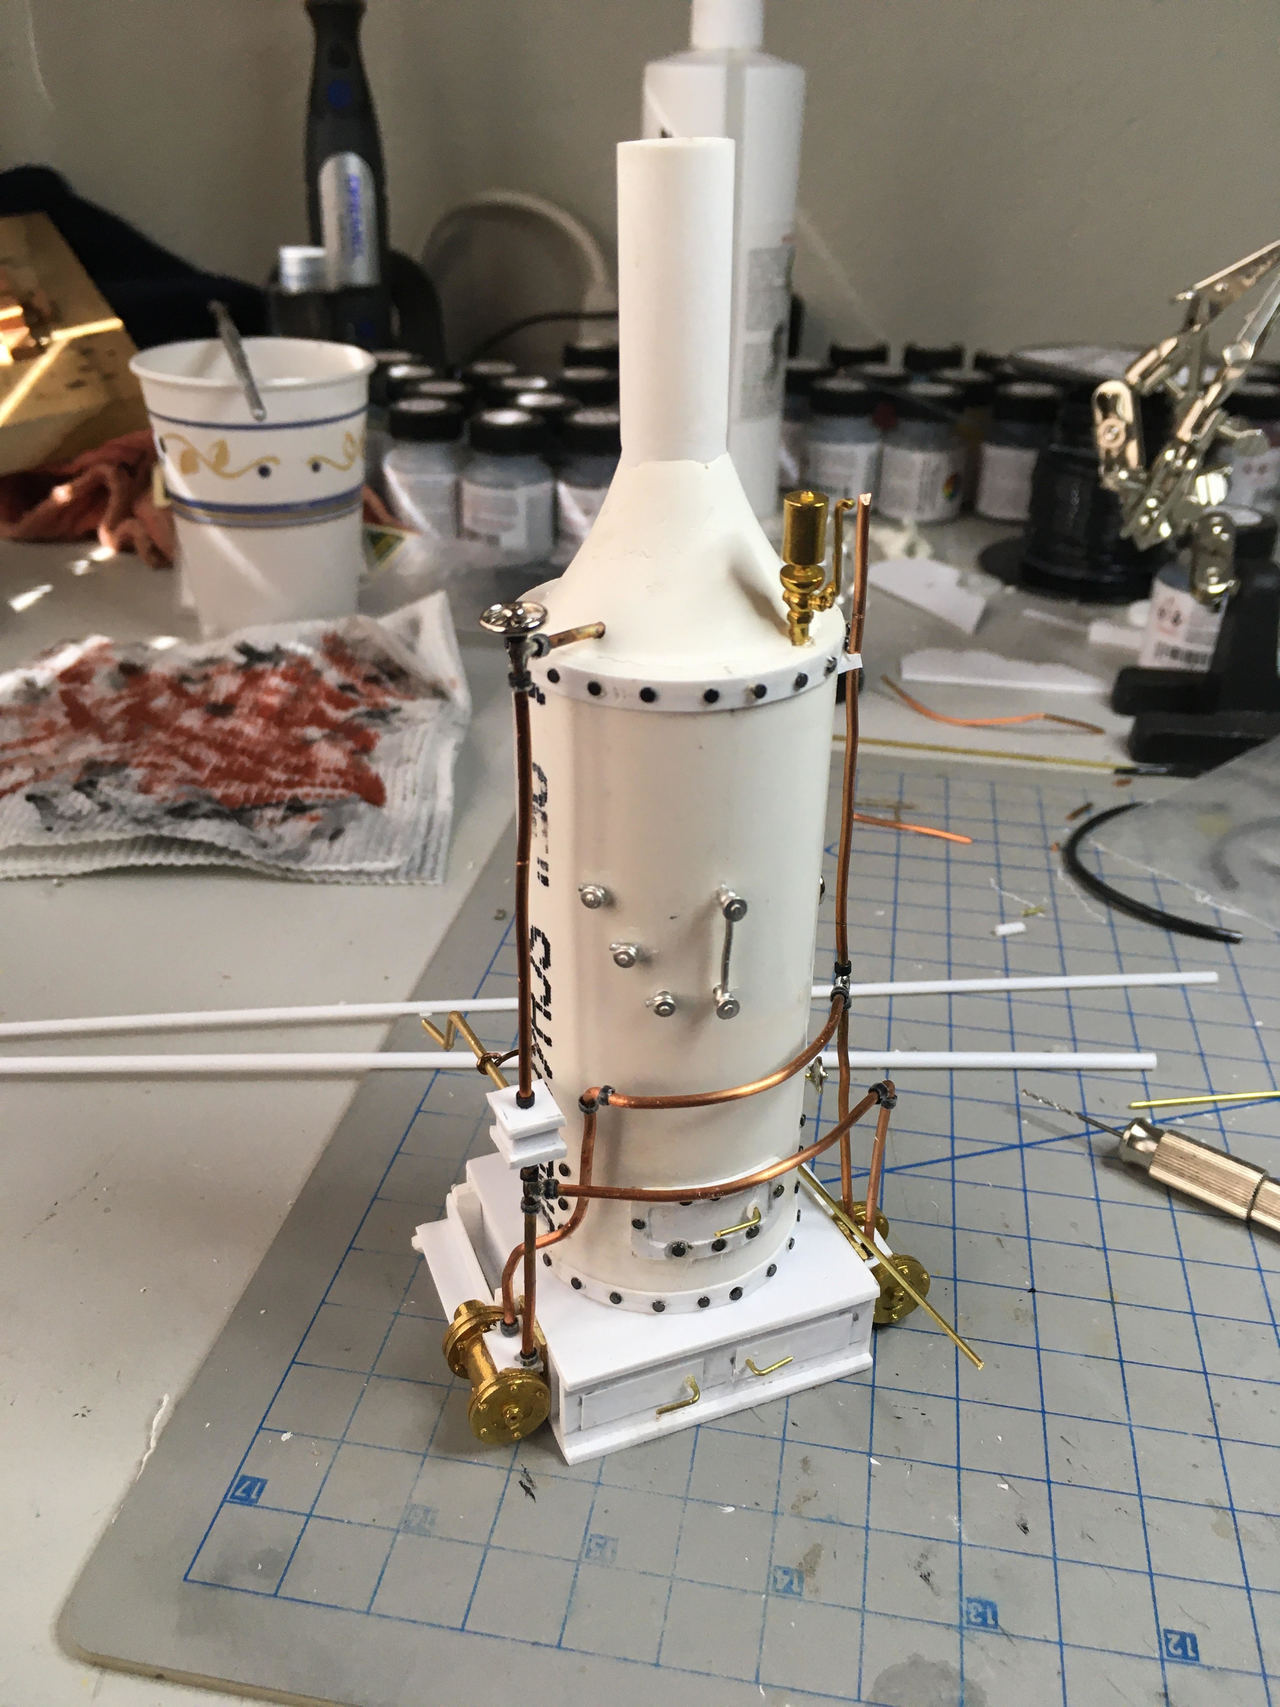
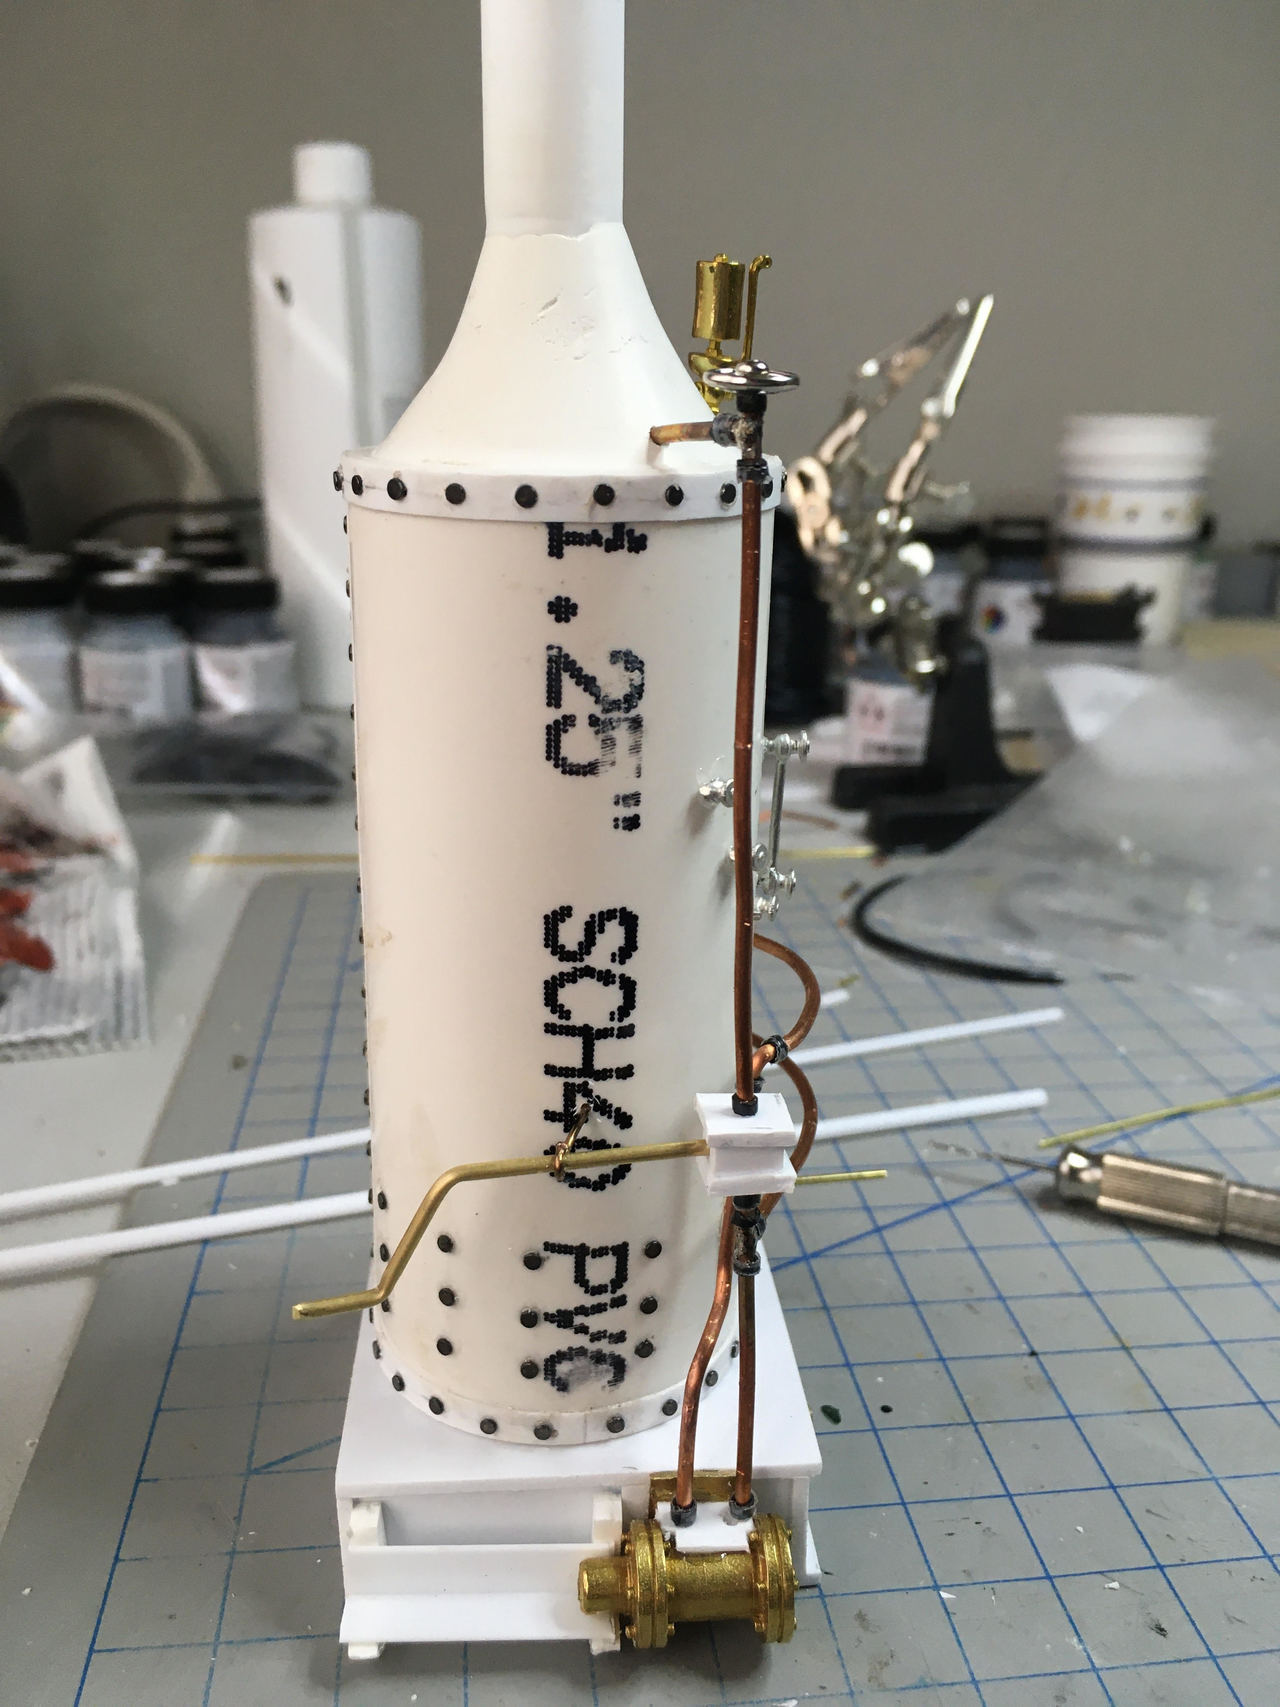
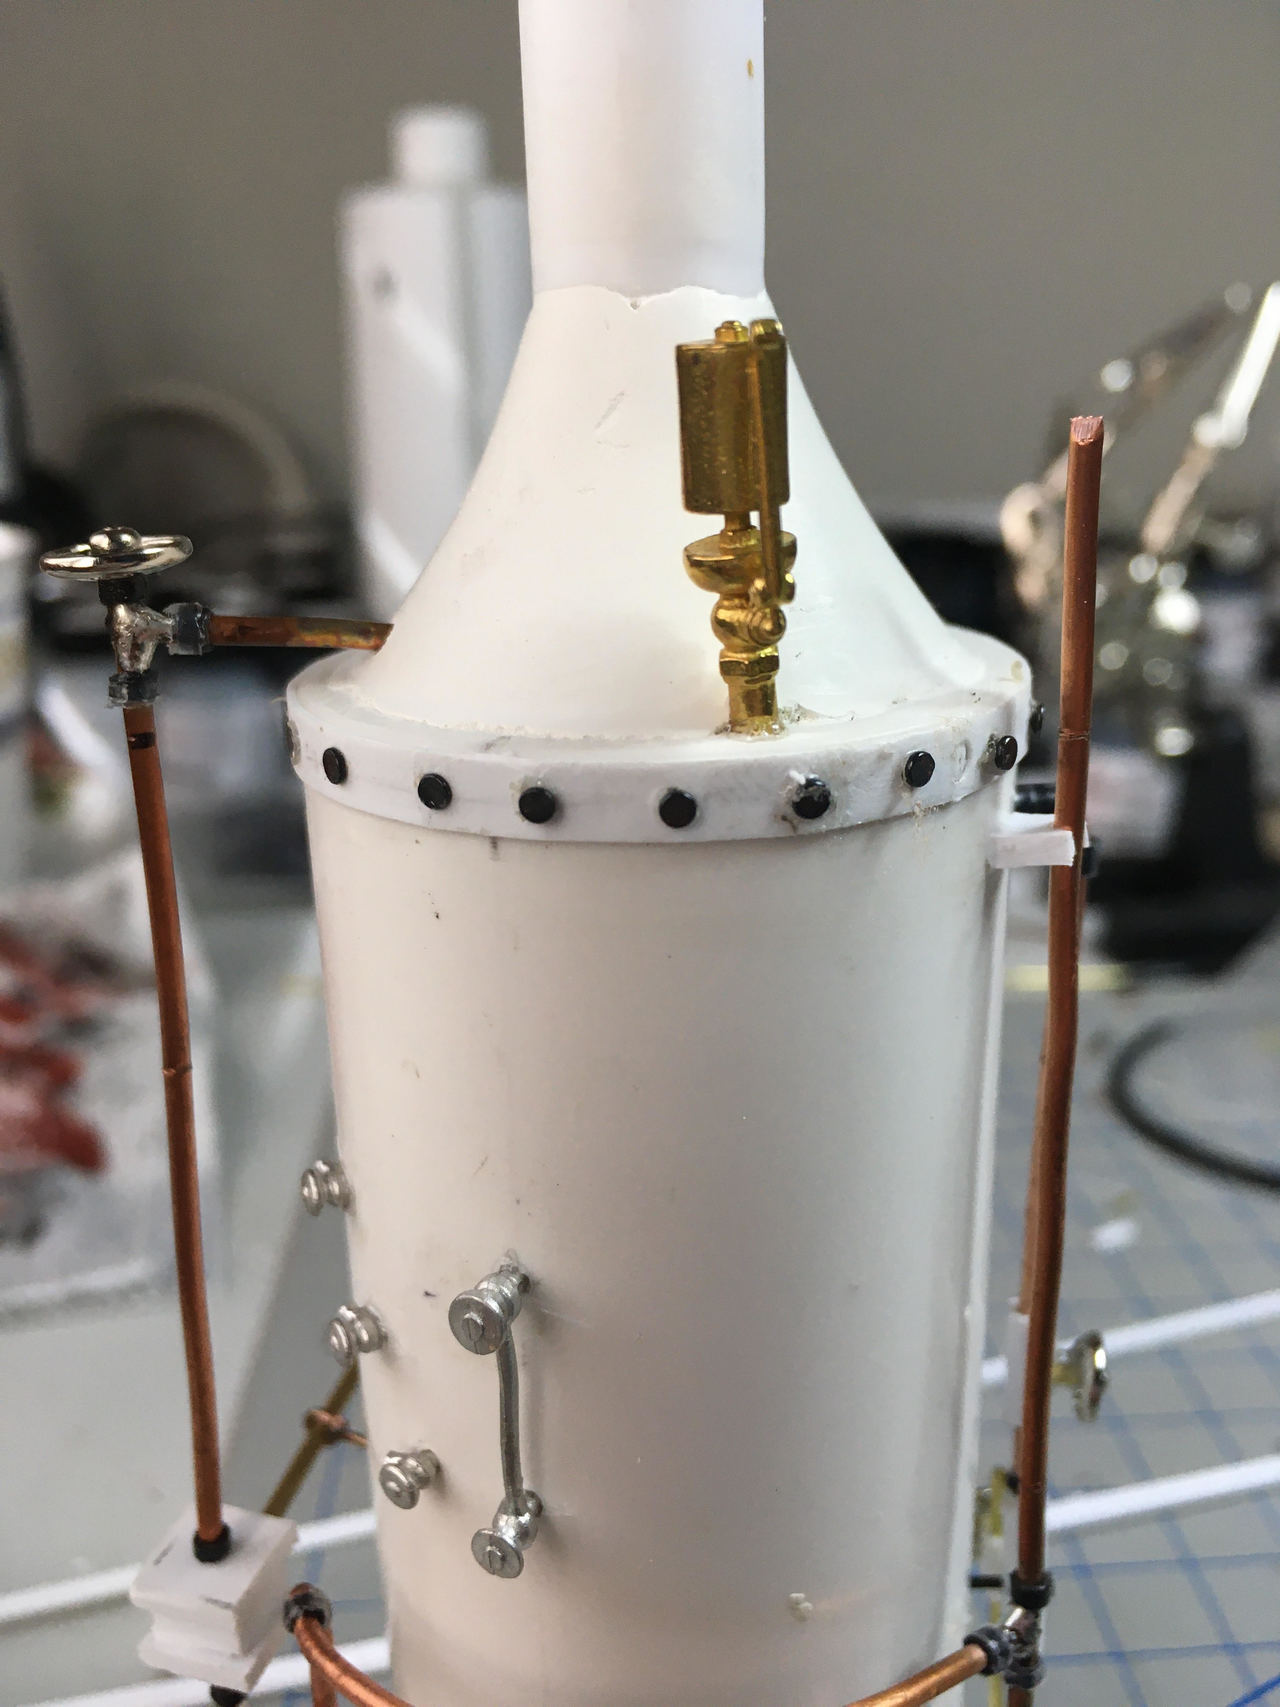
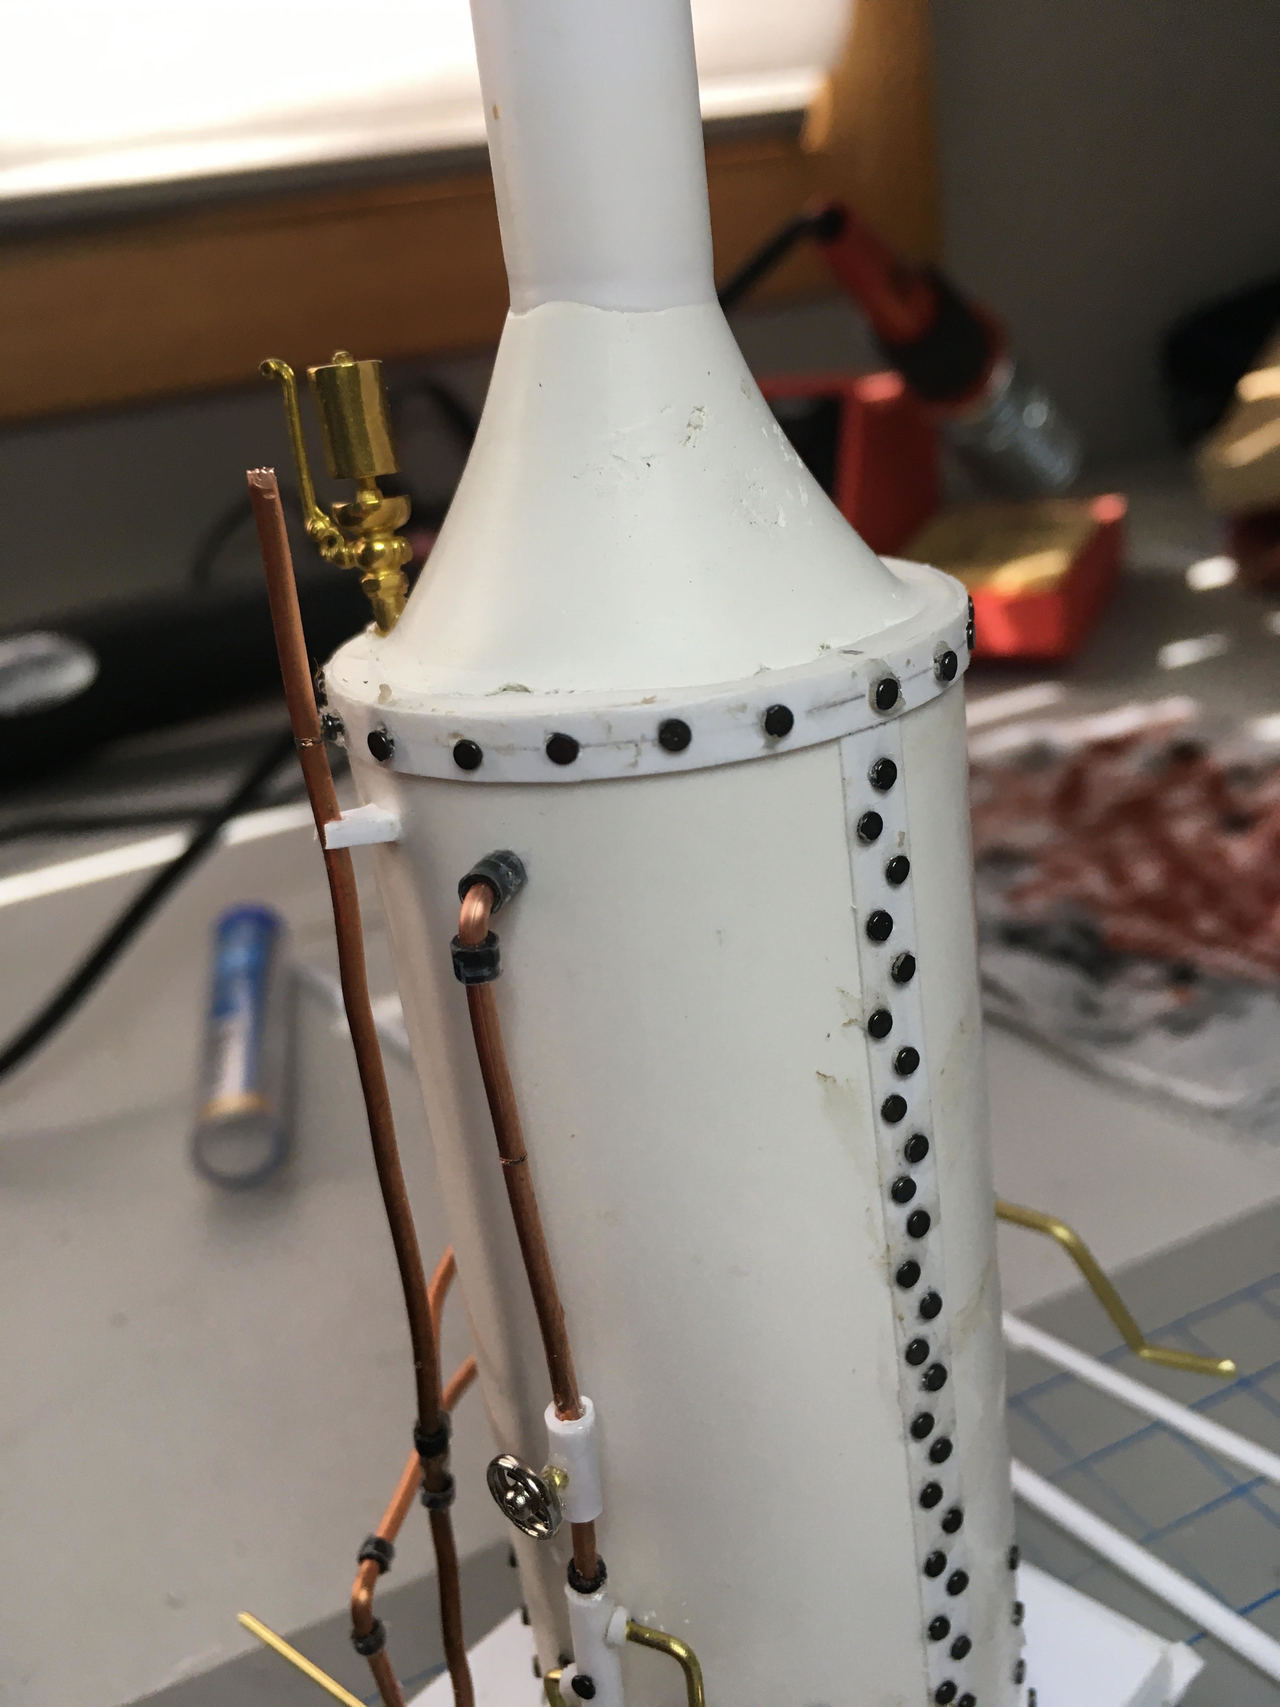
This is the water fill (copied blatantly from Rick Marty’s 2019 Mik build):
And just for context, here it is sitting in place on the rest of the loader:
Cheers!
Nice work Jim !
Really nice!
Whistle and cylinders from… Trackside Details?
Snaps for valve handles?
Excellent work!!
Thanks Cliff. Yes you got all that right: Trackside Details and snaps. Next up is the drum assembly.
For a first time pipe fitter I’m not terribly disappointed, but I guess I need to make a few of these to get good at it. Luckily (?) I need to build at least one more for a log skidding donkey. Oh yeah, I’ll need to do something for my stamp mill and sawmill. So by the time I get done with all that, I may actually be doing ok… 
Cheers!
Jim
You are using some very nice modeling ideas, Thanks for giving us some good ideas.
Wonderful modeling.
Dennis
Jim, you could probably now pass the modeler’s Master Pipe Fitting test (http://www.largescalecentral.com/externals/tinymce/plugins/emoticons/img/smiley-wink.gif)Very nice details on the engine plumbing.
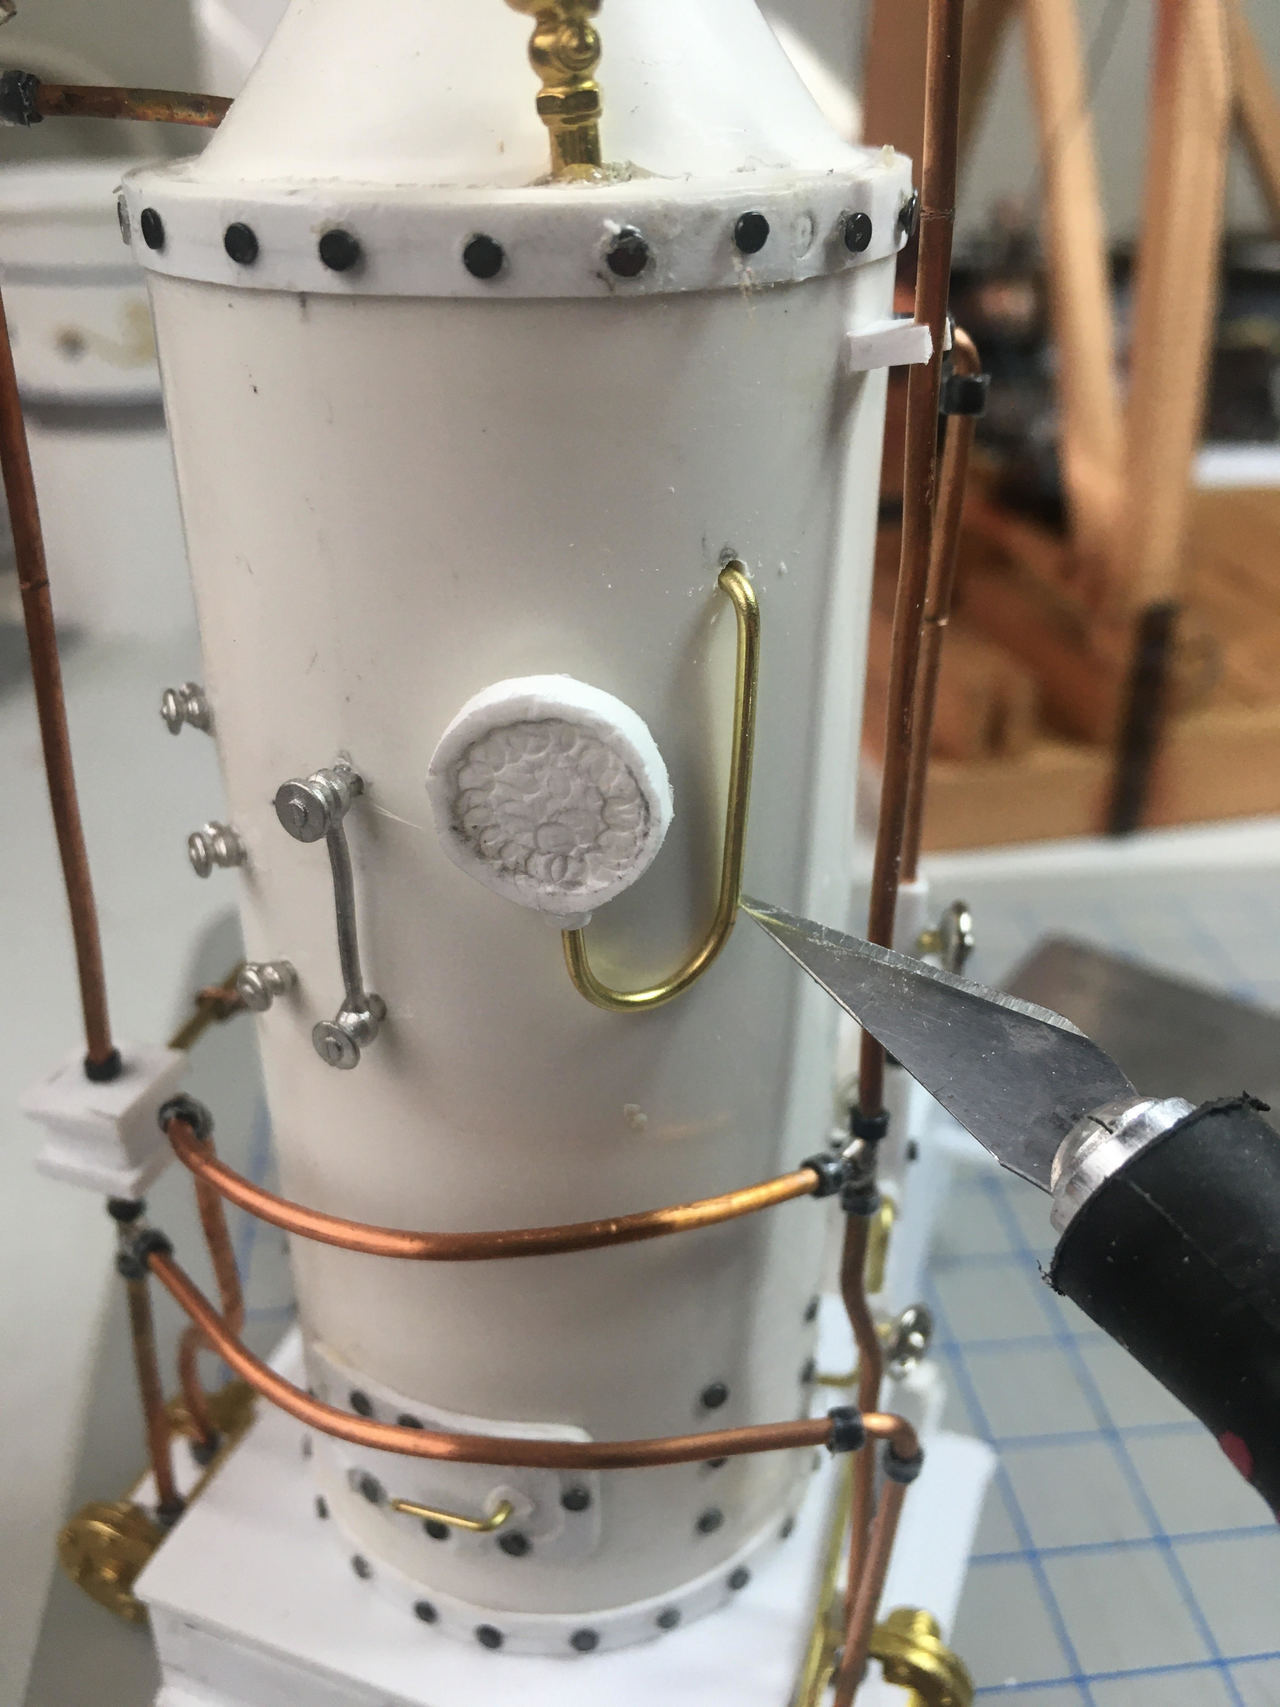
A smidgeon of progress today, working on the drum assembly, and adding a pressure gauge…
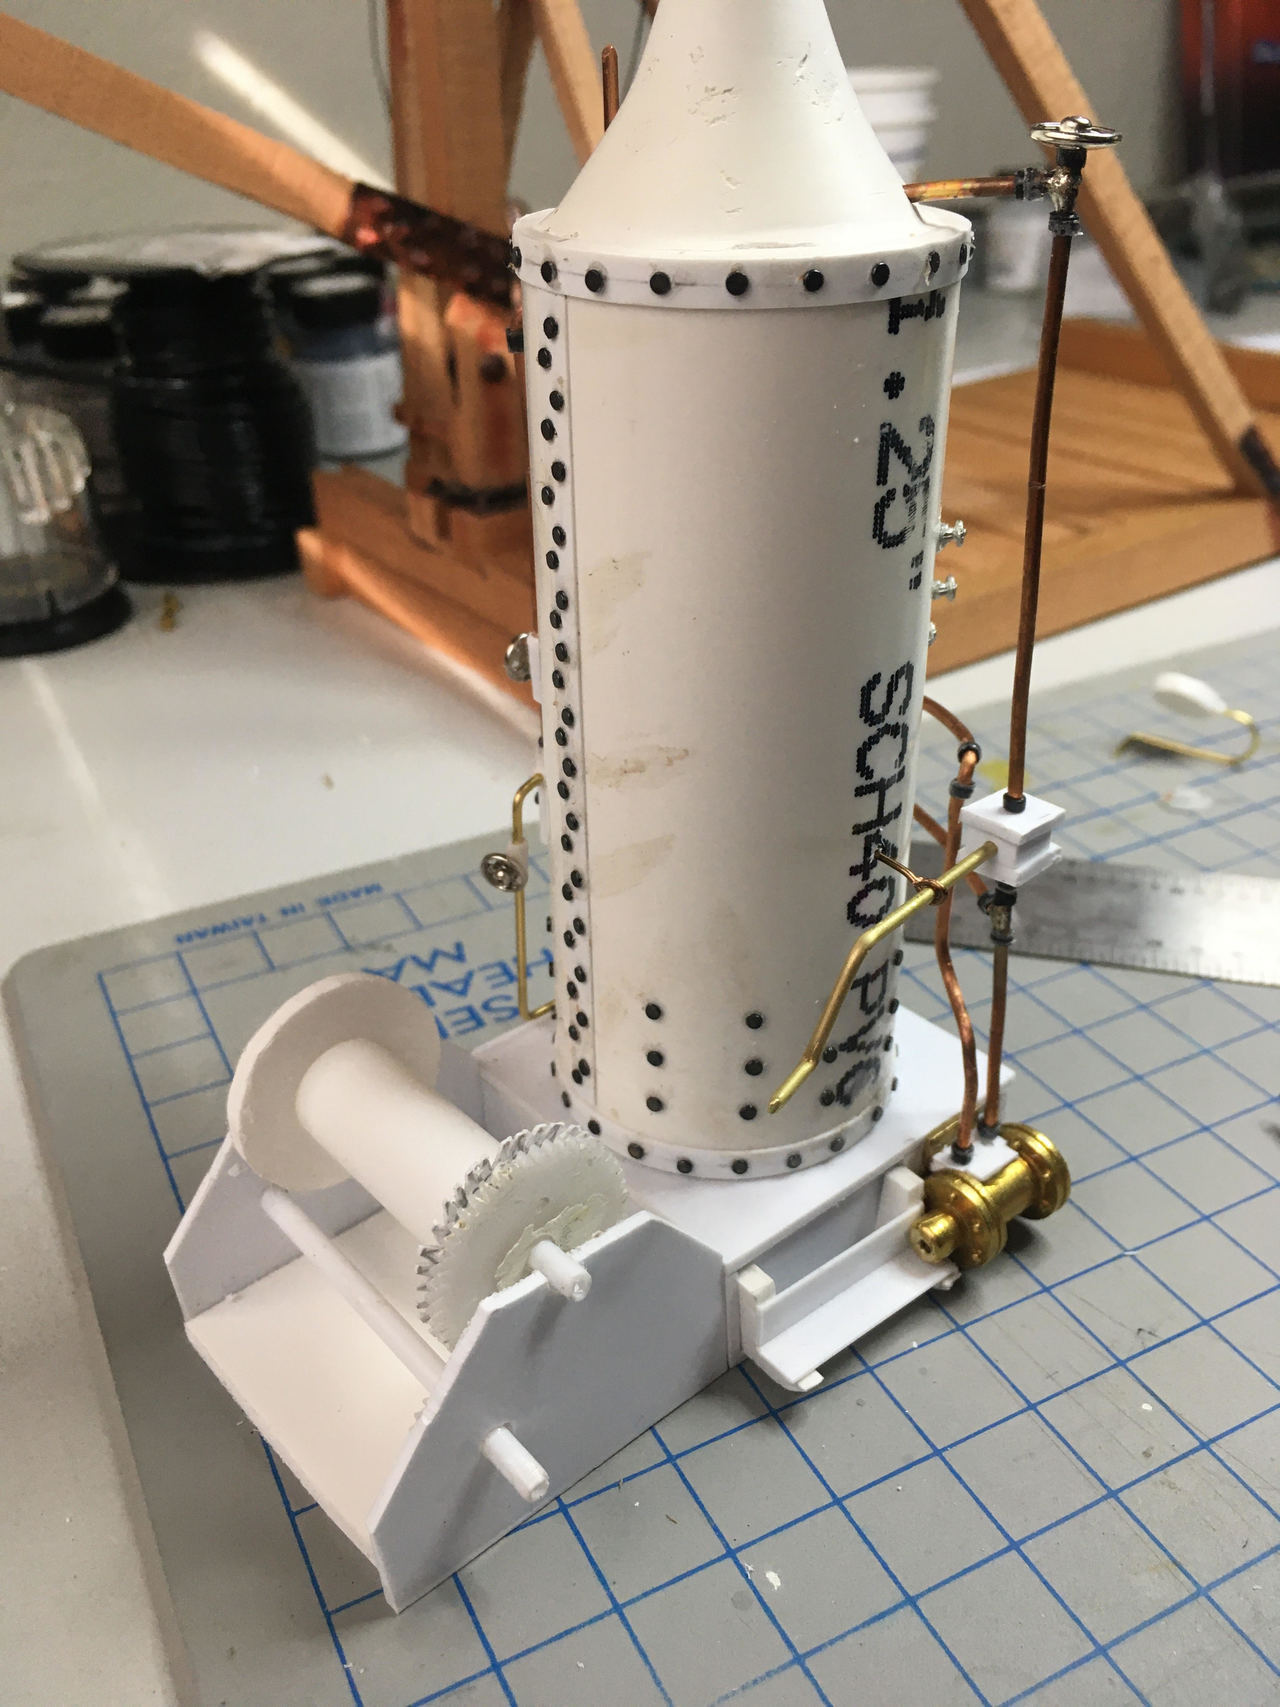
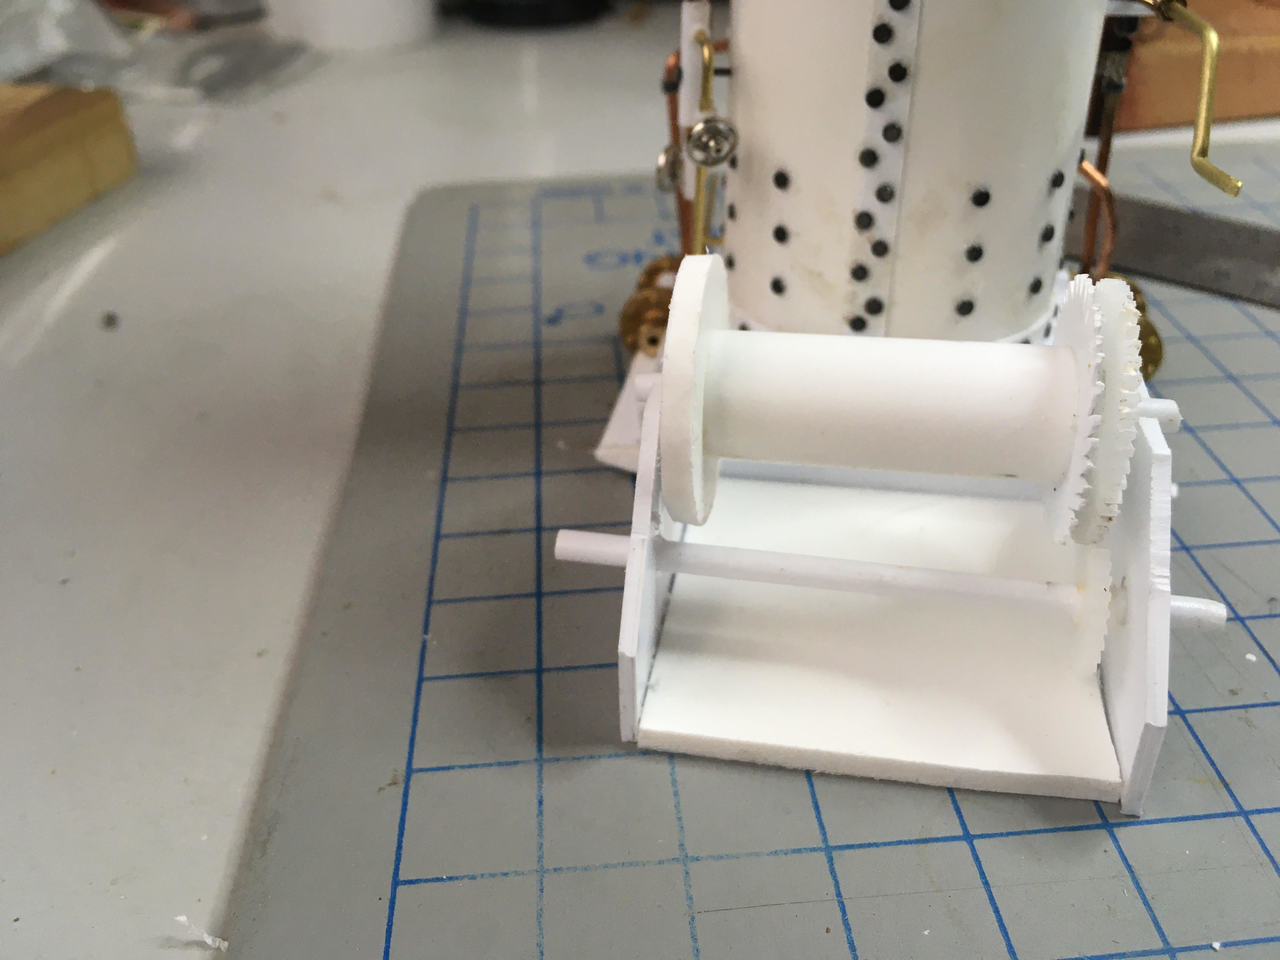
And the gauge (will put a decal on top of this with the gauge graphic):
This is looking so cool, thanks for the progress updates Jim!
Though I look forward to seeing your model in all its finished glory, it’s very informative and entertaining to see how you will have gotten there, because I wouldn’t have been able to guess.
Coming along nicely Jim.