Large Scale Central

Structure Lighting Project

Thanks! The true spirit of Mik right there (http://www.largescalecentral.com/externals/tinymce/plugins/emoticons/img/smiley-sealed.gif)

@ Doug - I bought a bag of 100 12V Grain of Wheat bulbs on Amazon Prime for about $15. I also bought a bag of male/female plugs on leads that I’ll use for quick disconnects. The LED’s I used are all from a recycled sign. Powering all with 5 Amp 12 Volt supply. So far I’m pulling about 1.5A including some Aristo bumpers I forgot had bulbs in them.

Today I worked on getting the power finished up. Previously I just had the output of the supply connected to the track with test leads. Today I spent a few hours trying to re-learn my old track / block power set up; reconnecting wires I had lifted when doing track work and putting insulators back in the wye. I now have constant 12VDC everywhere there is track and most of the block switches are still in place, so I could use that to selectively light areas.

Next up is my Aristo switch tower, then the engine house. Hope to get a few of these Chama Lights built and placed.
Got the switch tower converted last night and planted this evening. I opted for the stock bright white LED assuming that the railroad has modernized the lighting. I did leave the socket for the t-1.75 bulb wired up. I can add a 14V bulb at a later date and choose between the warm incandescent or the bright LED using the Lights and Smoke switches, The smoke generator has been gone for a long time. I used the smoke wires for an LED and attached it using heat shrink tubing to the stub for the second socket that Aristo never used…

Test illumination…

Got it planted outdoors this evening. Unfortunately I didn’t scope out how I was going to wire it in before I made up the cable. If I had I would have chosen black heat shrink to bind the wires together (http://www.largescalecentral.com/externals/tinymce/plugins/emoticons/img/smiley-surprised.gif)

I started using male/female plugs in the power wires to make removing the structure for service easier. I left this plug above ground to keep it from corroding. I may move it into the tool box in the future…

And finally, a night shot. Taken with my cheapie point-and-shoot. I’ll take some good quality pics with the DSLR after Trainops…

Ahh the sweet glow of success.

Da…darn, the yardmaster needs to wear sunglasses.

Playing around with some more ideas using junk on-hand. I have a few old-school Red LED sign modules. Looking at them I thought they might just fit in an aluminum U channel for use as a ‘signal’. Not a cool operating signal like what Bob is doing, but just some more stuff to light up at night. Here is the junk I gathered together…

The LED module fits perfectly in the channel…

I cut the PVC tubing on my big miter saw because I was getting poor results with a razor saw. The challenge was finding where the parts flew off to after the cut. These are a few of the rejects showing how they just fit over the LEDs protruding from the module…

Finished the face and top with some styrene then painted it at work today…

The center shade was added because the top and bottom seemed too far apart, There is no LED in the middle shade, it’s just a dummy. The signal and the shades don’t scale out very well, but this is just a quick-and-dirty way to add some more light interest to the outdoor layout. It throws a ton of red light…

What , No Green? never get anywhere that way always sitting and waiting

Pete Lassen said:

What , No Green? never get anywhere that way always sitting and waiting

The Candlewood Valley Scenic is on a very low budget. We can’t afford to replace the bulb in the green head. Thus crews have been advised to interpret a lack of red as a green signal. (https://www.largescalecentral.com/externals/tinymce/plugins/emoticons/img/smiley-surprised.gif)

well I see no problems with that scenario ever popping up.

Being that small you probably know where the rest of the trains are in your system

Found object modeling, gotta love it!

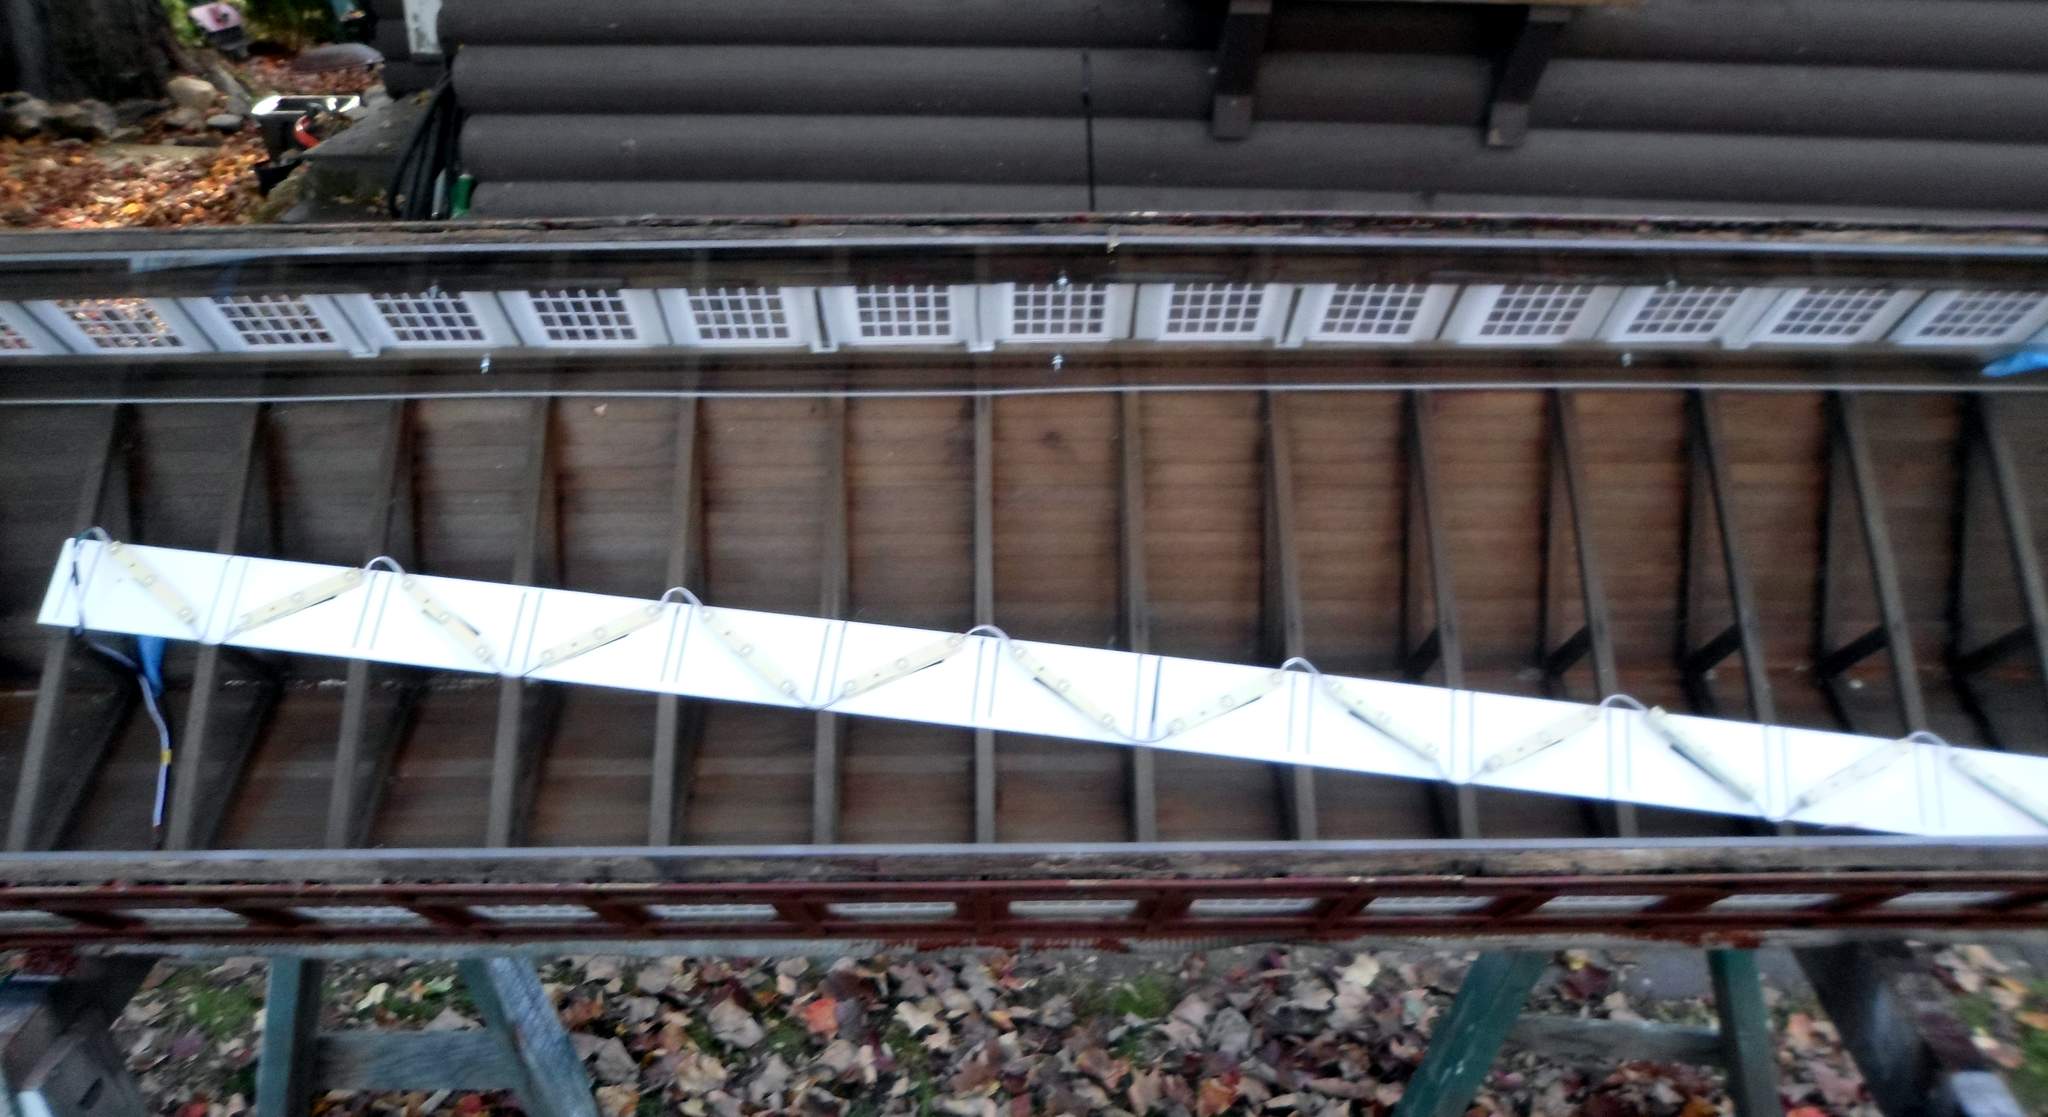
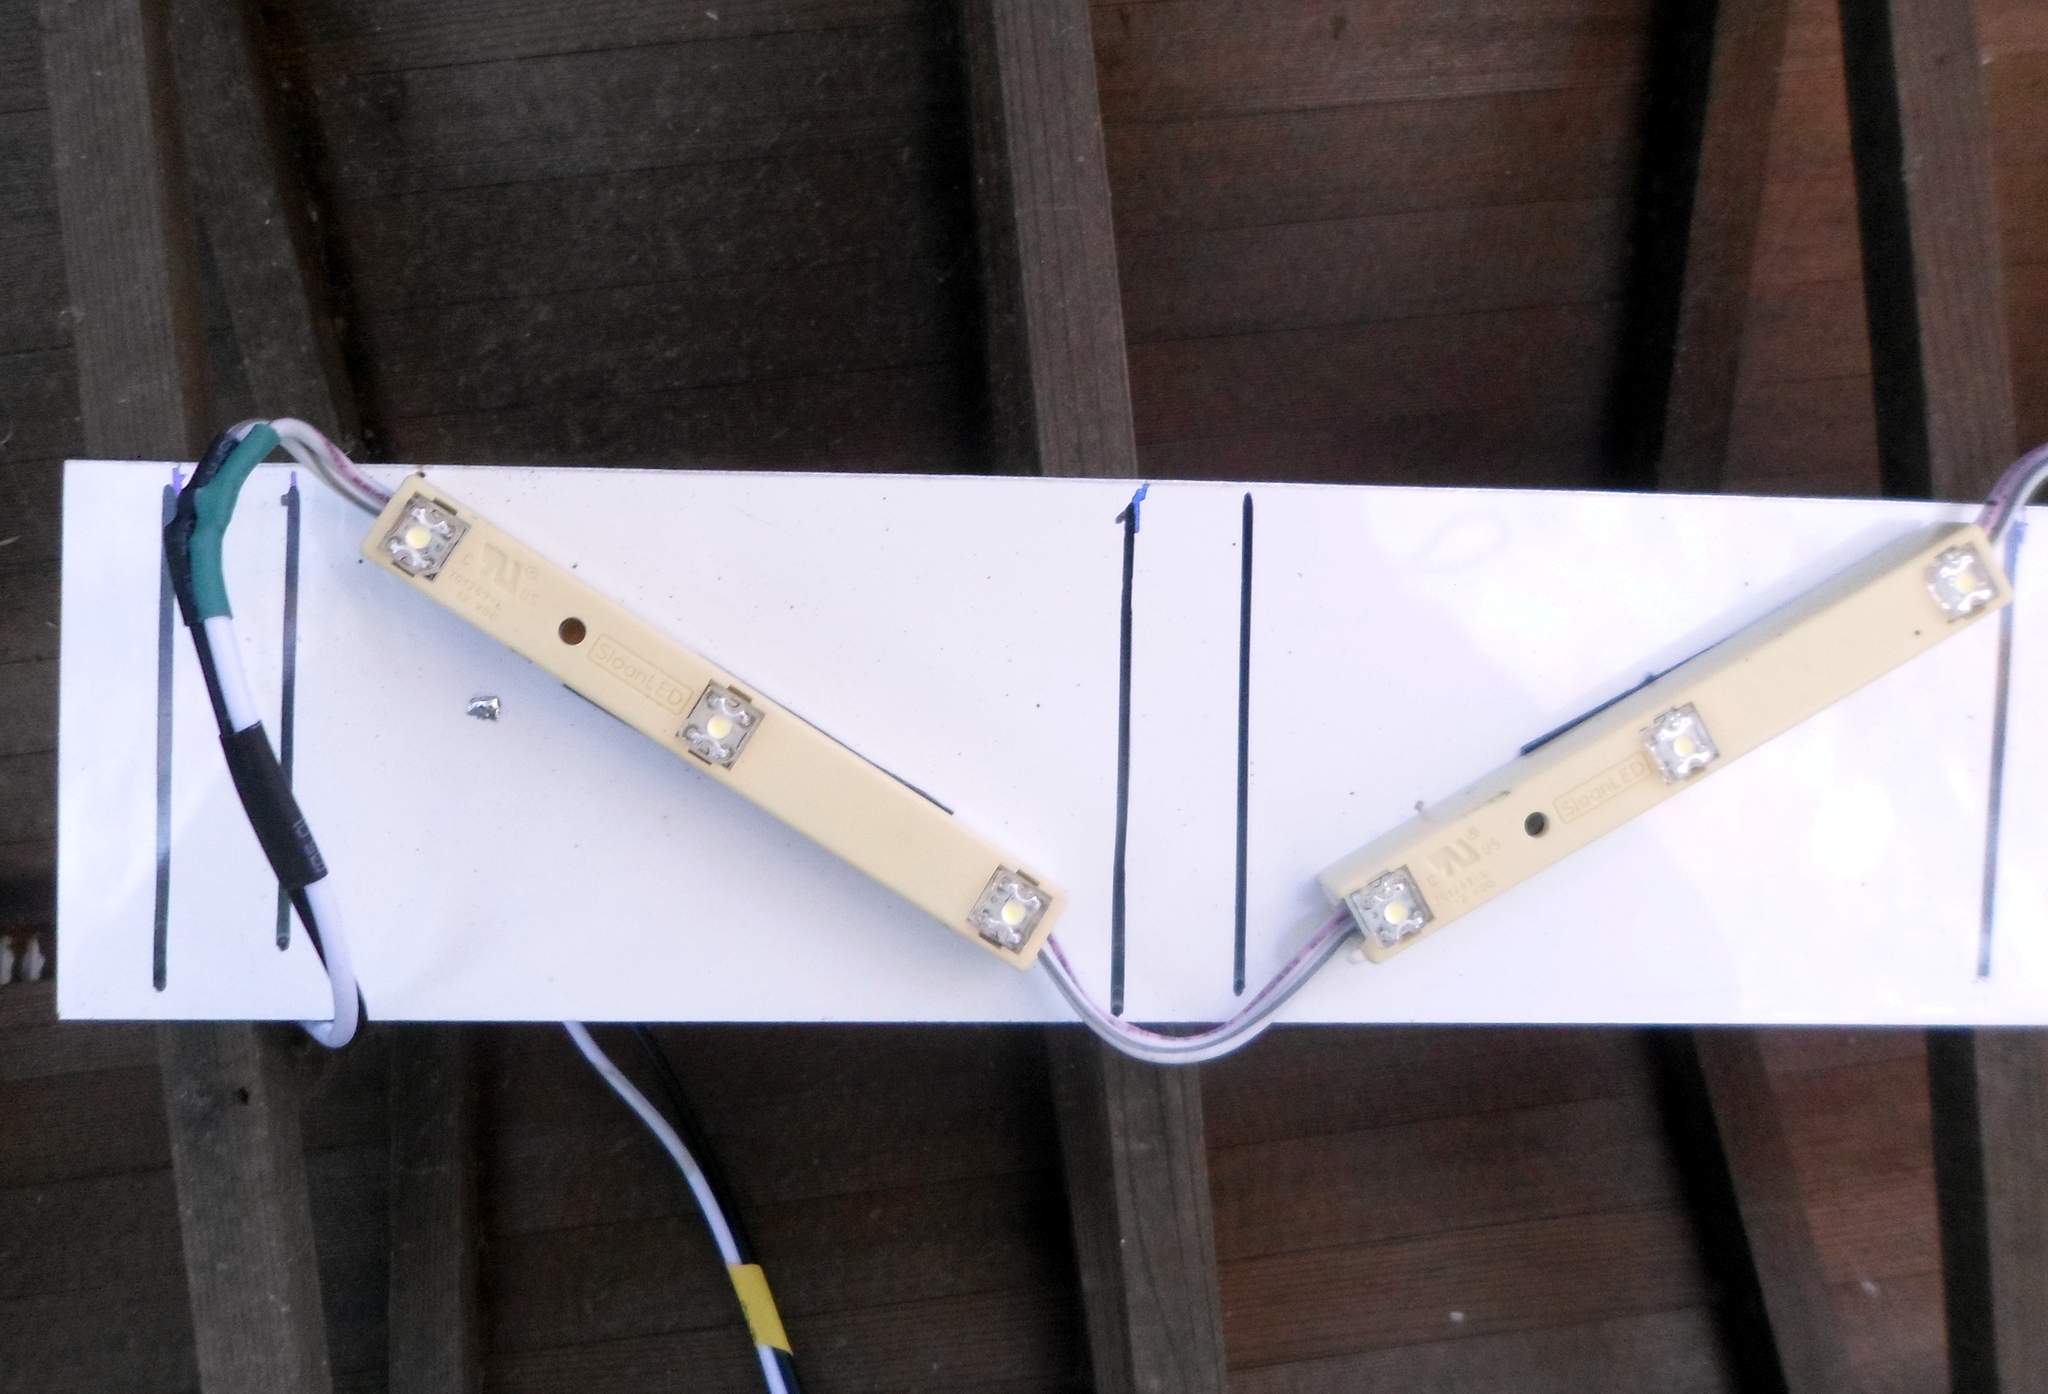
I finalized and executed most of the plan for lightning in my former Engine House. For more detail check out the Engine House Stabilization thread if you haven’t seen it. A few weeks ago I fabricated a light strip using ancient sign modules and scrap .040 painted aluminum…

The strip was installed with the LEDs pointing up along the roof truss…

Two more strips of scrap .040 painted aluminum were coated with orange and gold vinyl. These will be used to alter the reflected color of the LEDs. For some reason the gold vinyl shows up as green in these photos…

Tomorrow if I can sneak in some time for this project I’ll install the reflectors and a power tap on the track.

I finished the Engine House by installing the reflectors inside the roof today…

Powered up the LED strip with a battery pack…

And as dusk fell I took a shot of the results…

Works for me (https://www.largescalecentral.com/externals/tinymce/plugins/emoticons/img/smiley-cool.gif)

Really cool, Jon. So nice you could re-purpose that building - it sure makes for a fine addition to your railway.

Took advantage of a rainy day to get in some shop time. Made up some track power taps to power the signal and the engine house…

I use old Hillman clamps, ring terminals and some 2-pin connectors so things are removable…

Next up was changing the bulb in an Aristo bumper from 16-18V to 12V. My lighting system is all 12V and the bumpers were lit, but very dim. Now they might be too bright! Here is one in-progress…

The bumpers led me to thinking about lighting the switch stand lanterns. Here is an experiment in progress…

Morning Jon,

Just reread this whole thread. What a great project! I can’t wait to see some Winter scenes with a coating of white on the buildings. Should be a very impressive photo. Your photography and documentation is really outstanding.

Thanks Ric (https://www.largescalecentral.com/externals/tinymce/plugins/emoticons/img/smiley-smile.gif)We will have to see how the system behaves with snow. My experience with rain has not been good. The stone dust ballast when wet will leak power which the power supply senses as an overload and shuts down. Once things dry out it goes back to normal. I finished up the bumpers and one switch sand last evening. I’ll try and get some shots of them tonight.

Dang it gets dark and cold early now (https://www.largescalecentral.com/externals/tinymce/plugins/emoticons/img/smiley-cry.gif)I did manage to get the power taps installed for the Engine House and the fake signal back-filling in the dark. After the Trick-or-Treat crowd thinned out I powered them up and just had to get out the tripod and take some long exposure shots. It was too cold to stay out long and get lots of angles, but these three came out OK and are pretty good representations of the brightness and color.

Ambient light was provided by my side porch lamp…

I need to get some cars inside and take some lower angle shots at night. Won’t be as much fun as my Night Photo Shoot in June, but still satisfying to see how nice this turned out.

Real Nice, Jon… (http://www.largescalecentral.com/externals/tinymce/plugins/emoticons/img/smiley-cool.gif)

Beautiful work Jon!!

OOOHHH !!! Nice and soft. Really nice effect Jon. Hey maybe coat the connections with a thin layer of liquid rubber so the damp won’t give the impression of a short. (https://www.largescalecentral.com/externals/tinymce/plugins/emoticons/img/smiley-cool.gif)

Looks great Jon.

Should there be an engine in the engine house with engine crew hard at work? Hah!

Tonight we will get to the high 30s. I don’t want to guess what your temps will be!