Large Scale Central

Stabilizing the Engine House

David Maynard said:

Yea, as I recall from my cow tipping youth, cows aren’t all that graceful.

I did cow tipping, some 43 years ago. Had mad cow guilt ever since. But now that I know others did it, I feel so released!

Jon, I’m just reading your thread. WONDERFUL job! I was all ready to sign up for modeling your star bolts, but then I read you didn’t need them.

But great work regardless, so carry on Sir!

===>Cliffy

Jon great rebuild it is quite stately. It also reminds me of a trolley car barn in North Bennington ,Vt. For your next light project I see Harbor Freight has solar rope lights.

Thanks for the rebuild

Richard

" Rooster " said:

…?

Please stop discussing weeding as that is for the gardening section!

Did someone say weed? That’s not legal out there in Connecticut.

Man, am I late to the party…what the heck why have I missed this? Looks like you turned a rickety old gift into a great build for your railroad. Very artistic and authentic use of color, and it looks like it will hold up outside there for years. Nice job and thanks for taking pictures along the way.

Weeding? Isn’t that for the “other hobbies” forum?

When I was in tech school, I had a friend who was real into weeding. I think he up for parole next year.

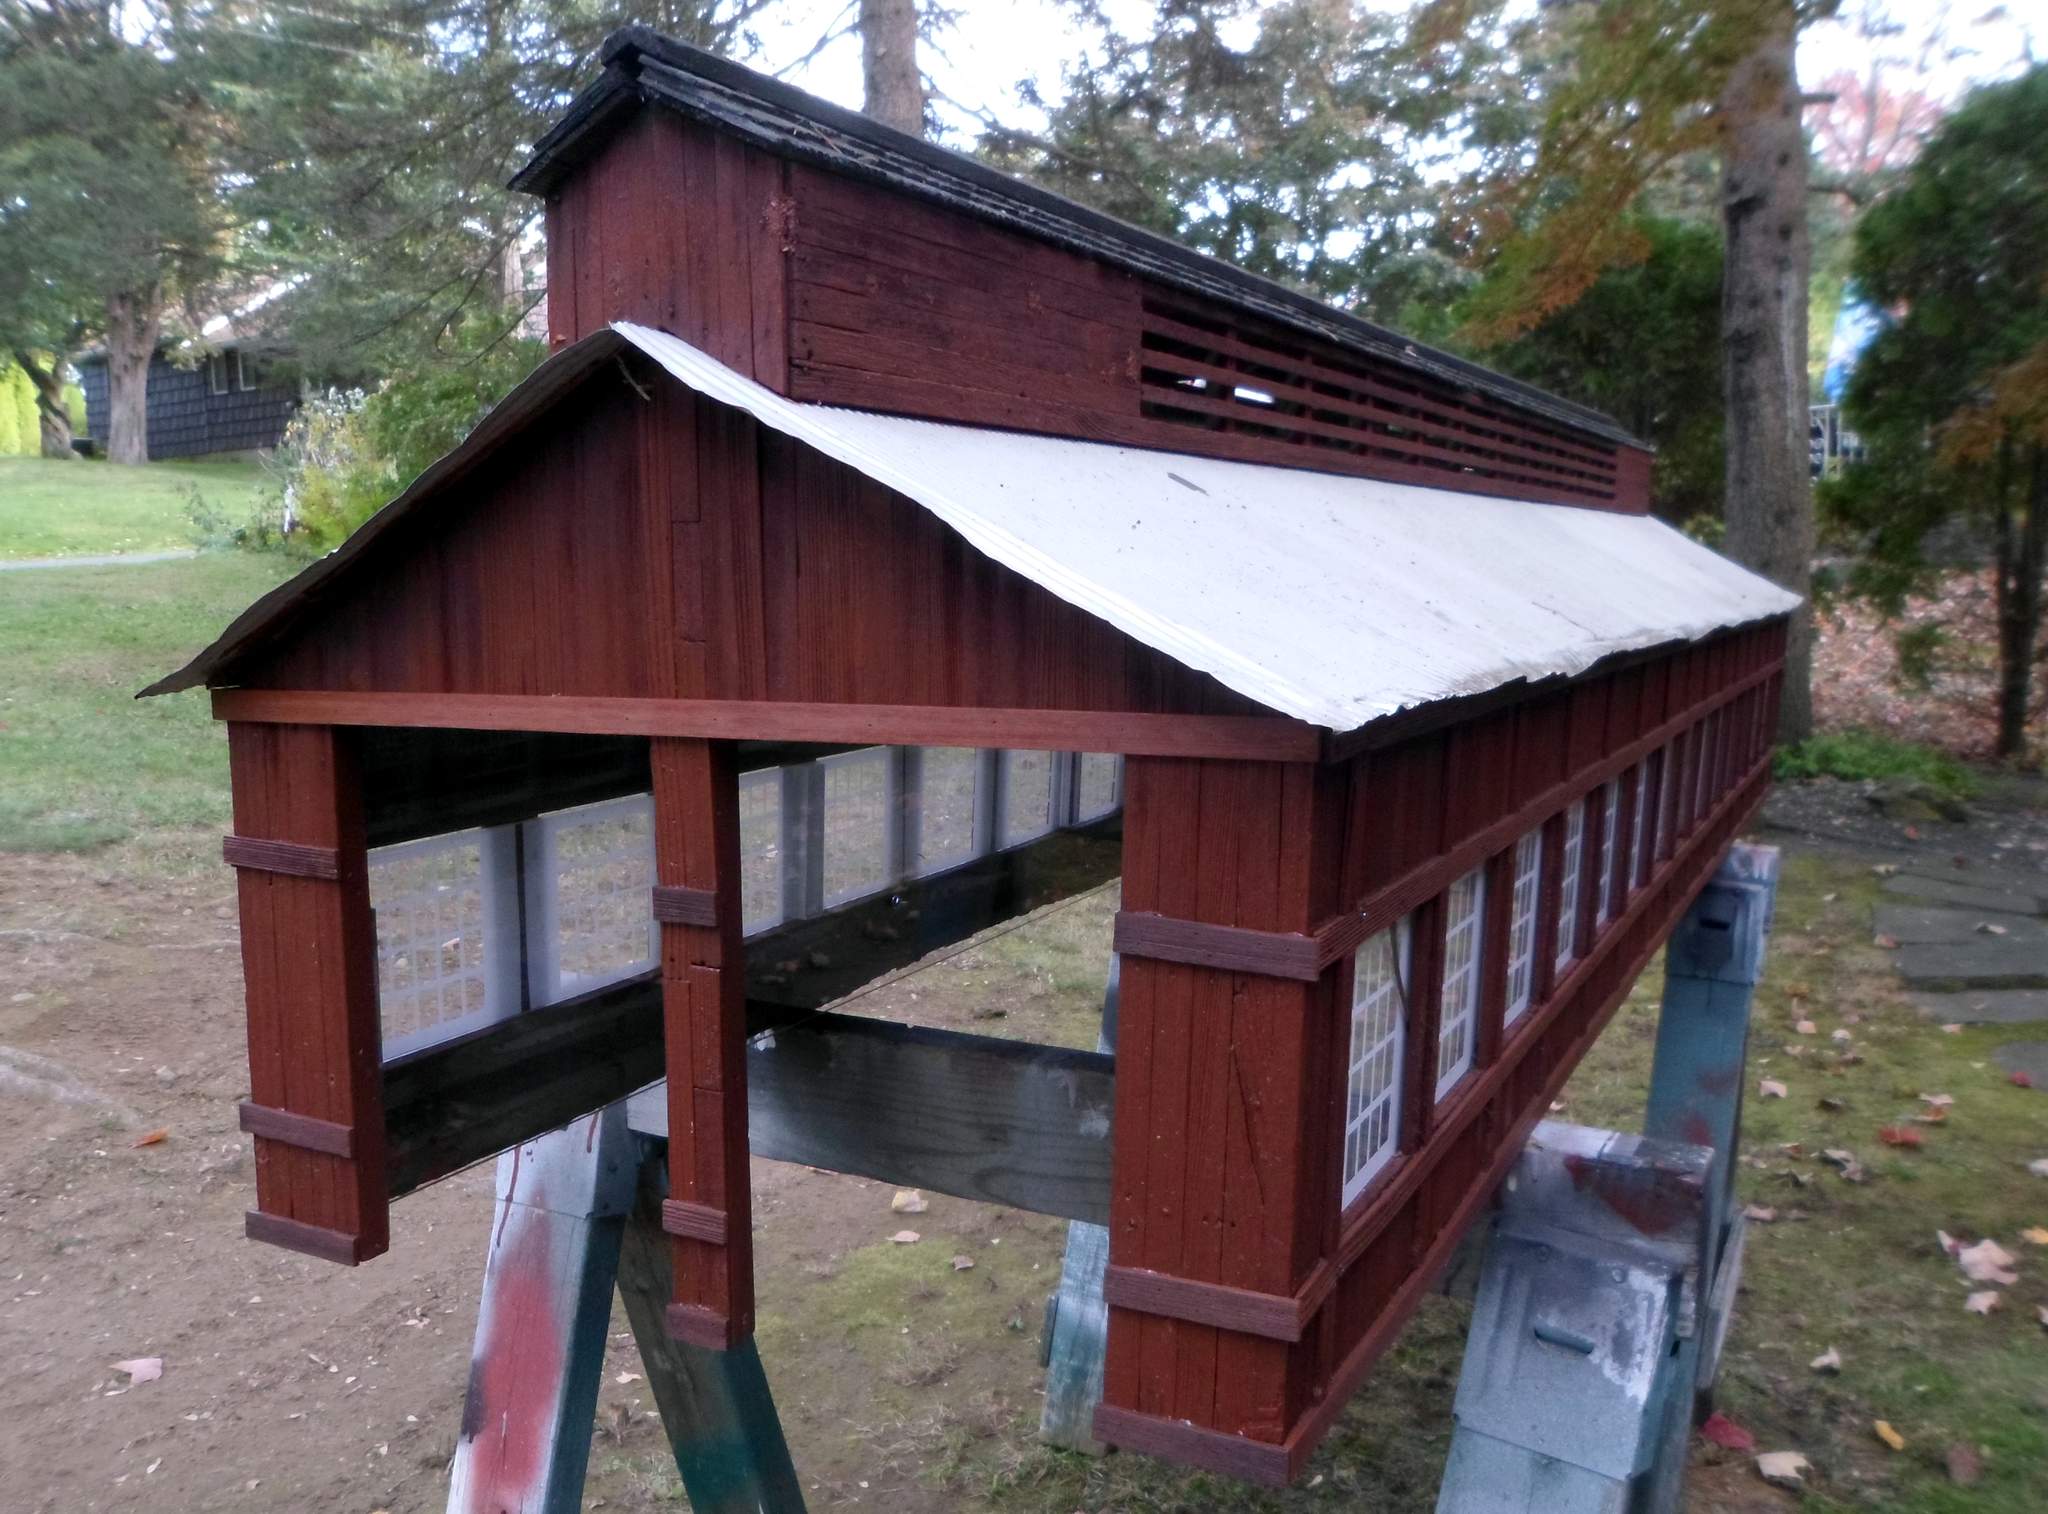
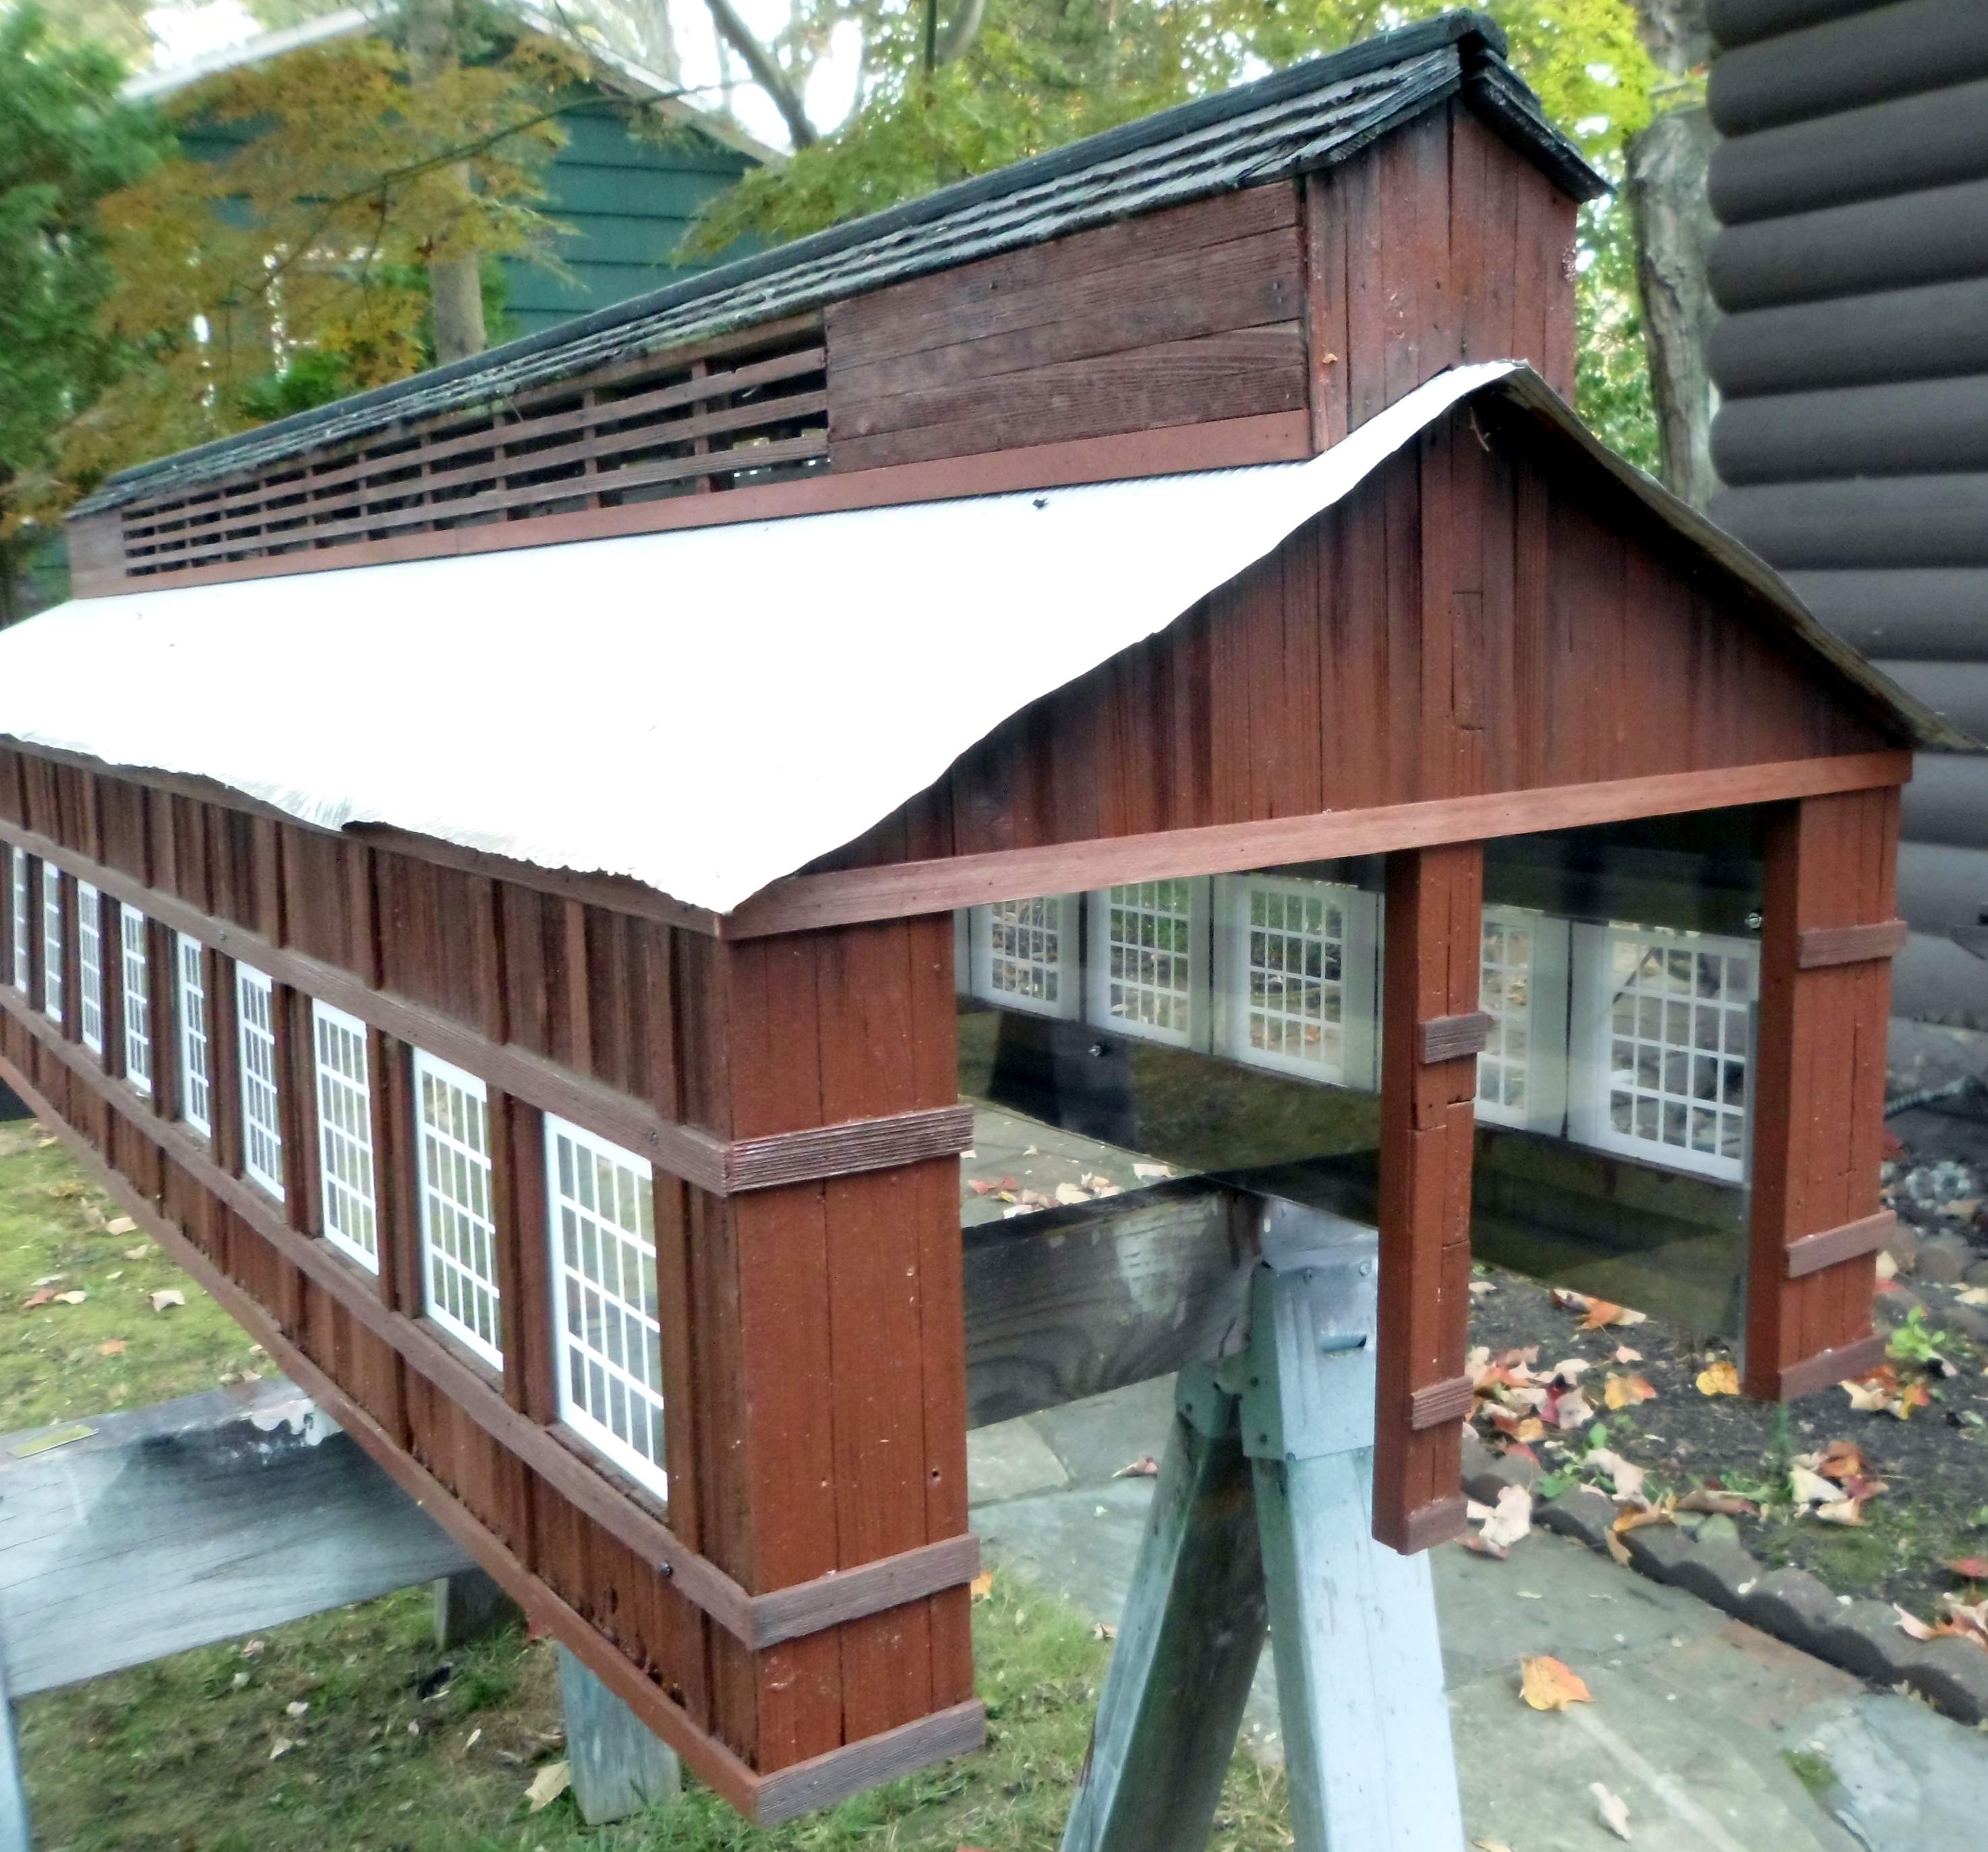
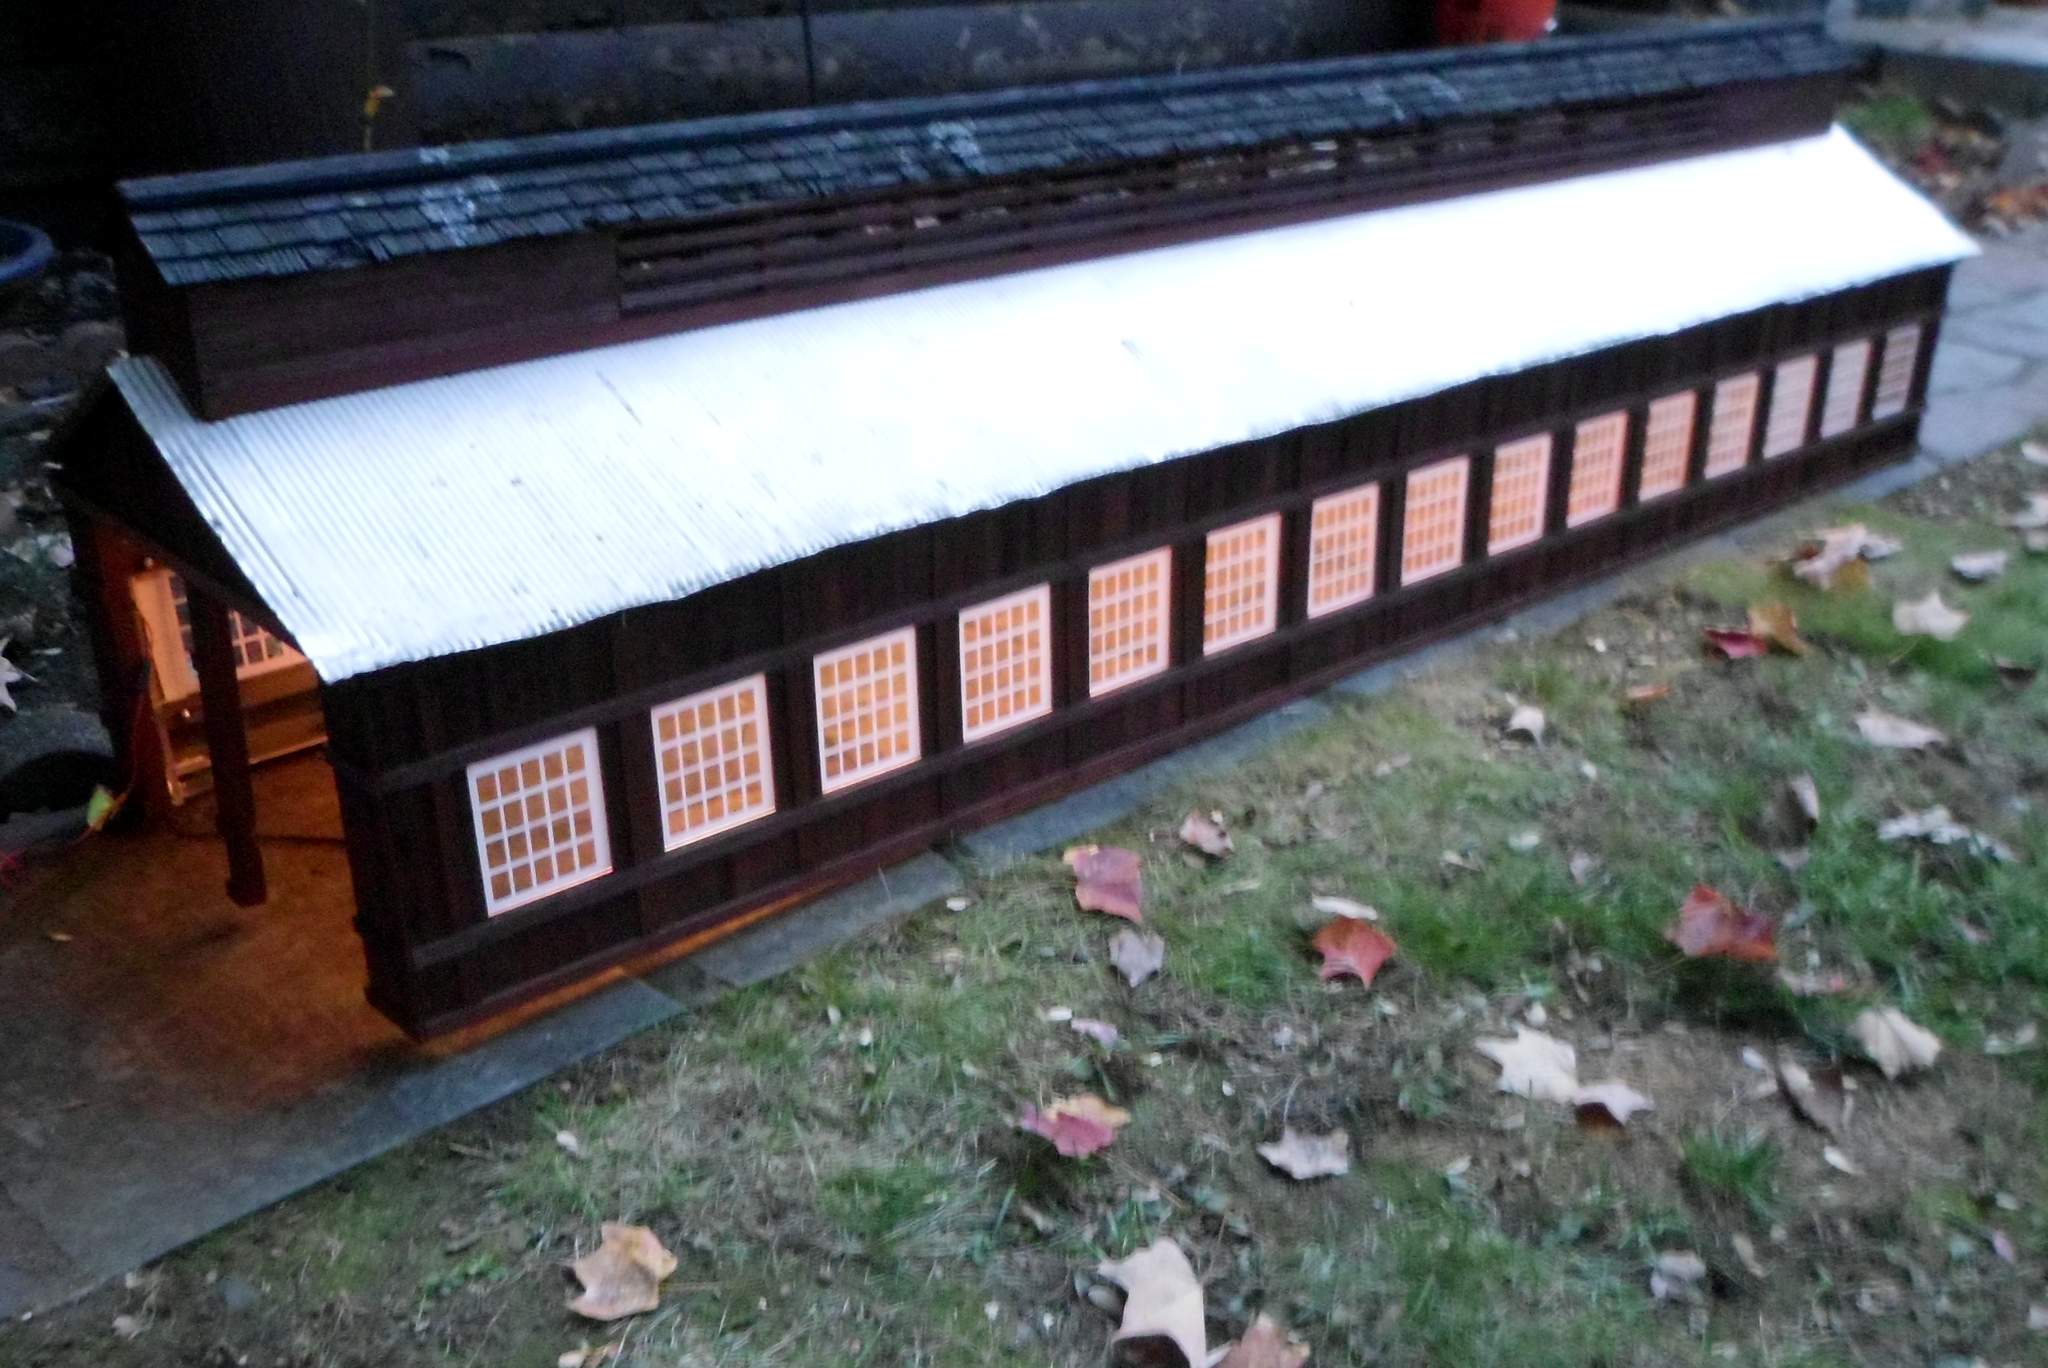
TGIF. Working a few late evenings during the week ensures an early out on Friday as we have a no overtime policy at work. Today I was able to finally get started on the corner stabilization, work on the the lighting and install a few replacement boards. I also cut and stained new trim boards for both ends to continue the horizontal detail fully around the building. Now I’ve got some type of doors in my head as a winter project.

The acrylic for the corners / end walls was glued in. I didn’t have much luck with the water thin stuff as the cut edges were not smooth enough to bond. I ended up using the medium body acrylic cement in just the fillet…

The pieces above and some 1/2" thick corner blocks were cut a few weeks ago in my work shop. Today I needed to trim .25" off one side to fit the corner in the above picture. This time I sanded the edges to be glued to 600 grit. In this photo the block on the left has a raw edge on top. All the other edges in the shot have been sanded…

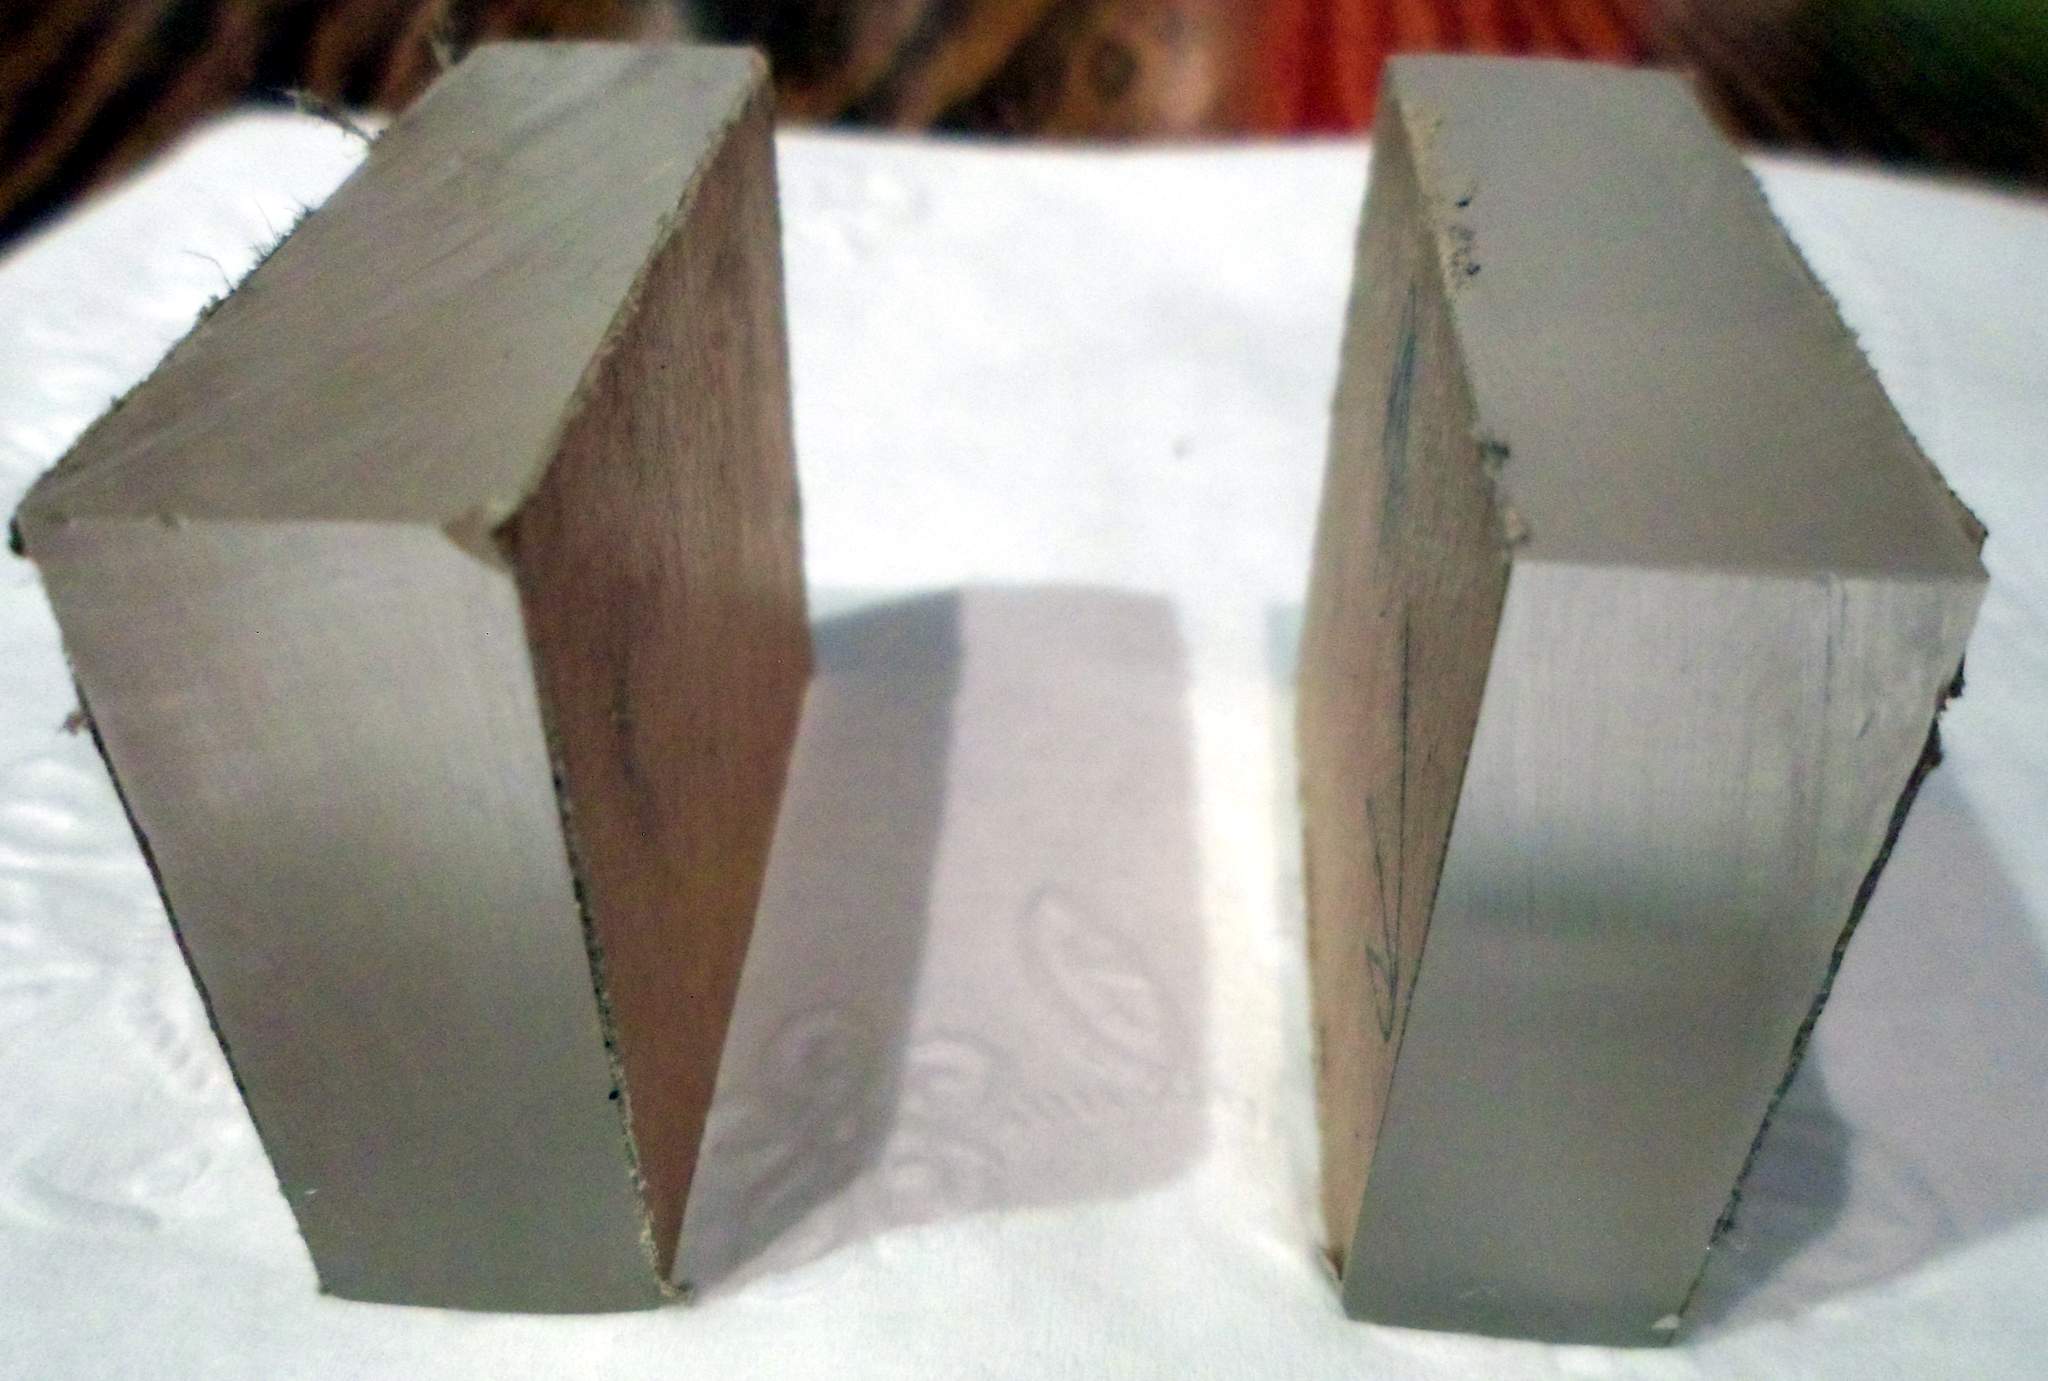
These blocks will be glued into the corner near ground level. Eventually they will be drilled to line up with Tapcon screws to be put in the building’s foundation. That might be a Spring '18 project.

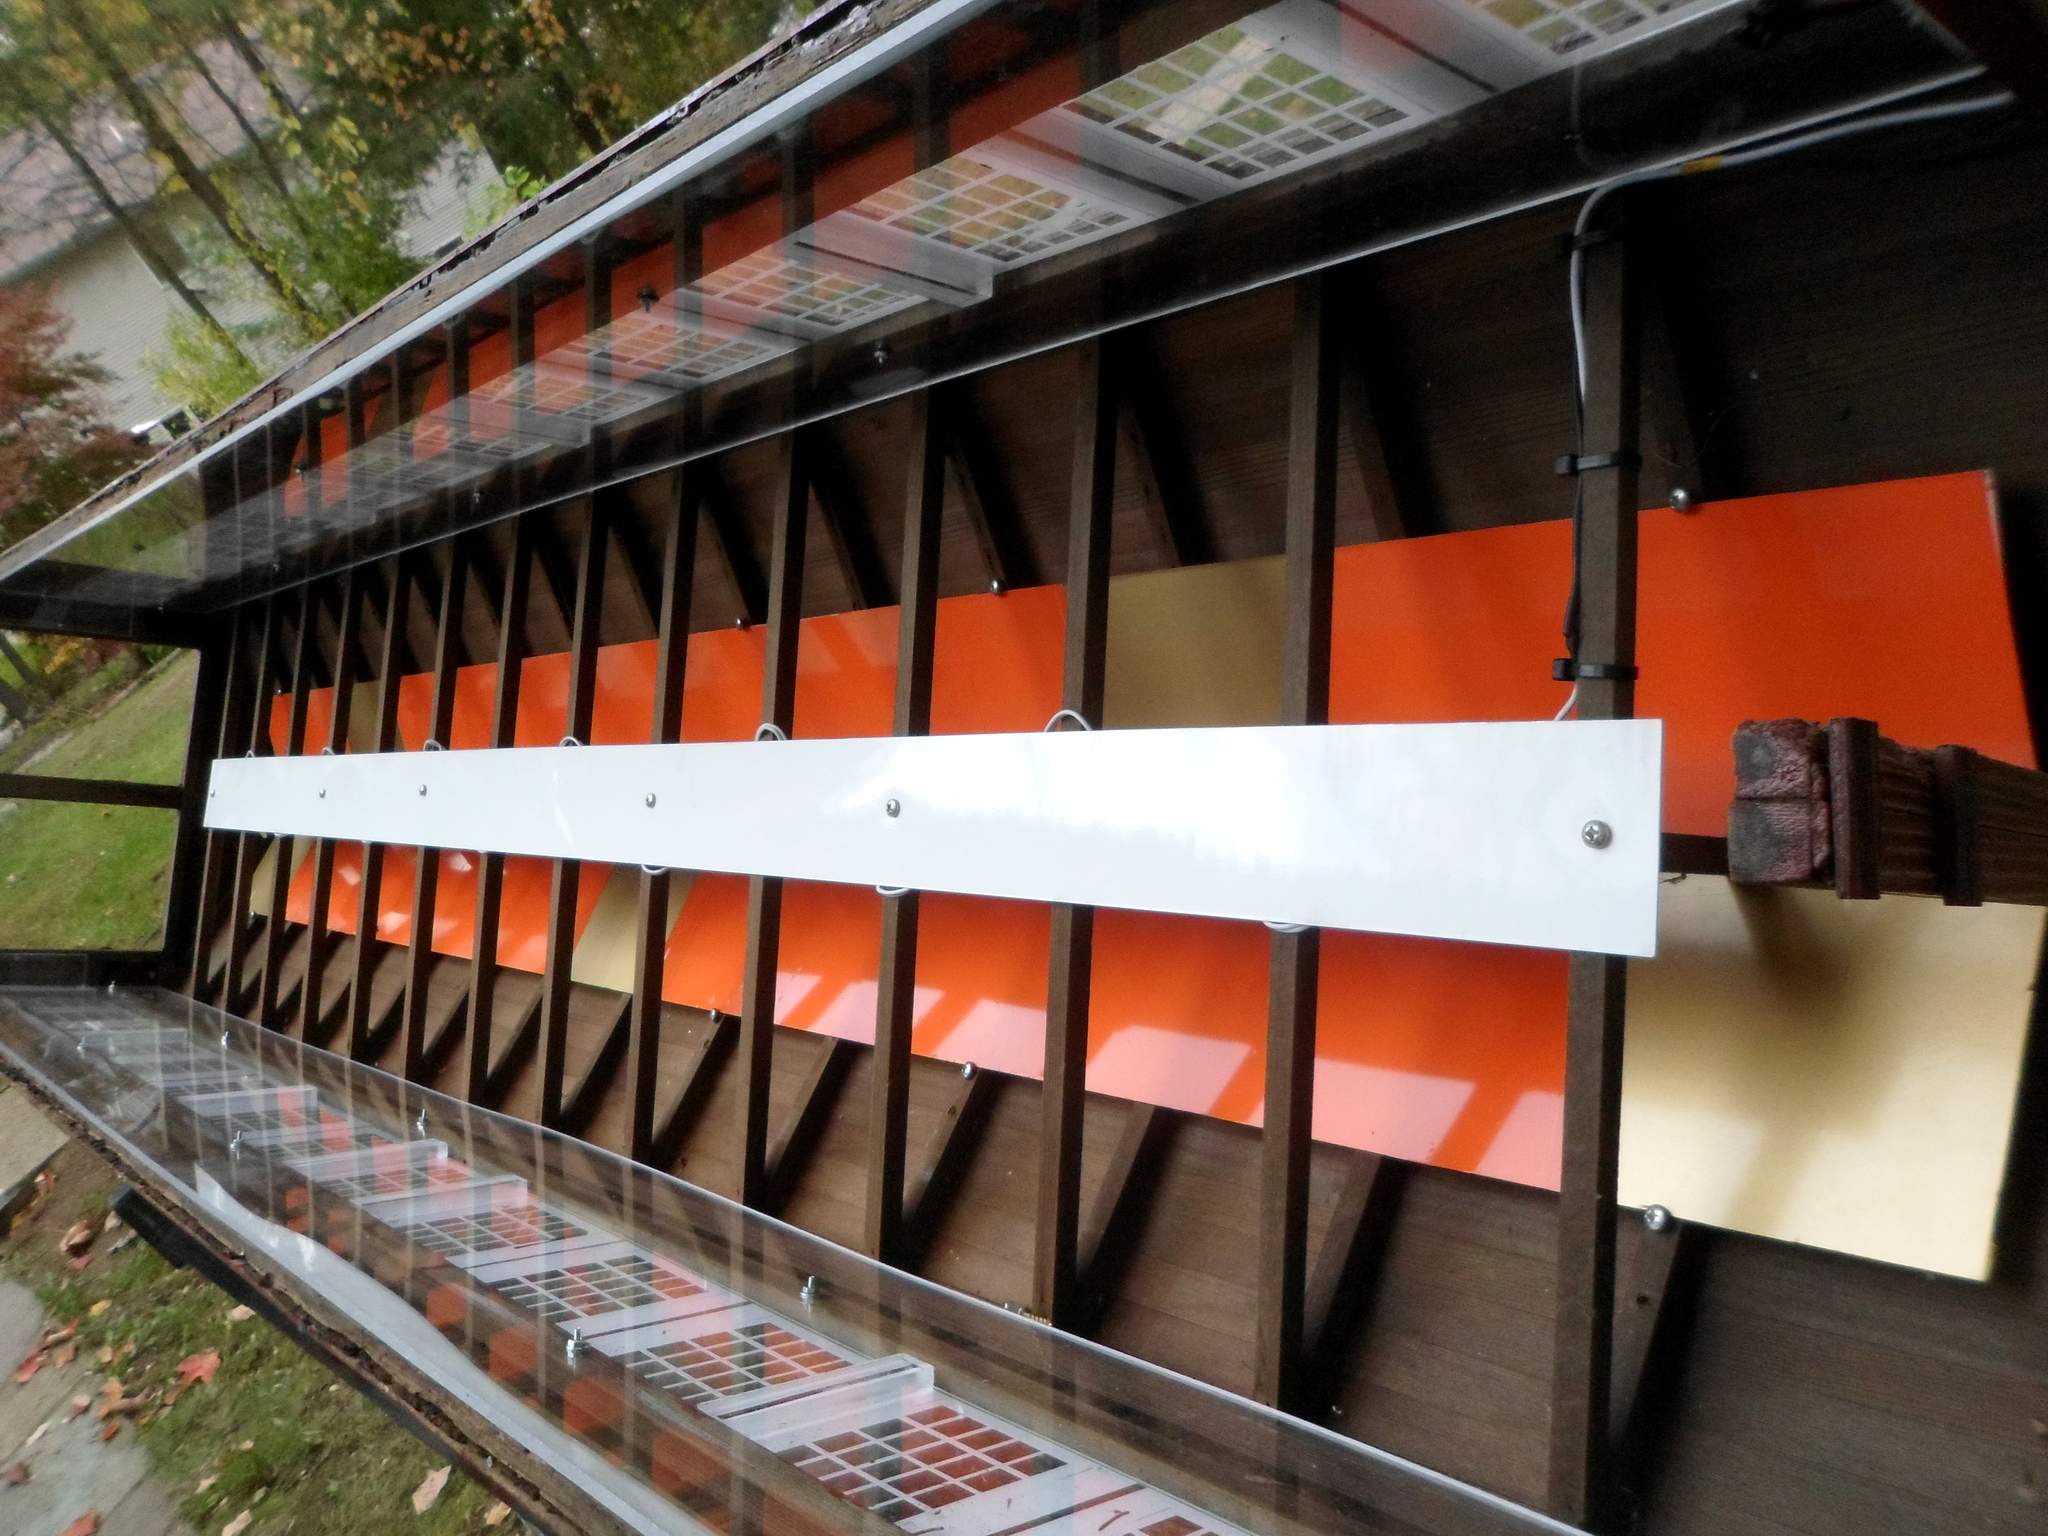
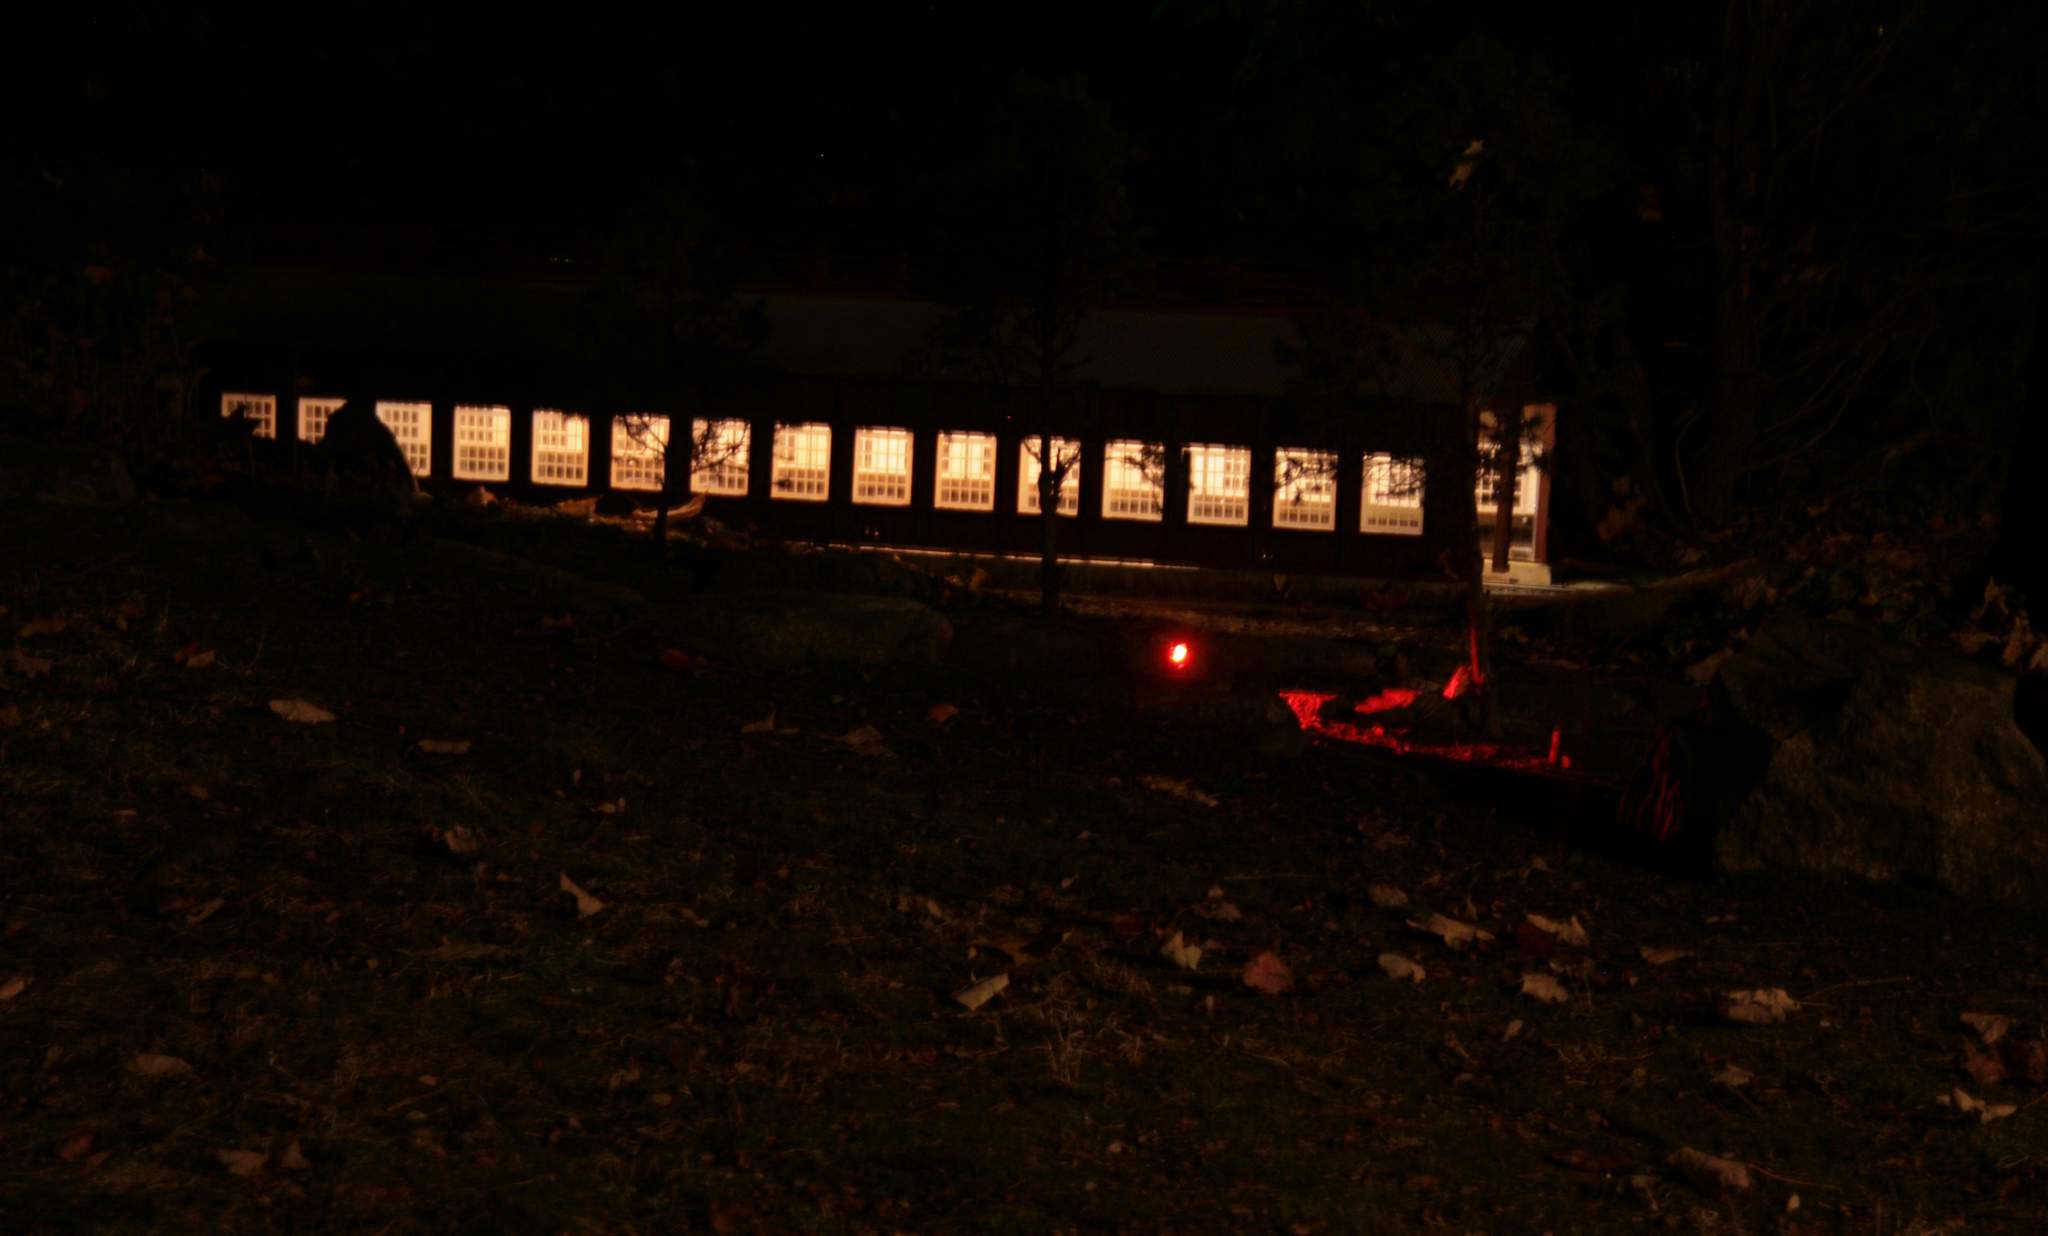
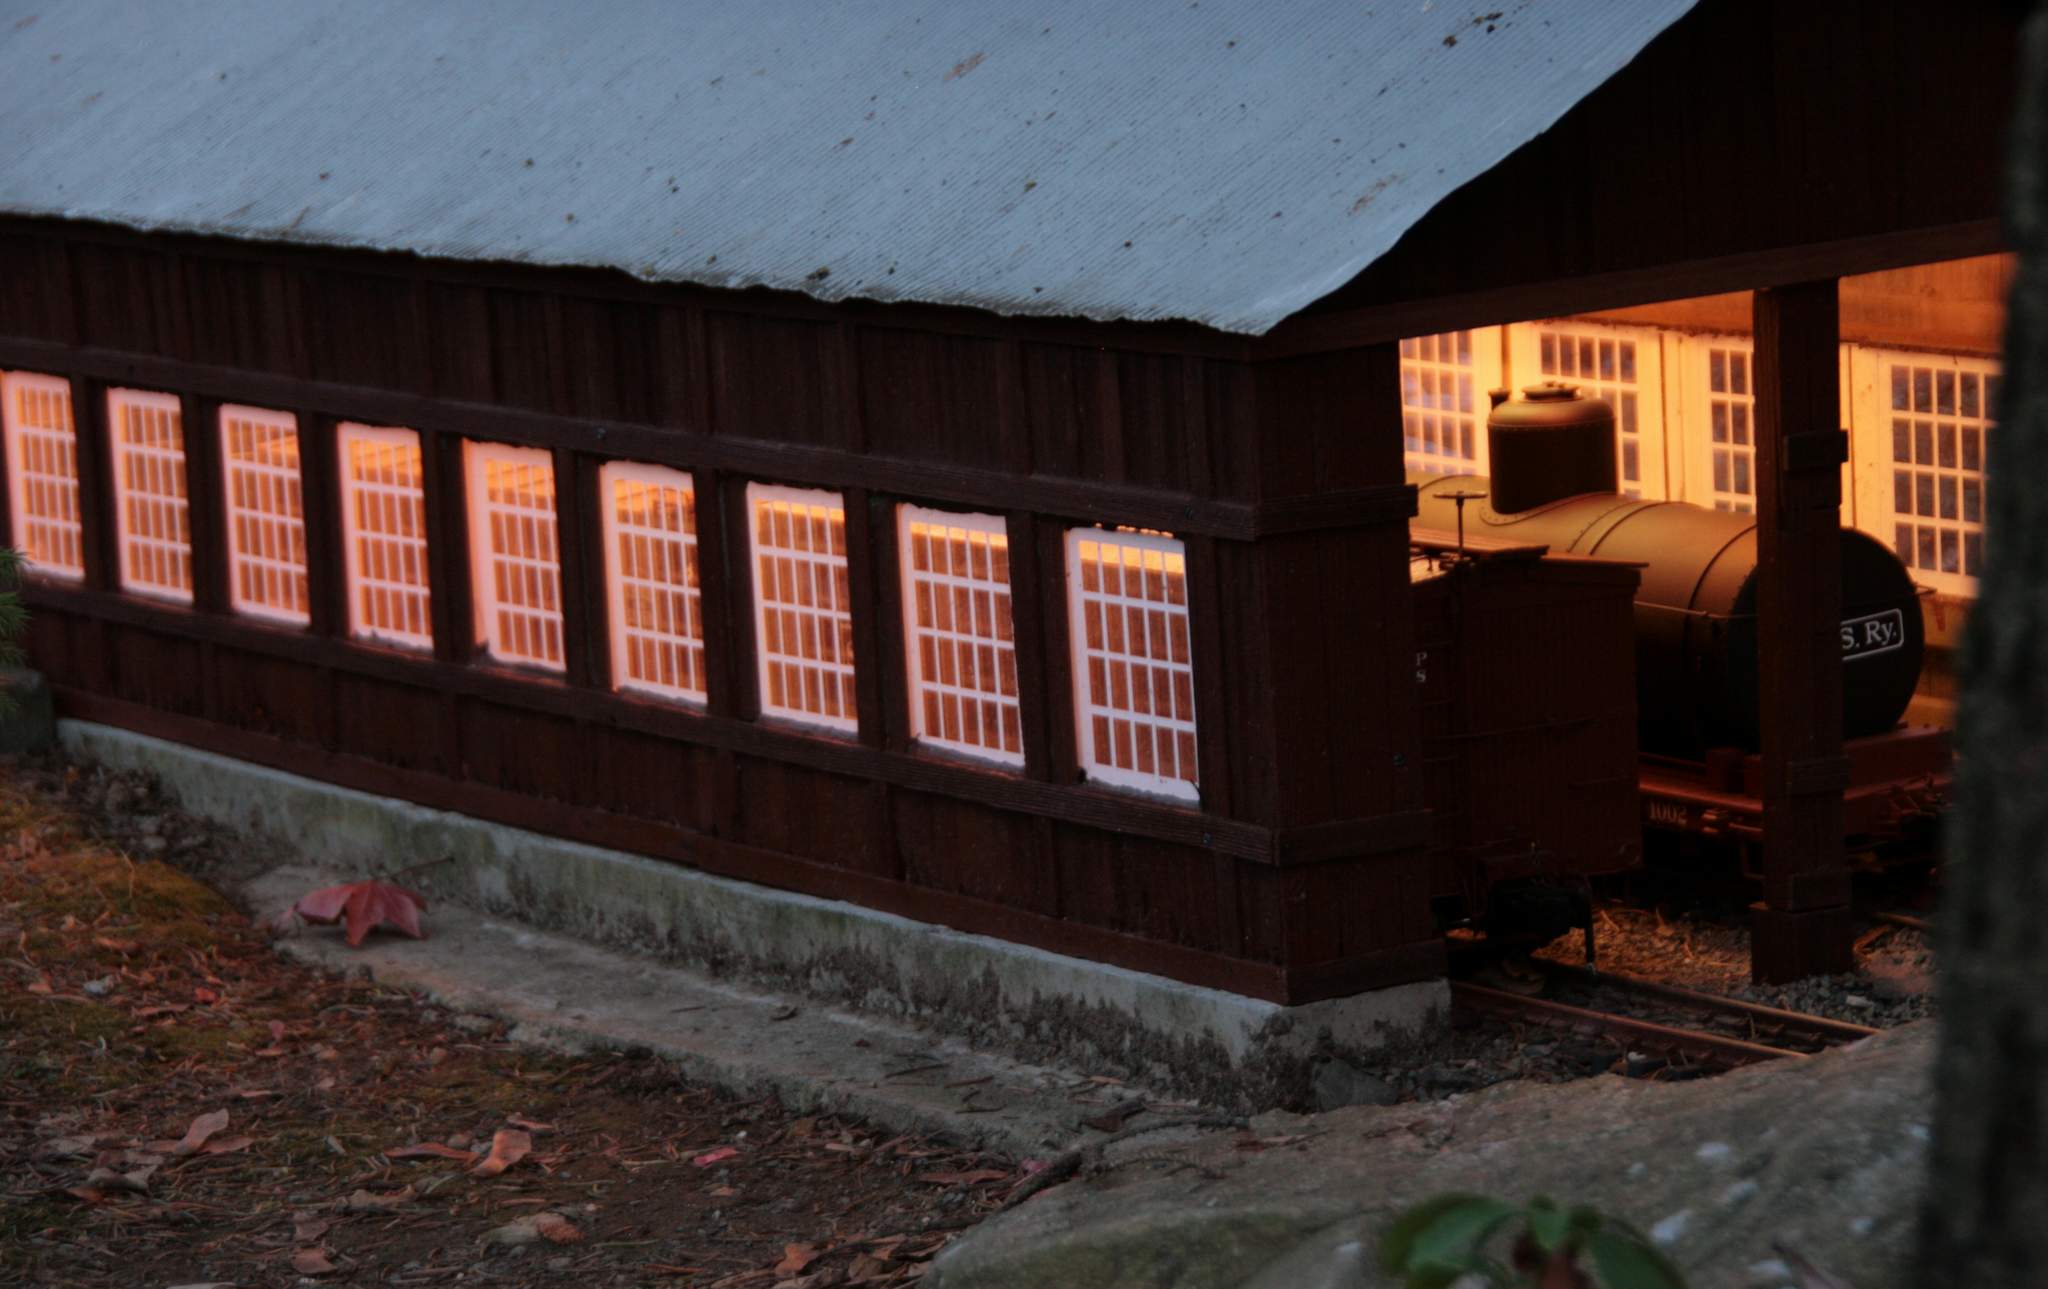
Next I worked on the lighting. The LED strip had been fabricated quite a while ago waiting for permanent install. We’ve never had a discussion about cross-posting here on LSC. So rather than cross post a bunch of pics, I’ll put all the detail pics in my Lighting Thread tonight. This is the finished install. LEDs point up…

I didn’t take pictures of the repair pieces installed. There were just a few pieces of siding around the windows and one board on the vent. At this point the building as it originally existed has been restored as much as it will be this year. After dark I worked on color reflector panels for the inside of the roof and cut up and stained all the pieces necessary to add trim to the ends…

There is only one good weather day this weekend and I have a lot on my to-do list. I hope to get an hour or so to put in and maybe get it back on the foundation.

Looks great. I like the night shot.

I managed to fit in a few hours before dark to finish things up. First I installed the trim boards on the ends. I think this makes the building look more finished…

I also installed the reflector panels for the lighting. Details will be in this thread:

A few cross posted here…

And finally I installed the acrylic blocks in the corners…

At dusk I hooked up a battery to see how the reflectors worked out. I’m happy with the color…

Just need a few more 4-40 machine screws and a power connector installed on the track where this building lives and I can stick a fork in it.

Very nice!

She will be good and stable for a LONG time. If only the EBT could do it that way.

Great restructure Jon. Should hold up through the snow you guys get (https://www.largescalecentral.com/externals/tinymce/plugins/emoticons/img/smiley-cool.gif)

Neat! Great description of your process.

Way cool.

Back on it’s foundation and powered up. A couple more pics in the lighting thread.

I lifted it once more to add some brown caulk around the windows to seal them from debris and cure some light leaks. This photo taken after if was back and re-lit and proves that in my haste because it was cold and windy the day I did it I didn’t quite get the leaks fixed (https://www.largescalecentral.com/externals/tinymce/plugins/emoticons/img/smiley-yell.gif)

More new HQ pics in the Structure Lighting thread.

I think it looks great, Jon.

Fantastic!

Jon,
Looks fantastic.
Perspex (plexiglass) must be quite inexpensive your way. It’s quite dear here. I do like the concept @Bruce_Chandler has of making the whole building out of plexiglass so he doesn’t have any glazing to do.
BTW, this link above appears broken.

Bill, do you realize, that it is unfair to dig up this thread and thus obligating Jon to restore it…
… in mid january??
it will be your fault, if he does not finish the challenge in time. :face_with_hand_over_mouth:

Yikes! …I didn’t know about this being an obligation. I wouldn’t want to put anyone at a disadvantage. Thanks for the heads up! I was at real risk of becoming LSC’s very own Roy Kent.

Sooo, Korm, are you participating this year? It’s just that a friend of a friend was asking…:smiling_imp:

no, i’m still busy with my 2011 challenge entry - the greenbuck hotel.

I get the clear acrylic (plexiglass) as drops from work, so my cost is $0. It’s not cheap here either, especially in the thicker sheets.

@Korm - No worries; I gave him the link and came here first to fix any broken photos. I’m watching the MIK from the sidelines this year.

@Hines I’ll check on that link and fix it.