Large Scale Central

Stabilizing the Engine House

Three years ago I was gifted a large old wooden Engine House probably 1:24 scale. It was in tough shape then, but I replaced some missing boards and a rotten door frame while up scaling it to work with 1:20.3 equipment. This was taken before installation in June 2014…

Summer 2014’s project was to build the concrete foundation and track to use it as an industry. It has been outdoors ever since occasionally getting hosed off or cleaned with a leaf blower. I lifted it from it’s foundation last weekend to do some minor repair and install lights. Tonight, when attempting to glue back that new lower piece of Cedar shown in the above pic I noticed that the extent of structural rot along the sill plate will probably result in a collapse before Spring.

Here it is soon after being placed on a brand new foundation in June 2014…

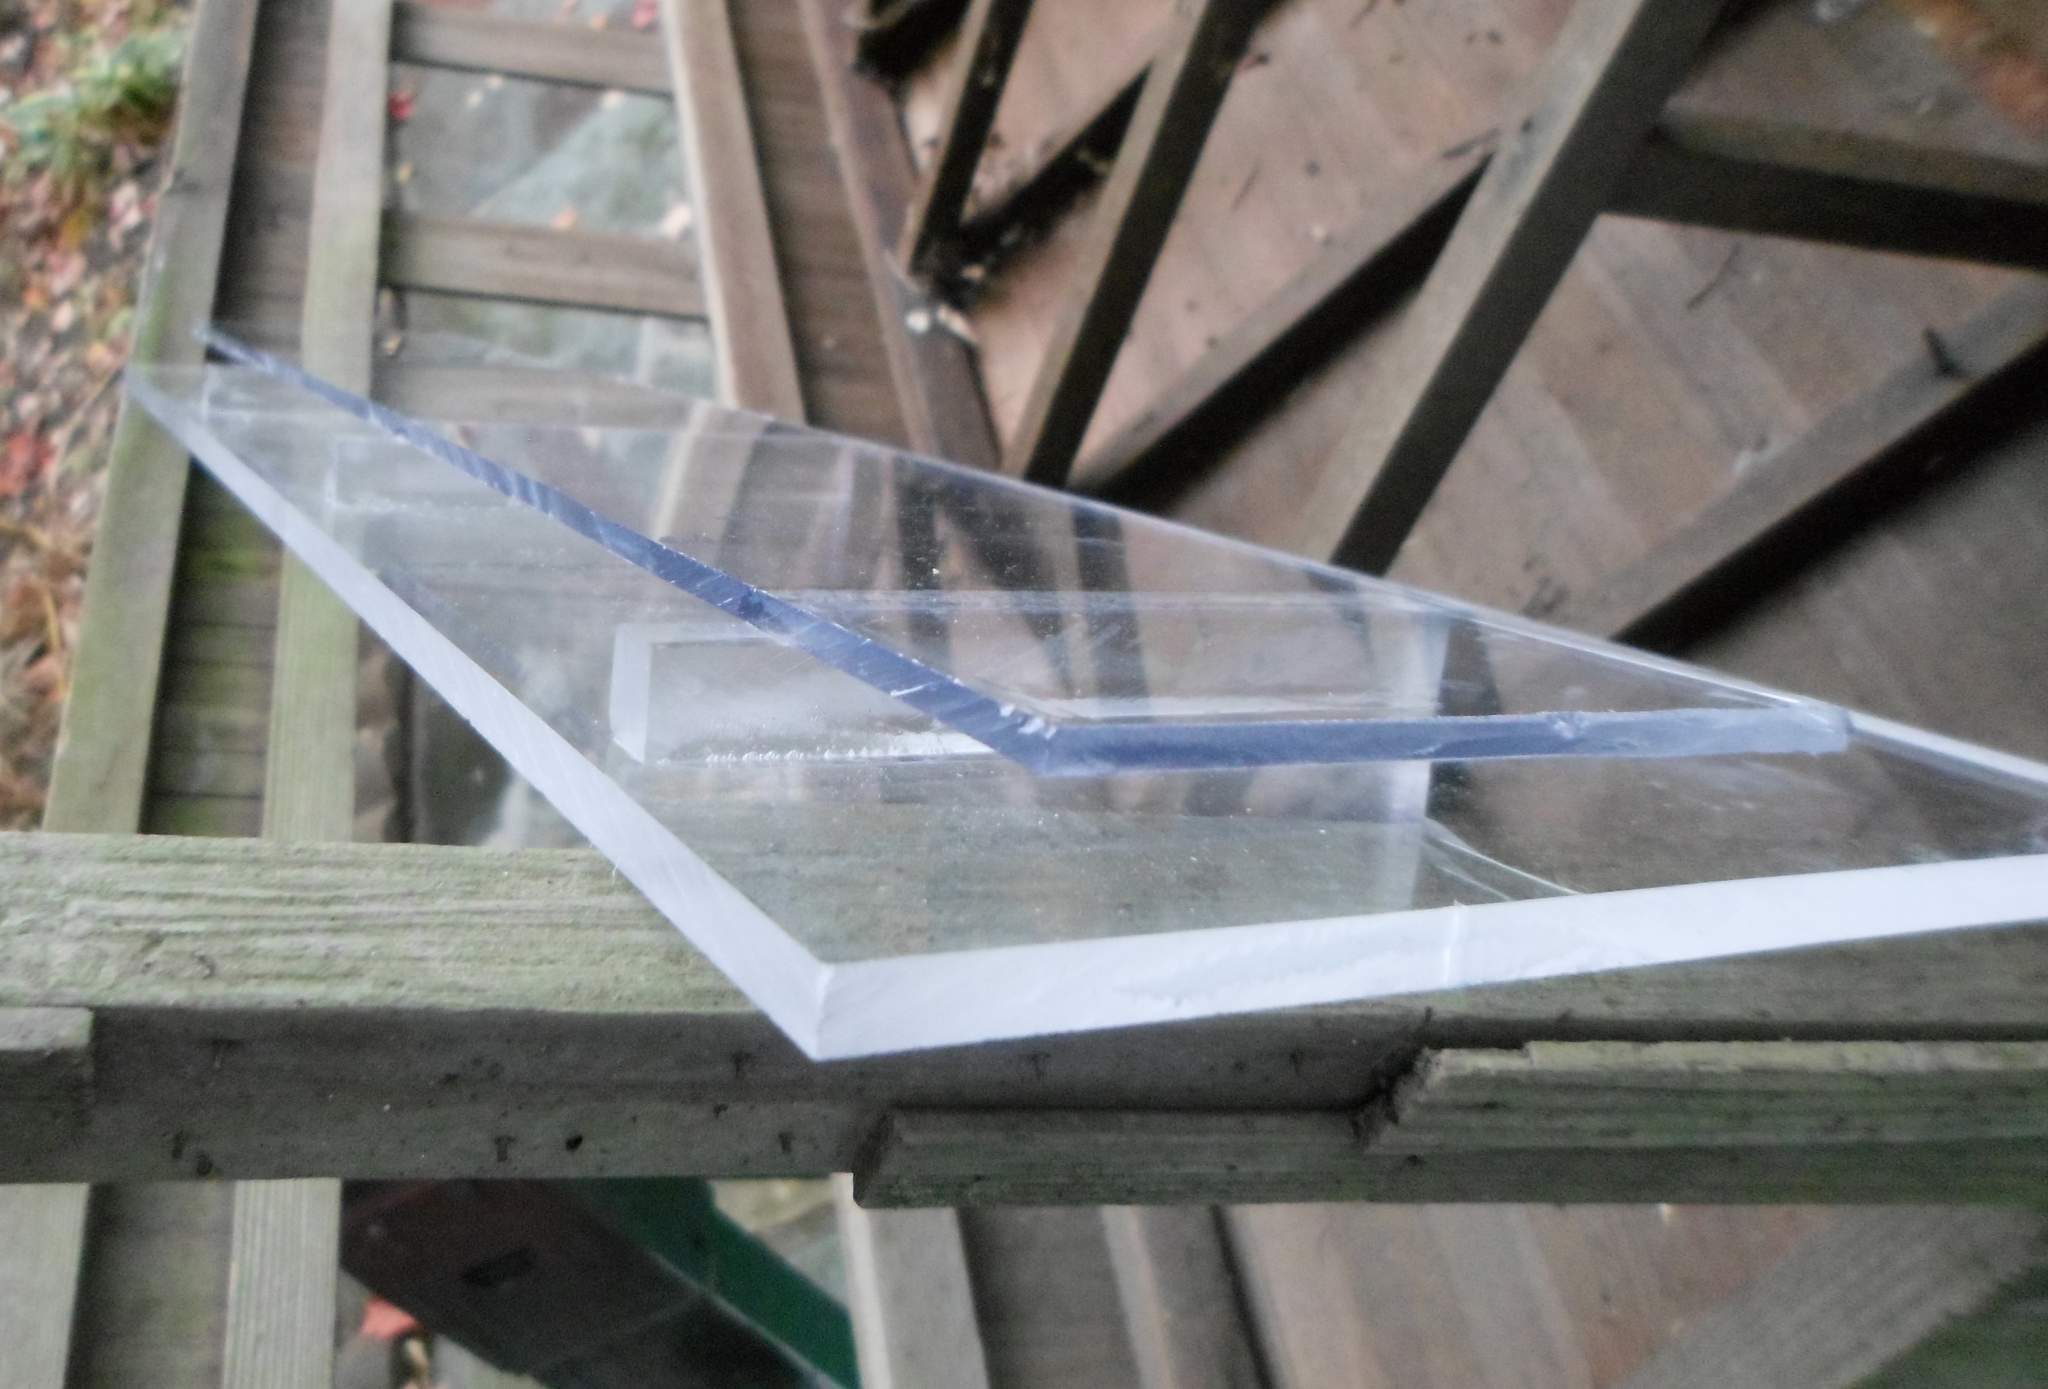
Behind each one of the horizontal siding members is a .75"x.5" timber, one of which is the rotting sill plate. Behind the bottom trim piece the siding is also rotting. The sill plate and siding at the bottom is all that holds the structure up. The frame timbers and siding above the sill plate are in good condition. My thinking is that if I can move the support away from the sill plate on to one or more of the sound timbers, the bottom can rot to dust and the building will still stand. My plan is to cut a single piece of .25" clear plexi the size of the entire interior wall, then bolt it along the sound horizontal members. The bottom end of the plexi would then be the building support.

What I am wondering is how goofy it will look with glazing .5" deeper that the window trim. A smaller piece of plexi could be cut t fit flush to the wood window trim where you would expect the glazing to be. If I do that I will probably include some painted hardware cloth to stand-in as mullions. It would be possible to support the bottom with a smaller piece as well, but then it would only bolt to one of the stable horizontals. I kind of like the idea of bolting to two which would also reinforce the entire side holding it in square.

Thoughts?

Put the 1/4 acrylic in for support … drink a few (ultra light) beers and think about it .

(however this is just my opinion and opinions my vary)

Jon, The full .25 piece will create a trash trap at each opening and a water collector during rain. A small piece between each up right against the wall with a full length strip .75 wide along the bottom edge will provide the strength and you can screw the acrylic to acrylic or wood.(http://www.largescalecentral.com/externals/tinymce/plugins/emoticons/img/smiley-cool.gif)

I misread this after rereading it twice Hollywood and thank you for correcting me on my over site.

I don’t think water would collect the way I plan on doing it, but yard trash sure will - so yeah; from that point of view the gap is NG.

I’'m thinking maybe I can make, as I think you are describing Hollywood, an acrylic sammich all glued up and then simply bolt that in. Need to spend some time perusing the scrap pile at work tomorrow.

You got it on the first try Jon. i look forward to the repair(http://largescalecentral.com/externals/tinymce/plugins/emoticons/img/smiley-cool.gif)

Hey Jon,

AndyC. supports lots of his buildings with an inside plexiglass box. They hold up real well and add weight that keeps them in place.

Just a thought.

Got the plan sketched up tonight. Not sure if I have that much acrylic scrap on hand - still searching.

Some progress on the stabilization work. I managed to find some clear acrylic drops at work that will work for my plan. First I wanted to do a glue-up test to be sure the sandwich thickness was good. This is the mock-up of what will go inside both long walls. This one is not full height…

Here is the same piece in a test fit position. Here it is easy to see the separator blocks…

I cut 1/8" acrylic for the glazing on the panel saw at wok to fit in between the frame members. It still has the blue protective masking in place…

Next, the larger piece of .25" acrylic was cut to fill the entire area below the roof trusses and raise the sill plate just slightly off the foundation to allow the wood to dry after it gets wet…

Next I need to lay out the locations for the separator blocks then begin the glue-up process. Once that is done I will drill the .25" acrylic to allow attachment to the stable framing members with machine screws. I need to decide if a screw-head is acceptable on the exterior or if I should simulate Earthquake Bolts to make them look more like they belong. They are usually seen on masonry buildings, but I suppose truss rods might have been used on large wooden structures like this one to help prevent spreading. They can be plain like this round one…

(Sorry - This wasn’t my image and is no longer on-line)

Or fancy like this star. I had a bunch of these stars cast in resin when I worked for the property management company to decorate a new building that was designed to look old…

My casting was the same design but the one my source had did not have a bolt, so I sent them a large railroad bolt with a square nut that they added to the casting. I have a sample in the basement that I can take a picture of. I wonder if I could build up a master then cast a bunch in resin. I’ve never tried casting before.

Looks workable, Jon…

The resin Earthquake Bolt I had made at my former job…

Send me the building and the “Stars”

I will secure up the structure for you and send it back but I keep the stars!

Nice progress !

(https://www.largescalecentral.com/externals/tinymce/plugins/emoticons/img/smiley-cool.gif)

" Rooster " said:

Send me the building and the “Stars”

I will secure up the structure for you and send it back but I keep the stars!

Nice progress !

(https://www.largescalecentral.com/externals/tinymce/plugins/emoticons/img/smiley-cool.gif)

I’ll send you a star to keep if you make be a functional 1:20.3 casting master for me (https://www.largescalecentral.com/externals/tinymce/plugins/emoticons/img/smiley-cool.gif)

EDIT: Better yet, draw up a 3D model that I can have printed!

Looks like good progress is being made her. I like the star bolt idea.(https://www.largescalecentral.com/externals/tinymce/plugins/emoticons/img/smiley-cool.gif)

Hey Jon,

Looks like great progress. You stated that you didn’t know if rod stringers were used to hold wooden buildings together. I think you can find examples of this at Orbisonia on the EBT. I guess you could also say “truss rods” on wooden rolling stock is another example of how this is used. Just my “2 cents” in a million dollar project. All the best. Keep posting pictures, great project.

Jon the star bolt would look cool, something different. Try touching base with Nico he might be able to draw one up a 3D print.

Thanks. After further review, I think I will forgo the star shaped plate as there will also be a row directly under the window openings and I can’t justify why there would be a rod there. If I can find then, I will use square nuts and a very small washer on the outside; painted black. If I can’t find square nuts in a small enough size (#4/40 is the smallest I’ve located so far) then I may just use some black hex cap screws I already have and put the nuts on the inside.

Need to get the glue-up done first. Weather is supposed to be nice, so a boat day will probably steal half my weekend.

micro fasteners has 2-56 square nuts

http://www.microfasteners.com/square-nuts.html

Rooster is right (did I just type that?). Microfasteners has nuts and bolts down to 0-90. They also have miniature lag bolts. I could spend my whole allowance there.

Yes, a rod passing through the open bay of the structure would be hard to explain.

I had an old wooden barn held together with met a lot stay rods once. It happens.