Large Scale Central

Scratch Building a Switch

I’m in the market for a few LGB 16050 switches and boy are they expensive at $50 and up so why not build my own. A quick search led me to a 2 part how to found in garden railways June and Aug 2009 issues.

The how to looks like I could follow it and I have the tools needed like a 6" grinder.

The directions are for a #5 what size is this? I’m looking to build a LGB 16050 series which has a 8’ diameter divergence. Is that a number 6 ? These switches will be in a new yard I might be setting up this spring.

To those who have built their own switches how hard is it and what should I watch out for?

Does anyone have better plans than the ones in GR June2009?

Thanks guys

Todd: the 16050 Turnouts are the wide radius ones that are thier R3 22.5 degree radius switches. These are designed to work with the 16000 Radius 3 curve track which is the largest radius that LGB made. The catalog says that the curves are 117.5 cm in radius which is 46.25"

The 16050 turnouts are 440mm in length which is 17.32" long These would probabbly be in the #5 or #6 catagory.

Dan S.

Building a switch is not all that difficult. Building one that works flawlessly, well, that’s another story. There are a few tools you’ll need to make it easier. Keeping everything in gauge and smooth is the most important part.

Track gauges are a must. Both R&K Railroad Products and Switchcrafters sell them. R&K’s are metal and designed for a certain brand of track. Switchcrafters are plastic and fit most any kind of track. There are also 2 kinds of gauges. One that fits both tracks and one that fits a frog and the track.

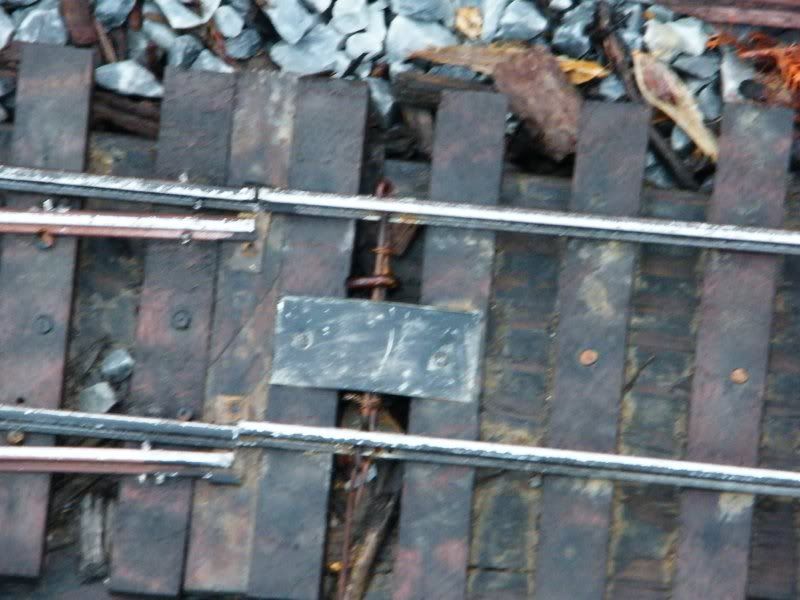
Ties are also important. Bob M. uses composite ties. I cut my own from Spanish Cedar and then stain them. Mine match the narrow gauge tie strips from Accucraft. I use the longer spikes that go all the way through the tie. Bob uses the shorter ones that don’t go all the way through. He found the longer ones will spit the composite ties.

I’ve made masters of the frogs I use the most and cast a bunch of them so I have them on hand. Some guys prefer to build them in place as they build the switch. Just a personal preference.

I’ve included a couple of pictures of the various tools I found handy when I’m building one.

(http://rgsgardenrailroad.com/2013/switchtools01.jpg)

from left to right:

track gauges, nail set, spiking tool, available from switchcrafters, and I find invaluable. It sets 2 spikes at one time at an angle. Bottom of the pic shows one kind of frog I use. It’s about a number 4. to the right of that is another that I cast. it’s a number 6. I also have 8 and 10, but due to space haven’t used them yet. The 10 wheeler front truck at the top is used to test the gauge and make sure everything is smooth.

(http://rgsgardenrailroad.com/2013/switchtools05.jpg)

This 2nd pic shows other tools that come in handy. Small tack hammer, needle nose pliers, side cutters, and #6 frog, both painted and unpainted.

There’s a learning curve to building these things, so don’t get frustrated if it doesn’t turn out the way you liked the first time. The first one I ever built took about a week, but that was 20 years ago and I was using 332 brass track. I’m using 250 aluminum now.

I’m sure they’ll be others that chime in with their handy tips and tricks. I’m no expert, but I like building my own to save on the cost and so they fit in any particular section that I need a switch for.

I find stub switches to be the easiest to build, no points to grind down. They also come in two parts so you’ll need a spline under it to hold it together.

Switch stands are also another consideration. Some guys build their own, some guys, like me, buy them. I have a combination of PNG Harp switch stands and Tenmille.

Hi Todd,

Like Ken, I’ve built several hand laid switches over the years. I have used both redwood ties and composite ties. I also use the “Spiker Tool” available from Switchcrafters because it drives 2 spikes in at an angle into the ties and holdes better.

You mentioned that you want to make a switch to match the LGB 1600 switches. The thing you need to know is that all the switches made by a manufacturer that don’t have a number classification like #6 are made with a curved section of track to match the radius of their curved track. A real switch only has a short curved section and the rest is straight.

My suggestion would be to start your build with the same sections of track from LGB and copy an existing switch that you already have. This way it will match the track you are using.

You could also go to www.switchcrafters.com and purchase a kit, but I’m note sure of the cost. Bruce might even be able to make your kit to match the LGB profile.

Chuck

Bruce has injured his hand somehow and isn’t building any switches right now. He will pack and ship rail, ties, parts only.

Thanks for the info guys. Nice website and product Bruce has there. Those tenmile switch stands are slick looking. A bummer he is out of commission.

Ken wrote “Building a switch is not all that difficult. Building one that works flawlessly, well, that’s another story.”

I bet truer words were never spoken. LOL I will need these things to operate and stand up to being outdoors. I thought I had tools for the project but now I see where the spacers would come in handy to keep the gauge.

I checked out the GR plans online and the switch they produce loks a bit long. I do like the short LGB R3 switch so maybe I should take one and copy it like Chuck suggested.

I run track power so I havent’ thought out the concerns for that yet. In the GR plans the frog is made from the brass track and nothing touches on top but underneath they solder 2 pennies to give it strength. Wouldn’t this cause a short?

Any warnings or how toos on wiring these switches?

Wiring is discussed in the second article.

The switch I built 20 years ago was for a track powered layout. I believe I built up the frog from styrene strips so it would be insulated. Worked pretty good without all the wiring. Since I’m all battery power now, there’s no need for the frog to be insulated or wired up. I just use a cast resin one now because it’s easier to build.

All mine are outdoors. A few of my early ones were mounted on a 5/4 piece of decking material. Once I started using the spiker they turned out to be pretty robust so I didn’t go that route with the newer ones. They just sit on top the spline the same as the track.

At our club meeting just the other day one of our members brought in a handmade switch of his own. He emphasized his need for battens running the length of the switch under the ties to keep the whole unit stiff. He hasn’t met Ken yet, I guess…

I haven’t yet made a 45 mm gauge switch, but…

I used to make my own handlaid switches in Sn3, and have made well over a hundred in my day, including crossings and three-ways and single and double slips and dual gauge switches of one kind or another.

I’d emphasize the frog, closure rails, and ancillary flangeways. It’s important to have a dead straight line from the closure rails across the flangeway to the frogpoint and on thru from there. This means that the angles you make in the closure/frog guard rails have to be as accurate as you can make them. So this angle plus frog angle adds up to 180 degrees exactly and they are properly aligned.

In my experience only a straightedge can guarantee this. I’m not ordinarily a fussy kind of guy, but this just has to be dead right.

On sum, you’re far better off with a standard wheel profile on all your cars. And locos…

If not, some wheels will drop and others will bump over.

If you have wide wheeltreads then you can actually build switches where the wheel doesn’t drop because the wide tread bridges the gap; in that case you don’t have to worry about the depth of the flangeway as long as it’s deeper than your flanges. More likely you have have narrow wheeltreads; in this case the flanges will roll on the bottom of the flangeway, so to avoid bumps you’ll want to get the depth right. The depth of your flangeway should match your flanges so the wheels roll smoothly without either dropping & banging or rising and thumping.

Todd, I’ve seen your work, you’re a pretty meticulous guy, and I think you’ll do fine. There’s a learning curve for sure…

Good luck to you.

Rolling your own and having them work flawlessly is easily one of the most satisfying aspects of this great hobby!

John Le Forestier said:

At our club meeting just the other day one of our members brought in a handmade switch of his own. He emphasized his need for battens running the length of the switch under the ties to keep the whole unit stiff. He hasn’t met Ken yet, I guess…

The only switches I use battens on are the stub switches because there are no through rails to hold it together. The rails are separated where the movable rails go back and forth. So it’s basically in 2 parts.

(http://i253.photobucket.com/albums/hh58/rgseng/switch02.jpg)

The layout is built with a spline road bed that the track rests on and that helps to keep the switch rigid so battens would be redundant.

(http://rgsgardenrailroad.com/layout004.jpg)

If your layout had a floating road bed, then battens would probably help. Rodney builds his switches with battens inlaid into the ties. That would be a little more work, but is probably the best way to do it.

I also bought 2 sets of 4 each of the track gauges from both Switchcrafters and R & K, since thse keep everything in alignment I figured too many is better then not enough.

(http://rgsgardenrailroad.com/2011/mancosswtch07.jpg)

Here are 3 that I built when I redid Mancos. 2 have the Harp switch stand and one the Tenmille.

(http://rgsgardenrailroad.com/2011/mancosswitch10.jpg)

Nice ones Ken… You casting yr own froggies? and, please tell us where those luverly harps come from. VBG

The harps come from Phils Narrow Gauge.

http://www.philsnarrowgauge.com/Parts.html

Brass Harpstand Kit…$20.00

Raw Brass Harpstand…$25.00

Painted Harpstand…SOLD OUT

I buy the kits.

HMM the plot thickens. The more I read and the more you guys post here the more I’m thinking it might just be easier to pony up the dough and buy the switches but then again Like John said.

“Rolling your own and having them work flawlessly is easily one of the most satisfying aspects of this great hobby!” so I’m still persueing it.

The plans in GR has 2 strips of wood underneath that run the length of the switch to give it strength. On my layout I have all my switches on patio blocks that give them a solid base and helps to keep the dirt out of them. The placement of the switches I want to build will be on a elevated bench where a yard will be located so I can’t do the strips but I was thinking about a piece of thin plexi to keep them rigid.

Since I’m track powered I still need to get my head around the wiring.

Those switches look great Ken!

John, Chuck supplied this link where the switch stands can be found, www.switchcrafters.com .

Those harps are neat but I’m afraid they would get broken on my RR.

Many Thanks for all the advice.

I do a dado cut on my ties to allow the battens to fit flush. This makes for a very sturdy switch.

I have bought switch kits from Switchcrafters - in fact I’m just finishing one now. It makes life a bit easier. I spike it down on my cedar ties and battens.

I have also made my own switch stands - haven’t had too many problems with breakage and they’re under $1 each, so even if I do break one, I can easily repair it.

(http://jbrr.com/assets/images/P1010781.jpg)

Some details here: http://jbrr.com/html/switchstands.html

Not to derail this thread too much. But Ken mentioned something about how he mounts his switches, I use commercial switches (Sunset Valley) and I put mine on my spline roadbed. I’ve often wondered if I should install a pad such as a concrete board or something. It seems sturdy enough that I dont need to add anymore support, but what do you guys think?

Another look at building a switch: http://www.bigriverlines.com/Modelmaker/Big_River_Lines_site/BRRR/Building_a_Switch/text.html#anchor293307

Jake Smith said:

Not to derail this thread too much. But Ken mentioned something about how he mounts his switches, I use commercial switches (Sunset Valley) and I put mine on my spline roadbed. I’ve often wondered if I should install a pad such as a concrete board or something. It seems sturdy enough that I dont need to add anymore support, but what do you guys think?

I’ve done it both ways, Jake, and I prefer to just have it attached to the spline roadbed. Besides being easier to install that way, and I don’t know what kind of weather you have where you are, but around here, (SE PA) the freeze-thaw cycle can play havoc if the switch is on a separate support then the rail. I have a few on separate supports and they always seem to need more maintenance in the spring than the ones attached directly to the spline.

The last 6 switches I installed were directly on the spline and I have less problems all the way around with those then the others.

Jake, as long as you keep the dirt and rocks out of the moving parts, you should be fine. I only use a concrete block where the track is floated, without the spline or ladder.

Jake, spline roadbed should be fine to support a switch.

Personally, I like to dado my ties and put a batten under each rail. For me it makes building the switch easier because when I’m spiking my rail down the ties all stay where I want them. It also helps when the spikes come loose that way the ties don’t wiggle around. The other trick I learned was to make a jig. I jave one to build the ties with the battens and one to lay rail out. The jigs keep everything uniform and make the work go alot faster.

In one of the garden railroad mags someone had wrote an article in about using #1 or #0 screws instead of track spikes. They claim they hold alot better. I was going to order some and try it on my next build. I didn’t have alot of luck with bending over the long spikes the last time i tried.

Terry

I have no first-hand experience as all my outdoor switches so far are factory jobs and my track is laid loose on pavers without ballast.

The guy from my club didn’t have anywhere near as much experience as the guys on this forum, and I don’t know what his roadbed is like.

I’m inclined to agree with Ken, tho’ Bruce’s inset splines also sound v good to me and I can see going that way in my own case.

I do believe that in Britain, where there is a great deal of homemade track, splines seem to be the order of the day.

Like Steve, I’m still inclined to go with Ken’s method if you have a roadbed like his.