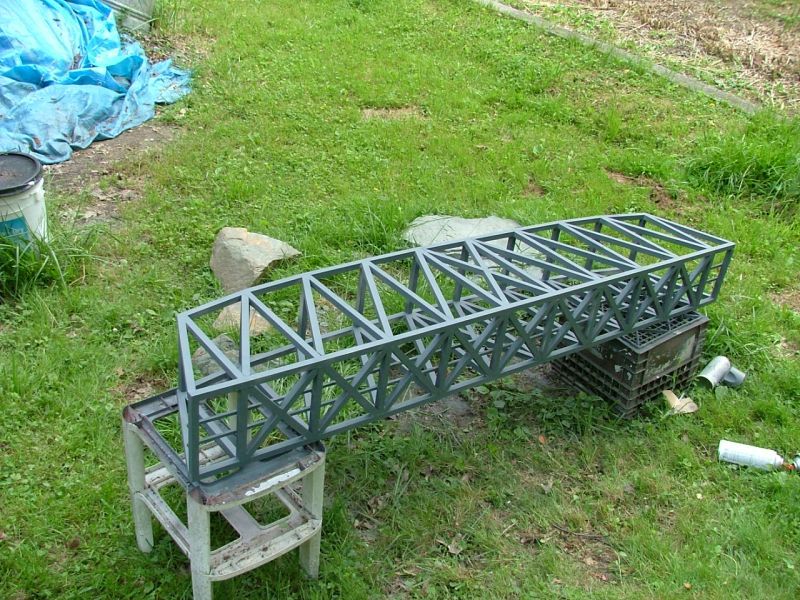
John, I do more butt modeling then I would really like to. But its difficult for me to get the time, money and ambition all gathered together at the same time and place. I also don’t do museum quality models like some folks around here, who I admire for their skill and attention to detail. I shoot for running models, or operations quality, less detail so less to break off, but still capturing the feel of what I am trying to represent. This bridge doesn’t have the gusset plates and rivet detail. I didn’t want to fuss that much, I just wanted something to carry my trains across the pond. And I wanted it done sooner then later. I guess I could say its all welded, and that is actually true, since the plastic parts are welded together with solvent.
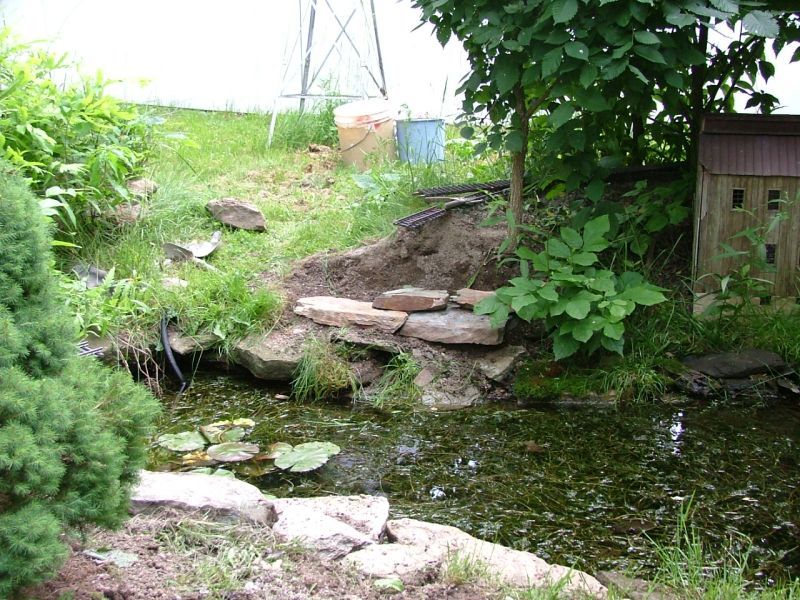
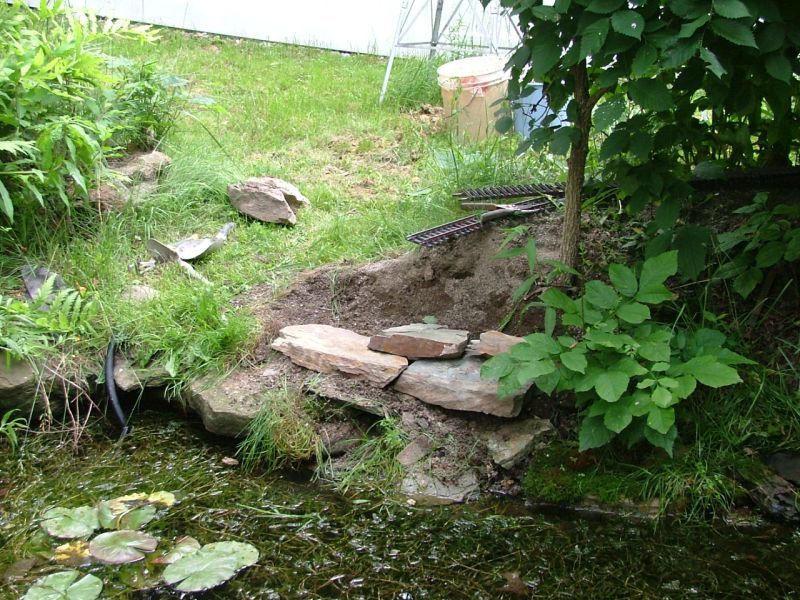
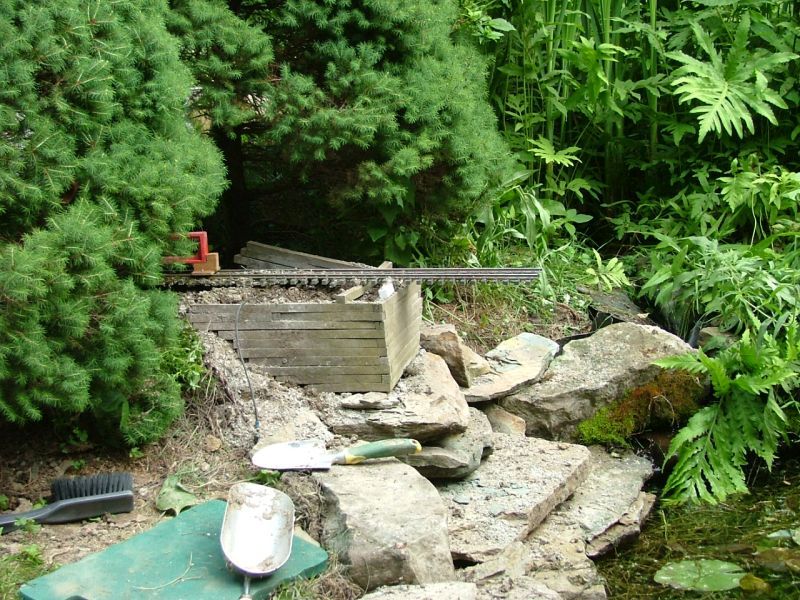
Now that it looks like I will have a bridge, I needed to get the abutments ready to support it. So I started with the east abutment.
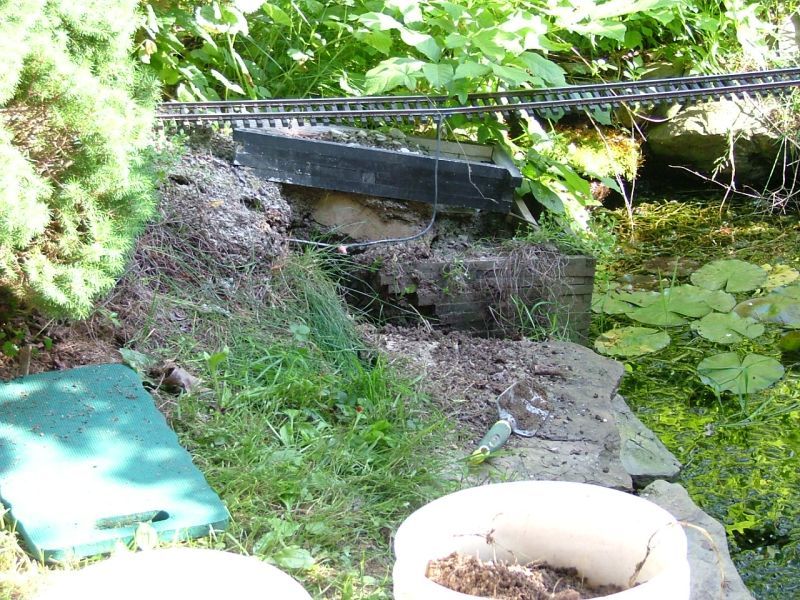
I carefully dug it away
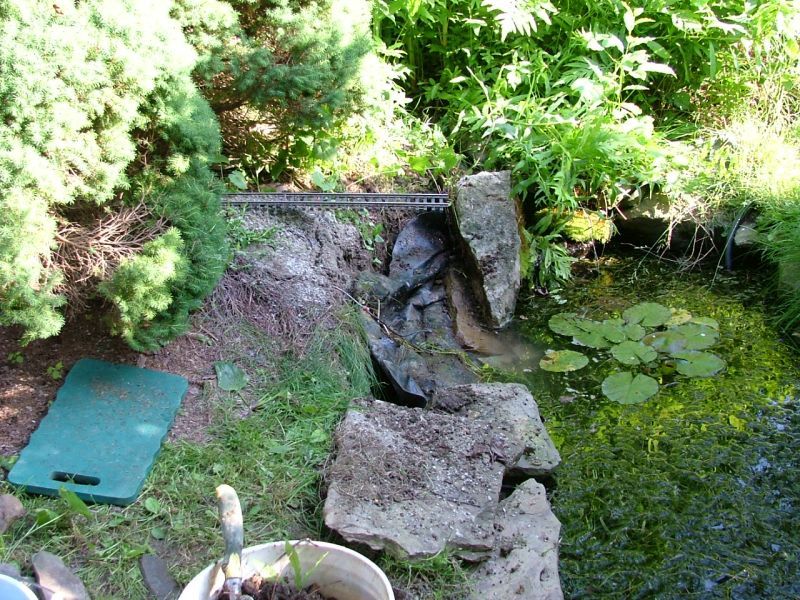
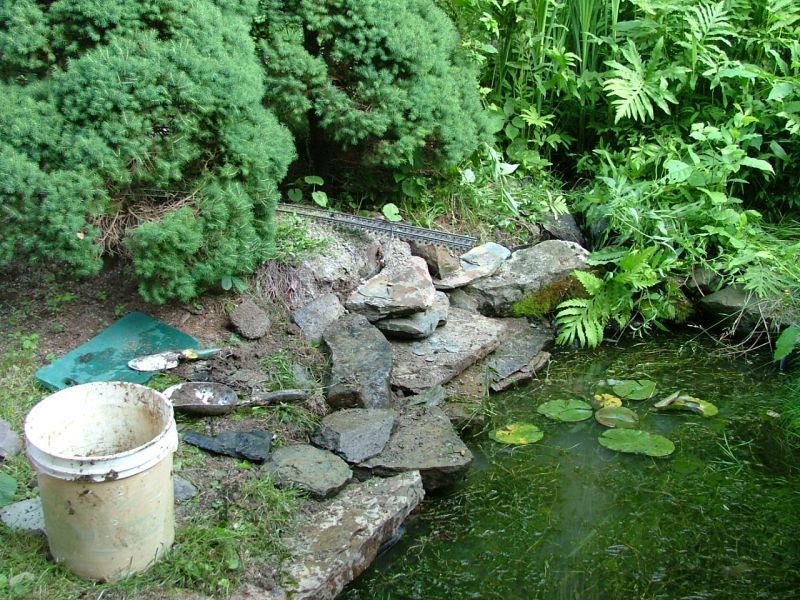
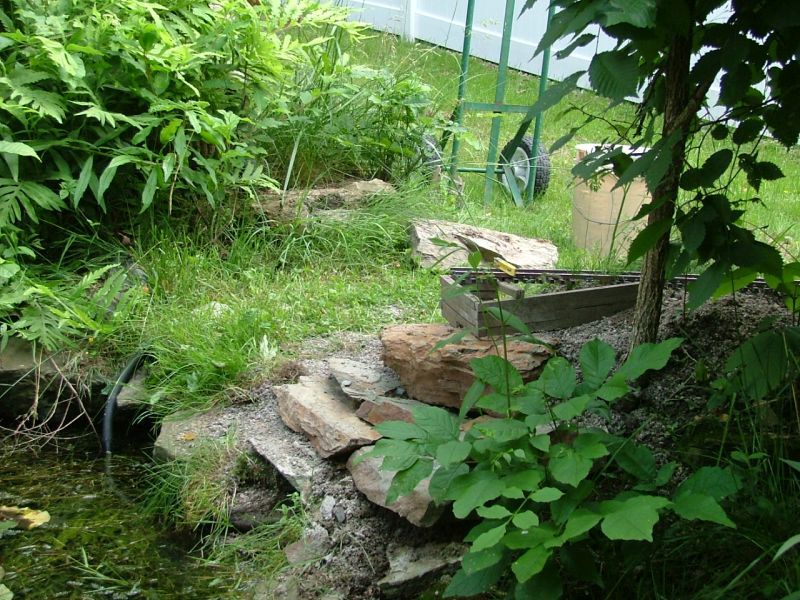
Then I re-stacked the pond edge rocks with rocks that I rescued from the bottom of the pond. I just waded in and lifted them out. I knew a few had slid into the abyss over the years, but I didn’t realize there were as many as there were.
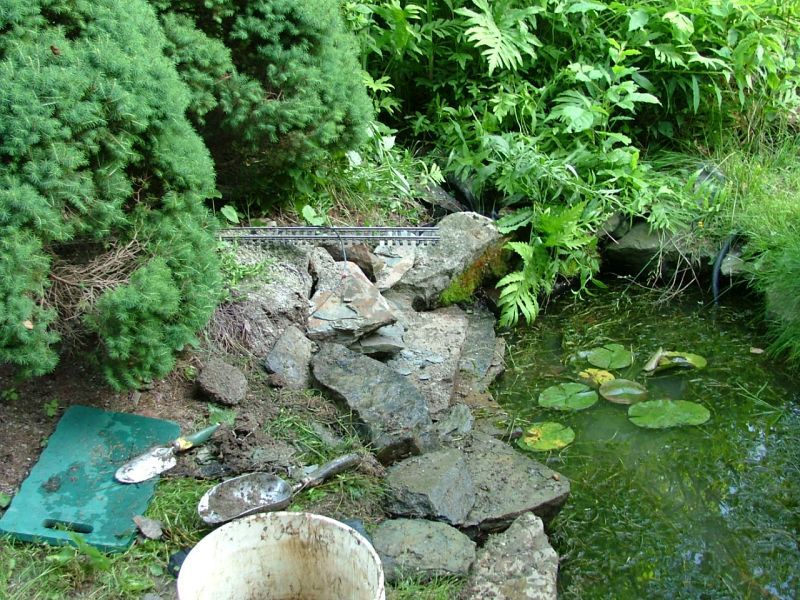
Between the rocks I recused, and the rocks I collected a few weeks ago, I was able to make a better (more stable) pond edge that is higher and extends back away from the edge of the pond. Hopefully this time the pond edge stones, and bridge abutment, don’t creep toward the pond.
Then I did a similar treatment to the west pond edge stones.
(picture missing) Oh crud!
I had sanded the bridge and washed it before I worked on the bridge abutments, so it patiently sat and dried while I got the stones placed.
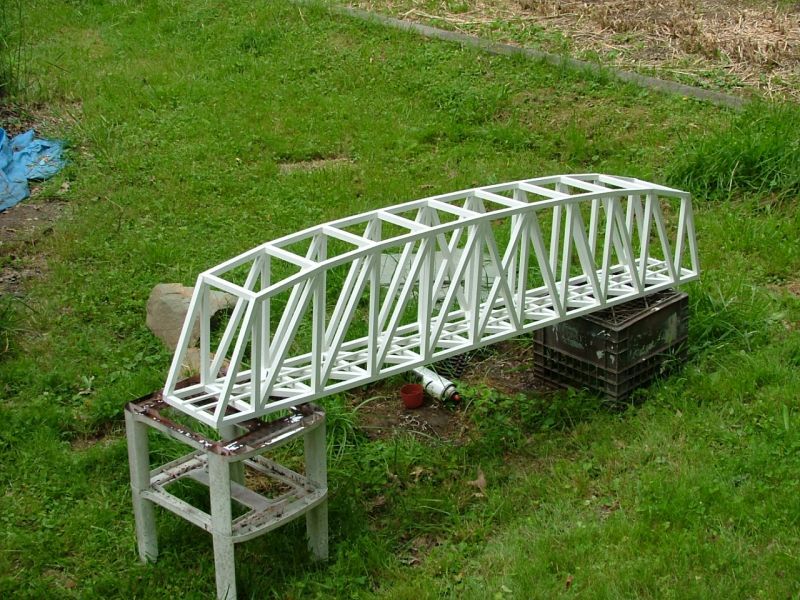
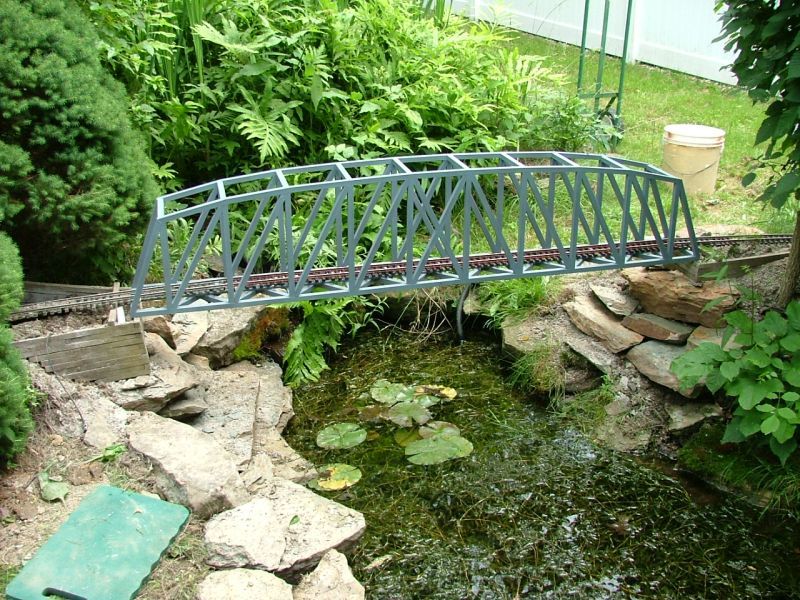
Once the bridge was dry, I primered it with Krylon primer gray.
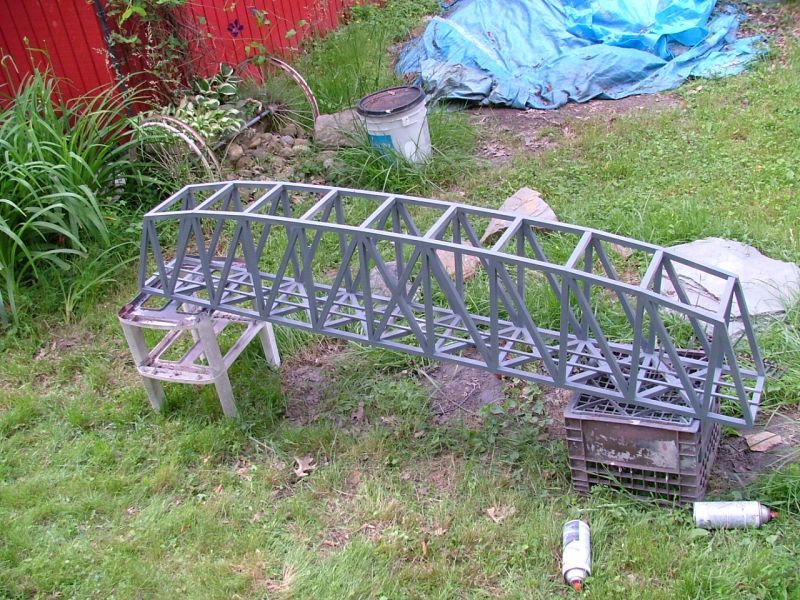
The challenge with spray painting such a structure is that most of it is open space. and where the members join at narrow angles, its difficult to get paint in there without getting runs in other areas. In other words, it can be a hassle.
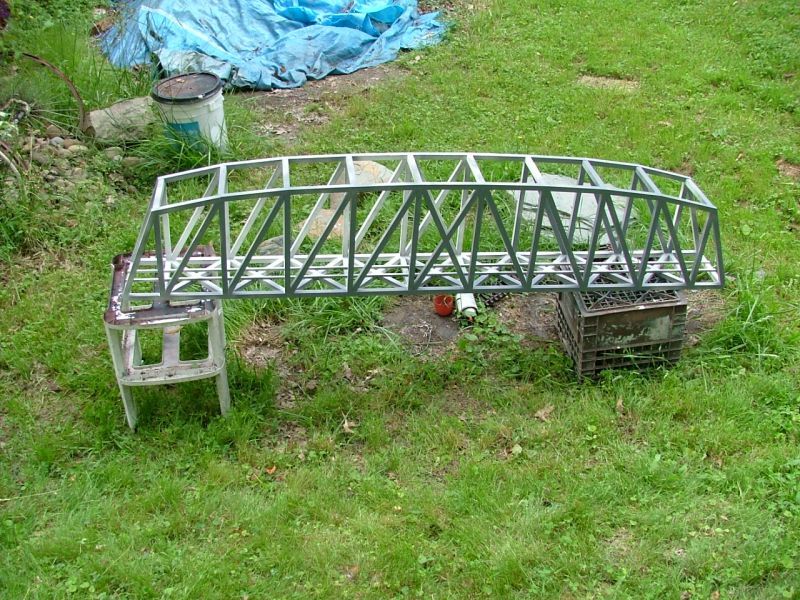
Once the primer dried I painted the bridge…
Drum roll…
Krylon High Seas Blue.
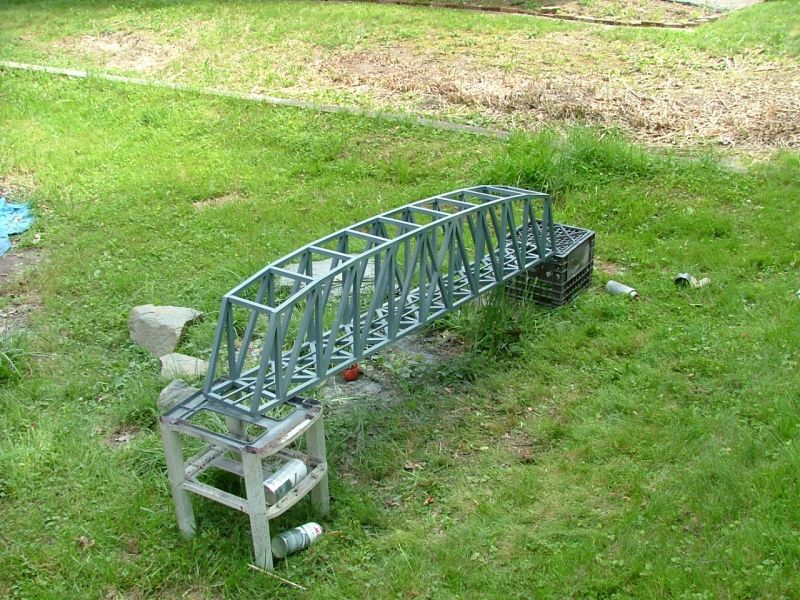
That looks like the color of the Homestead bridge.
Gee, now that you mention it.
I was actually looking for a pale, or light gray. But this shade of blue looks good, especially with all the green foliage around it.
it looks good.
but i’m curious, if the material will stay rigid with changes in temperature.
I’m impressed, again, Dave, as I always am. Very nice work! And Mark, you are right about that bridge color. Maybe that region of your pick can be called Homestead.
Korm Kormsen said:
it looks good.
but i’m curious, if the material will stay rigid with changes in temperature.
So am I Korm. Maybe I will regret not adding the metal channel stock. But at ambient temps 70-80 F, its at least as rigid as the wood I used to build my last bridge.
My company is issuing it’s field personnel new laptops. They are doing this at the main office as a group. So, I had to drive out to the city where the main office is, York PA. That’s over 4 hours of driving one way. My company is gracious enough, that when they bring into the main office for an event, they have me drive in the day before and put me up in a hotel. They also pay for my dinner. So instead of downloading the pictures form my camera, cropping and resizing them, uploading them to LSC, and writing the next installment of my bridge building adventure, I am sitting here in a hotel room, on the edge of a food coma, arguing with the wall mounted climate control unit that is alternating between freezing my person, and letting me sweat.
Dave, bridge looks great. You chose well on the color. No one will ever know that its not made of steel.
Dave,
You did a SUPER job on the bridge. I love it. The color is great too. Nice work. I can hardly wait to see it in place. ![]()
I agree, a wonderful looking bridge… (http://www.largescalecentral.com/externals/tinymce/plugins/emoticons/img/smiley-cool.gif)
Now that the bridge and rock edging of the pond is done, now I need to know what height to make the abutments, so track grading, re-leveling and re-ballasting resumes.
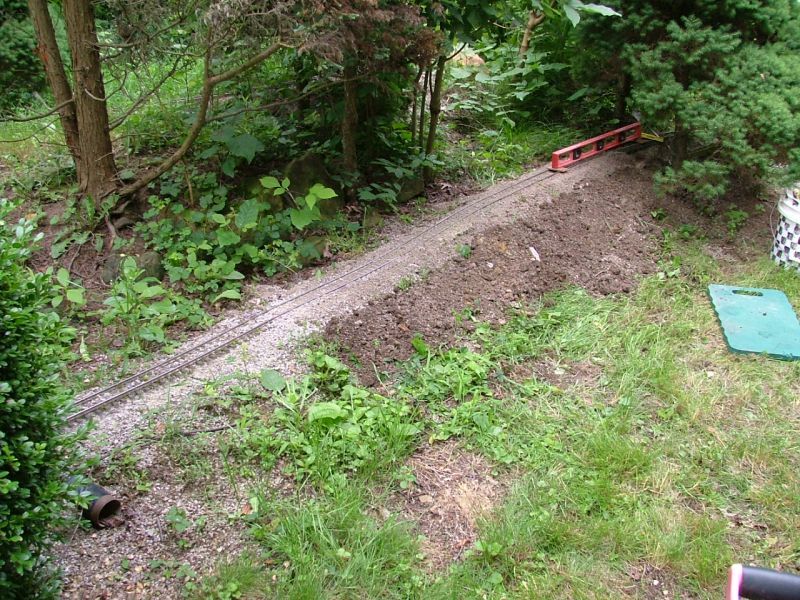
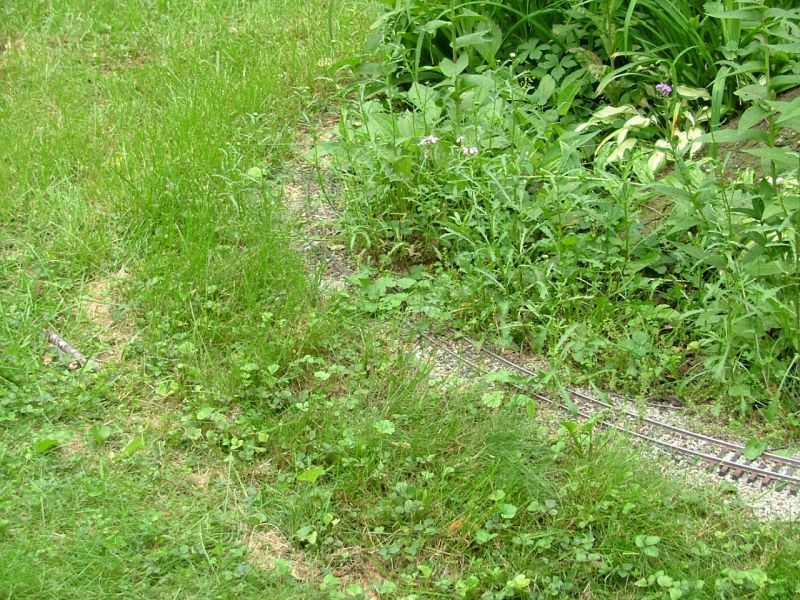
Also, the track that was previously rehabbed needs to be weeded. Its amazing what 2 weeks of heat and rainy days will do.
And since I have a new bridge, I decided to prep and use a new piece of track on the bridge.
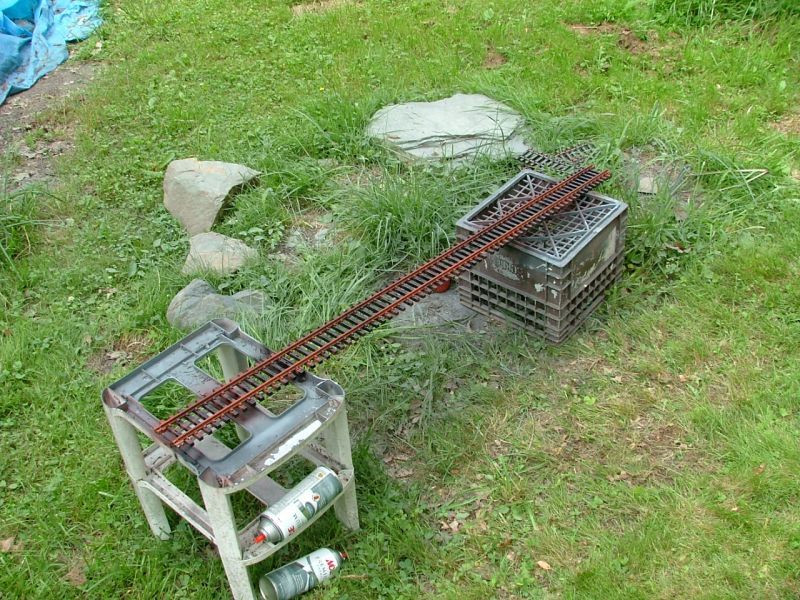
I had removed the foots (feet) off the rails on the end, so the rails would drop into an Aristo rail joiner. Kind of a poor man’s bridge clamp. But now that I am using split jaw clamps, they will not clamp to the modified rails. So I am using a new piece of track, and retiring the Asito joiners.
Once the track was set to the proper height to the edge of oblivion, I knew how high to make the abutment.
So I took the old abutment and cut it down to the height I needed. I also did the same on the other end, making sure the track on the bridge is at the railroad’s ruling grade of 2.58%.
Rushing to get trains running before dark, I was able to re clear the right of way and run the first train of the season. As per long standing tradition, I ran the Bachmann Reading passenger train.

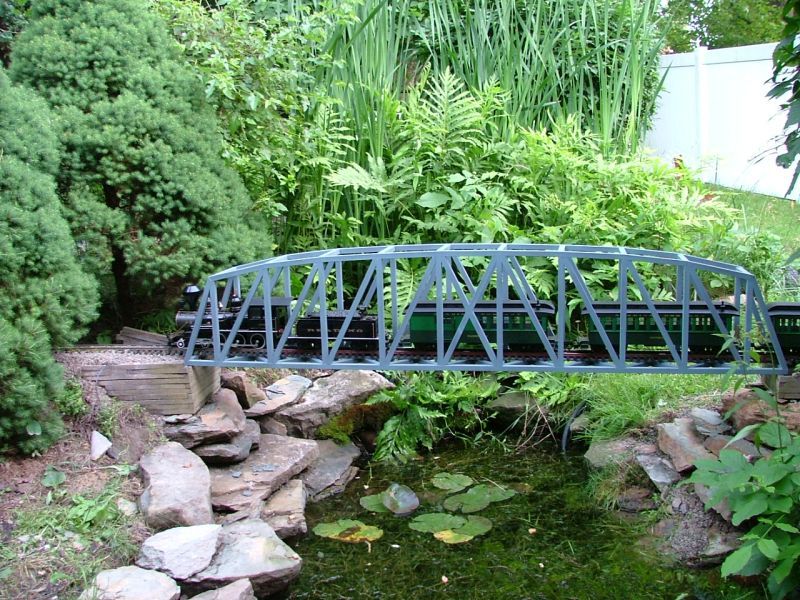
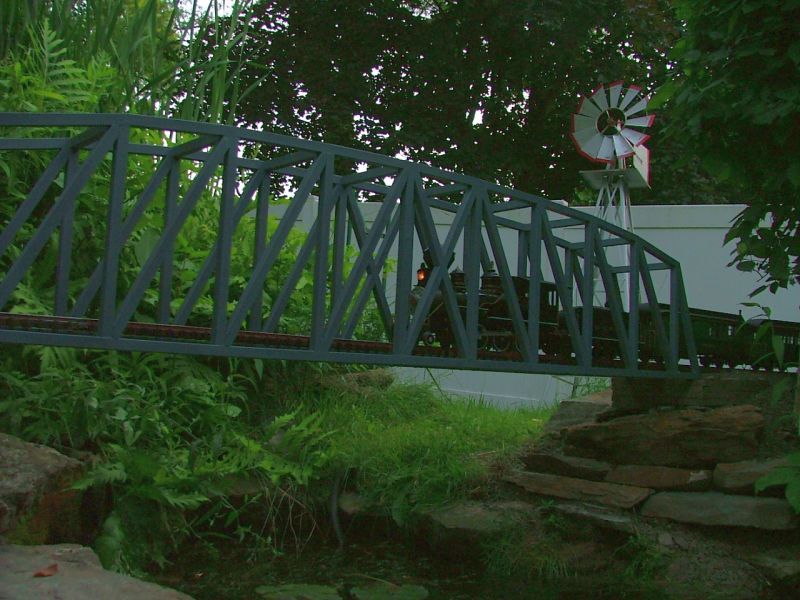
I had to trim back a few of my semi scale trees, but that wasn’t a surprise. The train ran pretty well, but it ran much better after I cleaned the black crud off the drivers. I let the train run until the mosquitoes discovered that there was a free meal walking around the yard trimming plants, me. Then I closed things down for the night.
That looks great in place with a train. Superb!(https://largescalecentral.com/externals/tinymce/plugins/emoticons/img/smiley-wink.gif)
well done!
i think, we should allow you, to put the “Butt” in ( ) for the next three weeks.
I’m with Joe. Nicely done. Looks great in place with trains on it. And it didn’t fall apart! Win! 
Great job, she’s a beauty.
I wonder if it could have been cut from a 2x4 …
Really looks great in its new home!! Now on to the next one!!!