Large Scale Central

Saw Mill Run Bridge v3.0

During the winter the bridge that crosses my pond was partly reduced to its component parts, and the west bridge abutment was removed. I am blaming it on a deer, loosing its footing and falling into the pond. Because if a person were to fall into the pond, they would probably still have been there.

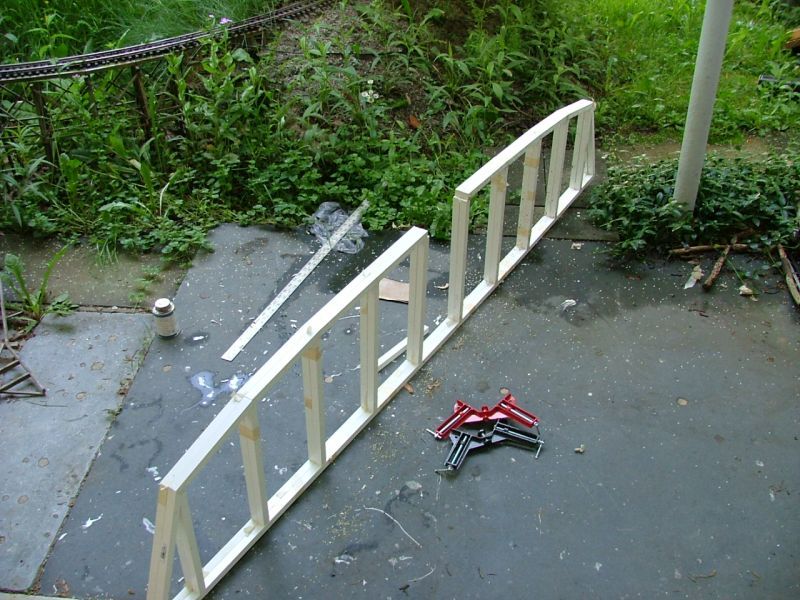
I originally made the bridge abutments right on top of the edge stones of the pond. So, every few years, I have to move them back, because they have been slowly creeping into the pond. I decided this time around that I will build a longer bridge, and place the abutments back from the pond on more solid ground. Also, since the opening of the railroad was delayed for many reasons, I am doing a more thorough job of rehabbing the railroad. I have replaced probably 6 feet of broken ties (not all in one place) and 2 sections of rails have been replaced. One section was bent up by the deer, and the other was bowed because it was formed without a railbender when I built the railroad.
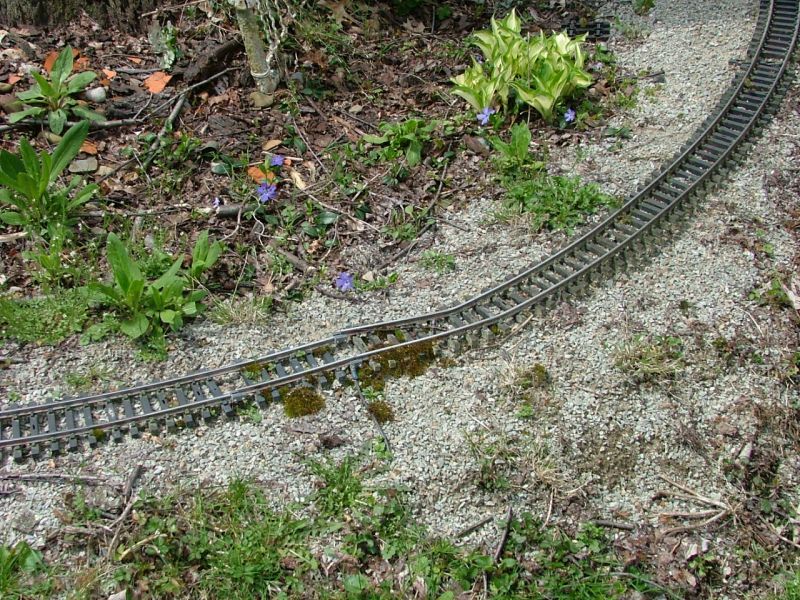
Deer damaged track.

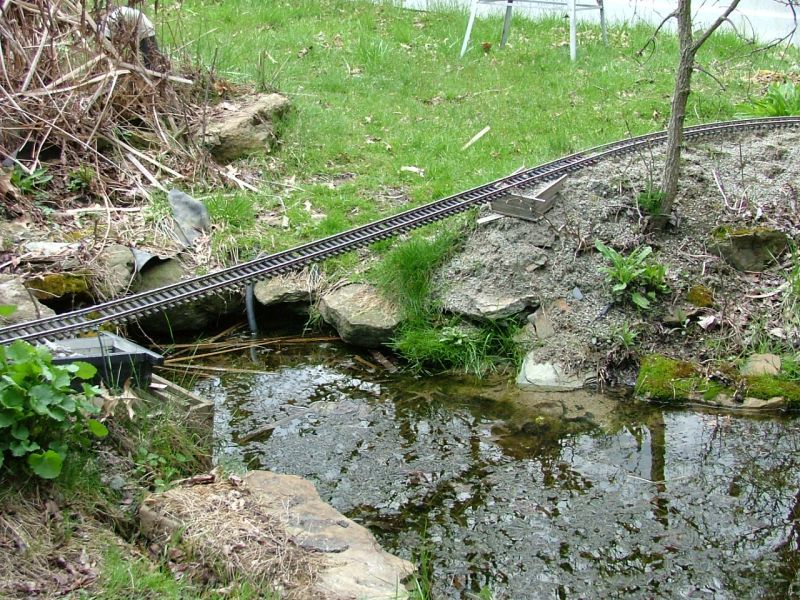
Missing, one bridge.

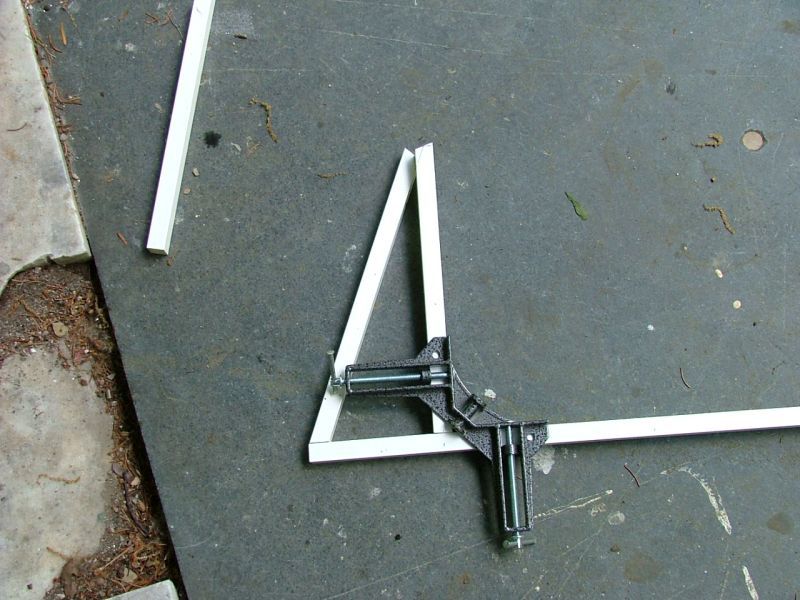
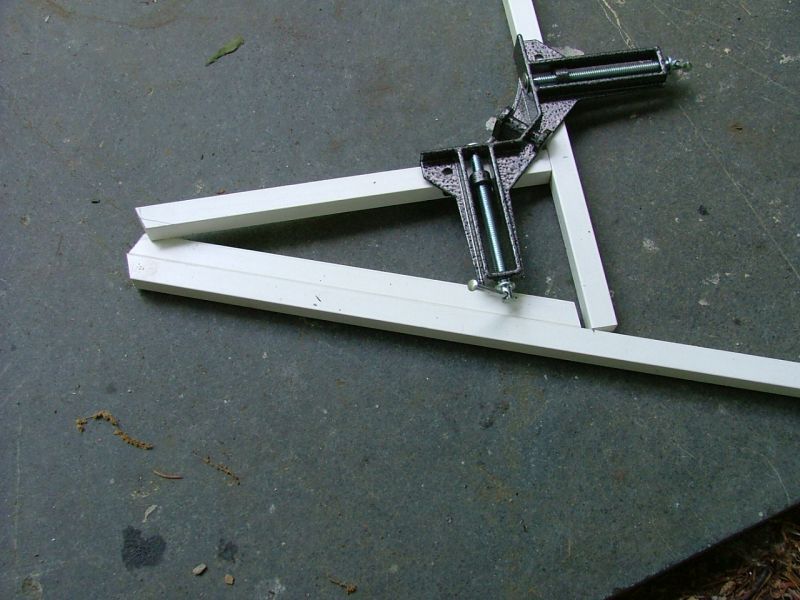
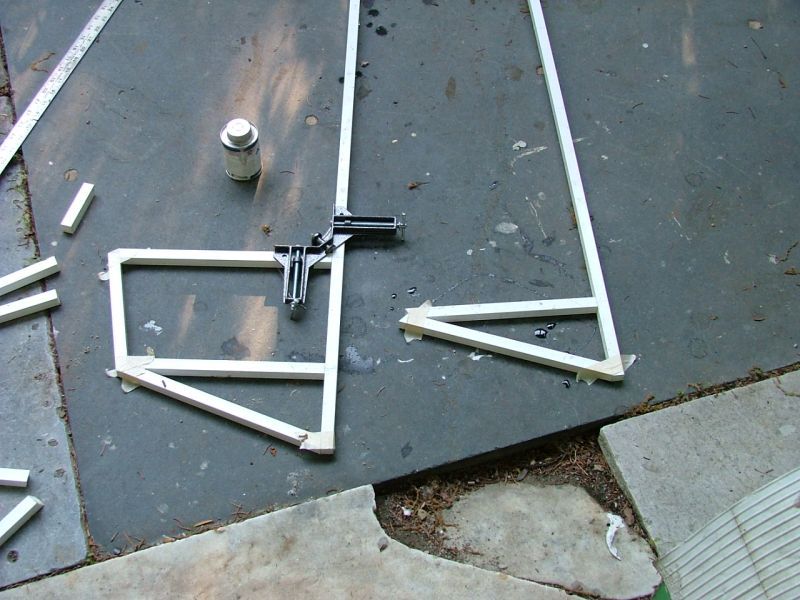
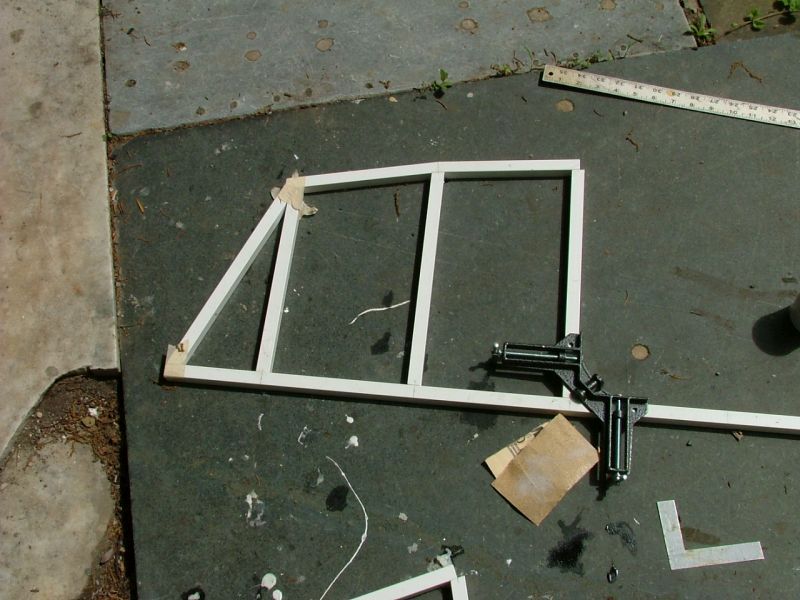
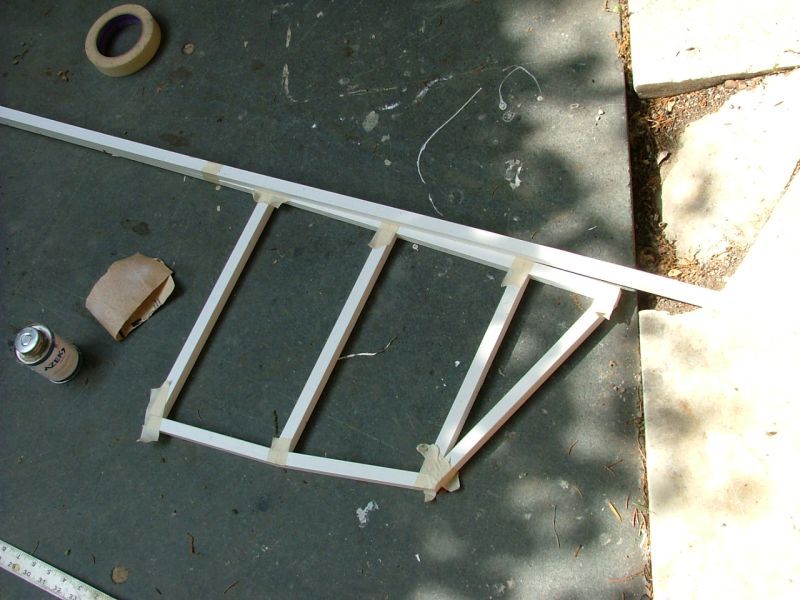
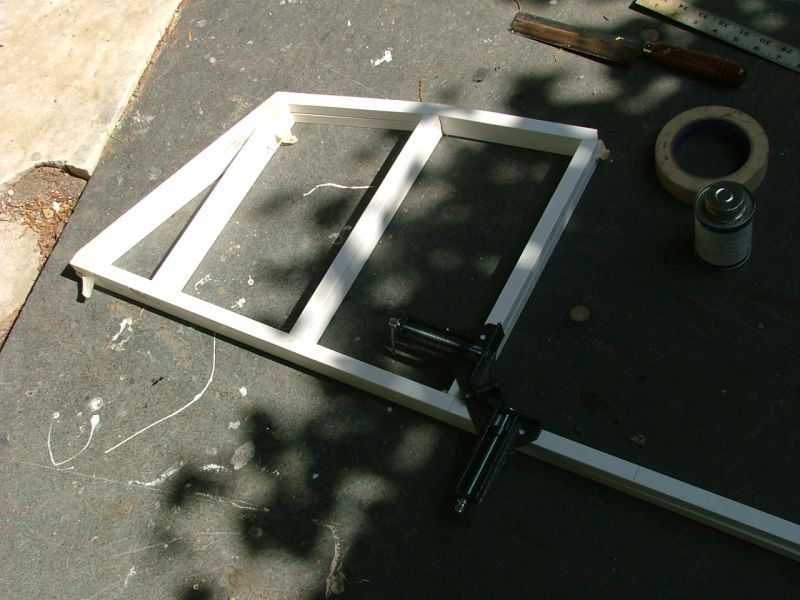
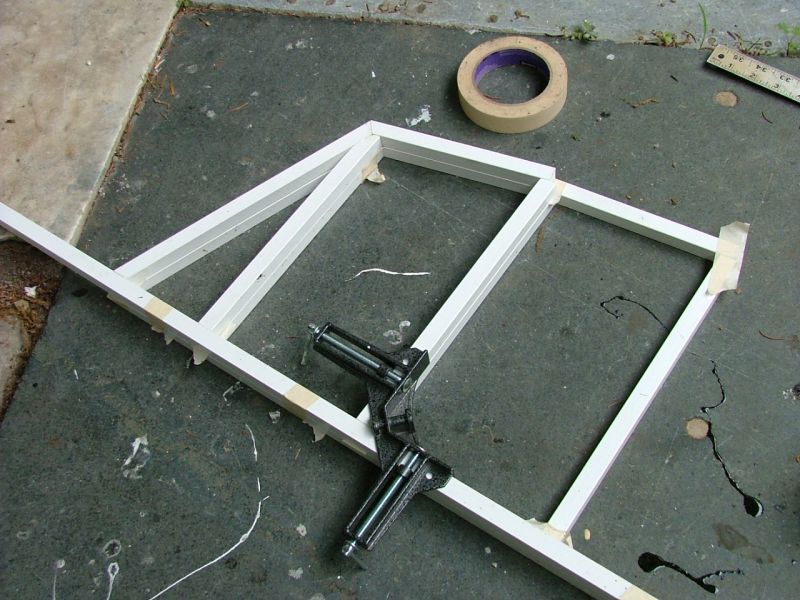
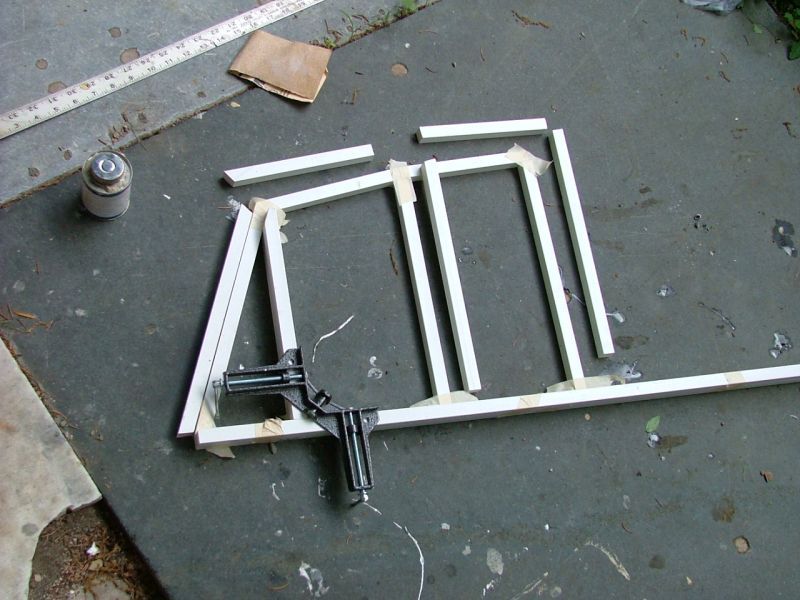
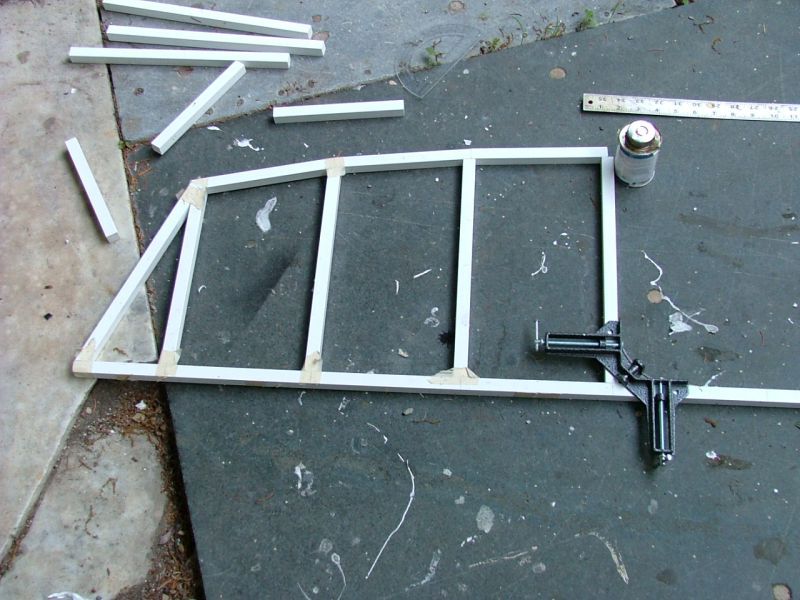
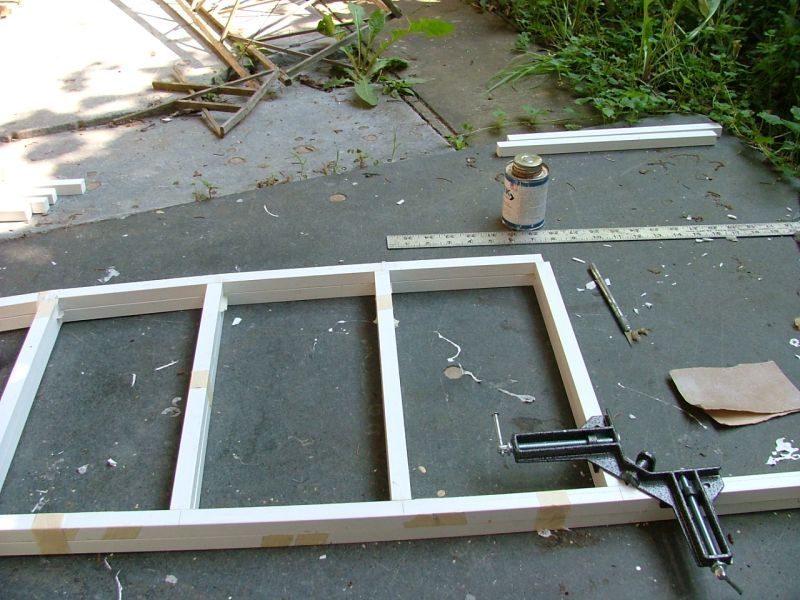
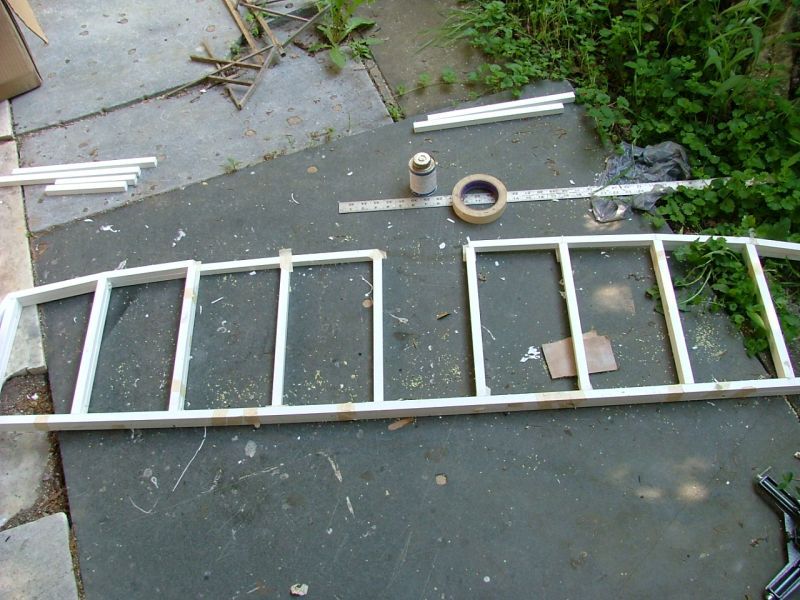
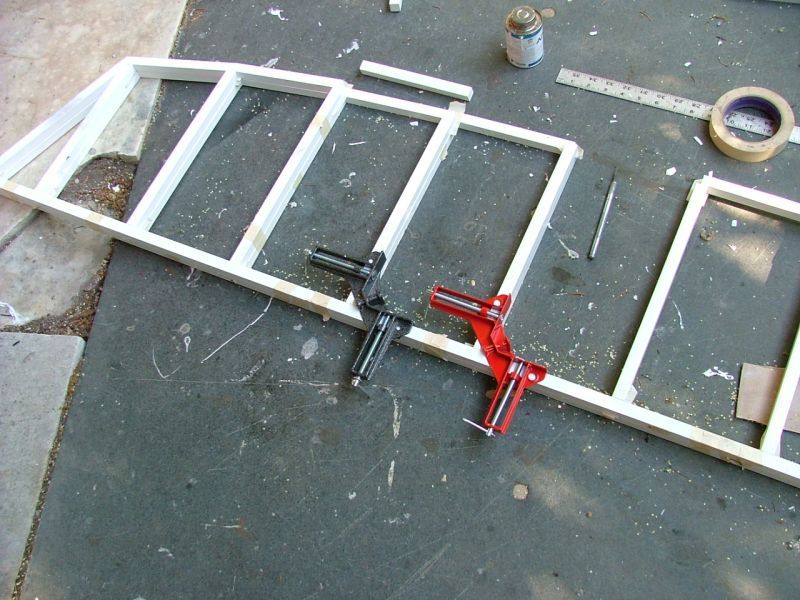
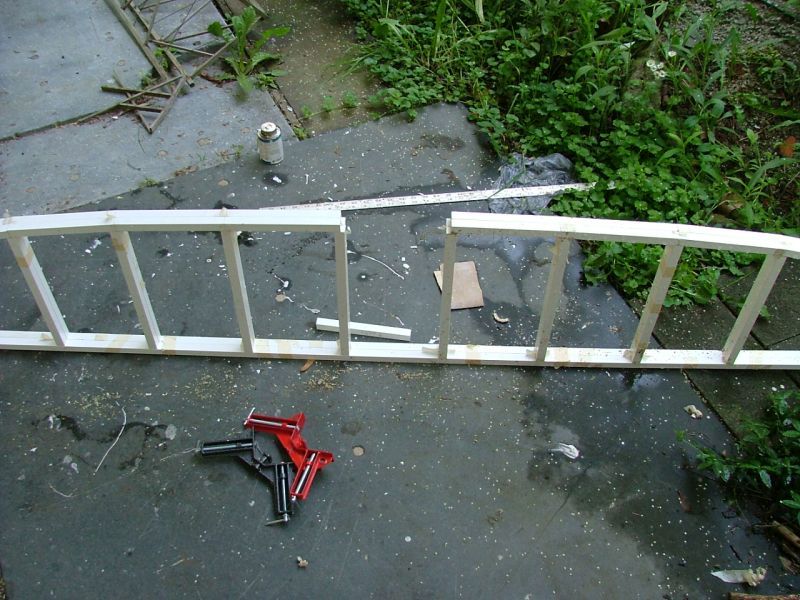
I decided that this time time around the railroad would pony up the money for a bridge made out of something other then wood. I like wood bridges, especially ones that look too spindly to do the job, but so far they have needed some repair every spring. So I wandered around Lowe’s for a while to see what my options were. I could have used aluminum, but I don’t have the means to solder or weld aluminum together, and I really didn’t want to drill a few hundred holes for screws or rivets. I could have used steel, but again I don’t have the equipment to braze or weld steel, and drilling a few hundred holes would be even more intense with steel then with aluminum. Then I wandered into the isle with Azek PVC boards. I would have liked something bit thinner, but I settled on the 5/8th inch square trim for my material.

So with 6 8 foot long sections in hand, I went home to start building my new bridge. It will be 6 feet long, and hopefully more durable then either version 1 or 2 was.

So I started trying to lay out the end truss assembly. Figuring angles isn’t my strong suit. I guess I should have paid more attention to my high school trigonometry class. Oh, that’s right! I never took trig.

But once I got what I wanted, I cut 3 more of each member to match the ones I had made.

And I started working my way along, making the parts as I went.

The verticals (except for the end) are on 7 inch centers. I started with a vertical clearance of 10 inches. With a side to side opening of 7 inches, I should be able to run all of my equipment through the bridge with no trouble.

Once I got so far long, I taped the joints, so that I could lay out the other side on the side I built, and build it right on top of the first side. The tape would keep the 2 side from gluing to each other. I used to build model aircraft this way, so that the 2 sides would match, but instead of tape I used sheets of wax paper to keep the 2 sides from bonding to each other.

Because I had already cut the matching members, assembling the second side went quickly. Then I separated the 2 sides, flipped one around, taped them together and then built the other end of the bridge, using what I had built so far to get it all to match.

Then, once I had used up all the parts I made, I went back to fussing and fitting my way along the first truss. Again, making 3 sets of members to match what I came up with

Then it was time to tape the 2 sides together, and build the other side to match.

Then I separated the 2, flipped one, taped them together and continued building with the parts I had made.

Oh look who decided to finally show up. It’s the other corner clamp. Things would have gone a bit faster if it had not been hiding at the beginning of the build.

Oh look, I almost have two finished sides.

Now instead of making 4 matching parts, I only need 2 matching parts and the basics of the trusses are done.

At this point, my pile of PVC boards was almost exhausted, so its off to Lowe’s for another half dozen.

Excellent.

Nice work. That one won’t rot (https://www.largescalecentral.com/externals/tinymce/plugins/emoticons/img/smiley-laughing.gif). Thanks for sharing.

Nice Maynard.

Well done. I like the technique you use to effortlessly get symmetry. Cool!

Jim thanks. Its the way model airplane builders do it. It seams to me that many model building skills and techniques are transferable from one type of model building to another.

Thanks John and Chris, Dan I hope it doesn’t rot.

It looks great.

How strong does it feel ?

Are you going to have to add / hide an aluminum angle piece for support ?

Are you going to keep the side @ 90 or angled …

So many questions…(https://www.largescalecentral.com/externals/tinymce/plugins/emoticons/img/smiley-wink.gif)

Dave, W

Dave, When I first saw the name of this thread with the name of Saw Mill Run in it I knew right away that it had to be one of your projects. That name has a sweet spot in my heart as well. I like your use of local names on your pike and I also really like the progress and finished products that you always so masterfully produce…and the way in which you post their evolution. It looks like another project to do you proud. I am enjoying this. Thanks, Mark

Nice Job David, PVC is perfect for that application.

It looks like you used standard PVC glue, like on the white PVC pipes, is that so?

I wonder about “gap filling”

Greg

Sean, it feels strong, but time will tell. I have no plans to add metal support to it. If it warps, then I will know better next time.

Thanks Mark, and Dan.

Greg, I am using the glue that the manufacturer (Azec) sells to use with their product. In my mind, I think they would sell what works best. As for gap filling, I carve the ends of the pieces with a hobby knife, to get the angles and fit I want. Any gaps that I have, I fill with glue and the shavings made from carving the stuff. Once you cut through the tough skin of this stuff, the inner part is easily carved. They say the inside is PVC foam. I agree its less dense inside, but its not like its full of bubbles on the inside.

I built one of my bridges with this; for the outer pieces … and your stock for the uprights.

https://www.lowes.com/pd/Common-3-4-in-x-1-in-x-8-ft-Actual-0-745-in-x-0-995-in-x-8-02-ft-White-Vinyl-Lattice-Cap/3160925

I used the glue recommended by the Company.

Cool project… Looking forward to seeing the finished product… (http://www.largescalecentral.com/externals/tinymce/plugins/emoticons/img/smiley-cool.gif)

i love northamerican building threads!

sometimes i learn new tricks, but nearly every time i see tools, i never saw before.

corner-clamps… - already found them on amazon.

the bridge, well , nice start.

only lazy people have genial ideas. like building the second half on top of the first.

and what kind of truss will it be? the Kingbutt Truss?

Korm Kormsen said: corner-clamps…

used for picture frames

Sean McGillicuddy said:

Korm Kormsen said: corner-clamps…

used for picture frames

to me they look, as if there might some more aplications for them.