Large Scale Central

Rocky Railway no 3 (Trinity) 2-4-0

So since David Marconi is accusing me of staring my modeling supplies into ruin I figure I had better spill the beans with the project I have been working on. I am not going to go into all the boring details. I will give highlights and if anyone cares about a particular something I did chime in and I will elaborate.

First the theme and plan. I want a 1:24 rubber scale train that will be equally at home as a narrow gauge or a standard gauge. I want it to be and old school mid 1880’s style loco. It will be link and pin. The whole train project is going to be very atypical for me in that it is going to be clean, pressed, and polished. . .a show queen; not my typical black weathered look. It will be painted, have polished brass, and a natural wood cab. It will be not only the loco but will also have a string of themed cars. So whats the theme. As most of you know I am a religious guy, a train nut, and with my health the two have been married. A Vacation Bible School company produces themed material and one of their themes is the “Rocky Railway” with a theme of “Jesus pulls us through”. With their permission I am using their theme and logo to create the train. They were excited to share and want to see the finished project. This loco, in the tradition of naming locos, is the Rocky Railway No 3 “Trinity”.
The loco will be a 2-4-0 based very loosely on the Virginia & Truckee #21.

Photo and drawing from Virginia and Truckee .com

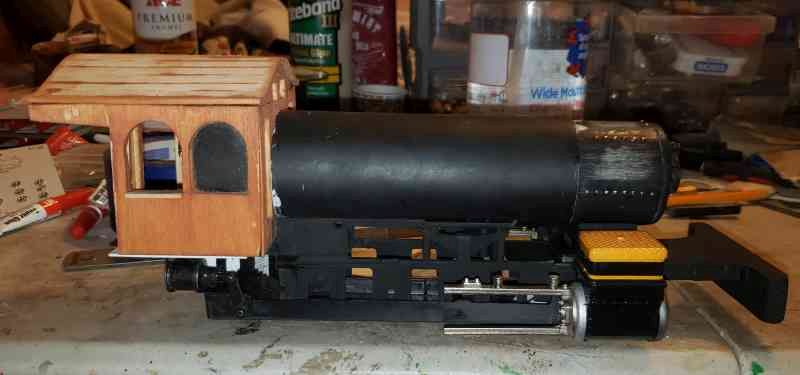
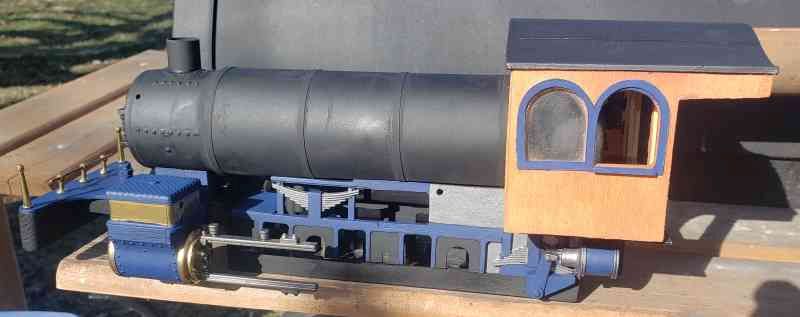
The project is an Annie bash. but not much of it will be the original Annie; its way more bash than Annie. I chose the Annie as opposed to a regular big hauler because I like the open frame work and metal crossheads, connecting rods and side rods. The first order of business was to shorten the chassis from a 6 driver loco into a 4 driver loco. The Annie has the first and last set of drivers flanged and the center set blind. A four driver loco has all flanged drivers. So I needed to move the first set back to where the center set were. This required widening and deeping the mounting slot to take the larger OD bearings. Also the center set of drivers is the one with the long crank pins that the connecting rod attaches too. I need to make the last set have the longer pins. This was accomplished by drilling and taping the crank pins of the last set (attached to the motor) of drivers to take a piece of #4 all thread which was screwed in an a drop of CA to hold it. Then I drilled and taped the long pins on the center drivers and cut them off and threaded them onto the rear driver and a drop of Ca to hold them and then they were cut to length. The all thread is recessed enough to allow a 3/8ths long #4 cap screw to hold the side rod and connecting rod on. The front set was moved back and also drilled and tapped for a cap screw. The frame was cut to an appropriate length as was the bottom cover plate. The B Mann cylinders/crosshead/ boiler support piece was then mounted to the pilot and a Piece of sheet styrene added to give the old school pilot shape. Finally and Oak pilot beam was added. The Boiler/smoke box is a piece of 1 1/4" PVC. The smoke box is raw pipe. the boiler is wrapped in sheet lead from an old shower pan liner and then that was wrapped in sheet styrene to give weight and the thicker profile of the jacket. The pilot truck for now is a the B mann cut and modified to be a single axle truck. It has a spring to push it down but might need weight to help keep it on the rails. It might be too short and if that turns out to be the case I will scrap it altogether and go with something like I made for the 2-6-0. The smoke box door is the B mann 10 wheeler trimmed down to fit the pipe.

The Chassis

My 2-6-0 pilot should I need to make a different one.

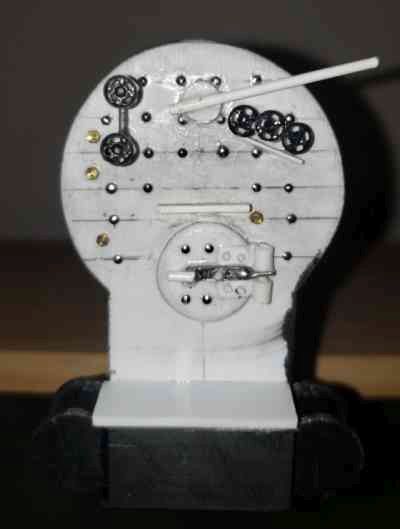
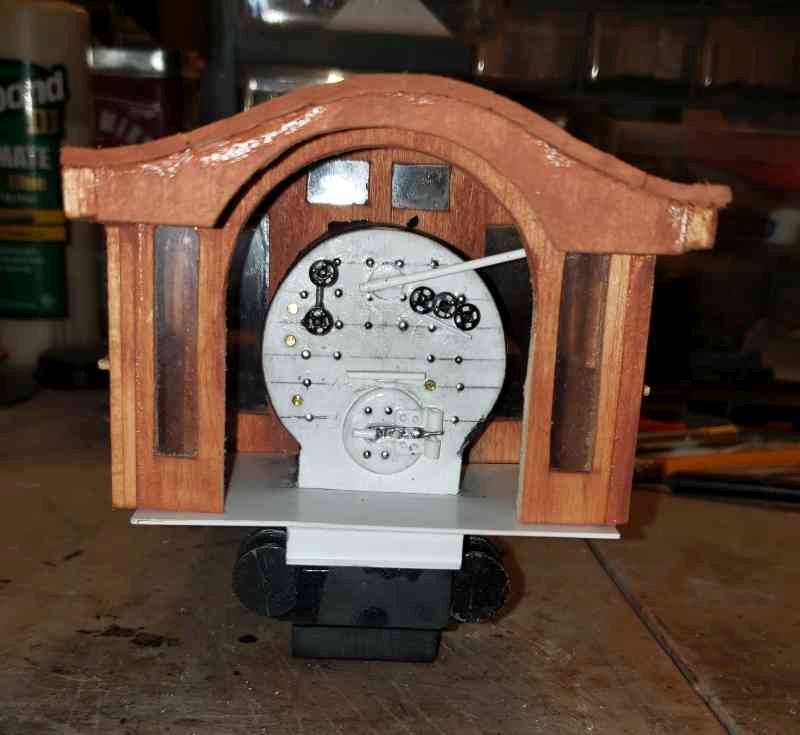
Next up was the cab and start to the backhead

Cab is hand cut bass wood stained with classic oak stain. I wanted a whimsical stylish cab hence the arched windows and curvy roof line. Everyone likes a curvy lady.

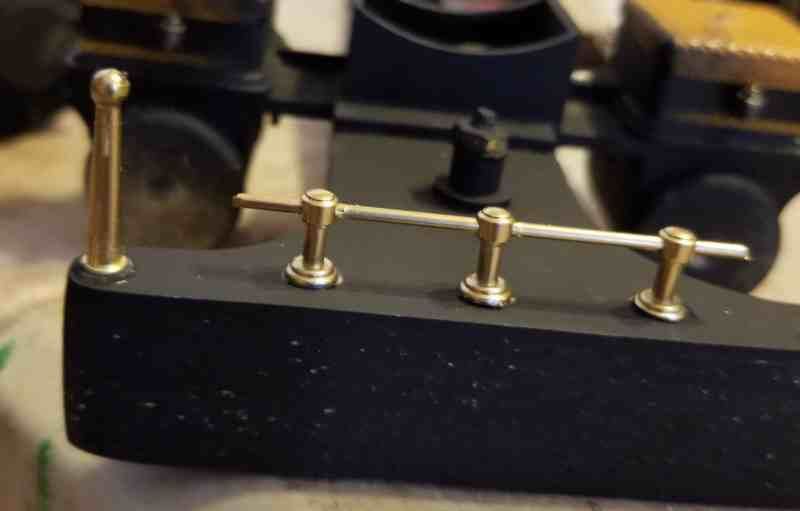
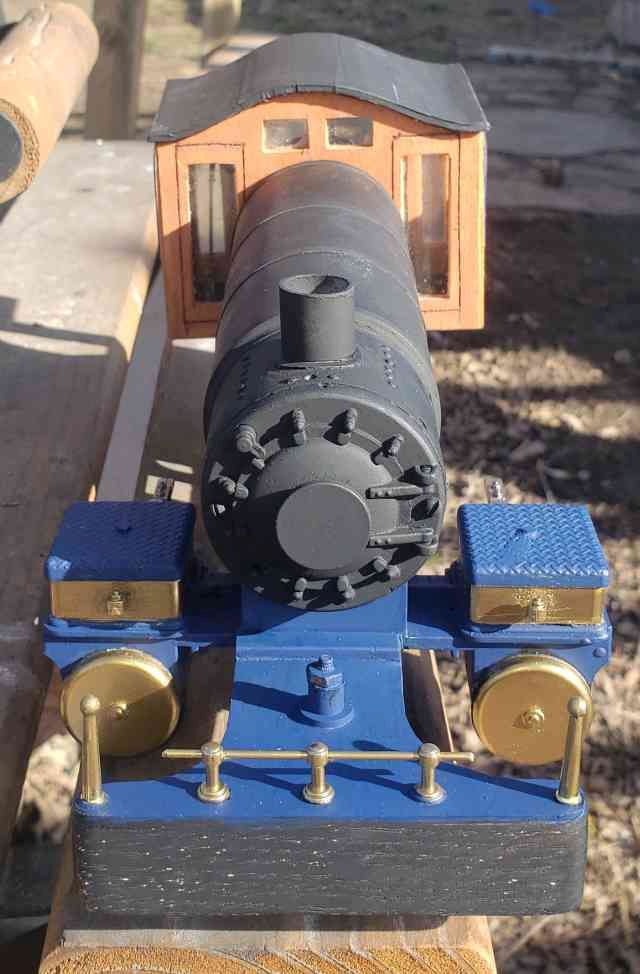
Next up was to add some details to the pilot

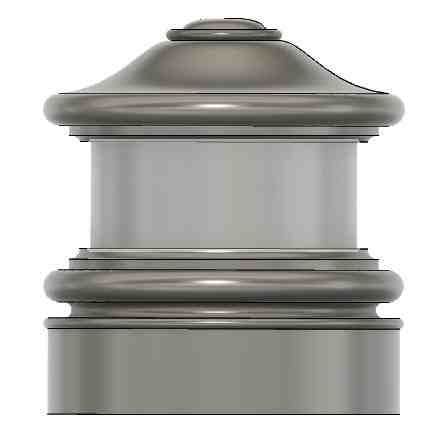
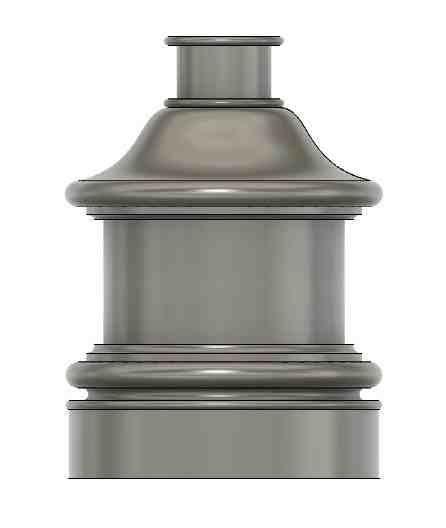
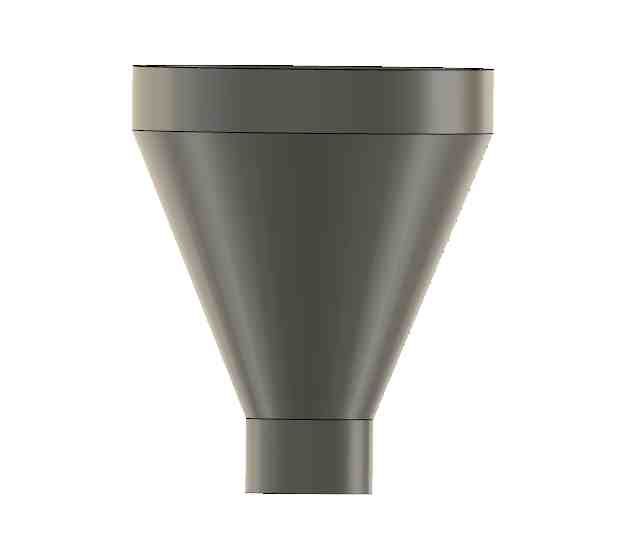
I am learning some CAD design for 3D printing thanks to Dan and Cliff for their help. I am using Autodesk Fusion 360. Here are the designs for the steam and sand domes as well as the stack

They are off to the printer now waiting to be printed. Until I get set up to do my own, Mike Williams (a lurker on here) is my printer and these will be printed with a resin printer. Mike is doing some excellent stuff in 7/8ths and his stuff can be found on ETSY.

Just a few additional notes for now. Cab walls are double thickness with a piece of .010 clear styrene for glazing. The roof is made from “tongue and groove” not really but simulated so that when viewed from underneath it has the grooves like I have seen on real locos. The top will have aluminum foil self adhesive duct tape ( not 1000 mile an hour tape but real metal tape thanks Kevin Strong for that one).

The steam and sand domes are hollow from the bottom to well up into the dome. The bases will be custom sanded to fit the boiler by placing sand paper on a piece of scrap pipe made up like the boiler with the lead wrap and then sand paper wrapped on that and then sanded to the proper curvature. They will then be filled with epoxy and lead shot for weight. I need weight because there is no room for the stock B mann weight so I am having to add lead where I can.

That’s pretty much where it sits. This is basically a week and a halfs work.

Following…

Watching close. Great start Devon, and as this is the first day I’ve looked at your build, I thank you for the smile I got when I read your opening blaming me. (https://www.largescalecentral.com/externals/tinymce/plugins/emoticons/img/smiley-cool.gif)

One good natured laugh deserved another.

Now this is some serious bashing! Oh, I like that cab.

Dev,

I’m definitely following this bash! Looks good so far.

Devon;

Glad to see that somebody else has discovered the virtue of dress snaps for valve handles and (sometimes) brake wheels. Dress snaps were my go-to solution for brake wheels way back in my American Flyer days. That part was almost impossible to find otherwise.

Best Wishes, David Meashey

The dress snap is thanks to David Fletcher and his Master Classes, particularly the 2-6-0 build. I would have never thought that one up on my own.

Dome making, easier way to form domes besides just sanding is take a scrap piece of boiler tube and with a hole saw the size of your dome material cut a hole in it then place your dome tube in it and make a line on the dome material following the boiler line remove and with a small drill follow the wavy line around until you have covered the entire line then with the same bit dill side ways back and forth until the 2 pieces separate, then sand, much less material to deal with, Bill dome making

Thats going to be nice, I thought about a “sort of” Bowker from a Bachmann sidetanker. I wish Bachmann would consider this. It would fit in nicely with the Spectrum line

Bill I basically did this on the 2-6-0. The sanding is the final touches after just removing a bunch of materiel. i used a saw but same difference. Remove the bulk and then finish with sand paper.

Vic Smith said:

Thats going to be nice, I thought about a “sort of” Bowker from a Bachmann sidetanker. I wish Bachmann would consider this. It would fit in nicely with the Spectrum line

Its a rather unusual wheel arrangement and the reason I chose it, at least in American locomotive manufacture. The mainstay was a 4-4-0 or the 2-6-0 for small road engines. Not many 2-4-0s out there. Not sure why. If someone knows or even has a theory I’d love to hear it. The only thing i can think of is a 2-6-0 has more ability to put power to the rails by dividing the traction over 6 drivers and a 4-6-0 becomes a too large engine. And a 4-4-0 didn’t have the traction. So making a 2-4-0 wouldn’t make a “big enough” loco for main line use and if your are running a switcher the pilot truck is unnecessary. So my guess is the 4-4-0 was the design because I am assuming a two axle pilot truck is better for supporting the front of the boiler than a 2 axle one of a 2-4-0 but when they needed more tractive effort and added another set of drivers they didn’t want such a large engine as a ten wheeler so they dropped one of the pilot axles and then relied on the driver to support the weight. But this is all guess and speculation. I just know the 2-4-0 is not a popular American design and that is why I chose it. Its unique.

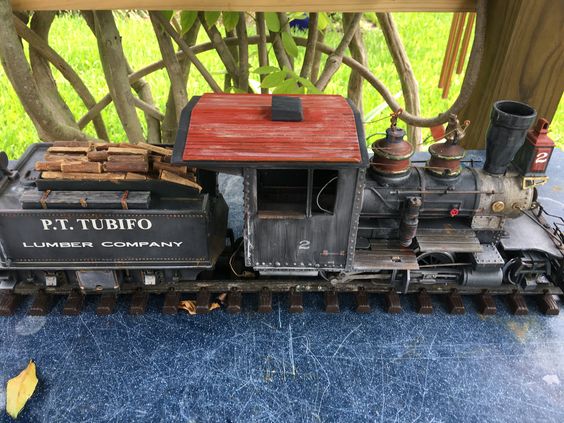
Well, not as nice as yours but when I first started I also chose a 2-4-0 and for these reasons, 1 didn’t know any better, 2 had a small LGB 2010, and 3 + I had a pilot from a aristo 2-4-2 , but it still came out ok and it started my crave for bashing, BillPT Tubifo

I like that a lot Bill. Nothing wrong with that one. Like I said the 2-4-0 is an odd ball but they did exist. Just a design that did not catch on compared to the 2-6-0

2-4-0 was a common small industrial locomotive from builders like Porter in to the 20th century.

The type was not overly rare in mainline use in the US in the 1830s and 1840s, but the 4-2-0 had become the most common because of the flexibility and reliability of the 4-wheel pilot truck & US trains grew in size, and therefore weight, quite quickly which made the expansion of 4-2-0 in to 4-4-0 happen in short order.

It actually took quite some time to get a 2-wheel leading truck reliably incorporated in to the overall suspension springing of US locomotives.

Thanks Forrest

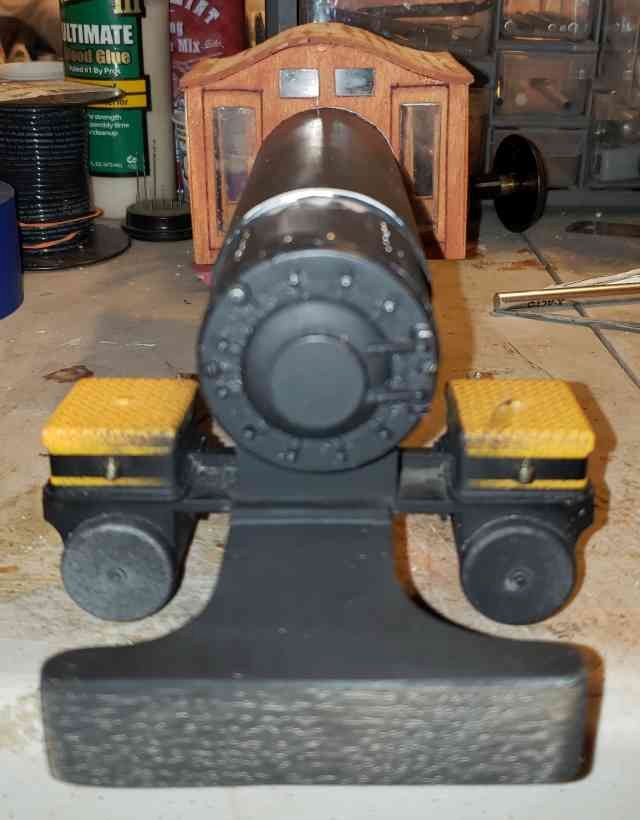
A little more progress. Some trim on the cab, boiler bands, and some paint on the pilot and cylinders.