Large Scale Central

RGBWW LED Strip Overhead Lighting

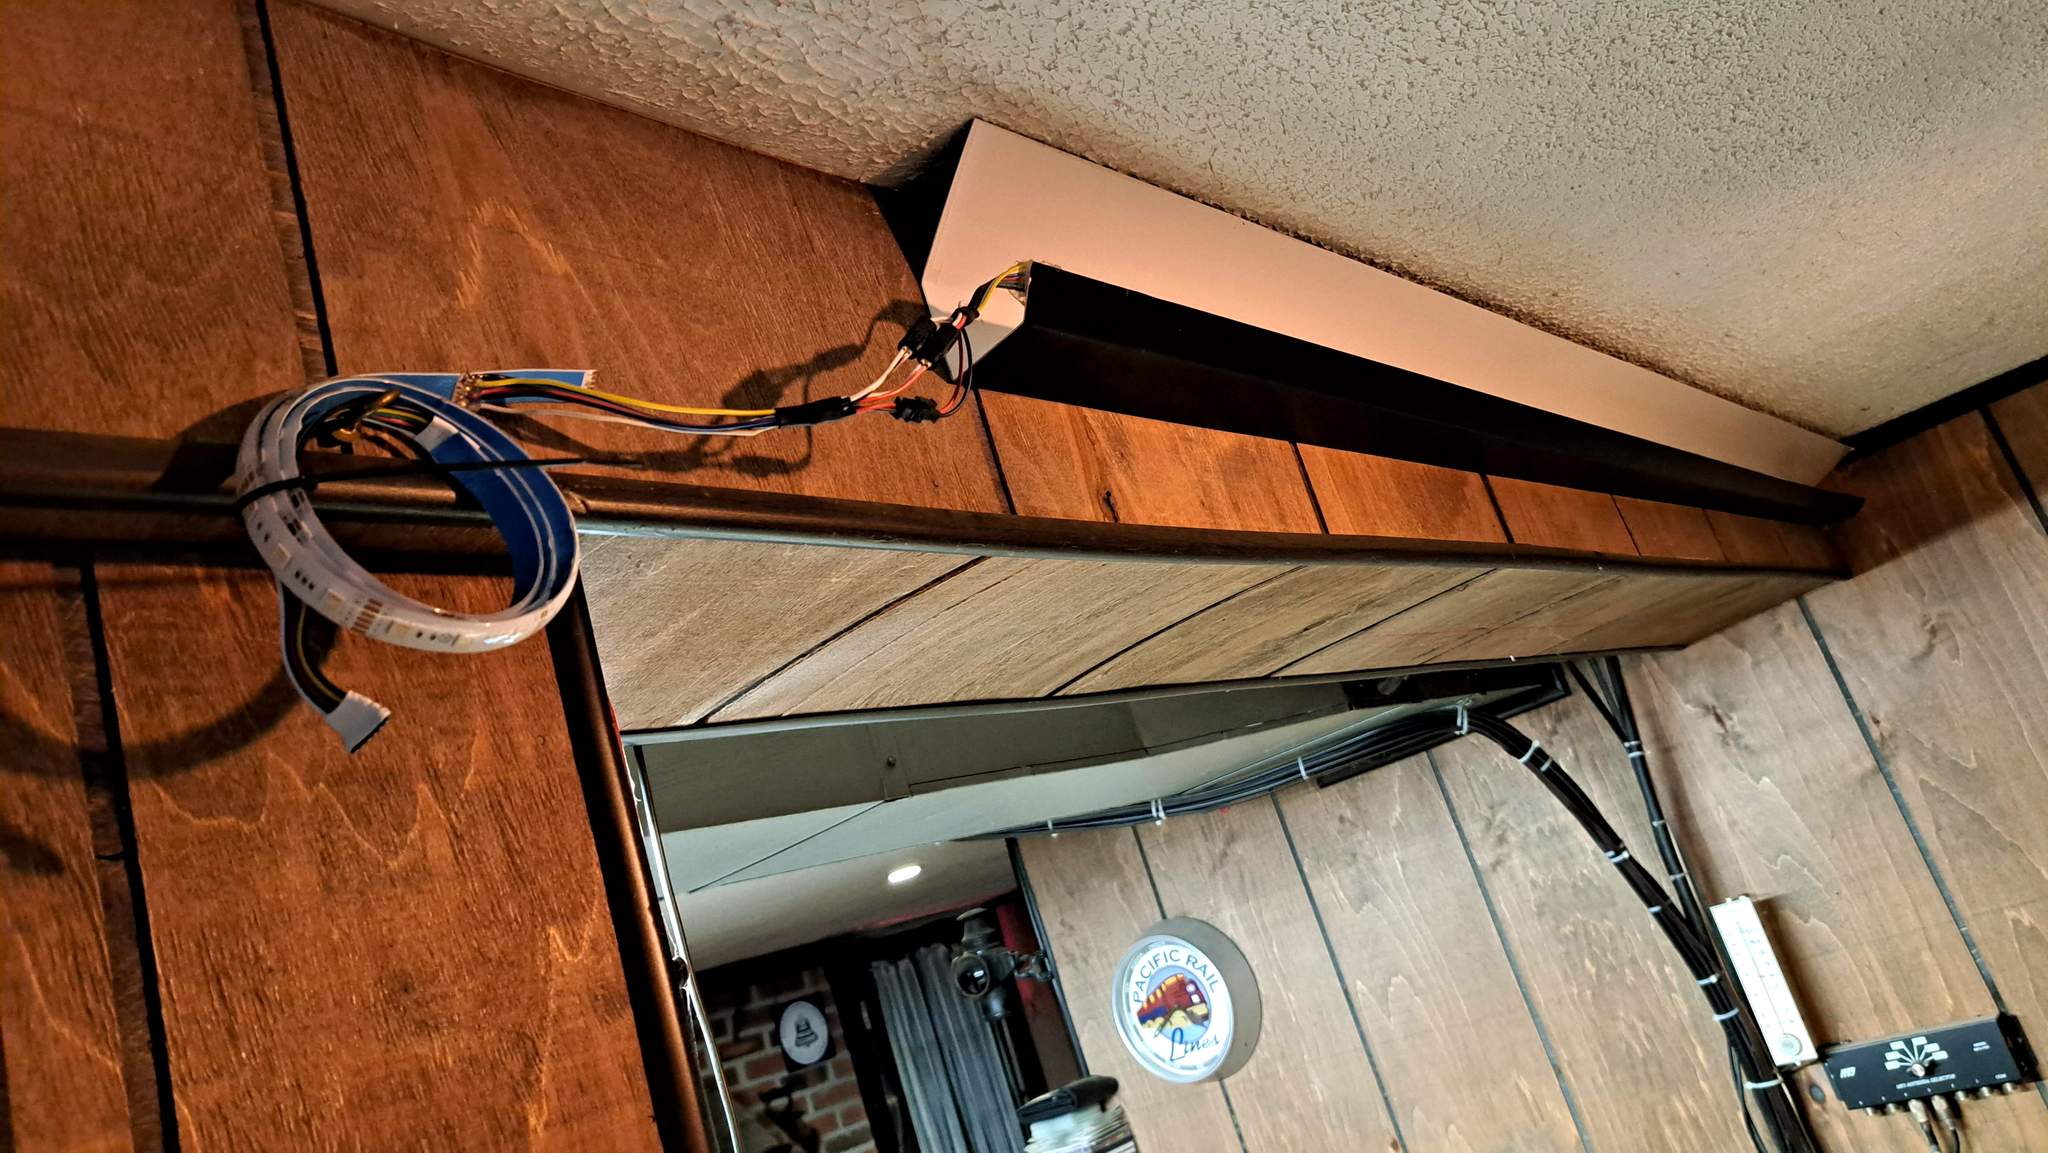
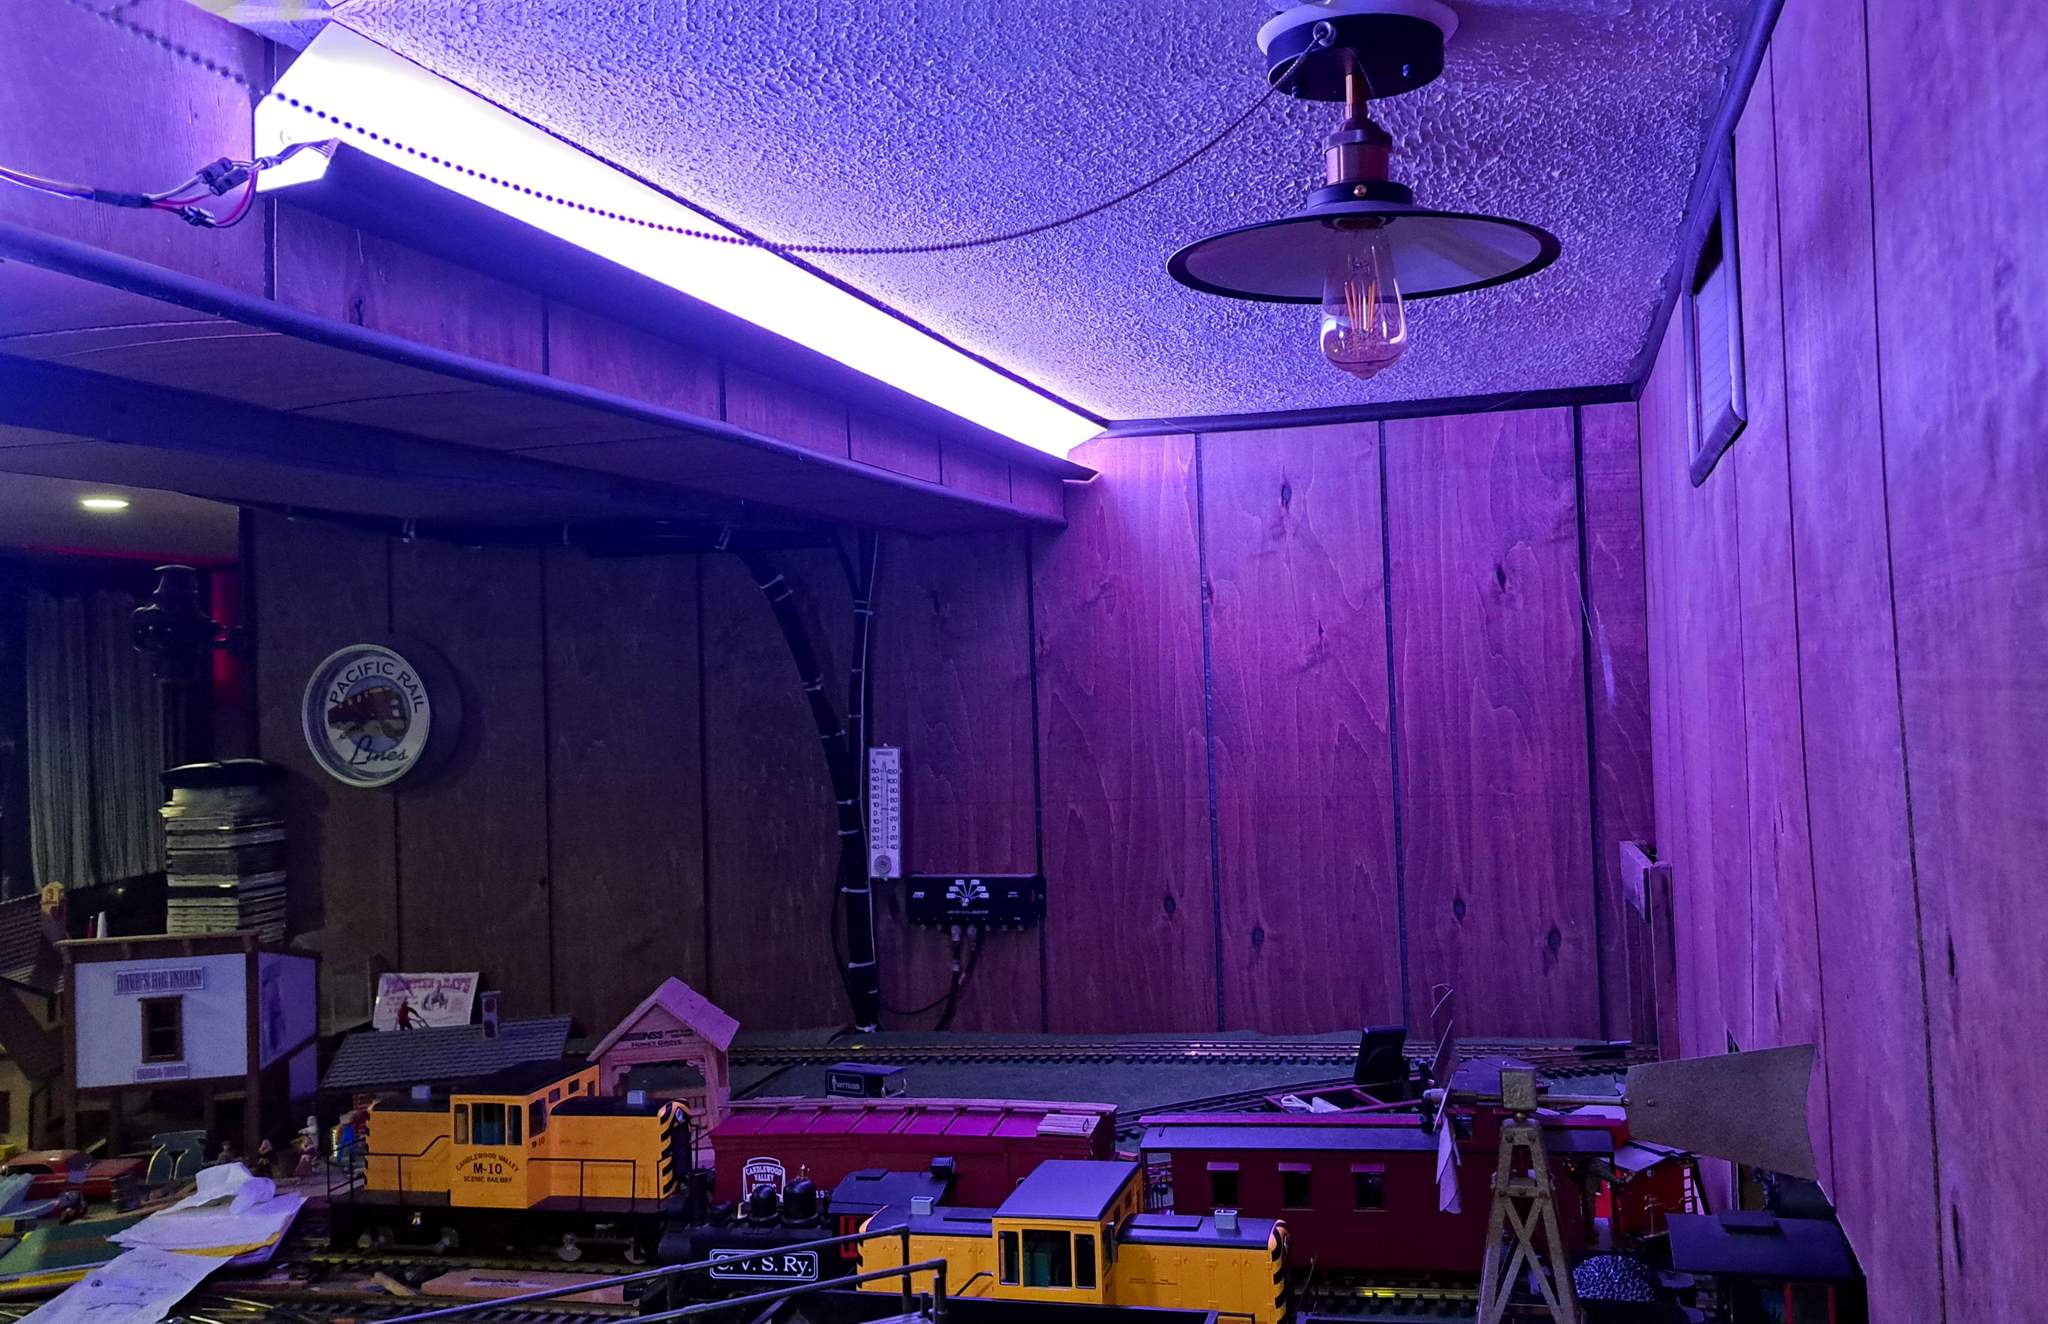
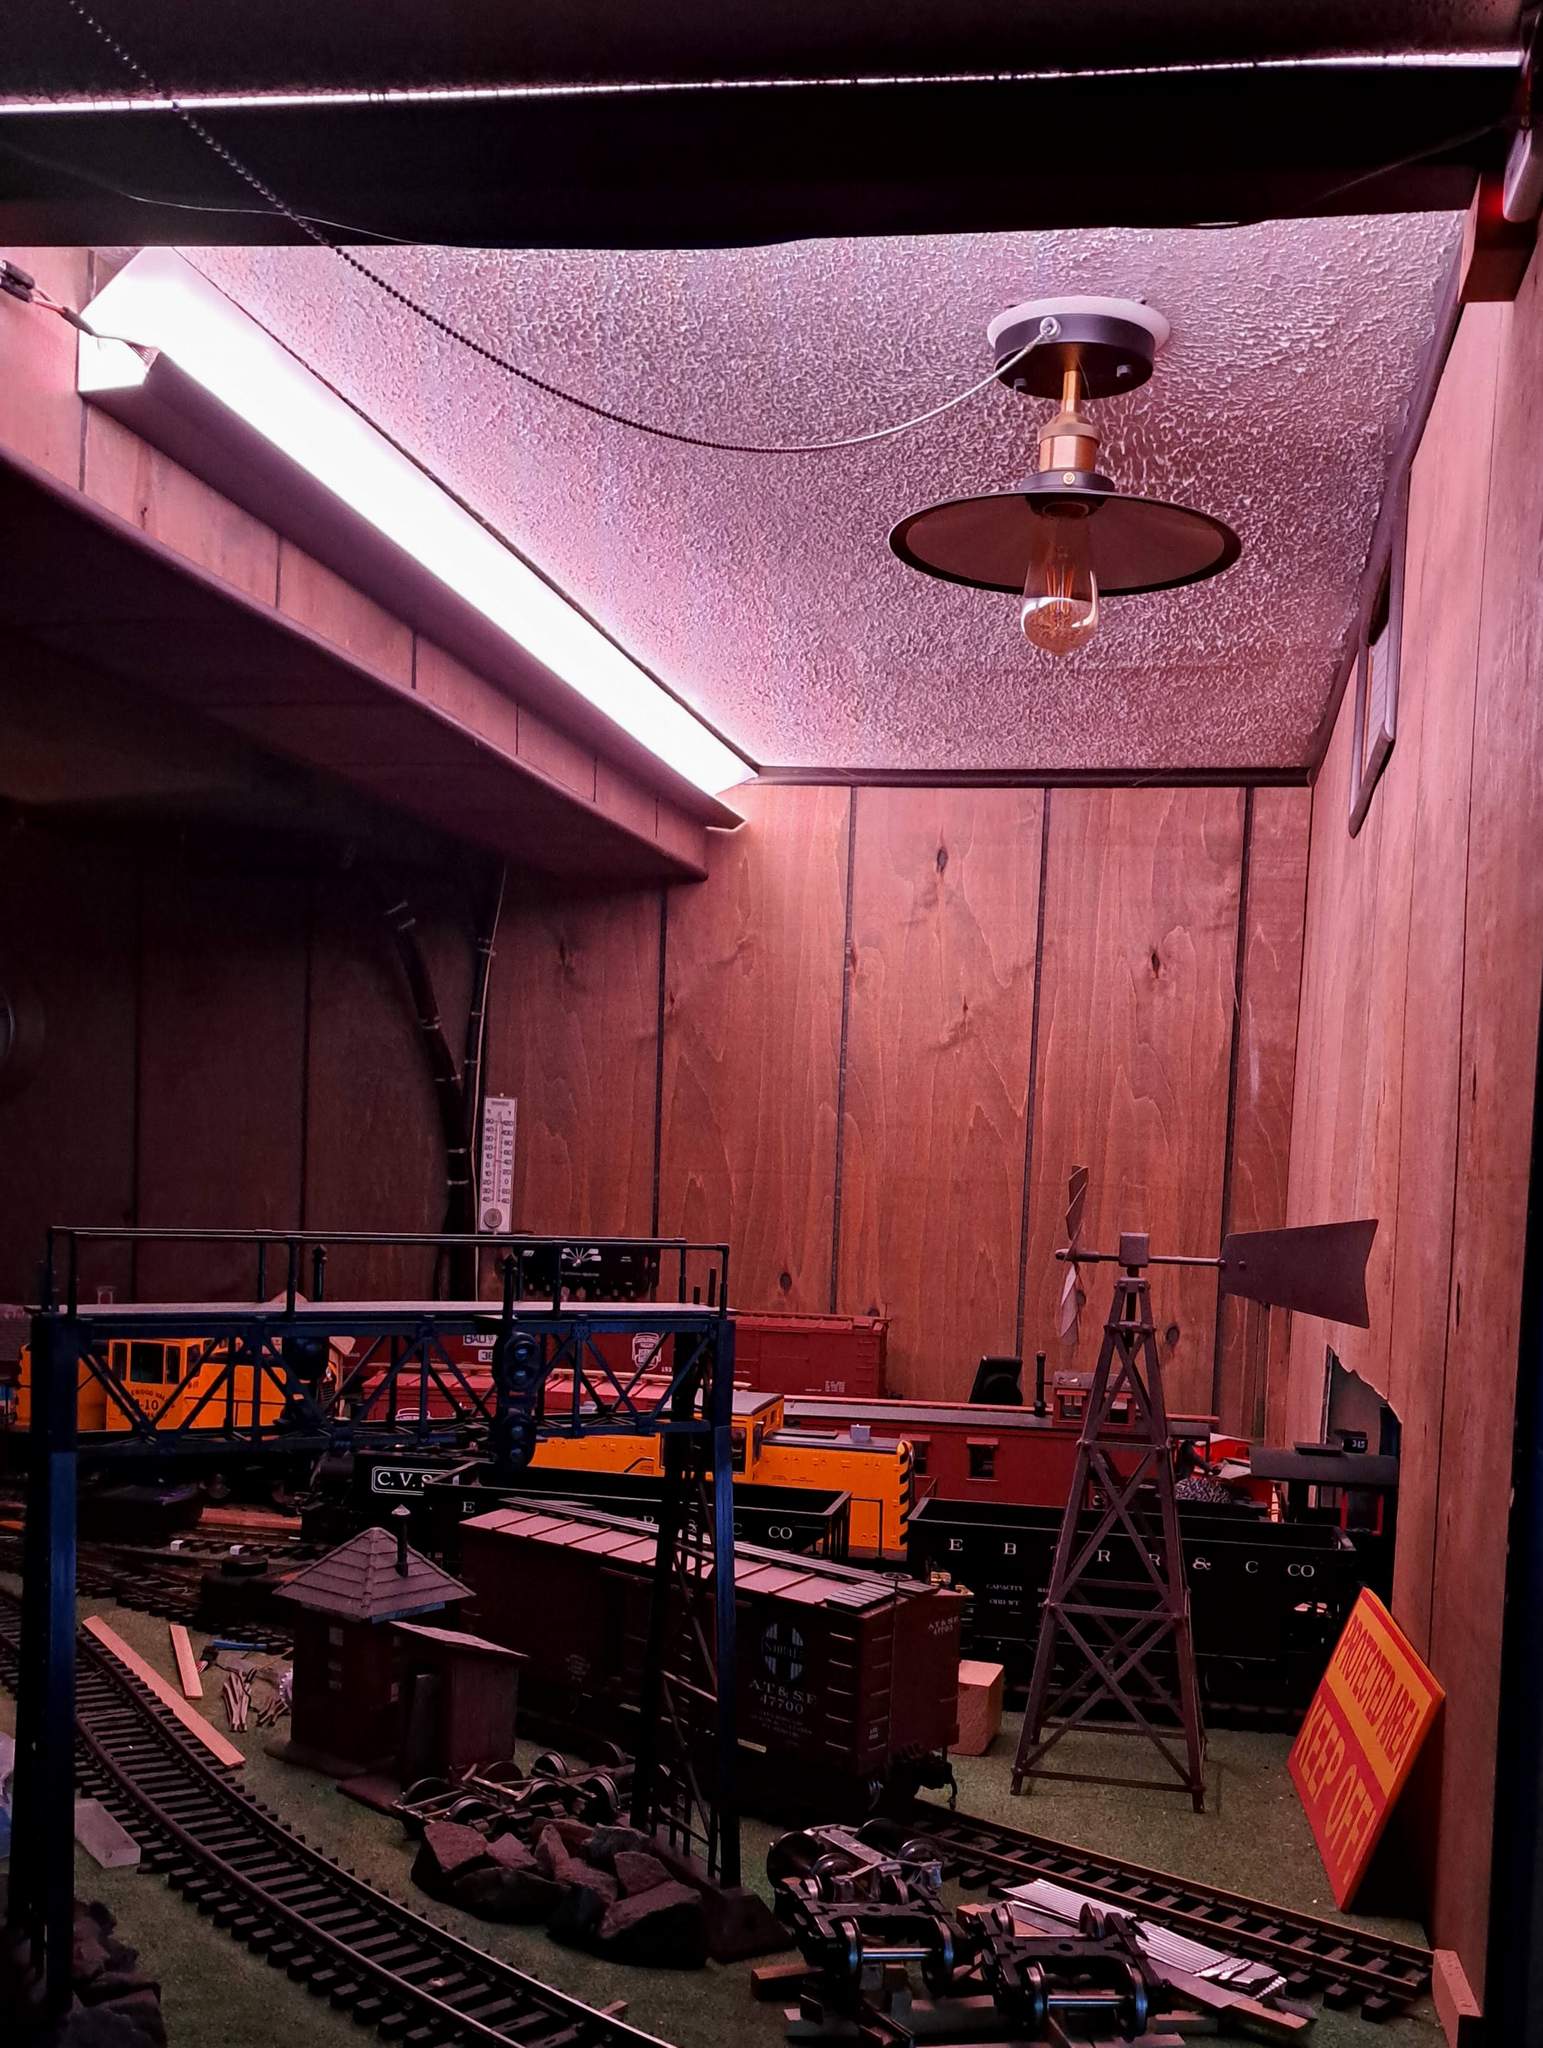
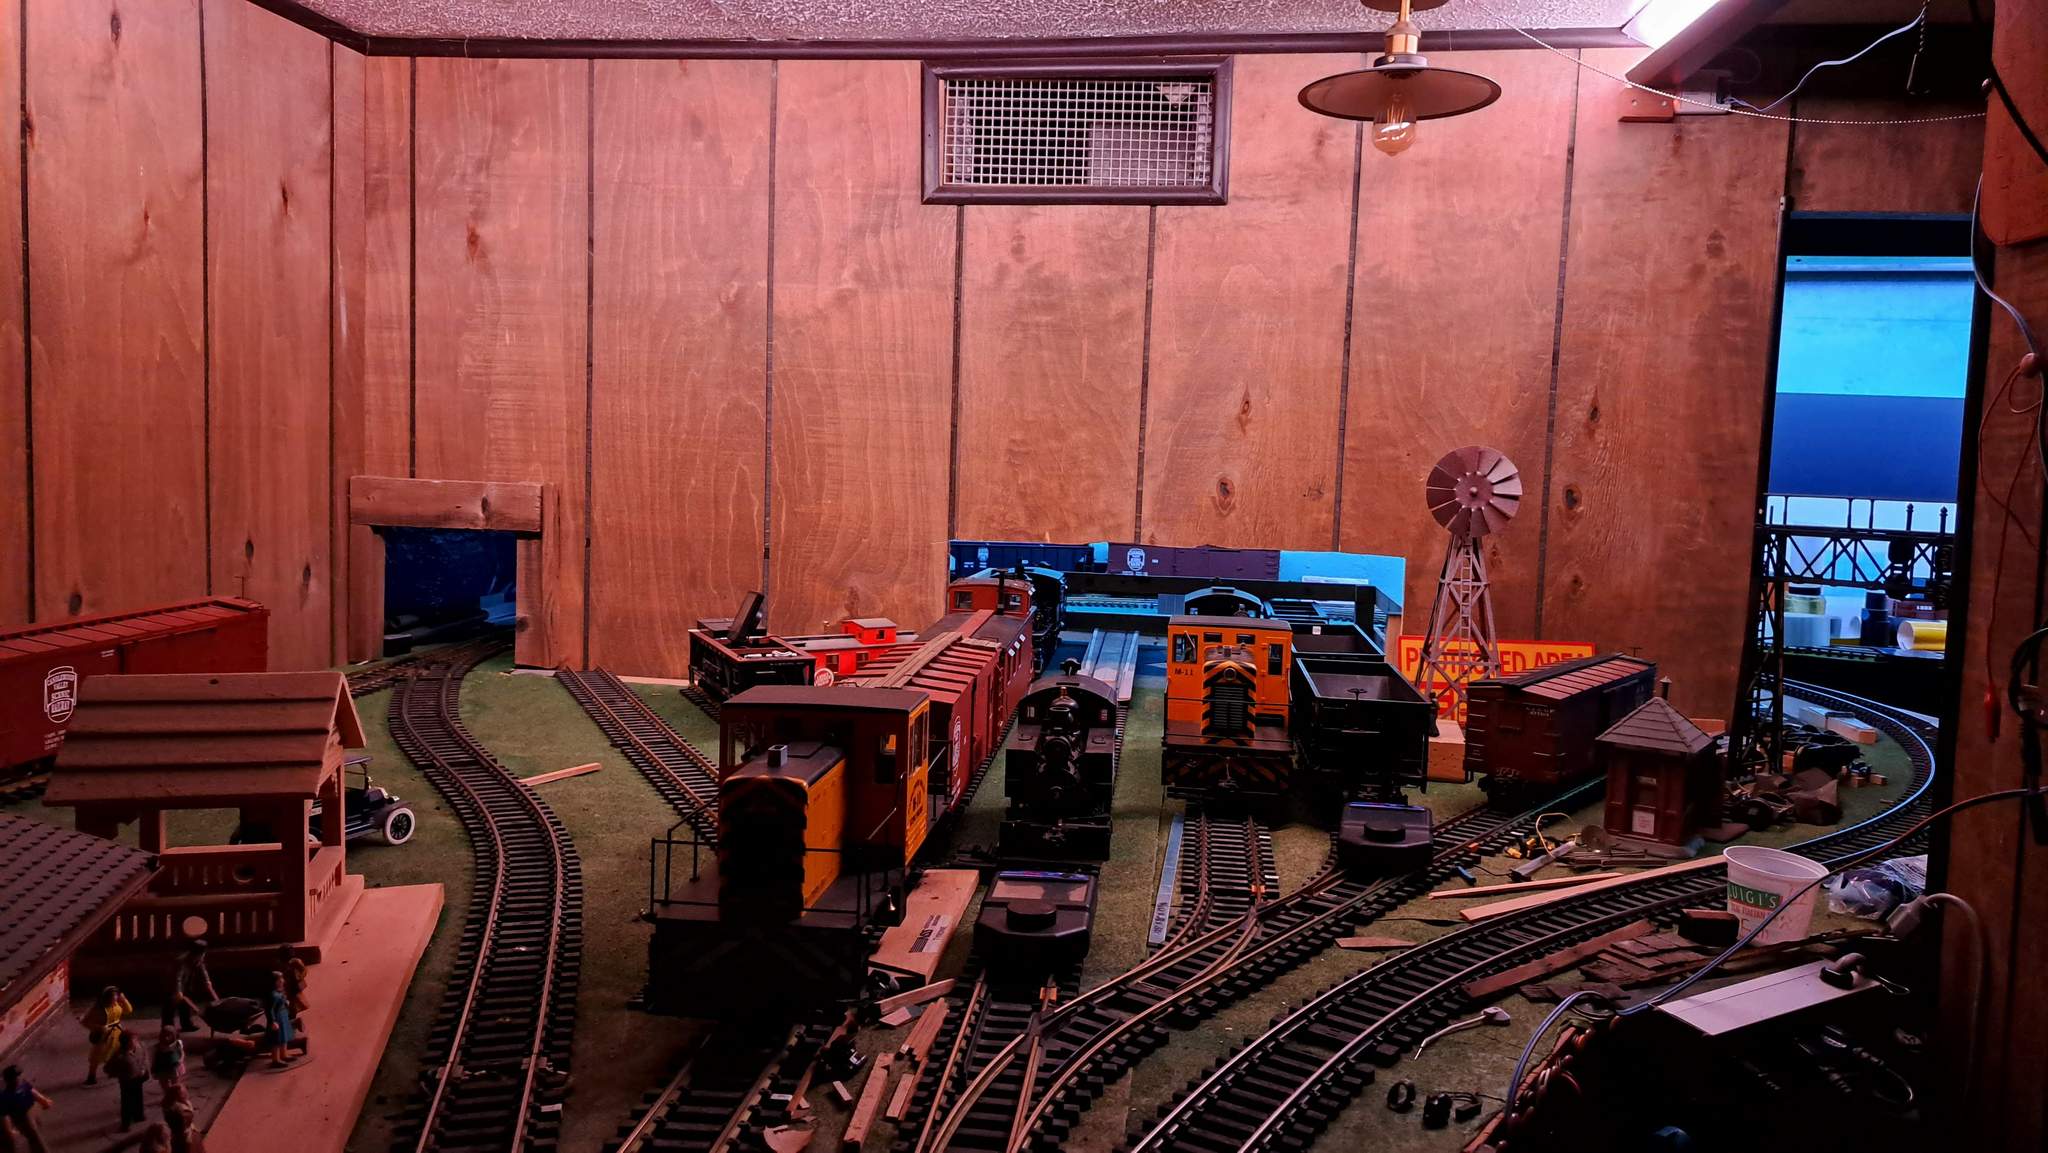
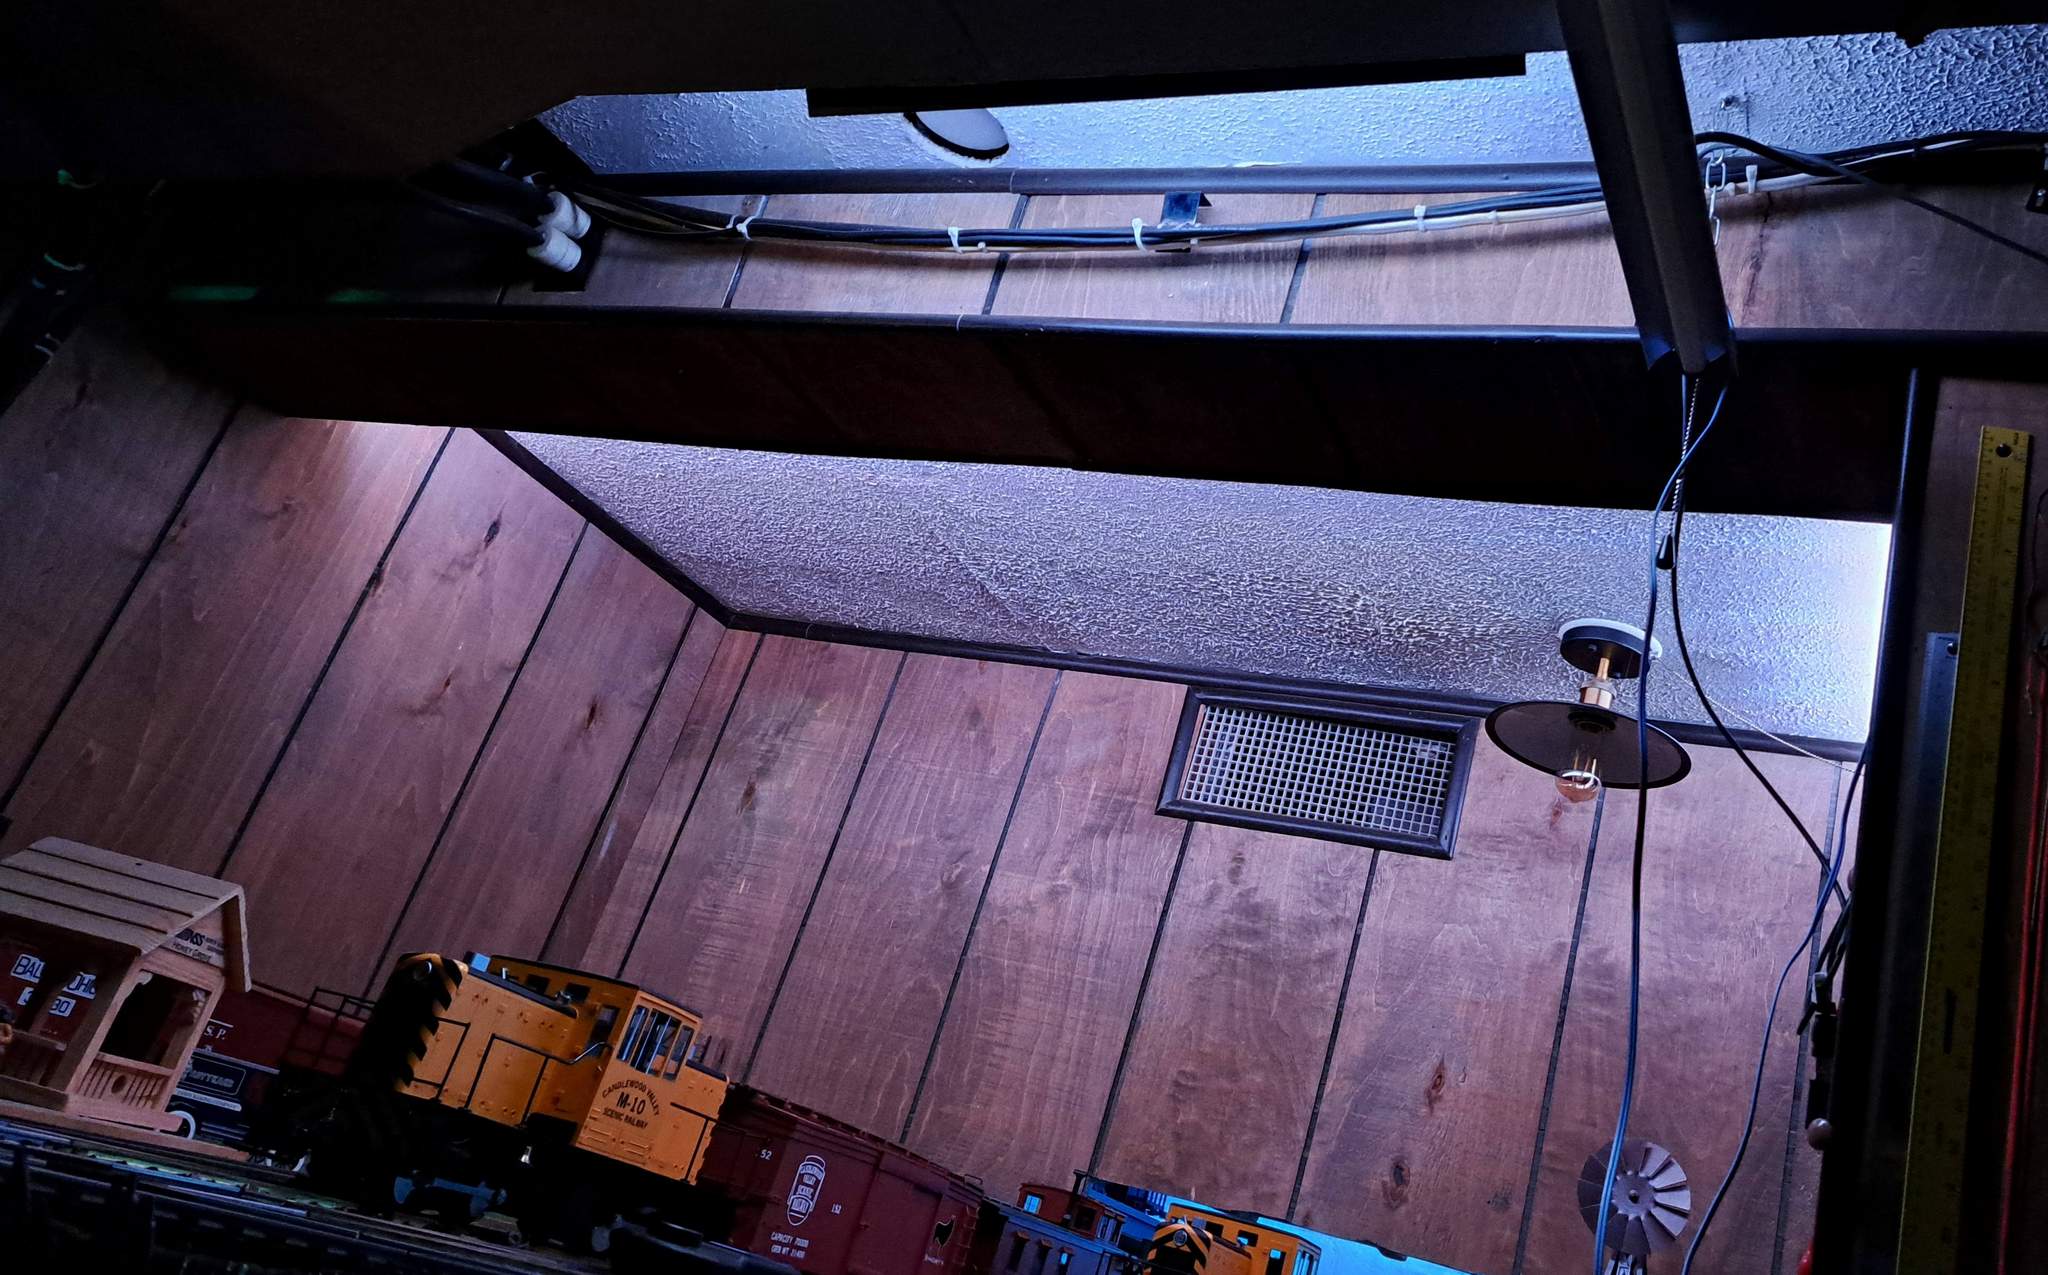
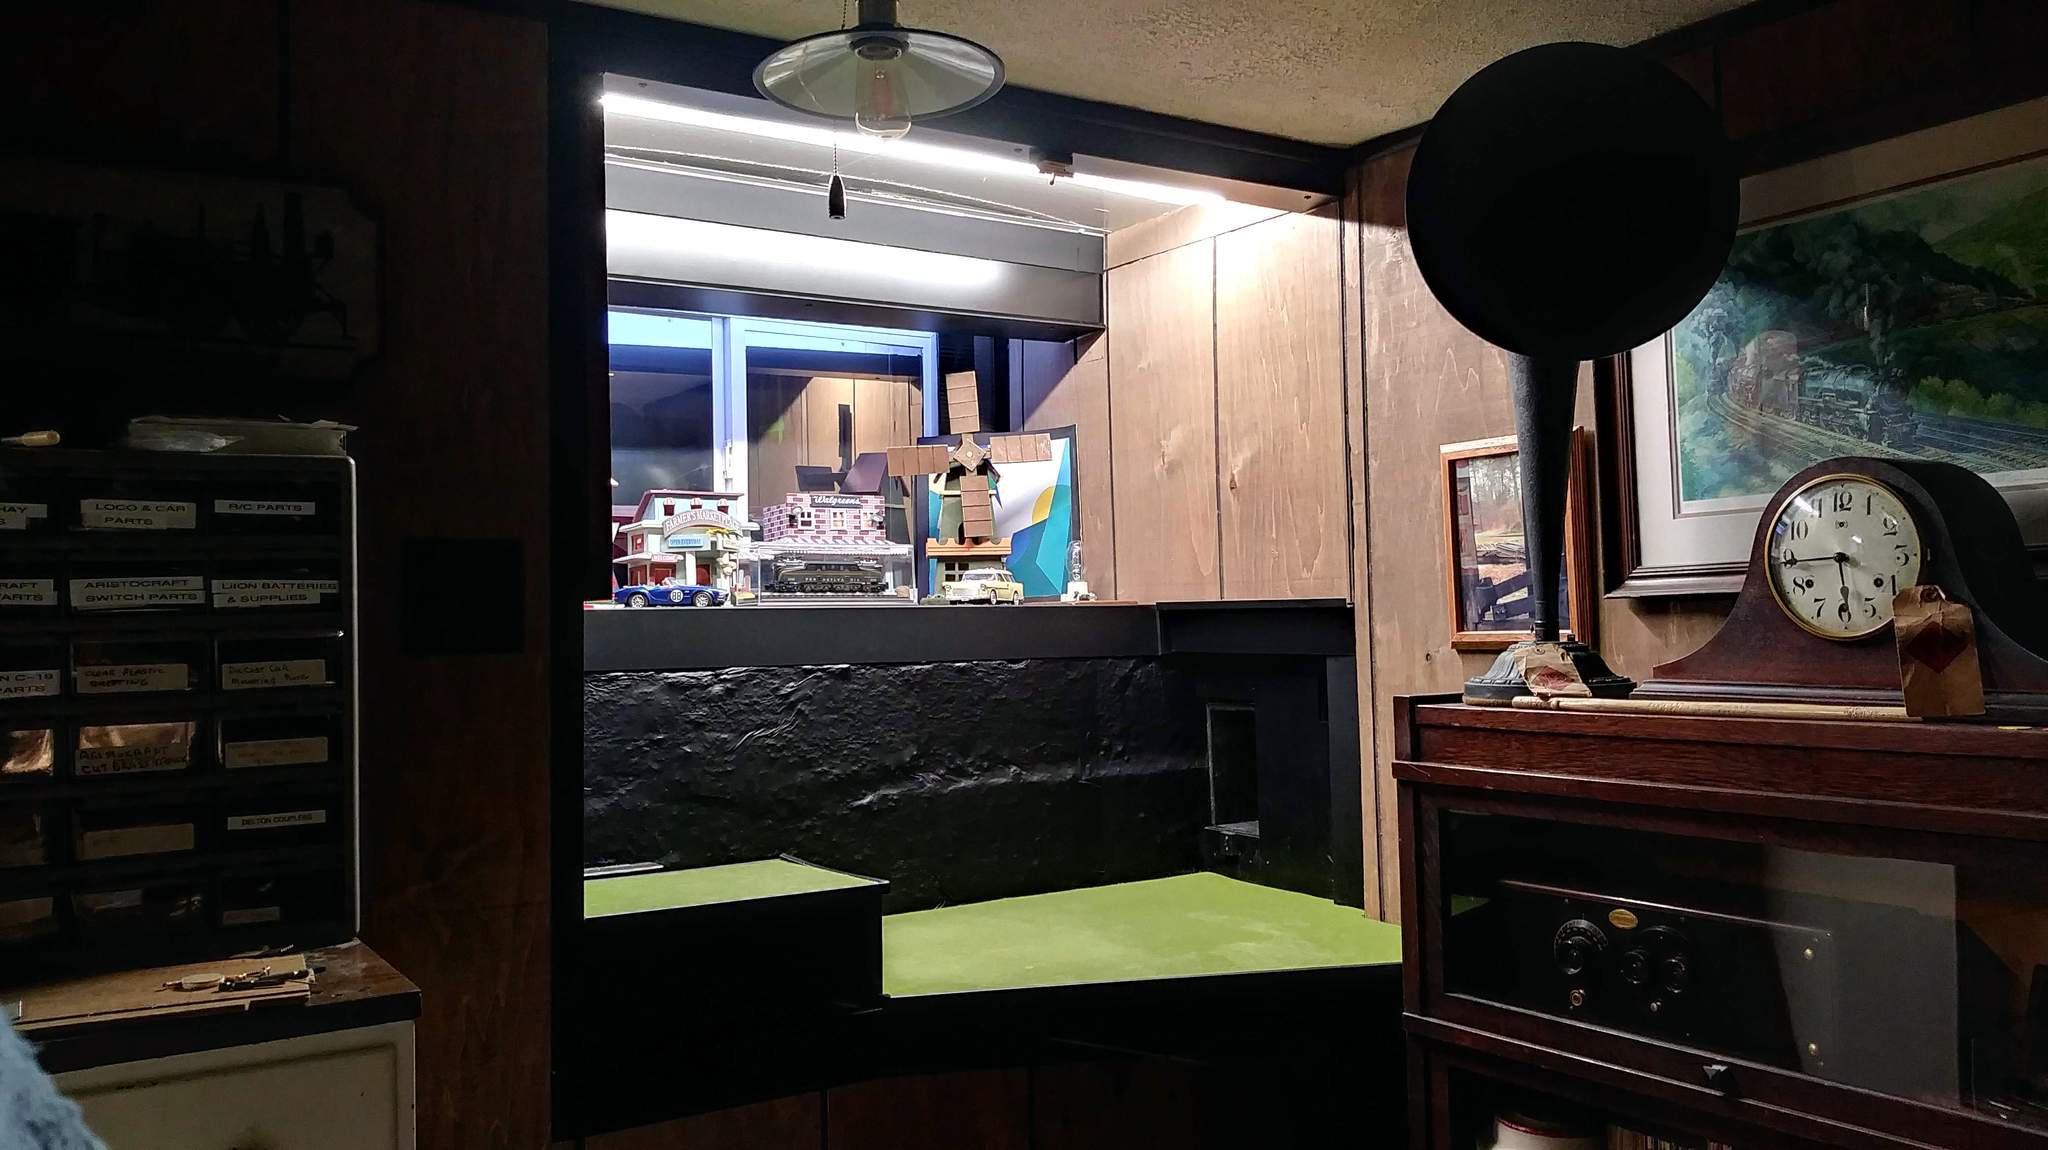
I’ve been working on a lighting project for my indoor railway for quite a few years. The first phase utilized a valance that I installed on the ceiling at the front edge of the bench work. The valence hides the LED strips from view and someday will support the front edge of an angled ceiling to further reflect the LED light.

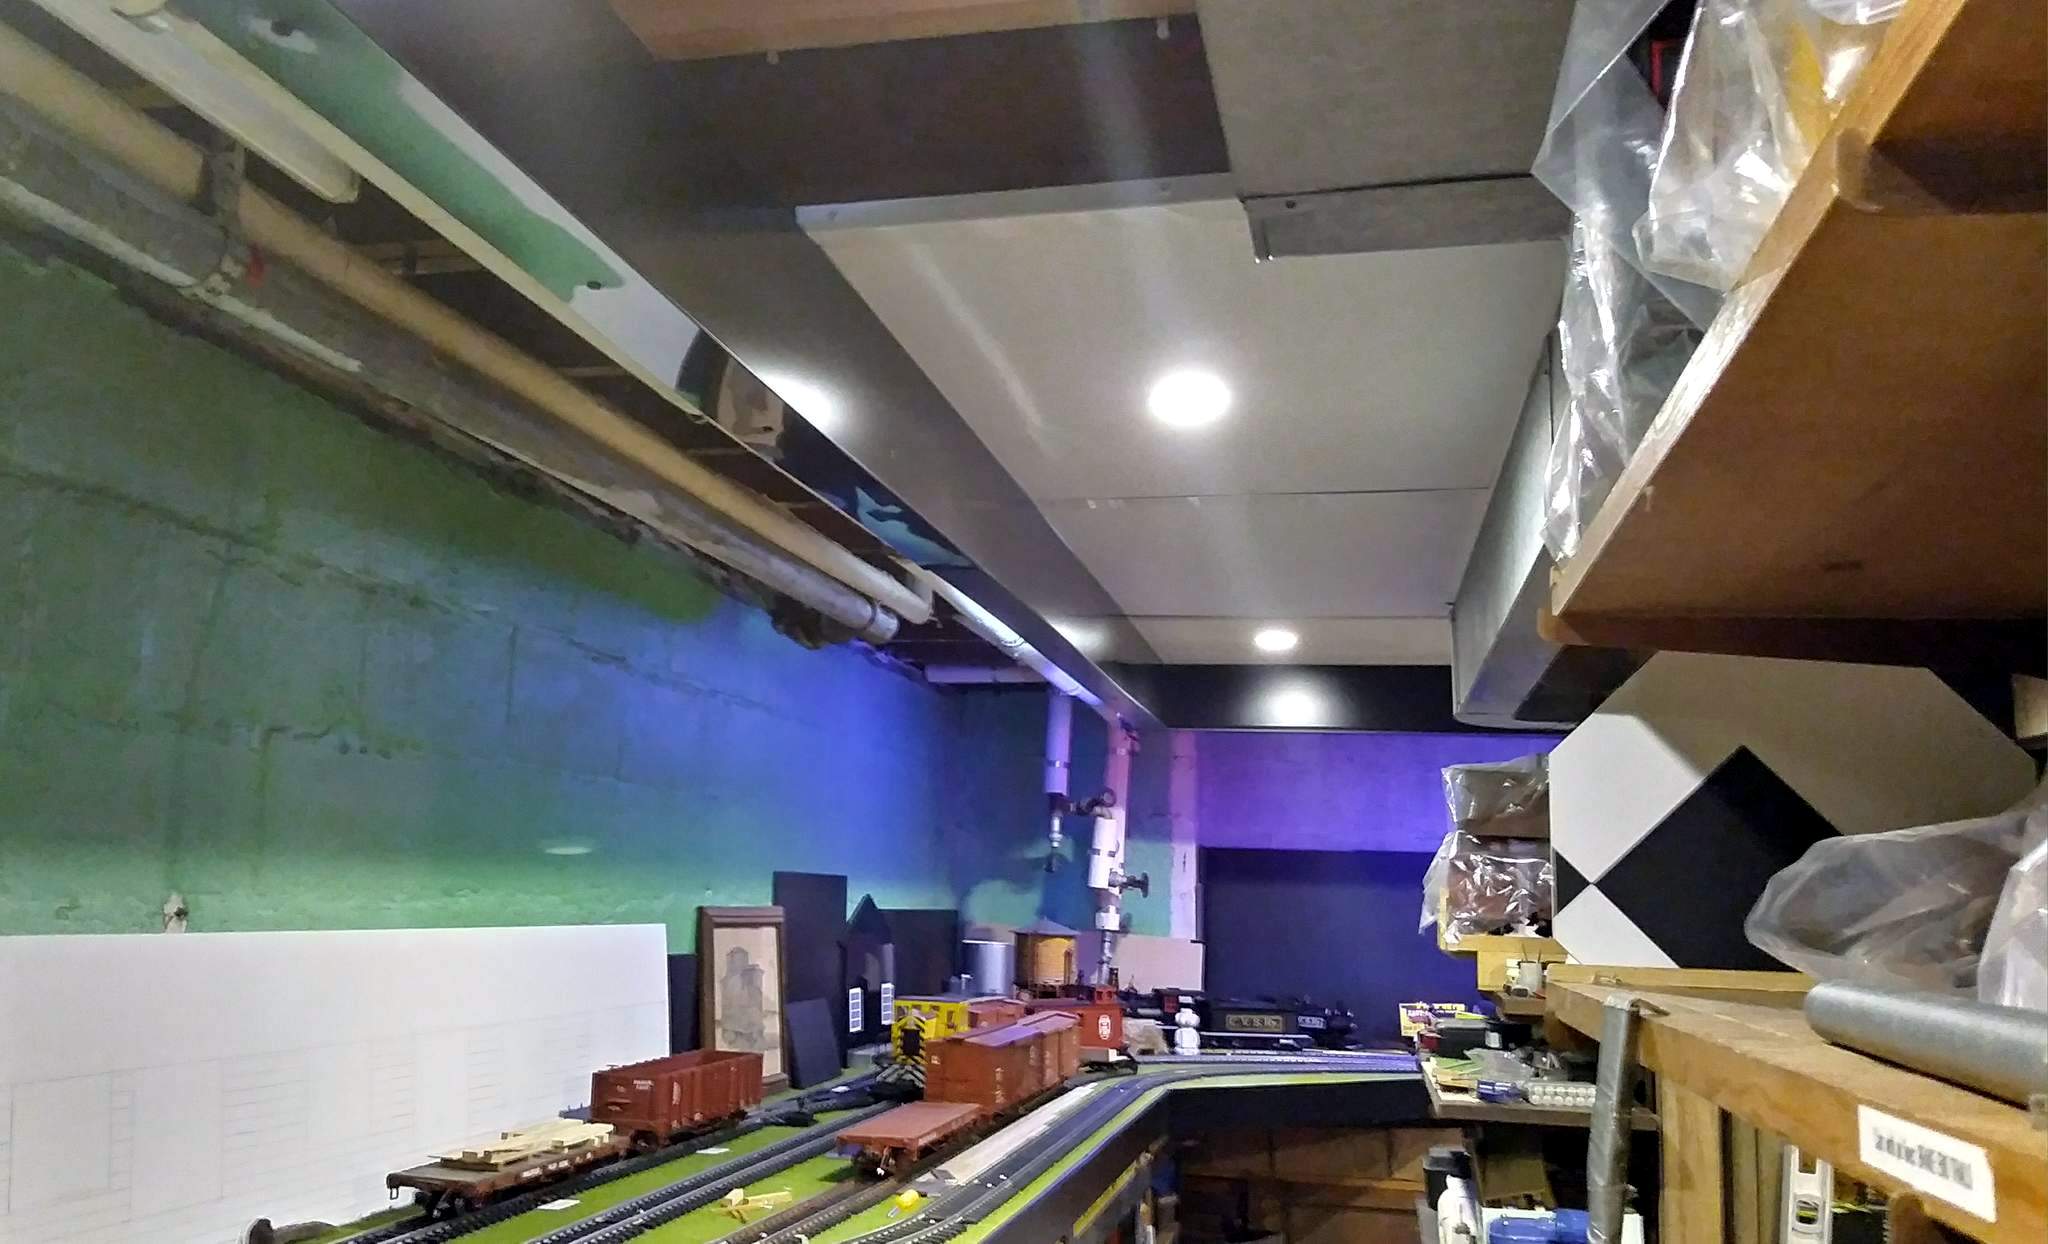
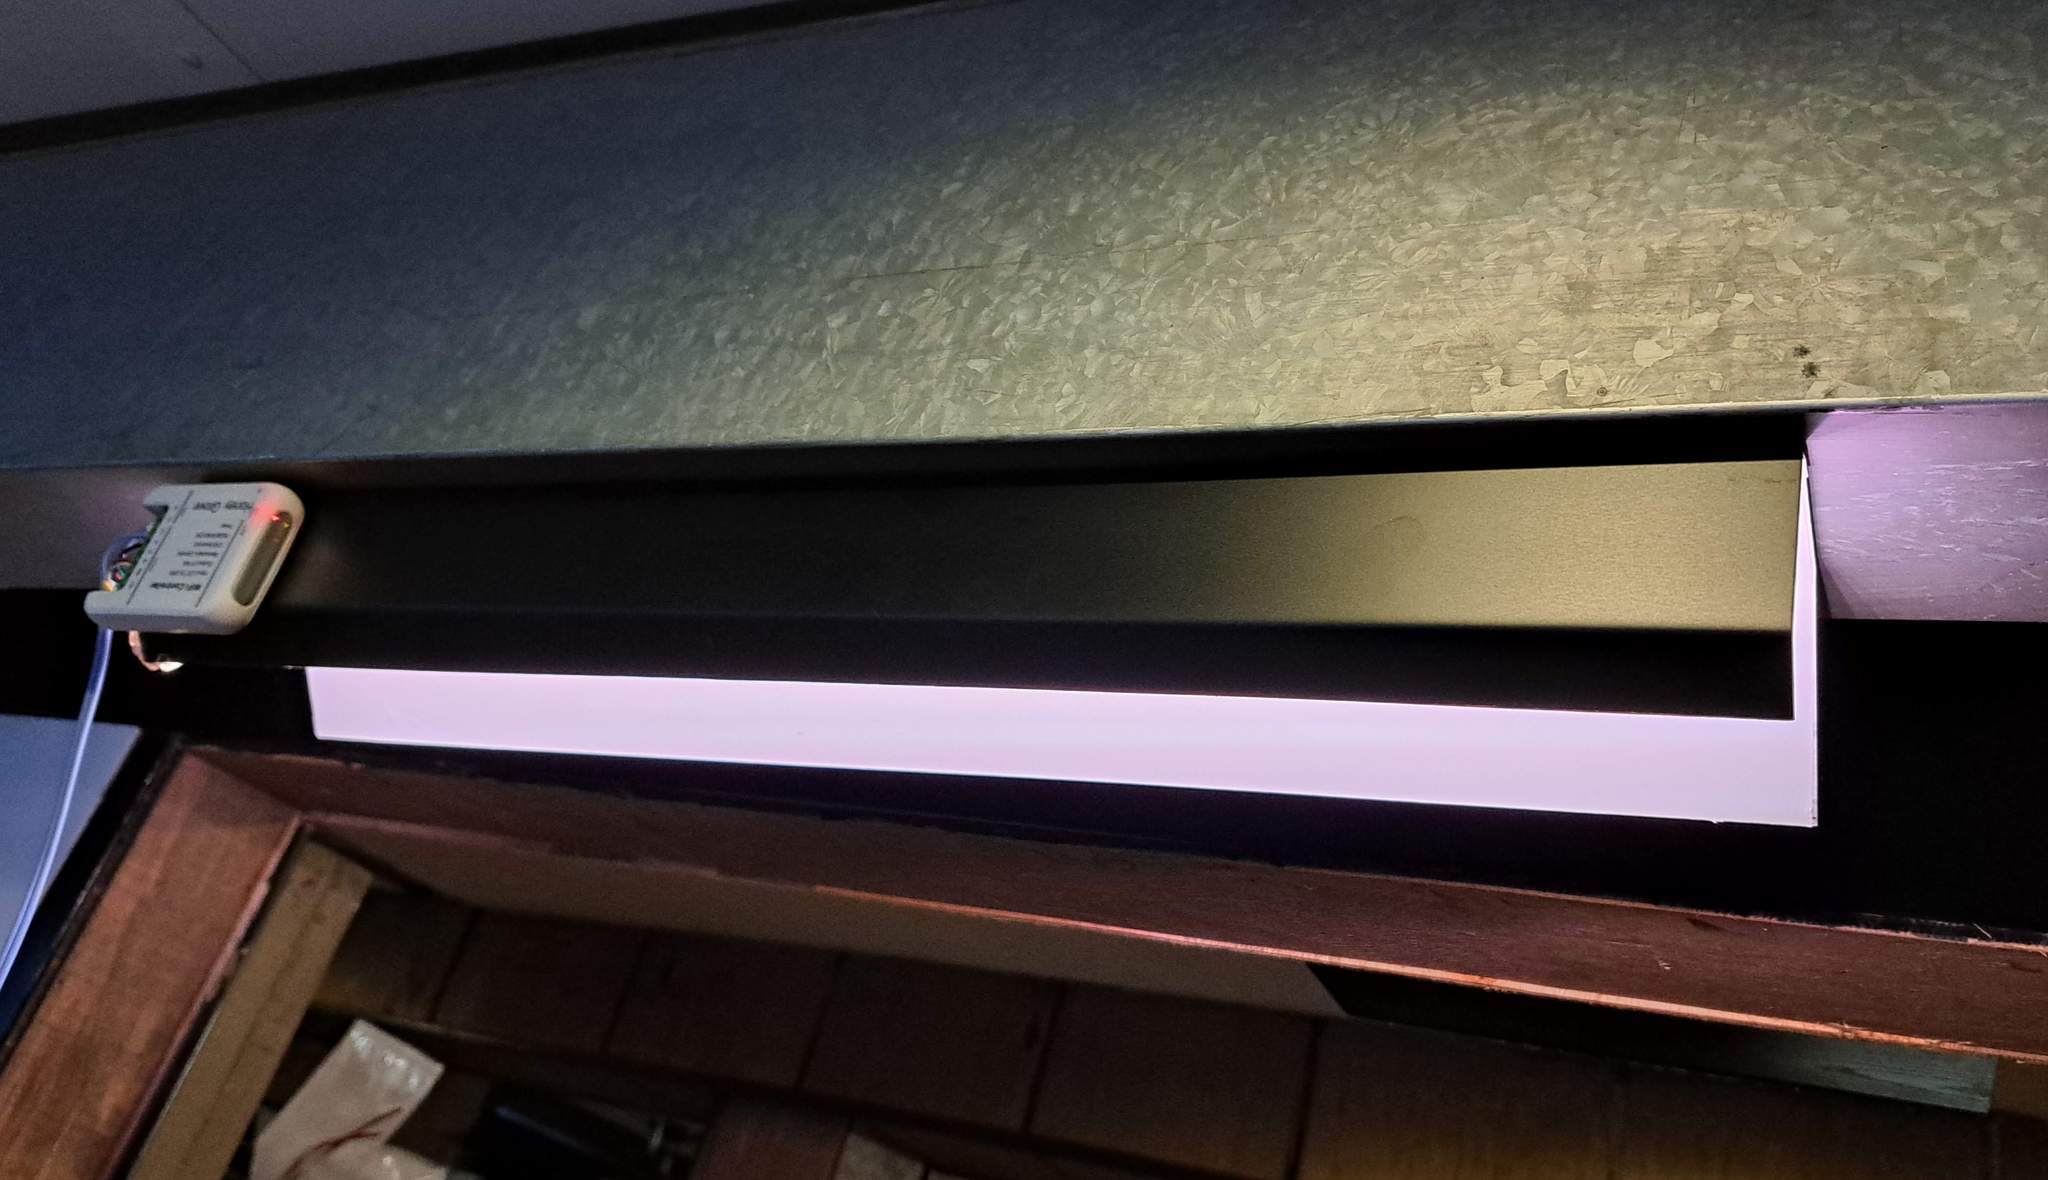
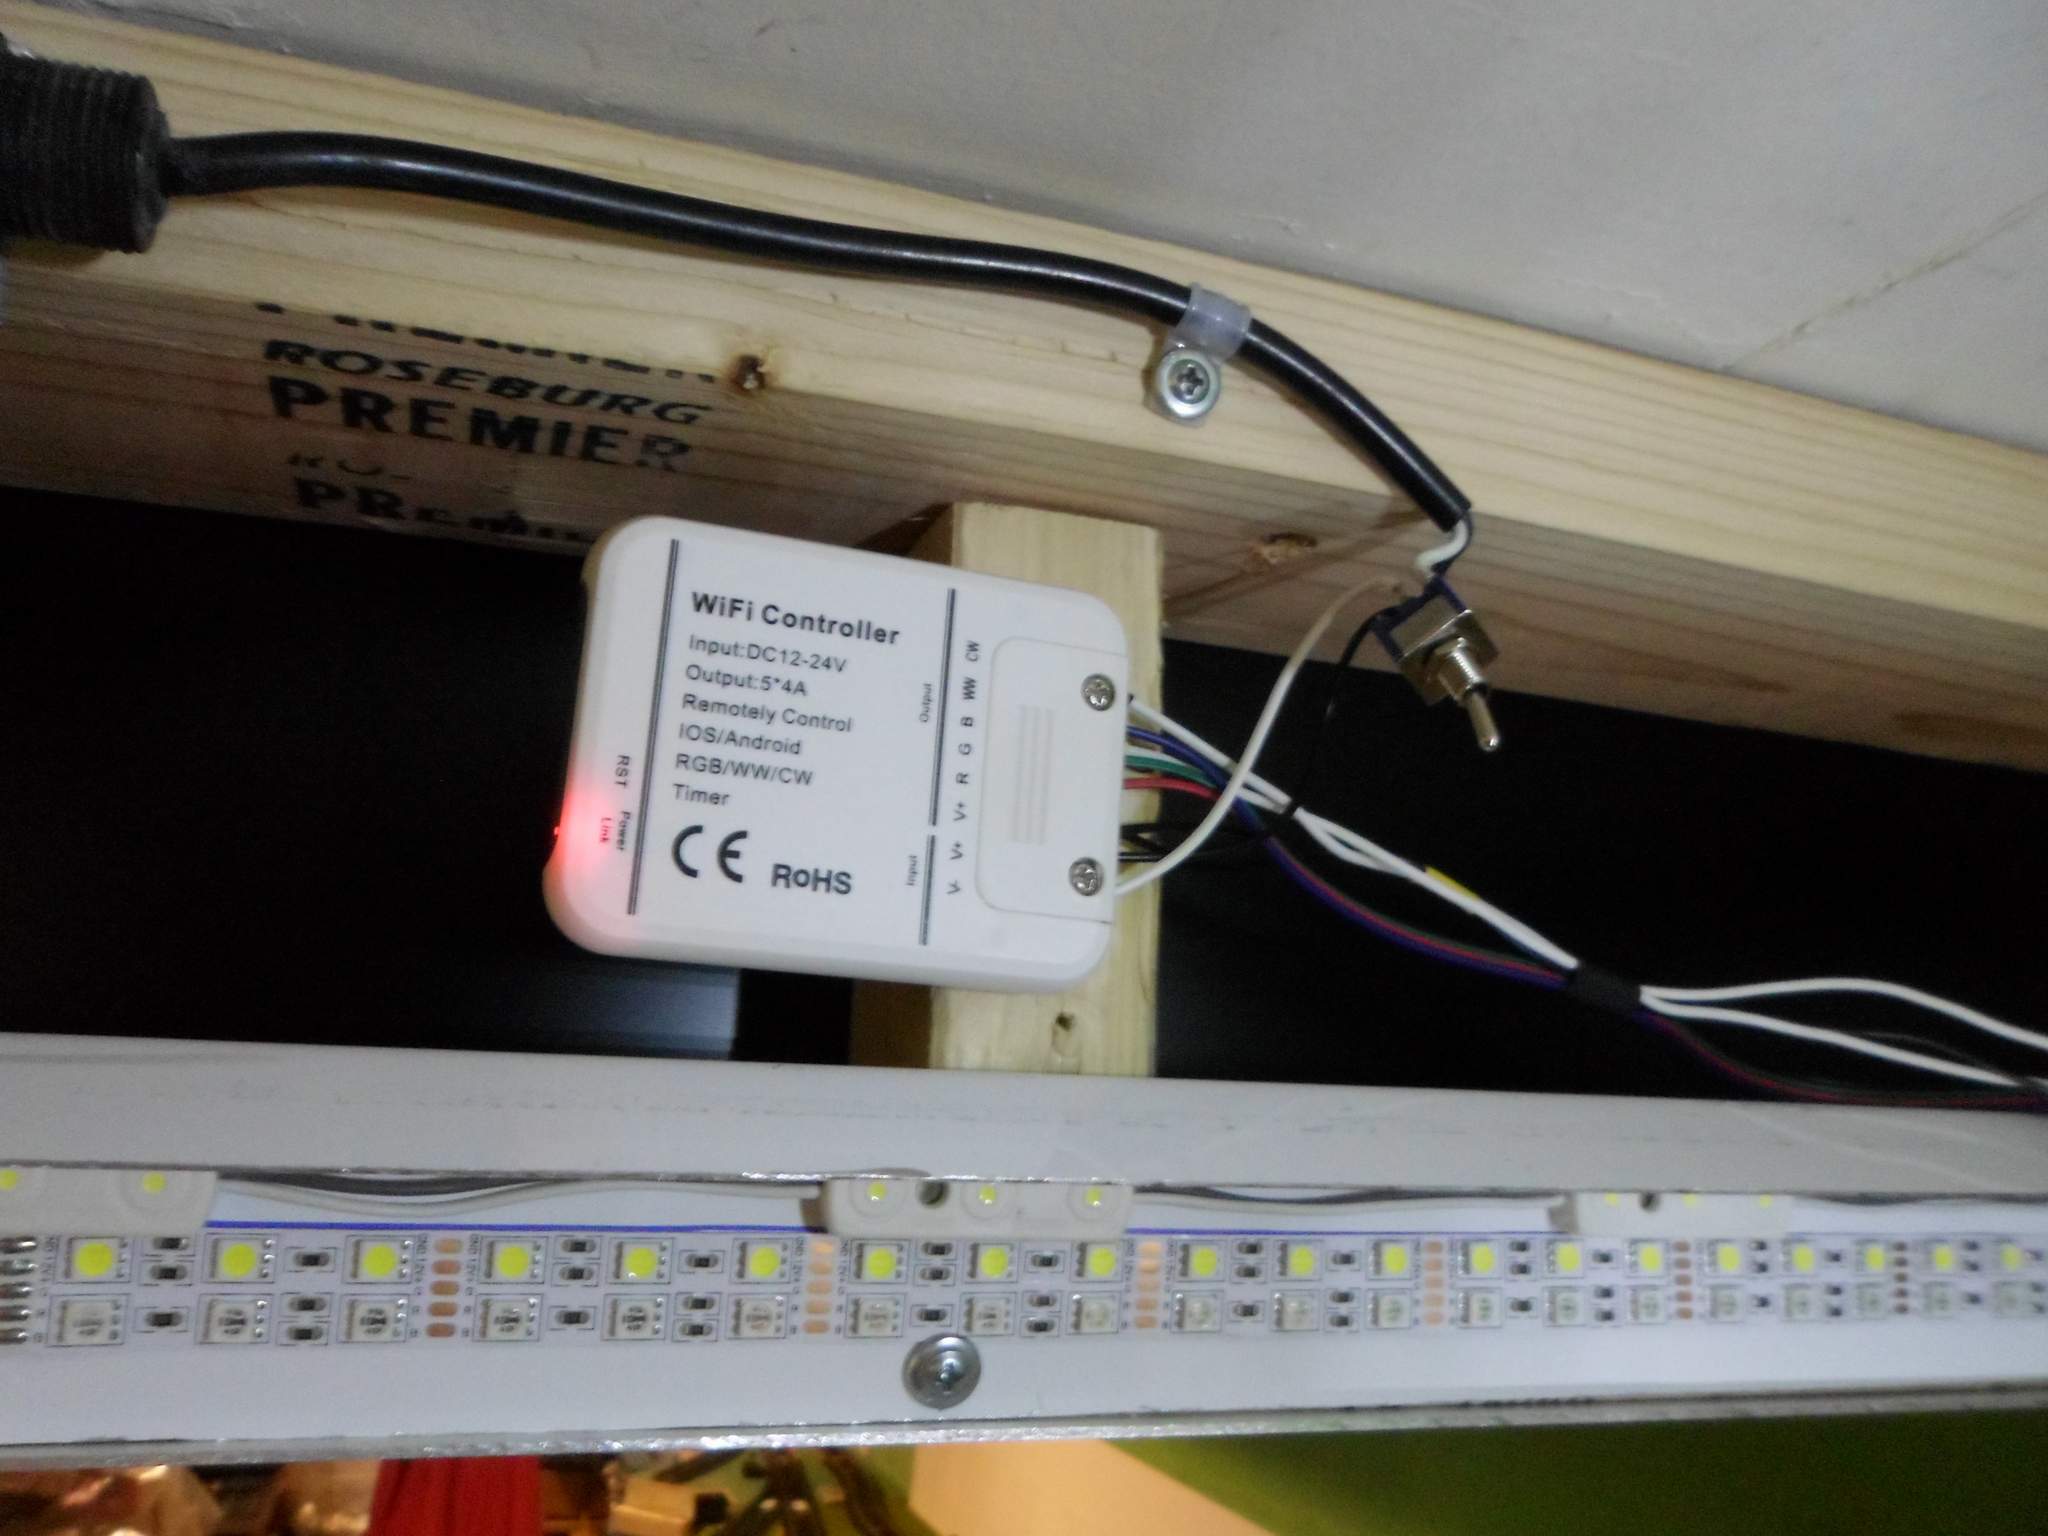
In the photo above, the valence is the black structure at the ceiling upper left. The back side of the valence has an array of LEDs…

The valence works great in the area where it is installed, but is impractical for areas of my basement that are already finished. To expand the lighting into these areas, I needed a new plan. After contemplating the problem for a few evenings, I came up with an idea to bend a reflector from aluminum sheet that will both hide the LED strip from view and reflect the light downward to the track and structures below.

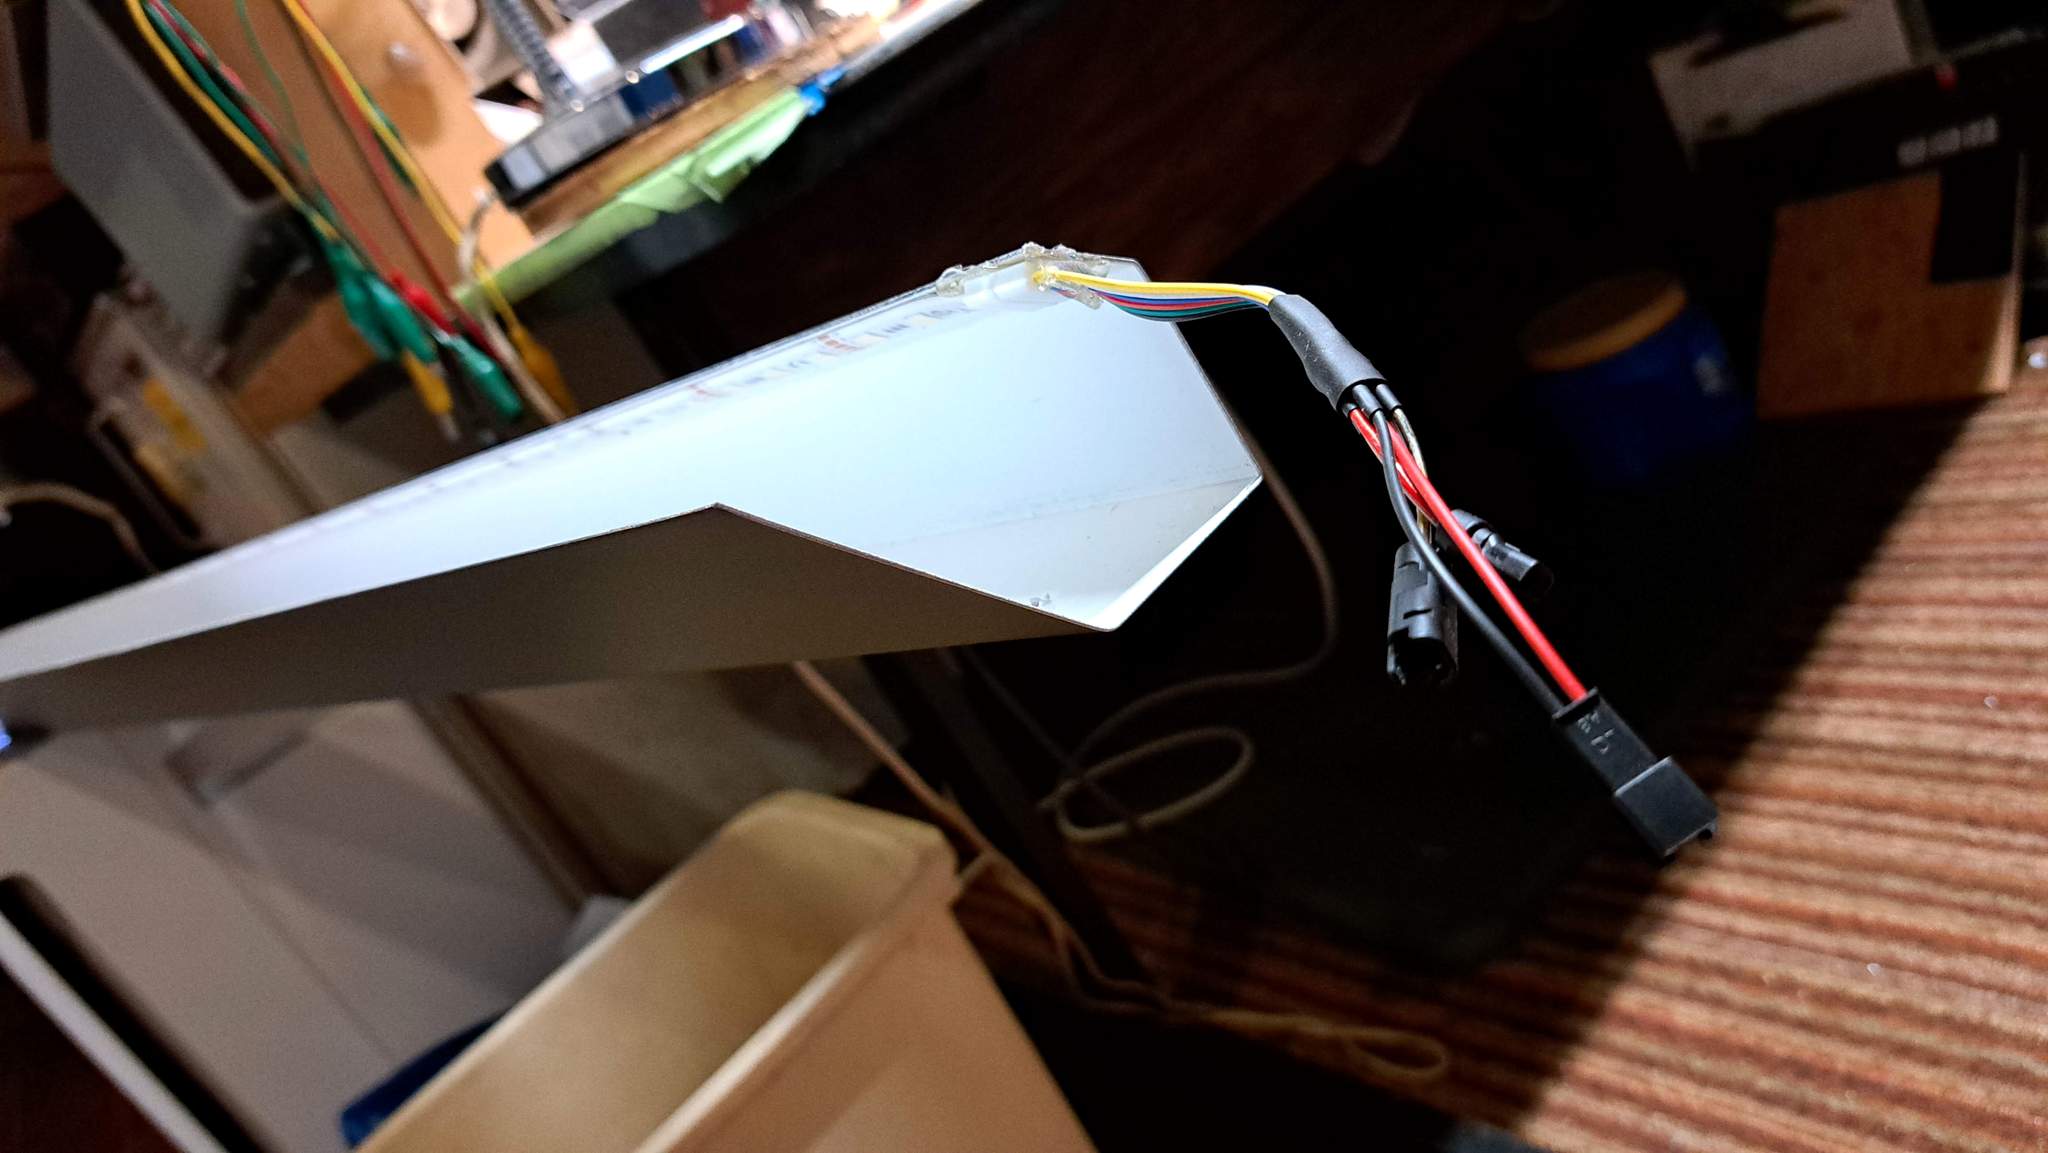
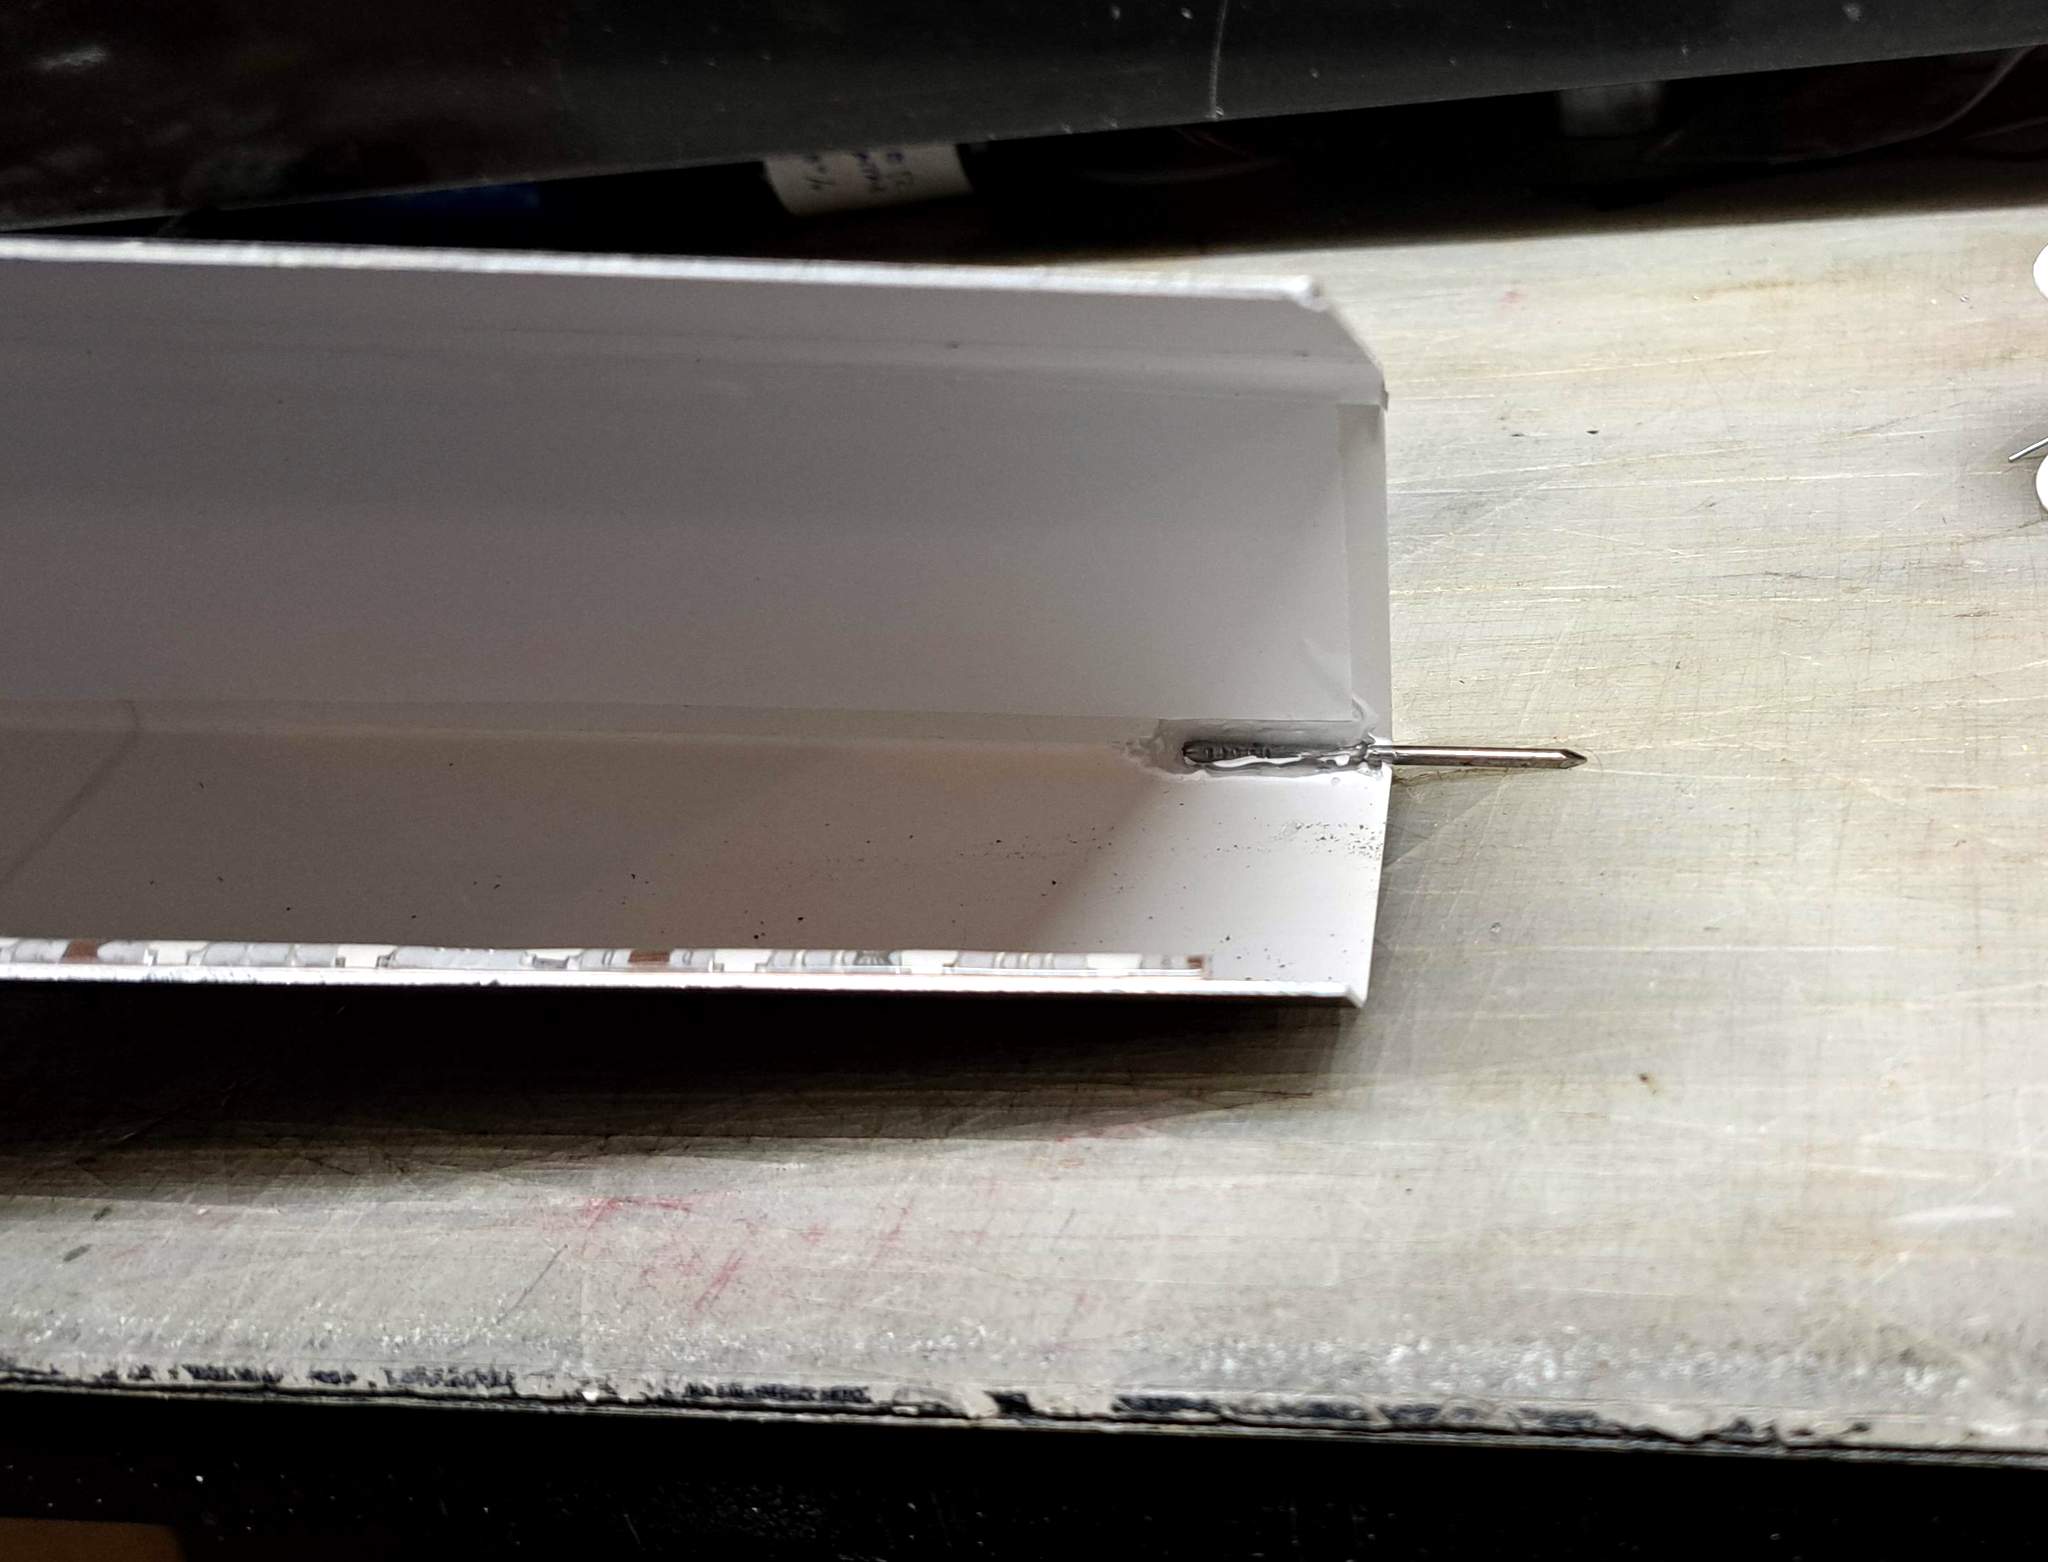
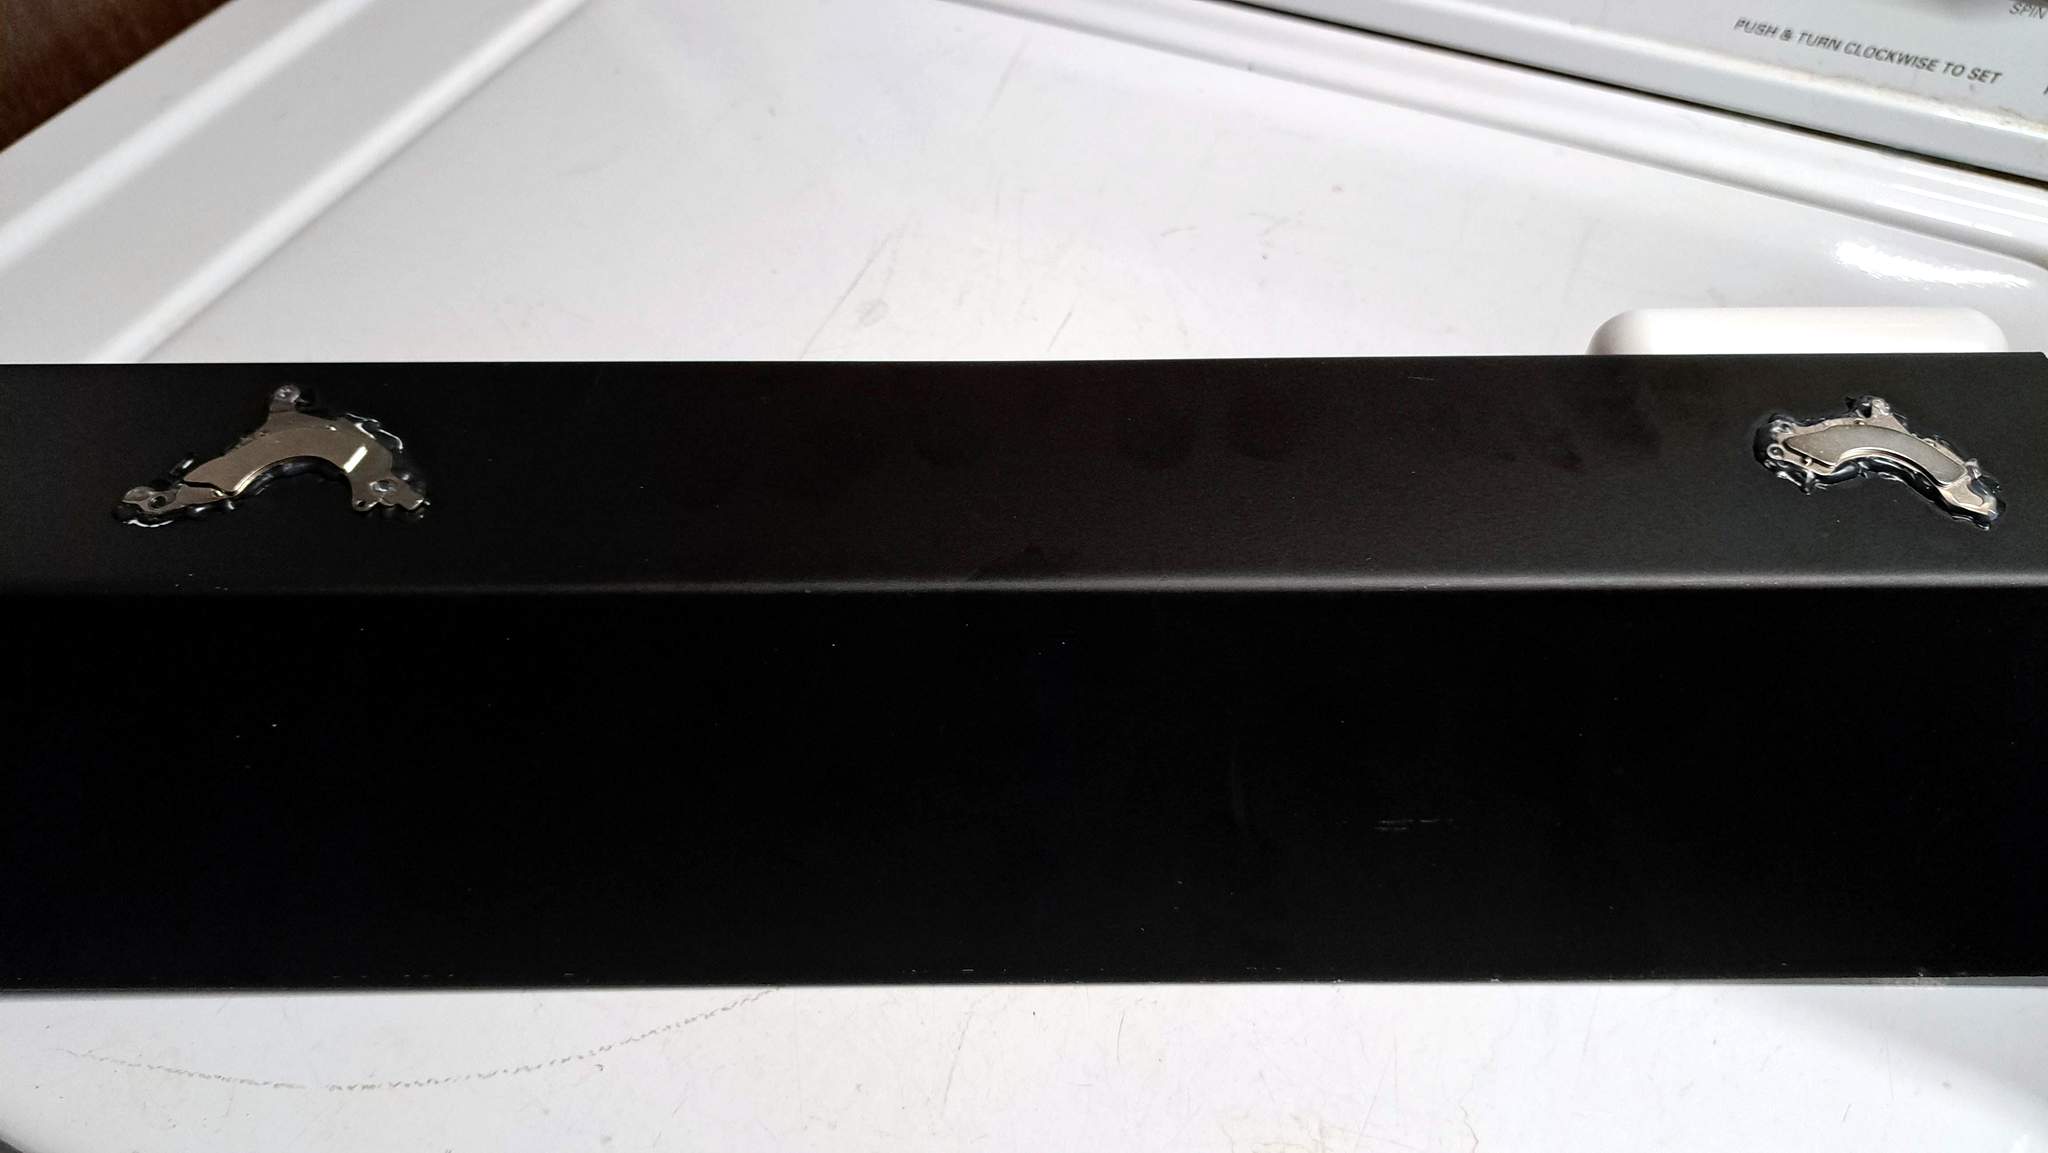
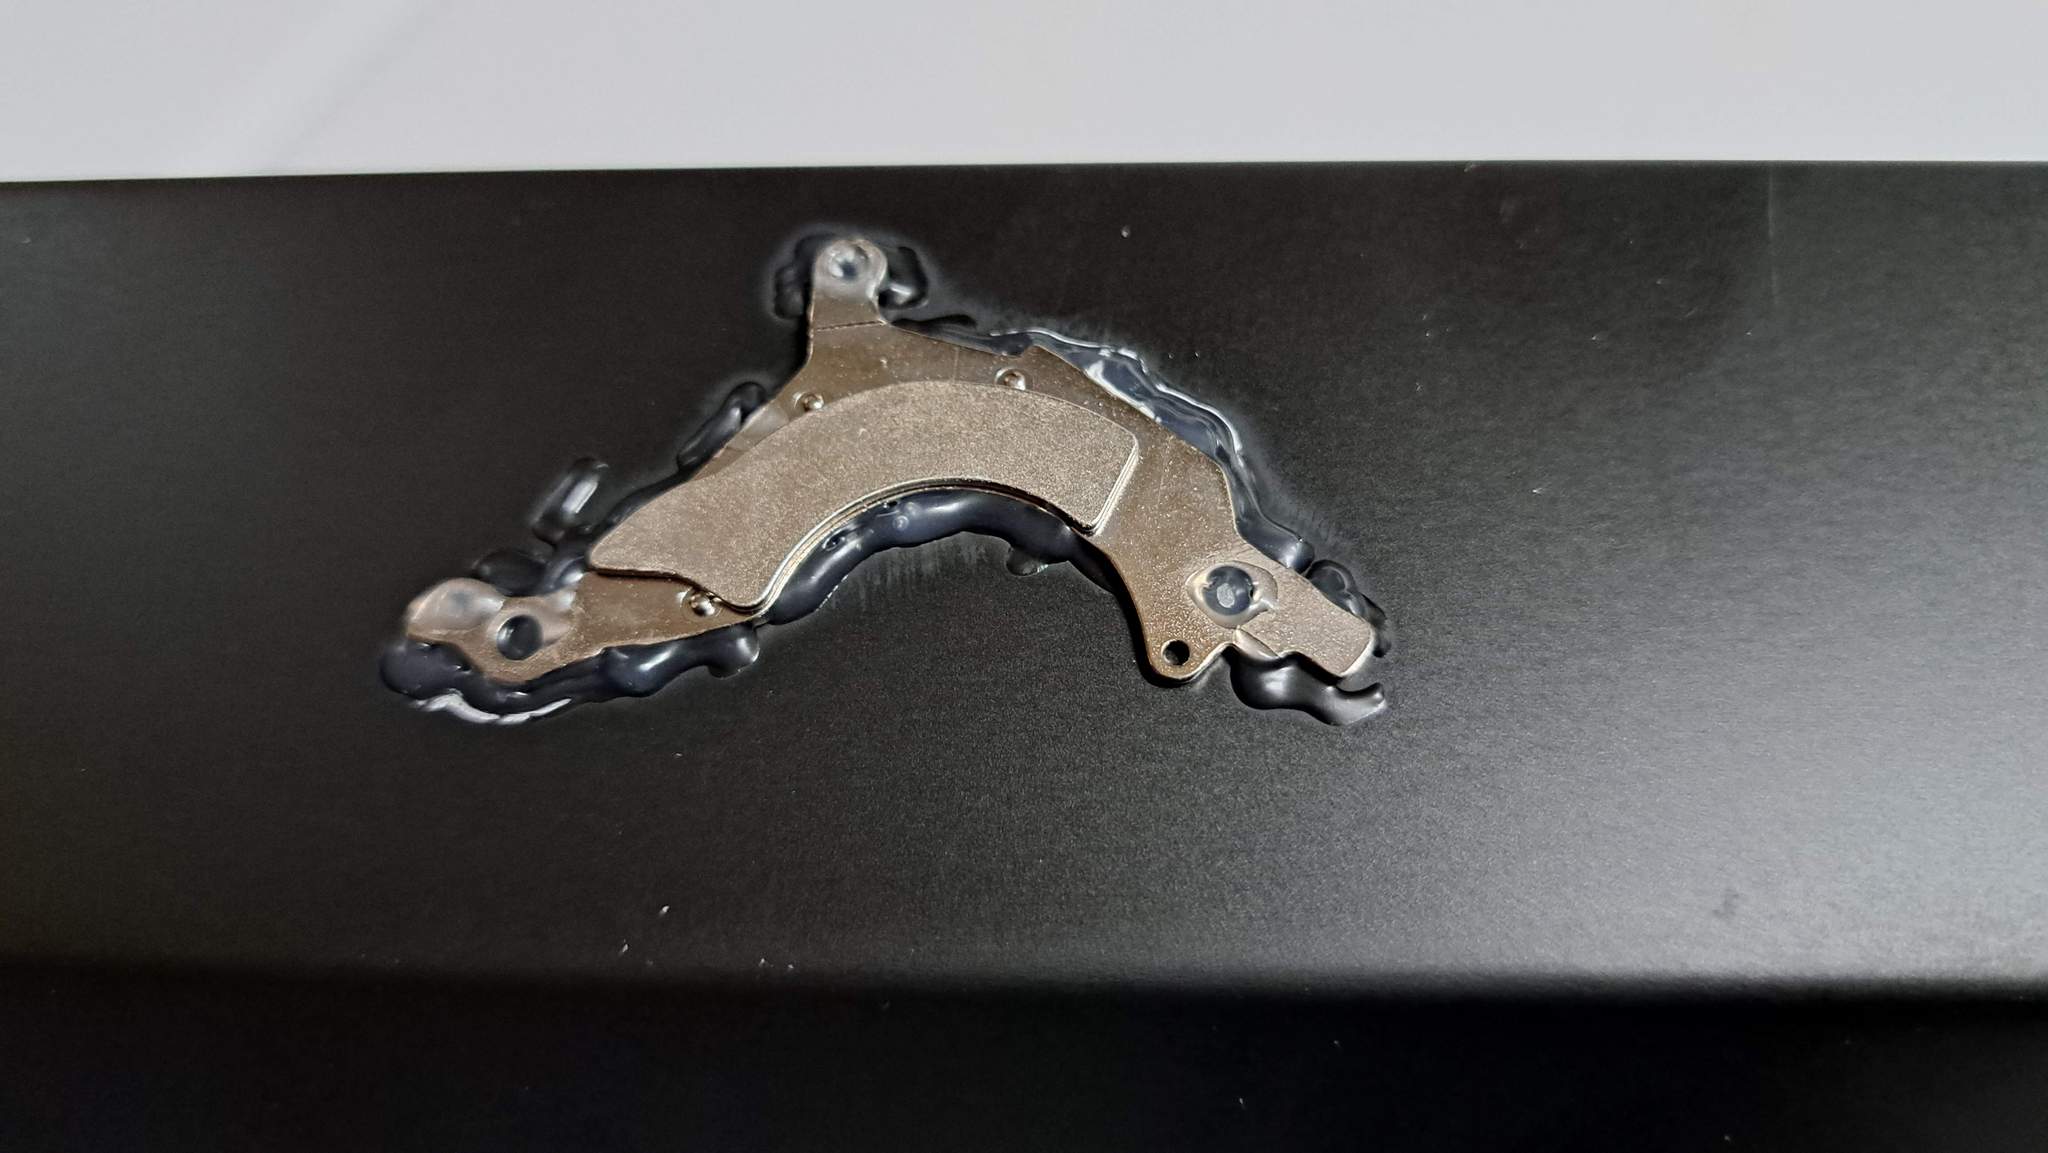
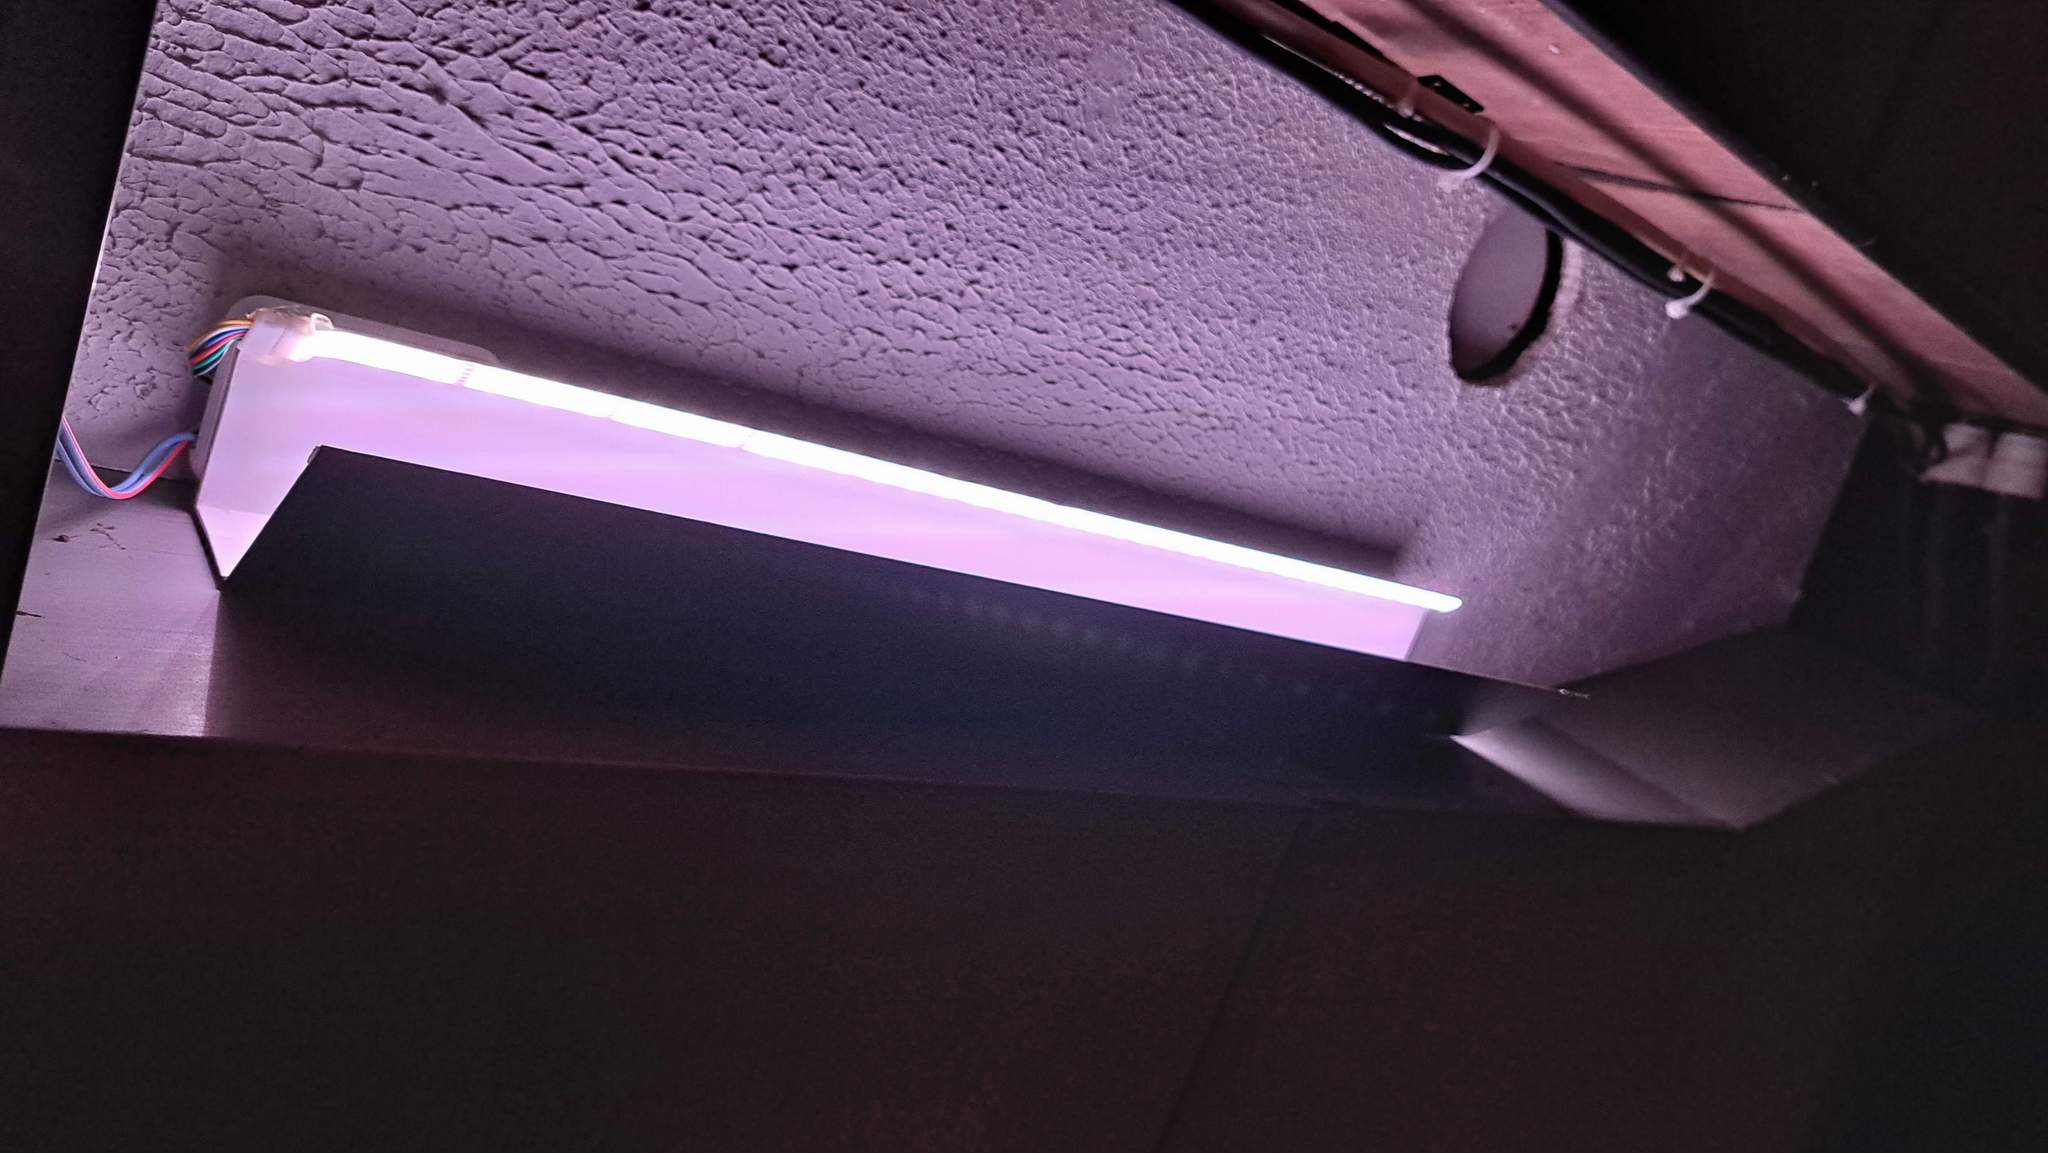
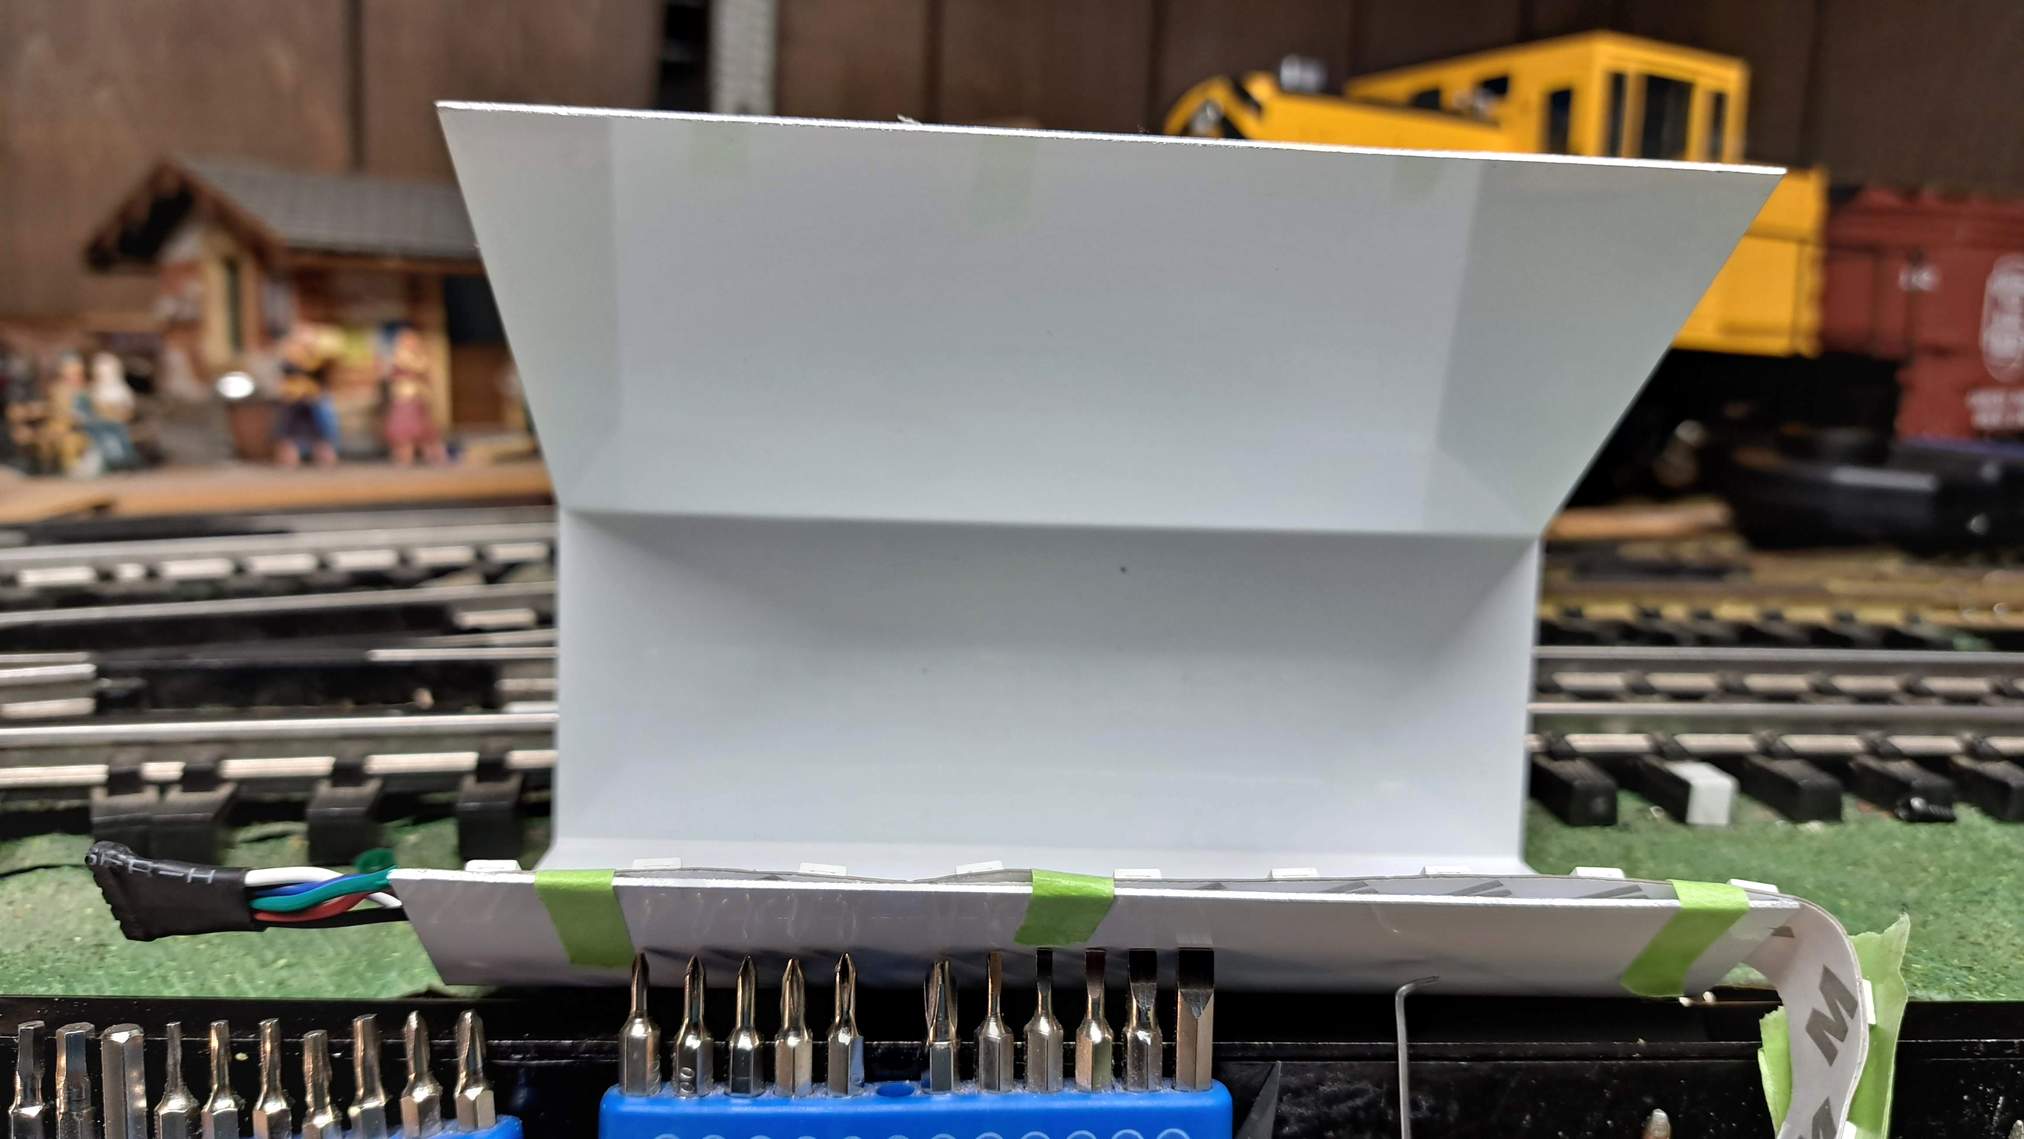
After trying a few designs, I settled on this one and bent a small test section. This view from above will not be seen when installed…

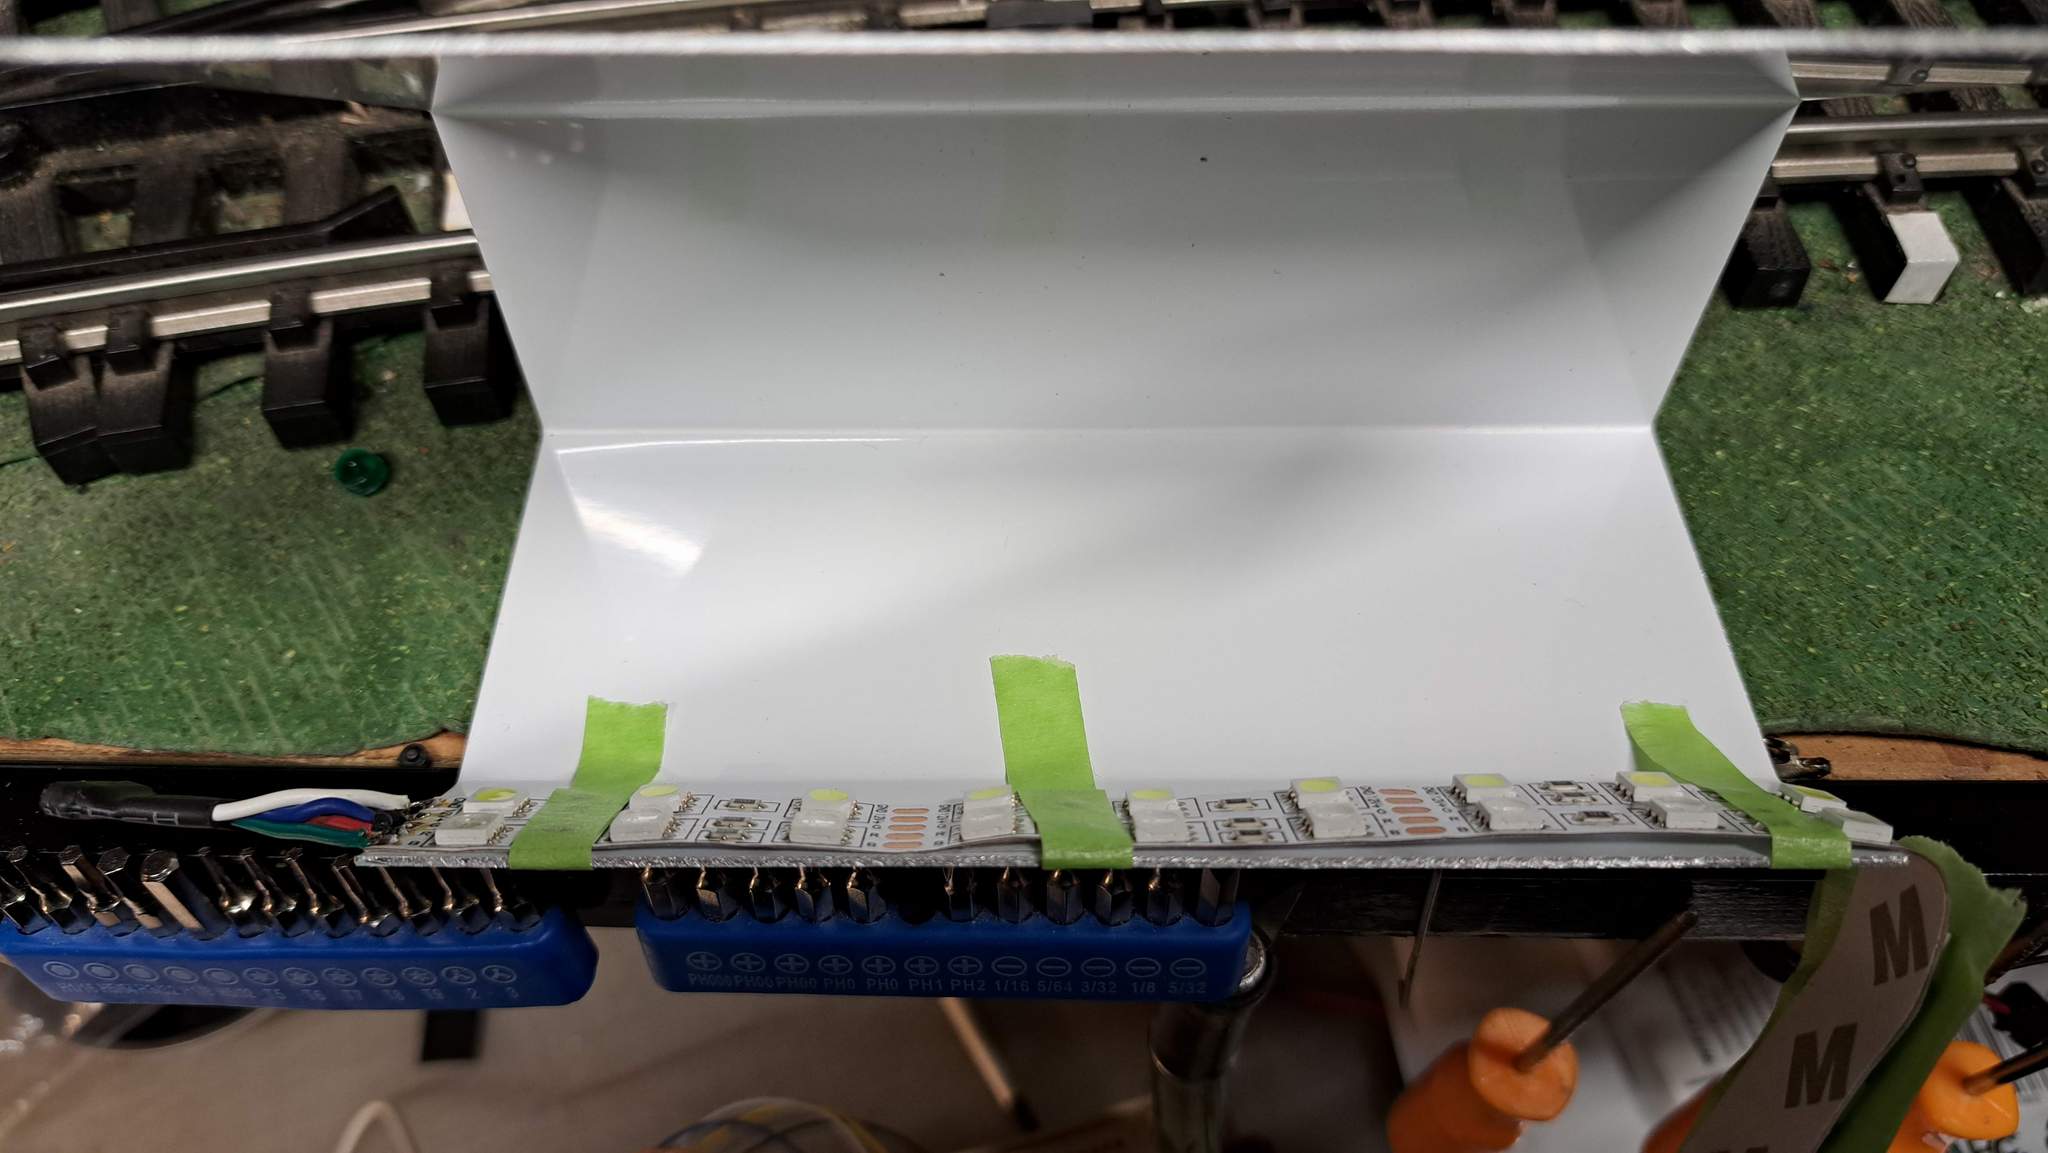
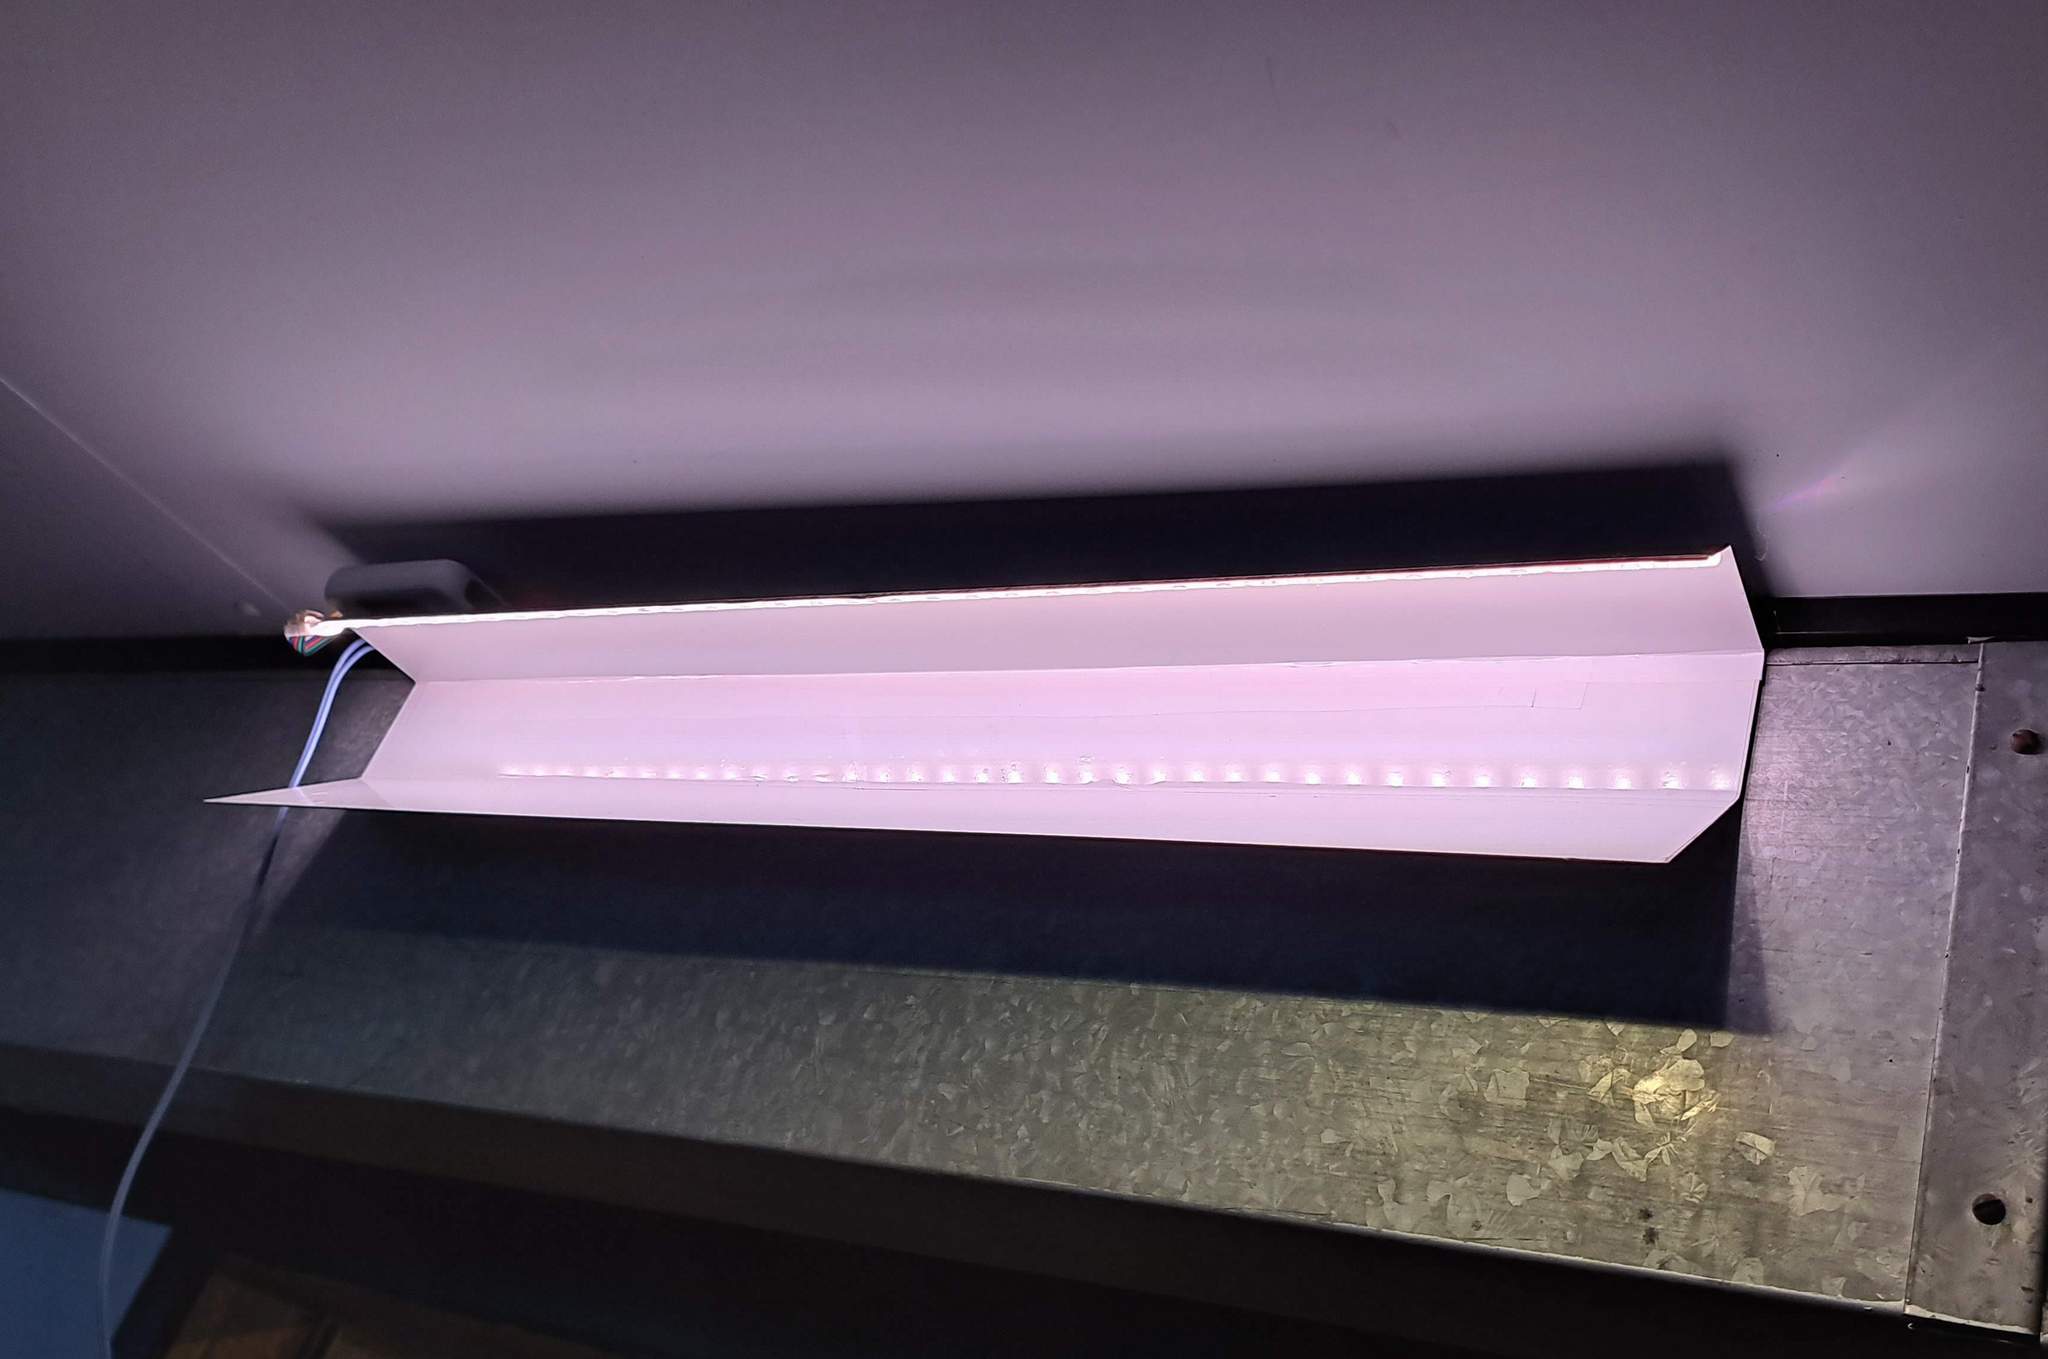
The top angled section will touch the ceiling while the vertical section is attached to a wall…

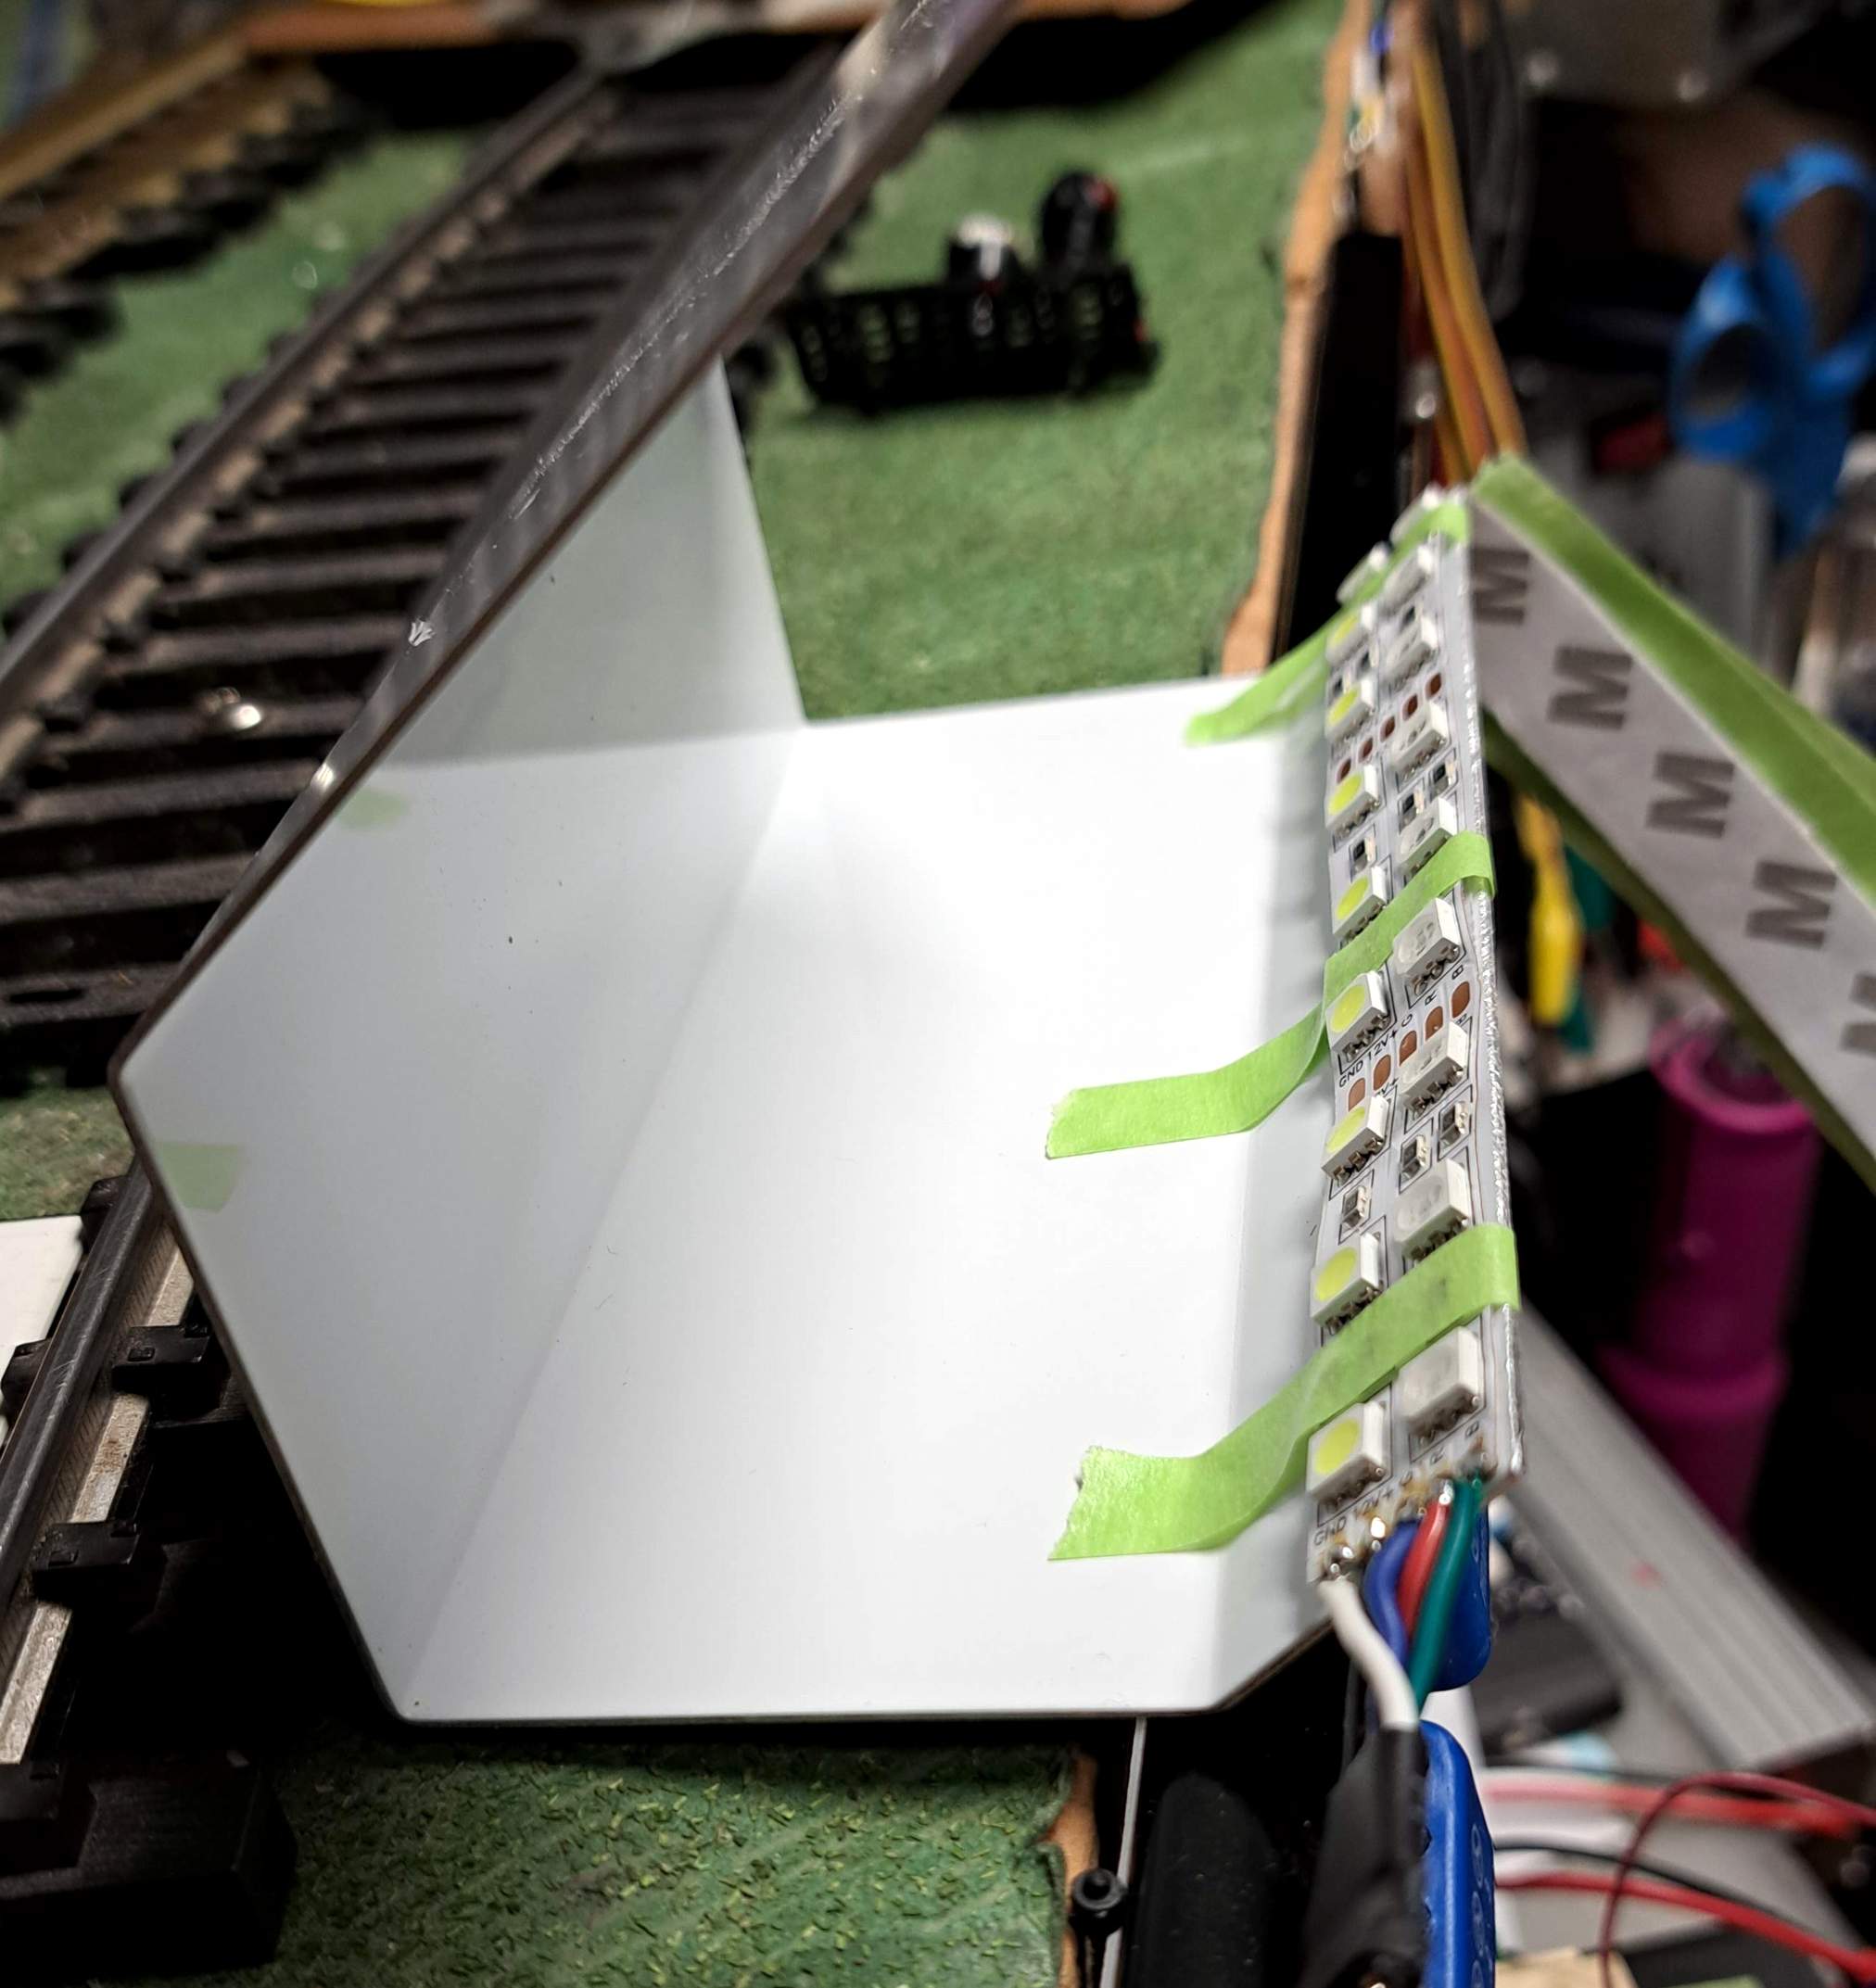
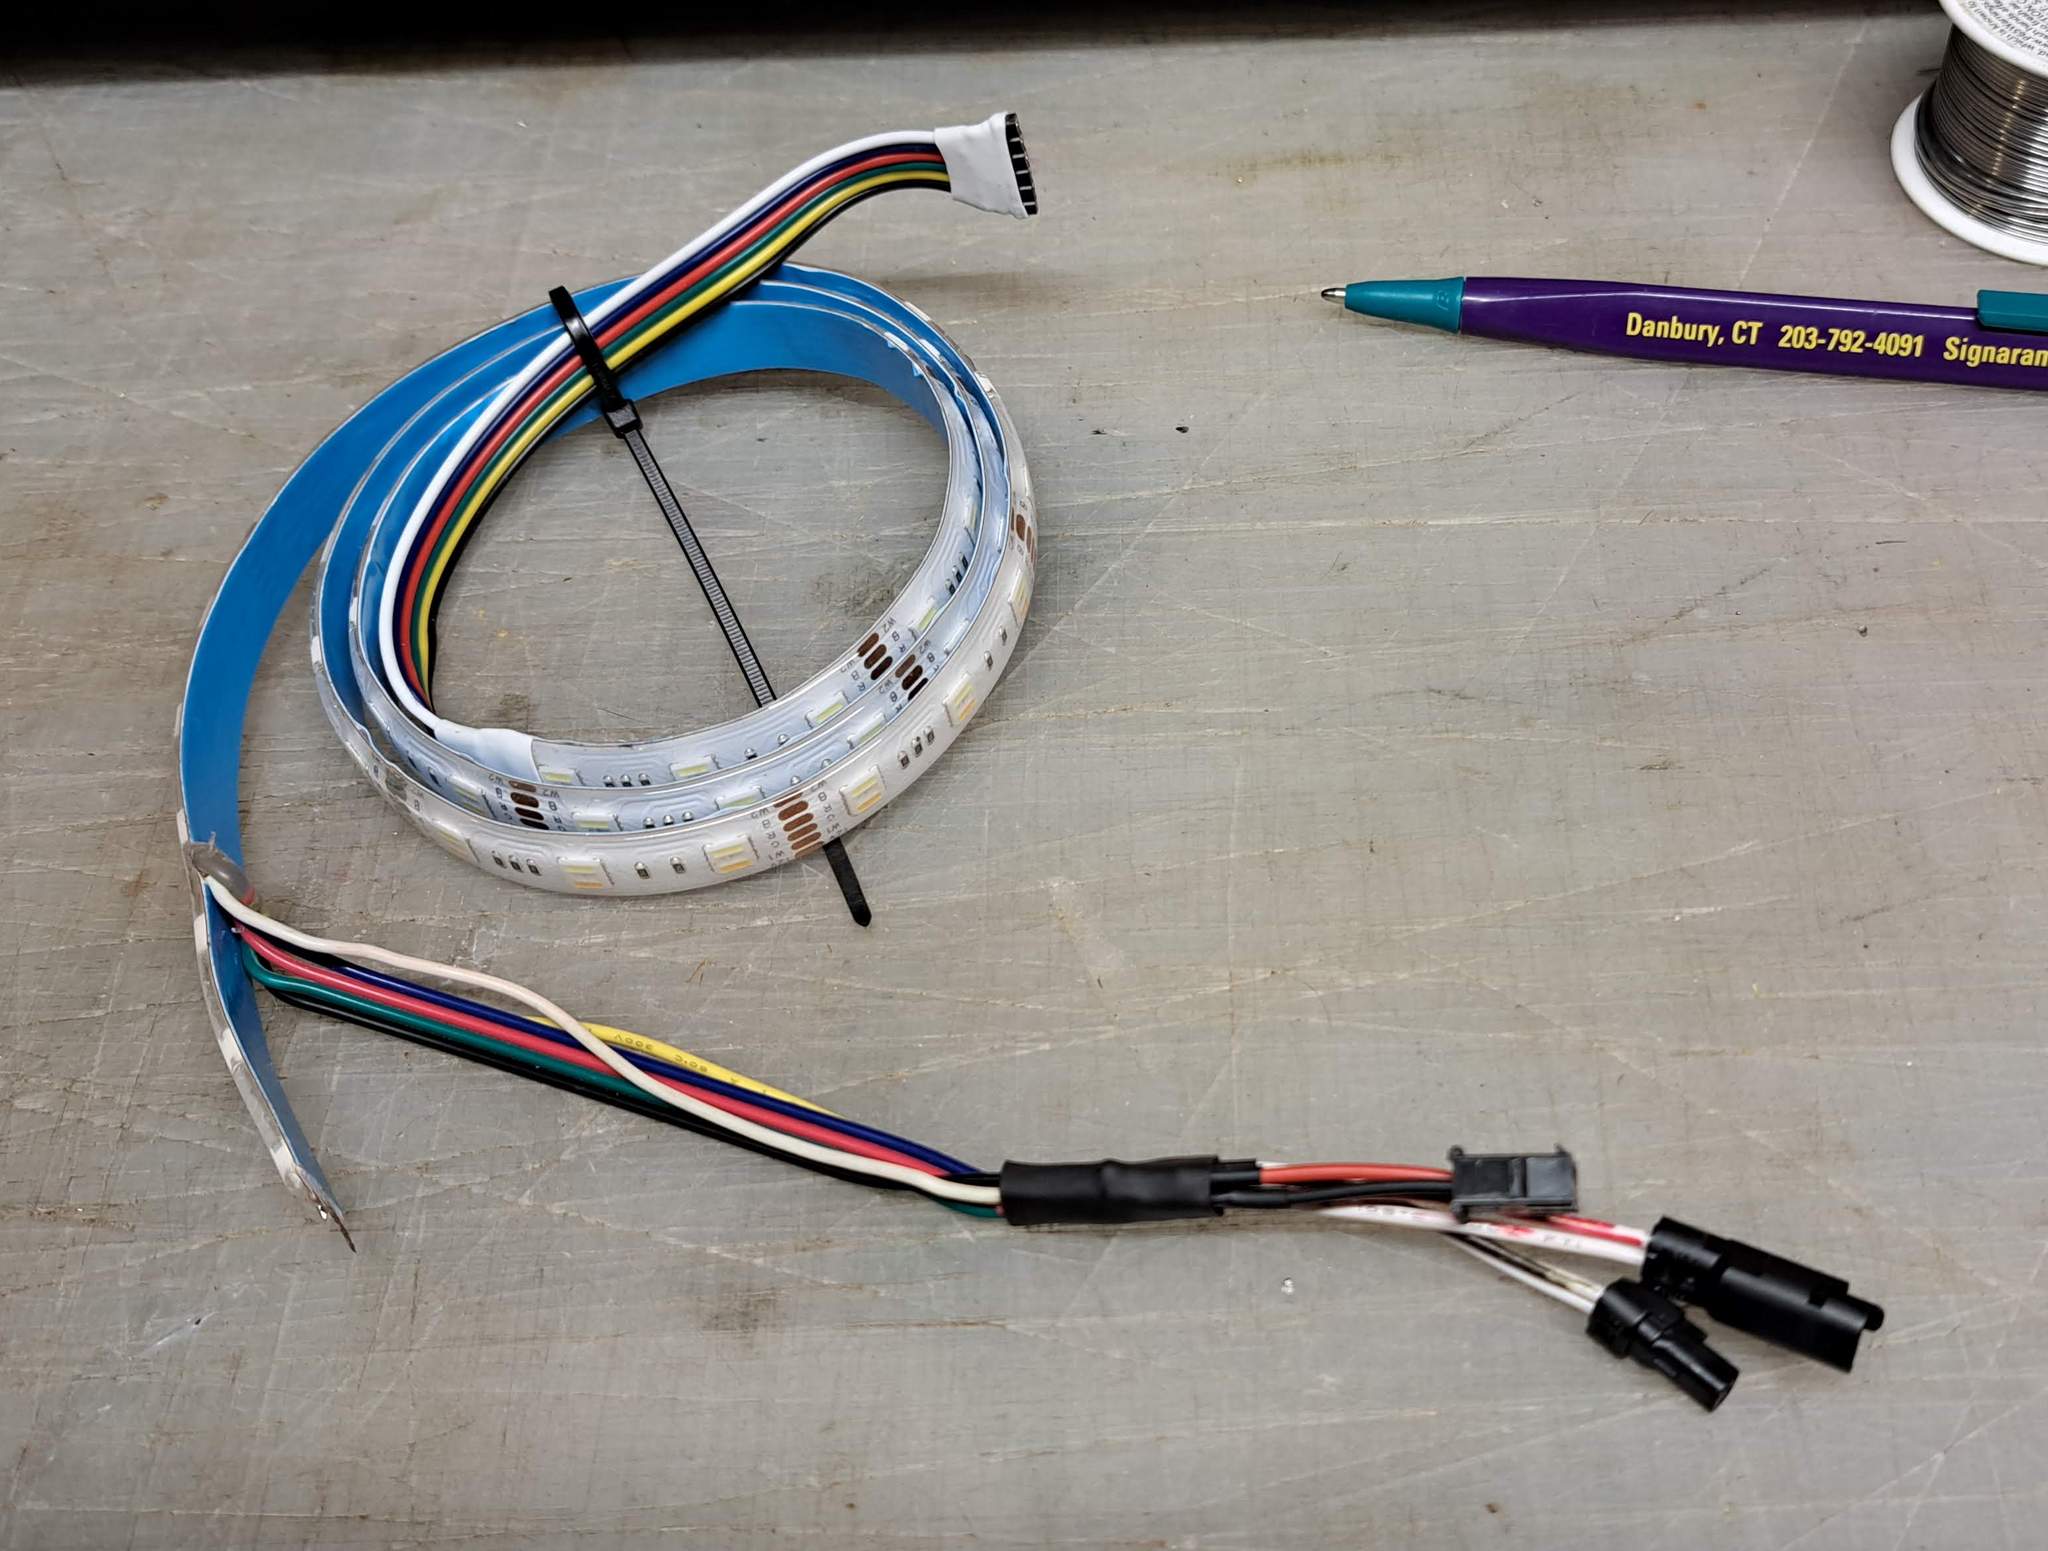
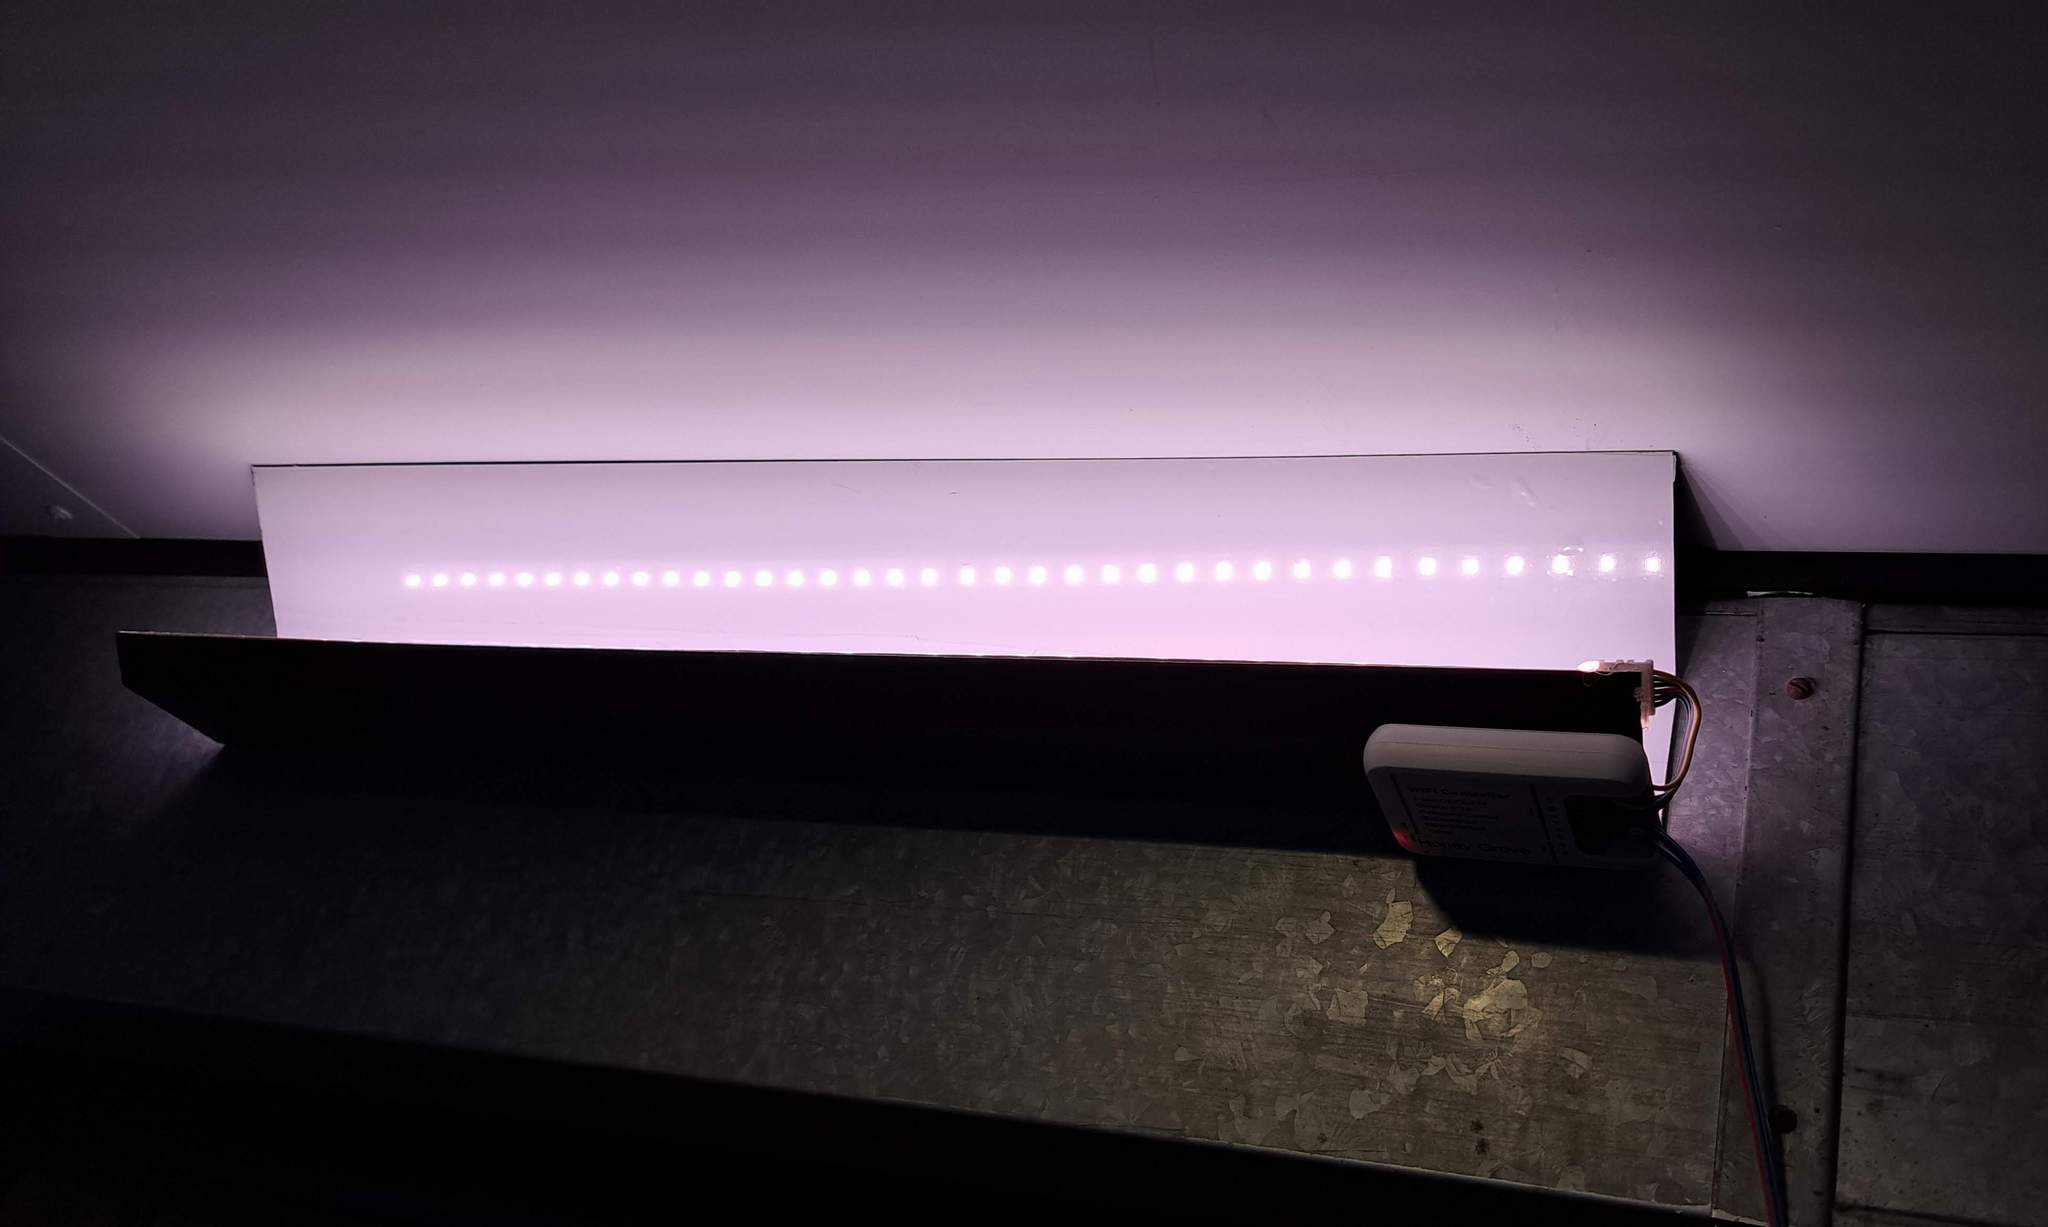
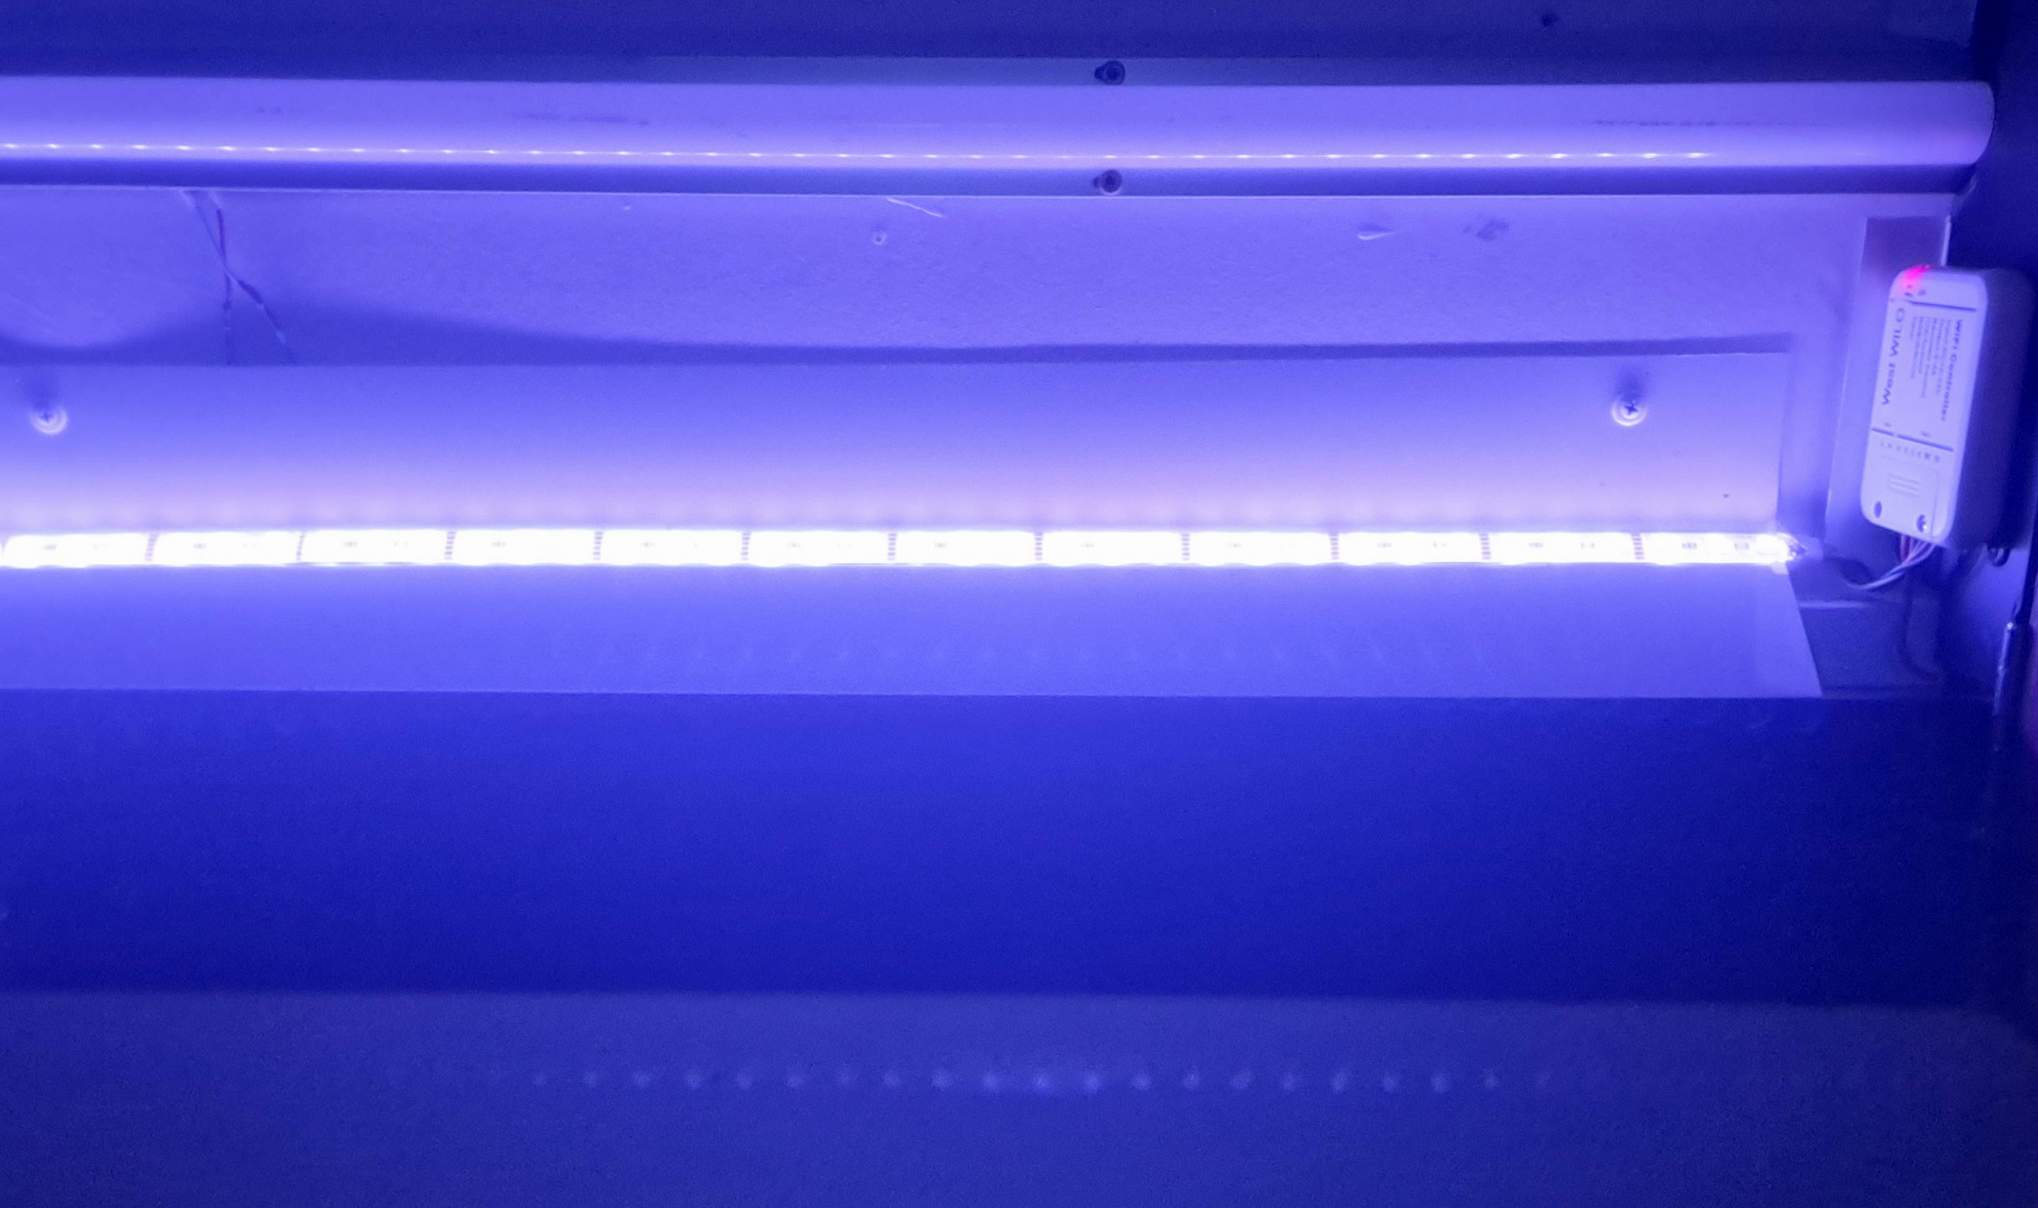
I have attached a short left-over section of the strip lights for functional test…

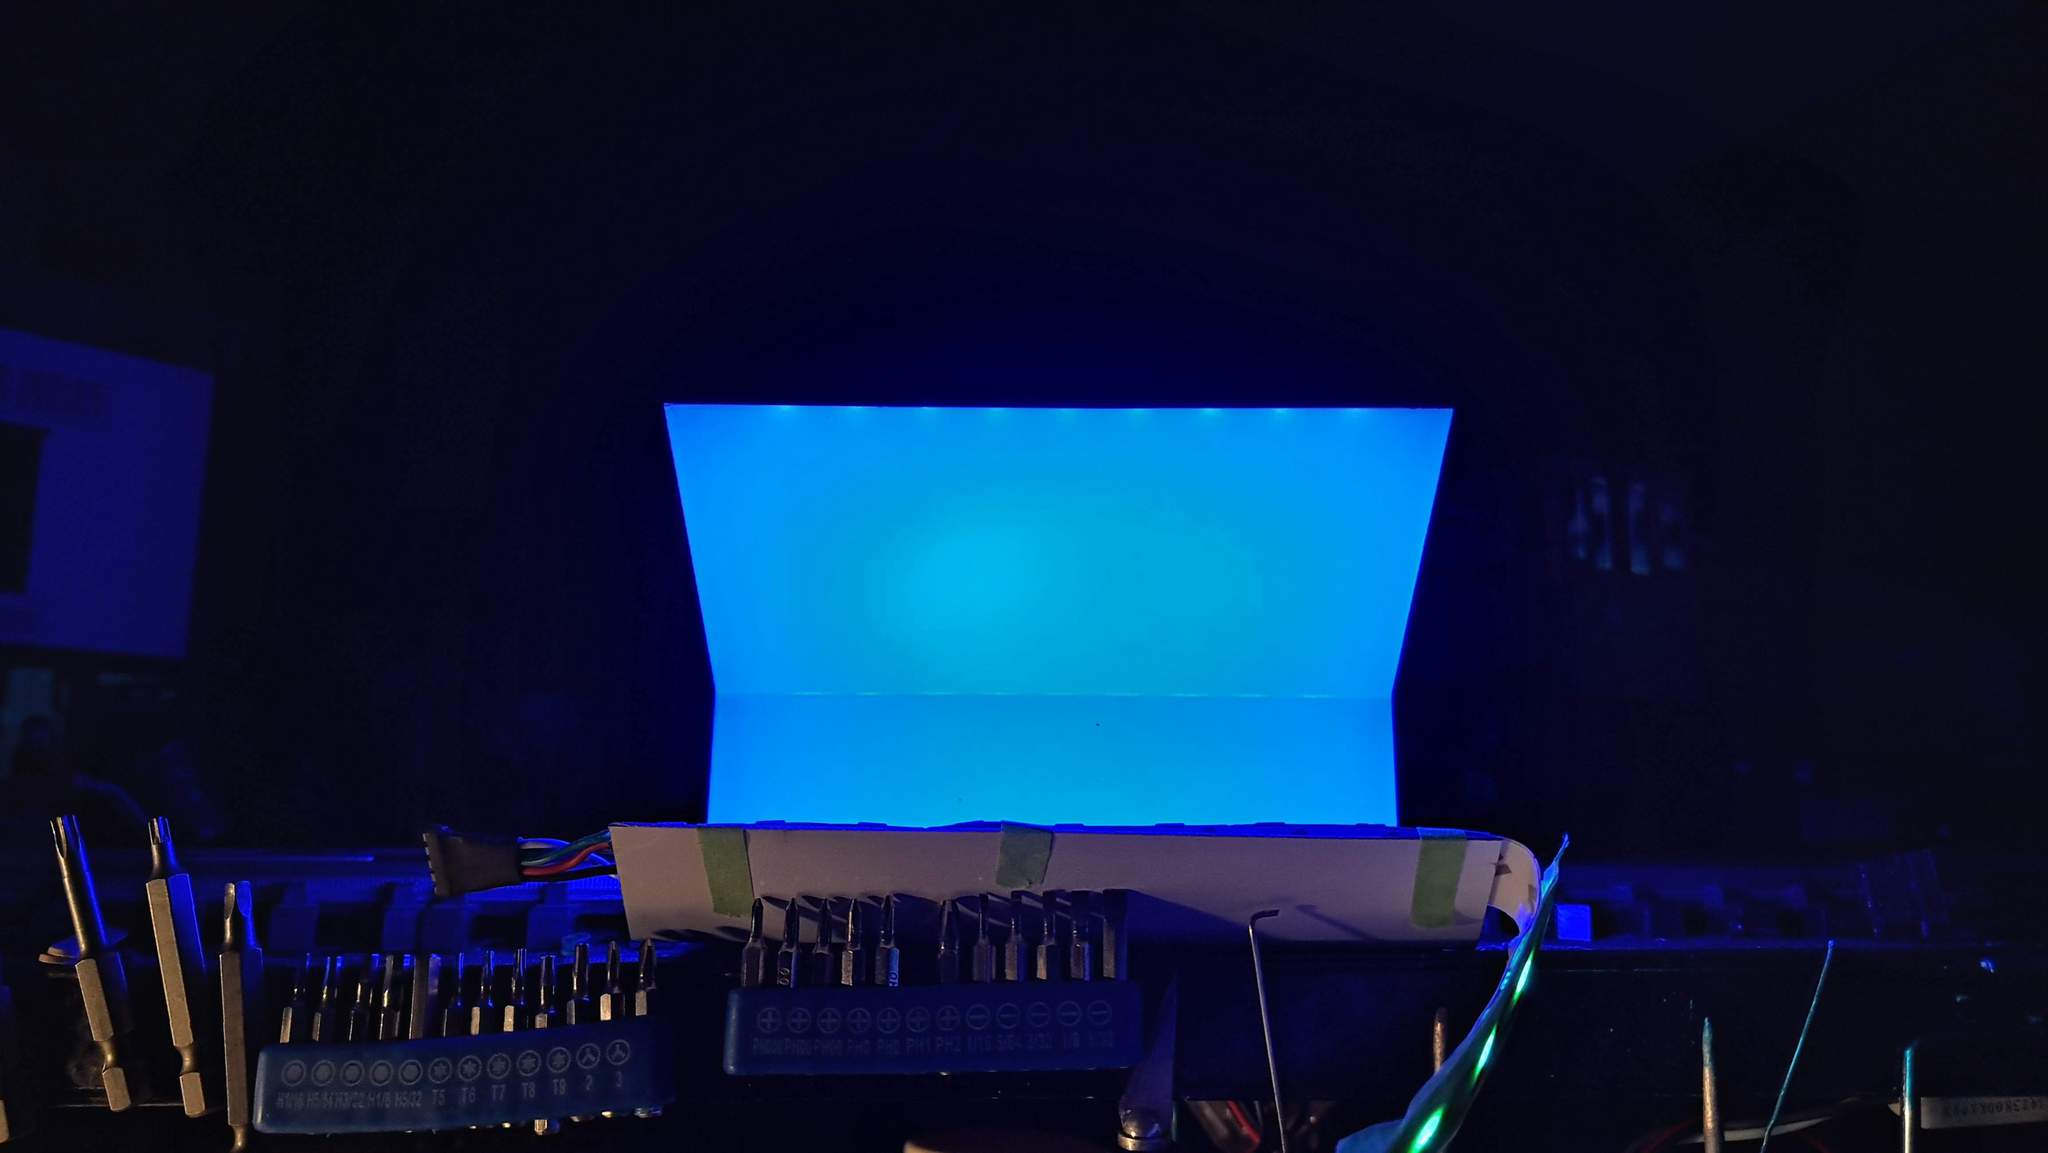
And lit in a darkened room…

I was going to cut and bend the full size version in my shop at work yesterday for installation this weekend, but forgot to bring the measurements :frowning:

And here is the 2018 thread documenting my original foray into this madness…

There is also some history in this thread buried in a lot of discussion and pictures of the entire expansion project in 2016…

I’ve been slowly progressing on this project. I bent a black aluminum reflector at work last week then coated the inside with gloss white vinyl to reflect.

Today was wiring and mounting day. I needed to add a way to connect two sections that had been cut. The slip on connectors provided with the strips were intermittent, so I soldered directly to pads on the strip. I didn’t have any 6 conductor plugs sets that weren’t huge, so I went with 3 two conductor styles and made it impossible to plug in wrong by alternating male and female of the same type…

The other set of connectors and strip will run behind the valance when it is added. It has the connector for the controller at the other end…

The spot where this is going is mostly inaccessible without climbing on the 1/2" plywood board which I’d rather not do. I decided to glue the pointed end of a finishing nail to the far end of the reflector designed to pierce the wall at the far end of the mounting spot…

I then used a rubber mallet to bang on the reflector end, driving the nail into the paneling. A few screws at the close end secure it in place…

The short section is connected to allow the controller to be attached and the lamp tested…

And finally, illuminated…

I’m pretty happy with the result for the back half of this area. I may need to expand it in the future.

Last evening I completed hanging the second section. I’m not sure if there will ever be a valance installed here, so other than the temporary power wire, this is probably done.

Really nice effect Jon, great job!

At first glance I thought you were using aluminum or vinyl gutter, but then I read you’d made it at work. Nice bending!

Thanks Cliff. I think I need one more section someplace on the other side of that enclosed beam on the ceiling; above where the camera is in the bottom shot.

I have bright work lights in the area, but when I’m running trains I prefer a less harsh lighting. When my existing can are lights dimmed it was hard to see uncoupling. Hopefully this will fix that!

While everyone is busy with their MIK builds, I was struggling on how I was going to mount one more reflector with LEDs. Then I remembered I had salvaged a bunch of strong magnets from old hard drives! The area where I need more light is below a steel heat duct. Problem solved!

I mounted a few feet of the LED strip in a short left-over section of the bent aluminum reflector and wired in a WIFI controller…

Next I used a hybrid structural adhesive to weld some of the magnets to the back of the reflector…

The magnet placement allows for three possible orientations on a metal duct. First, as designed…

Up side down…

On the bottom…

I chose Up side down and attached it above the yard near Honey Grove…

It seems to light things well…

Now I just need to finalize the power supply for these new sections and I can call it done after what, 5 years?

2 Likes

Just like the garden railway; done is never done. After finishing up the area above my yards, I tried running some ops using just the LED strips to illuminate the layout. For most areas on the layout, the lighting was good, but there was one spot left that was too dark; West Willow Hill where I built the coal trestle diorama during COVID.

When the area was reclaimed from dead space during Christmas break of 2018, I installed LED strip in the upper area I call Shadow Box. This did well to illuminate what was displayed there, but did little to light the operating track area.

Initially I had planned on extending the valence that holds the lighting for most of the Willow Hill division. That would have provided a good angle for the LEDs. After a long while contemplating the construction, I made the decision to not extend the valance because it would crowd the existing ceiling lights.

Fast forward a few years and I’m back in LED mode, so I began looking for a solution. I decided on mounting an aluminum reflector behind the trim at the top of the area. It is the black line at the edge of the white ceiling in this shot from 2019…

In the above shot the LEDs are on in the shelf area, but the layout area is illuminated by the white work light.

So, now that you know the lay of the land, here is the area behind that black trim, looking up from the layout…

The bottom of the picture is the ceiling outside the layout, then the trim, the LED strip is on the angled reflector and finally the work light on the inner ceiling is reflecting the strip.

In the next picture both strips are lit, but set to a different color. You can really see where the new LEDs hit. The green tint is the Shadow Box LEDS…

This next one is just the track area. My camera (phone) tries to do some color correction. This scene in reality is less red, more blue. Kinda simulating moonlight…

And finally a close-up. I need to get back to work on those background photos. The plan is that everywhere there is not a model building front, there is a black and white vintage industrial print. I’ve got a bunch from Shorpy to use…

I won’t declare the project done, but this section is complete. It darn near killed me trying to make the power connection in the framing above the drawer. I can’t believe I actually fit in there once to do the framing!

Next up is a work light in the just completed passenger car storage shelf. After that, another section of RGBWW under the large storage shelves where swithing is done.

Looking good, Jon. I used 24v LED warm white strip lights to light the new patio area. Im pondering using some as accent lights around the RR as well.

1 Like

I’m glad I noticed this, I want to add LED strip lights under the storage shelf over the indoor layout, I have some really dark spots that need light. I may have questions down the road.:+1:

I think this is probably the best bang for the buck, these 17’ strings with controller sell for less then $20 on eBay. Super easy to install with peel and stick backing and you can cut to fit as needed. No heat output from them either, I have used then on many projects, I even put then in an IKEA glass display cabinet. Just remember the peel and stick does not stick very well to drywall painted textured surfaces.

An old thread comes back to life!

If I was doing this over again I would seriously consider individually addressable LEDs (strips with a data line) . Solid colors are cool (and cheap) but it would be awesome to do effects like lightning and perhaps a moving dark line. Takes more hardware but there is a lot of stuff out there now.

Good lord you need to talk with the boy as he already has it in his room on his Iphone 12?
I don’t give a ratsass anyway as I’m burning his room when he leaves but the question is WHEN he leaves or do I throw him out!