Large Scale Central

Restoring a 1st Gen. Bachman Shay

Jon; Thos are the OLD plastic trucks, how to tell, the 6 screws and the plastic ears over the electric motor. The metal trucks have a metal bottom cover plate and only 4 machine screws holding it on. How I found I had a proboem - I was putting the loco on a shelf and could see daylight between the truck and the engine frame.

Paul

Yep thats a 2nd Gen truck

So then can I assume that the 2nd Gen didnā€™t have quite as bad a crubling problem as Gen 1 ? These are not fragile to handle at all.

BTW - If I had the cash I would have bought the new cast trucks rather than having Gary re-gear these (which was very inexpensive). I got one put together and power leads attached last night. Ran it up and down some track and it runs smooth and quiet.

Also last night I set up the steam motors with a continuity light to test the sound triggers. They seem to be working perfectly. This loco came with a sound board so the triggers may have been tweaked by the sound installer. I went ahead and lubricated everything including all the reversing mechanism. Not sure if Iā€™ll bother to grind out the frame so the reverser works or not. I can hardly see it with my Optivisor on :slight_smile:

At work today I cut CVSRy steam loco lettering and numbers in Imitation Gold which is very close to the factory lettering color. Iā€™m going to keep the #5 but loose the lumber company nameā€¦ I hope to have the tender stripped, painted and re-lettered for the CVSRy by the weekend.

To keep my motivation going I try and switch tasks to something that looks more like the finished product. Today I set up the lettering and numbers for the tender in Illustrator and had my vinyl guy at work cut them for me. Hereā€™s how they look just after being weeded, before the application tape is appliedā€¦

Yesterday I used alcohol and a paper towel to remove the lettering (and some of the paint) from one side of the tender. Here is the Before (well, the other side)ā€¦

And the afterā€¦

Once the balance of the lettering has been removed Iā€™ll repaint the tender shell and apply the vinyl. Iā€™m not sure Iā€™ll use any of the 5ā€™s I cut. Iā€™ll keep the factory number on the cab. Might add one to the sand box on the back of the tender. I also plan to wire & assemble the second truck tonight and do a test run as a pair. Iā€™m trying to come up with something to link the drive lines with just for fun :slight_smile:

Tonight I wired and buttoned up the second truck and gave the pair a road test. All of the track pick-up and power transmission buss has been stripped from the truck. I hard wired the motor by soldering color coded wires to the existing motor leads. I didnā€™t think I could reach the tabs on the motor without tearing the truck down further which I didnā€™t want to do.

The wires were then routed out the top of the truckā€¦

Back on the bottom I tucked the leads into the gap next to the motorā€¦

Hereā€™s a close up of the nice metal gears Gary Buchanan installed for meā€¦

In order to test them in operation I needed to deal with the drive line. Heat shrink tubing provided a way to connect the trucksā€¦

Here they are out on the Indoor division for a test runā€¦

Power was provided by ā€œShortyā€ our HEP car and the coupling was jury rigged with some wireā€¦

Almost time to think about wiring up the R/C. I need to order a battery. My test run was on an 11.1V pack and they ran pretty good but I might go with the 14.8 pack to have a little reserve throttle for the grades.

Tonightā€™s project was to evaluate the space requirements Vs. available space for Batteries, Enhanced RailBoss, Spektrum Receiver and the Phoenix Big Sound 97 that came with the Shay. Fortunately I can eliminate the included Phoenix Big Boost because Iā€™m running battery power.

I looked at the spot between the frame rails behind the fire box as an option for the battery pack. To use this space Iā€™ll limit myself to 11.1V as I can only fit a 3 cell pack in this spot so Iā€™ll probably rule that out.

It will be a very tight squeeze but I think I can get two 7.4V packs and all of the electronics to fit in the tender. I think to make it easier to service Iā€™ll mount everything to the floor and the tender will act only as the cover. I wonā€™t be able to use the handy switch mount under the engineer side valve because one battery will conflict.

One option for the volume control, power switch and charge jack is to mount through the floor and access from below. A second option would be to leave the coal load loose and mount them under the load.

Decisions Decisions. I think Iā€™ll go test fire the Phoenix while I ponder the options :slight_smile:

Oops - Forgot all about the speaker. I wanted to use an upgraded speaker that came with my 2K2. I may be forced to do the battery slung underneath.

I believe in later runs, the connection between trucks was for show only and they could turn independently. Helped stop problems with mismatches in motor blocks.

(similar to running 4 wheel drive (with no differential) on the pavementā€¦ causes binding)

TOC would know this for sure.

Greg

Thatā€™s correct Greg. On one truck (I think itā€™s the rear) the drive line free-wheels. There is a slip coupling that allows you to completely stop the drive line beyond the universal joint without stopping or binding the motor. The only reason I connected the drive line for my operational test was to keep the links from dragging & jamming in the ties. Also, by connecting the trucks I could tell if they ran well together.

The truck that is powering the dive-line is the one that operates the steam motor simulation. Itā€™s important that the steam motor run free and easy to keep the two trucks running close to the same speed.

And I know exactly what you mean about 4WD. I have a locking differential on my 4WD and it is not happy on dry pavement unless only going straight.

This is a great thread; good photos which are very helpful, and a good rebuild story. It also somewhat refreshes my memory of the chain of variations for the trucks. However, letā€™s see if Iā€™ve got that part straight:

1st gen truck: 8-screw as viewed from bottom. Plastic. (Not long after I got my 1st gen Shay, Bachmann let me send the trucks in and they replaced them free withā€¦
2nd gen truck: 6-screw, still plastic truck. But cared for did pretty well.
3rd gen truck: metal? And now the current production truck. No known problems?

No other variations?

I look forward to more as you progress, Jon. I just picked up another 1st gen Shay so Iā€™m watching this closely. Thank you again,
Dennis Thompson

Jon Radder said:
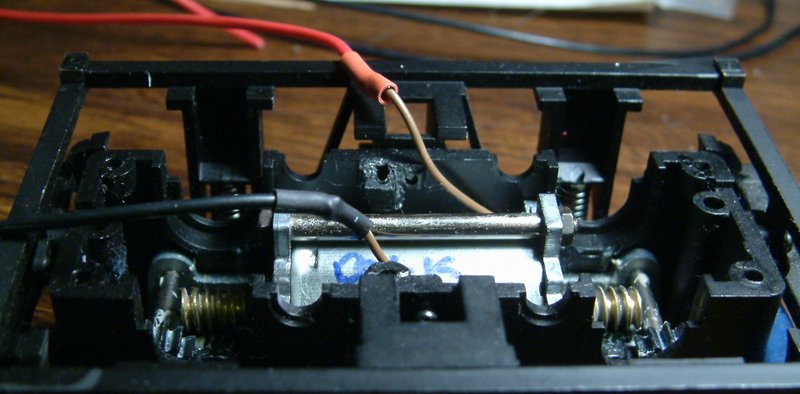
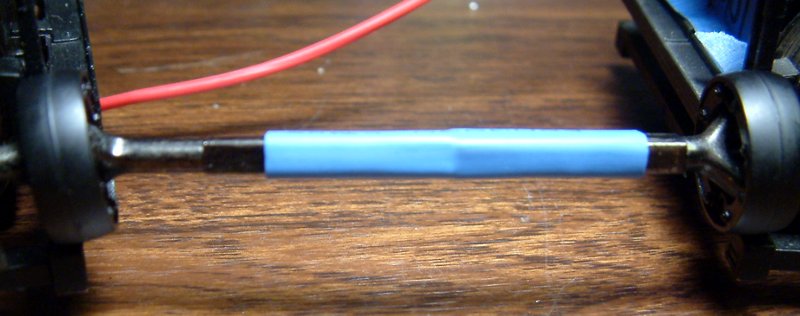
On one truck (I think it's the rear) the drive line free-wheels. There is a slip coupling that allows you to completely stop the drive line beyond the universal joint without stopping or binding the motor
OK, since people are paying attention here's a minor correction to the above statement...

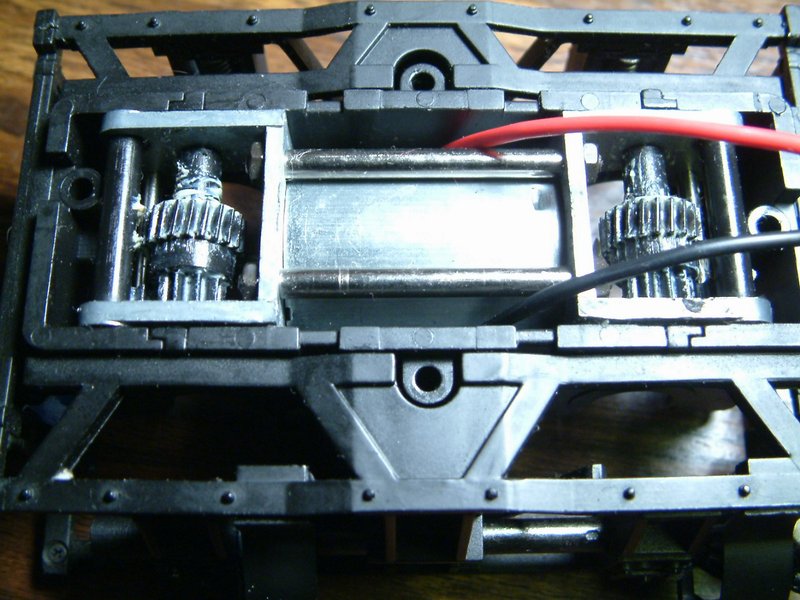
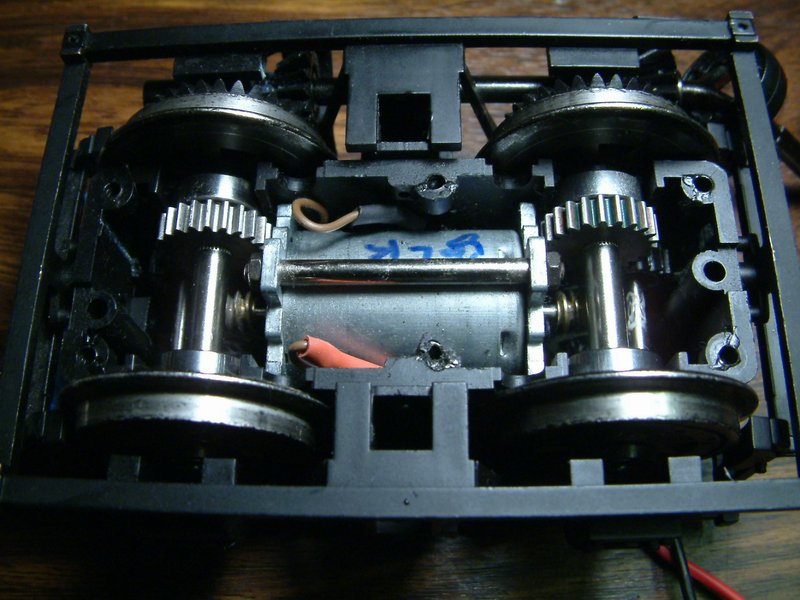
The front truck powers the drive line all the way through the steam motor into the rear truck. On the rear truck the slip connection is at the drive line gears. When the rear truck is running you can stop the drive line without putting any load on the rear truck.

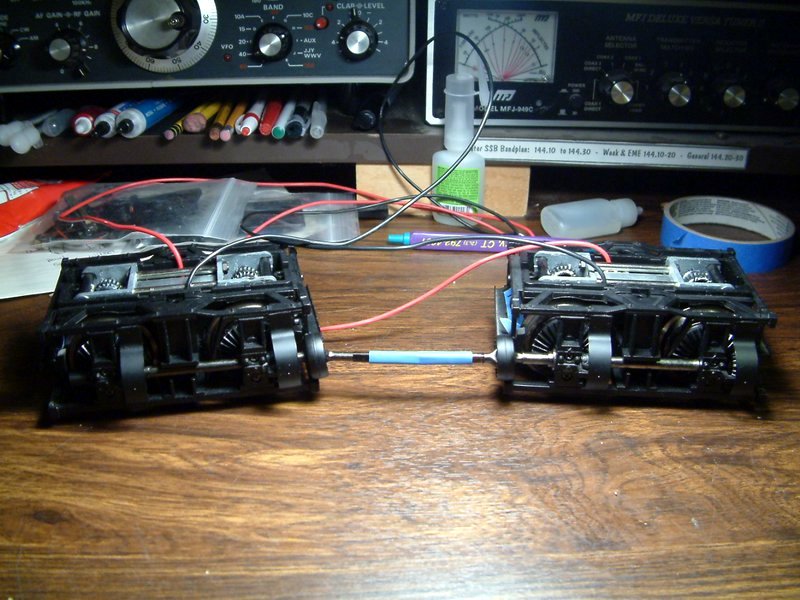
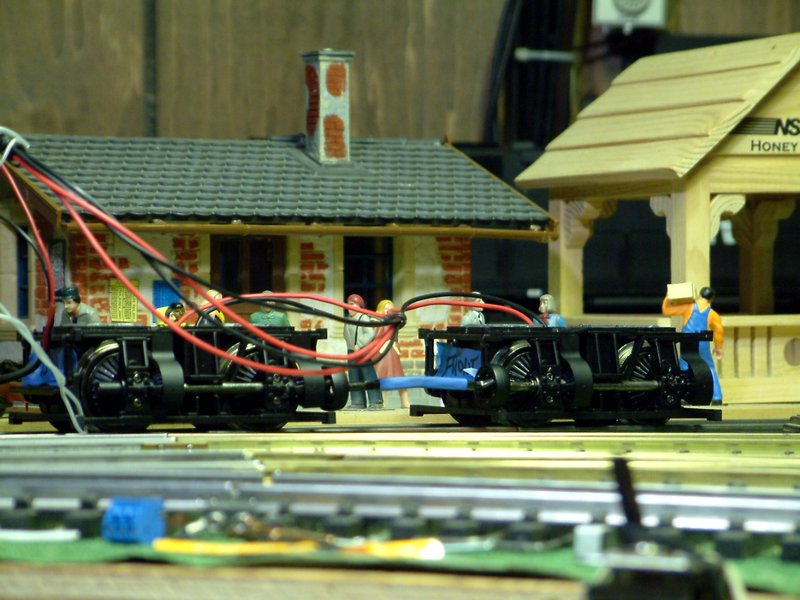
Last night was full on bench test operation of the trucks and steam motor complete with sound connection. I am getting a little bit of a glitch in the center cylinder chuff when running very slow. Not sure if it warrants tearing down the chuff switch assembly to try and fix.

I also noticed that the rear truck starts at a much lower voltage. The front truck is kind of hard to start. I thought that might be binding in the steam motor but is does the same with the truck by itself. I need to get some good quality lube and see if I can get it to start easier.

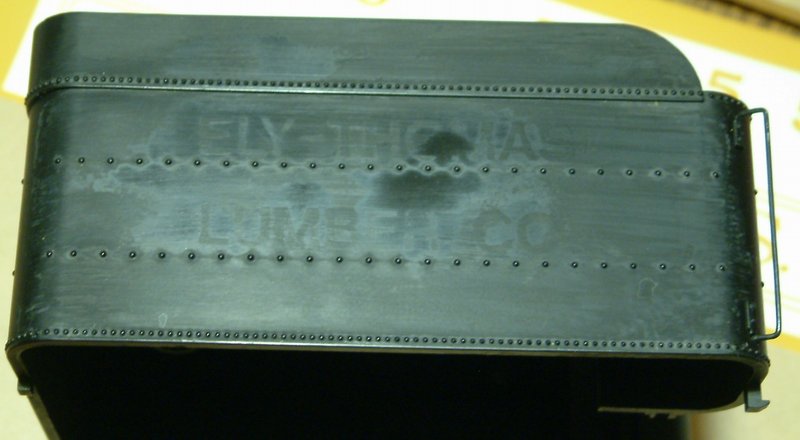
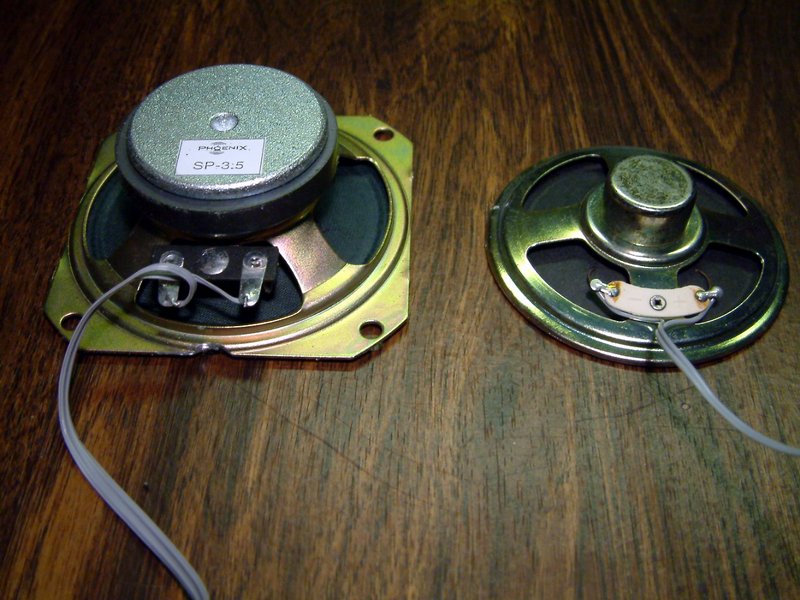
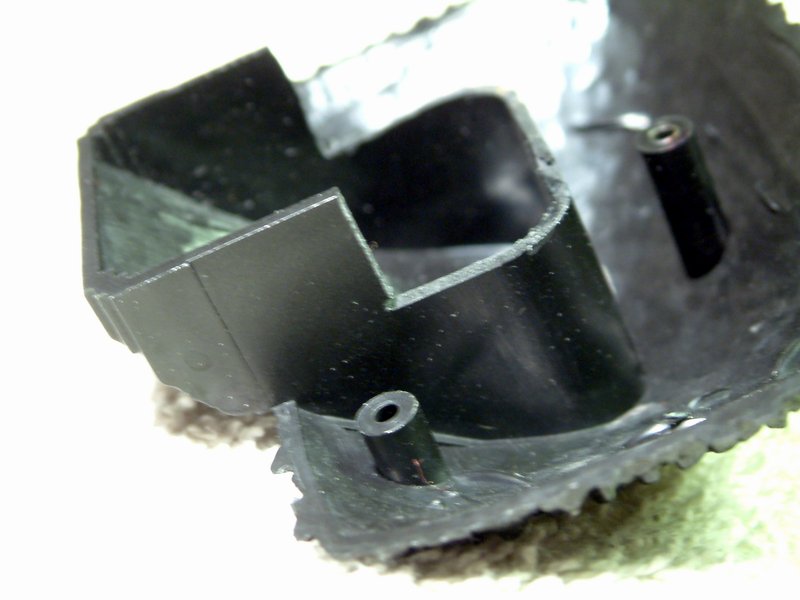
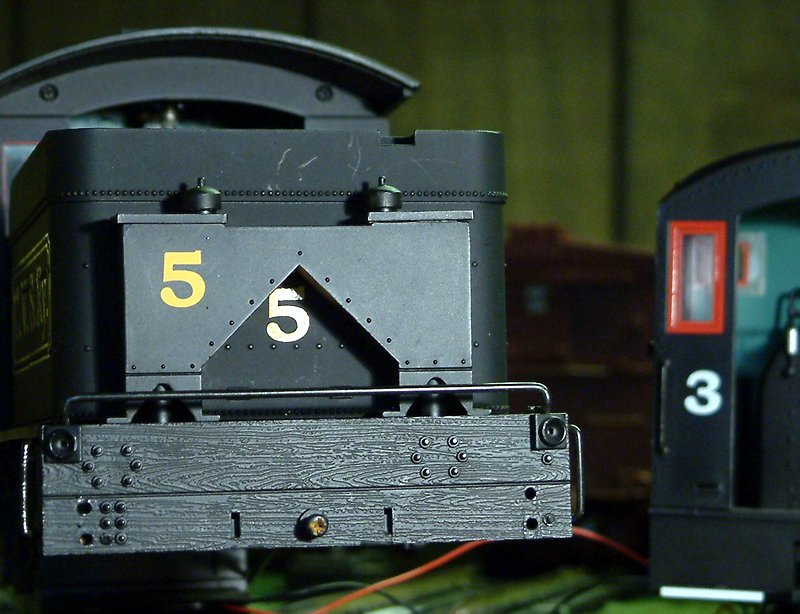
Today was tender modifications and paint. During my sound test I decided that my 3.5" speaker sounded much better but the magnet interfered with some un-needed interior parts of the tender shell. Out came the Dremel and problem solved.

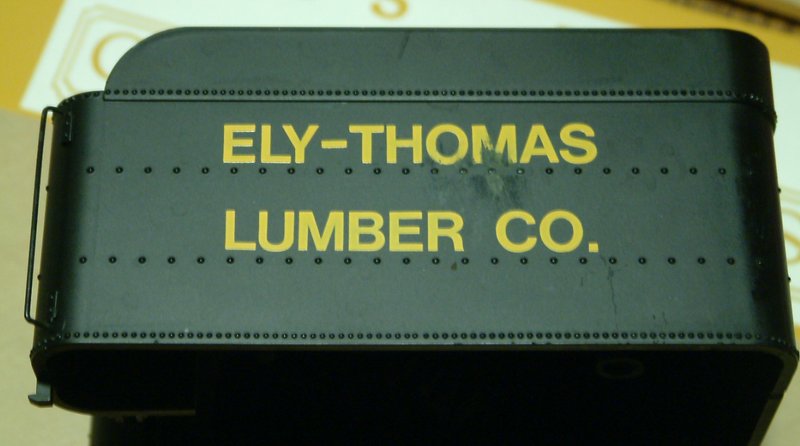
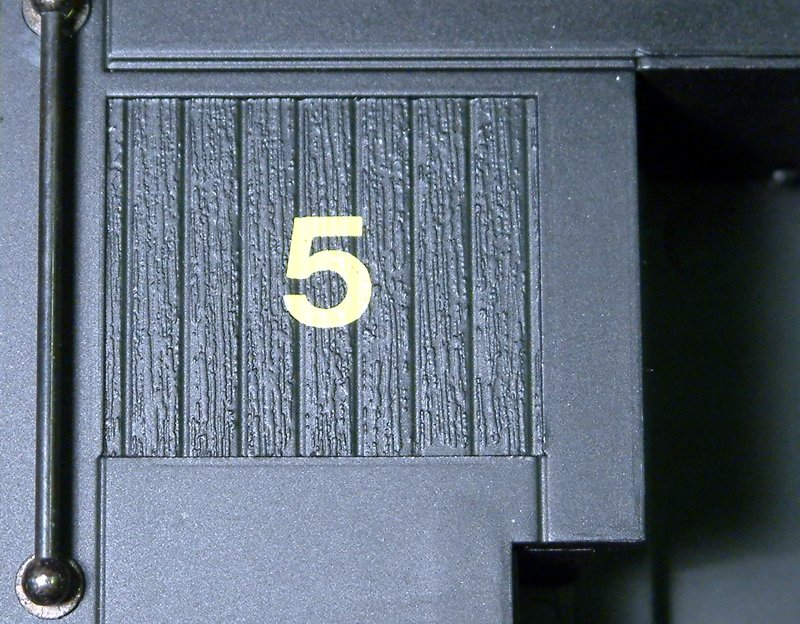
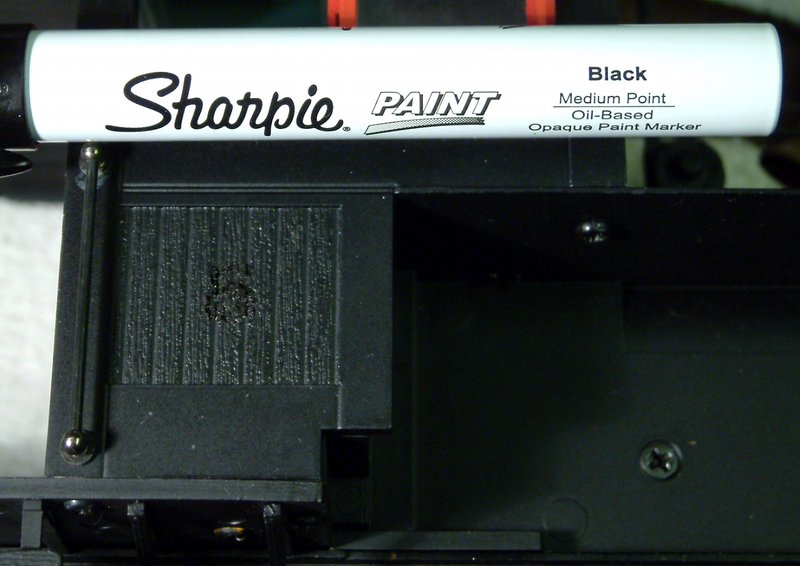
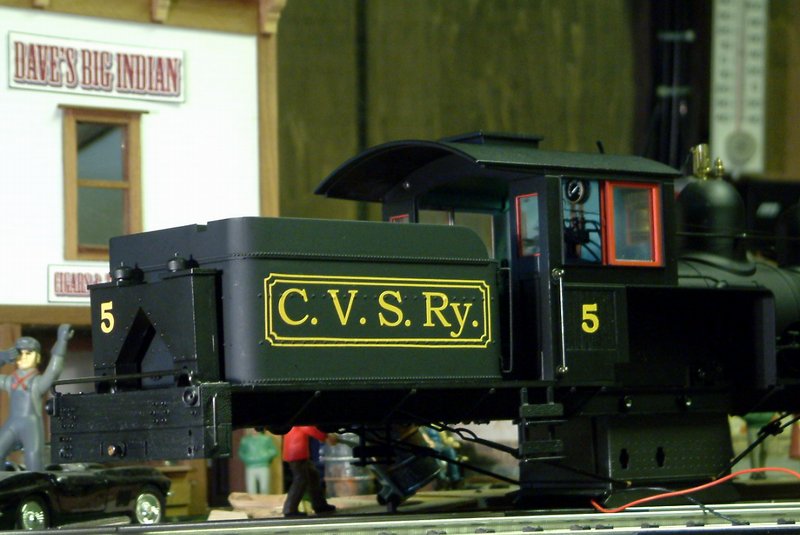
I painted the tender with Krylon Ultra-Flat black. Itā€™s not a perfect match, but I donā€™t think itā€™s too far off. I did comparison of the satin finish and that is way too shiny.

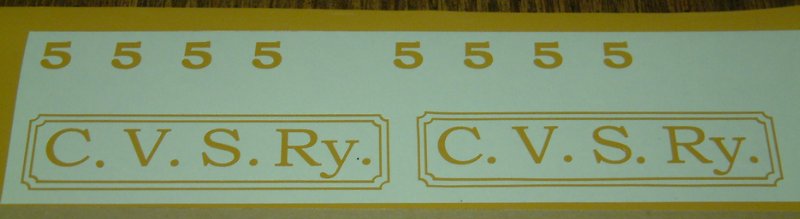
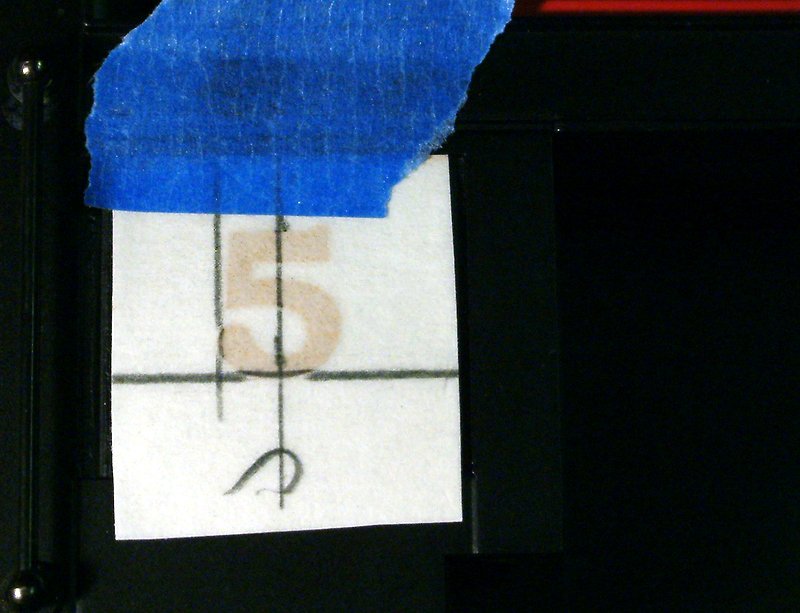
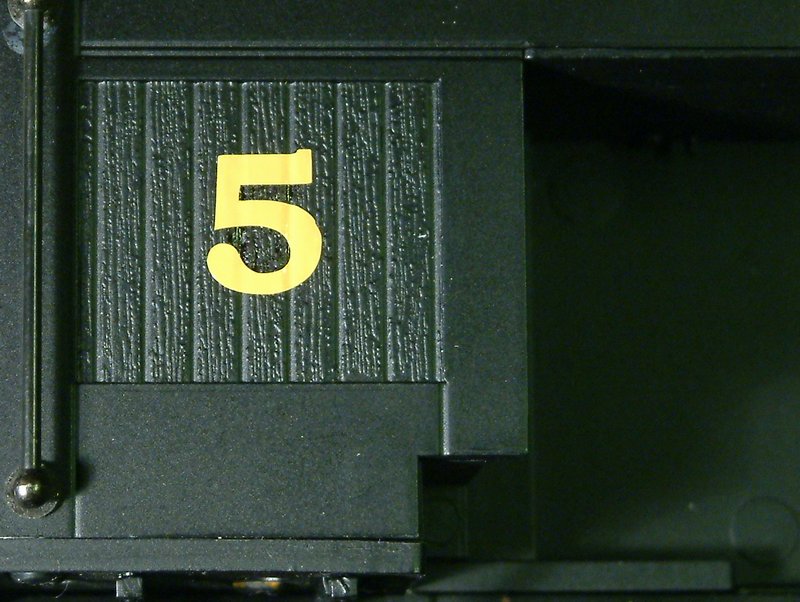
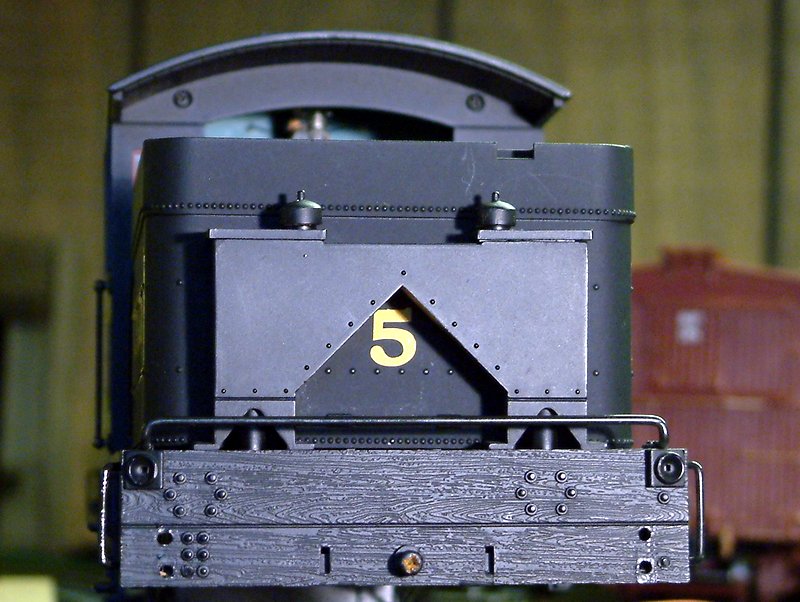
Pictures later after the lettering is on.

Here are the promised photos. Here is the full-on drive line bench test. Power was borrowed from the track with clip leadsā€¦

Simultaneously a sound test was run on the Phoenix BigSound 97 board. At first the board was driving me nuts with bells and crossing whistles every few minutes. I was thrilled to discover that if I triggered the bell and whistle that the automatic sounds were then disabled. Notice that the tender shell is being held open by the larger speakerā€¦

Here is a comparison of the original speaker on the right and the upgraded speaker Iā€™ll use on the left. You can see where I ground out a little clearance for the tender mounting postā€¦

To accommodate the much larger magnet the coal load was trimmedā€¦

And the tender was trimmed as wellā€¦

I decided to wait for the fresh paint to cure overnight before applying the lettering.

Nice work so far Jon. Cant wait to see it running.

Now that the tender mods and paint are complete itā€™s lettering day. I did the tender first and then decided that the original #5 on the cab didnā€™t match my RR standard for font and size and the color was just a tad off from my vinyl; so it had to go. The factory cab side numberā€¦

After being blotted out with a Sharpie paint pen then dabbed with a paper towelā€¦

Vinyl lined up ready to applyā€¦

Updated cab side numberā€¦

Next up was deciding on the tender rear number. Originally I planned on centering it on the tender back wall where visible behind the sand boxā€¦

After placing the sand box I noticed it was pretty hard to read unless you were dead center at track level. The Candlewood Valley Scenic Railway already has a precedent of placing rear numbers on the left side begun with Porter #3. Here is a comparison shot of both positionsā€¦

I like the sand box mounted number better. Wheat do you think? Overall shot of letteringā€¦

I likeā€¦ Yeaaa vinylā€¦ It can even replace Duck Tapeā€¦ some times. I know for sure if you want to slow down the kids tearing into presents at 100mph it works well.

Did you get all your electronic in the tender, Jon?

I have a Shay on the workbench also, but mine is stalled while I work on other stuff. I used a low profile speaker and then mounted a 4 cell flat 14.8V battery on top. I split my Airwire G2 and then put it on the side and front of the speaker. I mounted a Phoenix BigSound97 on the other side of the tender. I couldnt get my tender shell to seat all the way down because the stuff inside was too tall. My solution was to cut out the top of the tender and build an oild tank on top of the tender to get more height (still needs to be done). The prototype Iā€™m modeling was an oil burner anyways.

The tip on the BigSound might have just saved that board on my build. That repeating crossing and bells sound was getting really annoying. I thought I might have wired the board to the G2 wrong and it was constantly triggering. I was seriously thinking about replacing it with a PB8. Now, Iā€™m not sure.

Hi Jake. 10-4 on the 97 board. If you want playable whistle and an on/off bell Phoenix will re-program the chips for $10 + shipping.

I have yet to work out the fit in the tender. Battery will need to go under between the frame rails behind the fire box. I tested an 11.1V pack and it fit there. My ESC is Del Taparoā€™s Enhanced RailBoss with a Spektrum reciever. The RailBoss is a pretty large board. It barely fits in a vertical position on the rear tender wall. I am concerned that this wonā€™t leave me enough space for the wires to exit. The radio receiver is very small and will tuck in most anywhere. Iā€™m hopeful I can get everything except the battery in the tender and get it to seat. I may need to abandon my big magnet speaker and go back to the original. If I were to cut away the stock speaker mounting pads I could gain a little room above the speaker, but I donā€™t want to kill my option of going back to the stock size speaker.

Iā€™m considering making the battery pack removable and utilize my standard Tamiya plugs. Not sure the plugs will clear the truck, or that I could get the battery out with the truck installed. More experimentation is needed.

Question time: What do you all recommend for gear grease? My tub of Bachmann EZ-Lube grease has gone to liquid so Iā€™m headed off to the only local hobby store that carries anything other than R/C Car & Boat stuff three towns away. They carry Hob-e-Lube by Woodland Scenic s. There is a White Grease and a Molybdenum Grease, and Gear Lube which is liquid with a tack additive.

Woodland Scenics saysā€¦

Gear Lube is for ā€œModel train power gears and locomotive cross headsā€

Moly Grease is for ā€œHO scale and larger model railroad power transmission gearsā€

White Grease is for ā€œOutdoor garden-railroad axles, journals and couplersā€

And then there is their Premium lineā€¦

Gear Lube is ā€œA true gear lubricant, where tough, lasting gear oil is needed.ā€

I would stay away from the tacky stuff. I think with our small gear it would add friction to the gear. Iā€™ve always prefered the white grease and it has served me well. The Moly grease is interesting.

The short answer, I would revert to what has worked for in the past, the white grease.

Jon Radder said:
Question time: What do you all recommend for gear grease? Mu tub of Bachmann EZ-Lube grease has gone to liquid
Shake it up or mix it up .....don't over think ....I do that all the time and revert to basic's.