Large Scale Central

Railtruck for the Durango & Jasper

Jim,

Have you considered a rectangular brass tubing to build the frame out of, it will solve a lot of the problems that are floating to the top.

I have used this method on several scratch builds and it works very well.

Of course now you run into soldering issues if your not comfortable doing that.

Just a thought.

Thanks Rooster and Rick…

do not have that brass on hand so will need to noodle on it…

Jim,

Kid-zilla and I are pondering this…What if you were to get a second set of wheels the same size as your powered drivers, mount them all in a brass sub-frame as mentioned above, then mount the lot to the underframe of the truck? Your false chain drive would connect the two wheels, giving you a reason to have two, and some of the engineering and stability issues listed above - strength, stability, tendency to rotate about the axle - might be resolved? It would also divorce the cargo frame area from the load bearing and driving problem, giving you time and space to tinker.

Eric

Jim, Both Workbench hardware stores in our town carry K&S Brass for modeling.

Eric and Kid-Zilla: thanks for helping me think! Much appreciated! The chains are tough to make work with a truck, particularly if the truck can swivel. The way the original 1926 chain drive works is a small sprocket on the frame drives a larger one on the axle. Those are 2 of the reasons I gave up. Sad!

Dan: Thanks. I am going to stay put for a while longer so that will have to wait…

Cheers!

[edited to correct bad spellcheck…what I get for posting from my phone I guess…]

Rooster ’ said:

Jim Rowson said:

Worried that my frame is too thin for such an attachment but I have a cross brace that I can screw through hidden under the brass doohickey.

I agree it is too thin as a stand alone but I was thinking that the model body screwed to the frame will give it more than enough strength however we did not get that far yet. I only answered you on how to make it removable and how I would approach it . An automotive uni-body frame is a flimsy worthless piece of crap until you put the body on it .

Was thinking when you put the body on and attach it to the frame even with some 1/32 " brass pins into the 1/8" PVC frame I bet it would be stiffer than a wedding night rooster! However this is just my experience and sometimes one needs to think outside of the box.

Now …if the model body cannot be attached to the frame or it’s (body) too flimsy then my thoughts are out the window. Only stating my approach from what I’m seeing from you’re,your (spelin) pictures that you are graciously sharing and I’m certainly enjoying.

Keep up the good work and badge it Amtrak when finished (any paint phase of you,you’re,you are choice)!

(https://www.largescalecentral.com/externals/tinymce/plugins/emoticons/img/smiley-wink.gif)

Requesting a picture of the built model before going on the frame ?

Jim, I hope you don’t ,do not have a case of the cart before the horse?

That’s the only picture I have, Rooster. The cab only. The back (over the top of the drive) is to be imagineered…

So it’s not built yet ?

You are very correct Rooster. I started building the frame and figured I’d adjust the top part as needed to hold the battery and electronics plus passenger area appropriately after I knew where the drive was going, along with the chain animation. I was thinking that it is easier to avoid existing stuff as I go rather than retrofit an existing model.

Only trying to throw in my experiences Jim …however it’s hard when you have Jedi masters chiming in like Rick Marty !

That guy is hard as hell on a wheelbarrow though!

I agree it is too thin as a stand alone but I was thinking that the model body screwed to the frame will give it more than enough strength

That’s how my railcar was built (not by me - I acquired it that way.)

(https://uploads.tapatalk-cdn.com/20200417/208da8b3e45620846900ff07272008b4.jpg)

This is real cool …

Well, I finally got stuff I needed, an approach, and some time so I’m back working a bit on my railtruck. Today was about mounting the drive.

The approach I took was to abandon making it removable and just go for a permanent install. If the motor dies it will (hopefully) still look pretty sitting on a siding. I finally found some screws to use, so here we go:

I’ll need to figure out how best to make sure those screws don’t work themselves loose but I’m assuming that’s a well known thing. Anybody want to guide me?

Checking to make sure it actually worked as a motor:

Lubrication would be good I’m guessing. Sounds like there is still a bit of friction going on so I’ll probably need to get in there and fiddle a bit more.

Cheers!
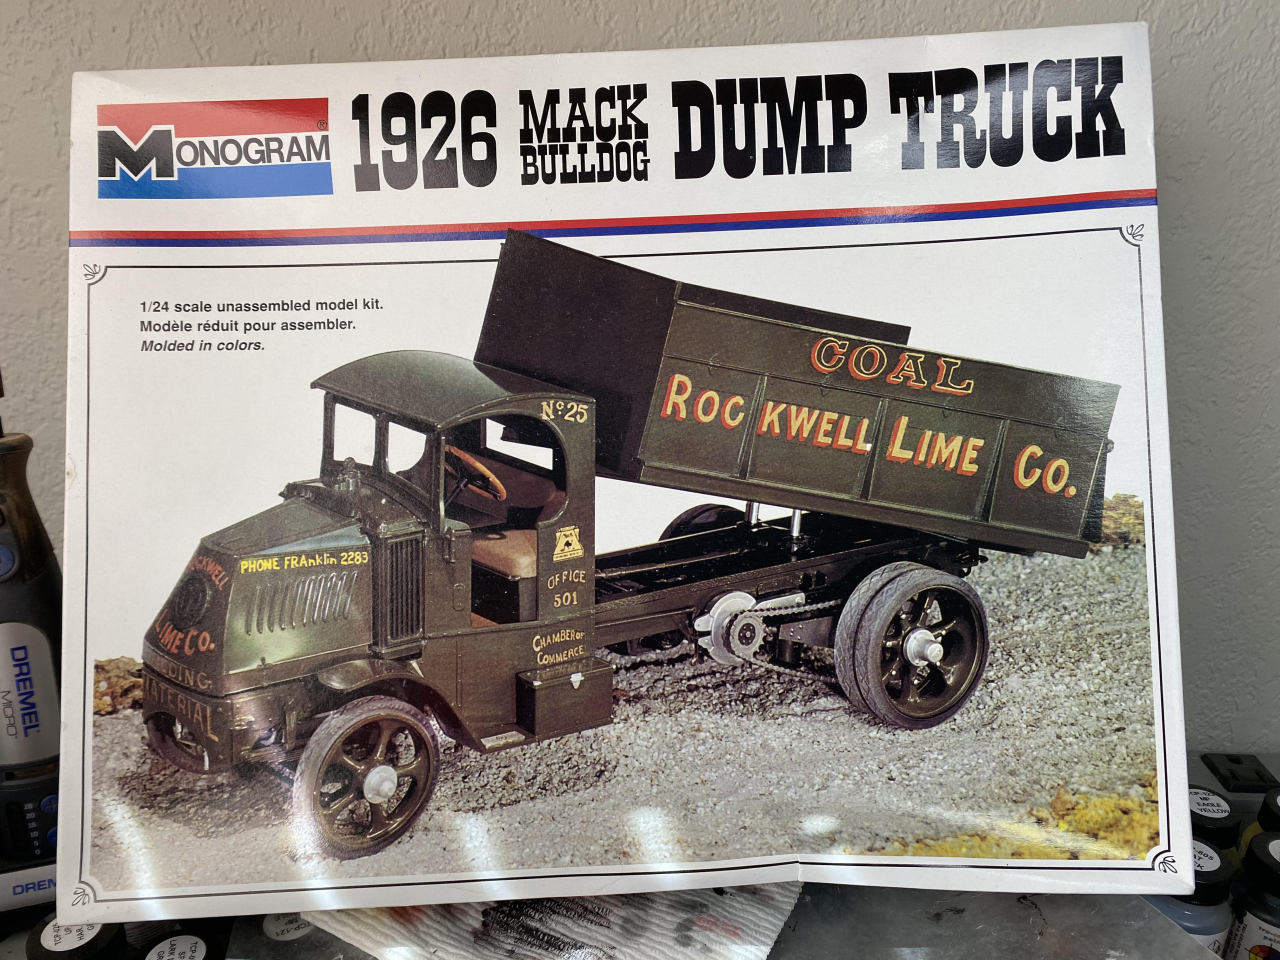
David Marconi, aka Hollywood, urged me to replicate the chain drive from the original Mac truck. Today was all about trying to do that.

And here’s a video of the chain “drive” moving. It is a bit tight. I’ll need to spend a while getting things loosened up all around. I need to change the screw holes, for example, to be short slots to let me adjust the chain tension.

Cheers!

Superb (https://www.largescalecentral.com/externals/tinymce/plugins/emoticons/img/smiley-cool.gif)

Good job Jim, it will look good trundeling down tthe track.

Jim said,

“I’ll need to figure out how best to make sure those screws don’t work themselves loose but I’m assuming that’s a well known thing. Anybody want to guide me?”

Jim, Blue Loctite will secure the screws from backing out. Don’t use Red Loctite, you’ll never get the screws out. Your project is coming alone nicely. Is the vehicle chassis made PVC board?

Jim, putting a small drop of silicone on the nut when you do the final install should be enough to hold them in place without having to go to auto store for the Loctite. Chances are they will not loosen anyway, and with your stay home orders , some Goop, E6000 or gel CrazyGlue would work and hold them in place, I rather doubt they would work loose anyway. You could also get little locking washers, or locknuts, not sure if they are made in brass. My free opinion, and probably not worth that much

Dan: yes, PVC board. Loctite, blue. Roger.

Pete: thanks for the suggestions!

now I get to decide how permanent to make which screws.

some Goop, E6000 or gel CrazyGlue would work and hold them in place,

I use regular glue - gorilla clear in this case. It doesn’t take much. The other trick is to squash the threads of the bolt with a little pressure from a small cutter or similar; in other words, corrupt the threads a little. Tightening the nut will be more difficult but they won’t come off!

I love the chain drive. Not sure you need to make it adjustable - they used to run with the slack side drooping.