Large Scale Central

New Ventilated Box Car Battery/Control Car

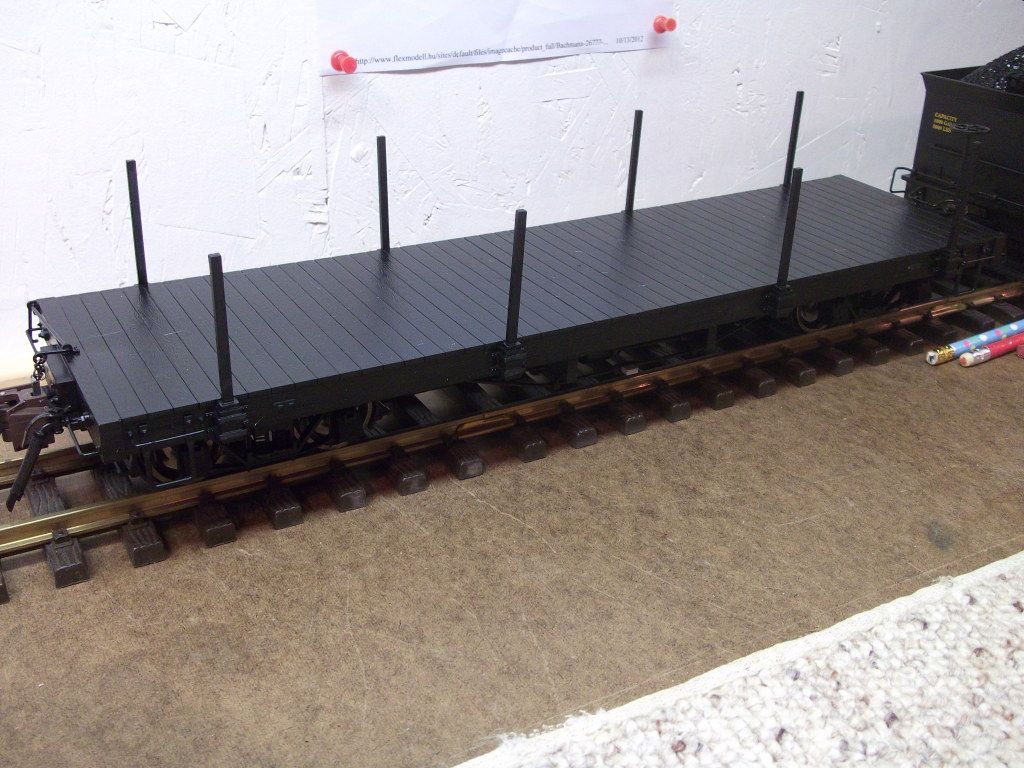
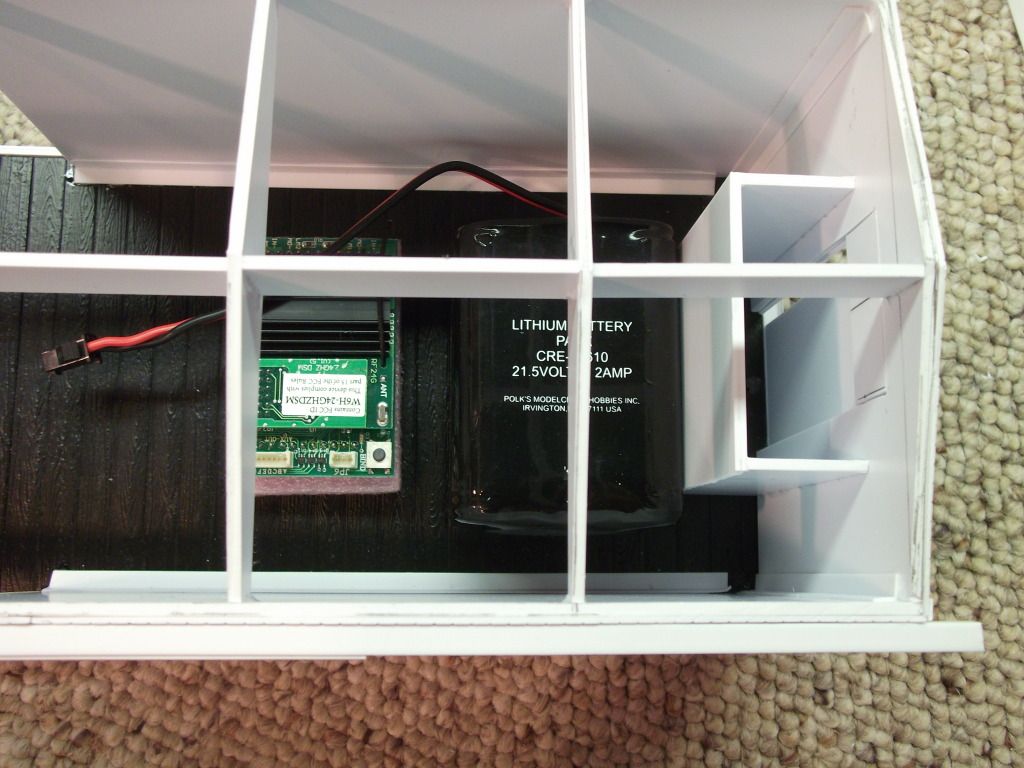
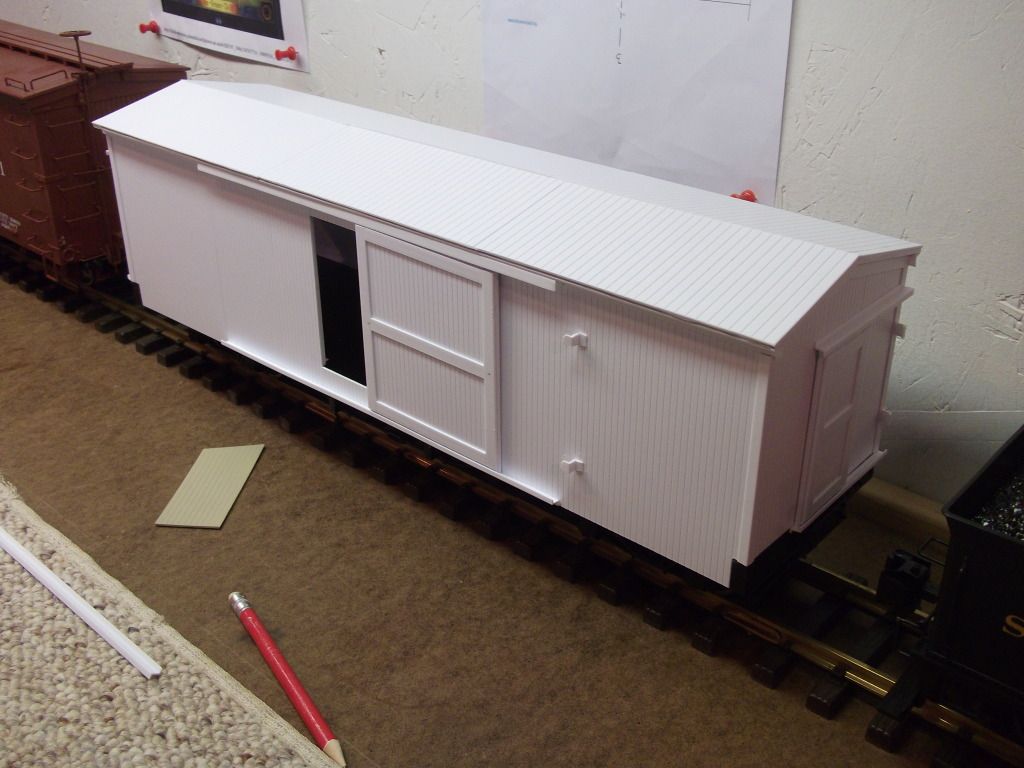
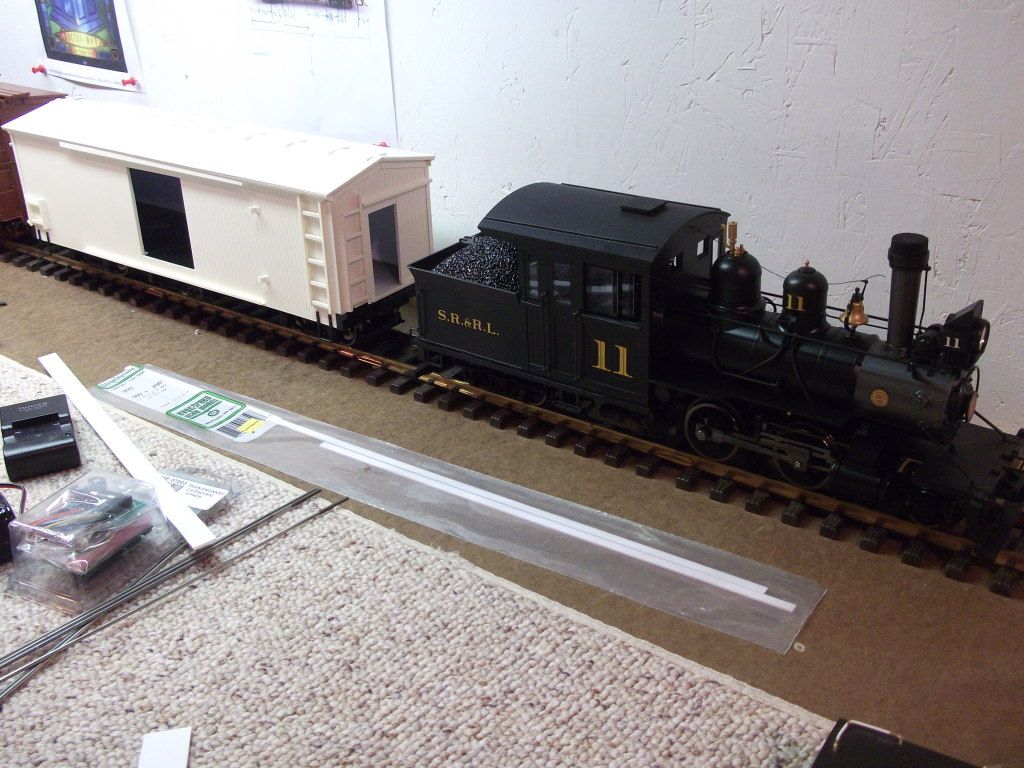
Last night at dinner I was thinking about what to do about a battery car/cars for some of my 1:20.3 engines with limited internal space. I wanted to keep the compartments cool and it hit me…A ventilated box car! So I started with my favorite “bashing” material…A Bachmann undecorated flat, black in this instance… .

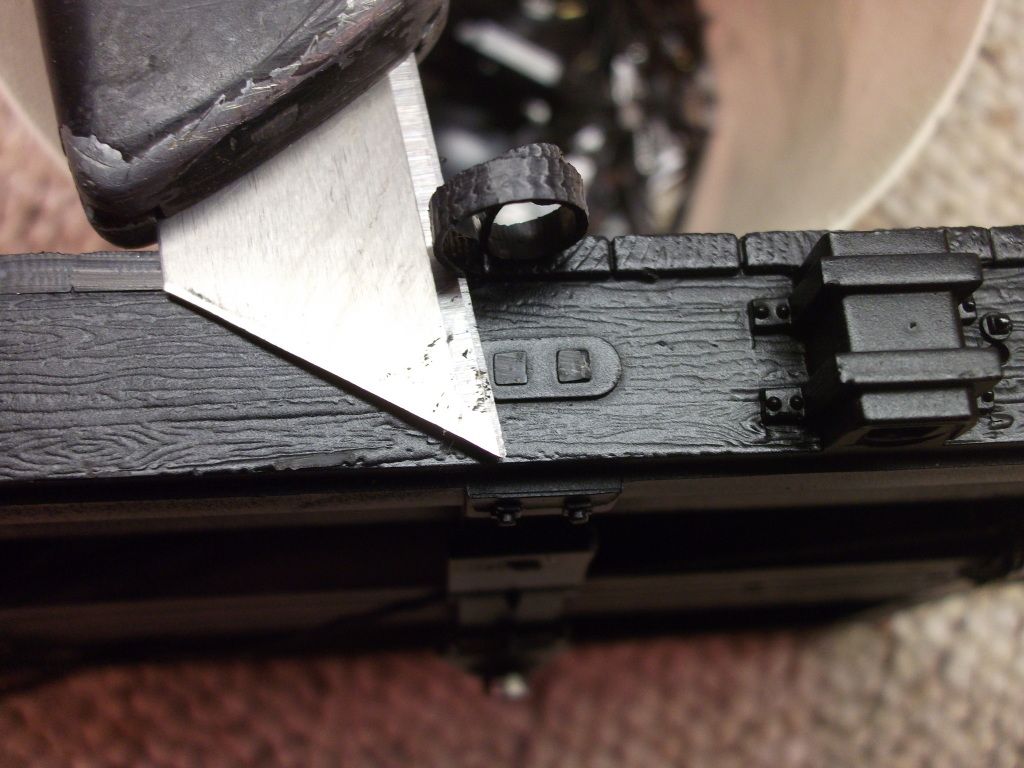
. First I strip off the molded side details… .

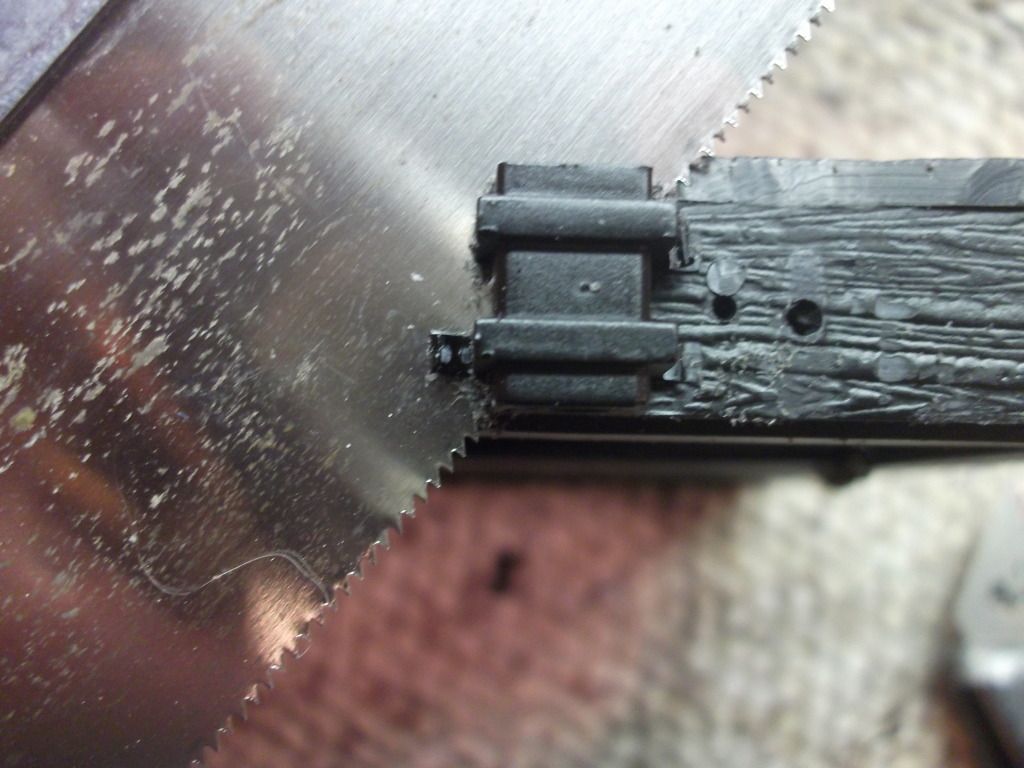
. A good sanding gets them ready for glueing… .

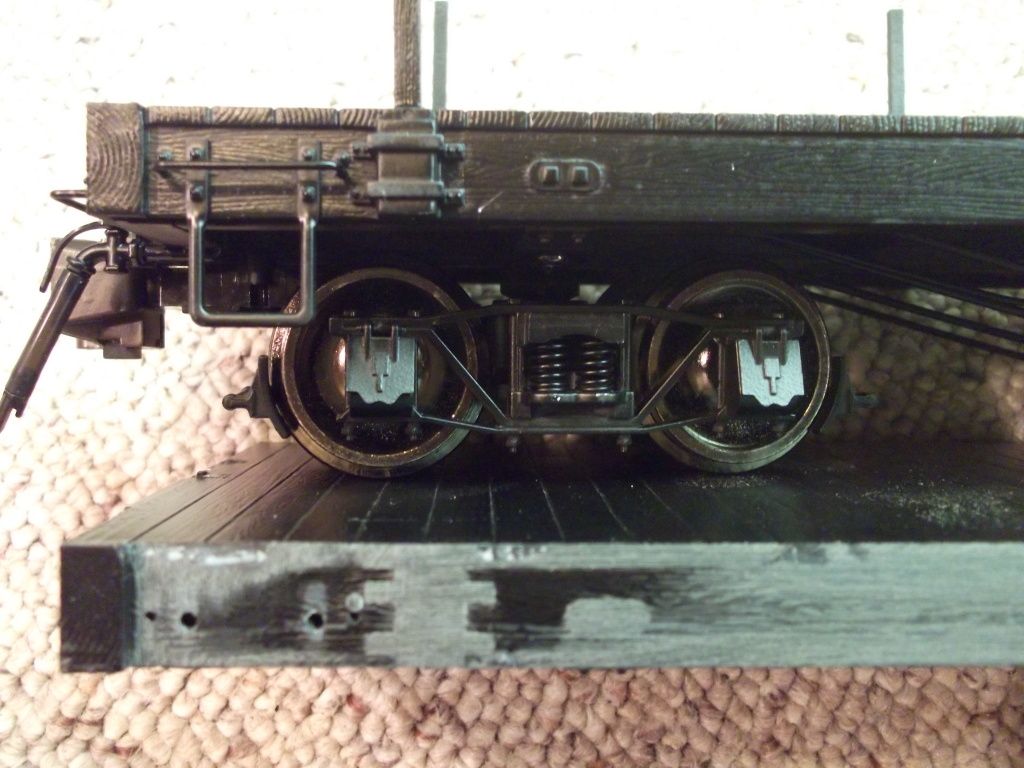
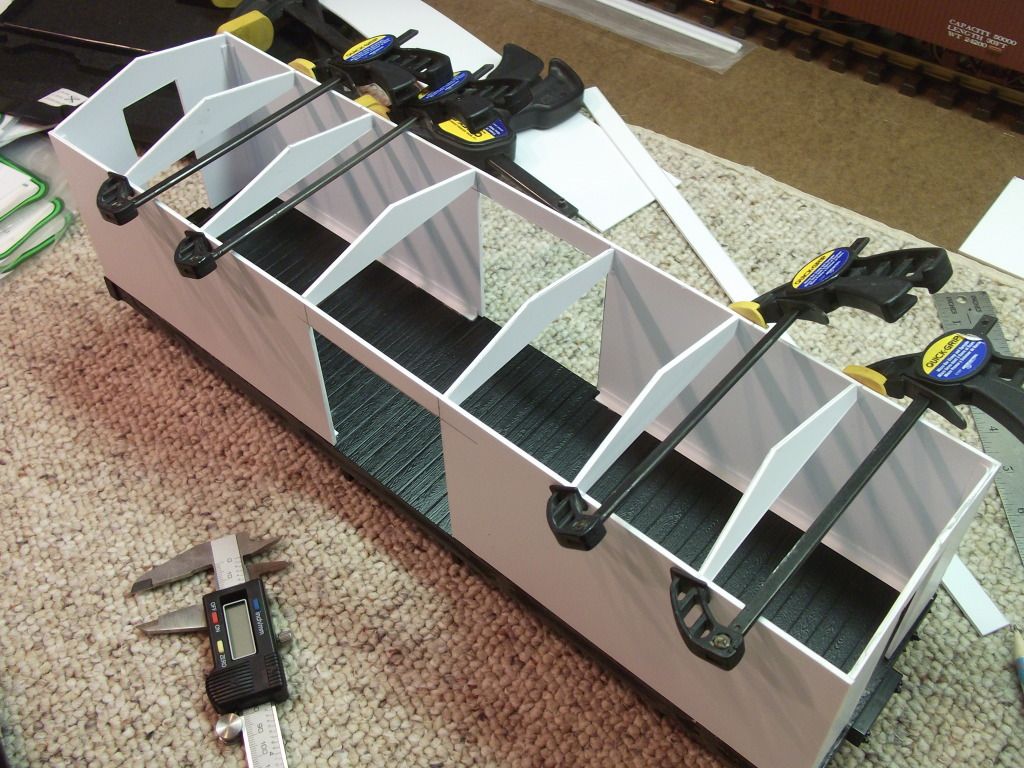
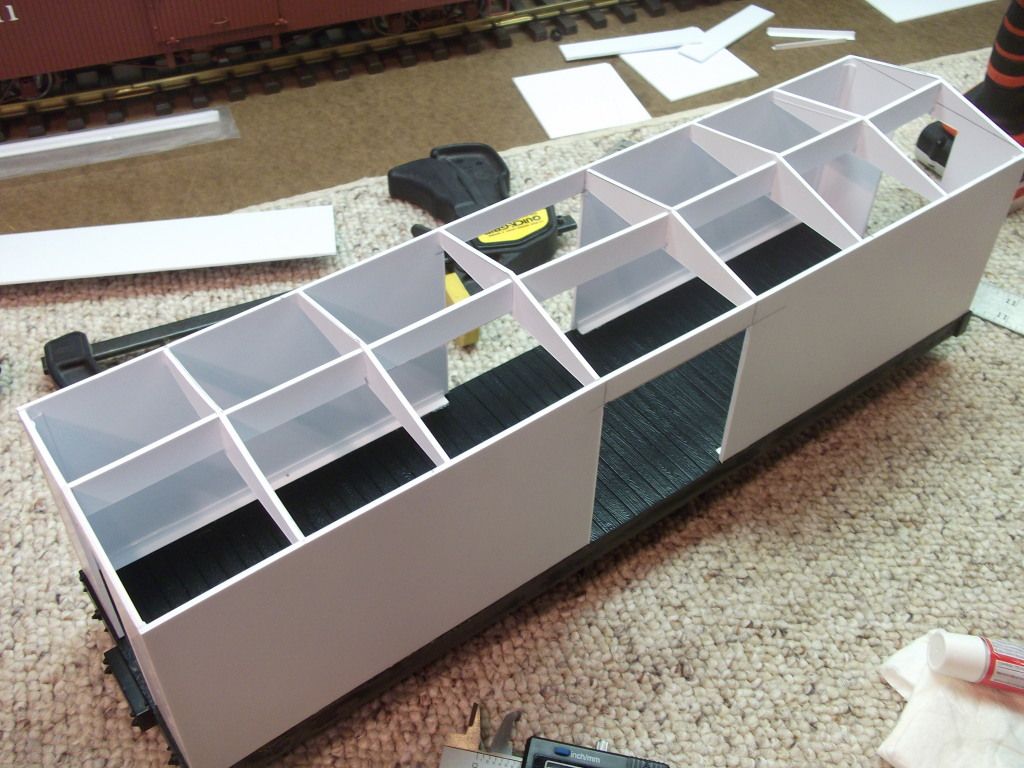
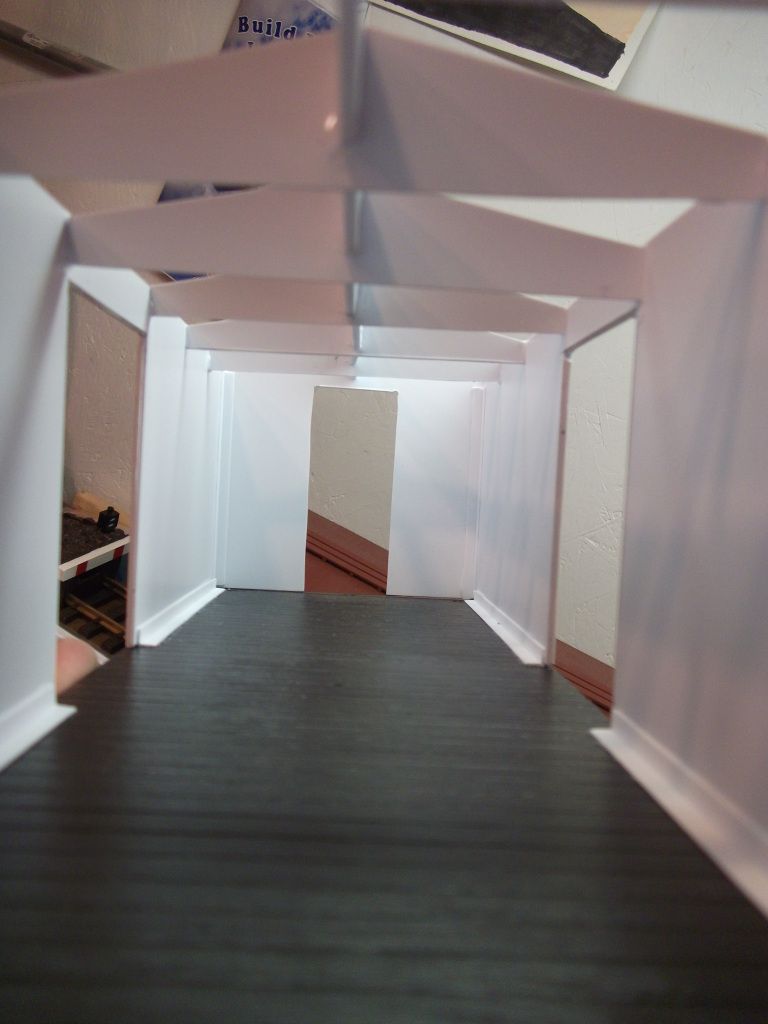
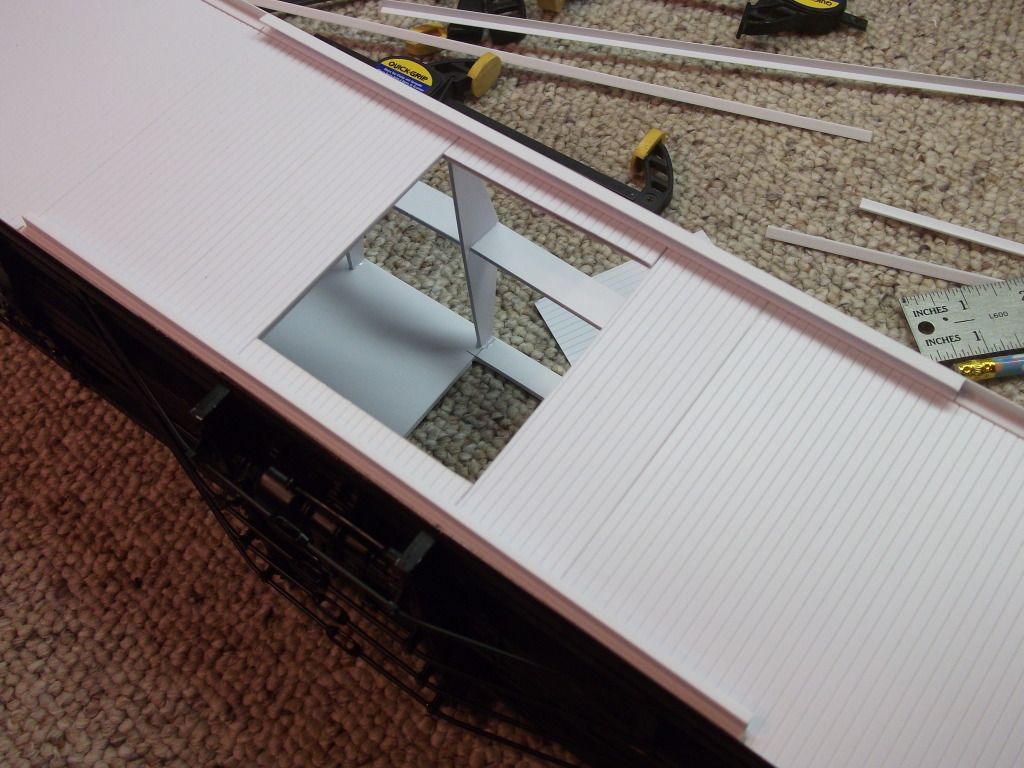
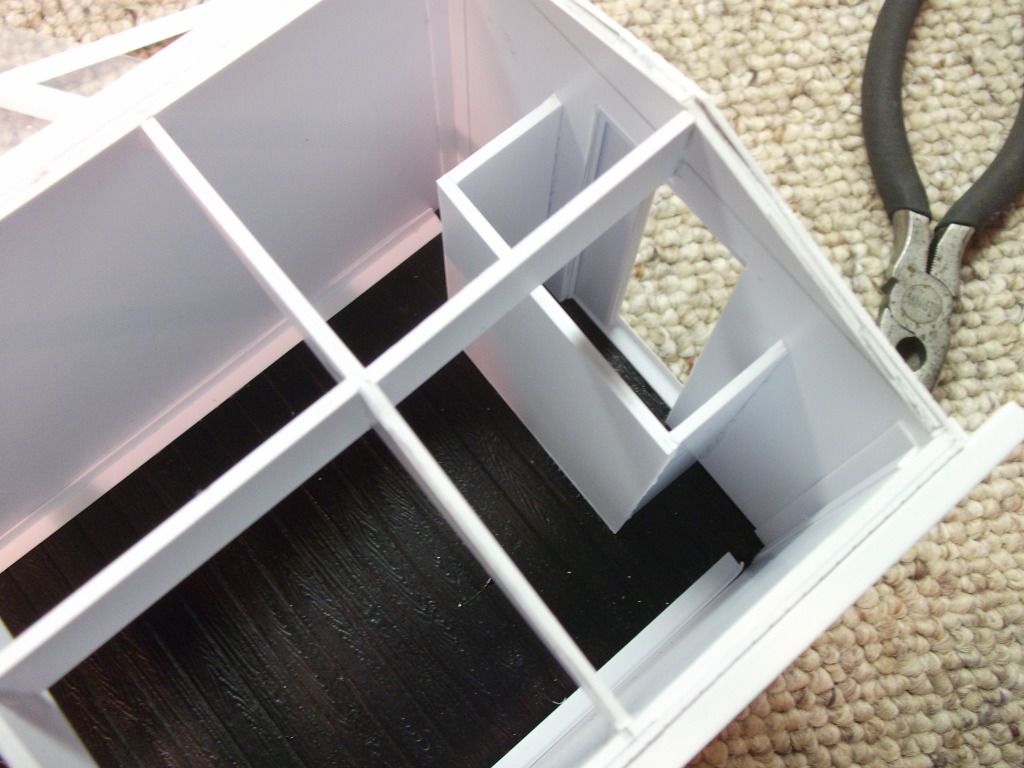
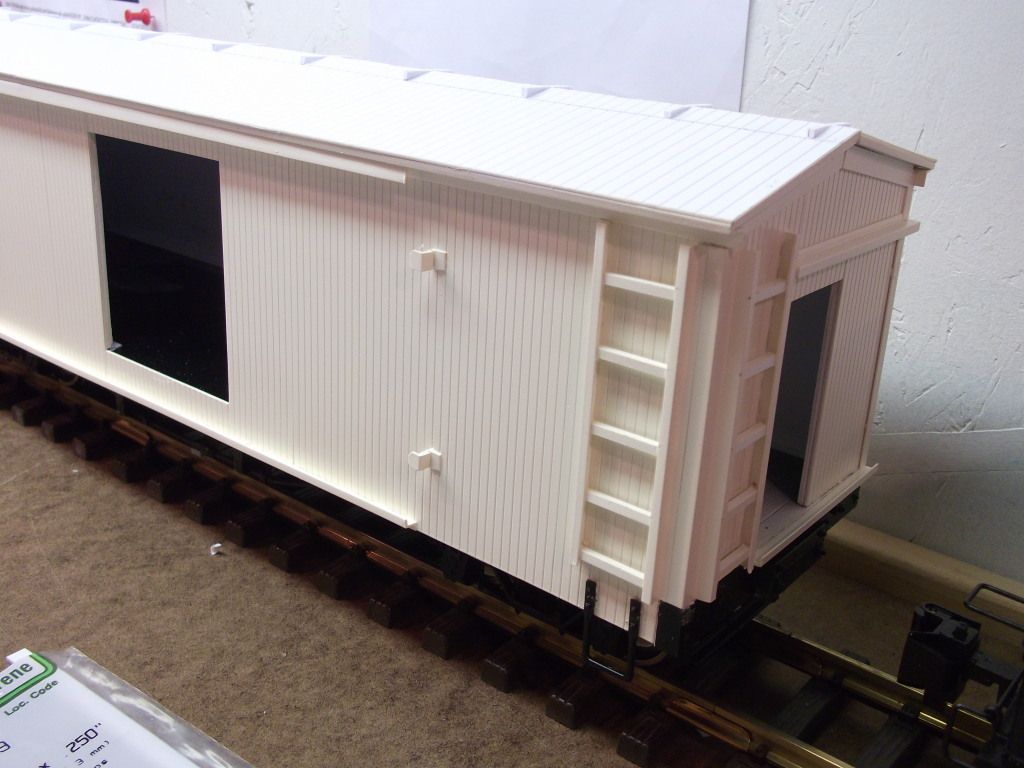
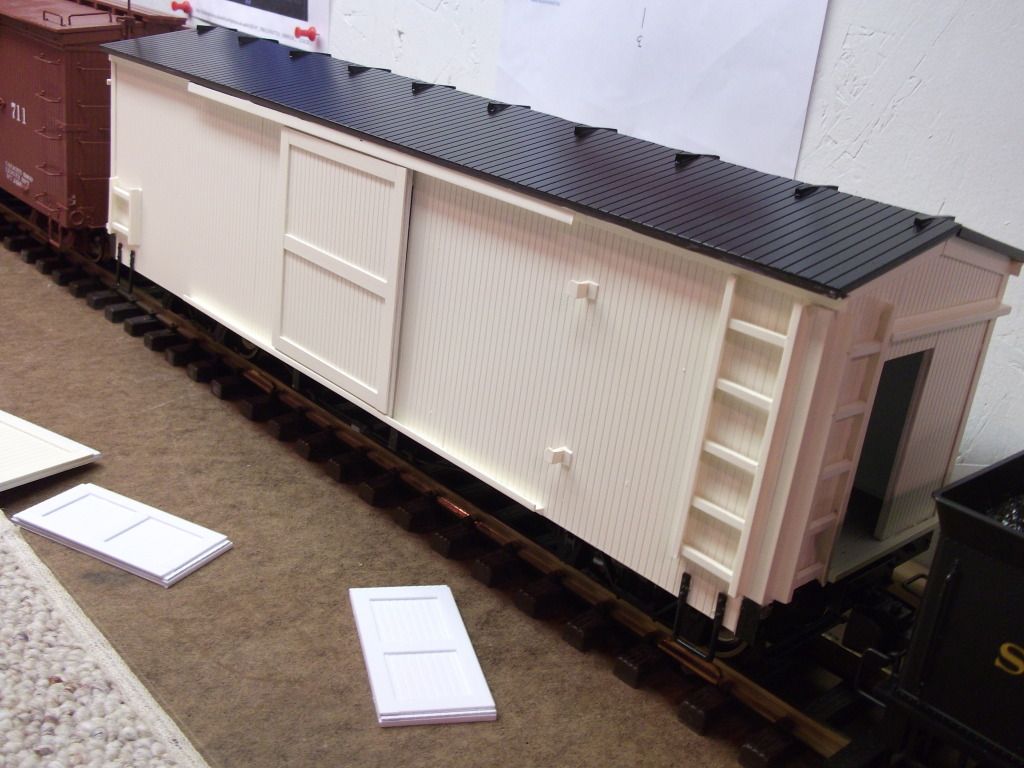
. Now for the fun part, building… .

I added some “L” stock to the deck to accept the new car sides… .

(http://i273.photobucket.com/albums/jj222/Noble_Dreg/5.jpg)

. The four sides are now in place, time to add the roof supports… .

(http://i273.photobucket.com/albums/jj222/Noble_Dreg/6.jpg)

. Then I add some scrap styrene to make a spine to stiffen things up… .

(http://i273.photobucket.com/albums/jj222/Noble_Dreg/7.jpg)

. Inside view, pretty simple construction… .

(http://i273.photobucket.com/albums/jj222/Noble_Dreg/8.jpg)

Now it’s time to add the car siding… .

(http://i273.photobucket.com/albums/jj222/Noble_Dreg/9.jpg)

. Next the door runners…As this car has two doors on each side (and one on each end) I need to make the runners extend in both directions… .

(http://i273.photobucket.com/albums/jj222/Noble_Dreg/10.jpg)

. Then Jay Leno came on the “tube” and I knew it was time to call it a night!

Great start. What will you be using for control ?

Revo. I run both DC and Battery so it seemed a good choice for me. I will also be building a straight “power car” for loco’s equipped with their own receiver. Have not decided what car to build for that one…

Thanks. I was just wondering why you were concerned about heat. I have my batteries, sound and a RailBoss ESC in an enclosed box car. Never noticed anything getting warm. Looks like you’re going to end up with a nice car.

For batteries alone you might consider a tank. I’ve seen that done quite a bit.

Yeah, not really concerned about heat at all, but thought it was a neat idea. Oddly, I have thought about using a tanker for my next battery car as you suggest! I have an undecorated silver tanker (1:20.3) on my bench now…All torn down to see how well the Aristo 2100 Lith pack fit. It is a very likely candidate!

Very interesting build!

Very industrious for just one evening. I’m impressed! Silly question–with presumably everything glued in place, how are you planning on gaining access to the interior to install the electronics? Or are you just installing the batteries in the car, and the electronics in the locos, in which case you could just slide the battery through the open side door…

Later,

K

Kevin, I have small hands!

Actually I will build the switch panel before I place the roof on. Access to the receiver and battery will be through the side doors while the end doors will allow me to see what “the other hand” is doing! :slight_smile:

Didn’t get too far today…Yard work. :stuck_out_tongue: 
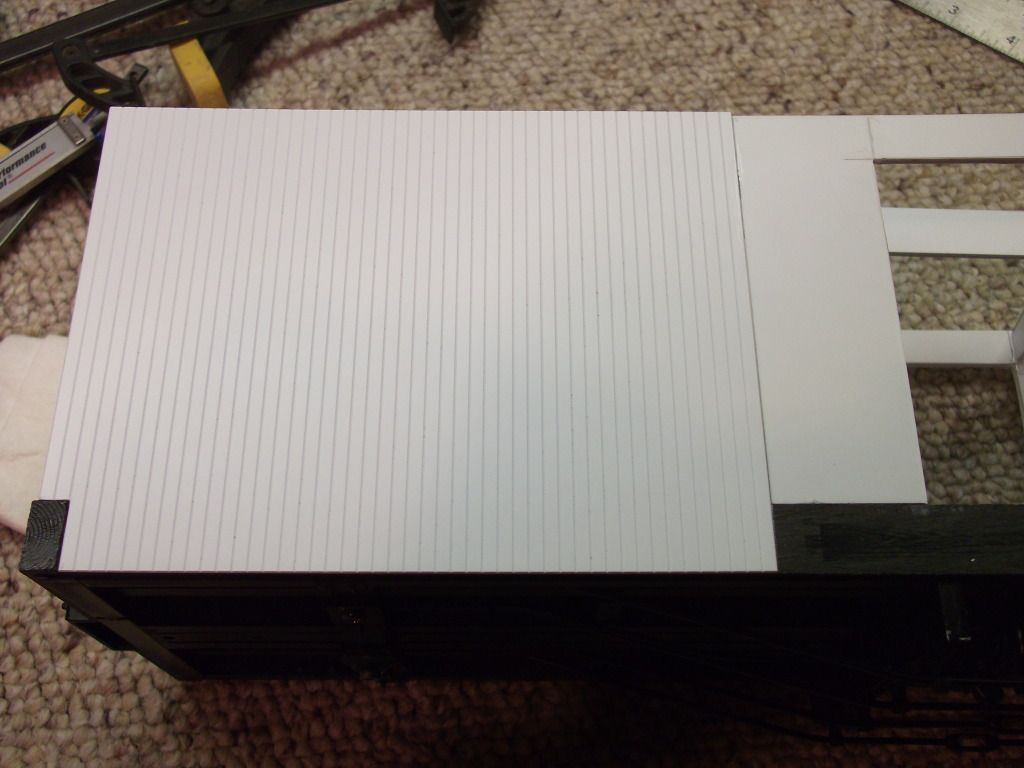
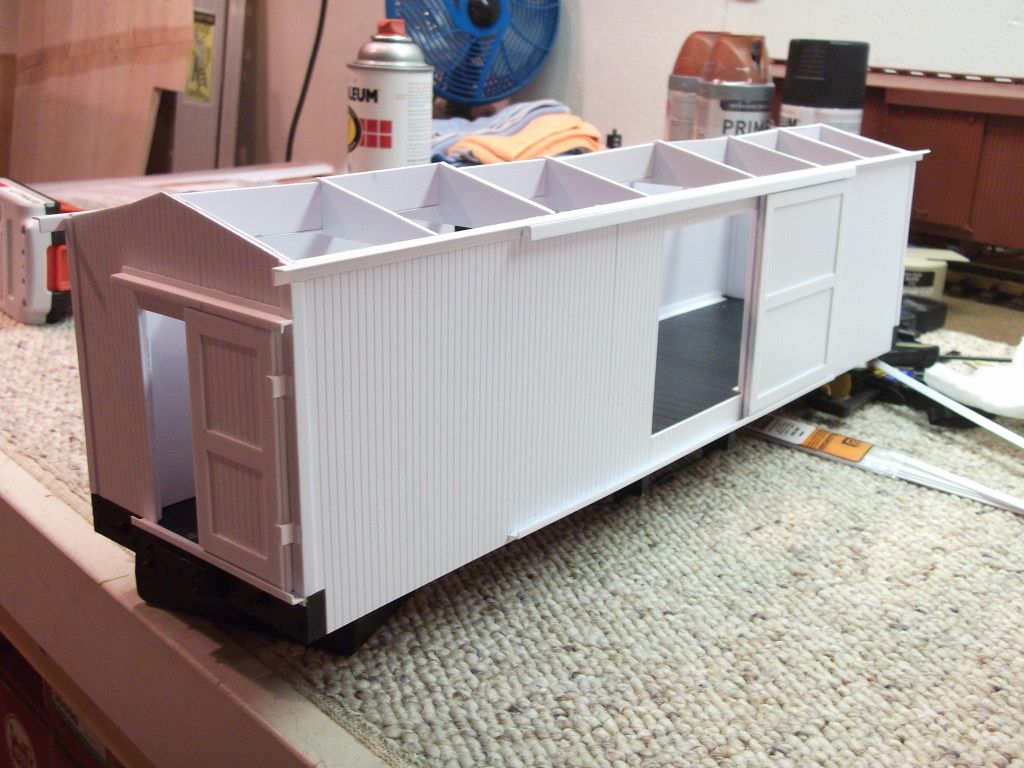
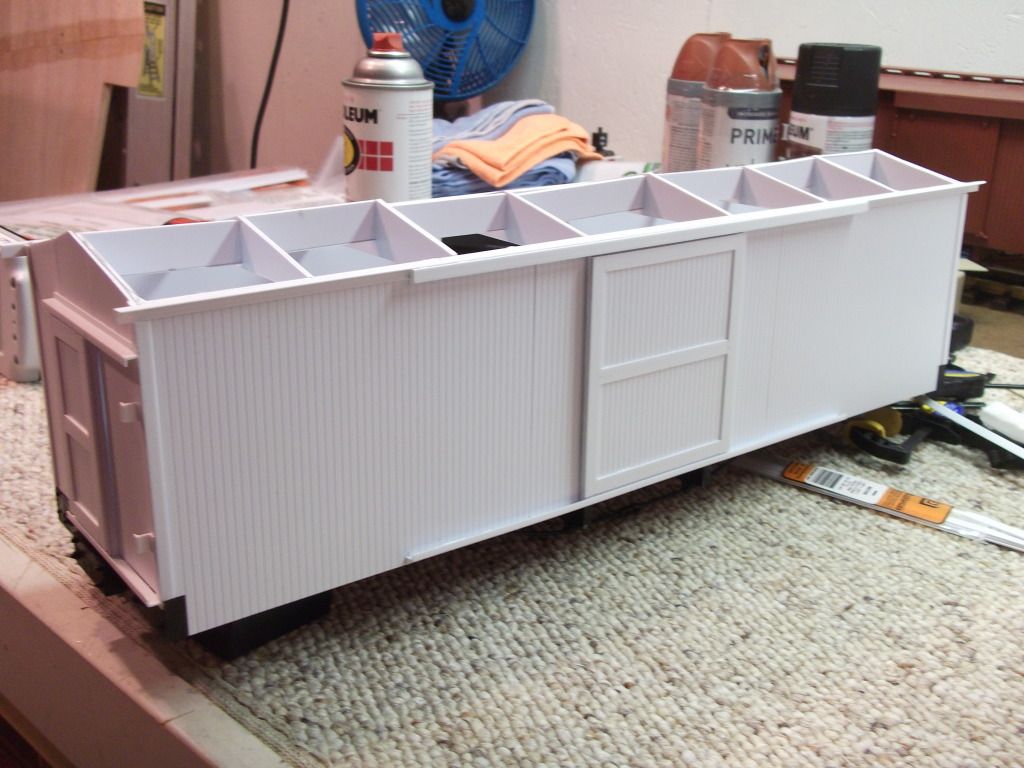
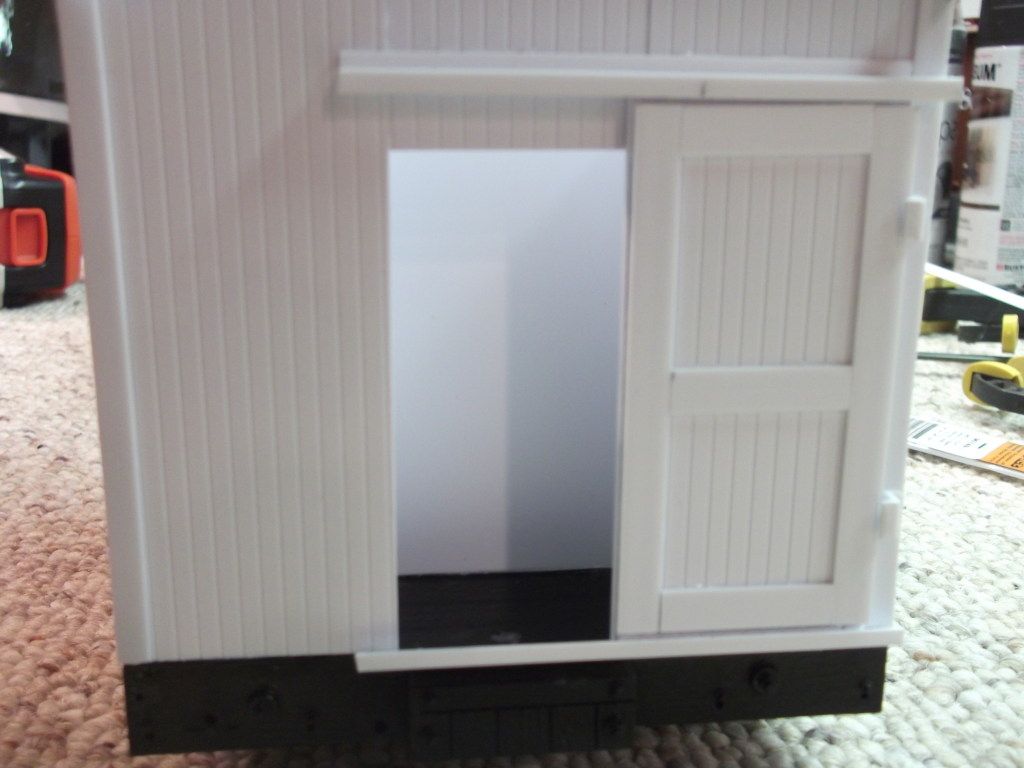
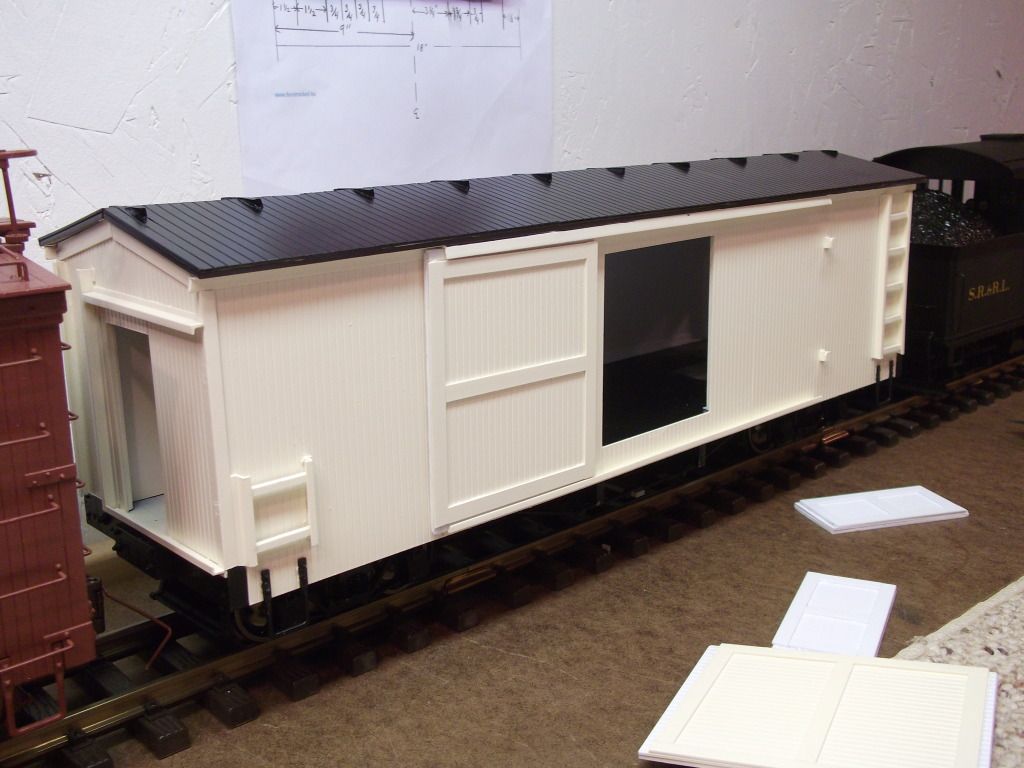
I did finish the “non-ventilated” doors…I needed to order rod-stock so the “ventilated” ones are a week off. .

(http://i273.photobucket.com/albums/jj222/Noble_Dreg/11.jpg)

(http://i273.photobucket.com/albums/jj222/Noble_Dreg/13.jpg)

(http://i273.photobucket.com/albums/jj222/Noble_Dreg/12.jpg)

. I built the mounting box for the charge jack and switches for run/charge. Access will be hidden behind onr of the end doors. .

(http://i273.photobucket.com/albums/jj222/Noble_Dreg/14.jpg)

(http://i273.photobucket.com/albums/jj222/Noble_Dreg/15.jpg)

. And I took a moment to lay out the components to make sure I could access everything before I put the roof on. .

(http://i273.photobucket.com/albums/jj222/Noble_Dreg/16.jpg)

. That might be it for a while until the styrene order comes in. Still trying to settle in on a paint scheme. .

Looks like it’s really coming along. Nice job Mark, should be a fine addition to your pike.

Real nice illustrations, Mark. Thanks for taking the time.

Looks great Mark.

May I make a suggestion? Add some buttresses (angled bracing) to your charge jack panel. On one of my cars with a similar hidden panel, after a few years the glue joints failed when inserting the plug in the jack, pushing the wall into the car.

Jon Radder said:
Looks great Mark. May I make a suggestion? Add some buttresses (angled bracing) to your charge jack panel. On one of my cars with a similar hidden panel, after a few years the glue joints failed when inserting the plug in the jack, pushing the wall into the car.

Fine idea…Now if you would have mentioned something before I put on the roof… :smiley: . .

(http://i273.photobucket.com/albums/jj222/Noble_Dreg/17.jpg)

Mark,
Looks great.
You’re working so fast…the suggestions are obsolete by the time you read them :wink:
Ralph

Finished the ladders and added the walkway supports…I decided to try a different ladder assembly than I usually use. Hard to see in this lighting but you might notice I put on the first coat of paint!!! It’s a pale ivory (note the stark white roof). I liked the black under-carriage so I decided to keep it. I will eventually paint the roof black and add black lettering. . .

(http://i273.photobucket.com/albums/jj222/Noble_Dreg/17-1.jpg)

Still have not locked in on a road name…It will either be for my home road, the L & I; or I will letter it for the S.R.R.L and use it behind the newly aquired Forney. I have no S.R.R.L. rolling stock and have been planning to scratch a caboose. I think it “fits” the Forney… . .

(http://i273.photobucket.com/albums/jj222/Noble_Dreg/18.jpg)

One step closer…Finalized the colors. Now waiting for a styrene order to finish the roof-walks and ventilated set of doors. Then all that will be left is deciding what RR to letter if for. . .

(http://i273.photobucket.com/albums/jj222/Noble_Dreg/19.jpg)

(http://i273.photobucket.com/albums/jj222/Noble_Dreg/20.jpg)

. . If the roof looks a little shinny it’s because the paint is still wet! :smiley:

Nice work Mark !