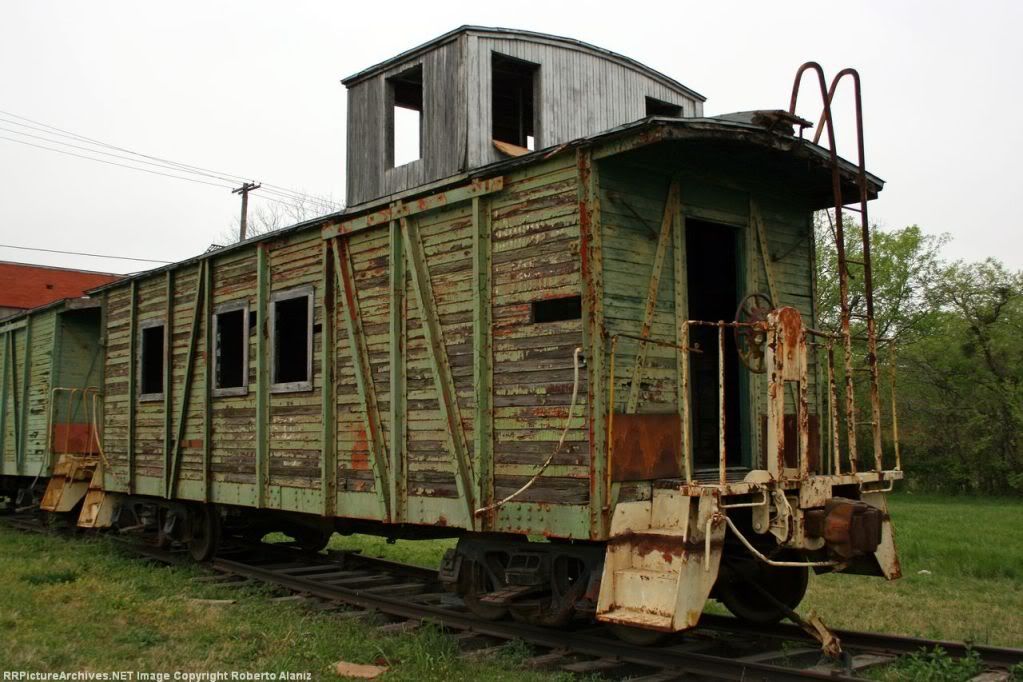
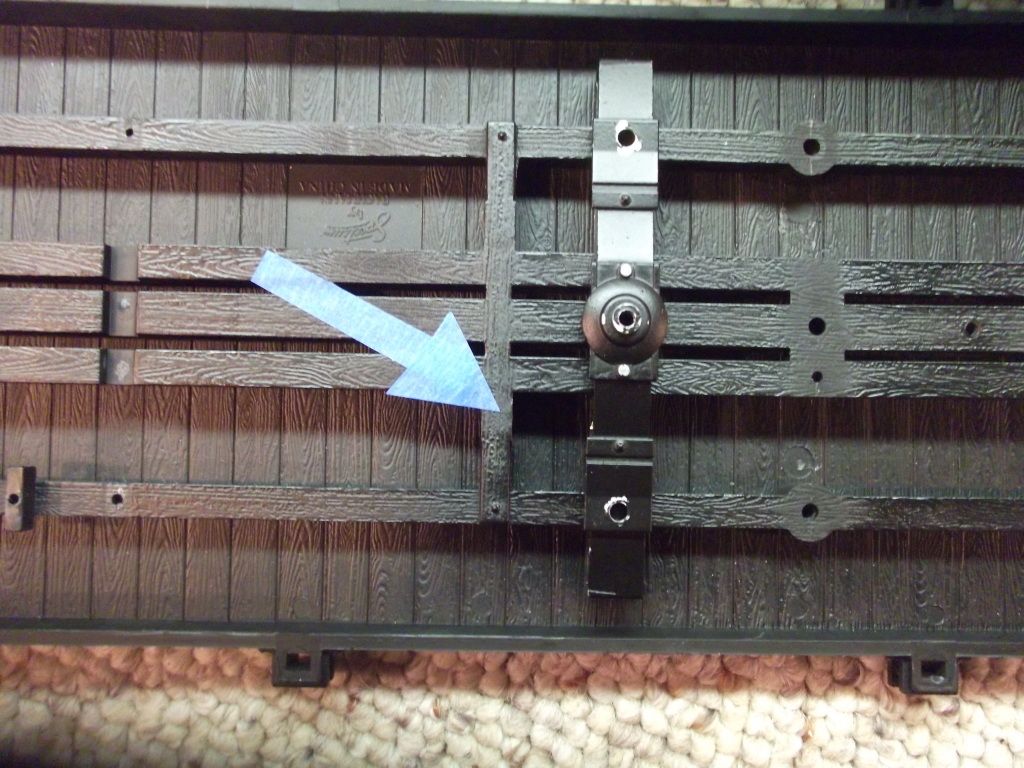
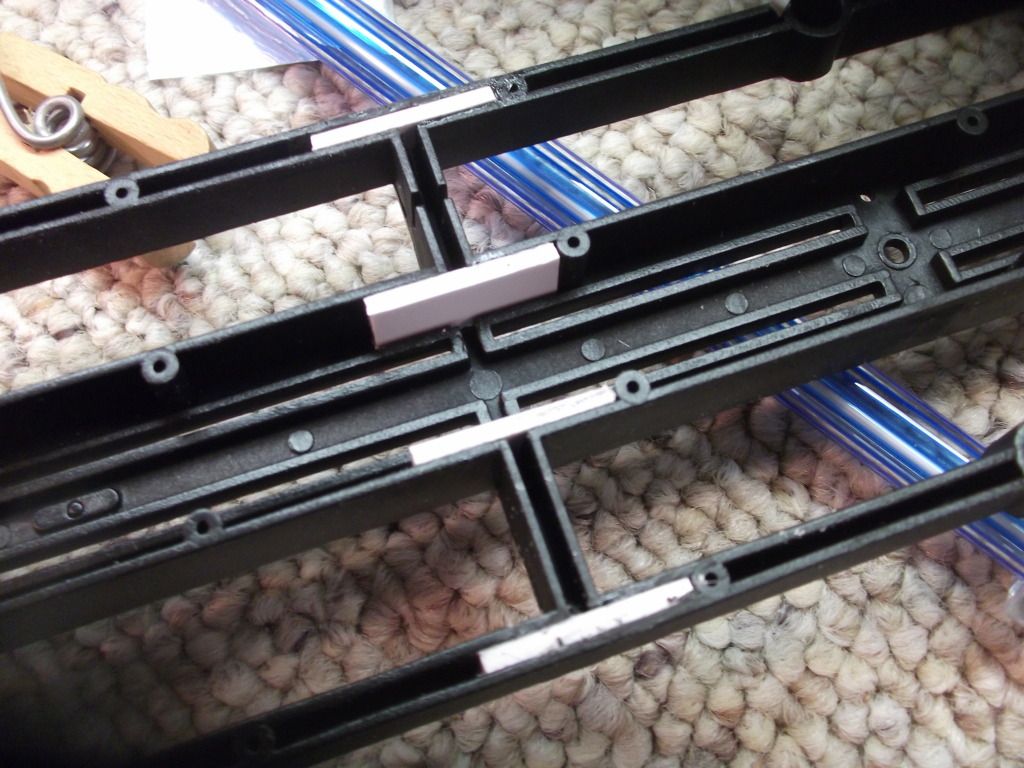
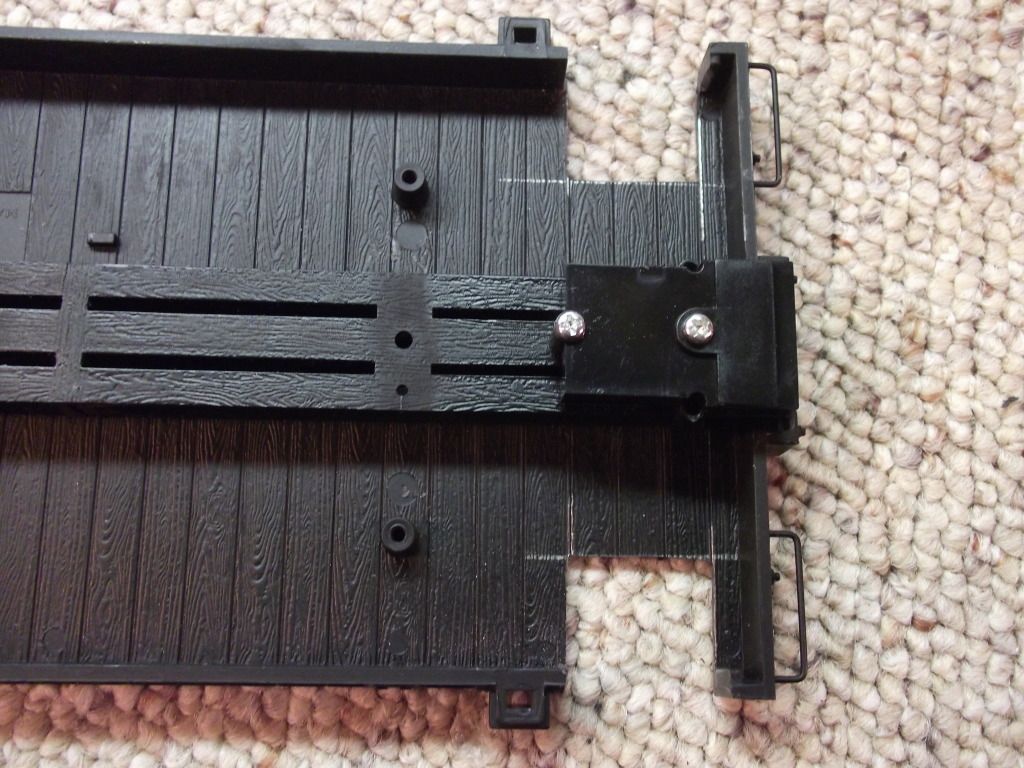
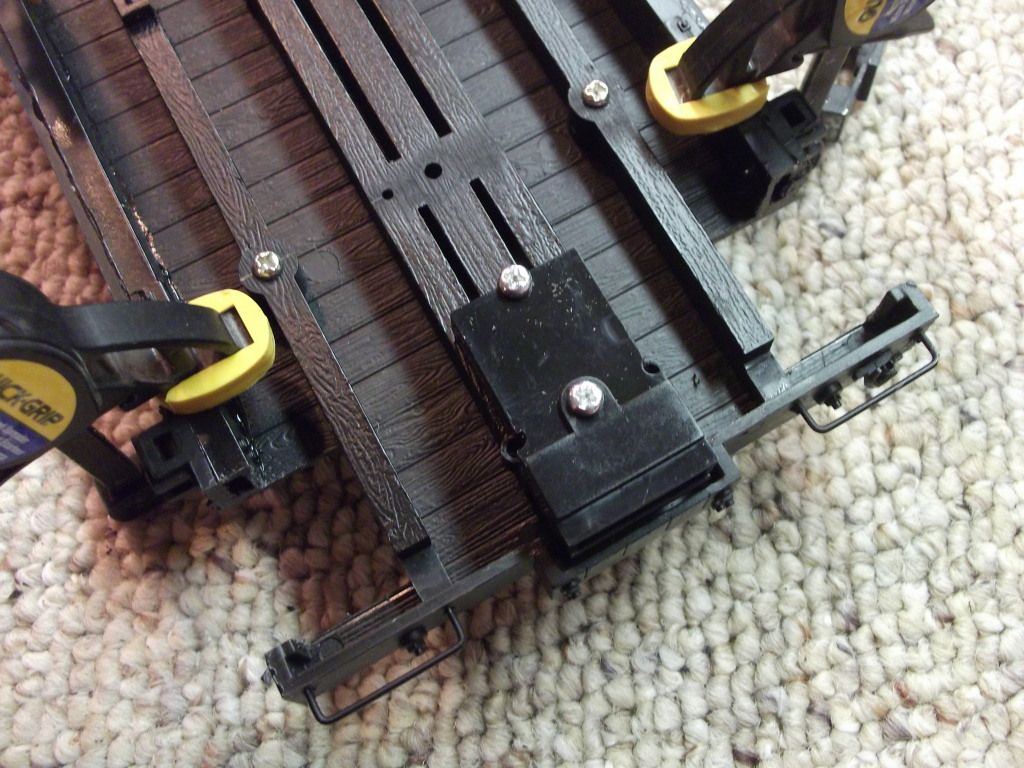
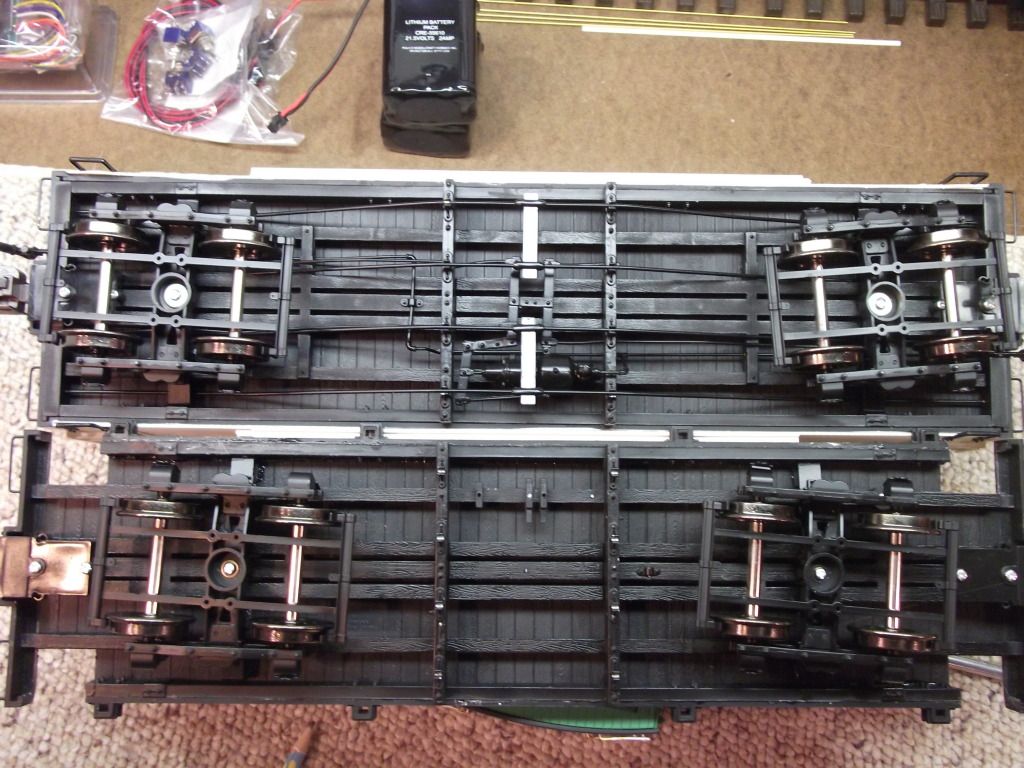
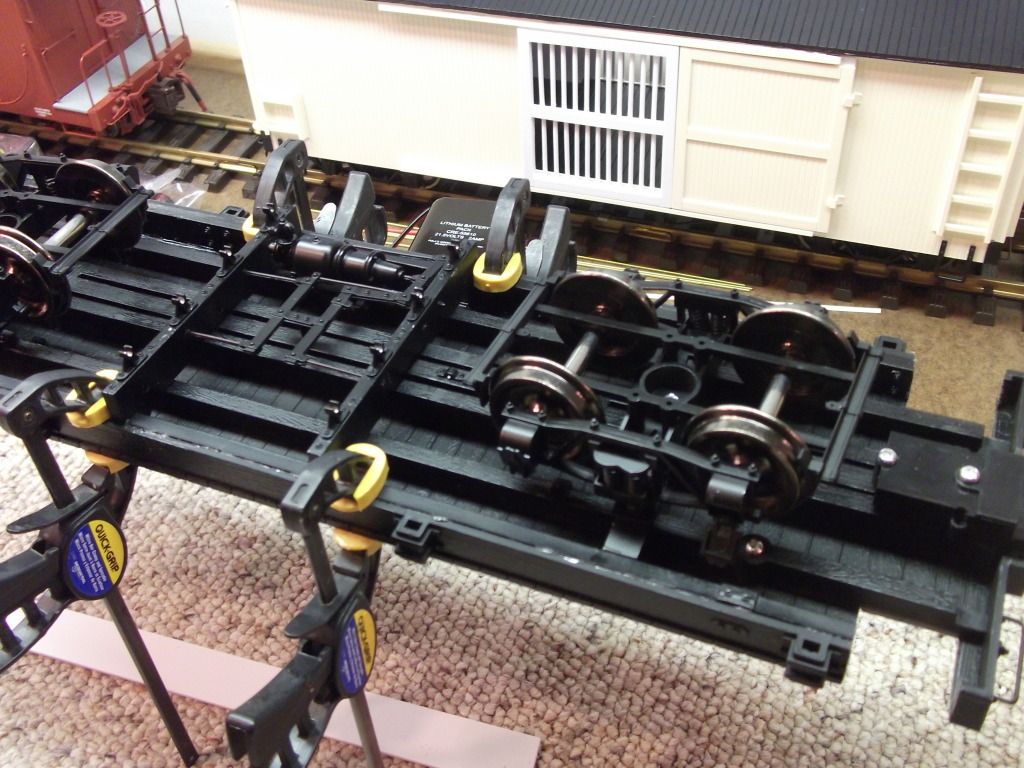
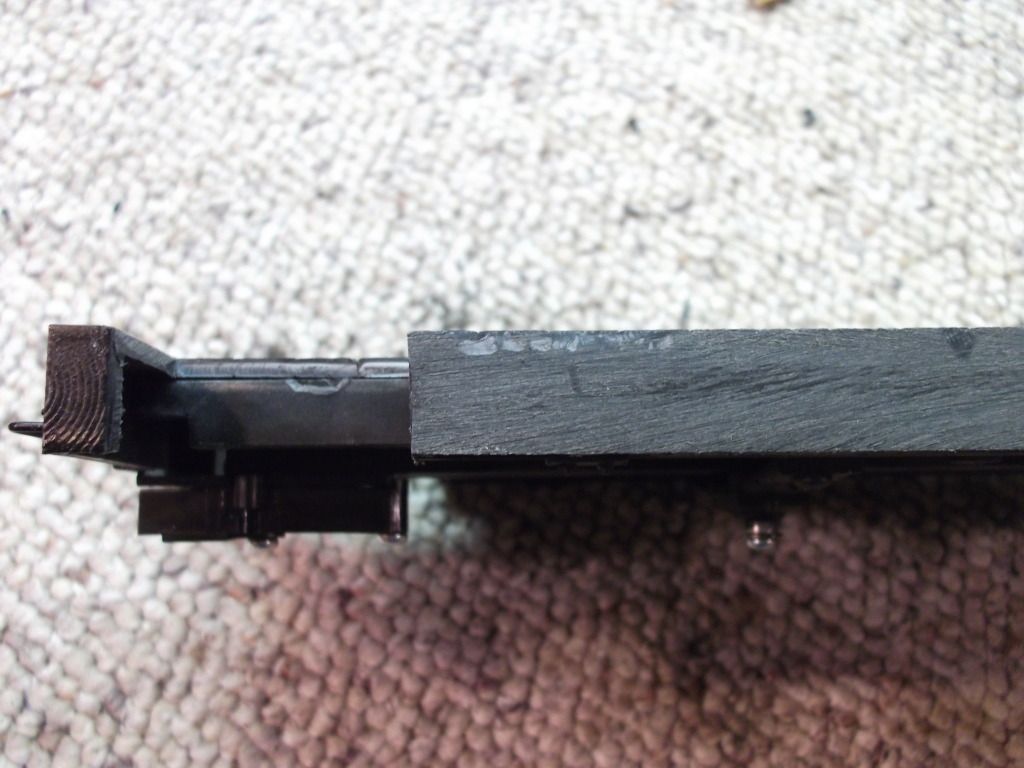
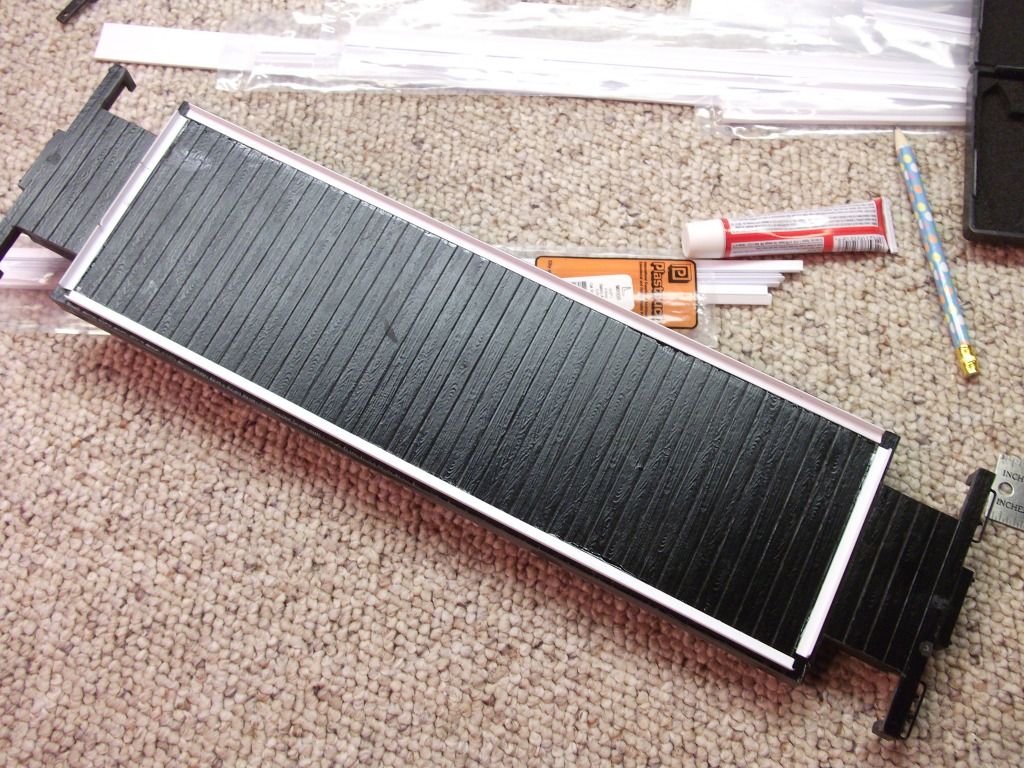
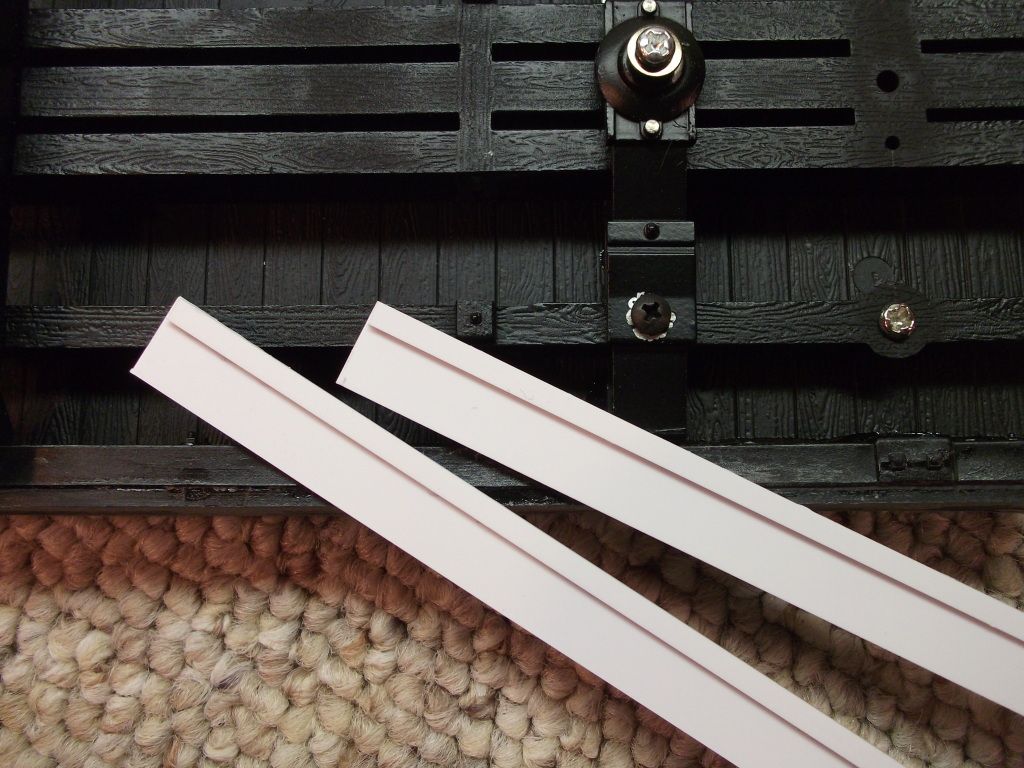
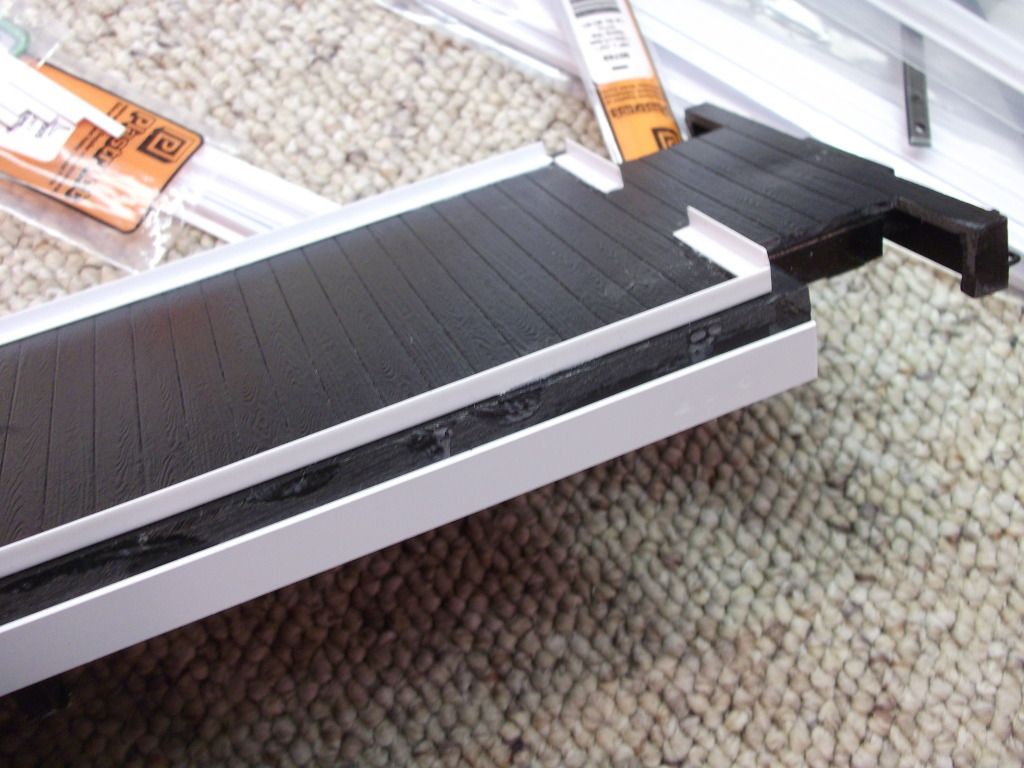
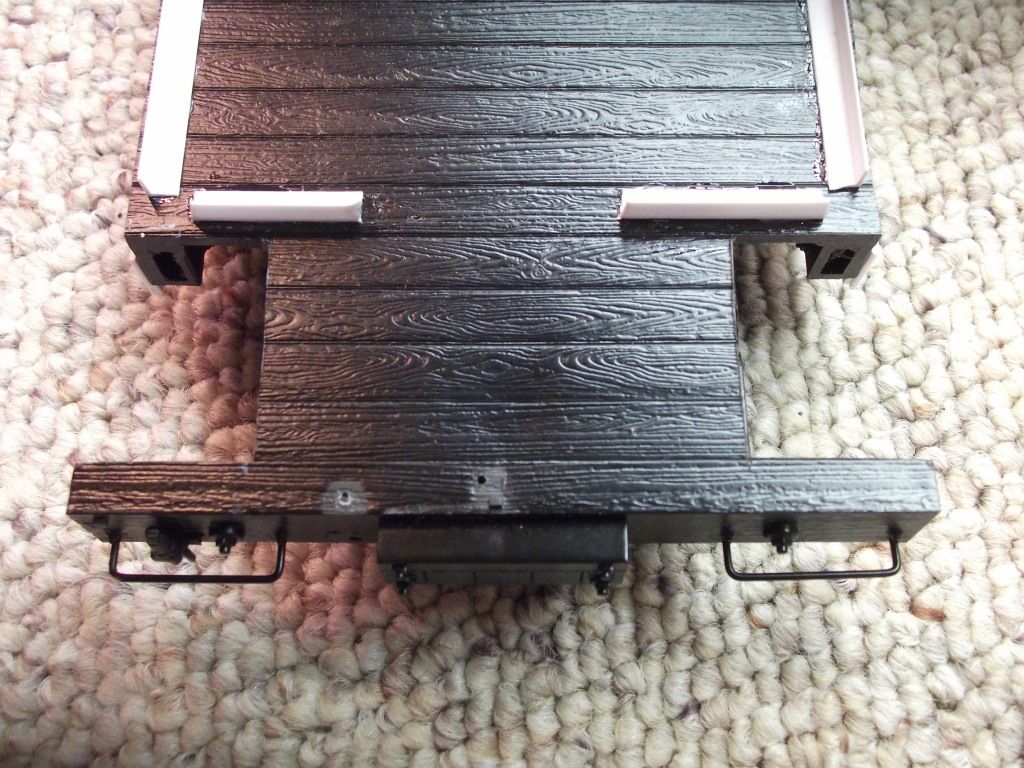
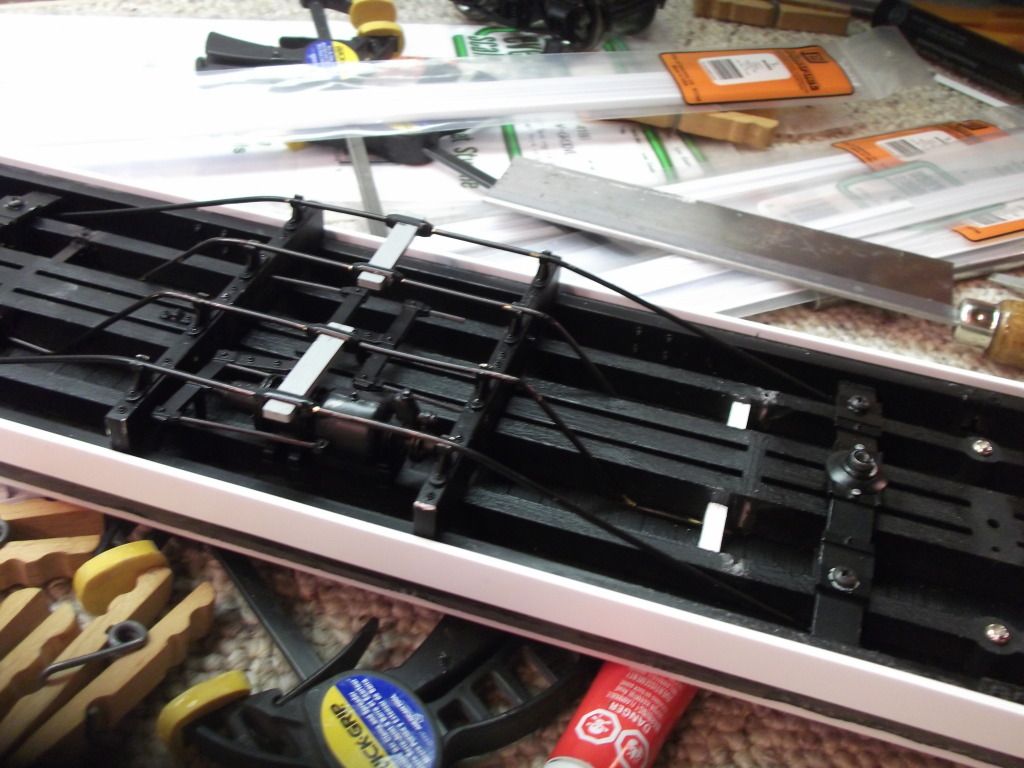
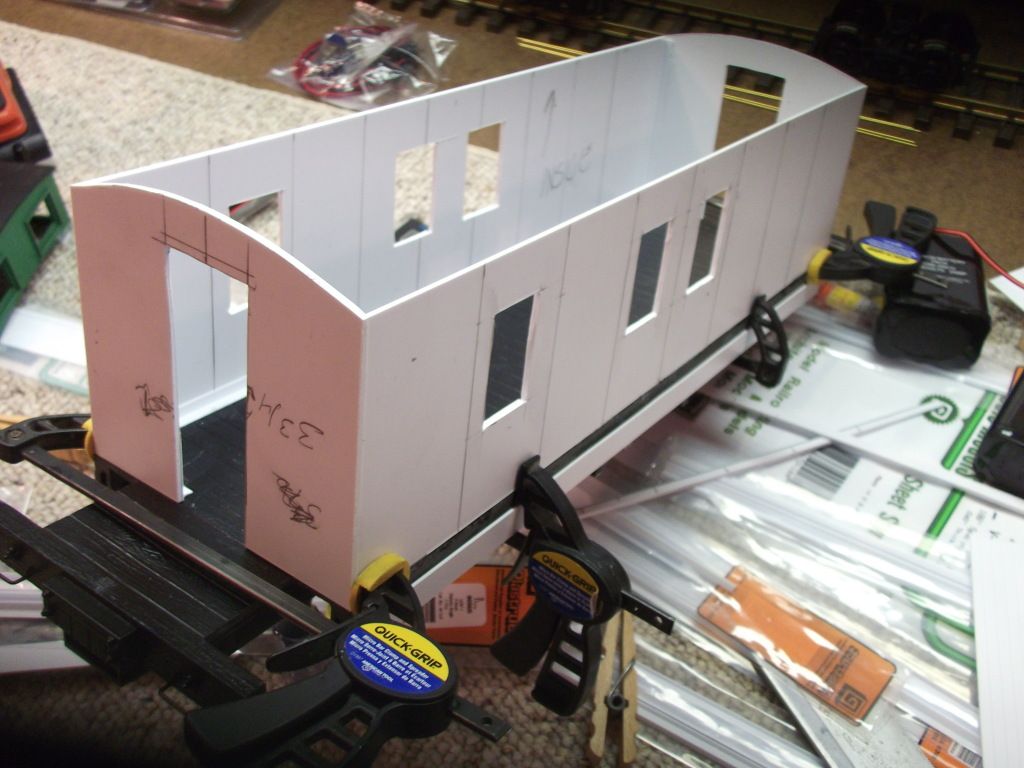
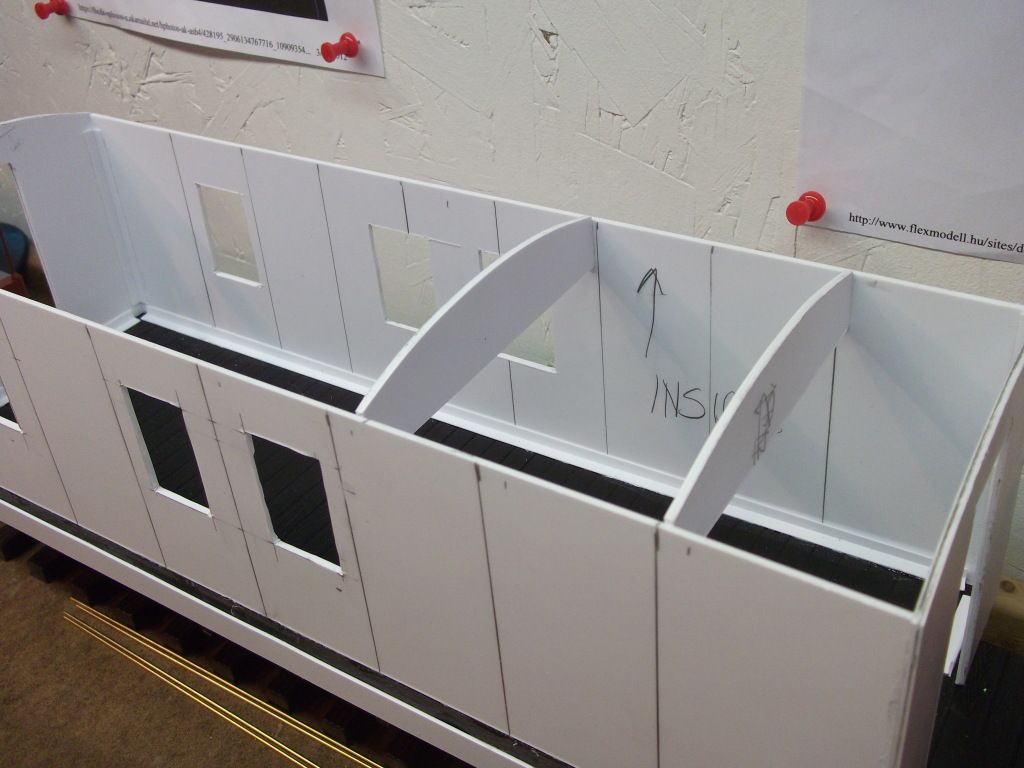
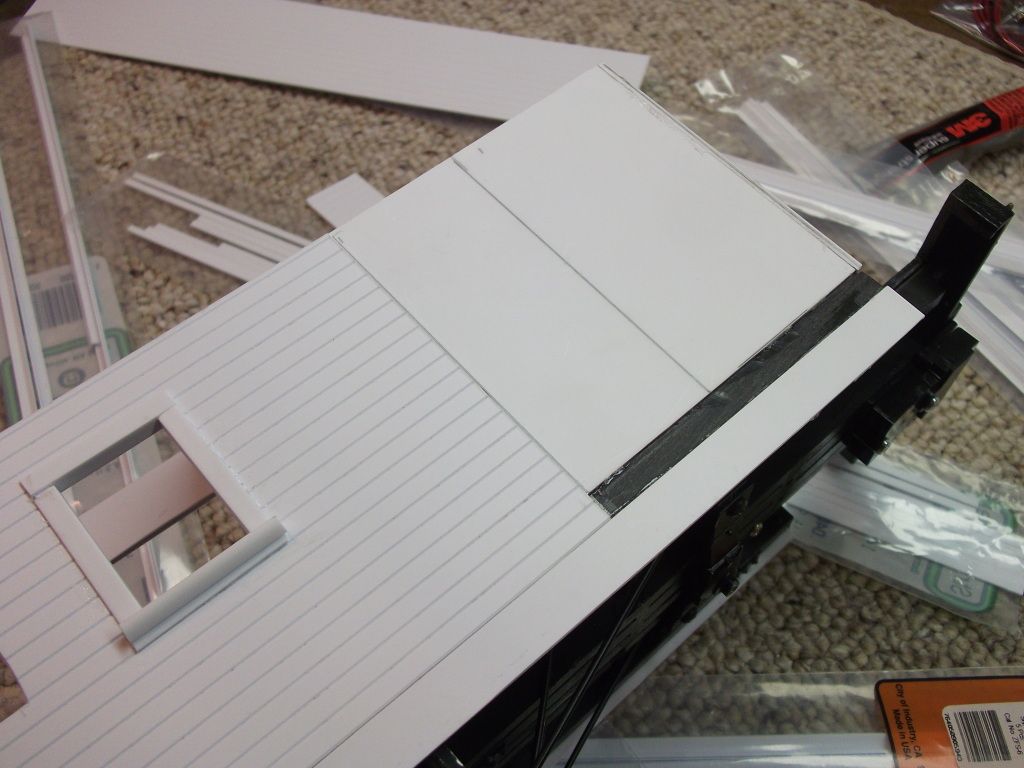
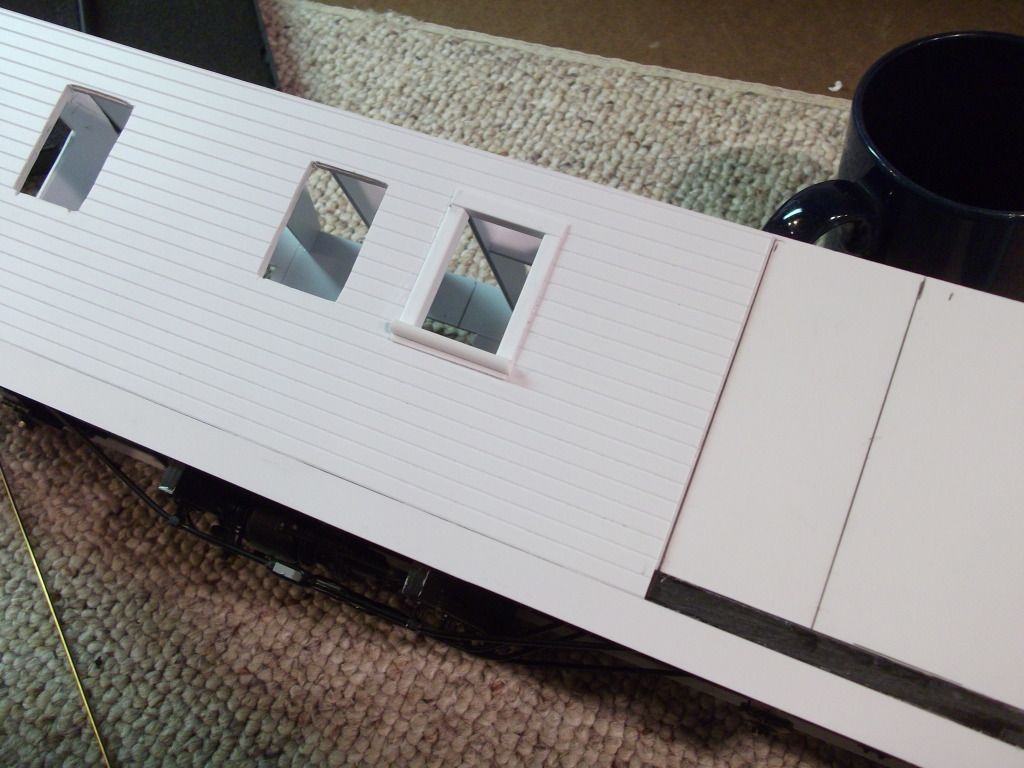
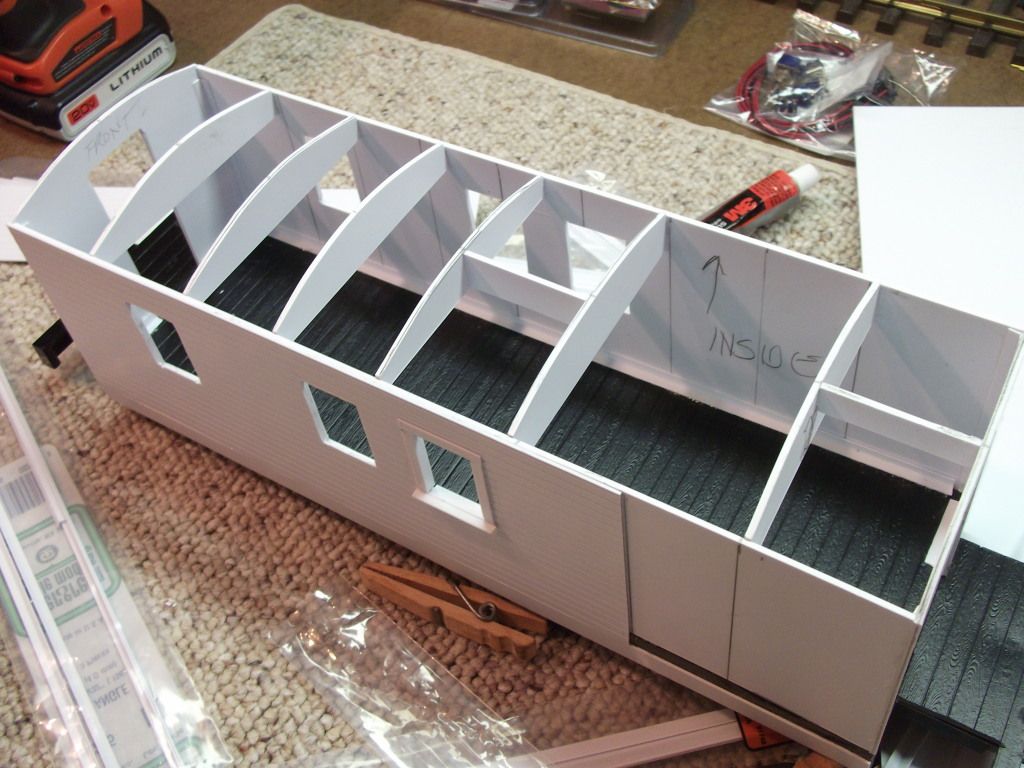
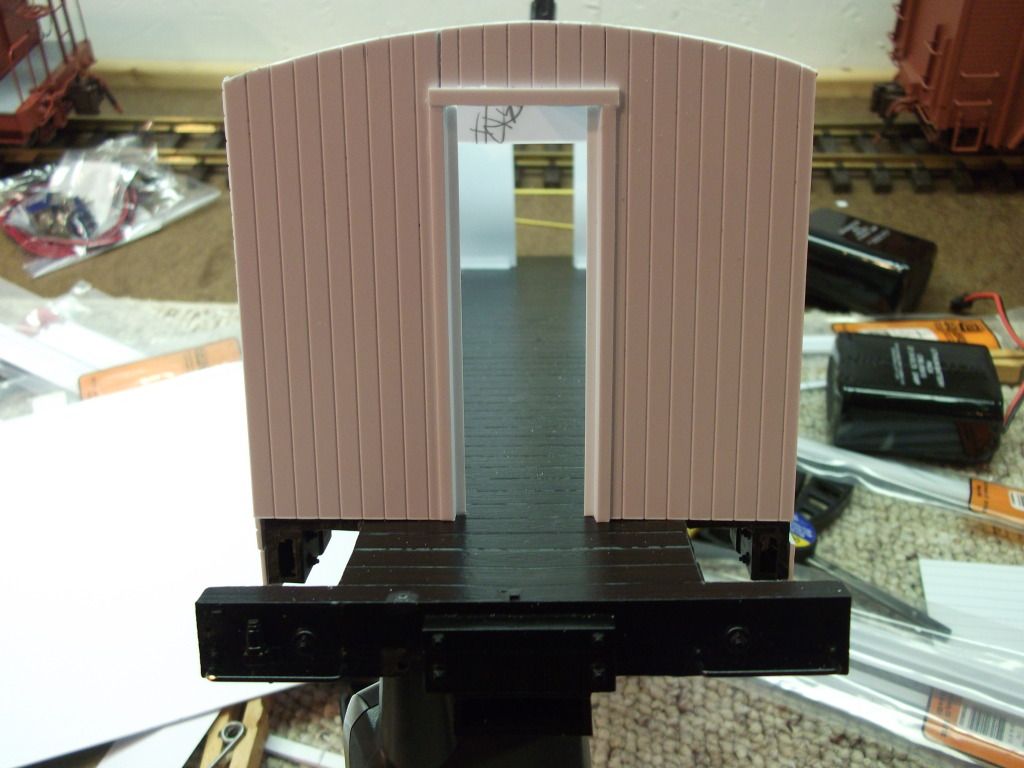
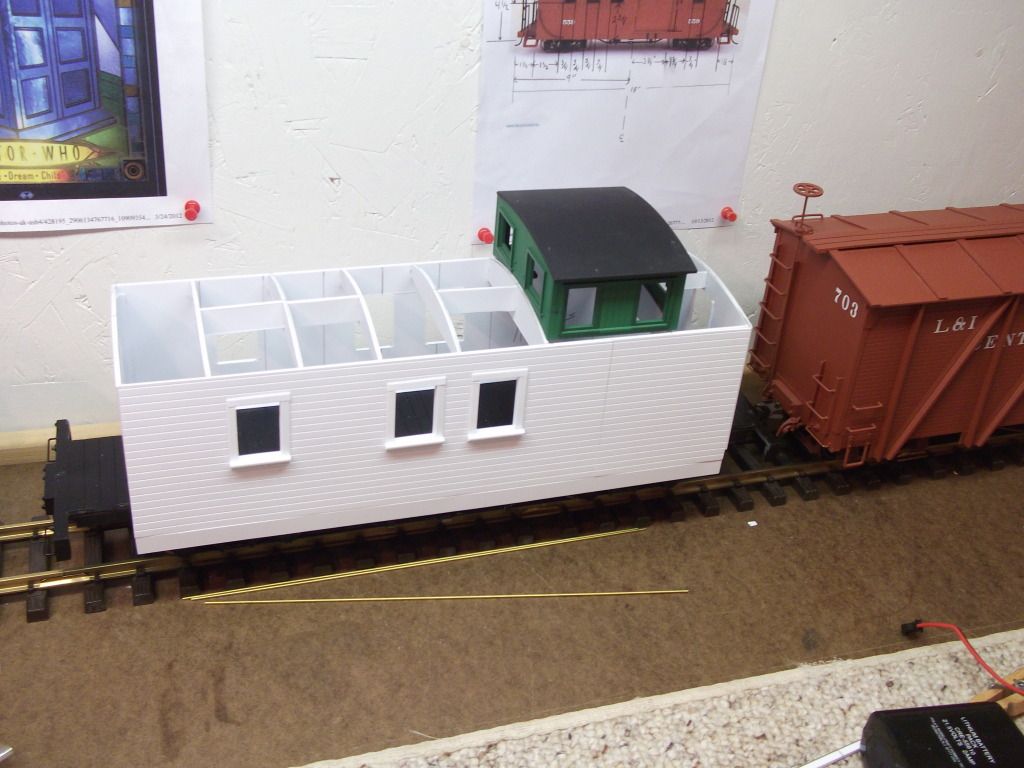
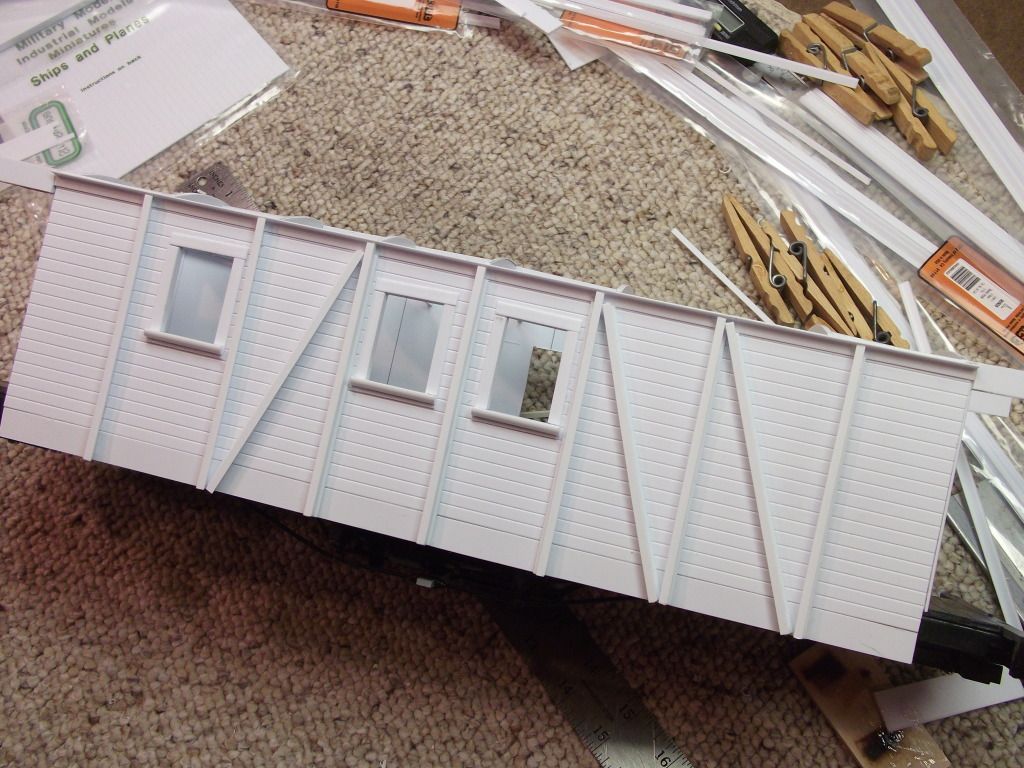
I’m waiting for a calm warmer day to finish painting my ventilated boxcar so it was time to think about my next “winter” project. Then I remembered the caboose I wanted to build and thought tonight was the night to start. I found this a while back when “surfing”…I did some more research and found out they were former Fort Worth and Denver cabs. They were not chartreuse as I originally thought, but were BN green! Now not being one to count rivets, or worry about color matching, I will be making one of these in a “narrow gauge” version for my own L&I RR. . .
So, step number one: Grab another Bachmann Spectrum 1:20.3 undecorated flat off the shelf…Uh-oh…Last one!!! First the truck to truck spacing is all wrong so we need to disassemble the under frame…A LOT harder than it looks! .
(http://i273.photobucket.com/albums/jj222/Noble_Dreg/Outside%20Braced%20Caboose/Cab1.jpg)
. The frame is hollow but put together like a 3D jigsaw puzzle… .
(http://i273.photobucket.com/albums/jj222/Noble_Dreg/Outside%20Braced%20Caboose/Cab2.jpg)
Next I need to move the truck mounts. Bolster to bolster was 13", for the caboose it needs to be 10". . . The arrow points to the original position, next to it is where the new location needs to be. . .
(http://i273.photobucket.com/albums/jj222/Noble_Dreg/Outside%20Braced%20Caboose/Cab4.jpg)
(http://i273.photobucket.com/albums/jj222/Noble_Dreg/Outside%20Braced%20Caboose/Cab3.jpg)
. . These cross beams interfere with the wheels and need to be removed… . .
(http://i273.photobucket.com/albums/jj222/Noble_Dreg/Outside%20Braced%20Caboose/Cab5.jpg)
. . But they are hollow and removing them would weaken the structure so first we need to re-enforce the inside… . .
(http://i273.photobucket.com/albums/jj222/Noble_Dreg/Outside%20Braced%20Caboose/Cab6.jpg)
Next we cut out the ends for the inset stairs… . .
(http://i273.photobucket.com/albums/jj222/Noble_Dreg/Outside%20Braced%20Caboose/Cab7.jpg)
. . And glue in the rest of the frame… . .
(http://i273.photobucket.com/albums/jj222/Noble_Dreg/Outside%20Braced%20Caboose/Cab8.jpg)
Here is a before and after comparison…New closer spacing completed! . .
(http://i273.photobucket.com/albums/jj222/Noble_Dreg/Outside%20Braced%20Caboose/Cab9.jpg)
. . Add the brake assembly and call it a night! . .
(http://i273.photobucket.com/albums/jj222/Noble_Dreg/Outside%20Braced%20Caboose/Cab10.jpg)
Great build!
I might steal some of your methods.
Looks to be on the fast track Mark. Nice work.
Very nice. I’m enjoying this.
I got a little work done between ‘Trick & Treaters’… The side detail was removed… . .
(http://i273.photobucket.com/albums/jj222/Noble_Dreg/Outside%20Braced%20Caboose/OBC1.jpg)
. . I added the angle stock to accept the .080" car-sides and ends… . .
(http://i273.photobucket.com/albums/jj222/Noble_Dreg/Outside%20Braced%20Caboose/OBC2.jpg)
. . Then I built two “steel belly bands”. These fit below the carsiding and serve as anchors to the ‘Z’ braces… . .
(http://i273.photobucket.com/albums/jj222/Noble_Dreg/Outside%20Braced%20Caboose/OBC3.jpg)
(http://i273.photobucket.com/albums/jj222/Noble_Dreg/Outside%20Braced%20Caboose/OBC4.jpg)
. . I mis-calculated and had to increase the stair openings… . .
(http://i273.photobucket.com/albums/jj222/Noble_Dreg/Outside%20Braced%20Caboose/OBC5.jpg)
. . And last, I re-bent the truss rods and reinstalled them… . .
(http://i273.photobucket.com/albums/jj222/Noble_Dreg/Outside%20Braced%20Caboose/OBC6.jpg)
. . Hope to frame-up the body later tonight.
Started the basic box, after cutting out the windows/doors (rough openings) we glued them to the flat… . .
(http://i273.photobucket.com/albums/jj222/Noble_Dreg/OB1.jpg)
.
(http://i273.photobucket.com/albums/jj222/Noble_Dreg/OB2.jpg)
. . Added the cupola suports… . .
(http://i273.photobucket.com/albums/jj222/Noble_Dreg/OB3.jpg)
. . I have not decided on an interior yet. It has windows so it needs at least a rudementary one. We’ll panel it at the very least. Lighting is unlikely.
Looking good so far Mark.
Today I started adding the Car siding and trimmed out the windows…I only finished one side and one end… . .
(http://i273.photobucket.com/albums/jj222/Noble_Dreg/Outside%20Braced%20Caboose/OB8.jpg)
(http://i273.photobucket.com/albums/jj222/Noble_Dreg/Outside%20Braced%20Caboose/ob6.jpg)
. . Finished adding the roof supports… . .
(http://i273.photobucket.com/albums/jj222/Noble_Dreg/Outside%20Braced%20Caboose/OB7.jpg)
. . And trimmed the end door… . .
(http://i273.photobucket.com/albums/jj222/Noble_Dreg/Outside%20Braced%20Caboose/OB9.jpg)
. . Jury is still out on the cupola. I am not going for a scale creation here, just my idea of what a NG outside braced caboose would look like. I either scratch one like the prototype, or use an old one I have lying on the work bench… . .
(http://i273.photobucket.com/albums/jj222/Noble_Dreg/Outside%20Braced%20Caboose/OB10.jpg)
Hey Mark it’s looking great. Why re-invent the wheel, I like the one you have on hand (the green one) it looks like it fits just fine.
Chuck
Thanks Chuck…I think you’re right…I’ll go with “off the shelf”.
Mark - just curious. How do you cut those acurate-looking curves for the ends and roof supports?
I’d like to know how you glue without a big mess.
I’m known as the King of Glue Gobs around here.
And how he “rough cuts” his windows so neatly!
I use my trusty big old Chicago Cutlery utility knife with the comfortable contoured handle and make several shallow ‘free-hand’ passes, then “snap” off the scrap. I think it’s as old as I am!
Well, I added the bracing to one side to see if I liked the look…I think I do… . .
(http://i273.photobucket.com/albums/jj222/Noble_Dreg/DSCF6202.jpg)
. . And I like it with the “old” cupola… . .
(http://i273.photobucket.com/albums/jj222/Noble_Dreg/DSCF6206.jpg)
. . My trusty "side-kick… . .
(http://i273.photobucket.com/albums/jj222/Noble_Dreg/DSCF6207.jpg)
That looks great.
Your knife “behaves” better than mine does!