Large Scale Central

Need bridge railing ideas

Vinnie,

Something like this maybe? John Lukowicz from Desert Bridges made this one for me. The railing size and locations match what I have on adjoining bridges with Garden Metal Bridges “catwalks and railings”.

(http://freightsheds.largescalecentral.com/users/gary_armitstead/_forumfiles/woodbridge4reslsc.jpg)

That is a nice looking bridge.
Do you want the railing to stop a train or a mini person from falling off the bridge? I like the cotter pin and wire idea. You could take some hardware clothe 1/2x1/2 " squares and cut a long enough piece for your bridge then cut out pieces to make it look like a handrailing. You could have as many or as few uprights as you want.
If you want something a bit more solid looking with a criss cross pattern you could use drywall corner bead which will give you about a 1" tall fence, or try the stuff used to keep leaves out of gutters (gutter guard) it comes in a roll in either black plastic or metal and cut it as tall as you want it.
If you are worried about a train falling off and into the drink you could put another layer or 2 of wood along the sides and make your bridge look like a girder bridge. Since you have a 10’ span you could make each girder section 2’ long. It would be just like the prototype but you might need support abutements to pull the look off.

I do like that cotter pin idea but you would need alot of pins every 6" or less I think.

If you wish to use wood, Lowes, and/or Home Depot sell a trim piece for I think kitchens used on the top of cabinets which are about 2 1/4 " high and perhaps 36" long that consist of a base, turned dowels spaced 3" apart on center, and a top piece. These could either be stained to match your existing bridge or be painted to look like cast iron. Of course additional dowels could be added to tighten it visually. The base and top are approximately 3/4" deep x 15/16" high while the dowels themselves are about 1 1/4" tall. If this sounds interesting I’ll dig out a piece and try to post a photo…

They are called Decorative Rails (Furniture Quality) by Waddell Manufacturing,Stow, Ohio… Come in a 4’ length, and are available in Oak or Maple. The rails are “press fit” so adding spindles should be rather simple.

Thanks for the replies everyone.
Phil, I think I know the piece you are talking about.
I will take a trip over to lowes tomorrow and see what they have.
If anyone has any pic’s of the cotter pin idea in use I would like to see that to give me a better idea of how it would look.

I think I’ve posted a picture in my public gallery but using a MAC I have know Idea where it ended up ( I Just don’t post pictures very often)

Vincent,

This is how I did the last set of bridges that I put in, not exactly “cotter pins” but similar idea.

As built, using brass welding/brazing rod, copper wire and a little solder.

As installed

What you want it to look like or represent will determine what you use for the most part, in other words; scale, semi-scale, ornate or just functional.

Good luck, that’s a nice looking bridge.

Rick

Phil Anastasia said:

I think I’ve posted a picture in my public gallery but using a MAC I have know Idea where it ended up ( I Just don’t post pictures very often)

With your profile set to private I can’t see anything.

Rick Marty said:

Vincent,

This is how I did the last set of bridges that I put in, not exactly “cotter pins” but similar idea.

As built, using brass welding/brazing rod, copper wire and a little solder.

As installed

What you want it to look like or represent will determine what you use for the most part, in other words; scale, semi-scale, ornate or just functional.

Good luck, that’s a nice looking bridge.

Rick

Rick that looks great!
I think I could even handle doing something like that… I can solder pretty good and I have access to all kinds of wire, I just need to know where to look for the welding/brazing rod… is that something lowe’s would carry?

Vincent,

Lowe’s might but I would look for a local “welding supply store” they will have it for sure. The brass rod should come in 3 foot lengths and they sell it by the pound so it is really inexpensive compared to other sources.

I used 3/32 rod and 22 ga. wire but 1/8th rod and 20 ga wire would work as well I suppose though being a little heavier would be a little more expensive.

I used a block of wood as a height spacer butted against the post as I went to keep every post wire connection the same, it helps to take a wrap around the post with the wire, much easier to solder that way.

If you use this method be sure to do the top wire first :slight_smile:

Good luck and show us the results.

Rick

I get my brass rod from McMaster Carr.

They have all the sizes, in 3’ lengths.

http://www.mcmaster.com/#standard-red-metal-rods/=pmazus

That looks great- (BTW I’ve Changed my profile settings)

Phil Anastasia said:

That looks great- (BTW I’ve Changed my profile settings)

I believe I settled on a plan for a railing, probably won’t get to attempt it until after the holidays. Phil, I didn’t realize you were from MA. I am just a little south down in RI.

Vincent: We have a club which meets monthly in Mass, occasionally in RI - Usually once a year in Jamestown, and this year once in Richmond- There are several members who post in these forums.

Phil

Phil Anastasia said:

Vincent: We have a club which meets monthly in Mass, occasionally in RI - Usually once a year in Jamestown, and this year once in Richmond- There are several members who post in these forums.

Phil

Let me know when the meetings are and I will see if I can make it to some of them!

So… here is what I am going with, nothing fancy, nothing expensive, nothing to difficult for me to handle… I think.

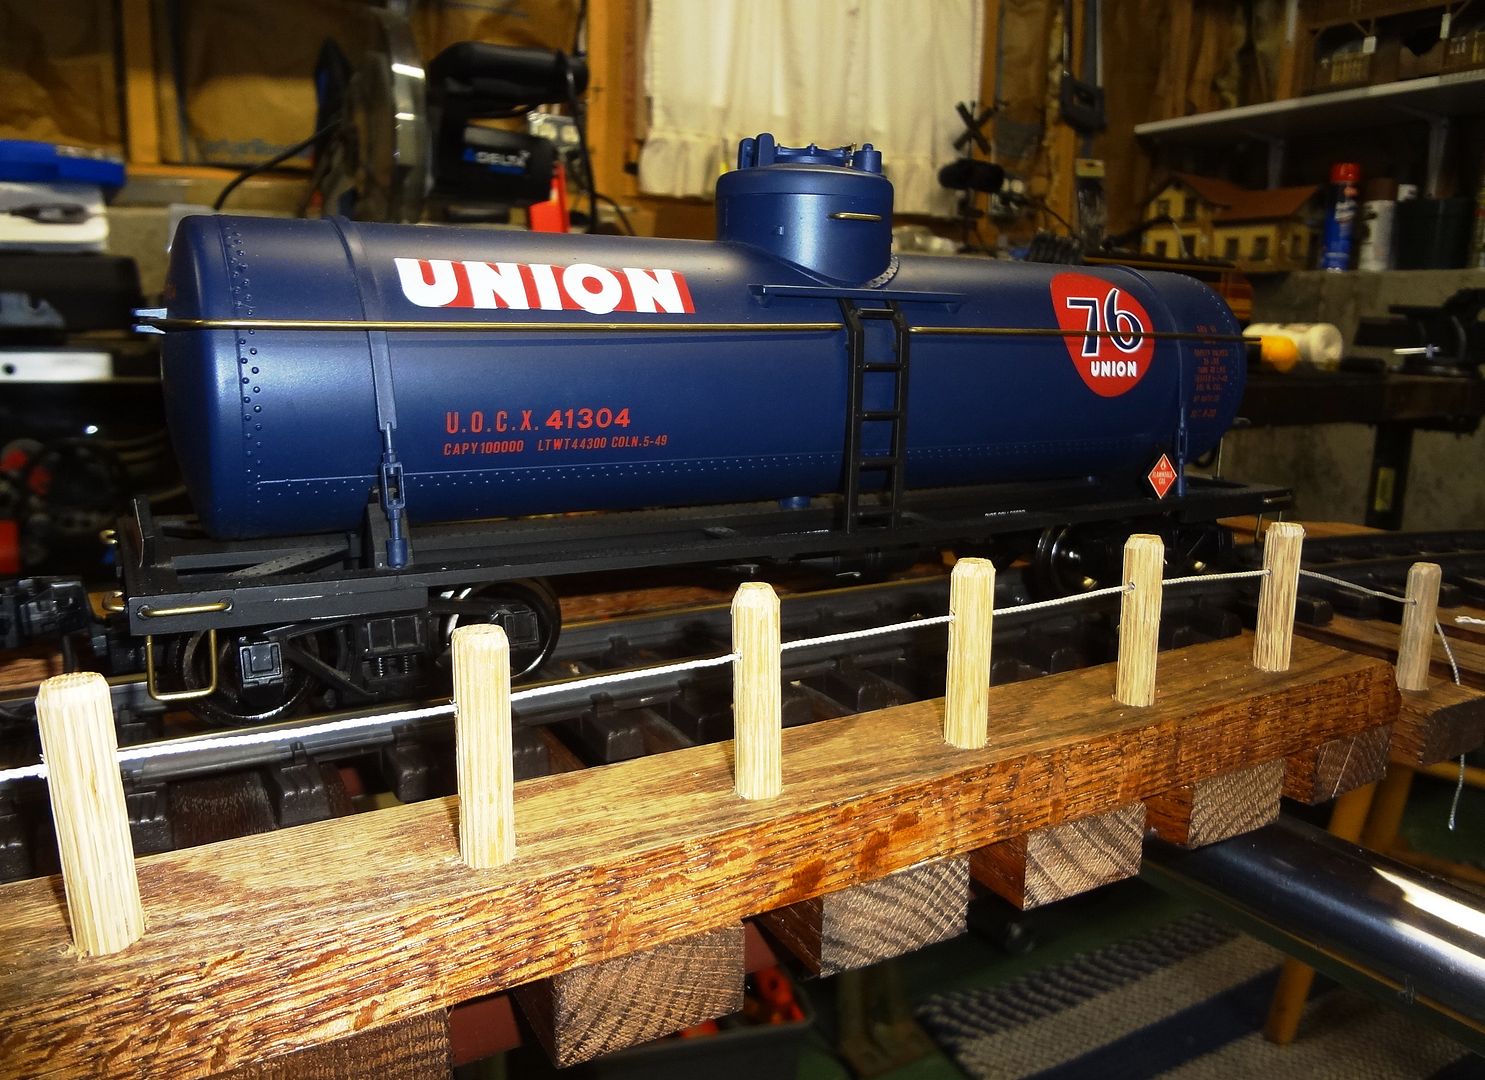
Decided to use some 3/8" x 2" wooden dowels and some poly string line that I have plenty of.
Total cost of materials was under $10

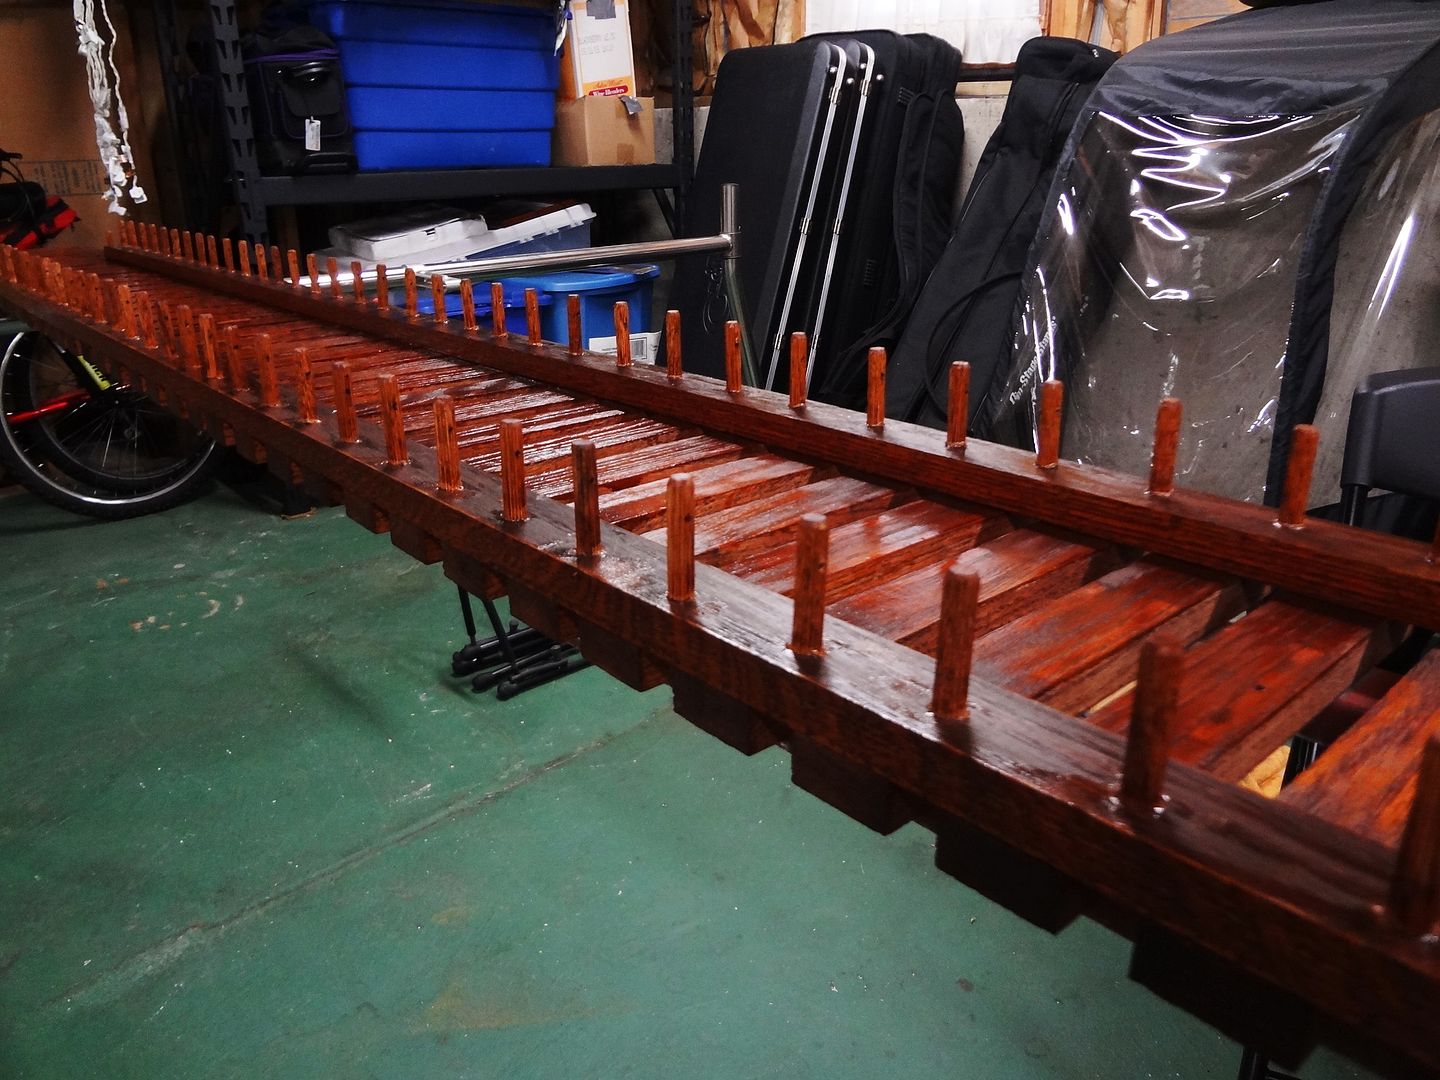
Just started this past Saturday, need to drill about a million holes so after getting a few done here is a glimpse of what it will look like… don’t laugh to hard, my building skills are VERY limited…

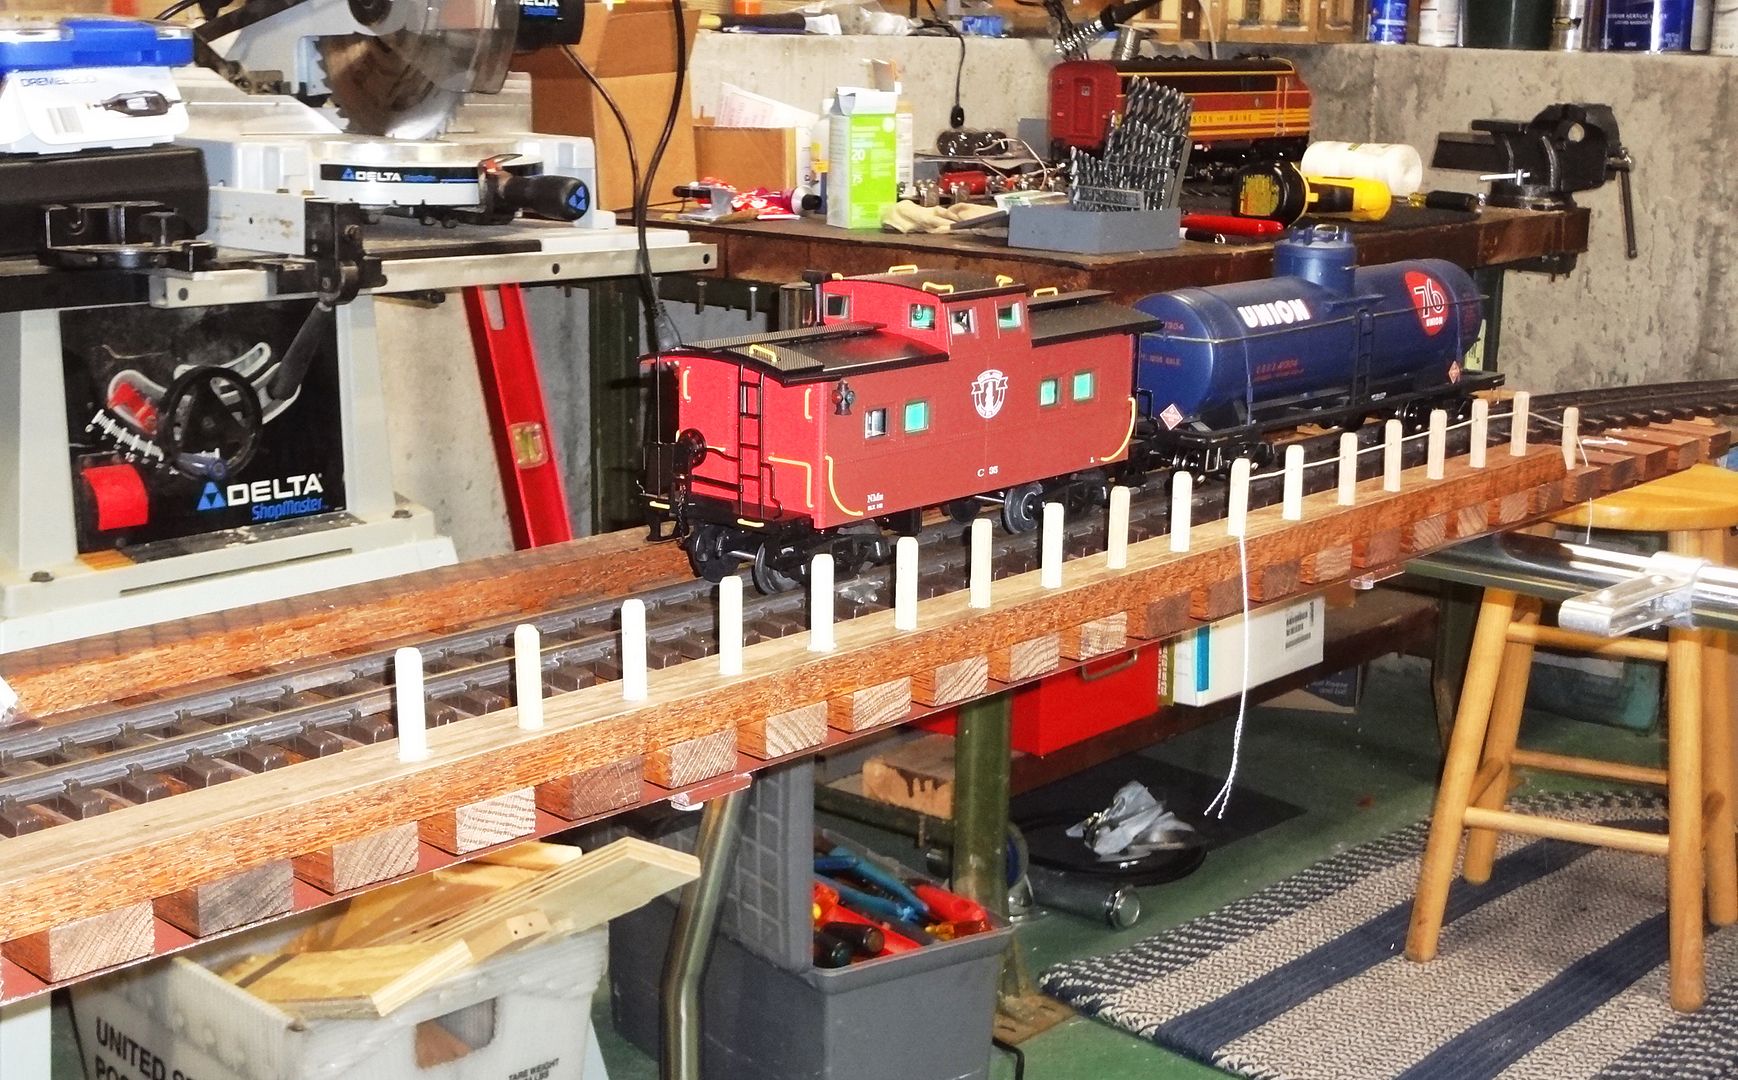
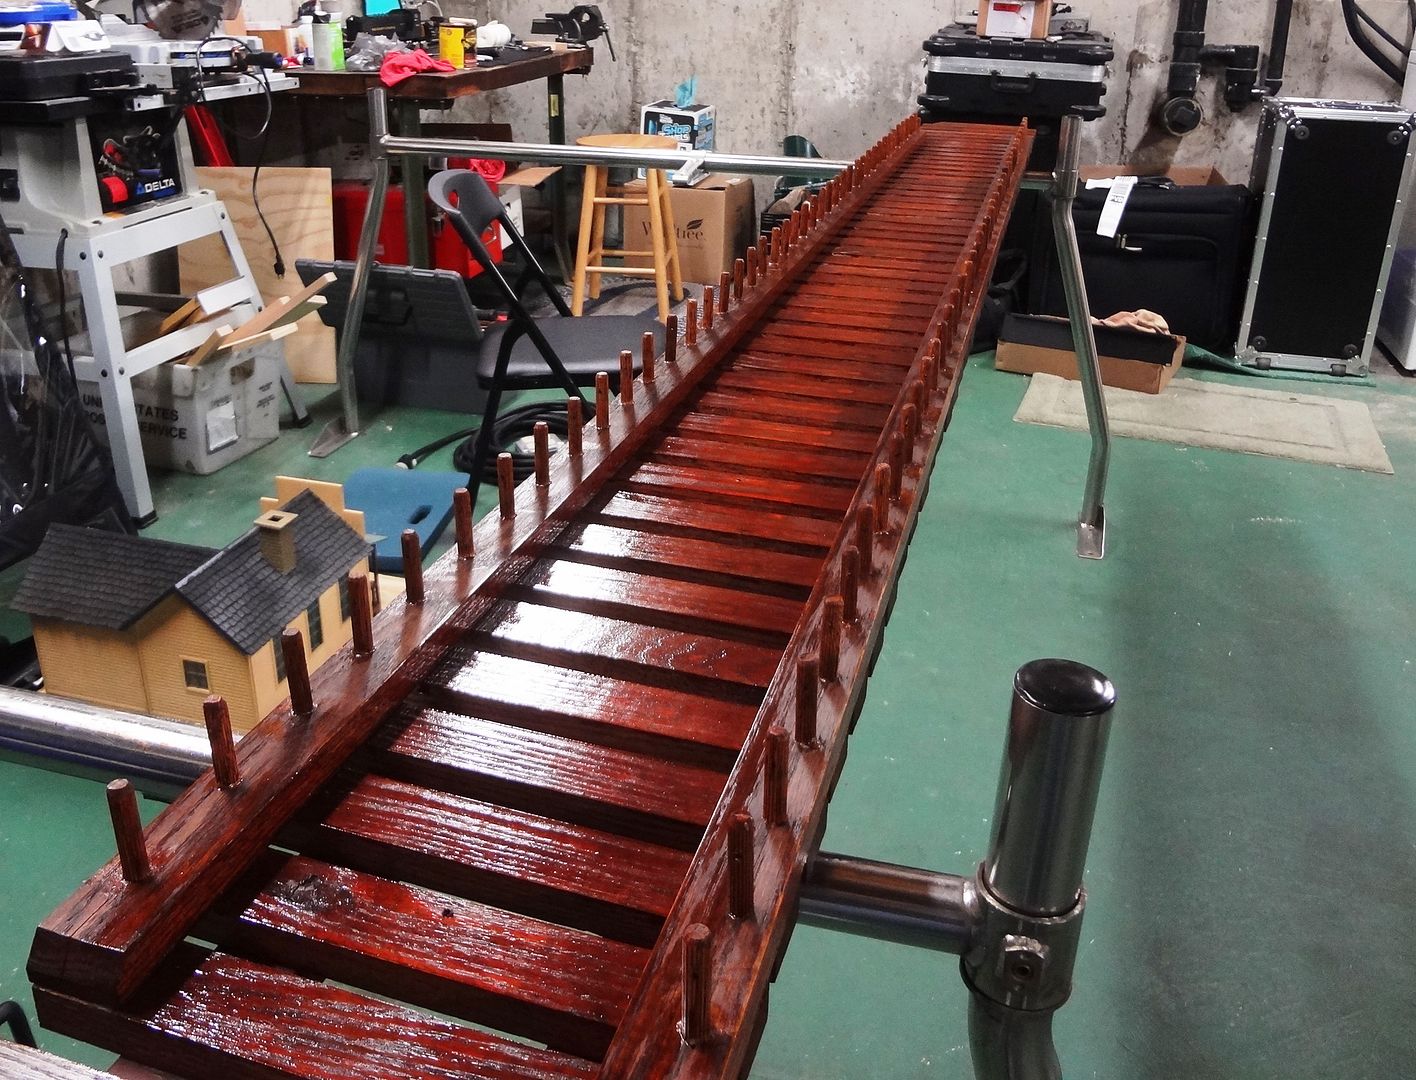
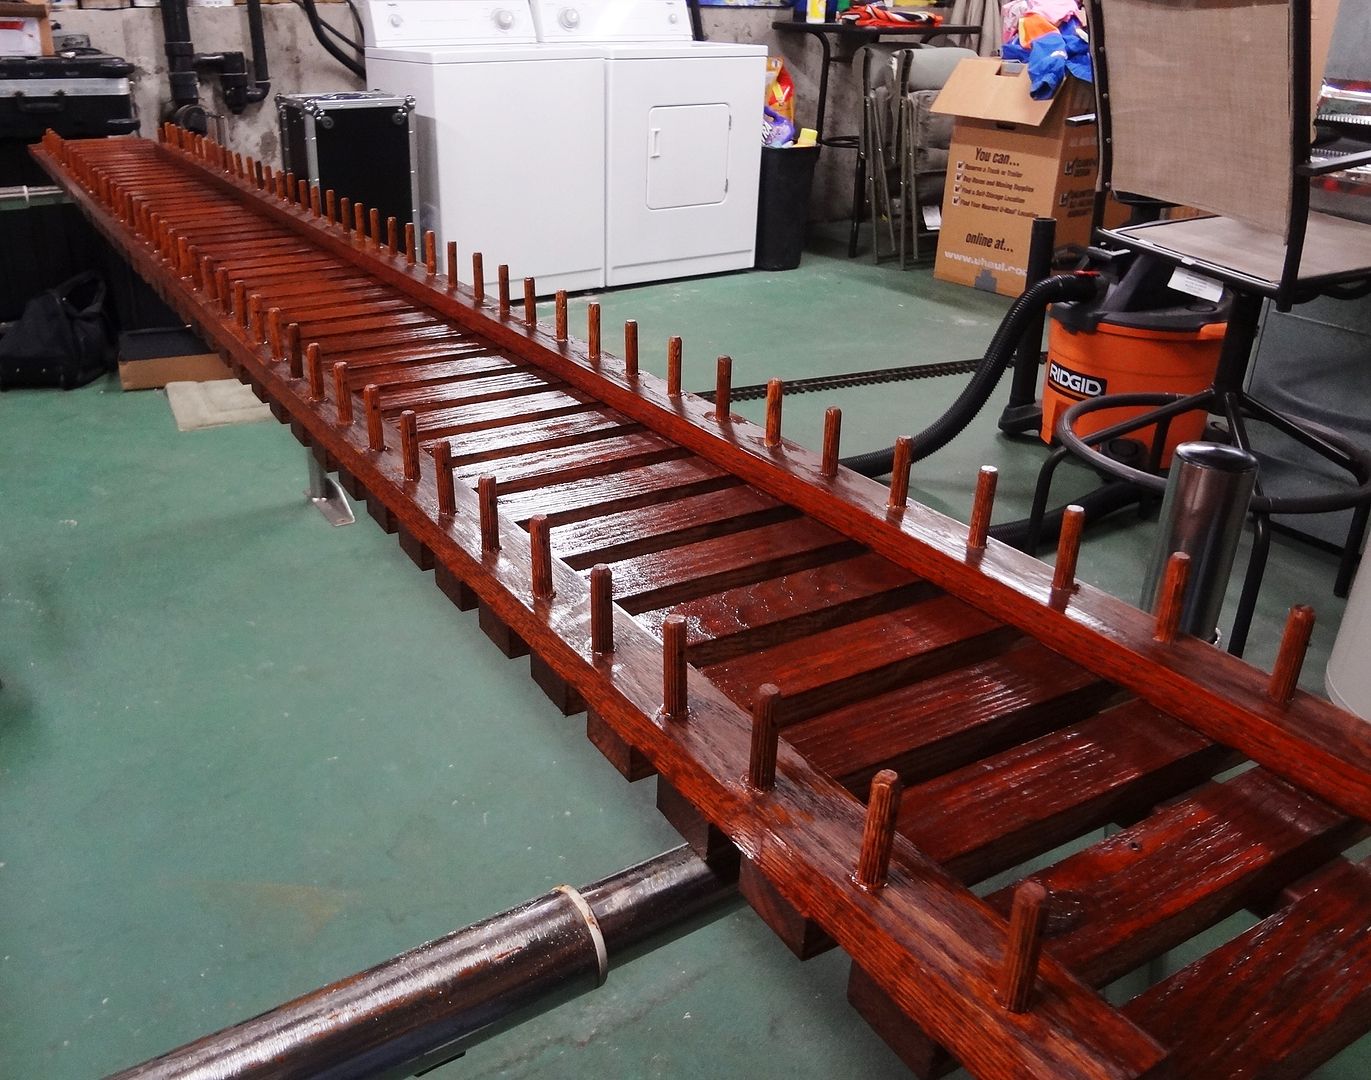
I have a lot of drilling and gluing to go, then I have to stain everything… then fish the poly line through all the tiny pilot holes… The good thing is I don’t have to finish it until spring!

Vincent,

Not a thing in the world wrong with that design and install.

Design is after all secondary to function and the function of the railing is to keep the cars and loco’s on the bridge in case of derailment.

Good job

Rick

Looking good Vinny. :wink:

Almost done!
I wish I could say that due to my upcoming wedding, being real busy at work, and just not having a lot of free time is the reason why this project has taken so long…but no, the truth is I have just been LAZY!
:slight_smile:

Anyway, I finally was able to drill all the posts and drill/glue them into the base of the bridge. It was a fairly easy task, but was just took more time then I expected. Probably would have been done a lot sooner if I had a drill press, but everything I did I just used my eye and cordless drill… when I drilled the hole for the posts to deep I just filled it back in with some saw dust!
So just got done putting a fresh coat of minwax stain on it and all that is left to do is to run the poly line through all the posts and it will be ready for the season.


Interesting saw horses your using there Vincent, Did they come off your truck?

Sean McGillicuddy said:

Interesting saw horses your using there Vincent, Did they come off your truck?

Why yes they did! I take them off in the winter time (just use them for our kayaks in the summer) so I can take the truck through the car wash. :slight_smile: