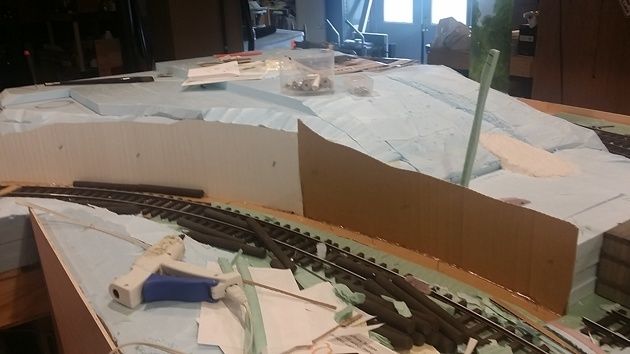
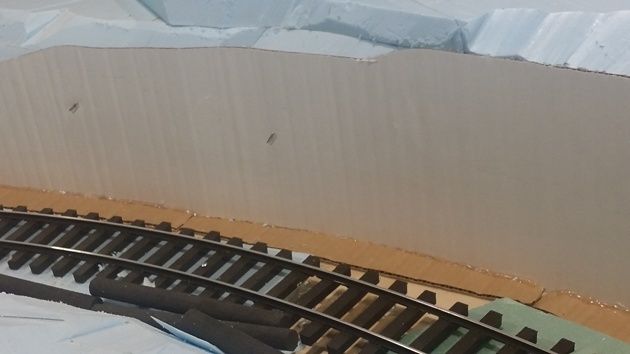
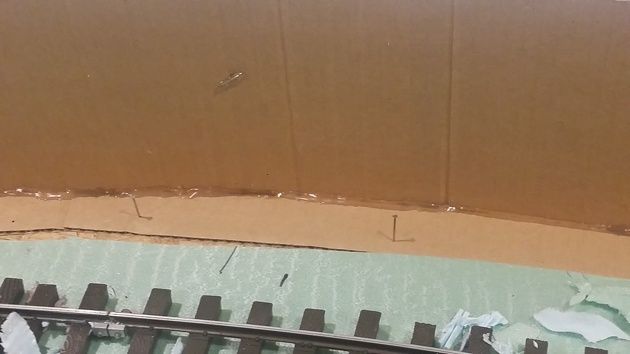
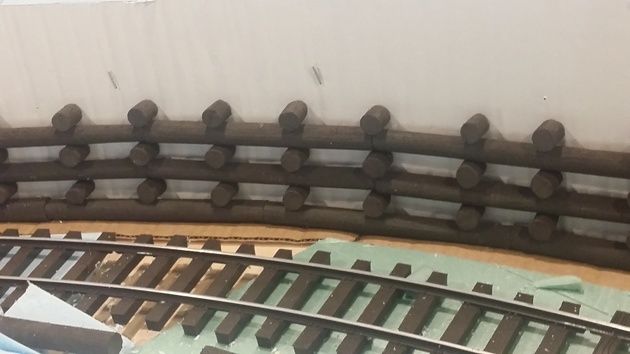
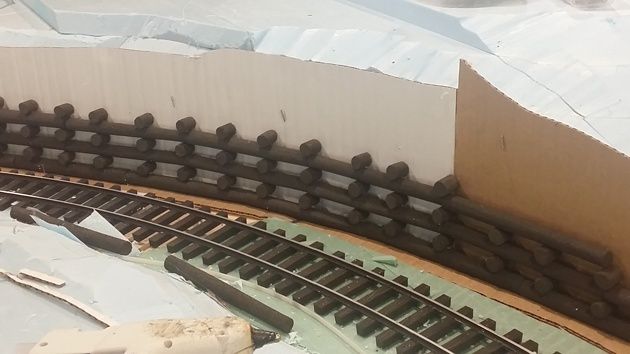
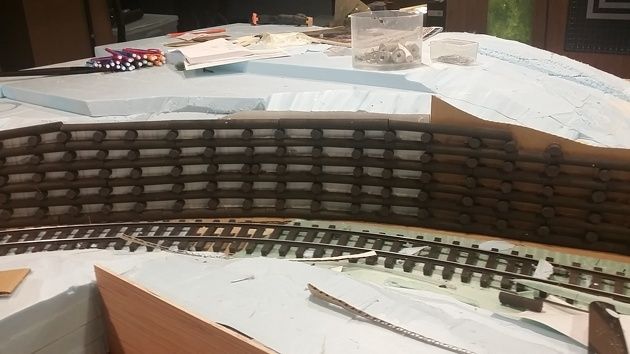
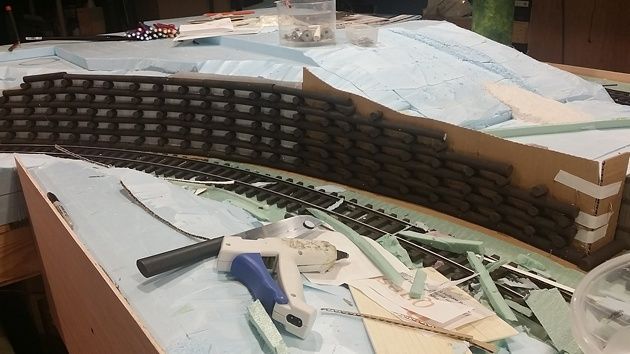
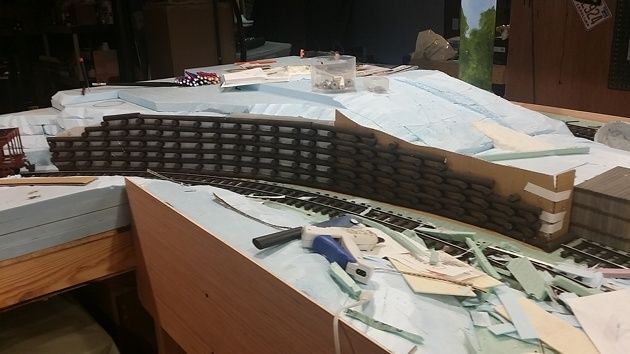
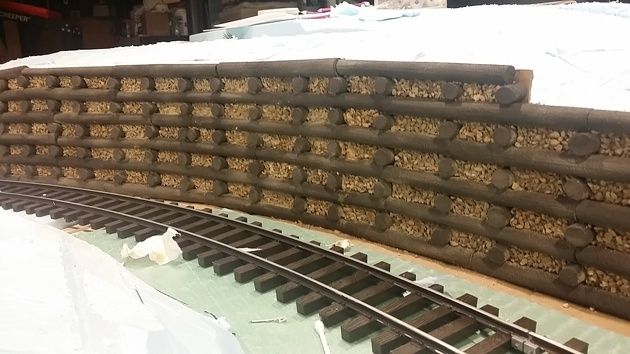
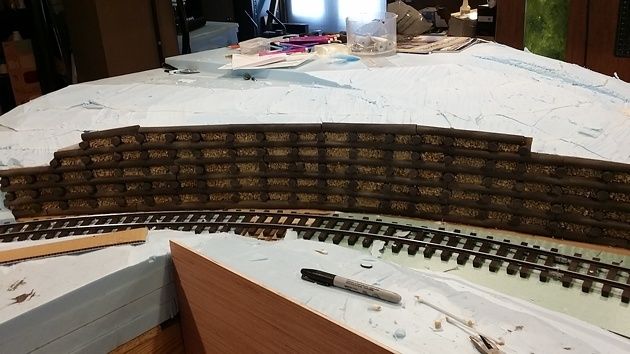
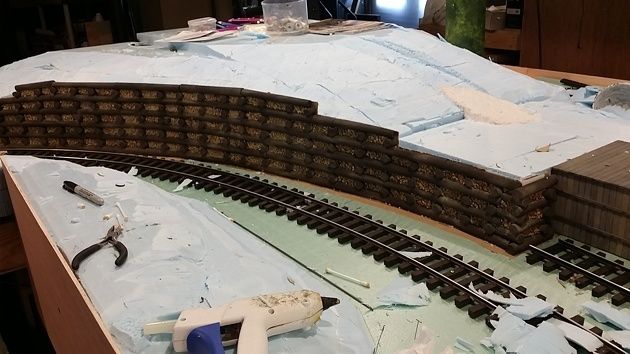
Next i went to the layout and did a little more carving on the large block of foam . I then took a couple pieces of cardboard. I had to bend each corrugation so the cardboard would wrap round the curve. I then traced out the shape and cut to fit.I then cut a few curved strips to the shape of the curved wall. I then glued this to the bottom of the shaped cardboard so it would keep its shape.
Devon Sinsley said:
David Maynard said:
Devon, yea, a jig would make them all the same, just like store bought dowels. To replicate the prototype, they should all be different.
David,
Did Ii really need you help to further drive home the fact that I indeed was way over thinking it . . .(http://largescalecentral.com/externals/tinymce/plugins/emoticons/img/smiley-tongue-out.gif)
Ah, actually Devon, I think so. (http://largescalecentral.com/externals/tinymce/plugins/emoticons/img/smiley-wink.gif)
I know I need that kind of reminder when I overthink stuff
David Maynard said:
Devon Sinsley said:
David Maynard said:
Devon, yea, a jig would make them all the same, just like store bought dowels. To replicate the prototype, they should all be different.
David,
Did Ii really need you help to further drive home the fact that I indeed was way over thinking it . . .(http://largescalecentral.com/externals/tinymce/plugins/emoticons/img/smiley-tongue-out.gif)
Ah, actually Devon, I think so. (http://largescalecentral.com/externals/tinymce/plugins/emoticons/img/smiley-wink.gif)
I know I need that kind of reminder when I overthink stuff
Help accepted then.
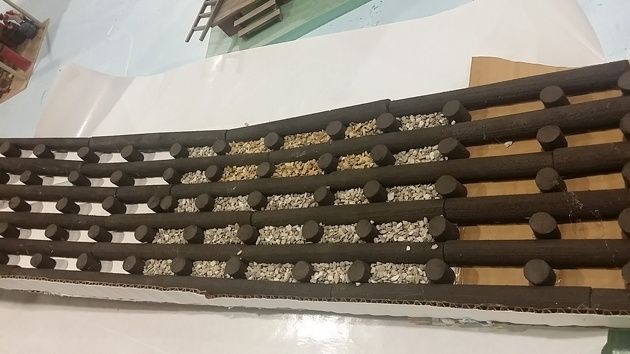
Next I pinned the cardboard piece in place. I started putting the dowels in place using hot glue. the work went pretty fast…
Now that’s nice
Thanks David,
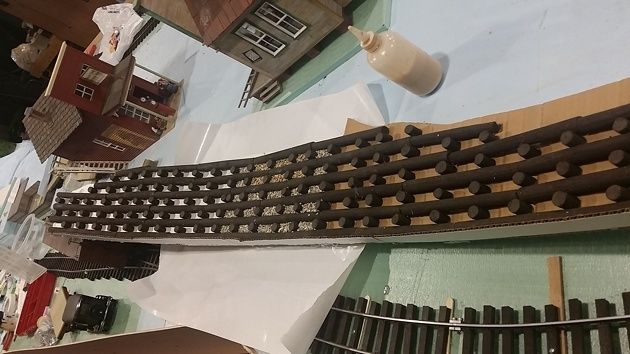
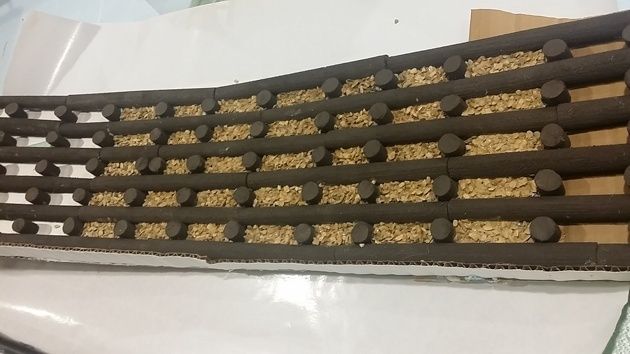
I then pulled up the cardboard and laid it on its back propping it up to keep its shape. I then went about filling in the spaces with oil dry. To hold the oil dry in place i used thinned white glue with acrylic paint for coloring just like I am doing the ballast…
Very cool. Another idea I will stop away. I have plans for lots of cribbing
Looking great there Mr. Brown! (http://largescalecentral.com/externals/tinymce/plugins/emoticons/img/smiley-laughing.gif)
Thanks Devon and Sean,
Once dry I was able to move it with pretty easily. It set in place until secured to the wall. The retaining wall sets below the track line and I will back fill to level the area out.
. It is also just a little high so I can make the landscape come up to the back of the wall…
Is the wall vertical?
It would look even sharper stepping back a little.
Sean,
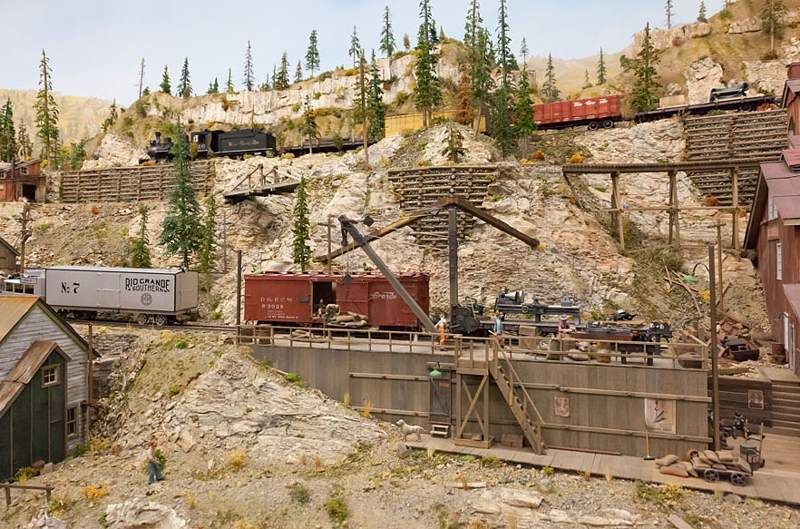
I had to go vertical because of the limitation of space. I got the idea from the construction video of the Tom Miller F scale layout. Scott Anderson was making a vertical wall in the background and I figured out how it was done… They used alot of vertical cribbing on that layout…
This is the Mammoth mine in Burke, ID. Photo part of the Barnard Stockbridge collection at the University of Idaho. It had some of the highest vertical or nearly vertical cribbing I know of. The Black bear also had some vertical cribbing.
This picture is actually the inspiration for my micro. This and others from Burke. It shows how in 1:1 they dealt with tight space.
Thanks for the pictures Devon, Just imagine the Man power it took to do all that cribbing. Lumber must have been dirt cheap back then.
ty
Landrel, I believe what Sean McG is talking about is called battering, but I could be wrong. I have a couple of these walls on my layout…I’ll try to get around to some pictures. That last picture of Devon’s is what I like; in fact, unless it’s just the play of light and shadows, it actually looks like it’s leaning out toward the tracks, as if the pressure has pushed it out, which is what battering is supposed to prevent! That’s a good look I think, at least I like it as a matter of taste. I’ll have to try that…
http://www.lib.uidaho.edu/digital/barstock/
This is the link to the Barnar stockbridge collection and if you go through it there is great fodder for this type of construction. You can even see in some photos how te cribbing was made. Much of it is still there.
Landrel Brown said:
Thanks for the pictures Devon, Just imagine the Man power it took to do all that cribbing. Lumber must have been dirt cheap back then.
ty
Landrel, yes, lumber was rather inexpensive back then, especially if that was the commodity your railroad dealt in.
Well for the above mines logs for cribbing were plentiful and actually in the way. One thing there was no shortage of was logs. Lumber was not as easy to come by in the very early days but by the time these pictures where taken even lumber was easy to come by. Thousands of acres of virgin Idaho old growth.
Ty,
Your progress seems to have slowed and I find that unacceptable. Since you are not commited to the challenge there is no excuse for the slow progress. I am living vicariously through your build. Please step up your production.
Devon, maybe, he is older than you.
the hastiness gets lost over the years…
and, that is an indoors layout. so prolongated arm-chair modelling phases are obligatory.
Hey Devon I know your just playing around. Let Me tell you how busy I am. Have ya’ll visited my website? Tysplanes.com
I make parts for several people. I am currently working on parts for " Just Plain Folks" ., Maker of many G scale figures Just finished them up today.
I am Also trying to Prepare for the Local RMU Railroad Modeling University which is next week. I am teaching 3 classes , Trees , Static Grass /Soft Rocks, And then added a class on painting a backdrop because someone dropped out and cant teach the class.
After that I have a large order for cockpit kits to get out. About 20 kits to get together .
Then I have to finish up a cockpit for a new 126" b-17 that is coming out soon…
I hope to have a little time to work on the layout soon…
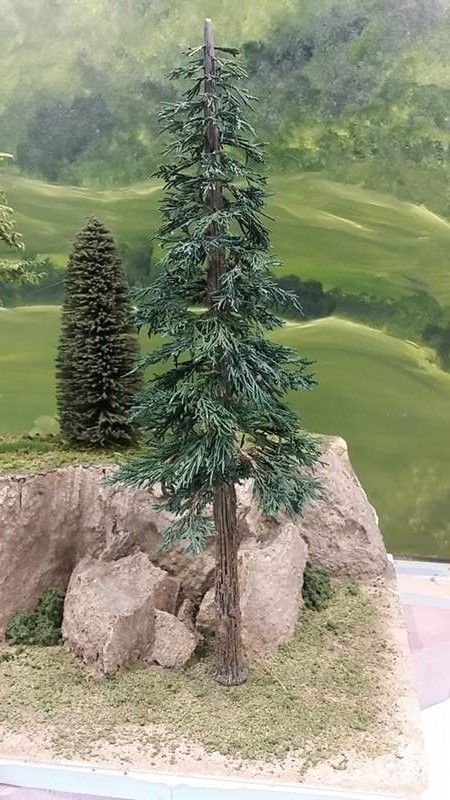
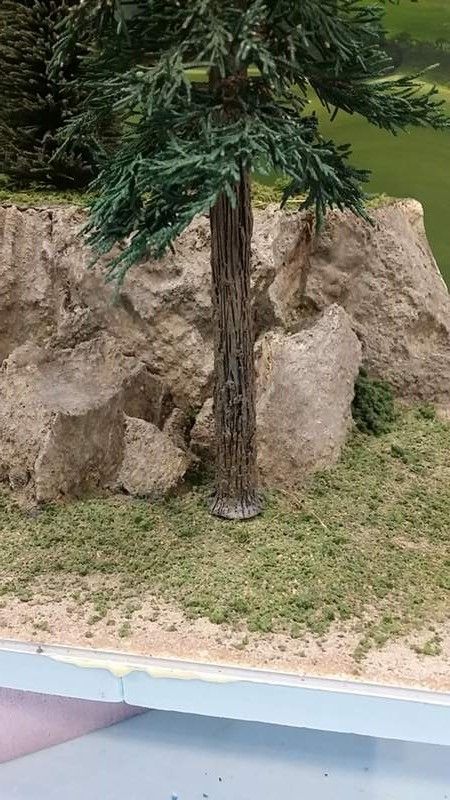
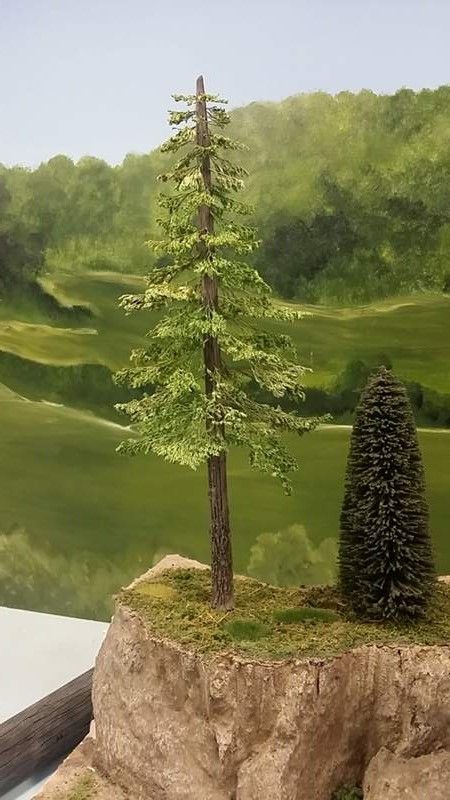
Here are a couple pic’s of the things I am working on.
Trees are O/Ho scale