Is there any sugar in lemon juice; and what about eventual mold in five years or so?
Thanks for the comments Ron and David.
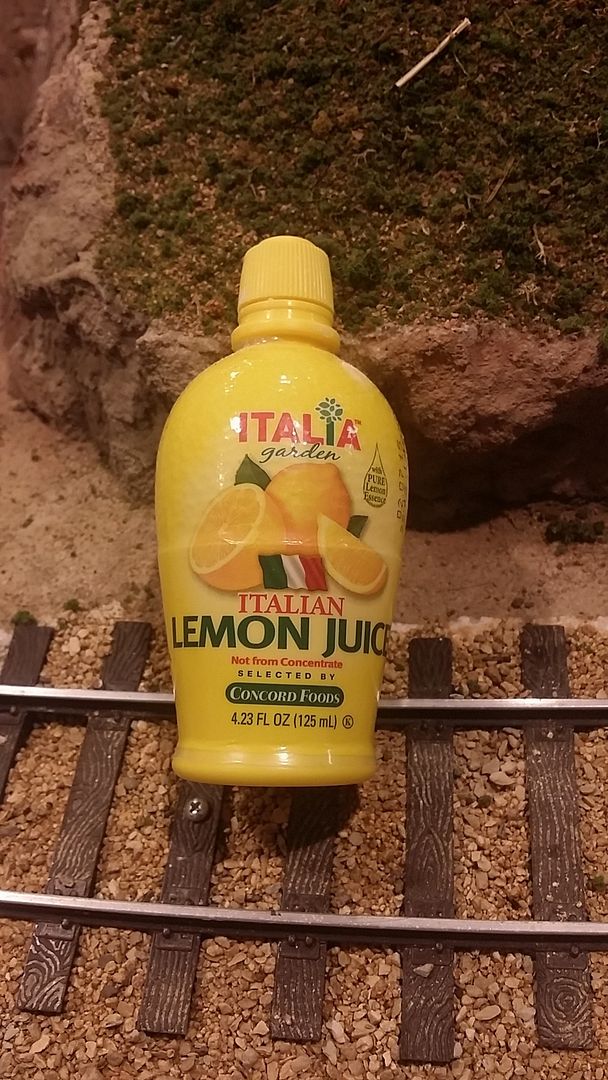
Forest I checked the bottle it only has pure lemon juice and some preservatives. But even if it did you are only using about 5-10 drops in about 2 cups of sculptamold mixture. Not enough in that to really make a difference i don’t think…
Ty
Ah, okay. I’ll “stay tuned for further developments” in about a decade or so (http://largescalecentral.com/externals/tinymce/plugins/emoticons/img/smiley-laughing.gif)
But, it has to be Italian lemon juice.
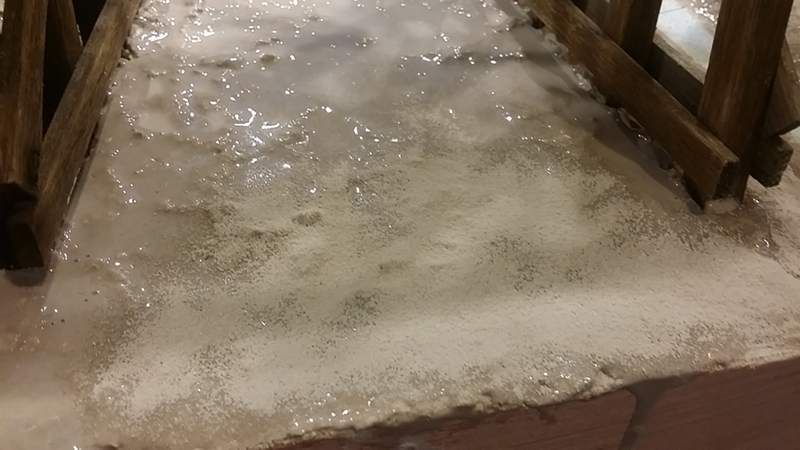
I got all the sculptamold in place and then I went ahead and used the Zip texturing to get the dirt color … I had a problem this time I have never had before. I thinned out the glue water mixture a little thinner this time so it would spray better . when it all dried there it had turned white in places. I am not sure what happened. I ended up have to apply a second coat of zip texturing to get the colors right…
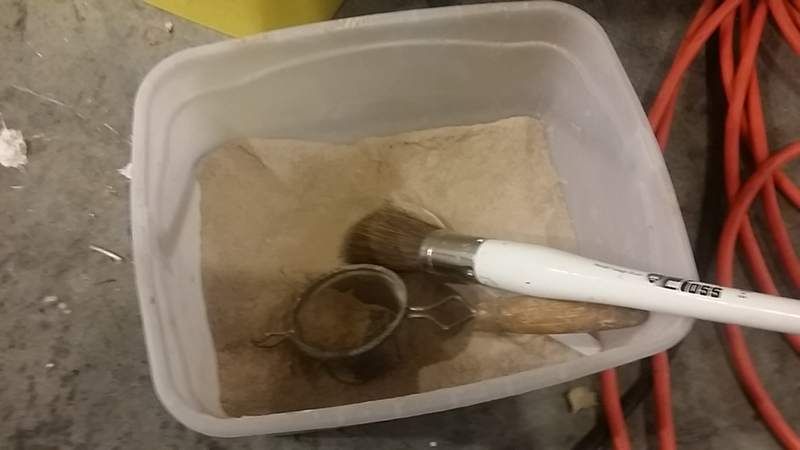
Usually i just apply a coat of plain white glue to the area before applying the zip texture. This time i added some raw Umber paint to the glue first. To apply the Zip texturing I paint the whole area that I am doing with the full strength glue mix and then i use either a tea strainer or in tight places I use a brush. The brush pick up the plaster well and just tap it and it falls where you want it. Then I spray the dry top with the thinned glued mixture.

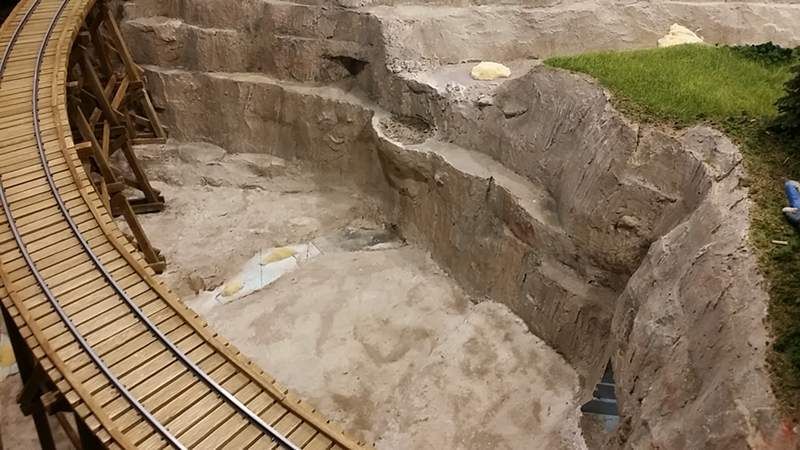
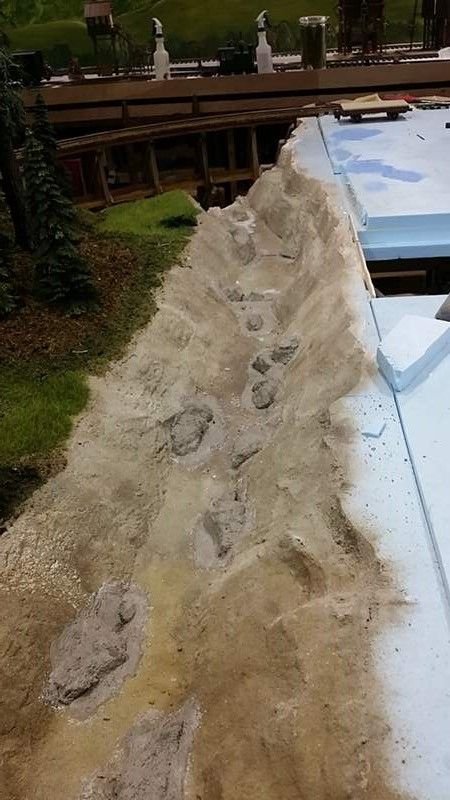
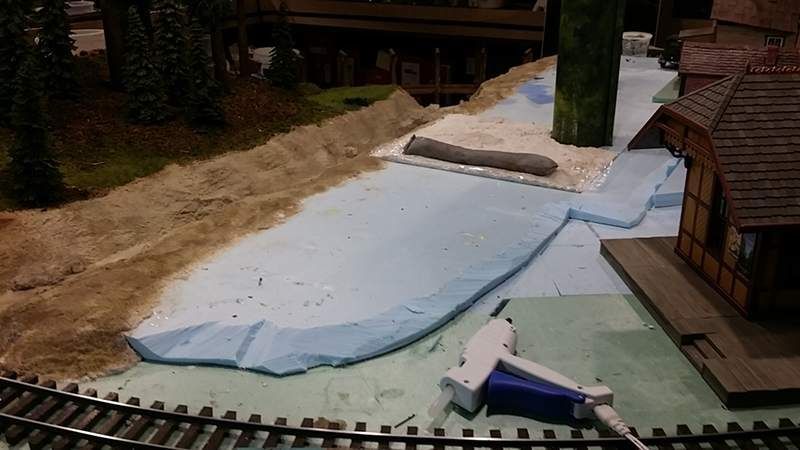
Here is the area finished . With the Second coat of Zip texturing.
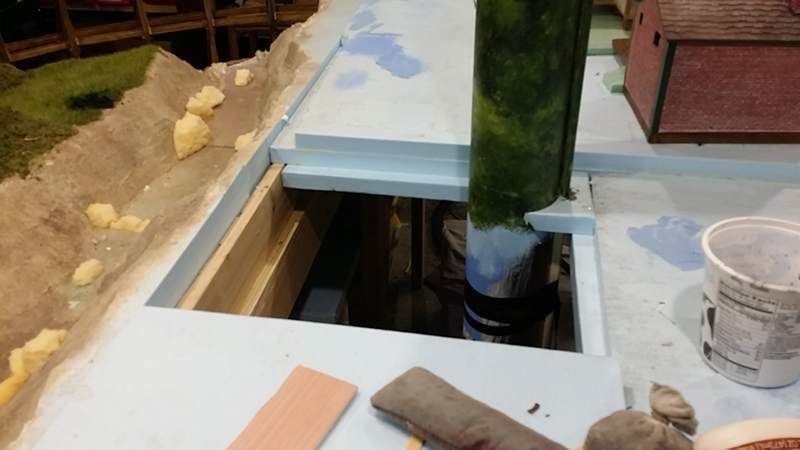
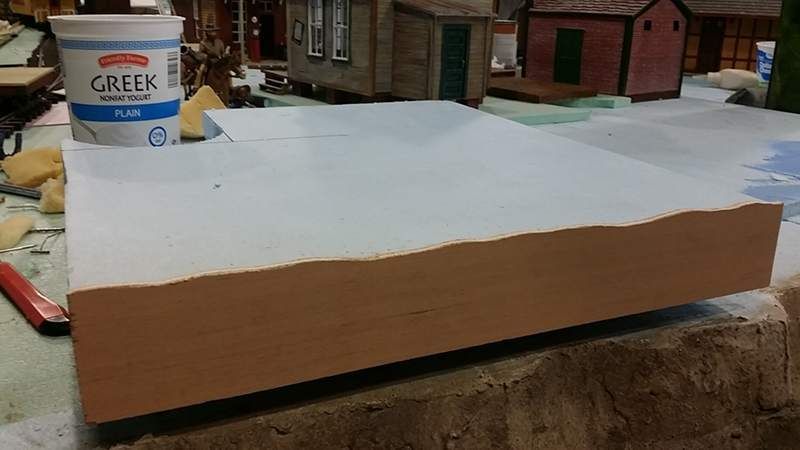
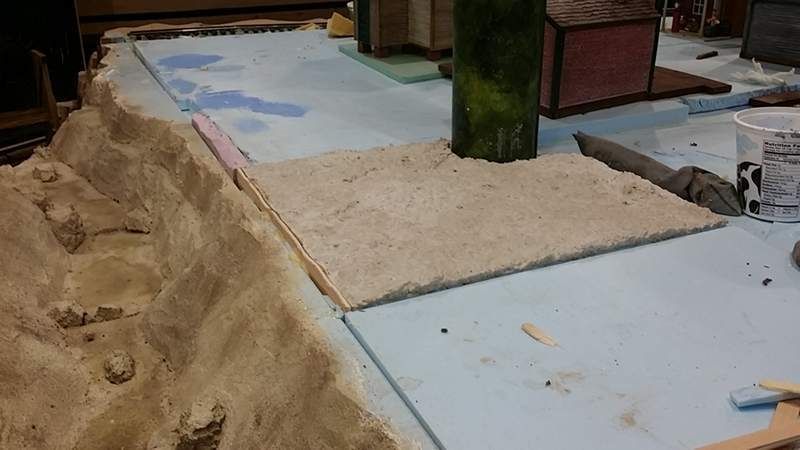
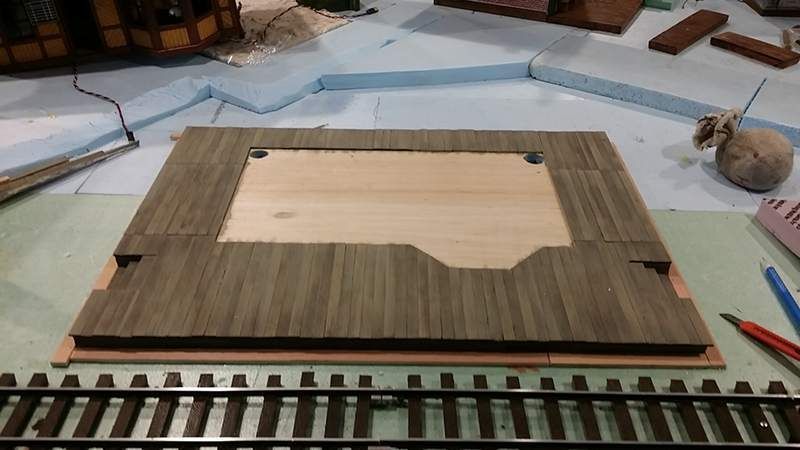
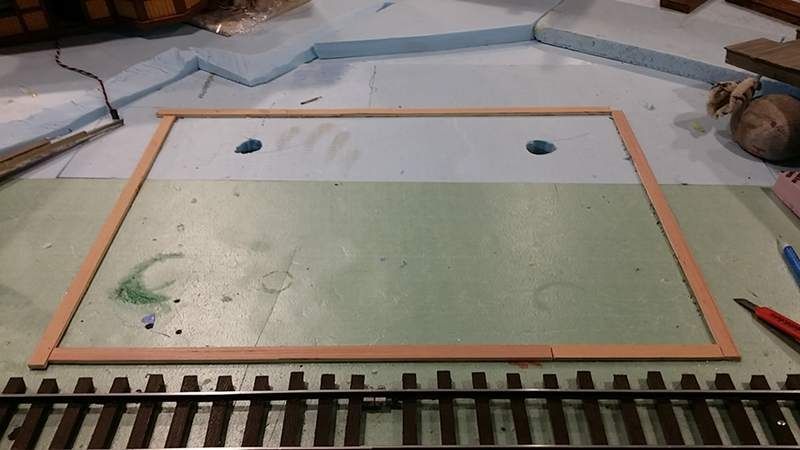
I do have a lift out area in the middle of the loop. I do have a Top Creeper ladder but it is hard to reach the middle with that. So i am trying to maintain the lift-out. So I have to get may scenery to allow the lift-out. So coming up the bank of the creek I decided to us a piece of 1/4" luan to sepaerate the lift out The rest of the sides will be separated by a thin pieces of styrene. So I cut a 1/2" off of the foam to allow the luan to be glued to it . I glued the first end to the foam and then cut the 2 pieces of wood at the same time for the ground contour. I then went back and glued the loos piece of wood to the layout itself. I used cling wrap to keep the glue from attaching the lift out portion.
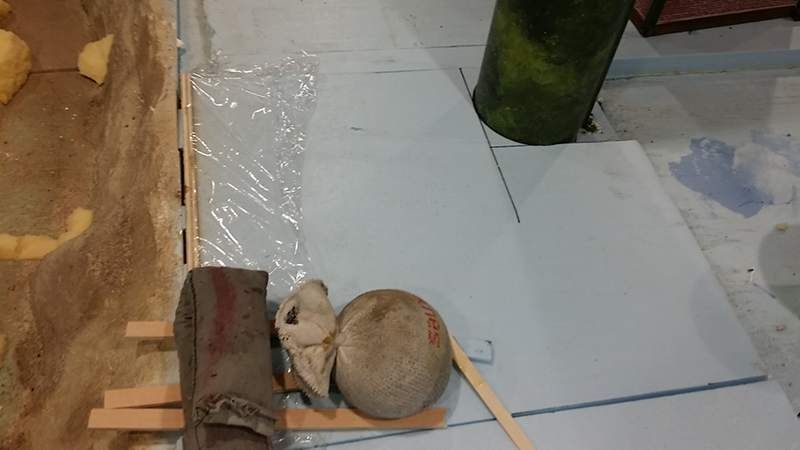
Here is the piece fit into place.
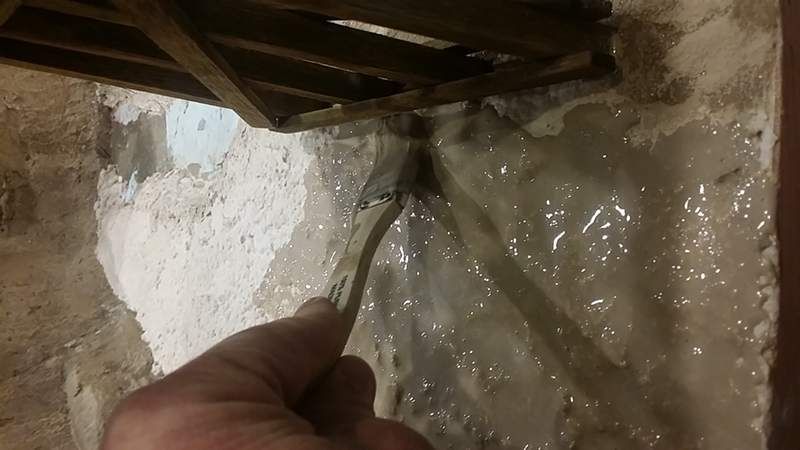
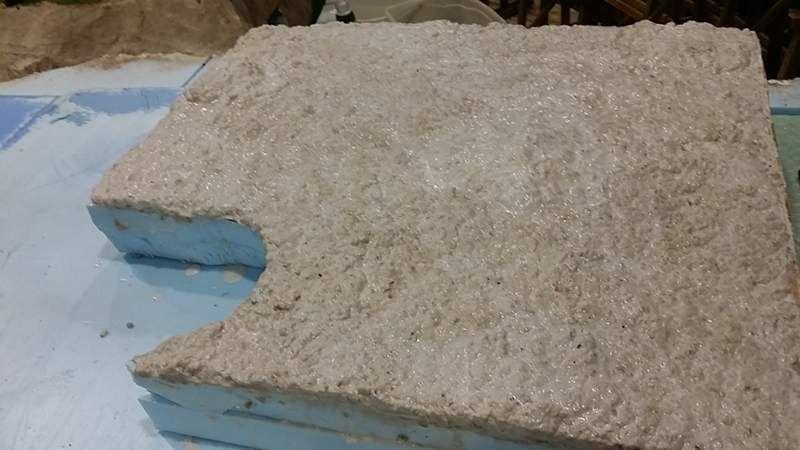
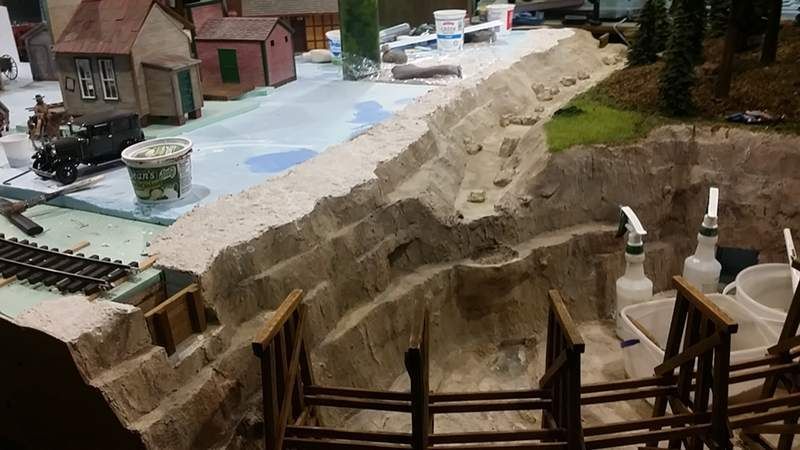
Next I went back and used hydrocal to coat the foam rock in the creek. I actually used the Zip texturing because it is mostly hydrocal with color pigments added. I rubbed it into the foam and once set up it will be very hard. I will still have to add color to the rocks…
Hope the lift out works. I will have to tackle that in a couple of corners. Though I think instead of lift outs they will be hollow mountains I can just reach up into.
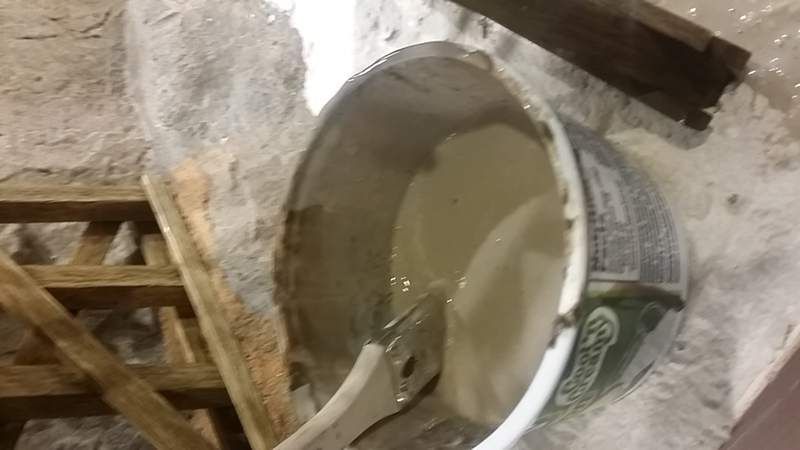
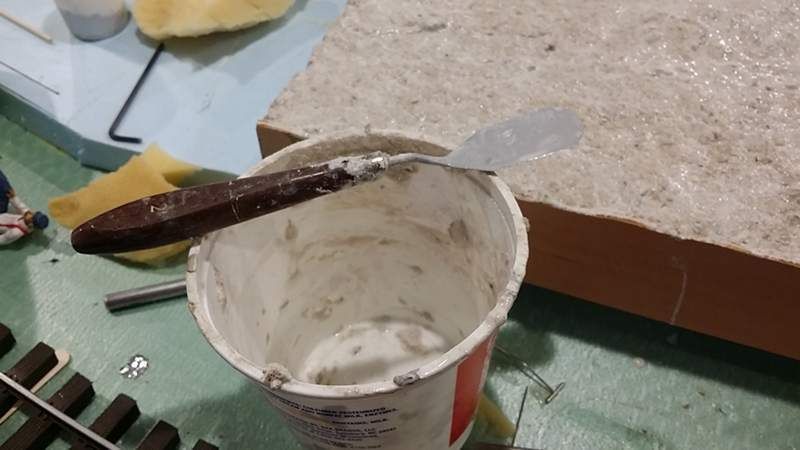
Well next I wanted to go ahead and cover the top of the lifout . I am using the sculptamold to cover the top. once dry I can match the area around it. I did once again paint the whole area with glue before applying the sculptamold… As I covered the lift out i made sure that the edges were nice and sharp…I am also including a picture of my favorite tool to apply the sculptamold…
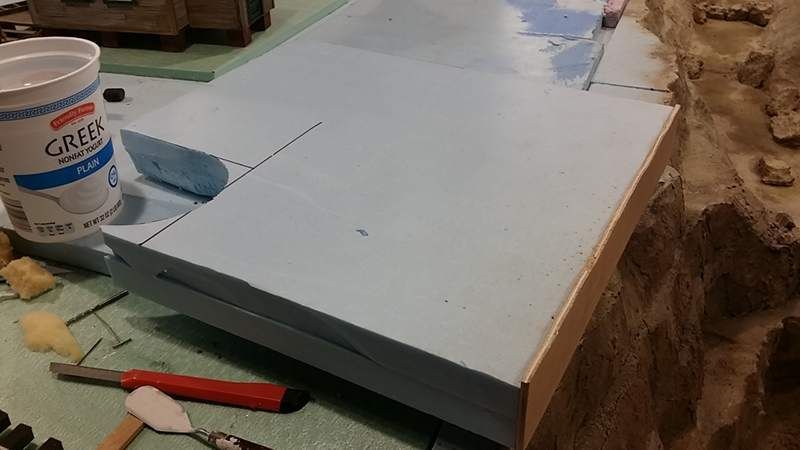

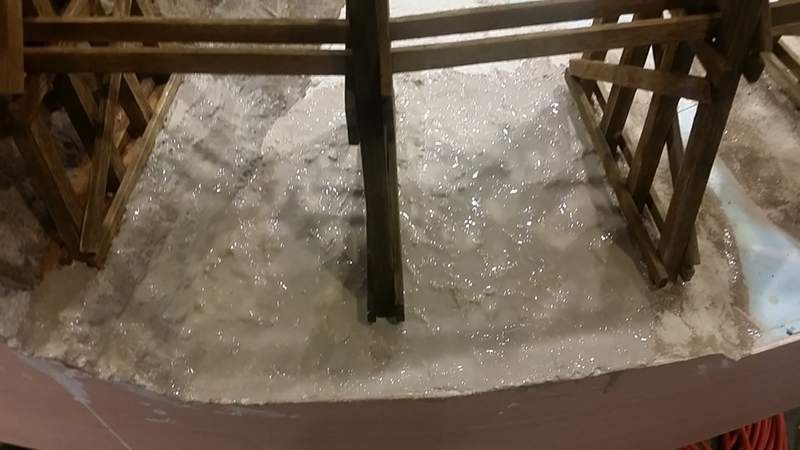
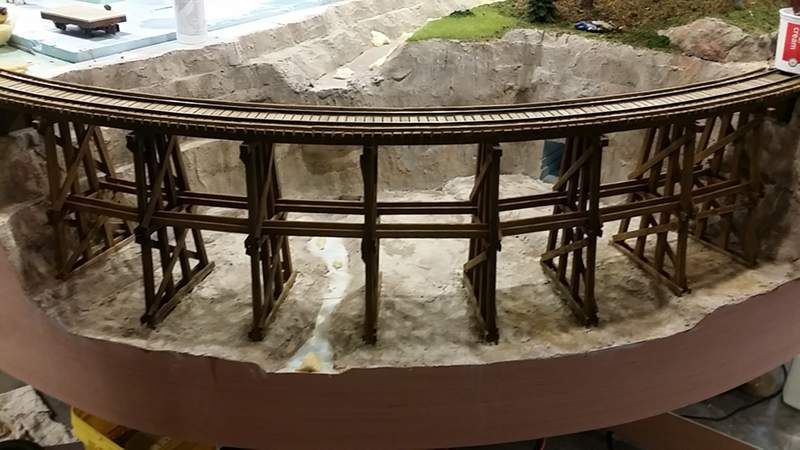
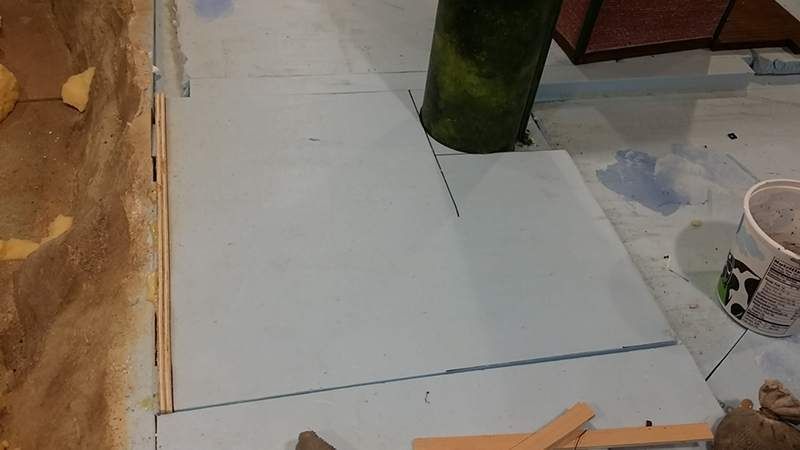
Here is the lift out dry and back in place…
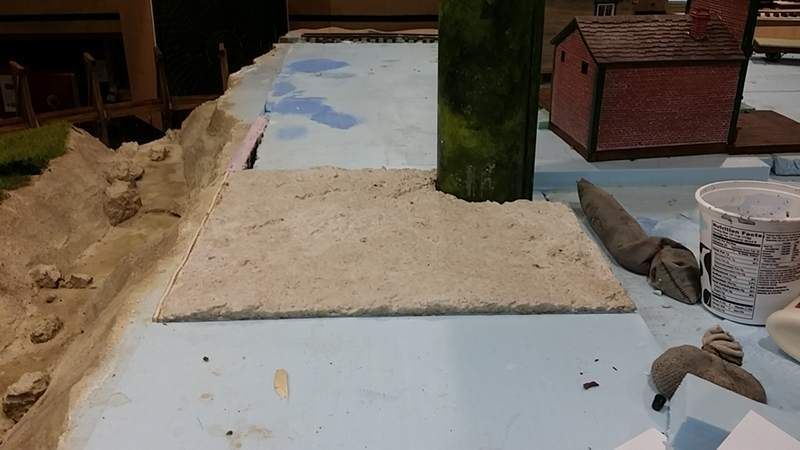
I may build this area up a little higher but as long as I get the edges done I can worry about that at a later time…
ty
I can’t work on the creek until I am sure that I won’t get any more ground color down into the creek itself. So I figured i would go ahead and do the firt couple inches of the upper bank in ground cover so not to mess up the creek…

Coming right along. I am envious. I want to get to building. After completing the MIK challenge I reallt want a spot for that engine house. But I promised the wife to finish the bathroom and dining room additions we started 7 years ago. Something about need a pesky rail so we don’t fall down the stairs. Once I have that done I will let myself start my indoor. Until then I will live vicariously through your build and soak up all the great wisdom.
Devon,
I know how you feel. I have had to put off things for honey doos too. It just makes me work faster. DID you finish your engine house in time?
Ty
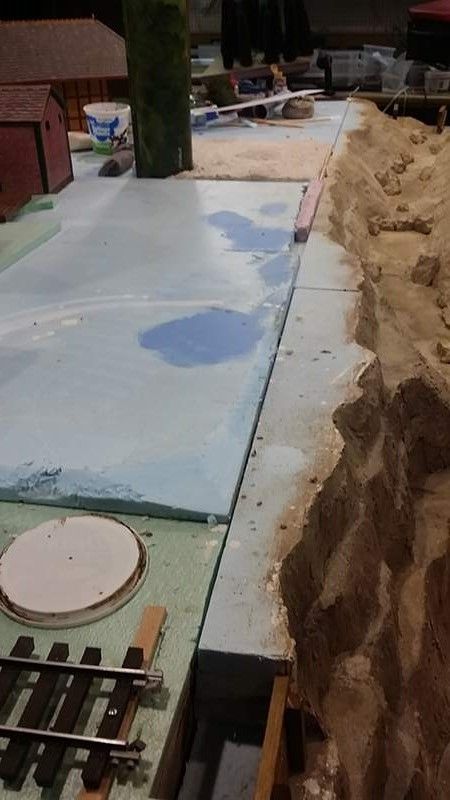
Well I did not take a picture of it but i added the Zip texturing to the newly sculptamold area. I then started to prepare the area around the lift out for the ground cover. I had to add foam to the area and then behind the lift out.
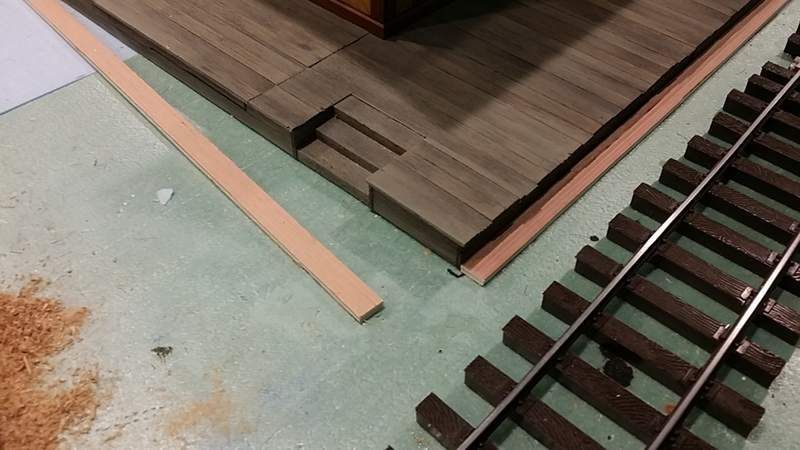
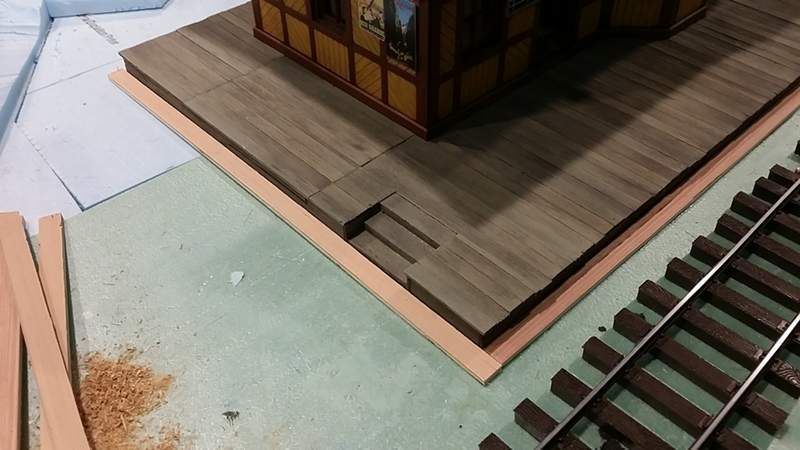
Also the Station is going right in the same area. So before I can add the ground covering I have to make the location permanent for the staion and base to set in. This is the way I do all of my of my buildings so they are lift out. Some of them are used on my modular and its just easier for my wife to pull all of this apart when I am gone…
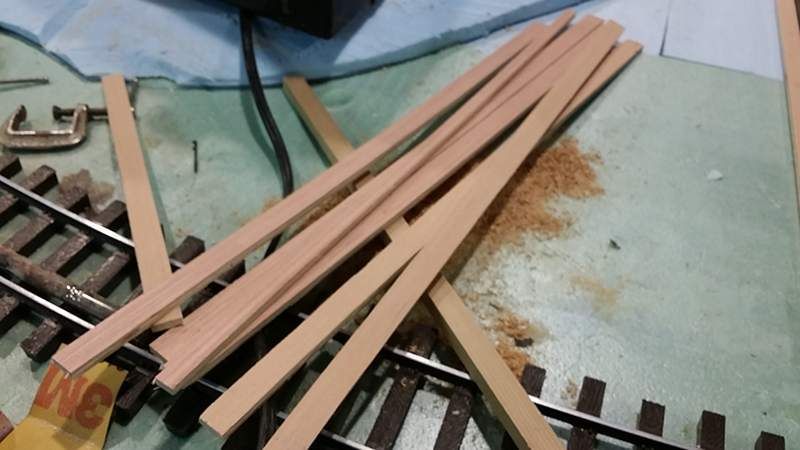
I cut 1/4" luan into 1/2" strips . I then set the building into the place it should be. I then glued the strips to the foam tightly against the base of the building. you should put cling wrap between the building and the strip of wood so you don’t glue then together. I use 5 minute epoxy to speed things up.

Finished is a relative term. I finished it mostly. Still needs Some detail work. But for the most part yeah.
Great layout Ty!! I love the landscaping techniques used on an indoor layout. Look forward to watching your progress.
I can’t find where I ever posted my video about the home Sculptamold. So here they are.
Watch “Home made scupltamold” on YouTube
https://youtu.be/fqq5k-h9Iwk
Watch “Homemade Sulpt a mold follow up…” on YouTube
https://youtu.be/kX16CHUTfCY