Large Scale Central

Modifying my Bachmann Davenport

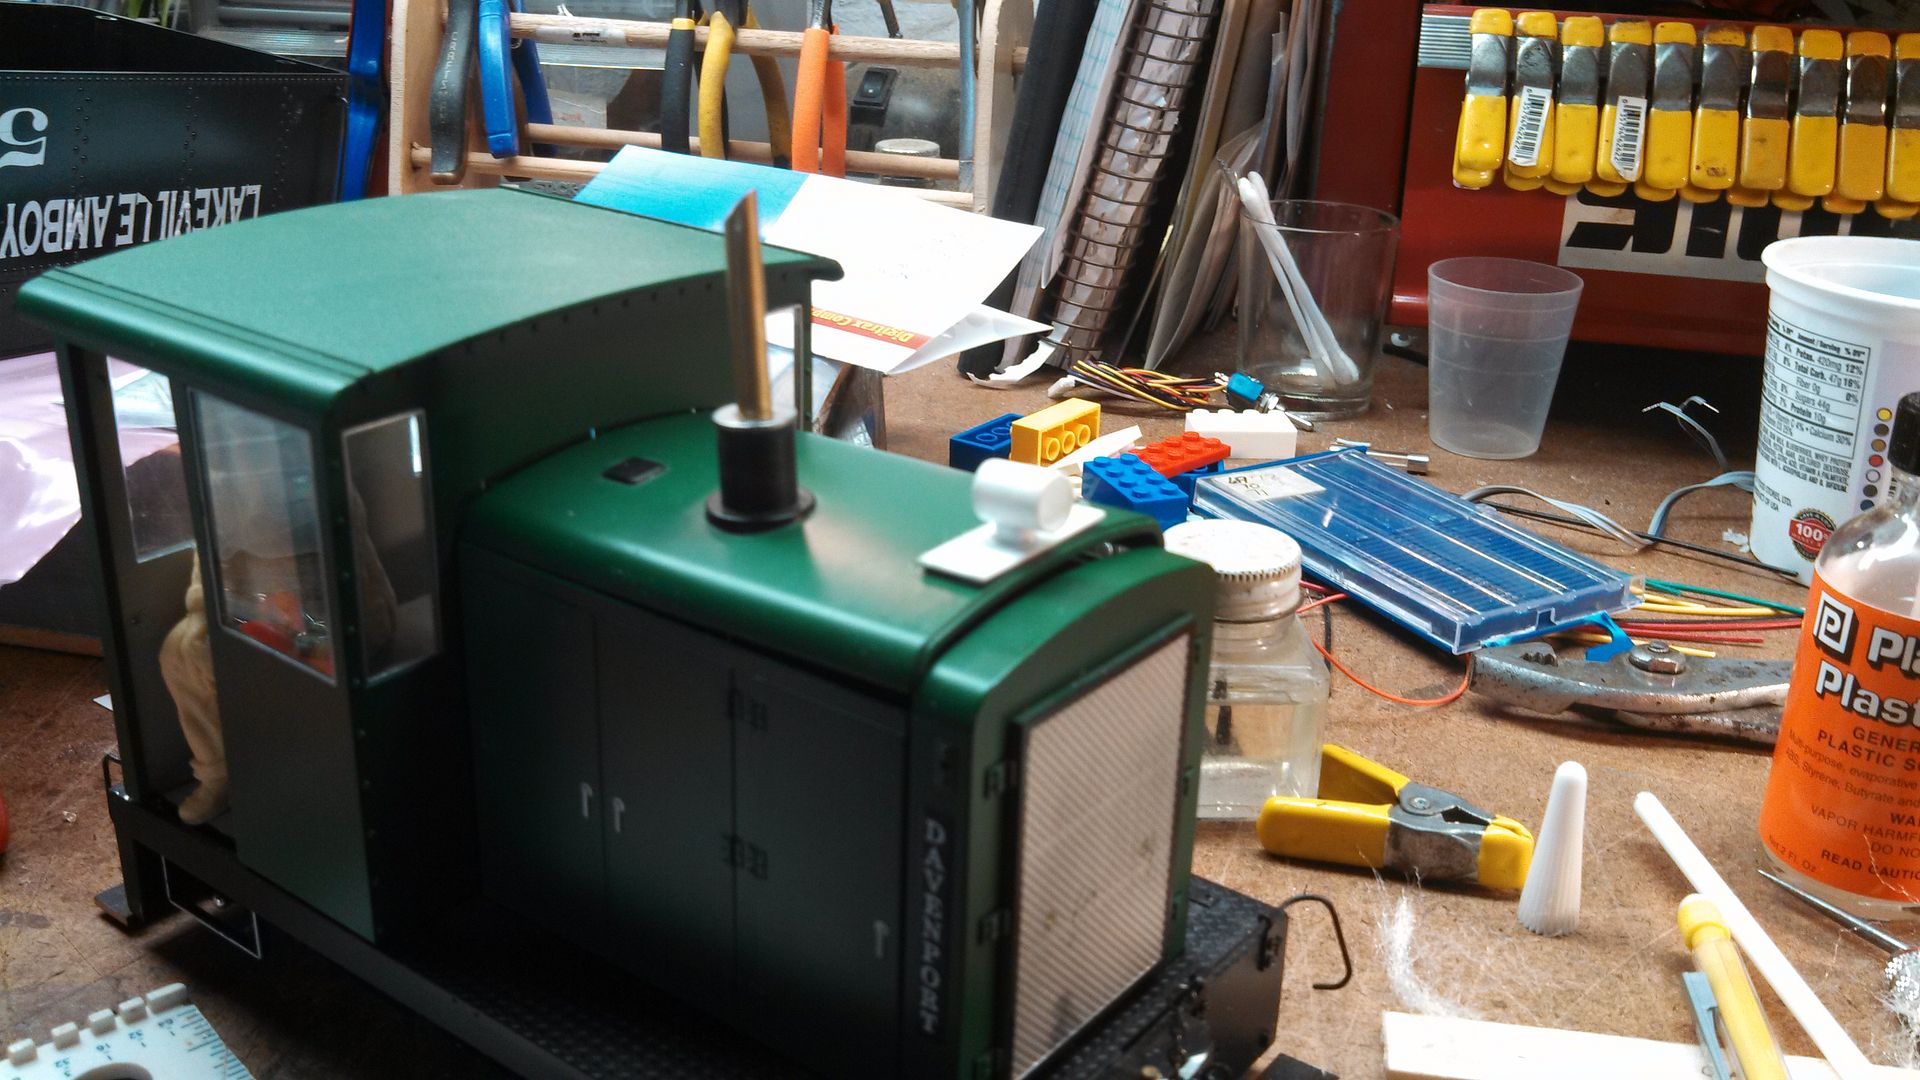
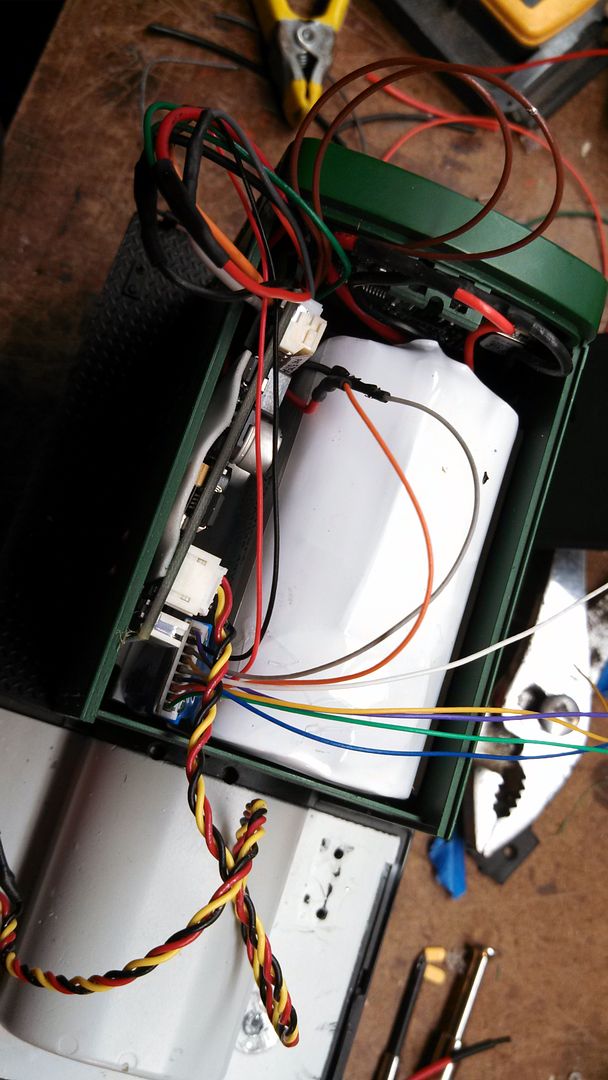
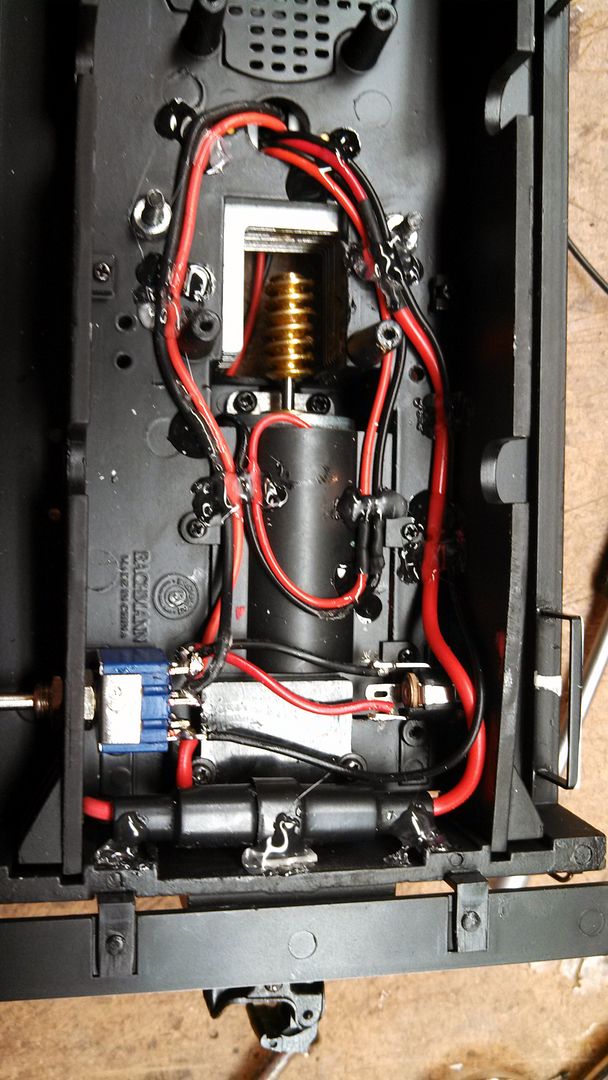
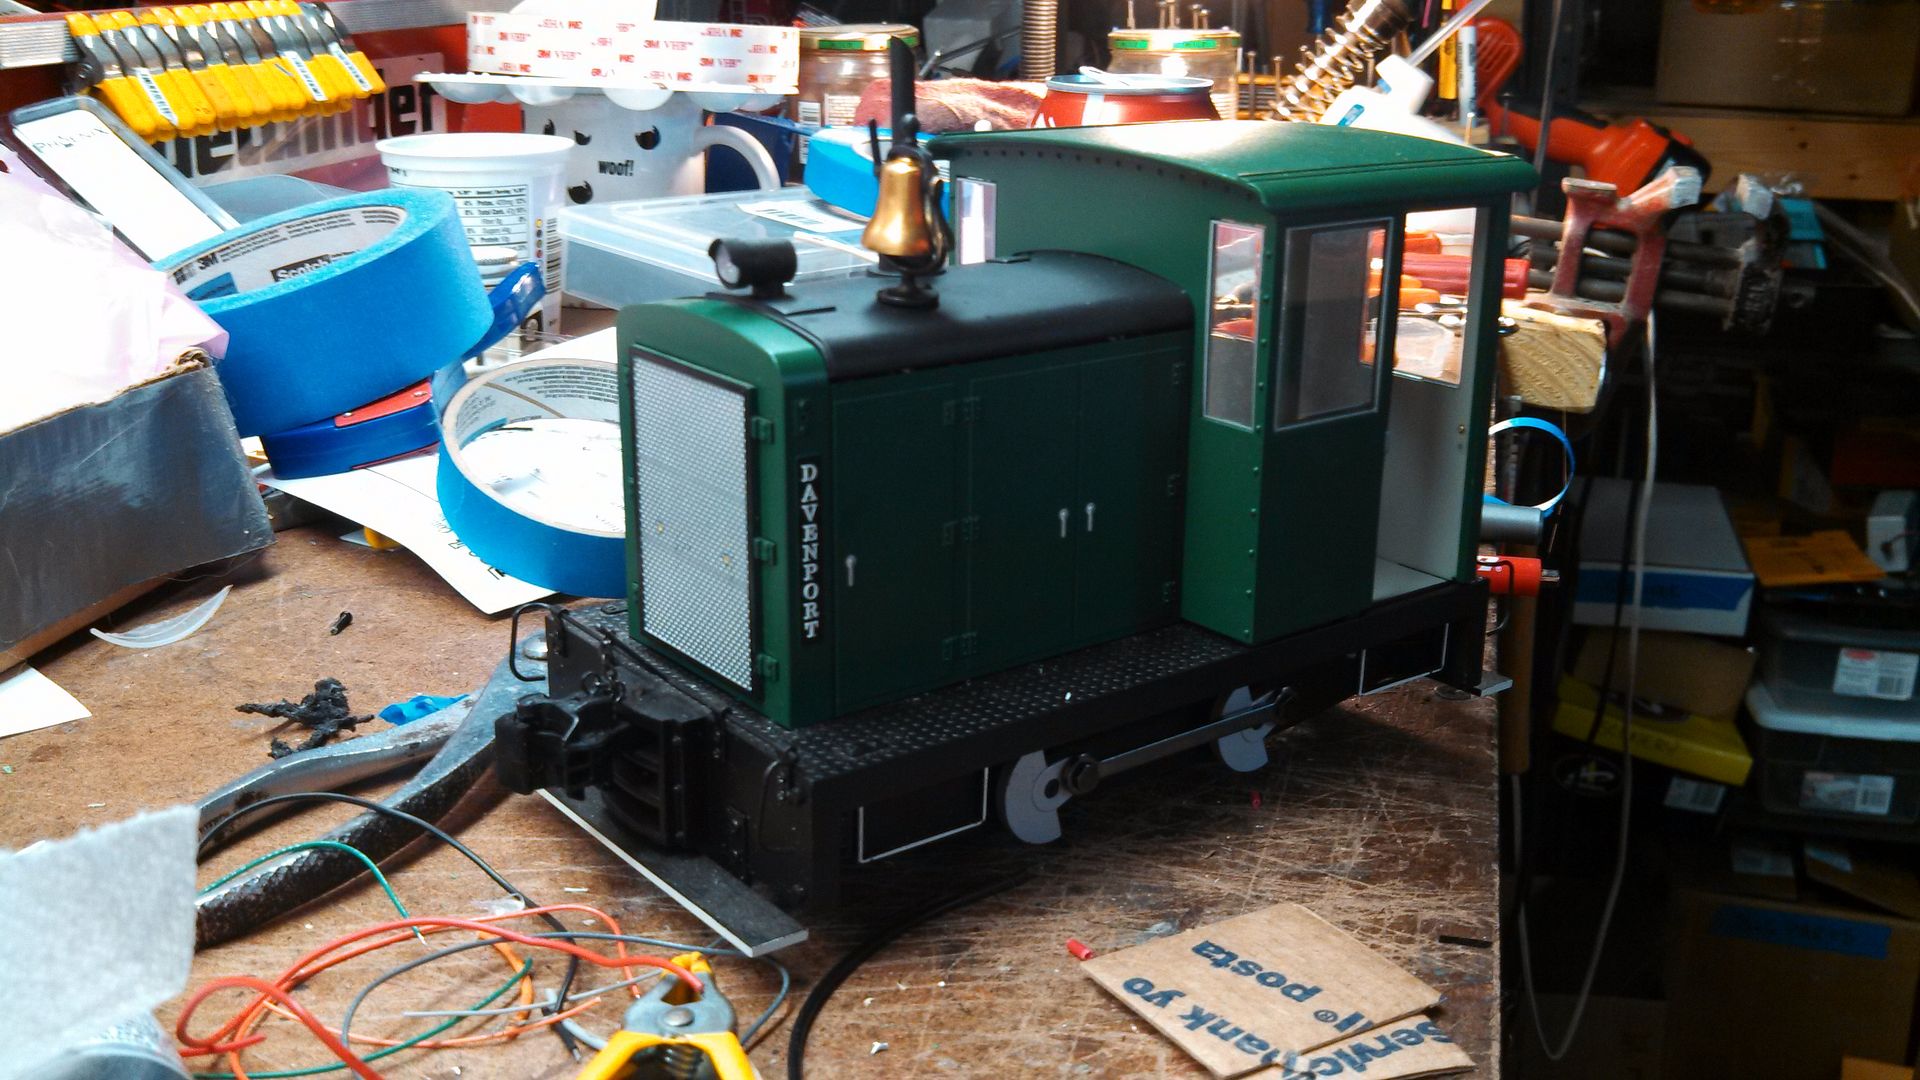
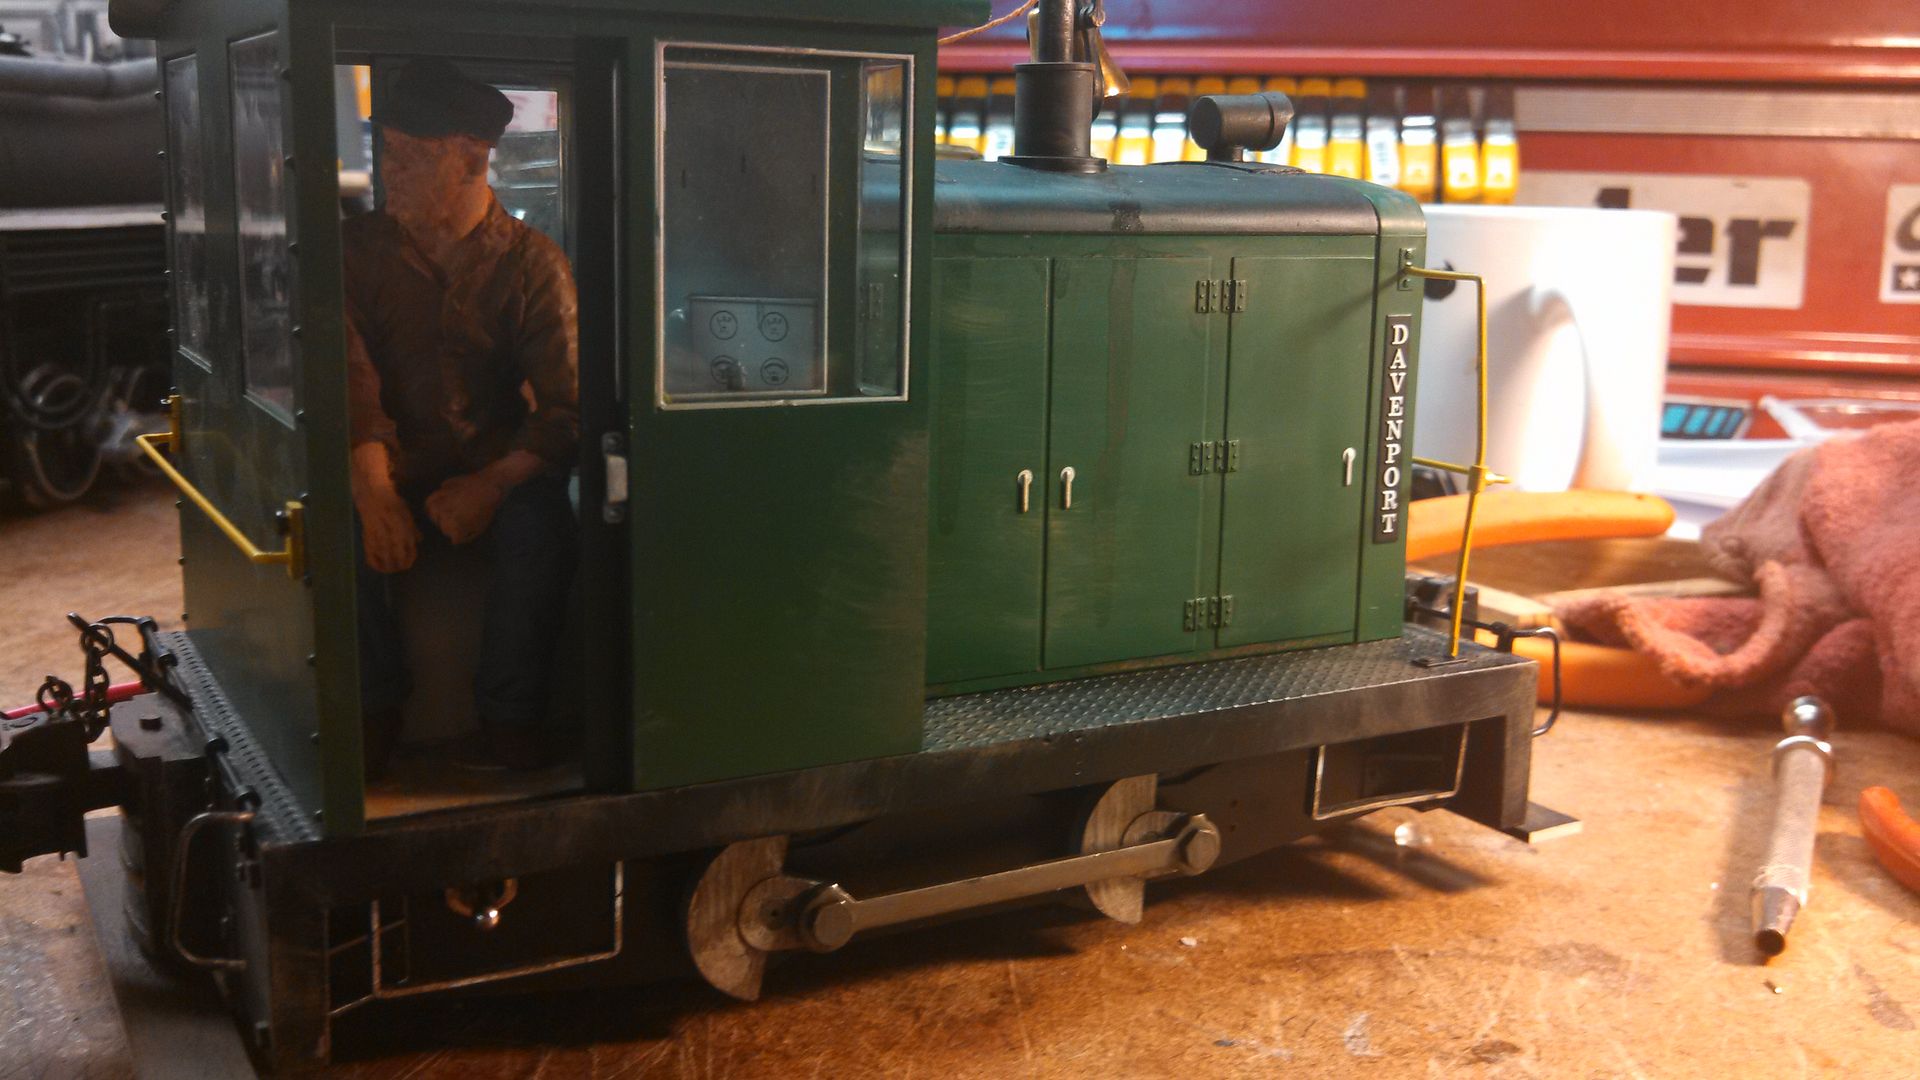
I started another thread asking about R/C for my davenport. I figured that out so now I figured I would share my adventure in modifying my Davenport.

I’m waiting on parts to come in so I figured I would start on couplers. The standard 830 doesn’t fit and you can’t do the normal Bachmann link and pin pocket conversion like you can the shay or climax.

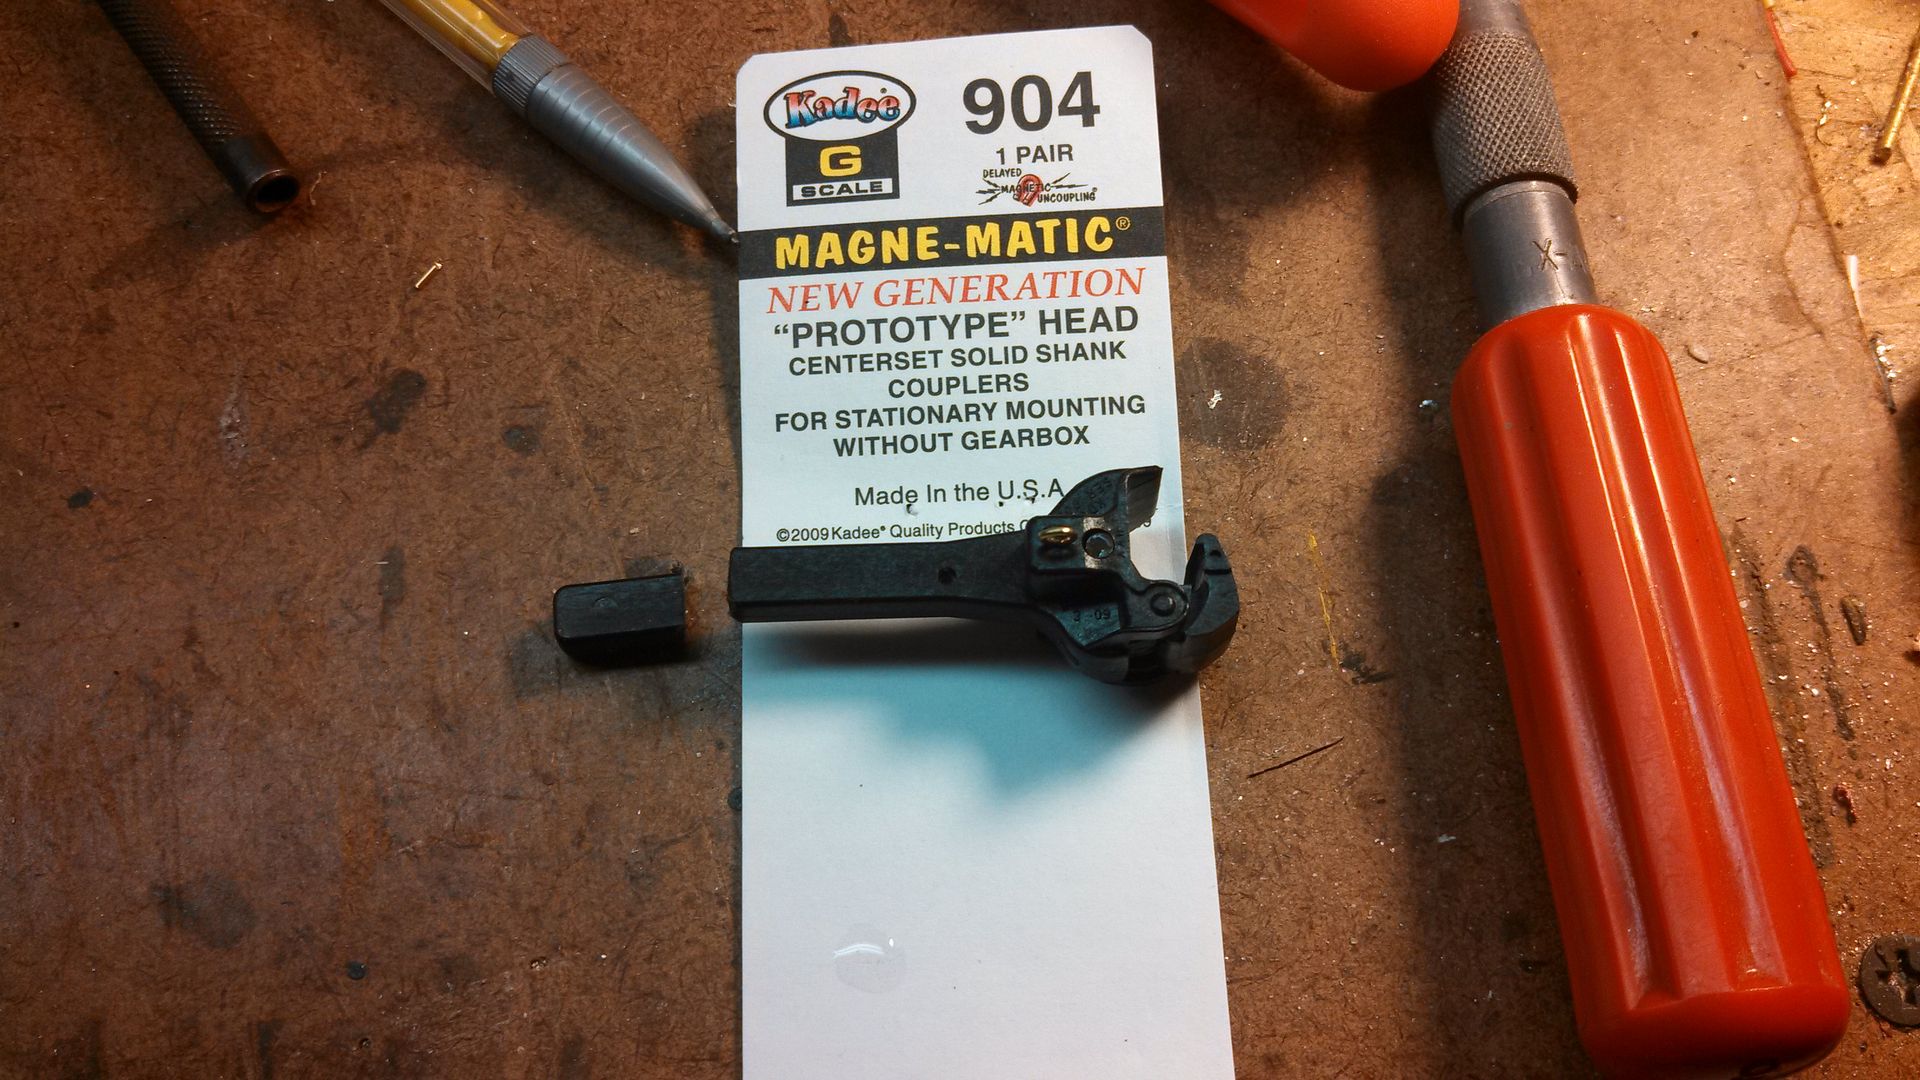
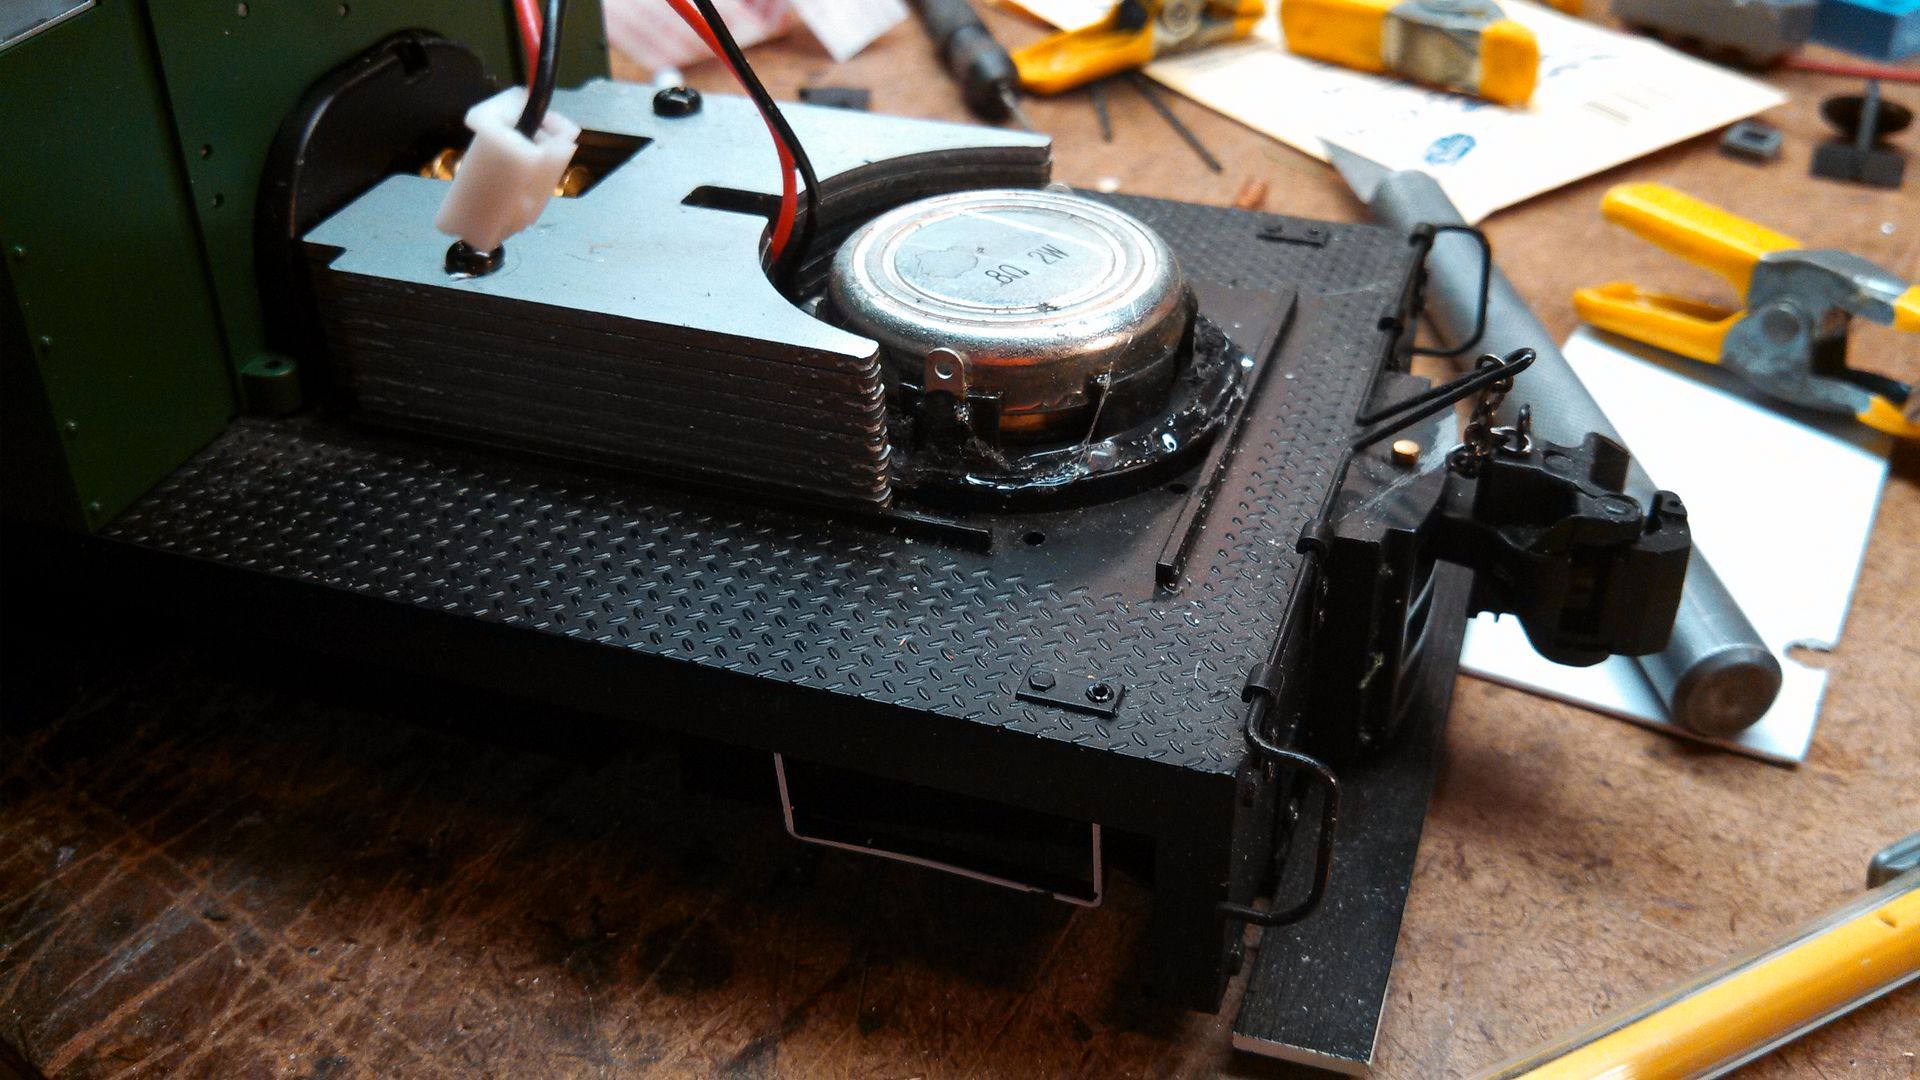
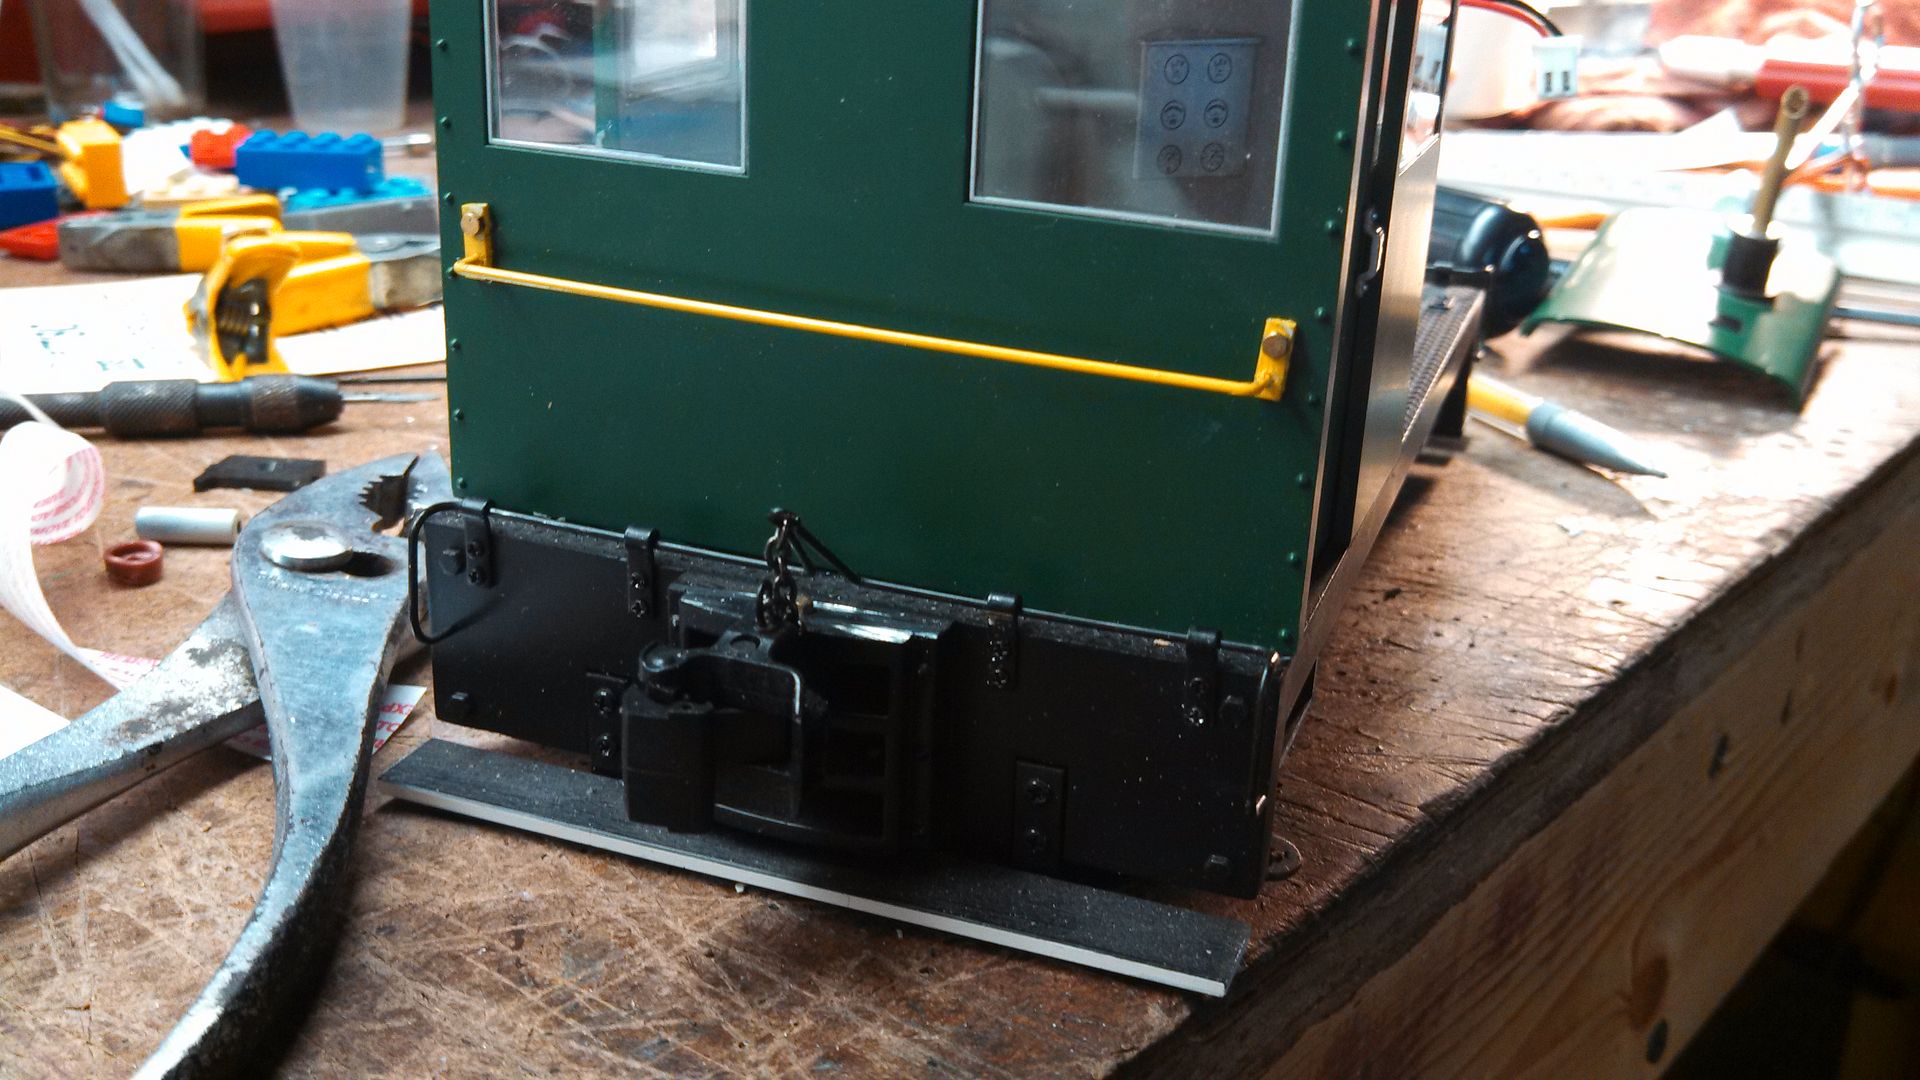
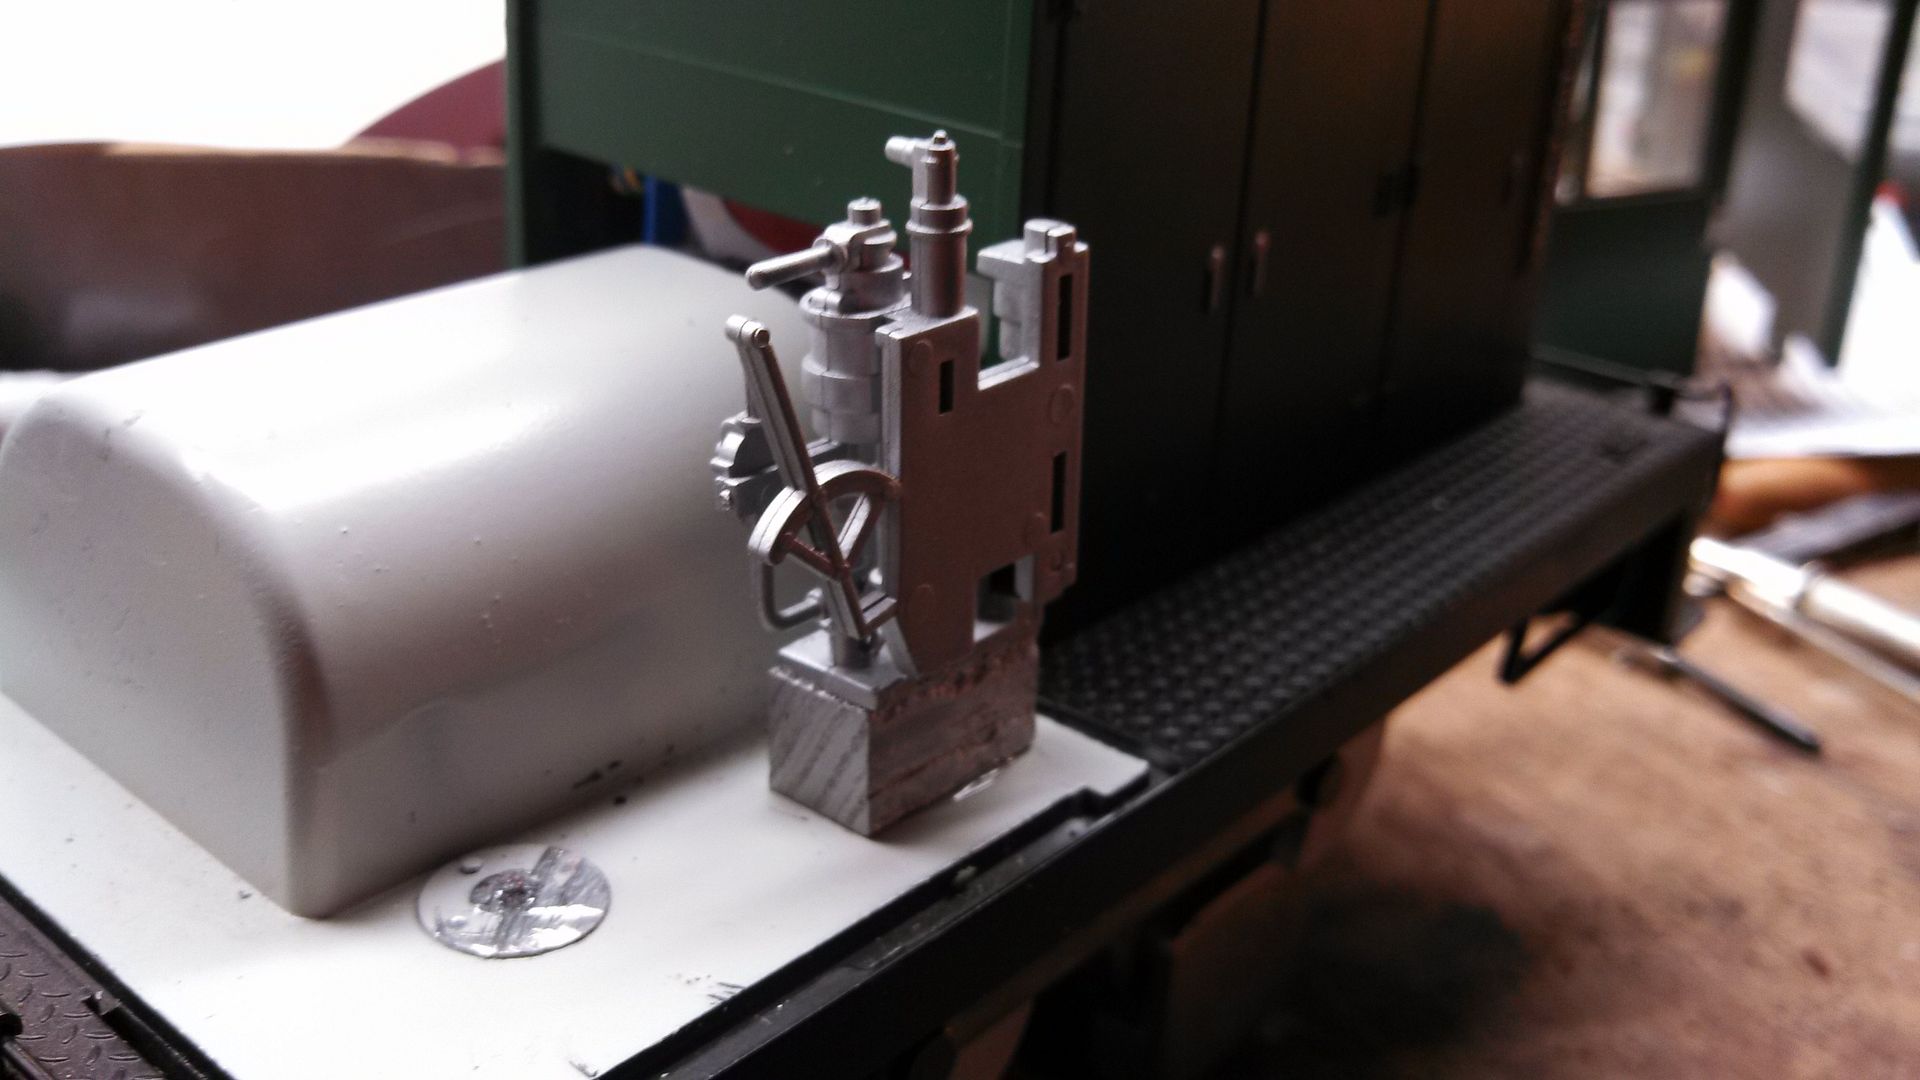
So, I started with a Kadee 904. I trimmed the end off so it wold fit in the draft gear box. I also remove the trip pin from my kadees. The Brass eye pin was put in by accident, the bachmann coupler lever chain has a pin on it.

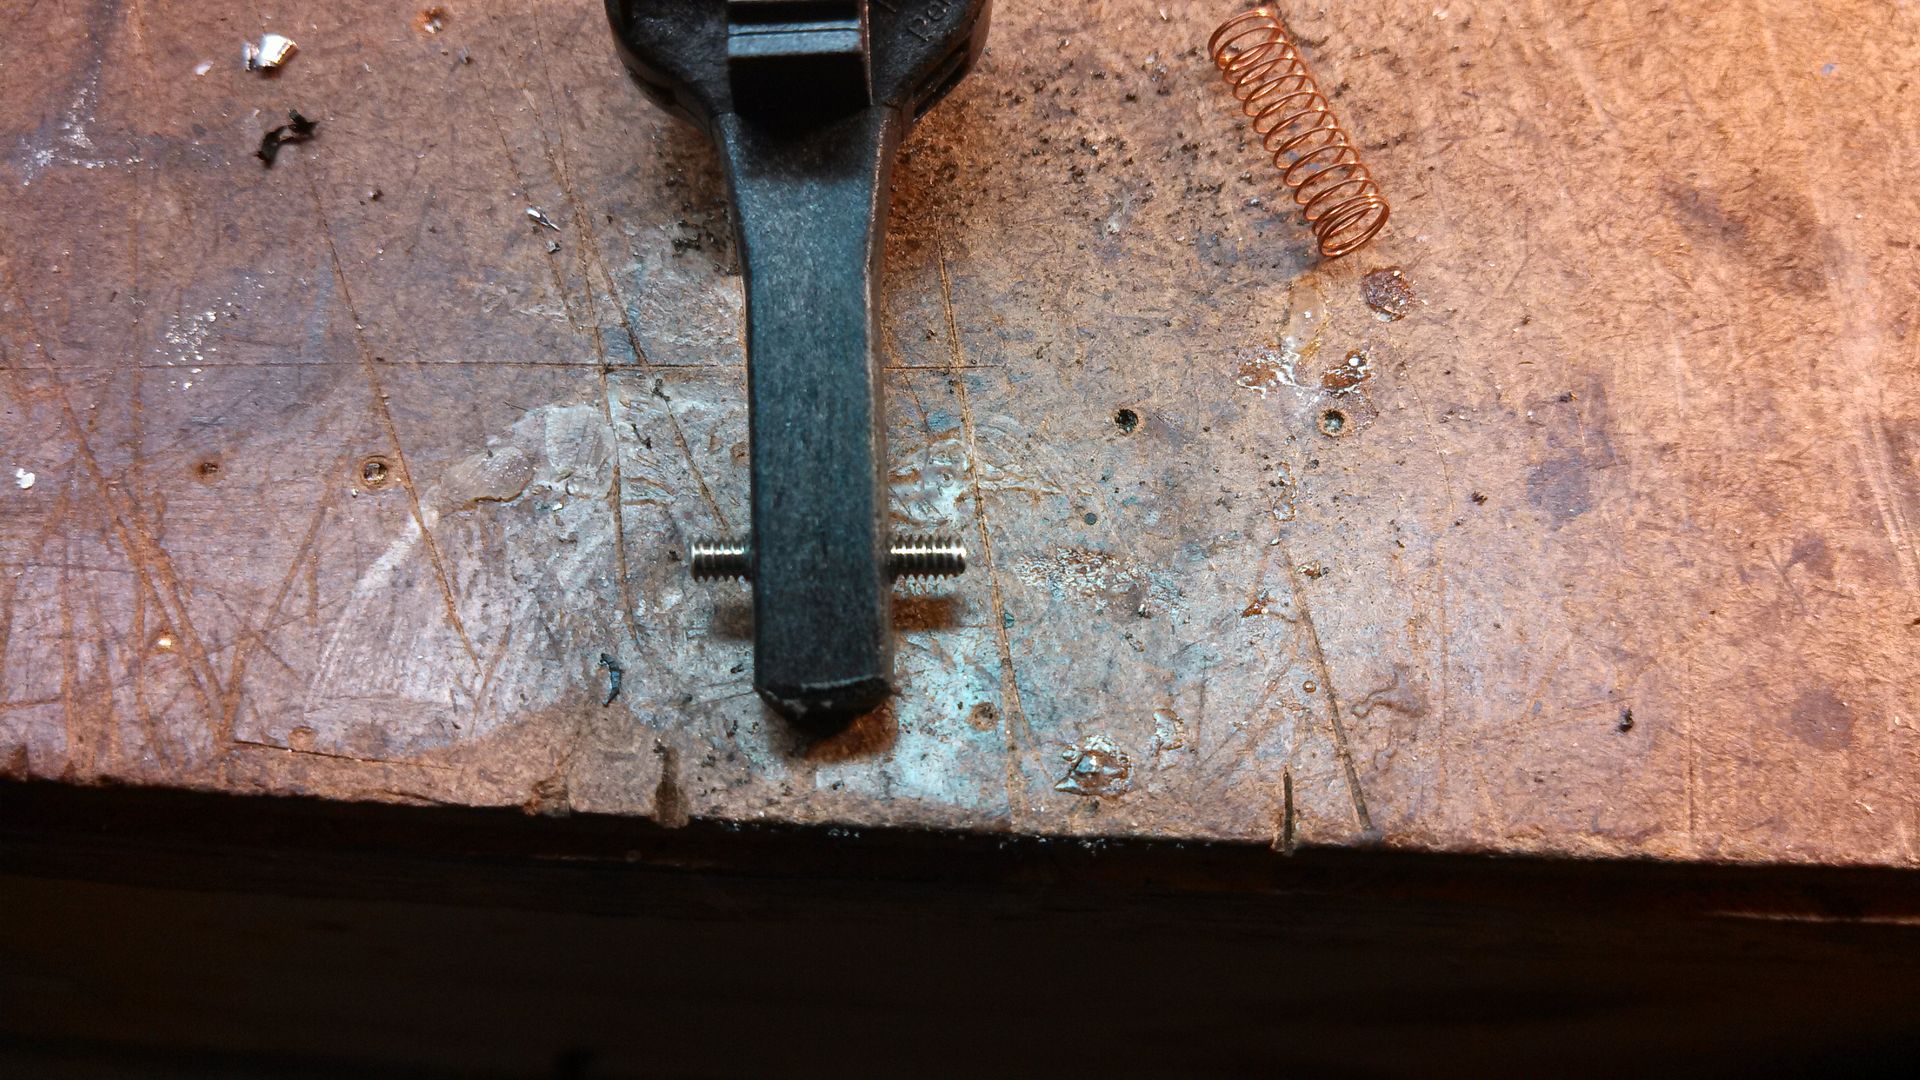
Next I drill and tap a hole for 2/56 threads. i use the kadee flat head screws and just cut the head off. I then used CA glue and attached spare coupler springs over the screw. I also drill an 0-80 clearance hole in the shaft of the coupler.

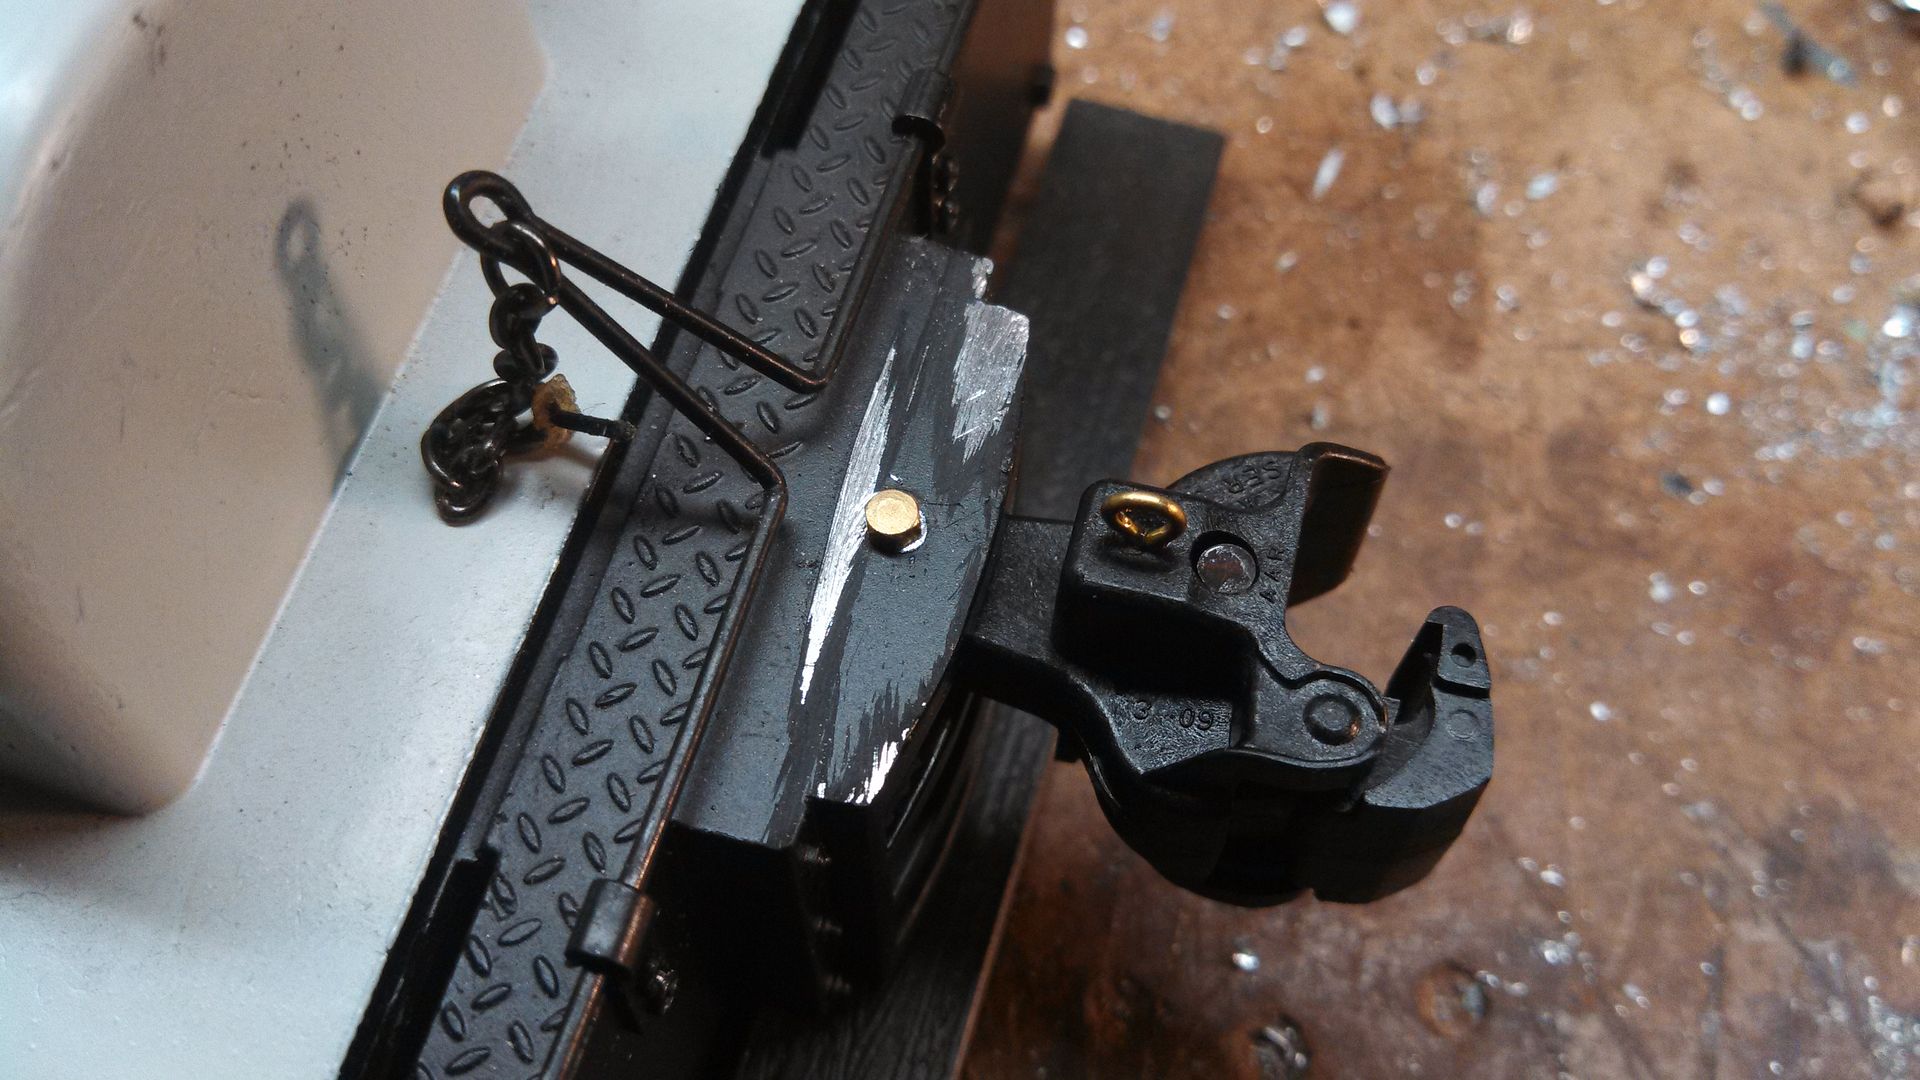
To mount the coupler I trimmed off the fake pin and drilled and tapped a hole for an 0-80 bolt. The bolt goes through the clearance hole I drilled.

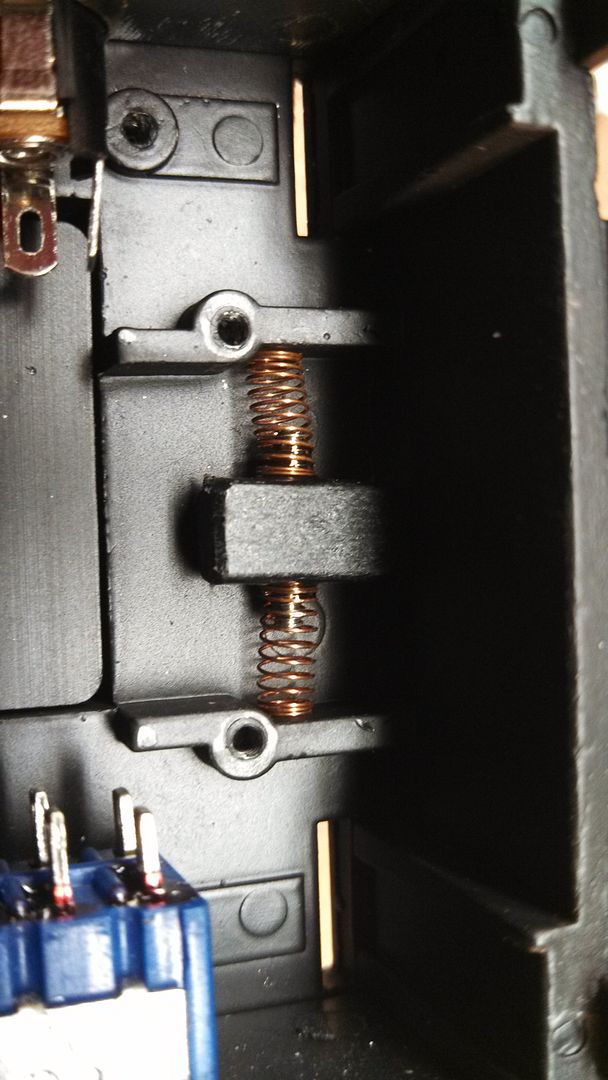
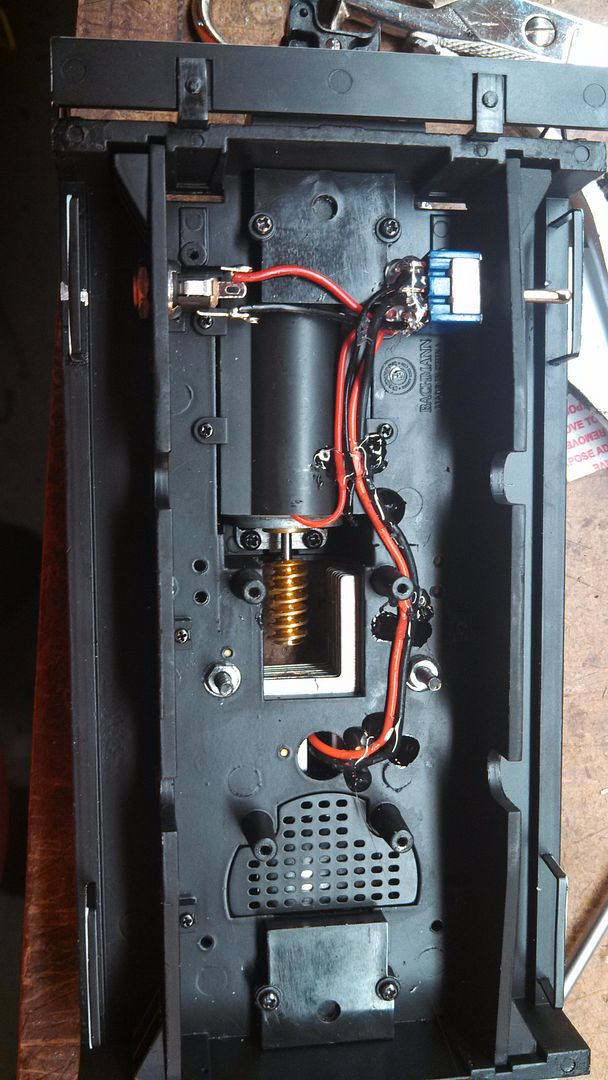
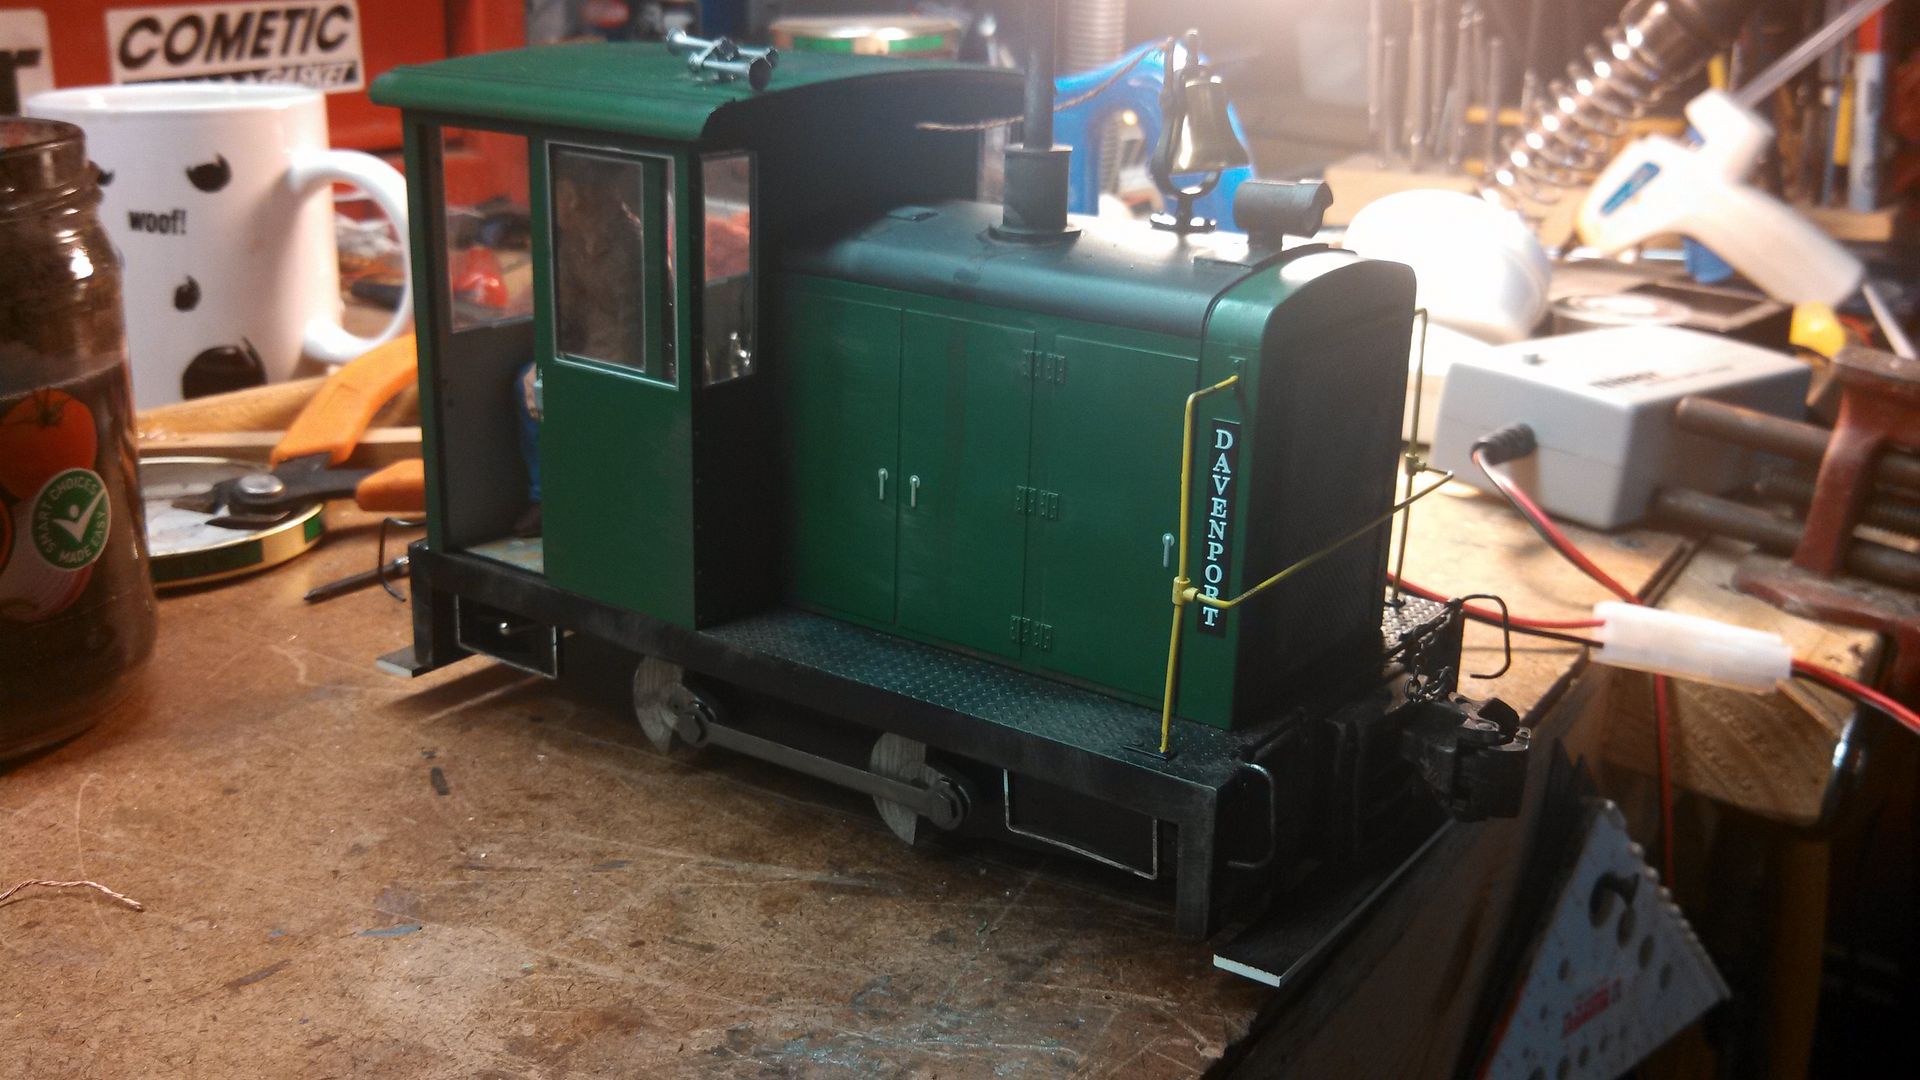
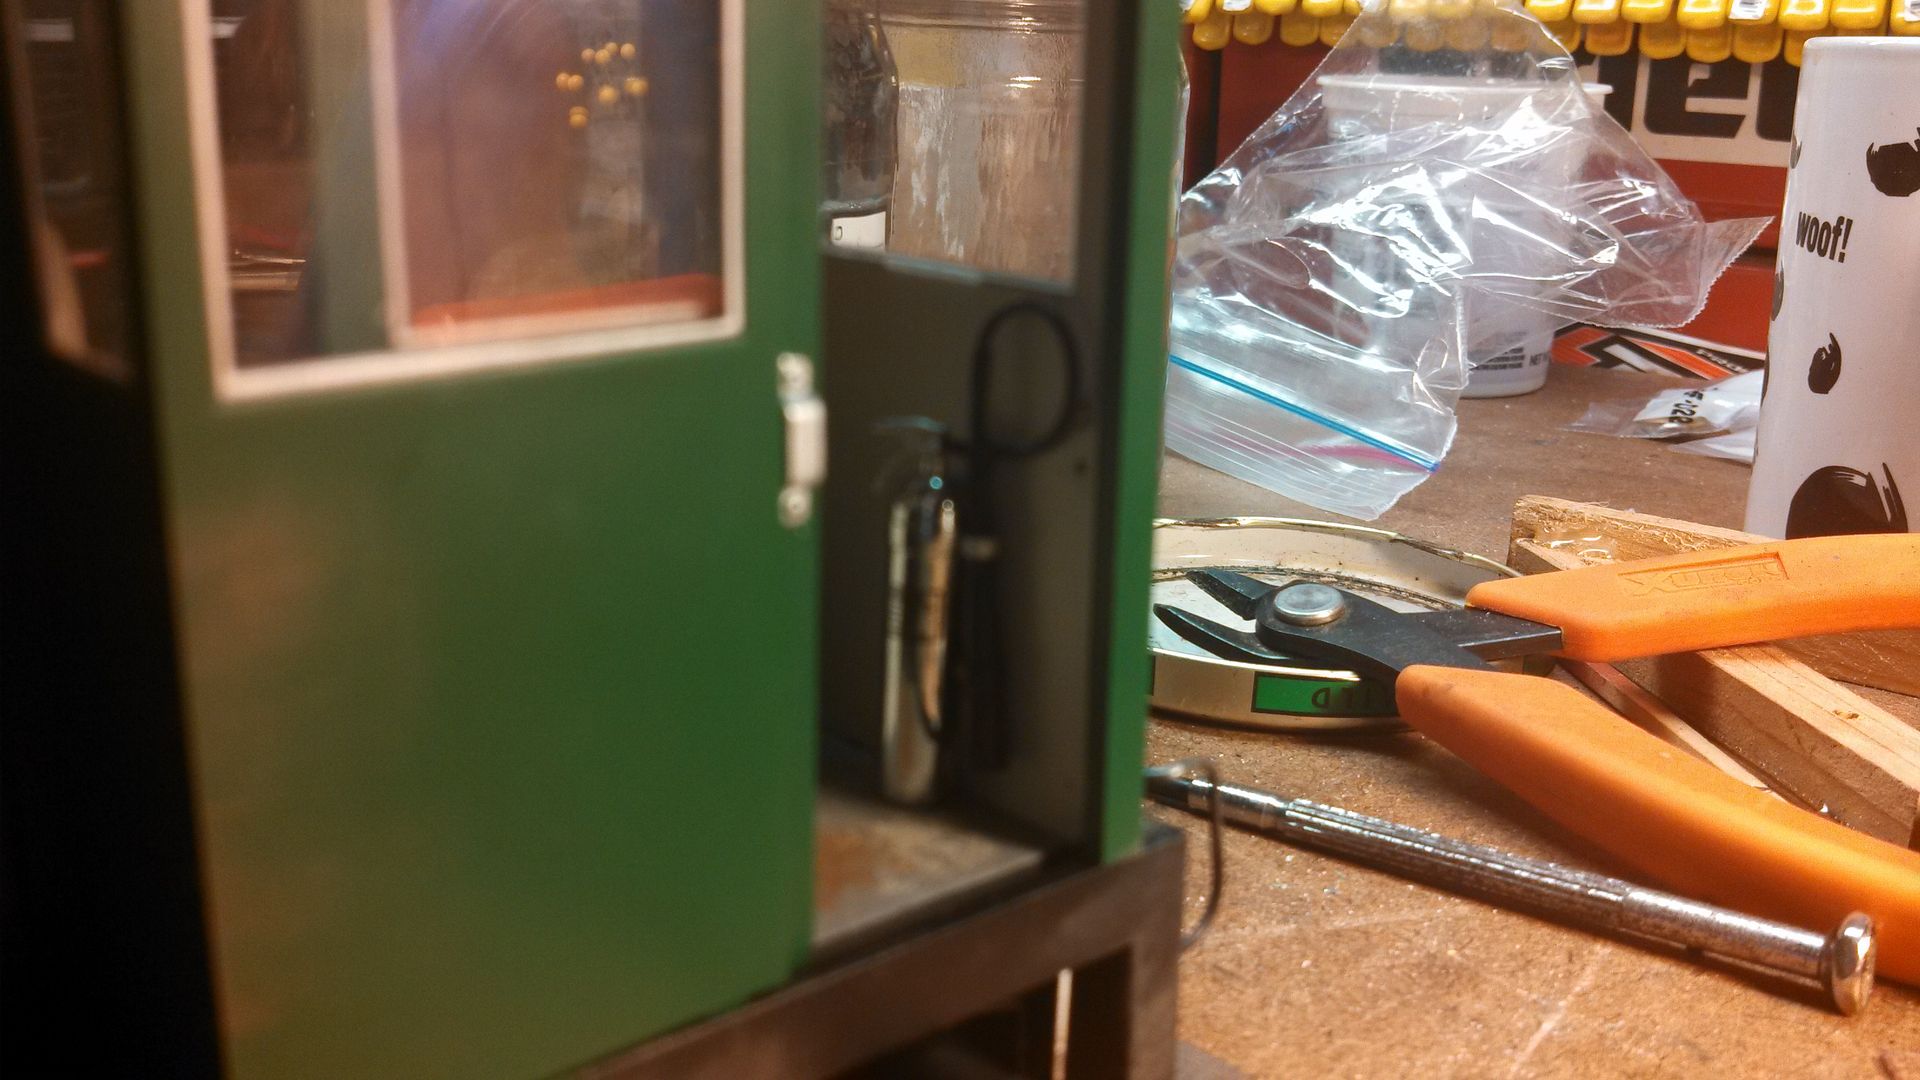
This is what it looks like underneath before the draft box is covered

More to come…

Terry

edited because i can’t spell

Nice work and good idea.

Great idea Terry. I shall file that in my little bag of tricks.

Terry,

All the pics are gone!

Catastrophic photobucket event…
I’ll fix it.

Terry

Thanks Terry.

Looks good

Some more work…

Here’s the engineer. I think he’s a nice fit.

(http://i73.photobucket.com/albums/i231/paintjockey/Davenport%20Mods/IMG_20140328_144056_297_zps60f445aa.jpg)

(http://i73.photobucket.com/albums/i231/paintjockey/Davenport%20Mods/IMG_20140328_144124_409_zps8f890150.jpg)

(http://i73.photobucket.com/albums/i231/paintjockey/Davenport%20Mods/IMG_20140328_144132_511_zpsf6d03ce8.jpg)

Headlight and exhaust mods:

The test fit:

(http://i73.photobucket.com/albums/i231/paintjockey/Davenport%20Mods/IMG_20140328_150319_528_zpsf0eb8ea8.jpg)

(http://i73.photobucket.com/albums/i231/paintjockey/Davenport%20Mods/IMG_20140330_091504_785_zps48952333.jpg)

You can see I also removed the handrail from the grill cover.

More to come…

Terry

Looking good, Terry.

This is looking great Terry. Nice coupler fix.

I like it

very nice,

Some more work-

I made a visor for the headlight

(http://i73.photobucket.com/albums/i231/paintjockey/Davenport%20Mods/IMG_20140403_125300_007_zps34d1ba80.jpg)

The hood painted flat black for glare

(http://i73.photobucket.com/albums/i231/paintjockey/Davenport%20Mods/IMG_20140403_133004_320_zps6d4341fc.jpg)

New wiring to the switch and charge jack

(http://i73.photobucket.com/albums/i231/paintjockey/Davenport%20Mods/IMG_20140403_124600_540_zps797af22b.jpg)

Speaker in place

(http://i73.photobucket.com/albums/i231/paintjockey/Davenport%20Mods/IMG_20140403_114803_953_zpsd871274d.jpg)

Grab rail installed on the back of the cab

(http://i73.photobucket.com/albums/i231/paintjockey/Davenport%20Mods/IMG_20140403_114747_264_zpse9d47d08.jpg)

more to come!

Terry

That’s looking real good, Terry.

I’m working on one too and took your idea for the coupler but I’m using an accucraft instead.

Like Ragu, it’s in there!

Under the hood is a 14.8v LiIon square pack battery, an Airwire Convertr, Phoenix P8, speaker and a digitrax decoder.

(http://i73.photobucket.com/albums/i231/paintjockey/Davenport%20Mods/IMG_20140408_132517_049_zps07b92098.jpg)

The convertr is mounted on the grill, the phoenix on the side. It looks a little different now because the speaker sounded like crap. I had the cone against the body so it was very distorted. I made a small cardboard holder speaker box thing. Sounds great now. But the phoenix is mounted better as well.

I had to redo the wiring underneath as well. I made a simple mistake that took a lot of work to fix. The discerning eye will also notice the charge jack is wired wrong in this picture as well. Fixed that too.

(http://i73.photobucket.com/albums/i231/paintjockey/Davenport%20Mods/IMG_20140408_113346_053_zps1f20dd7f.jpg)

All closed up with the new bell mounted on the hood.

(http://i73.photobucket.com/albums/i231/paintjockey/Davenport%20Mods/IMG_20140408_144026_329_zpse8bb55bf.jpg)

I added a block under the controls to raise them up.

(http://i73.photobucket.com/albums/i231/paintjockey/Davenport%20Mods/IMG_20140408_145047_284_zps4a4c2c14.jpg)

When I turned the loco on it shot across the work bench at full speed. Apparently if it the controller wasn’t on and on the right freq and address the decoder would stay wide open but the sound was at idle. I read on someones blog that there was an option that needed to be turned off on the decoders to work with the convertr. I couldn’t find it. I proceeded with programming, changing the freq and address. After doing this the loco no longer has the run away effect. I don’t know why but now it works like a charm. I’m curious to see how the digitrax decoder holds up in actual use. I only paid $12 for it so if it craps out i’m not too worried.

I started painting the engineer and detailing the loco. So, more to come.

Terry

Looking really good, Terry.

Where did you get the engineer from?

I get most of my figures here http://www.scalehumans.com he has some pretty nice stuff. Different scales to.

Terry

For the most part i’m done.

I did a little bit of light weathering. The loco is supposed to be fairly new so I didn’t want to grunge it up too bad.

(http://i73.photobucket.com/albums/i231/paintjockey/Davenport%20Mods/IMG_20140409_151721_103_zps2a7437d1.jpg)

Here’s the engineer

(http://i73.photobucket.com/albums/i231/paintjockey/Davenport%20Mods/IMG_20140409_151741_518_zps62fd3a8c.jpg)

(http://i73.photobucket.com/albums/i231/paintjockey/Davenport%20Mods/IMG_20140409_151755_818_zps95da2f7c.jpg)

I found a fire extinguisher in my parts box so I added that as well

(http://i73.photobucket.com/albums/i231/paintjockey/Davenport%20Mods/IMG_20140409_151702_802_zpsf808cecb.jpg)

I’ll take a few more pics of it outside. I want to see how the lil bugger tracks and pulls. For a small loco it sure is heavy, I bet it weighs 5 pounds or so. The drivetrain seems pretty stout too.

Terry

Nice work!