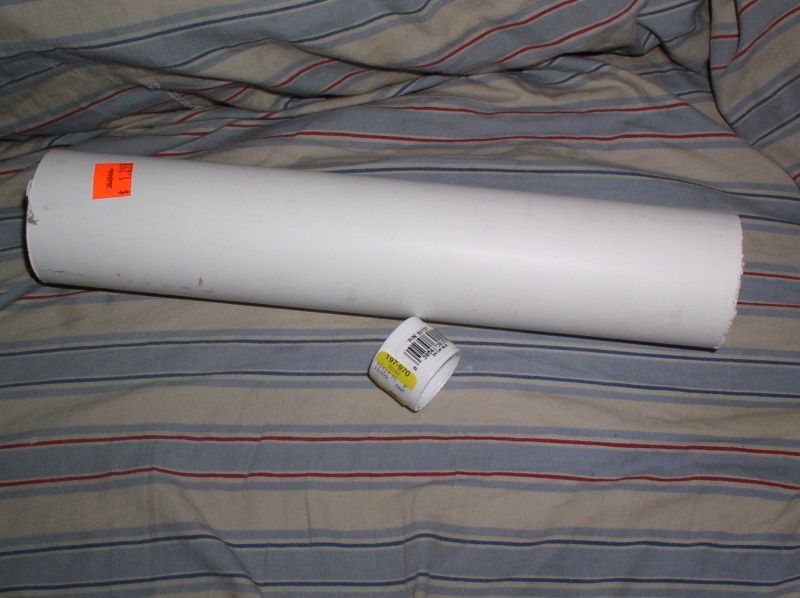
Tip#1 A quick and easy way to get a straight, square line on a cylinder is to wrap it with a sheet of paper. The paper should be big enough to wrap around at least 1-1/2 times (and preferably stiffer than newsprint, I just used it here for contrast)… if the paper is lying flat on the tube surface, and the leading edges line up perfectly, you’ll always get a square line.
(http://i397.photobucket.com/albums/pp52/steamnut1917/P1150010.jpg)
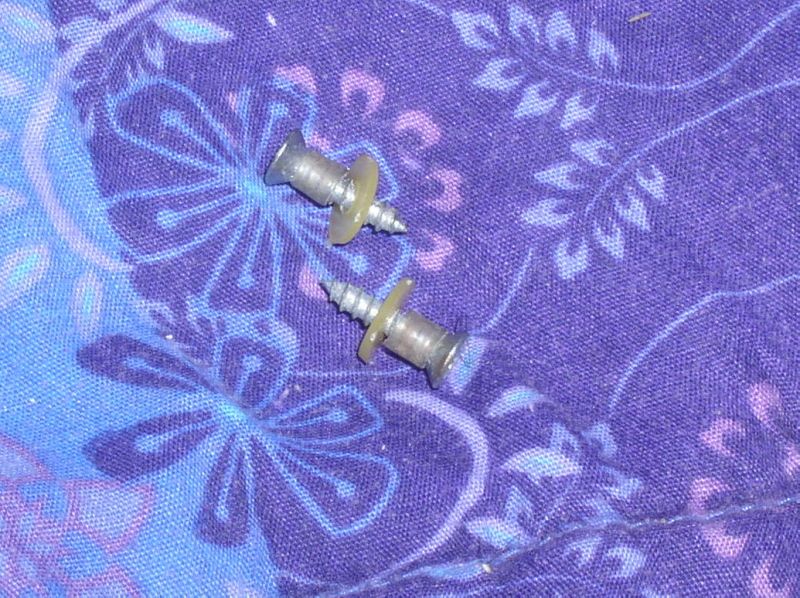
Tip #2 In cases like this where there is no truck mounting stub, (or even where it’s been broken off on a factory car), a bit of 1/4" vinyl aquarium tubing stuck on a wood screw is a low tech, cheap as chips fix. This little trick works with every truck I’ve tried.
(http://i397.photobucket.com/albums/pp52/steamnut1917/P1150008.jpg)
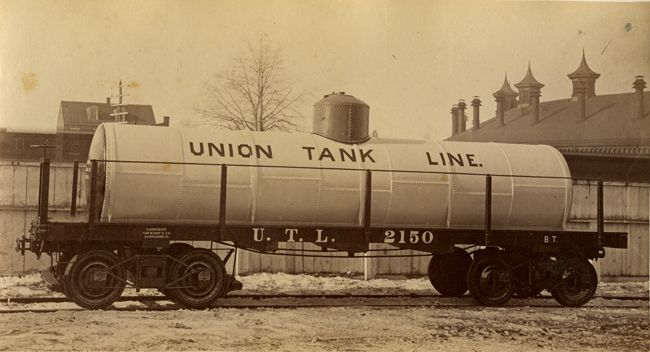
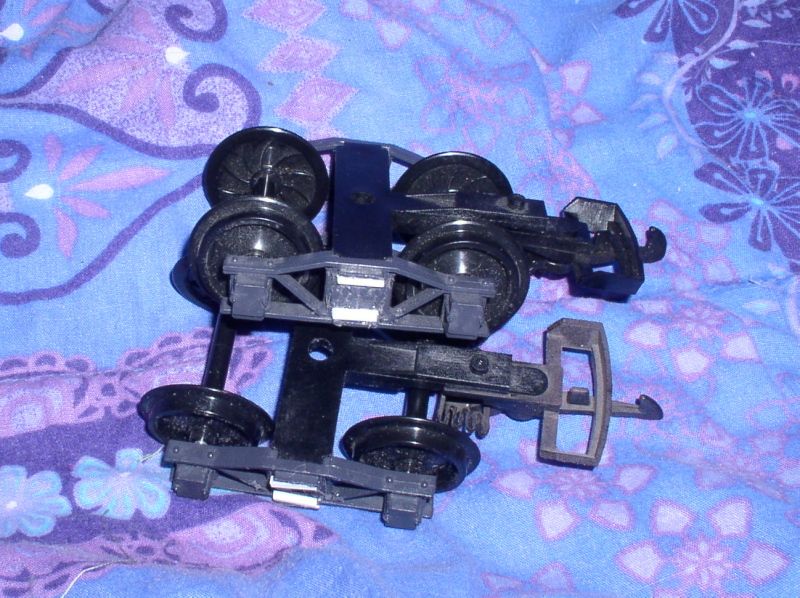
I don’t know why the prototype car was fitted with what appears to be swing action trucks, but I simulated them by milling off the coil spring detail and gluing on two bits of 1/8" square styrene. Once they’re painted few people will notice.
(http://i397.photobucket.com/albums/pp52/steamnut1917/P1150006.jpg)
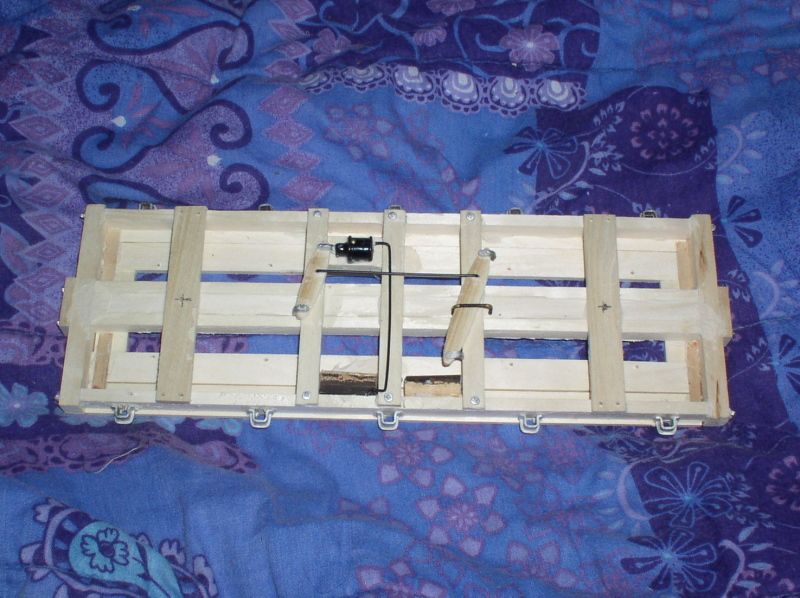
The obvious parts of those 1898 Westinghouse brake were added. The brake cylinder was cut from a junk Bug Mauler frame. The clevises are leftover bits from Ozark Miniatures air hoses, cold bent over my thumbnail. I haven’t decided whether to add bent wire piping yet, but I won’t be adding the truck reach rods because they’ll interfere with the trucks swiveling.
(http://i397.photobucket.com/albums/pp52/steamnut1917/P1150005.jpg)
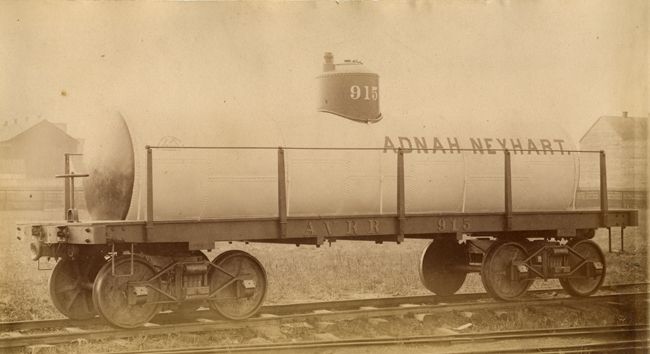
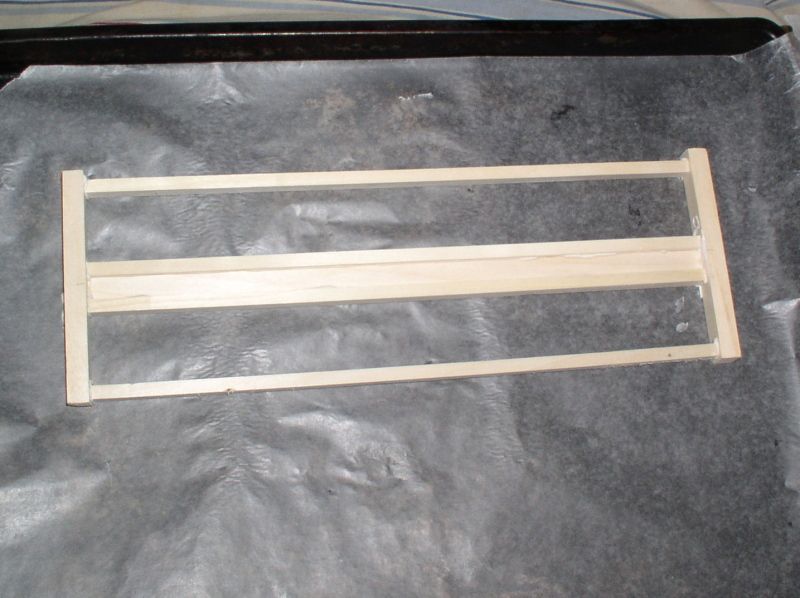
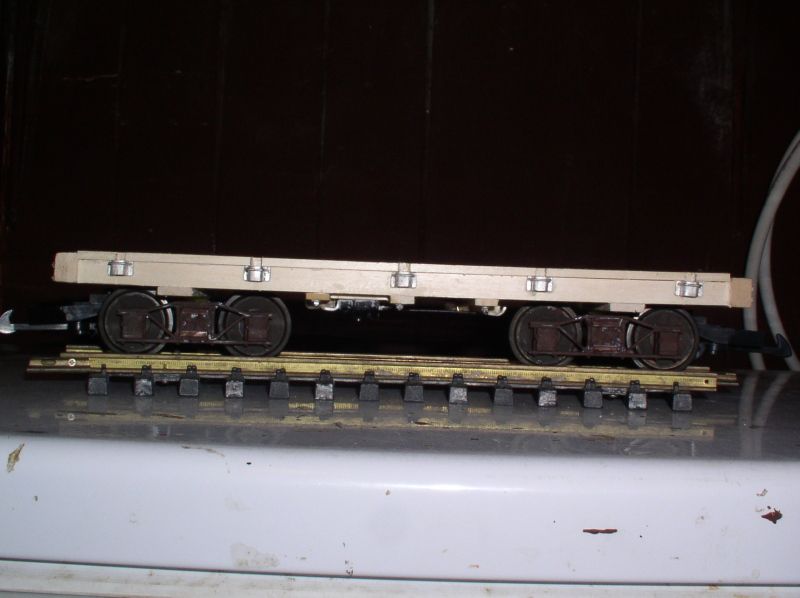
I decided that my car should have the later low slung, narrow gauge stance rather than that high mounted, “ping pong” look of the prototype. Those two middle sills I left out allow it to negotiate r-1 curves with a bit to spare
(http://i397.photobucket.com/albums/pp52/steamnut1917/P1150012.jpg)
Back to drilling holes… and holes… and yet more holes.

